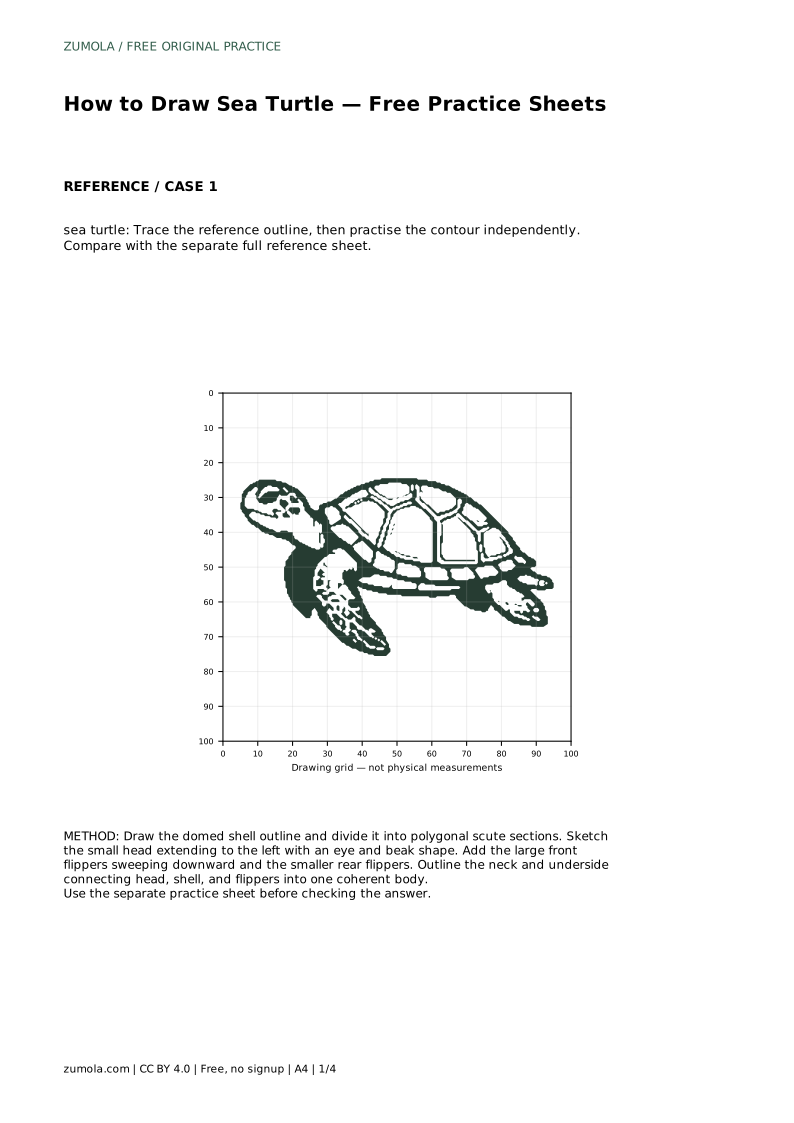
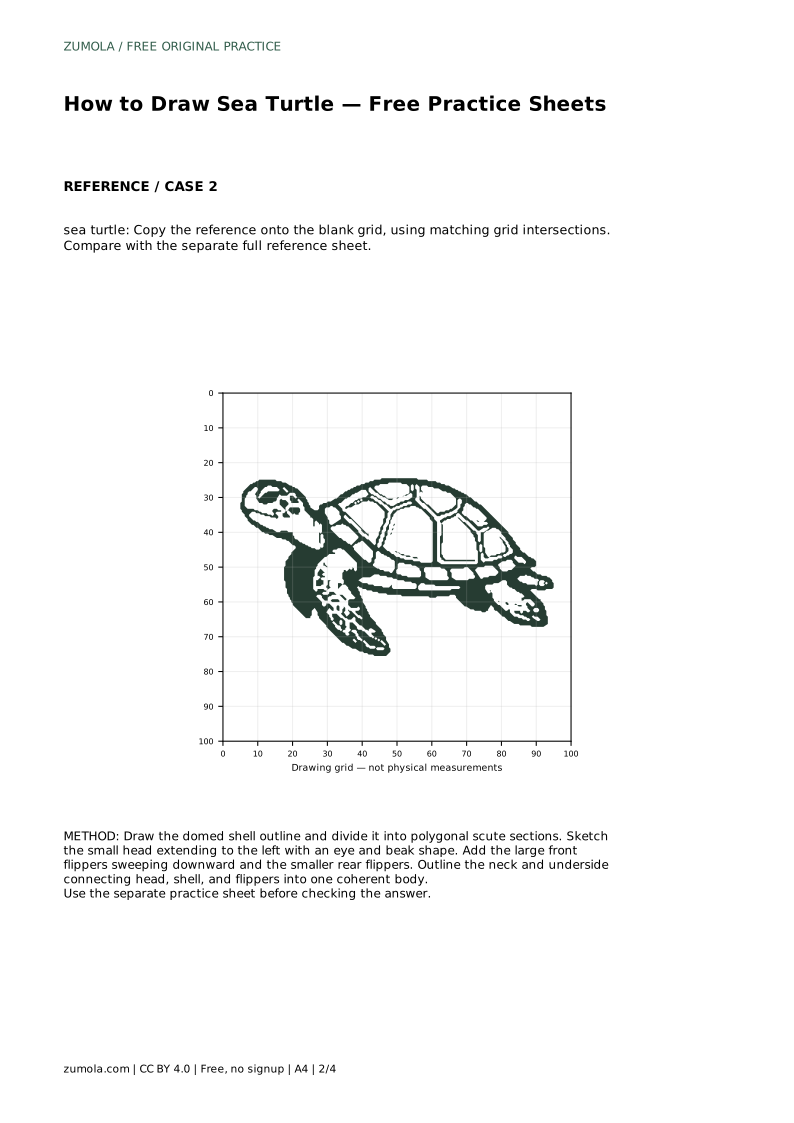
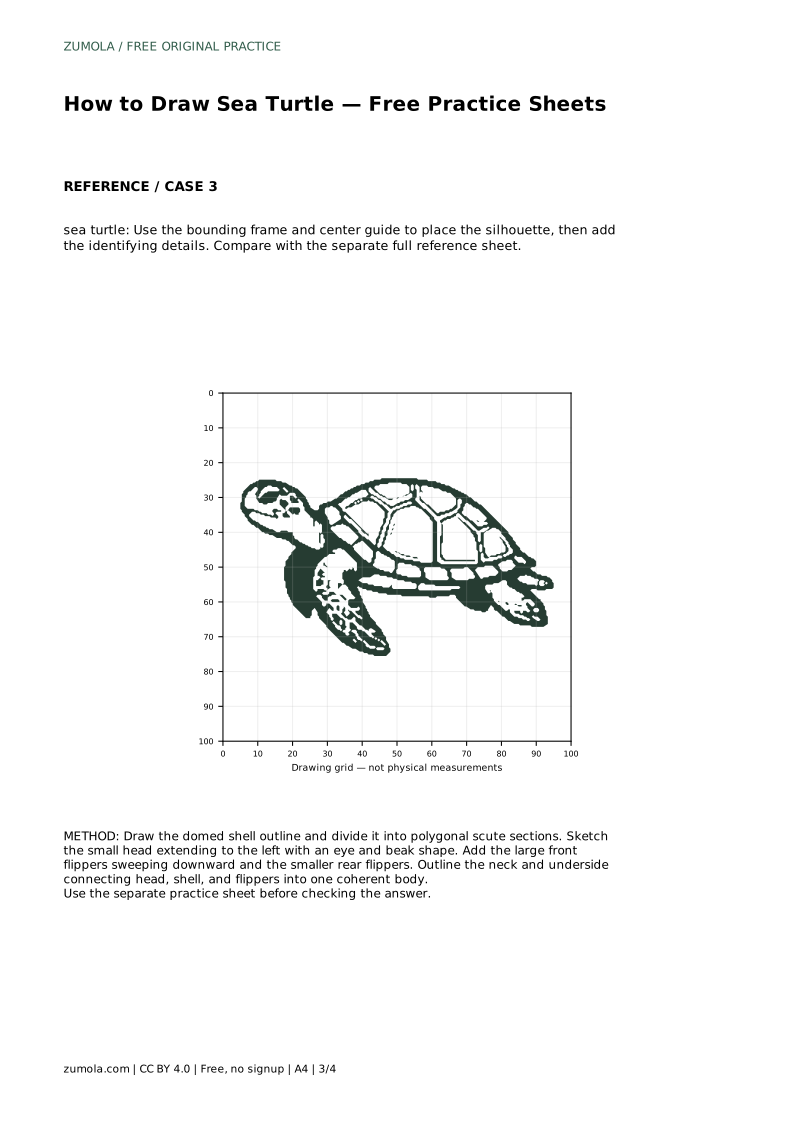
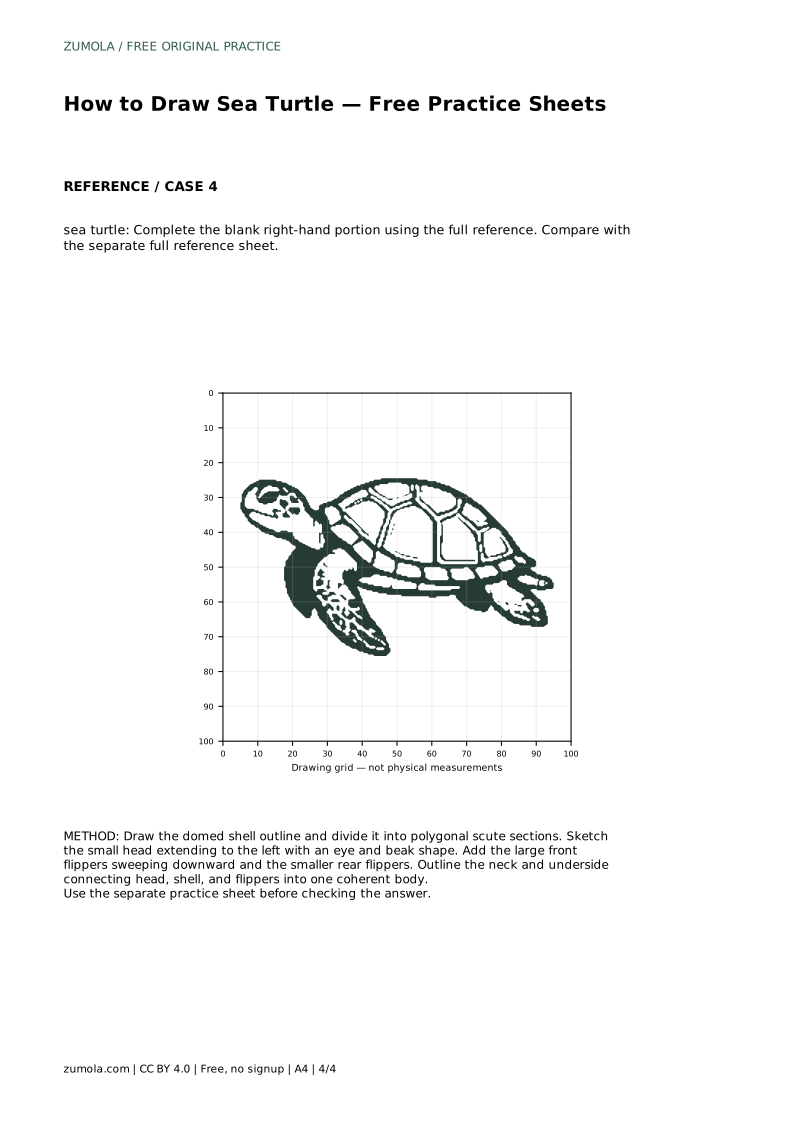
Reference diagrams
LETTER · Download PDF
A4 · Download PDF
Free original resources
Learn to draw a sea turtle by building a domed scute shell, beak-like head and sweeping flippers. Trace, grid and frame practice methods explained.
Four original cases, with reference diagrams, practice sheets and worked answers. Everything is free; no signup required.
LETTER · Download PDF
A4 · Download PDF
LETTER · Download PDF
A4 · Download PDF
LETTER · Download PDF
A4 · Download PDF
Use A4 or US Letter to match your printer. Use the stated values and conditions to solve each exercise; diagrams are not physical measuring rulers.
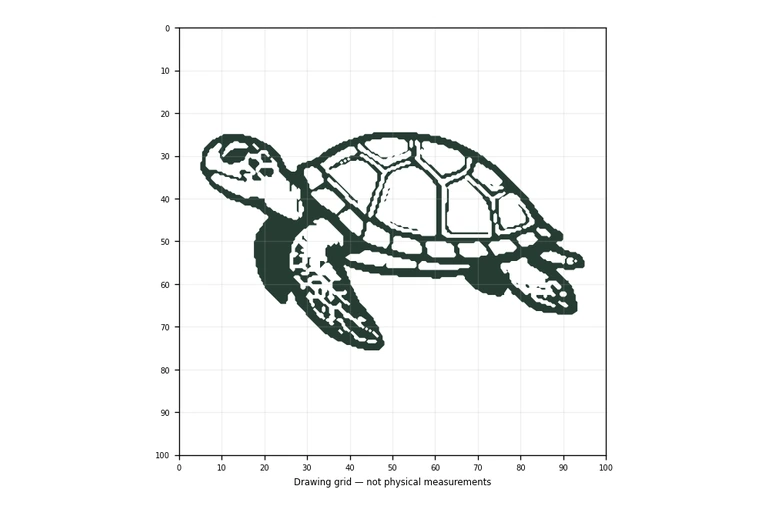
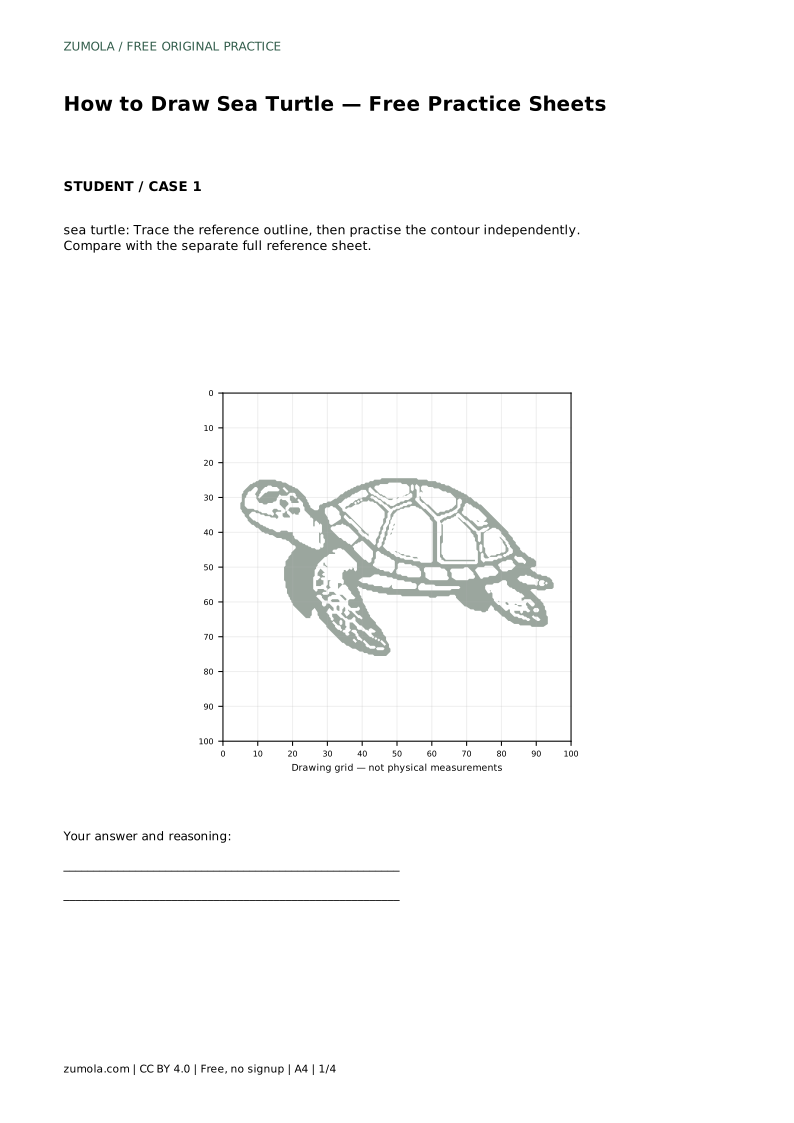
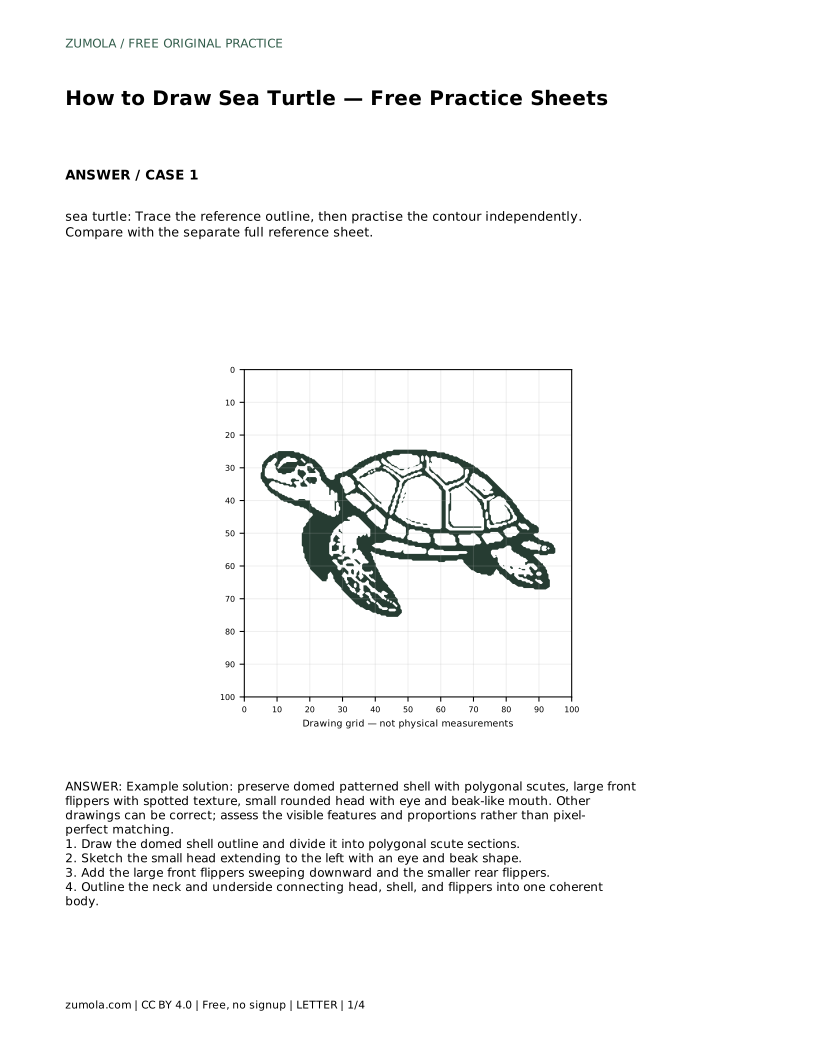
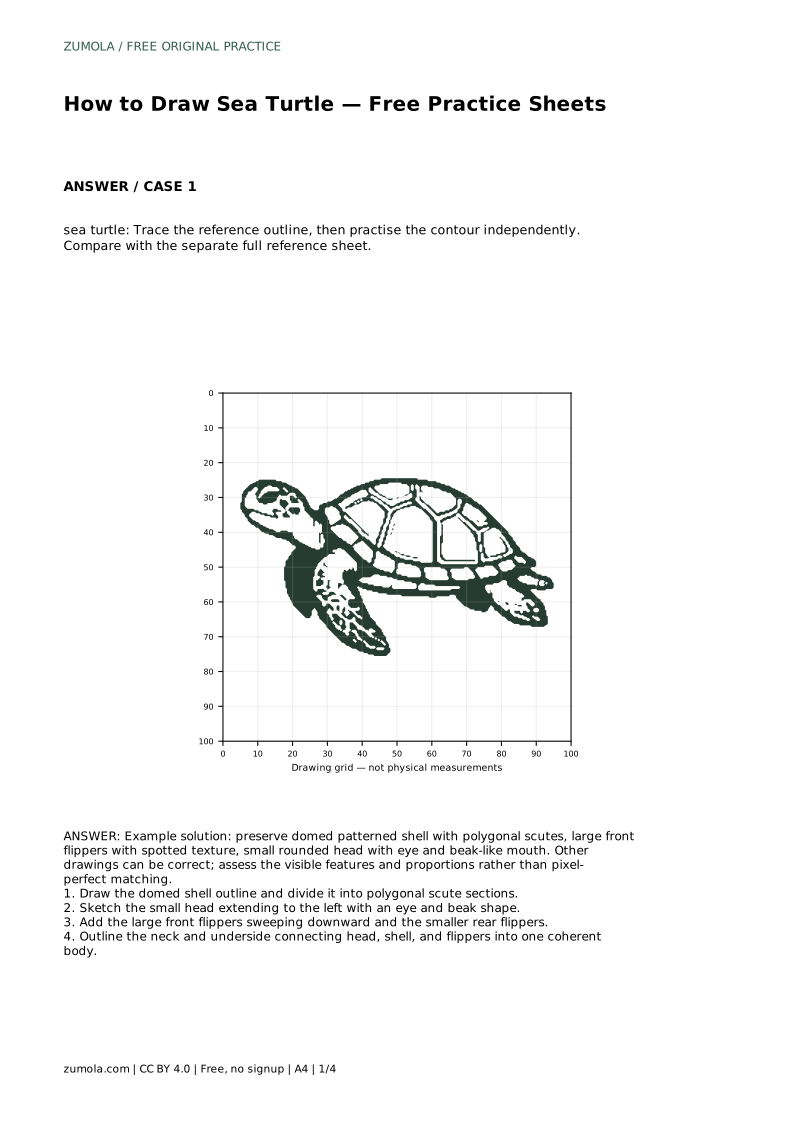
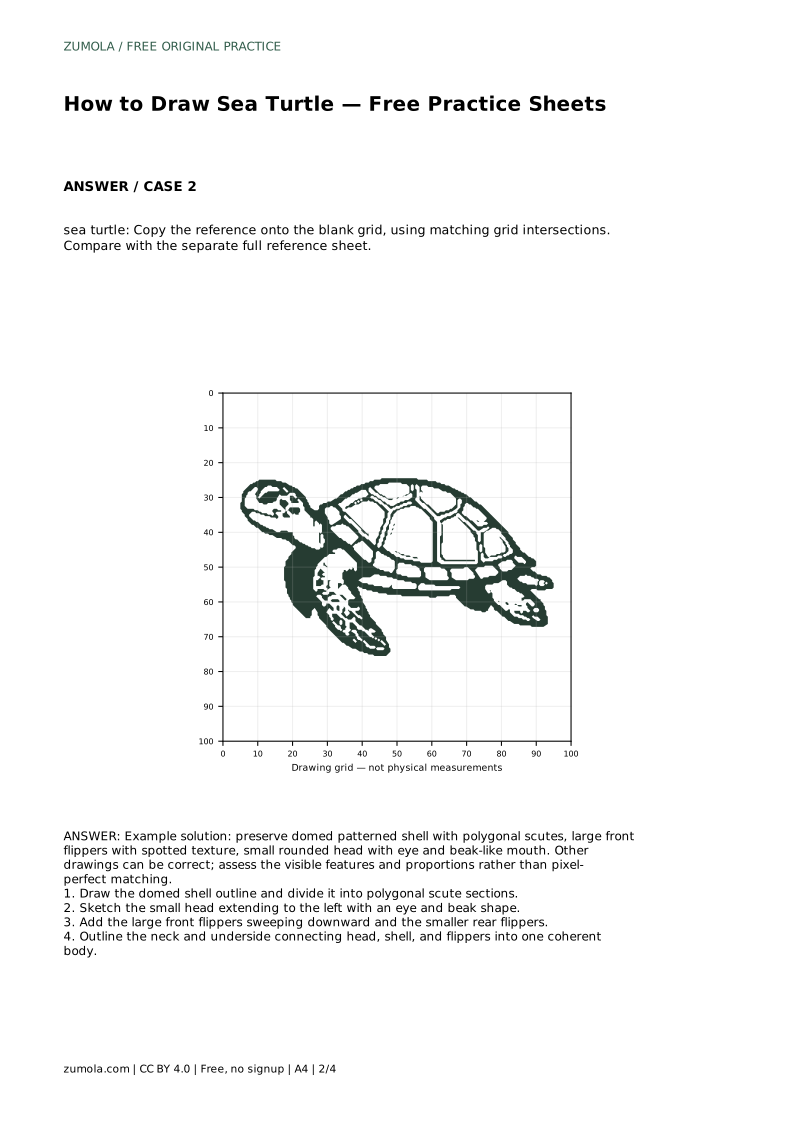
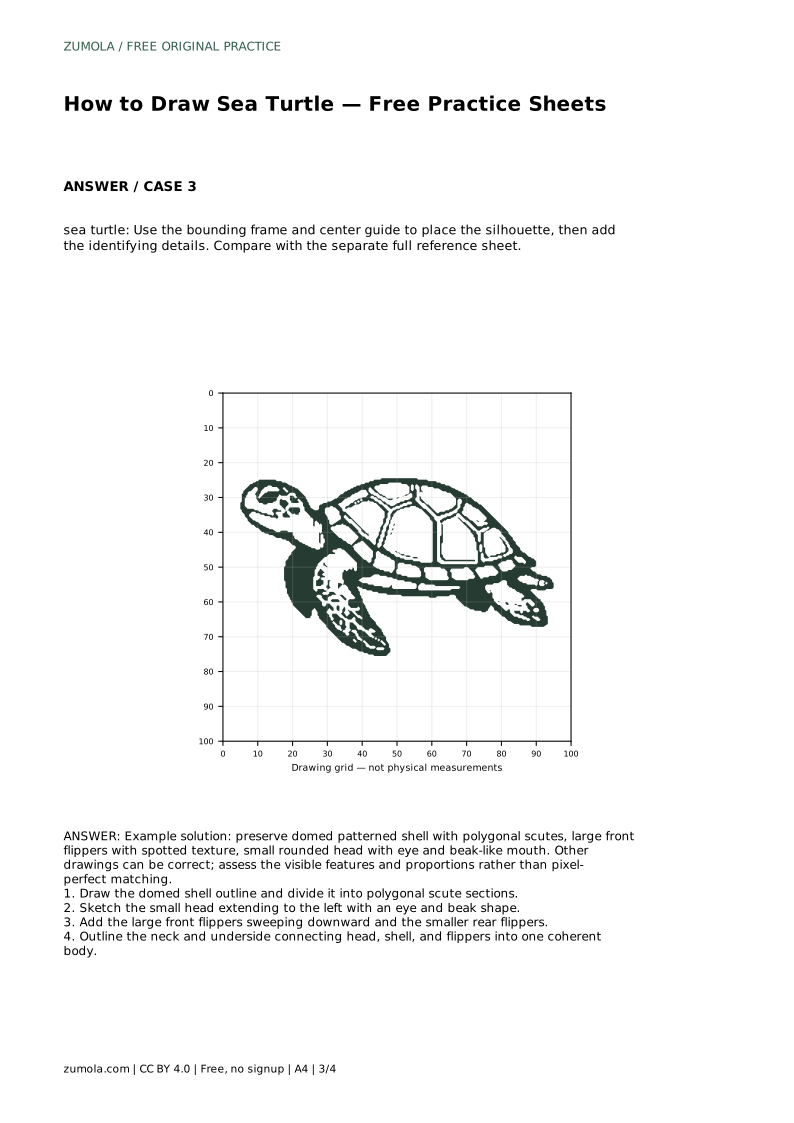
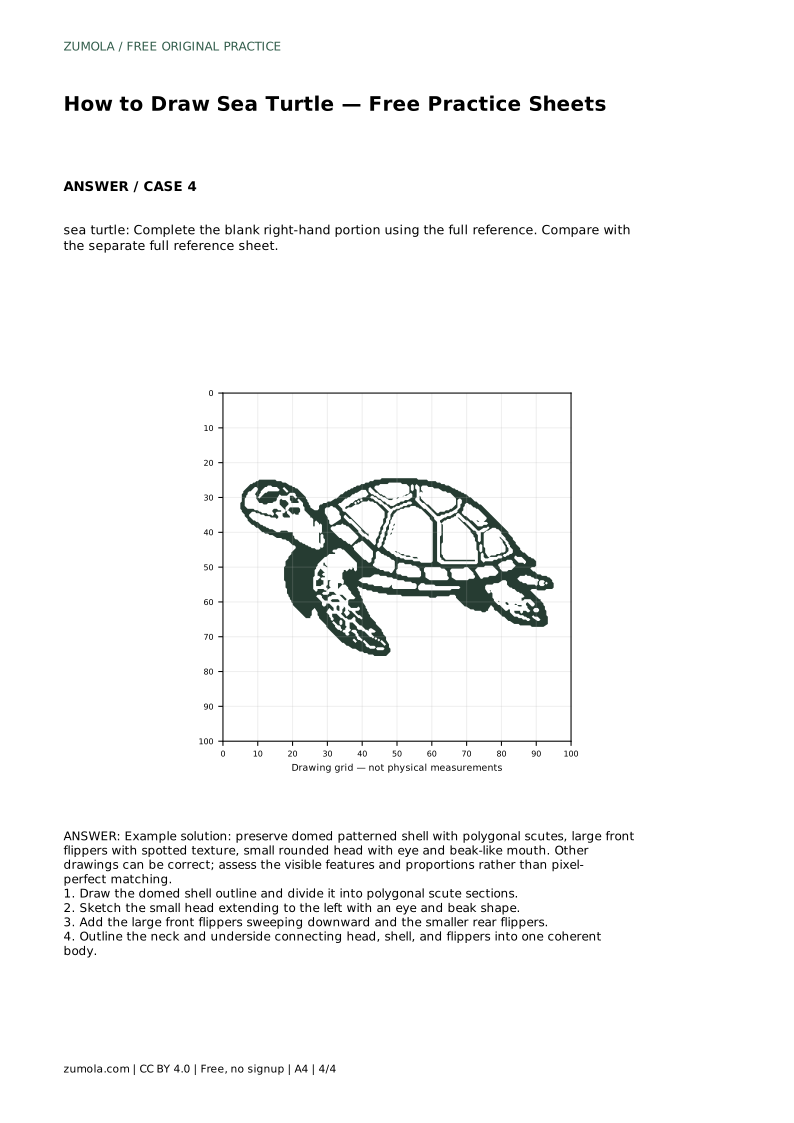
A sea turtle drawing is recognisable through a few linked shapes: a domed shell divided into polygonal scutes, a small rounded head with a beak-like mouth, and long front flippers that sweep downward. This page explains how to build those parts in order, then how to practise them with tracing, grid and frame guides. Because drawings can be correct in many ways, judge your work by visible features and proportions rather than an exact match.
Start with the shell because it anchors every other proportion. Draw a broad dome that is slightly wider than it is tall, then divide the surface into polygonal scute sections. Keep the scutes irregular but connected, like tiles fitted across a curved surface; avoid drawing them as a flat checkerboard.
Place the head next. It should be small relative to the shell and extend to one side, with a rounded skull, a visible eye and a short beak-like mouth. Then add the large front flippers sweeping downward and the smaller rear flippers behind. Finish by outlining the neck and underside so the head, shell and flippers read as one coherent body rather than separate pieces.
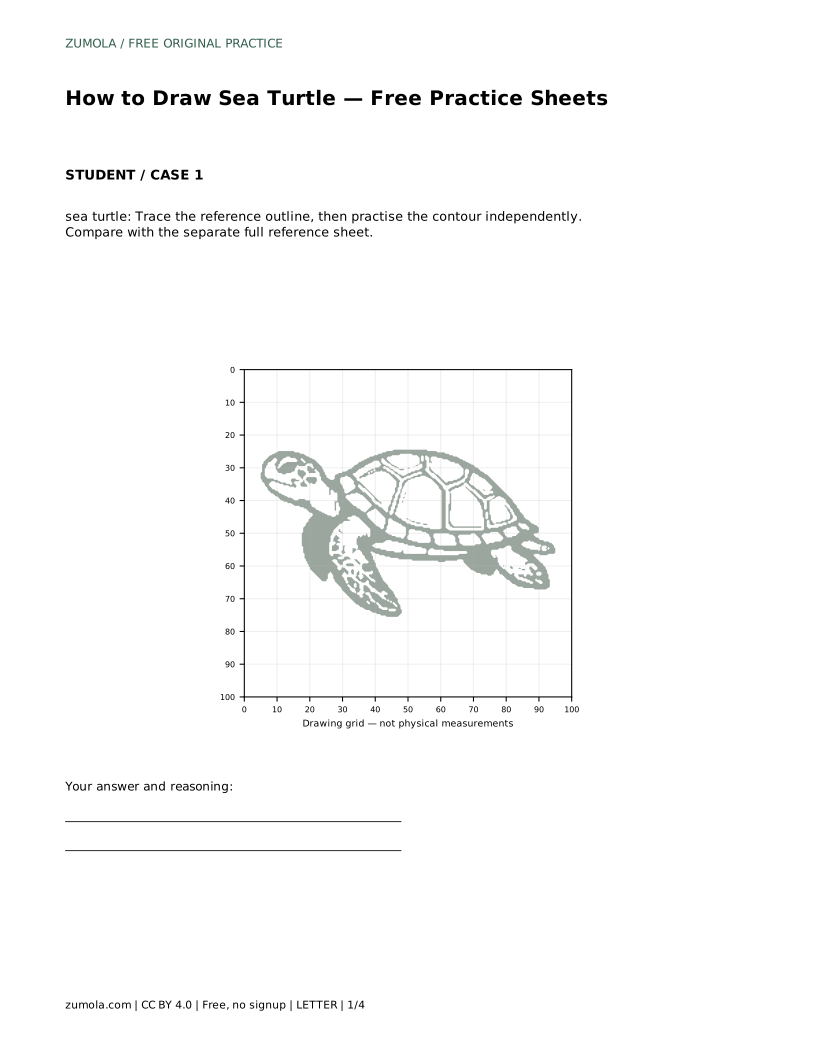
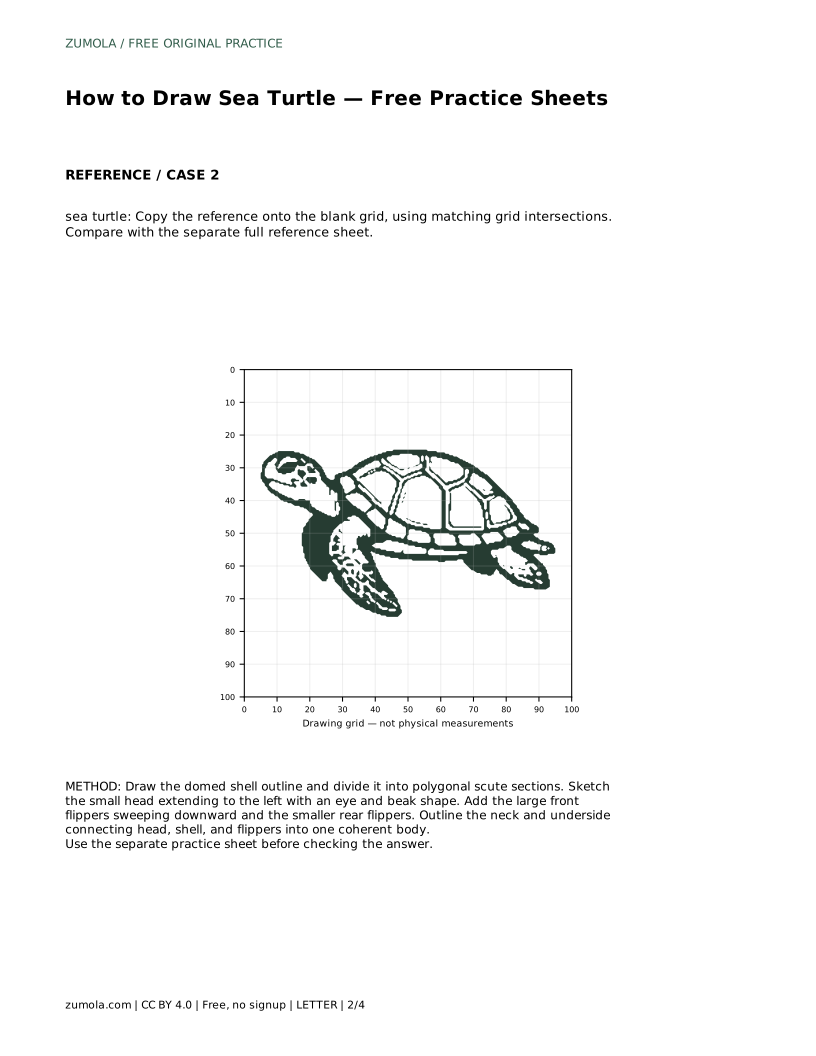
Tracing builds hand memory. Place a sheet over the reference outline and follow the contour, then set the reference aside and redraw the same contour independently. Compare your free drawing with the separate full reference sheet to see which features drifted.
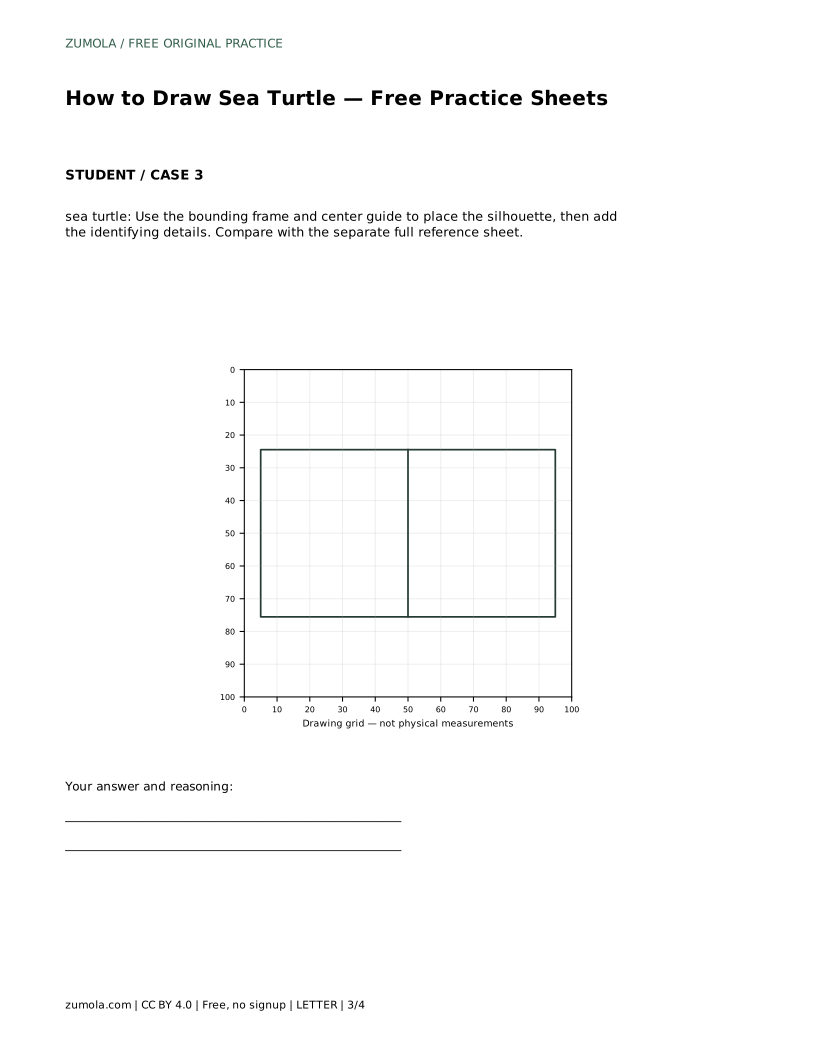
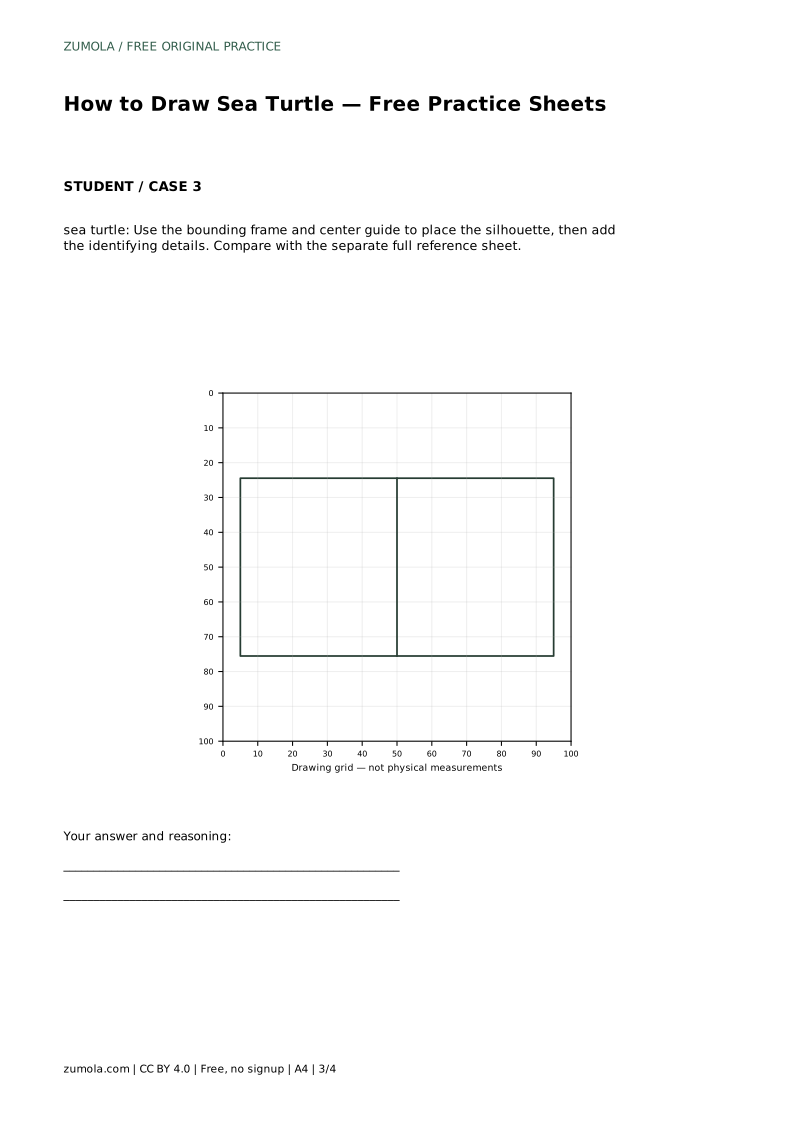
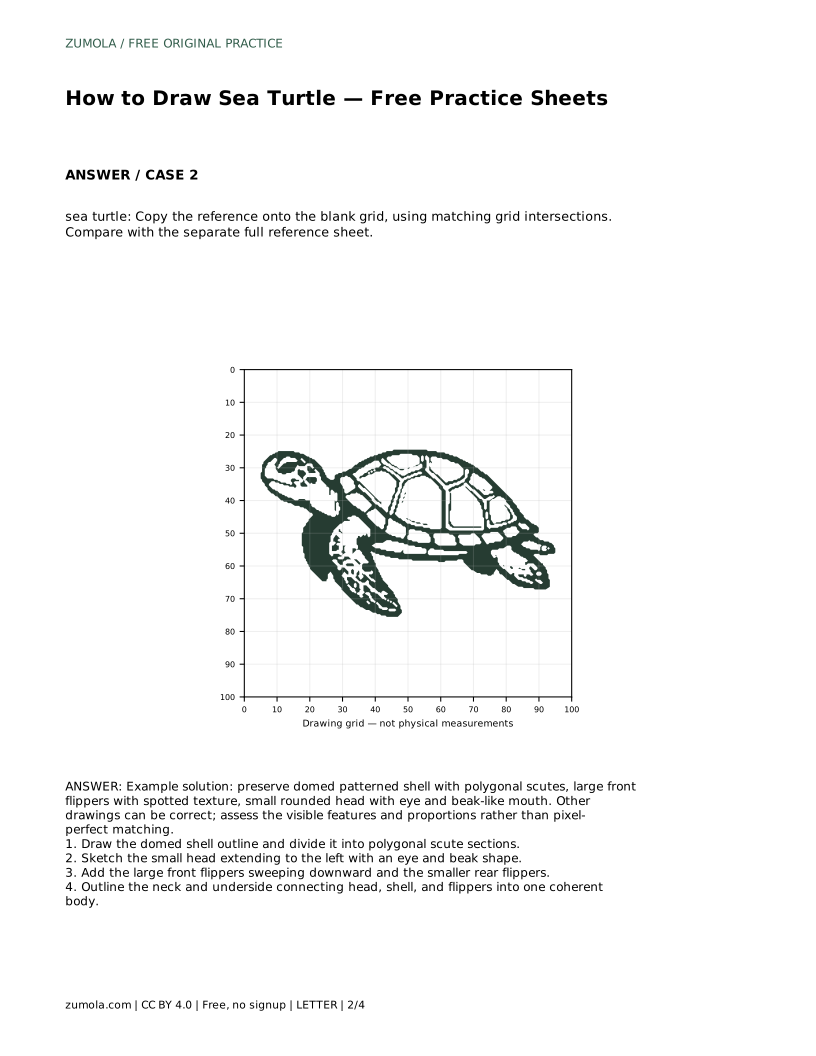
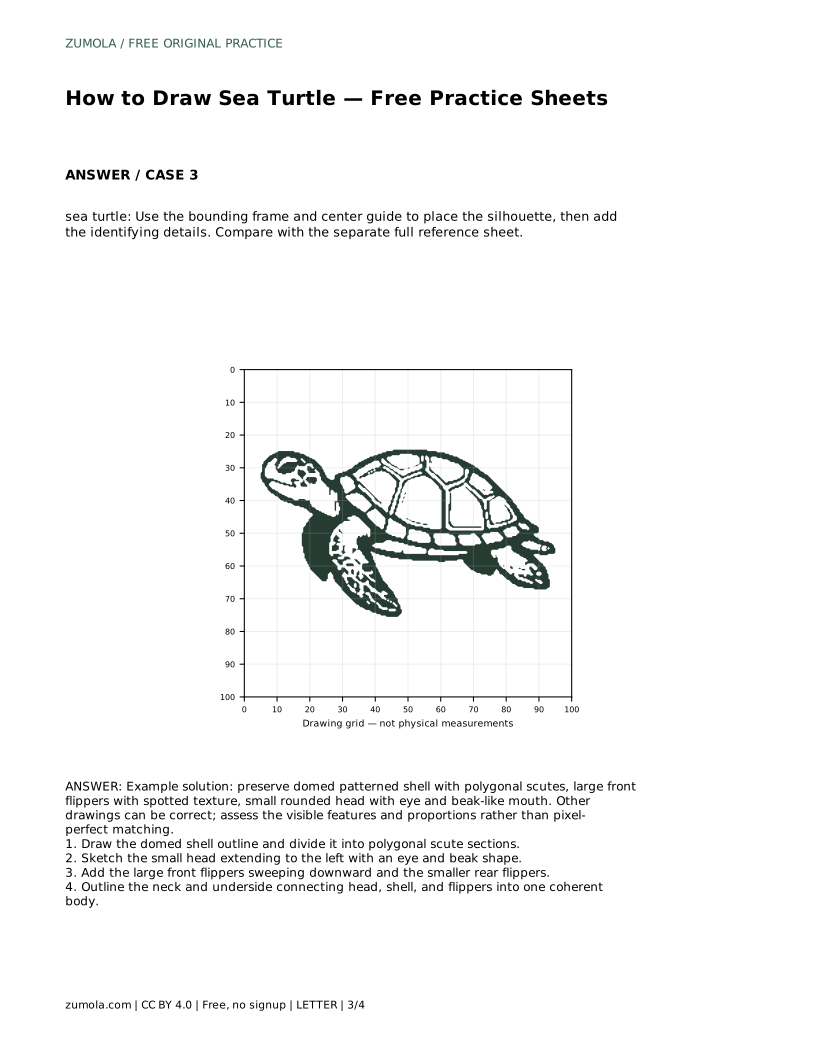
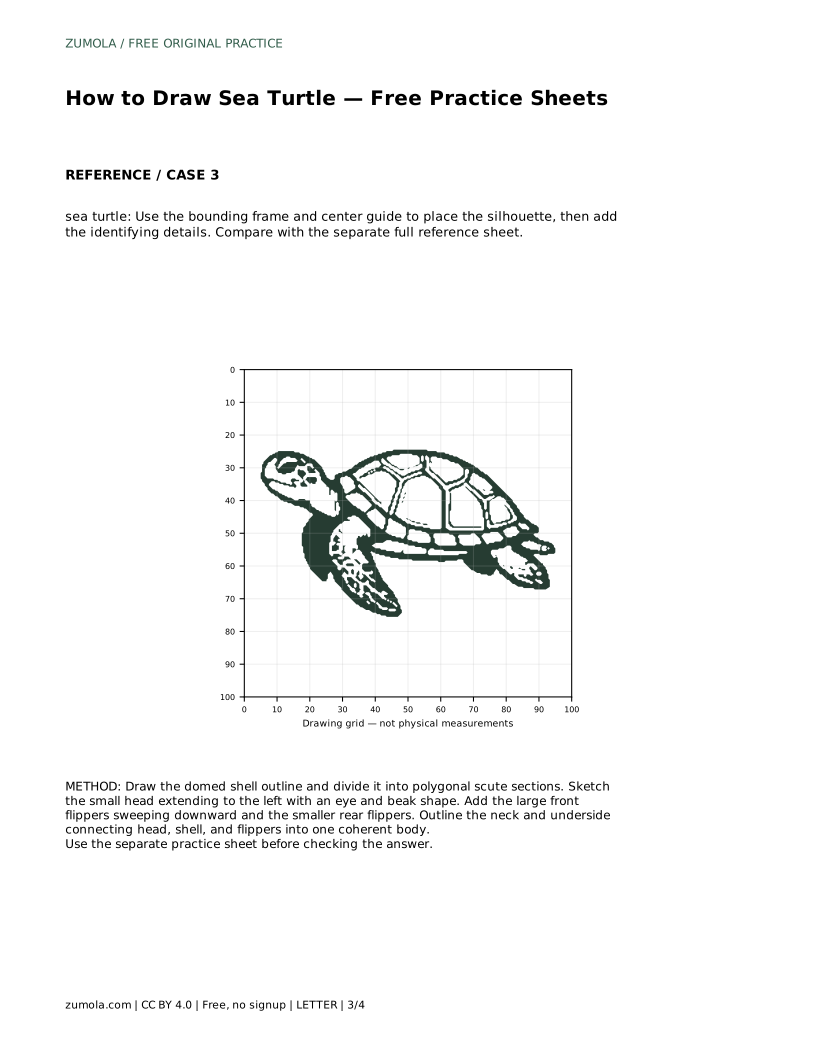
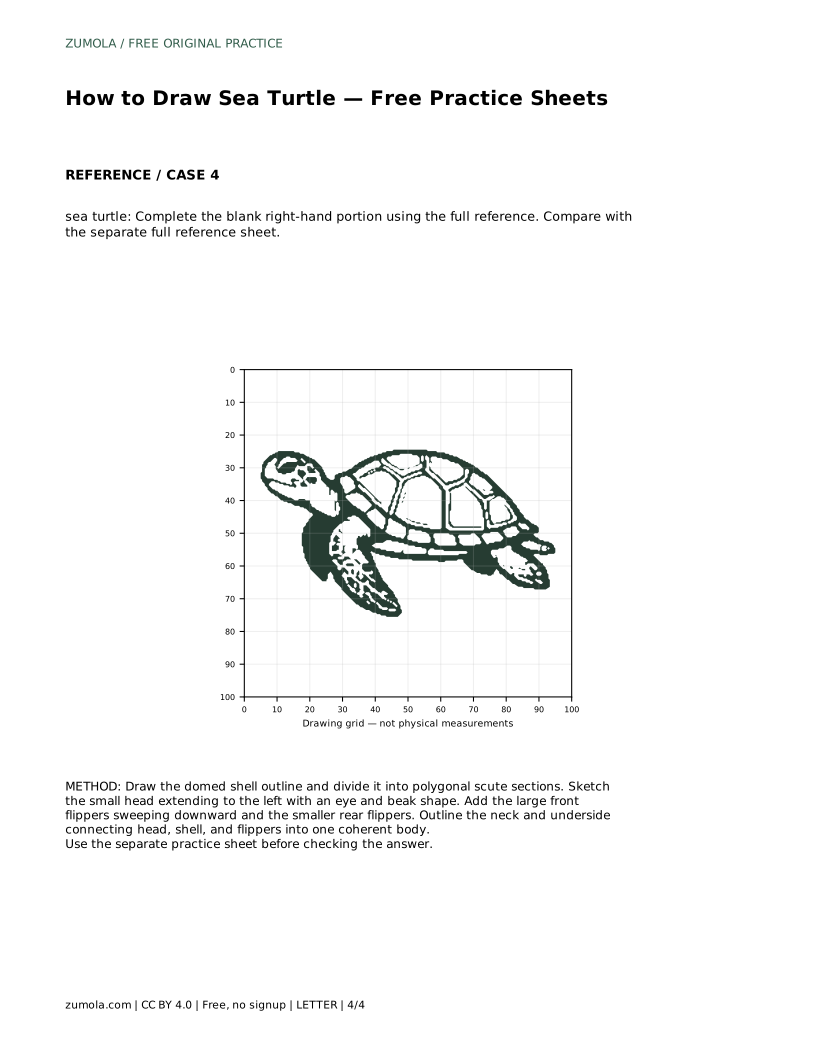
Grid copying trains placement. Copy the reference onto a blank grid, matching where lines cross grid intersections. The grid does not make the drawing exact; it helps you notice whether the head sits too high or a flipper starts too far forward. The bounding frame and centre guide method works similarly: use the frame to place the overall silhouette first, then add identifying details inside it.
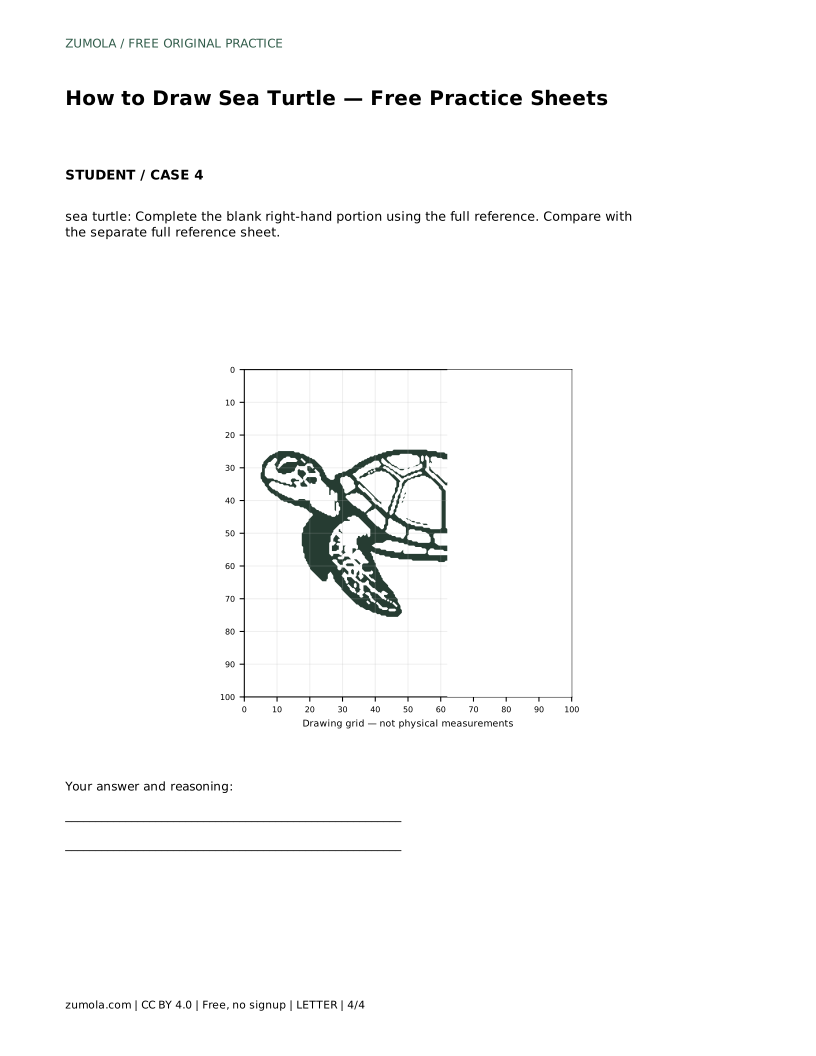
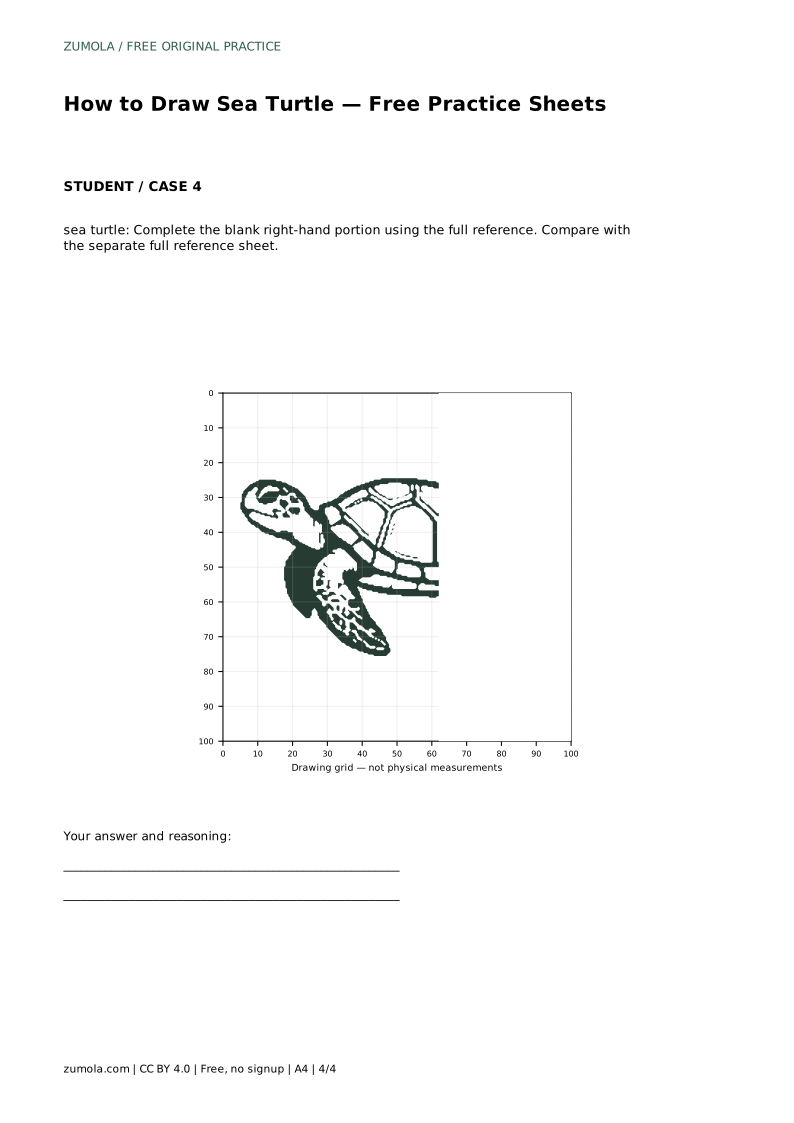
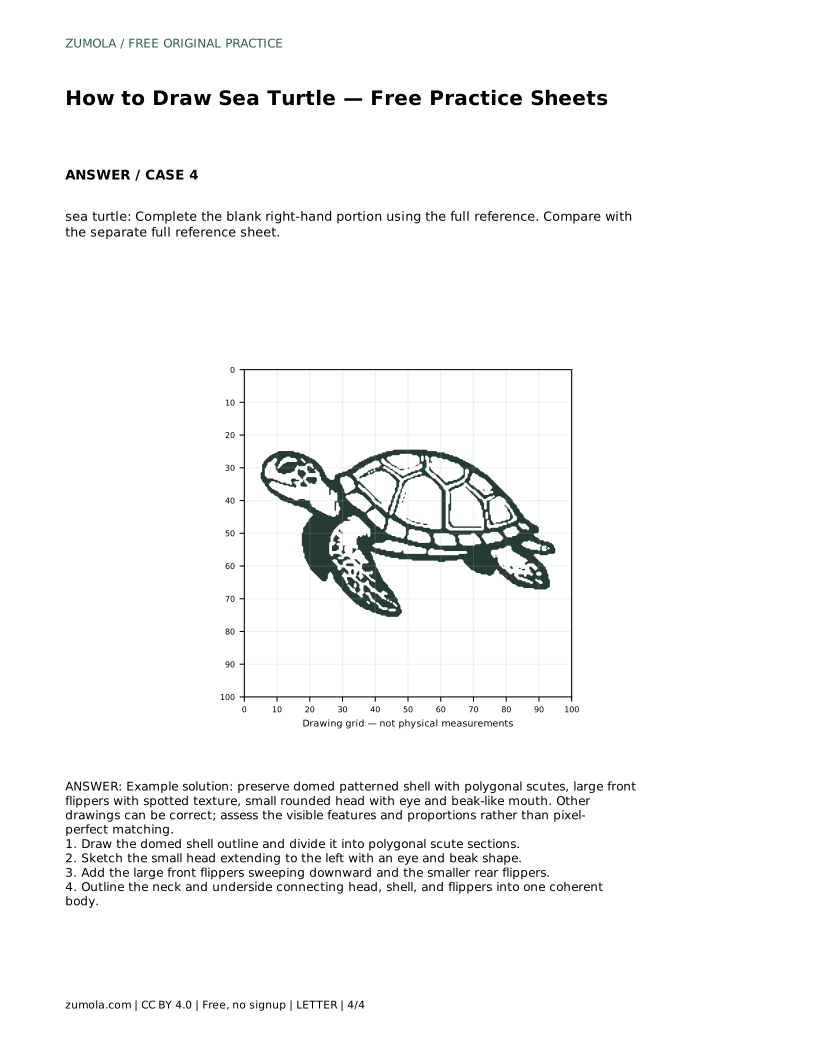
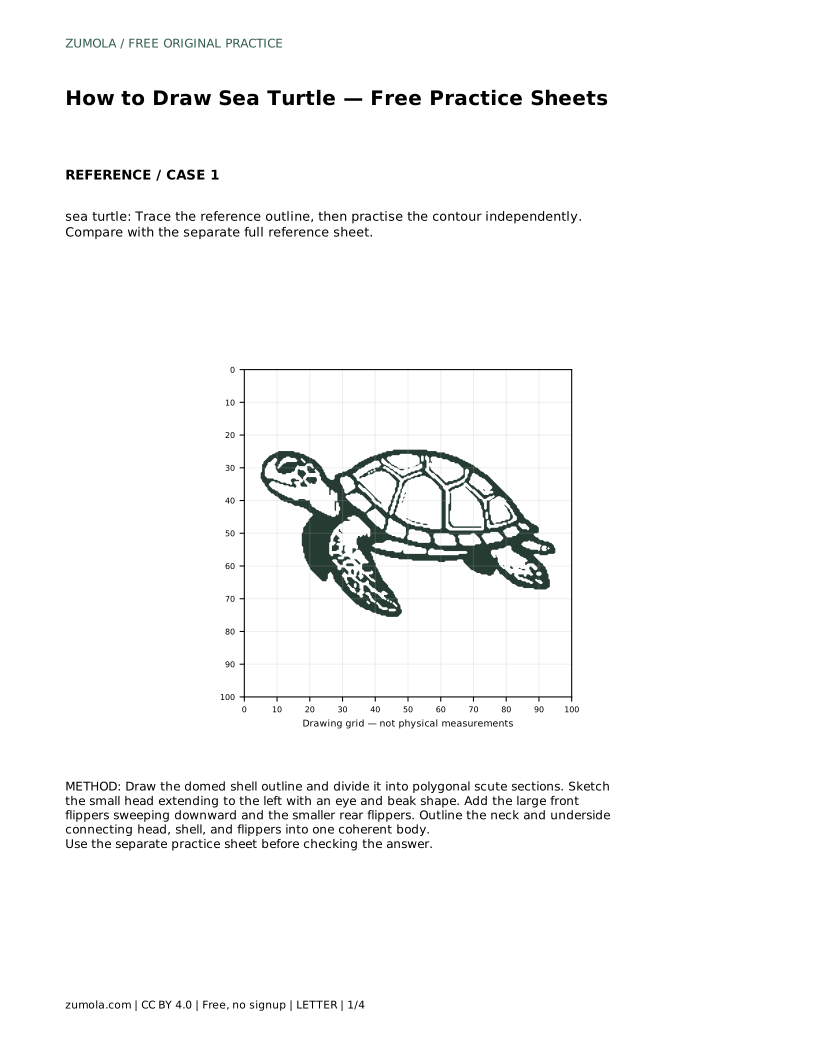
A fourth method completes a partial drawing. When the right-hand portion is blank, use the full reference to finish it, checking that the shell curve and flipper angles continue smoothly across the gap.
Compare your drawing against the reference sheet feature by feature. The shell should be domed and patterned with polygonal scutes. The front flippers should be noticeably larger than the rear ones and should sweep downward. The head should be small, rounded, with an eye and a beak-like mouth, and the neck and underside should connect the parts into one body.
Proportions matter more than line quality. If the head looks too large, the shell too flat or a flipper too short, adjust those relationships first. Multiple valid outcomes exist, so a drawing that differs from the reference can still be correct if the identifying features and proportions hold together.
Most problems come from drawing parts in isolation. Fixing the shell first, then measuring each new part against it, prevents the head and flippers from drifting out of proportion. Keep your pencil light until the silhouette is settled, then darken the final contour.
sea turtle: Trace the reference outline, then practise the contour independently. Compare with the separate full reference sheet.
Example solution: preserve domed patterned shell with polygonal scutes, large front flippers with spotted texture, small rounded head with eye and beak-like mouth. Other drawings can be correct; assess the visible features and proportions rather than pixel-perfect matching. Draw the domed shell outline and divide it into polygonal scute sections. Sketch the small head extending to the left with an eye and beak shape. Add the large front flippers sweeping downward and the smaller rear flippers. Outline the neck and underside connecting head, shell, and flippers into one coherent body.
No. Sea turtle drawings have multiple valid outcomes. Assess visible features and proportions, such as the domed scute shell, beak-like head and large front flippers, rather than pixel-perfect matching.
Start by tracing the reference outline to learn the contour, then redraw it independently. Move to the grid or bounding frame method when you want to practise placement and proportion.
Compare it with the separate full reference sheet. Check the shell dome, scute pattern, head size, eye and beak, and the relative size and angle of the flippers.
All drawing practice · Free coordinate paper
Original resources · CC BY 4.0 · Free for personal and classroom use with attribution.