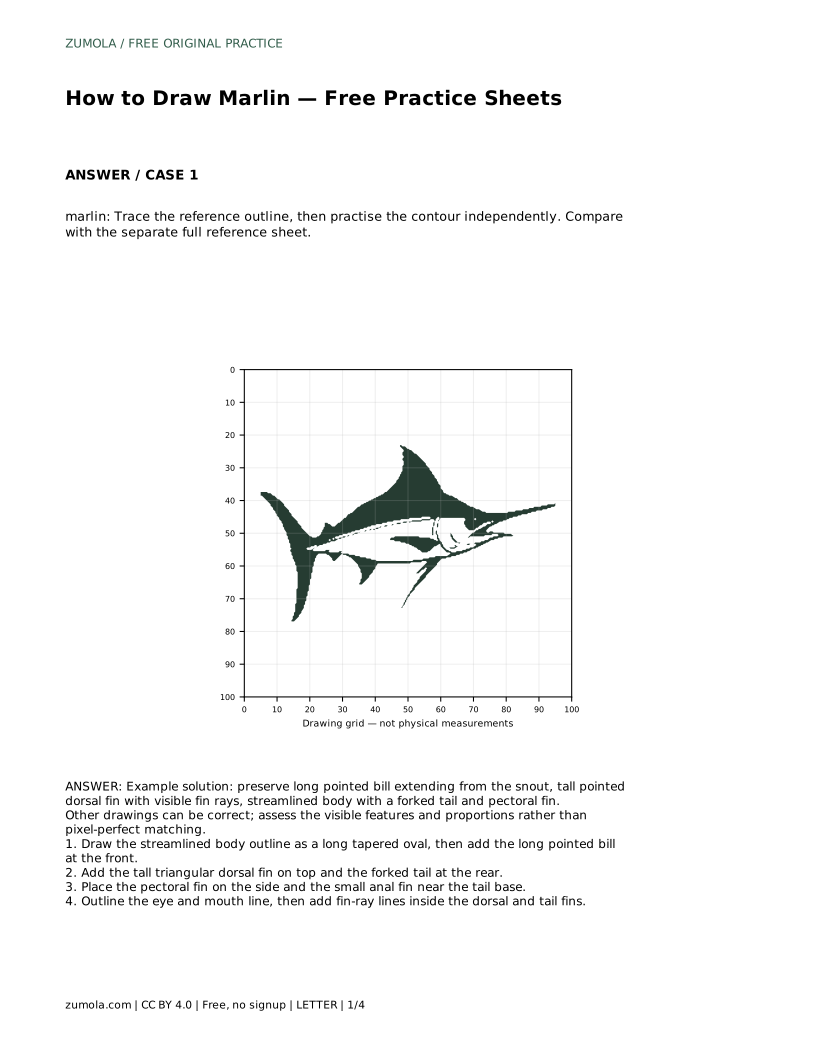
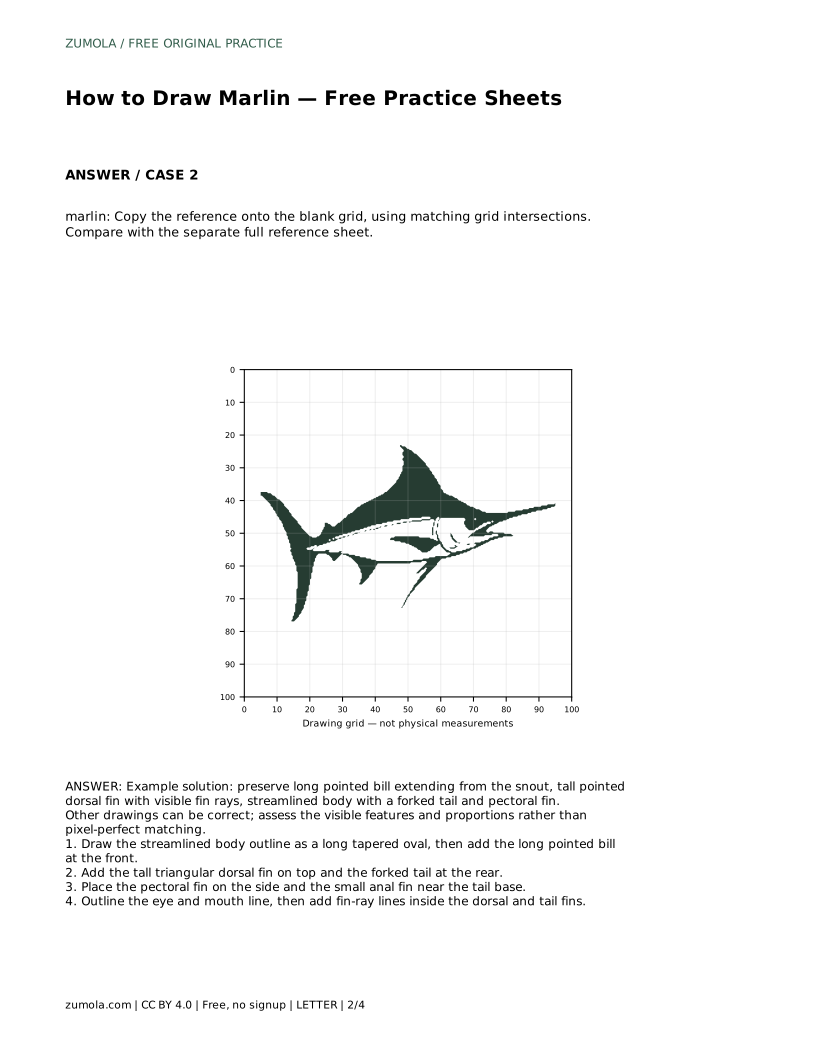
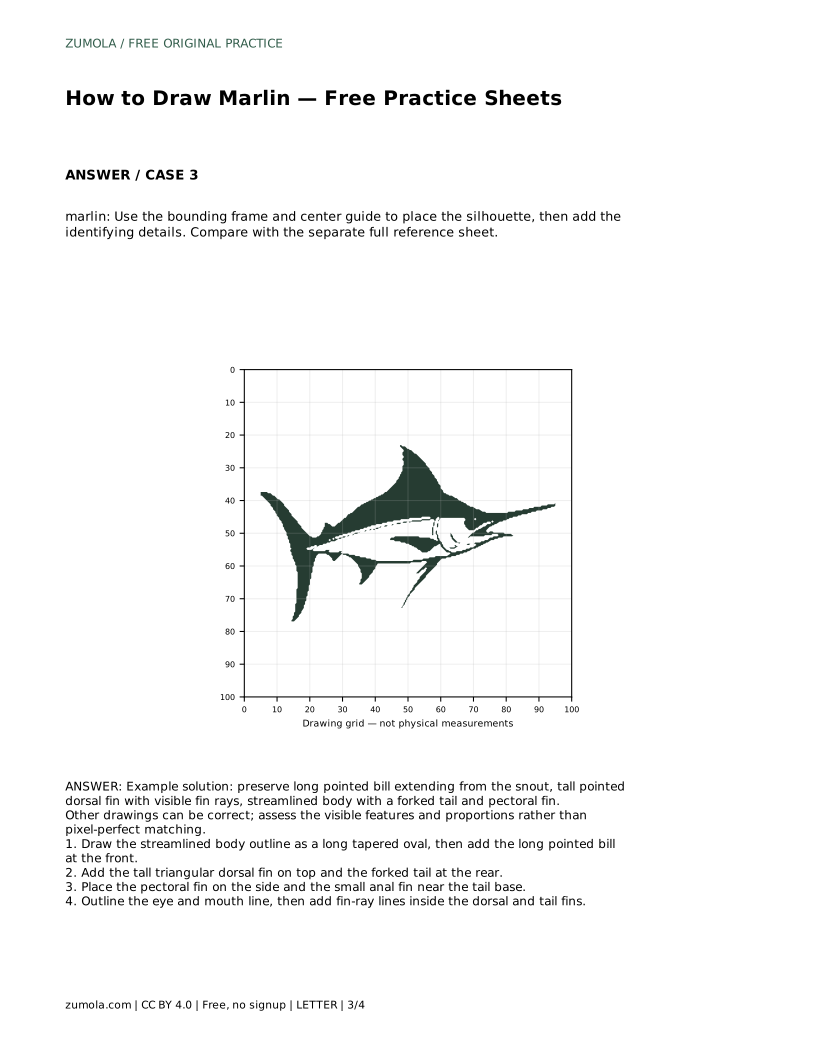
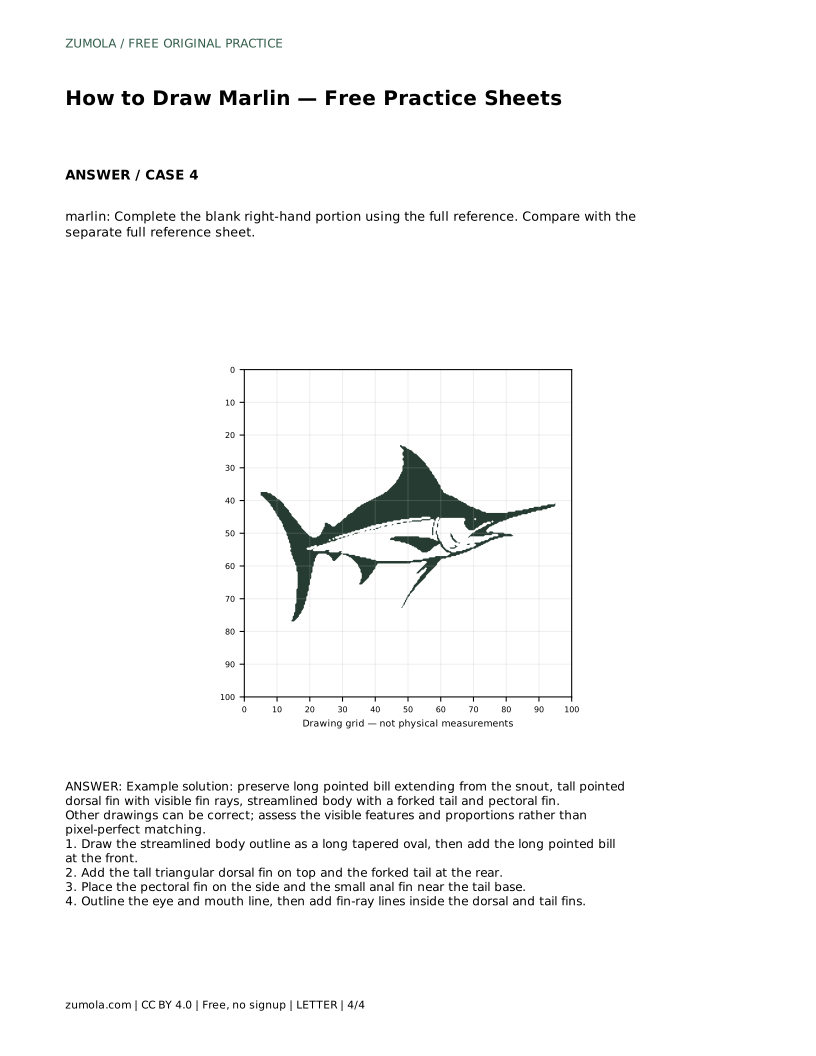
Reference diagrams
LETTER · Download PDF
A4 · Download PDF
Free original resources
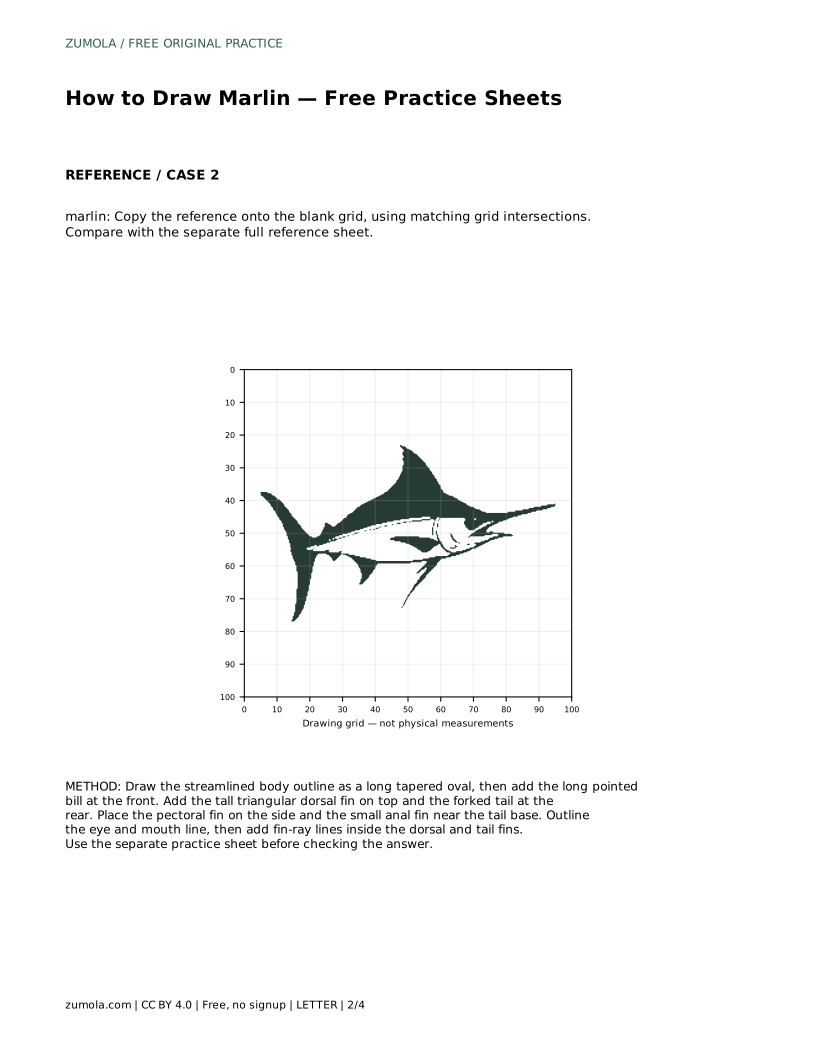
Learn to draw a marlin by building a streamlined body, long pointed bill, tall dorsal fin, and forked tail. Free printable practice sheets support tracing, grids, and guided frames.
Four original cases, with reference diagrams, practice sheets and worked answers. Everything is free; no signup required.
LETTER · Download PDF
A4 · Download PDF
LETTER · Download PDF
A4 · Download PDF
LETTER · Download PDF
A4 · Download PDF
Use A4 or US Letter to match your printer. Use the stated values and conditions to solve each exercise; diagrams are not physical measuring rulers.
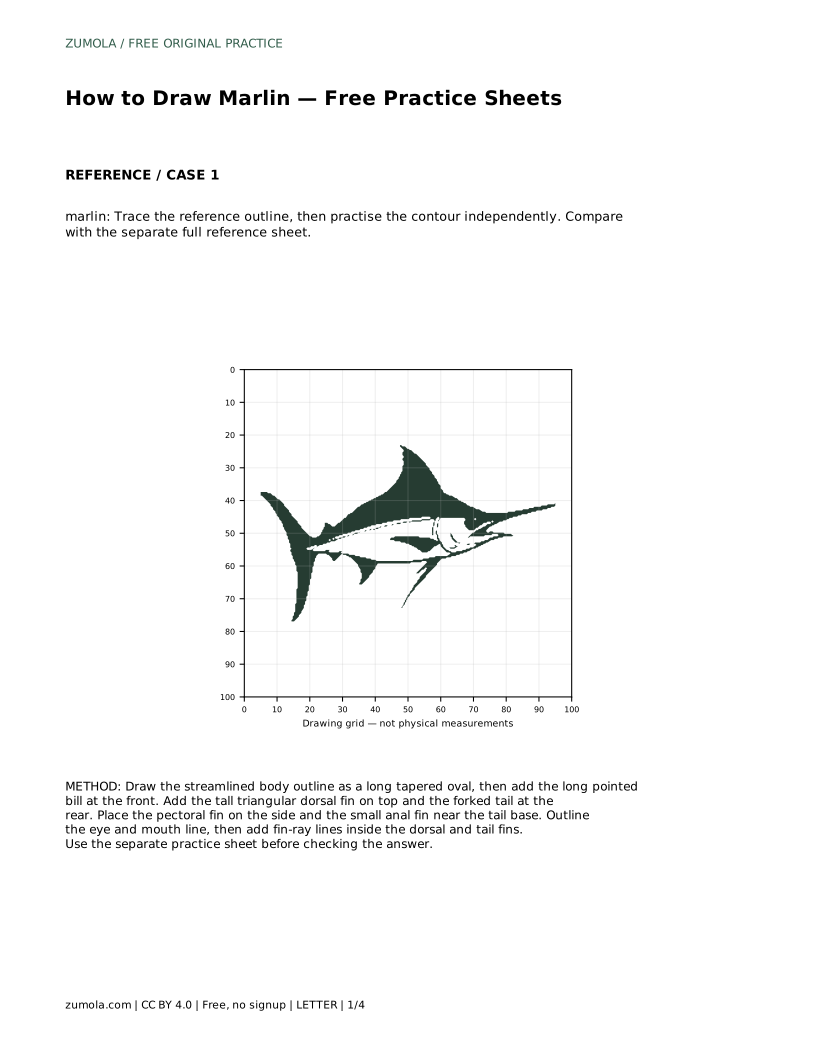
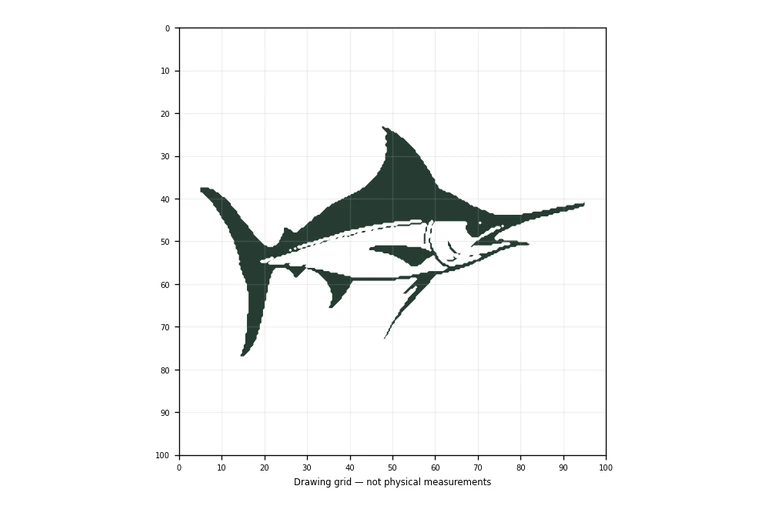
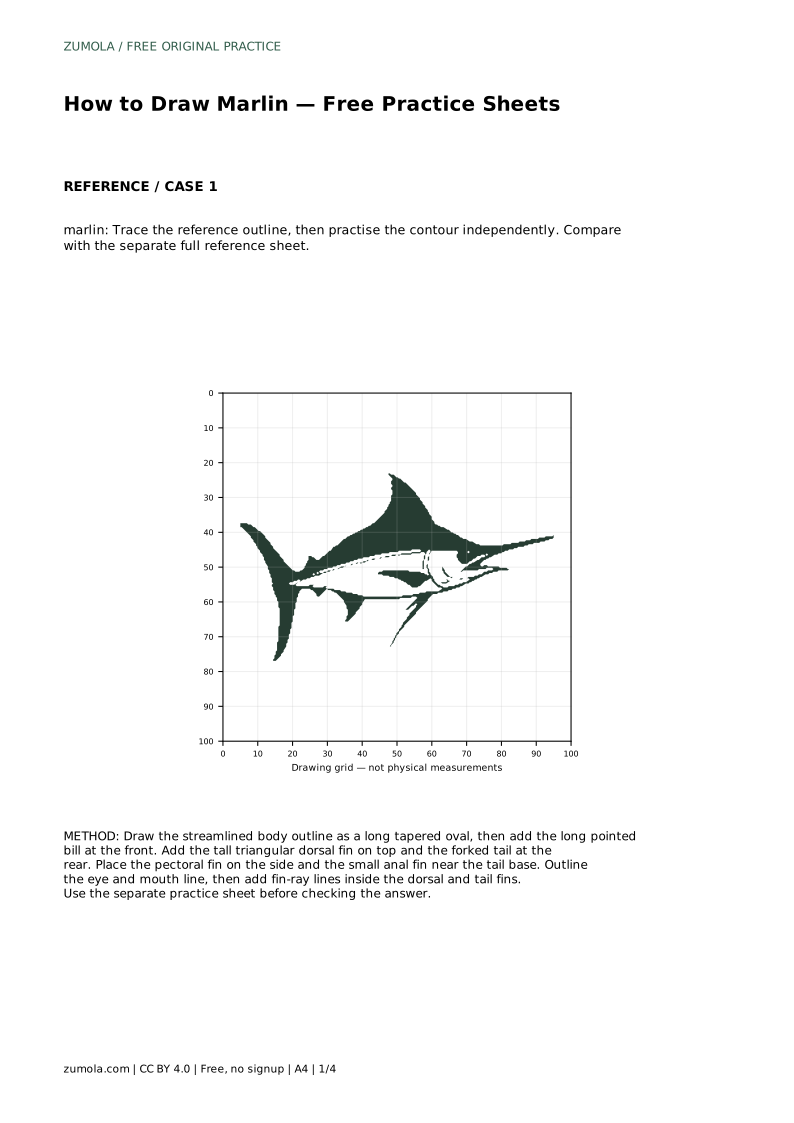
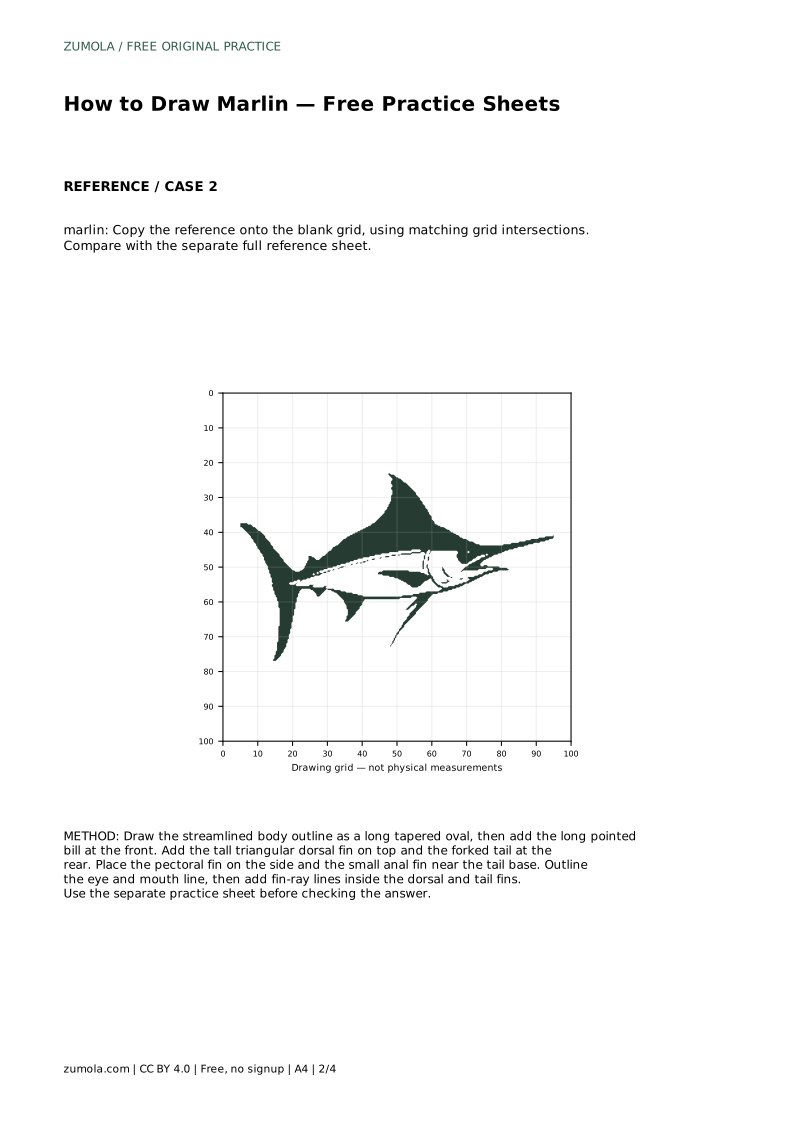
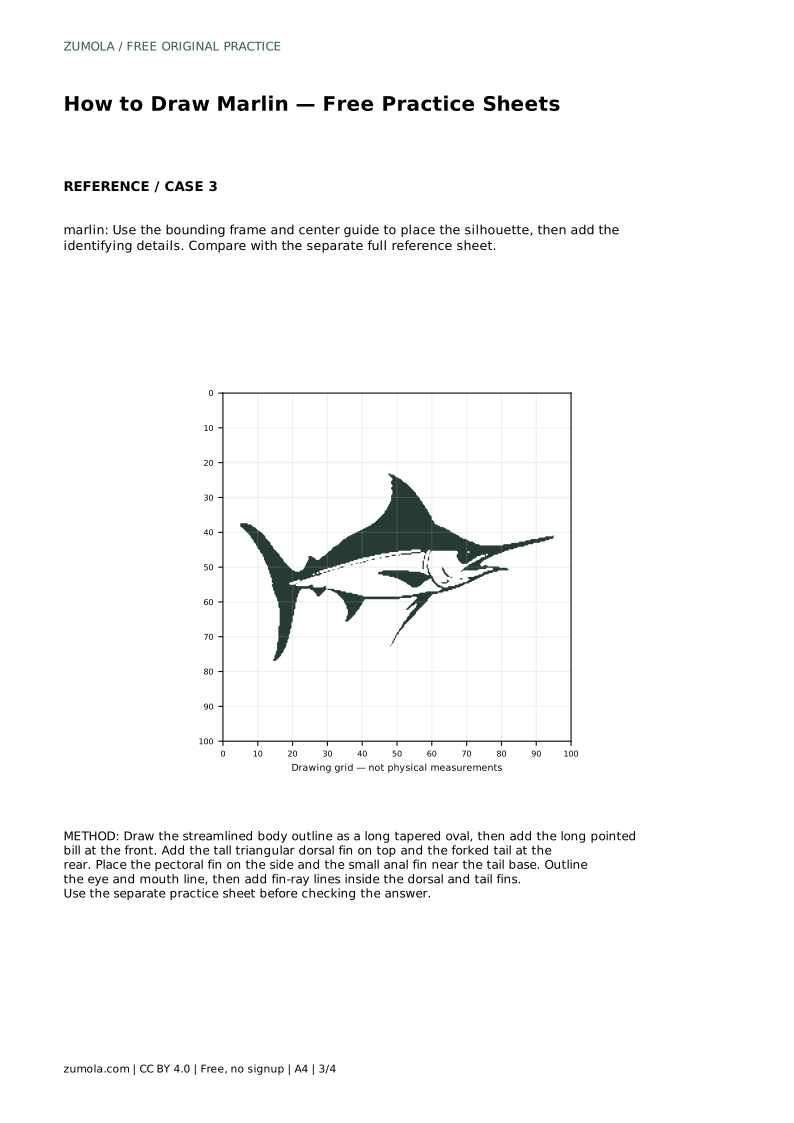
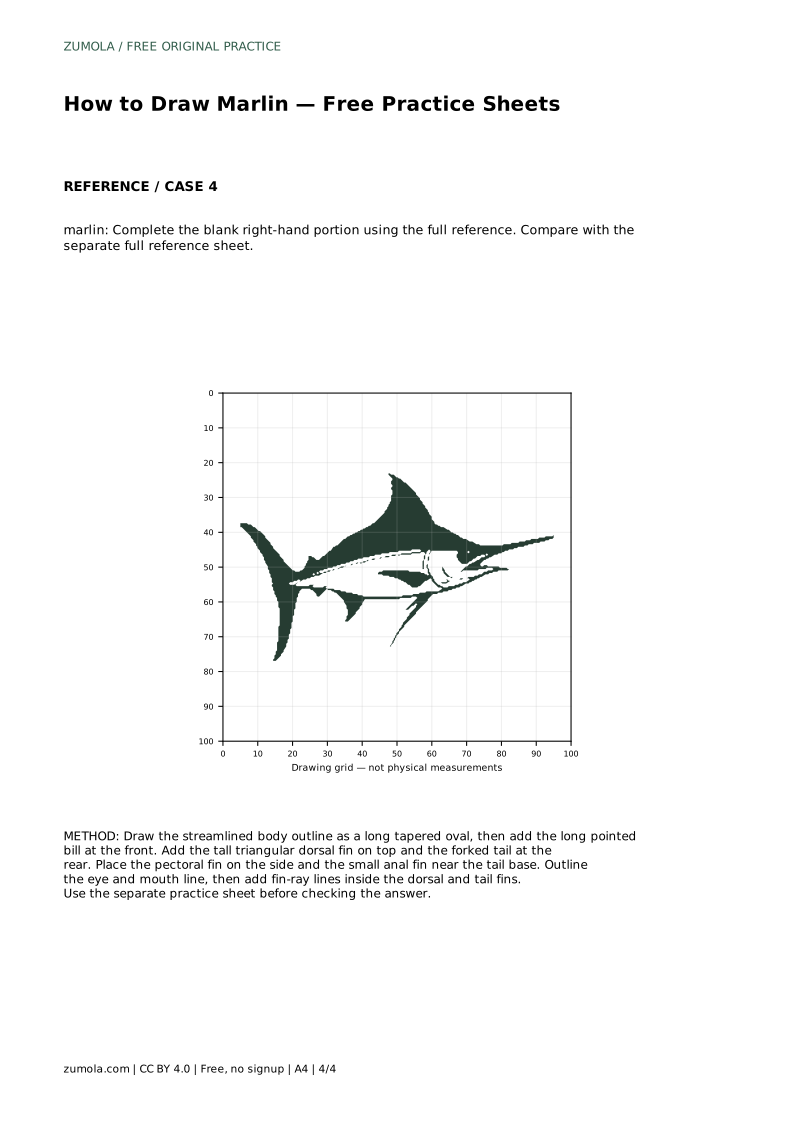
A marlin is recognizable by a few clear features: a long pointed bill, a streamlined body, a tall dorsal fin, and a forked tail. This page shows how to build those features in order so the fish reads correctly before you add fin rays and small details. The practice sheets let you trace a reference outline, copy onto a grid, use a bounding frame and center guide, or complete a partially drawn figure. Each method trains the same core skill: placing the bill, body, and fins in proportion.
Begin with the largest shapes. Draw the body as a long tapered oval, wider near the head and narrowing toward the tail base. Keep the oval stretched horizontally so the fish looks streamlined rather than round. At the front, extend a long pointed bill from the snout. The bill should be straight or very slightly curved, and it should look like a continuation of the head rather than a separate spike stuck on.
Check the balance before adding fins. The bill is long, but the body should still be the dominant shape. If the bill looks too short, the fish will read as a different species; if it looks too thick, it will lose the pointed character. Lightly sketch the center line of the body so the bill, eye, and tail can line up along the same horizontal axis.
Place the tall dorsal fin on top of the body. It should rise as a pointed triangle, with its front edge beginning above the middle of the back. The tail sits at the rear and is forked, meaning it has two pointed lobes with a notch between them. Keep the fork visible; a rounded tail changes the silhouette.
On the side, add the pectoral fin as a narrow pointed shape angled back toward the tail. Near the tail base, place a small anal fin on the lower edge. These smaller fins help the drawing look complete, but they should not compete with the dorsal fin or tail for attention. Compare the spacing: the dorsal fin, pectoral fin, and tail should sit at clearly different points along the body.
Once the silhouette is in place, outline the eye just behind the base of the bill and add a short mouth line where the bill meets the head. Keep these details small; the marlin's identity comes mainly from the bill, dorsal fin, and tail.
Inside the dorsal fin and tail, draw thin lines that follow the fin's direction. These fin-ray lines should fan outward rather than cross each other. Space them evenly and stop them before the fin edge so the outline stays clean. Use the same approach on the pectoral fin if you want more detail, but keep the lines lighter than the body outline.
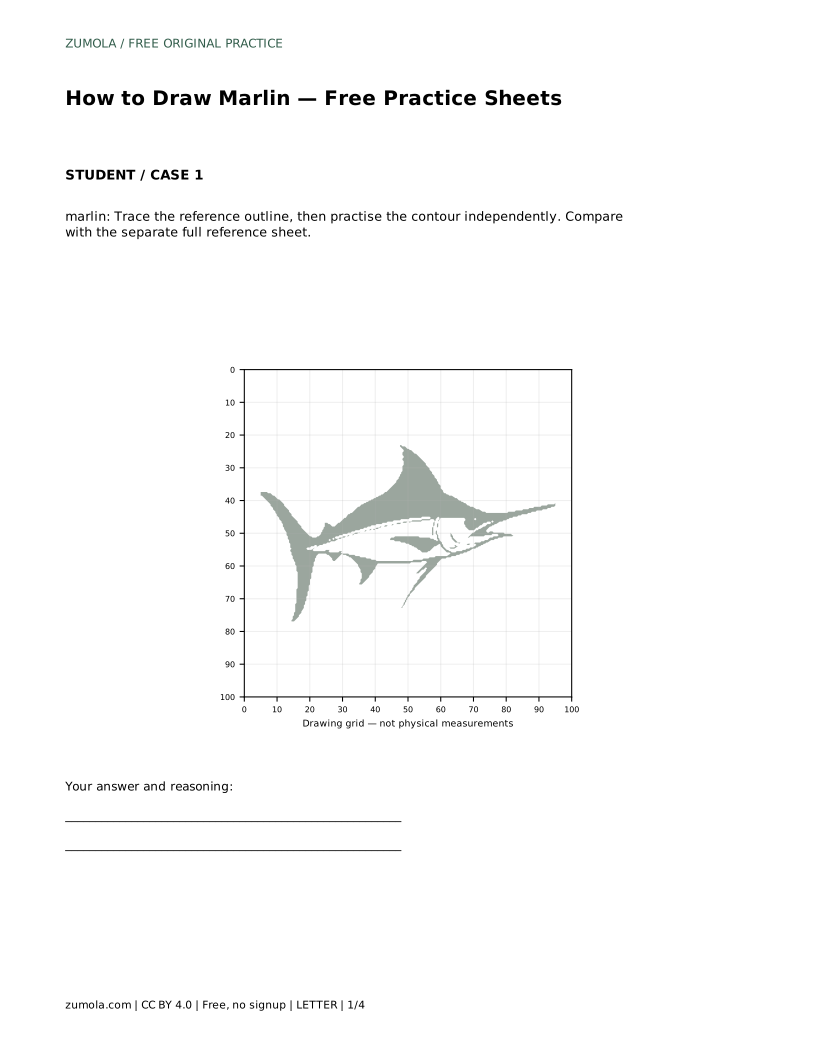
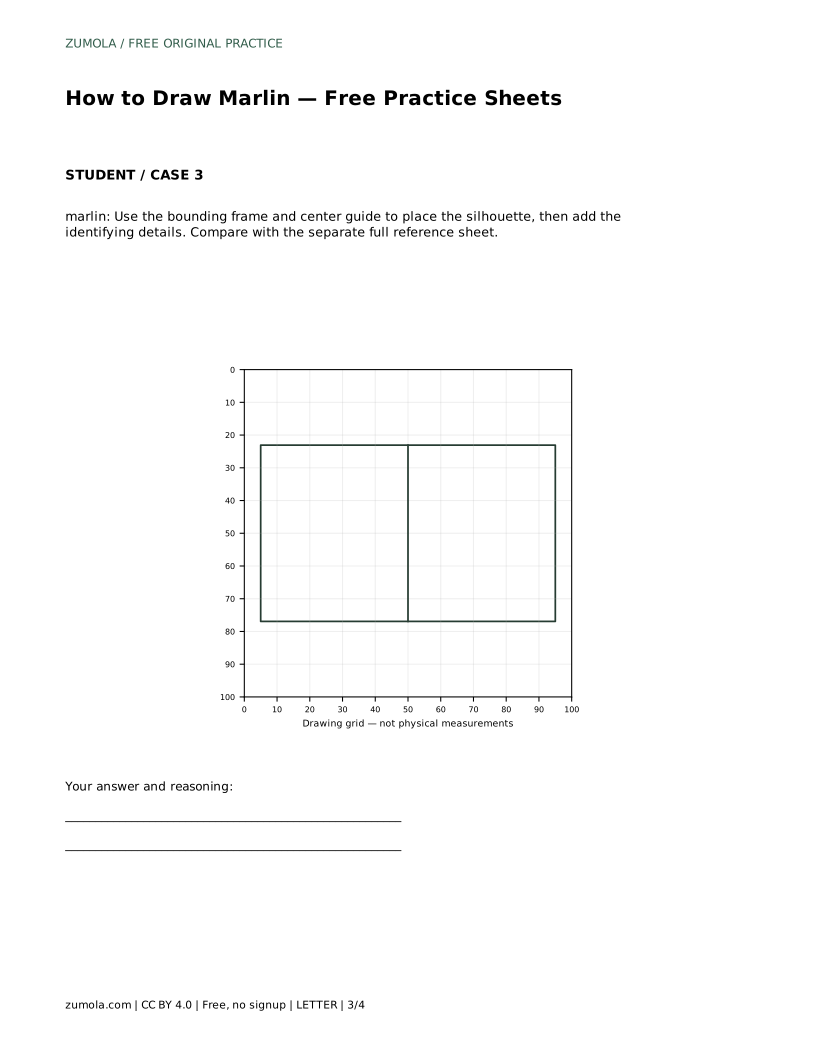
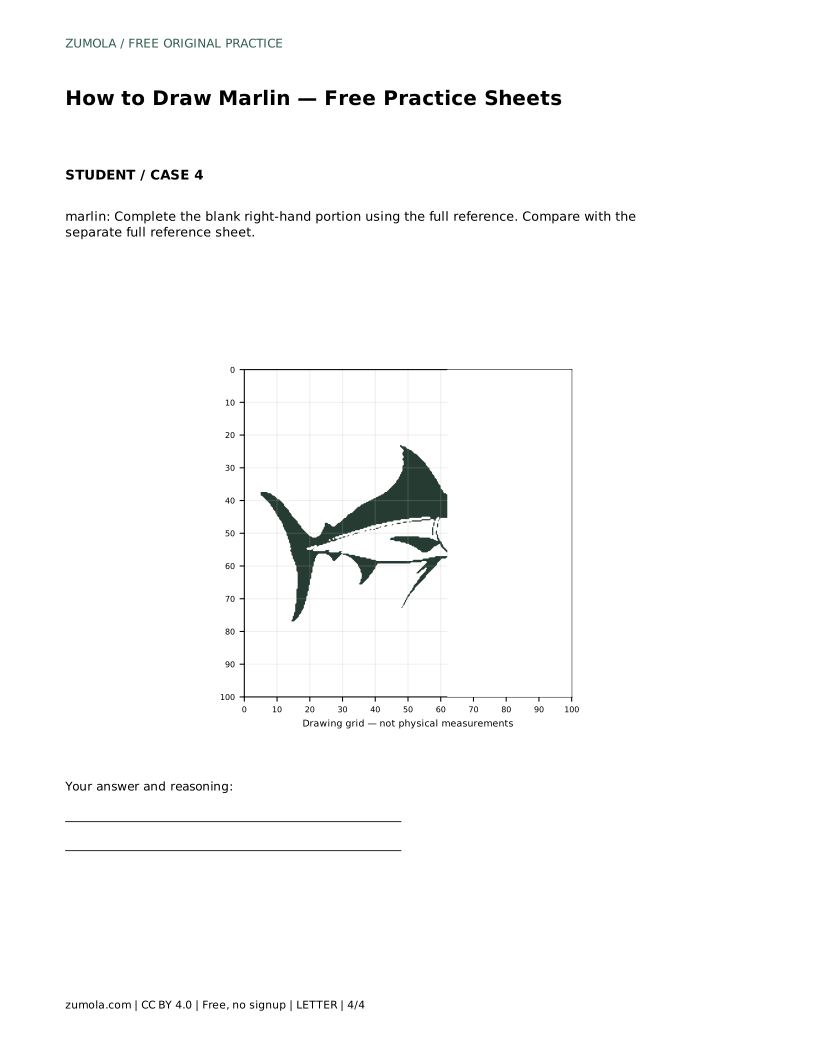
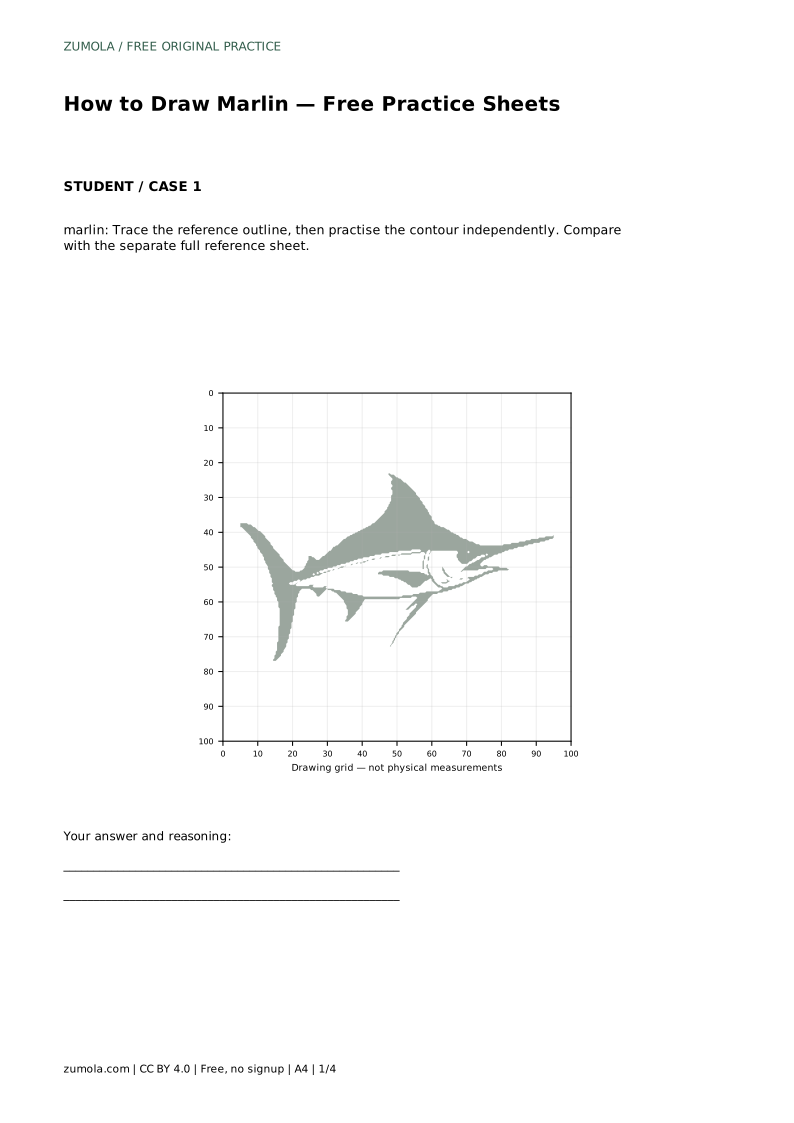
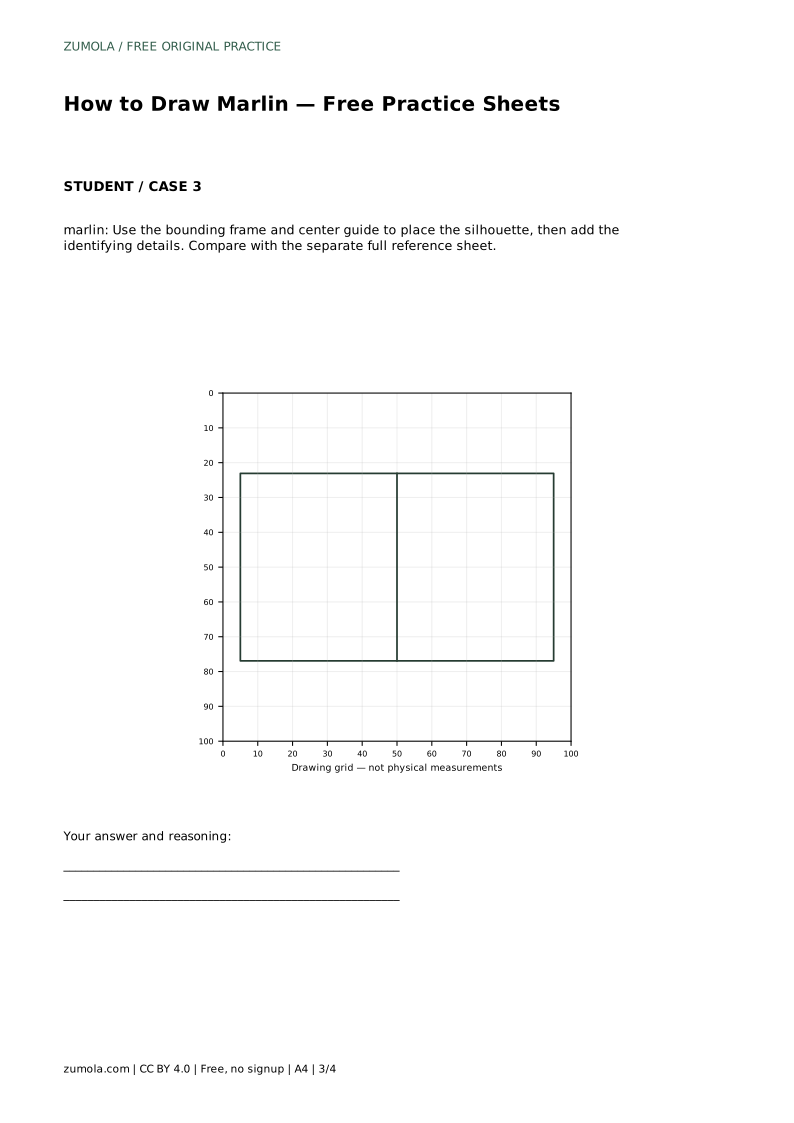
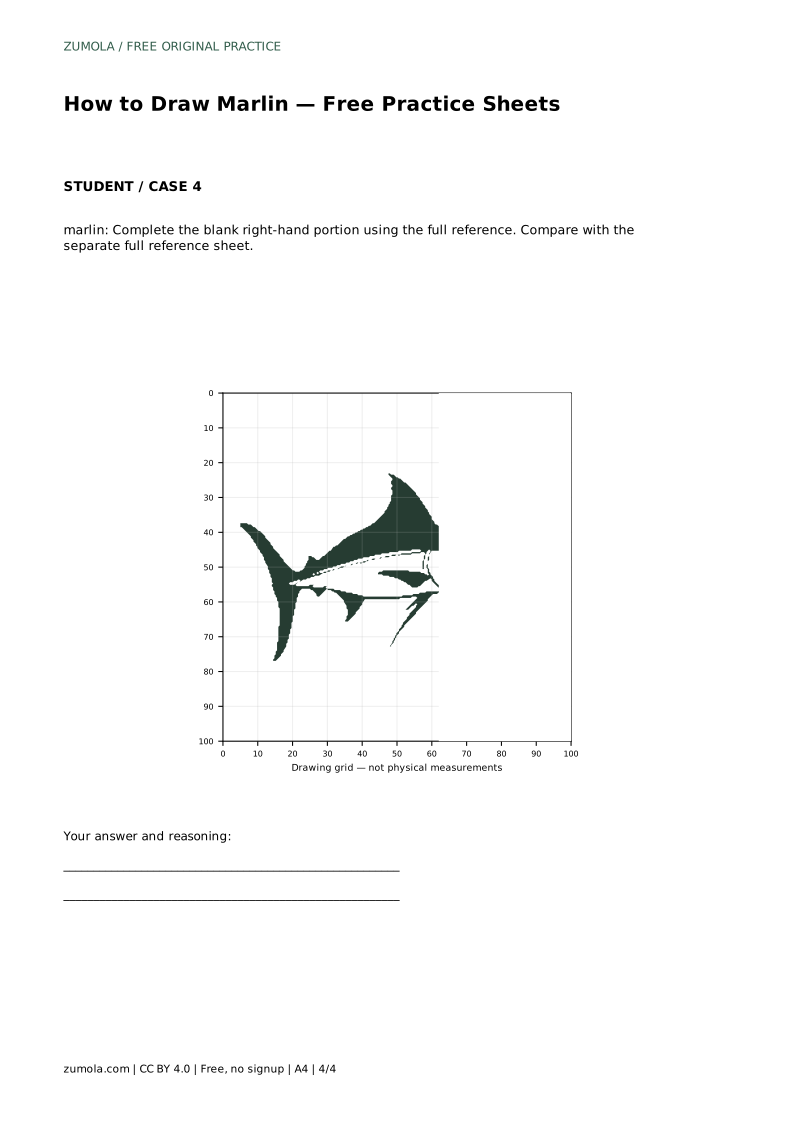
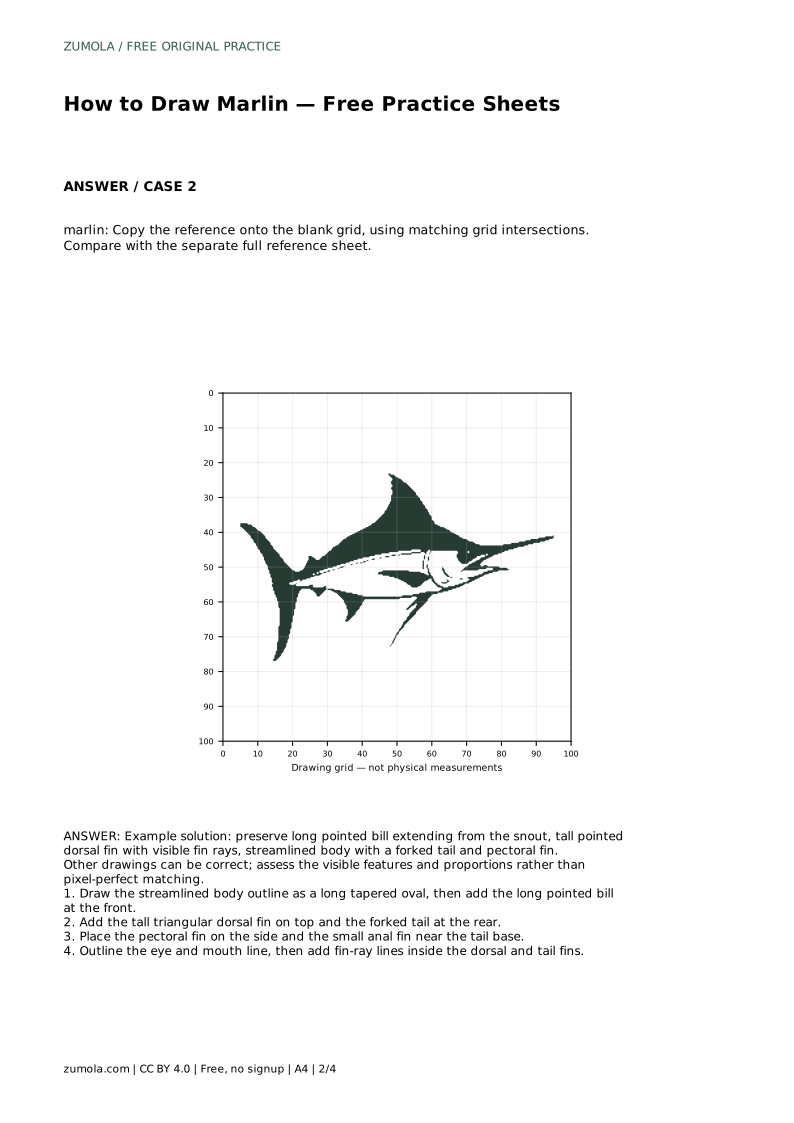
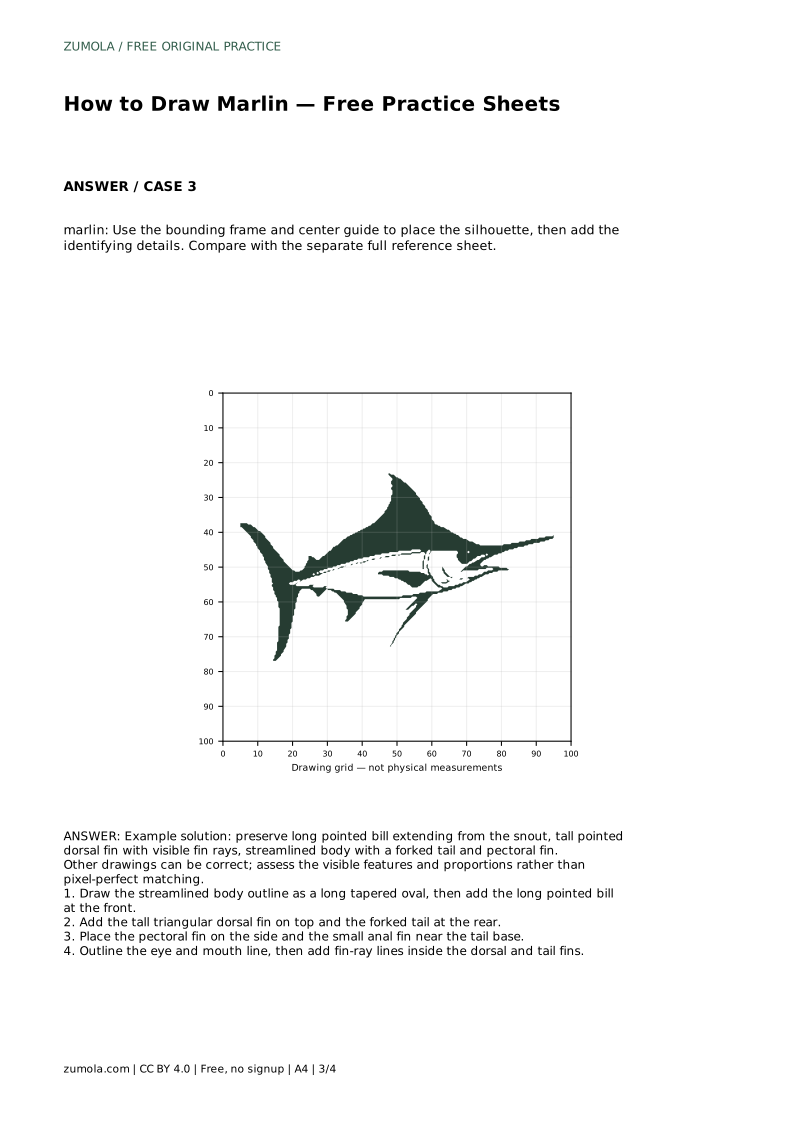
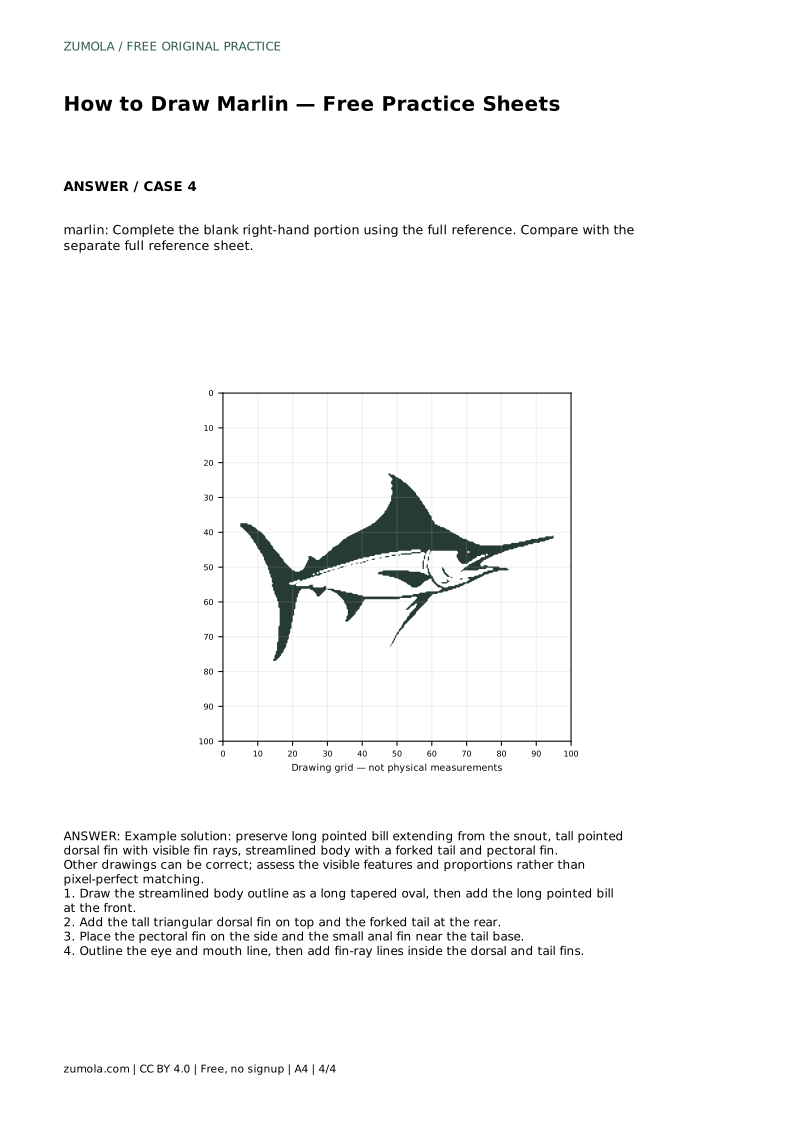
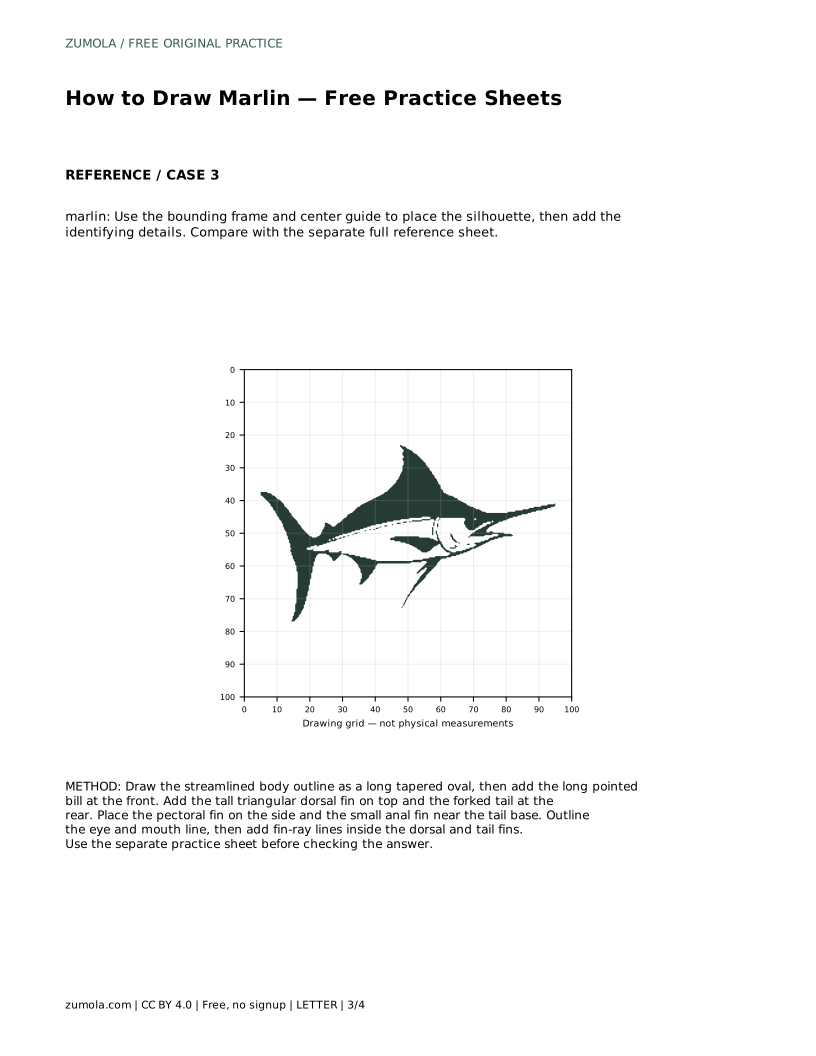
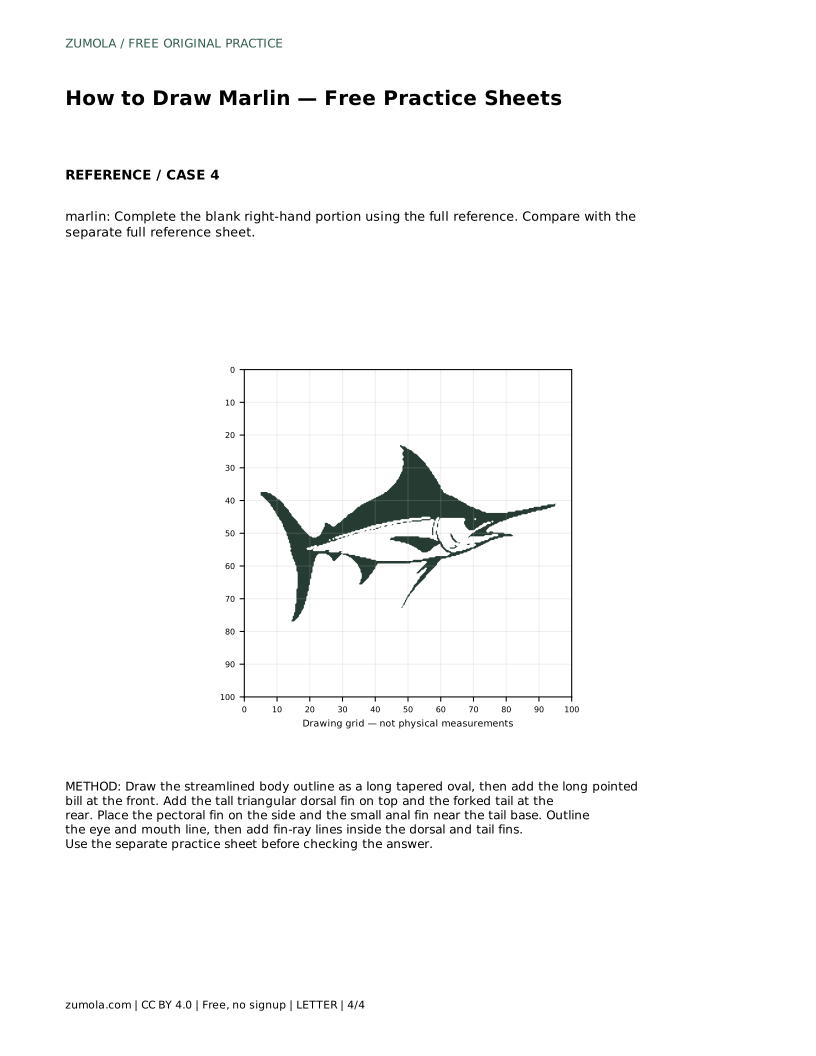
The tracing sheet asks you to follow the reference outline first, then draw the contour independently and compare with the full reference sheet. The grid sheet asks you to copy the reference onto blank squares, matching grid intersections so proportions stay consistent. The bounding-frame sheet uses a frame and center guide to place the silhouette before details. The partial sheet gives you the left portion and asks you to complete the right side from the full reference.
In every format, judge the result by visible features and proportions, not by pixel-perfect matching. Different line weights, fin angles, and small spacing choices can all be correct. Use the rubric below to check whether the marlin's key features are present and clearly readable.
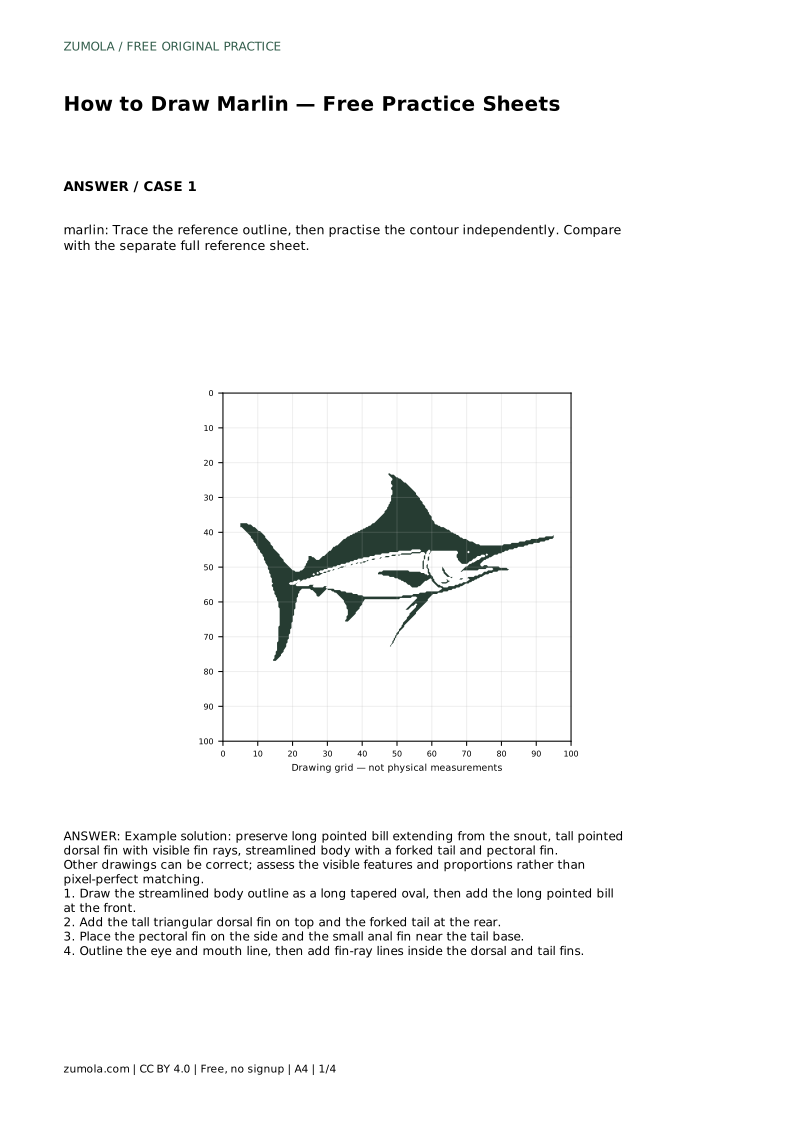
marlin: Trace the reference outline, then practise the contour independently. Compare with the separate full reference sheet.
Example solution: preserve long pointed bill extending from the snout, tall pointed dorsal fin with visible fin rays, streamlined body with a forked tail and pectoral fin. Other drawings can be correct; assess the visible features and proportions rather than pixel-perfect matching. Draw the streamlined body outline as a long tapered oval, then add the long pointed bill at the front. Add the tall triangular dorsal fin on top and the forked tail at the rear. Place the pectoral fin on the side and the small anal fin near the tail base. Outline the eye and mouth line, then add fin-ray lines inside the dorsal and tail fins.
No. The reference may face one direction, but a mirrored drawing can still be correct if the bill, dorsal fin, forked tail, and side fins are placed properly.
Tall enough to be a clear pointed triangle above the back. It should be noticeable but not taller than the body is deep.
Yes. The grid method works on its own by matching features to grid intersections, though tracing first can help you learn the outline.
All drawing practice · Free coordinate paper
Original resources · CC BY 4.0 · Free for personal and classroom use with attribution.