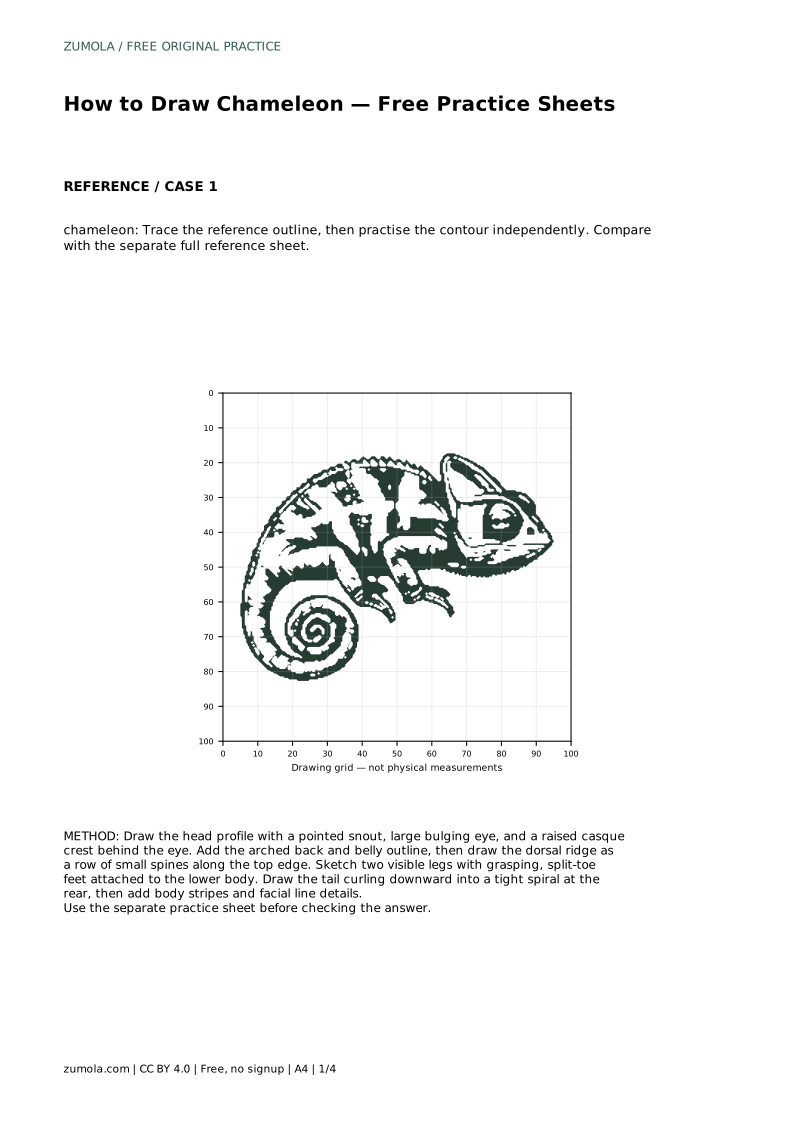
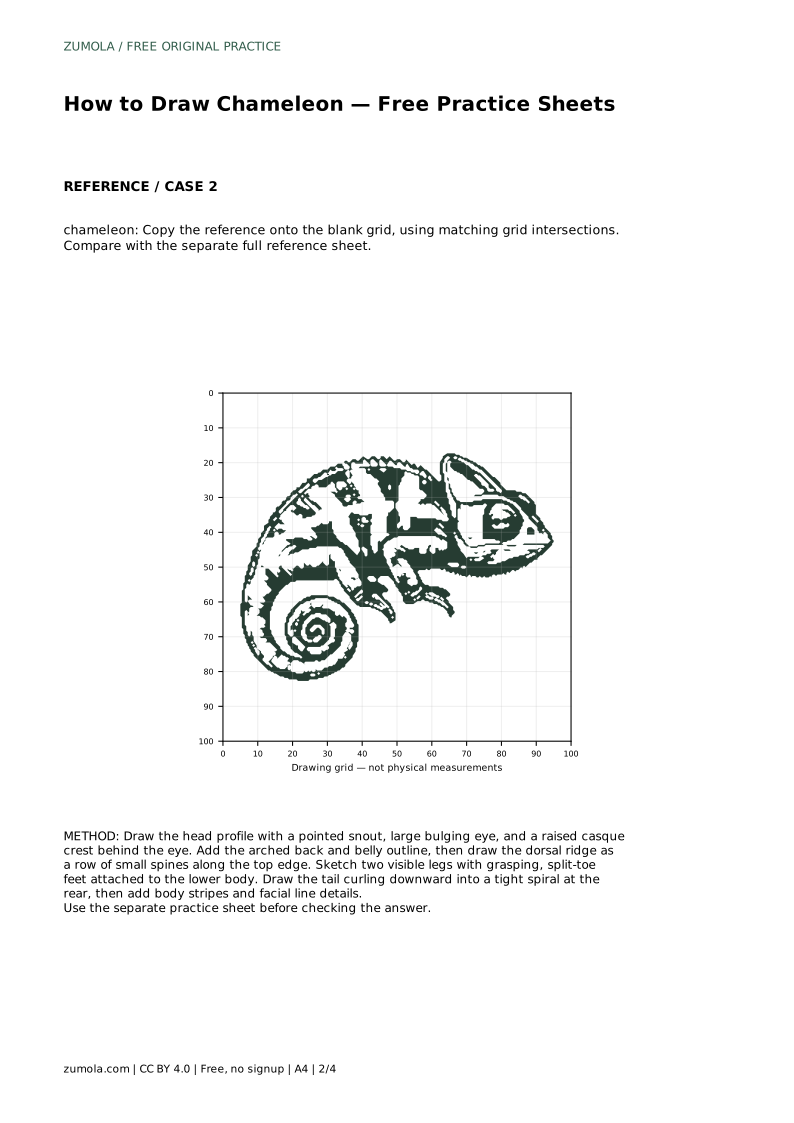
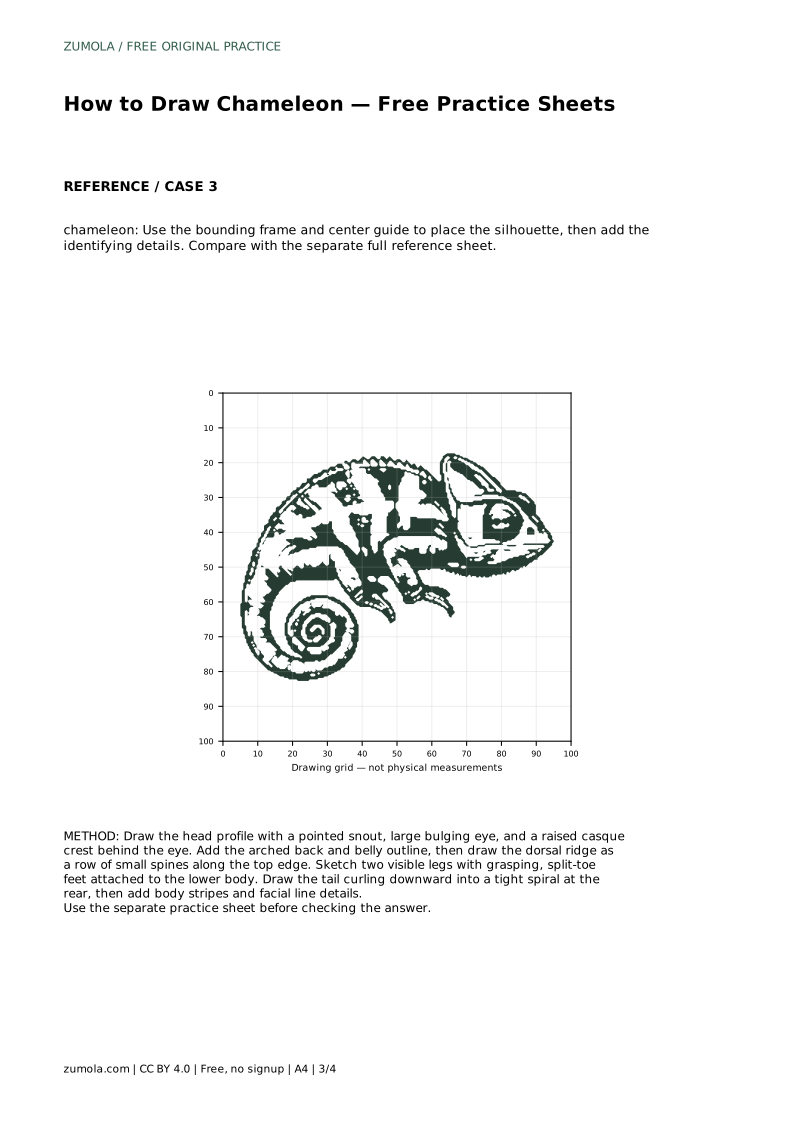
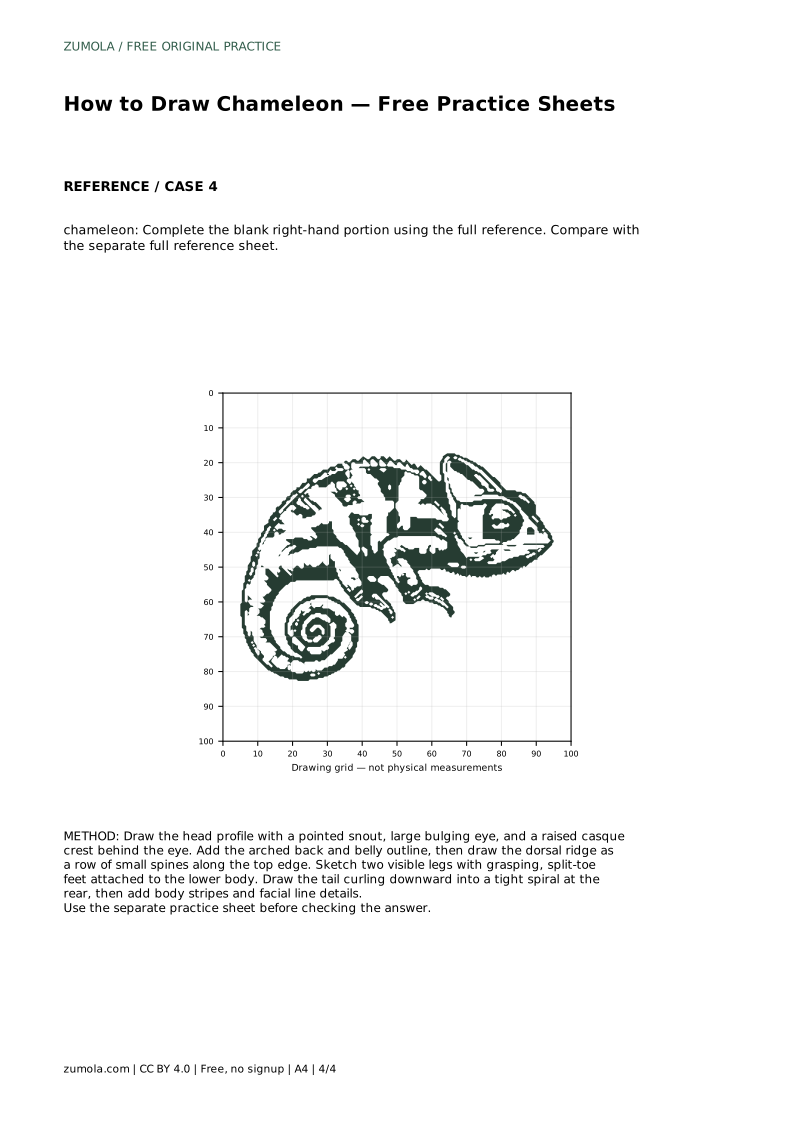
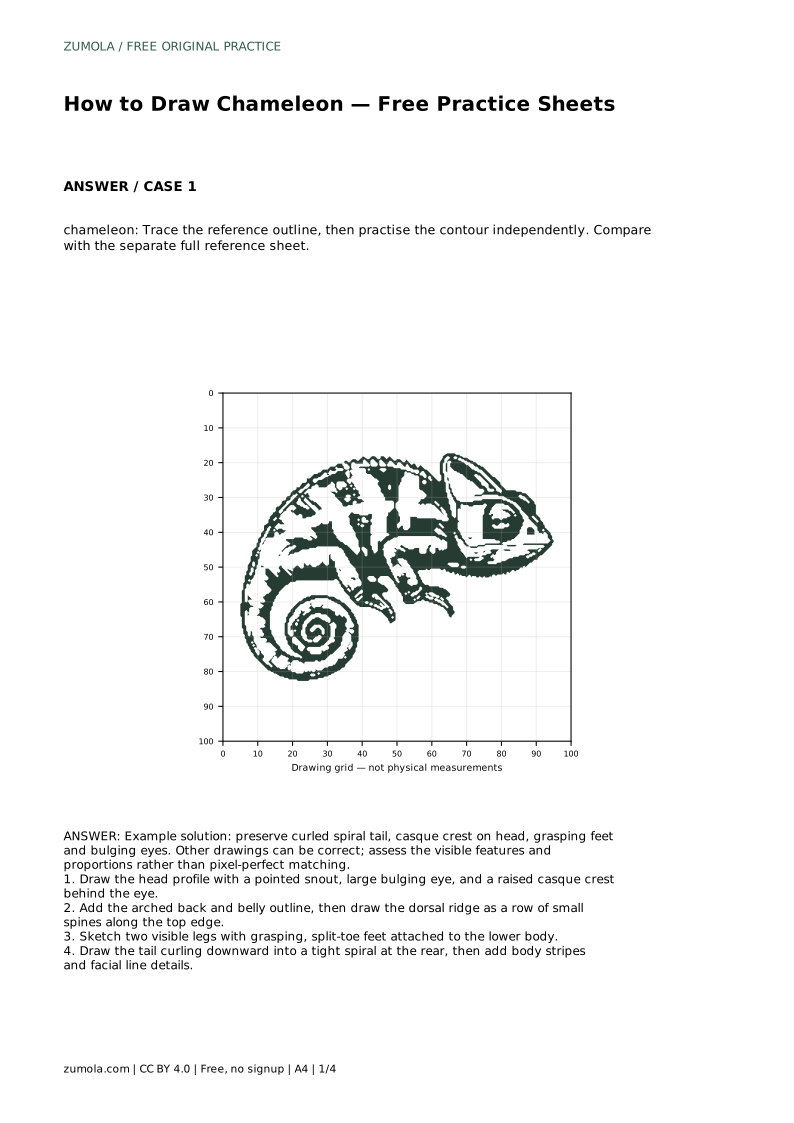
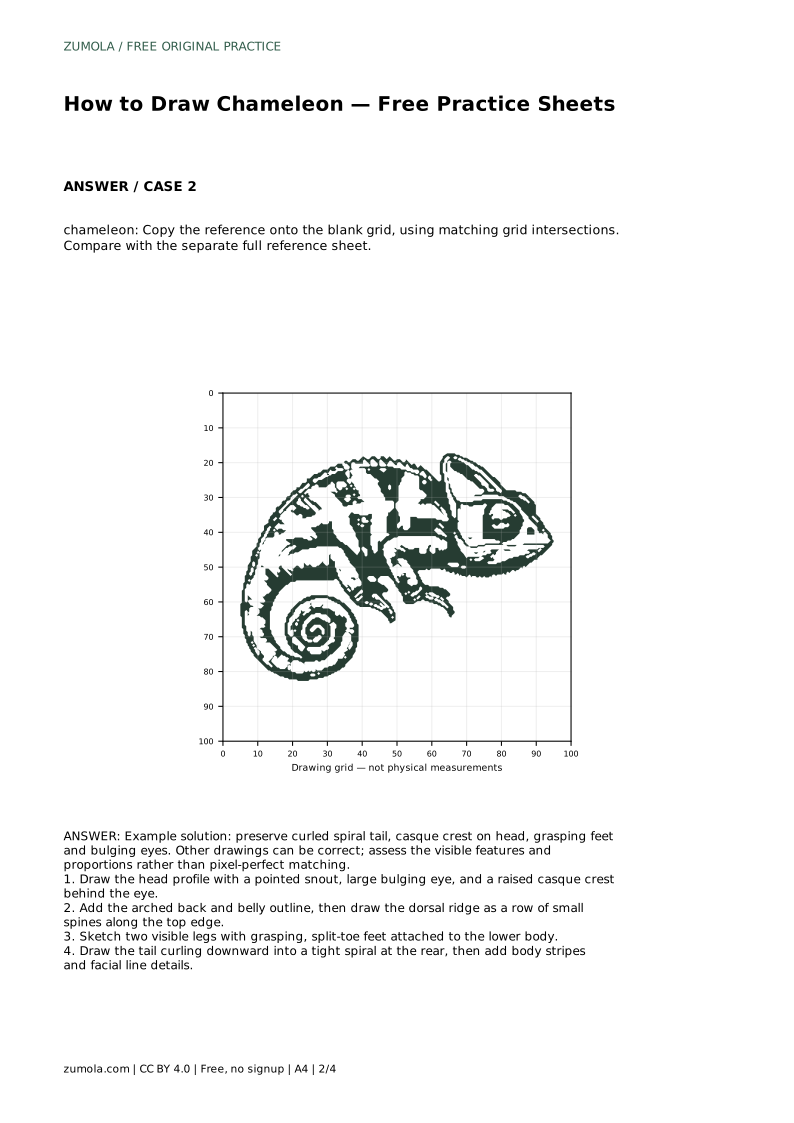
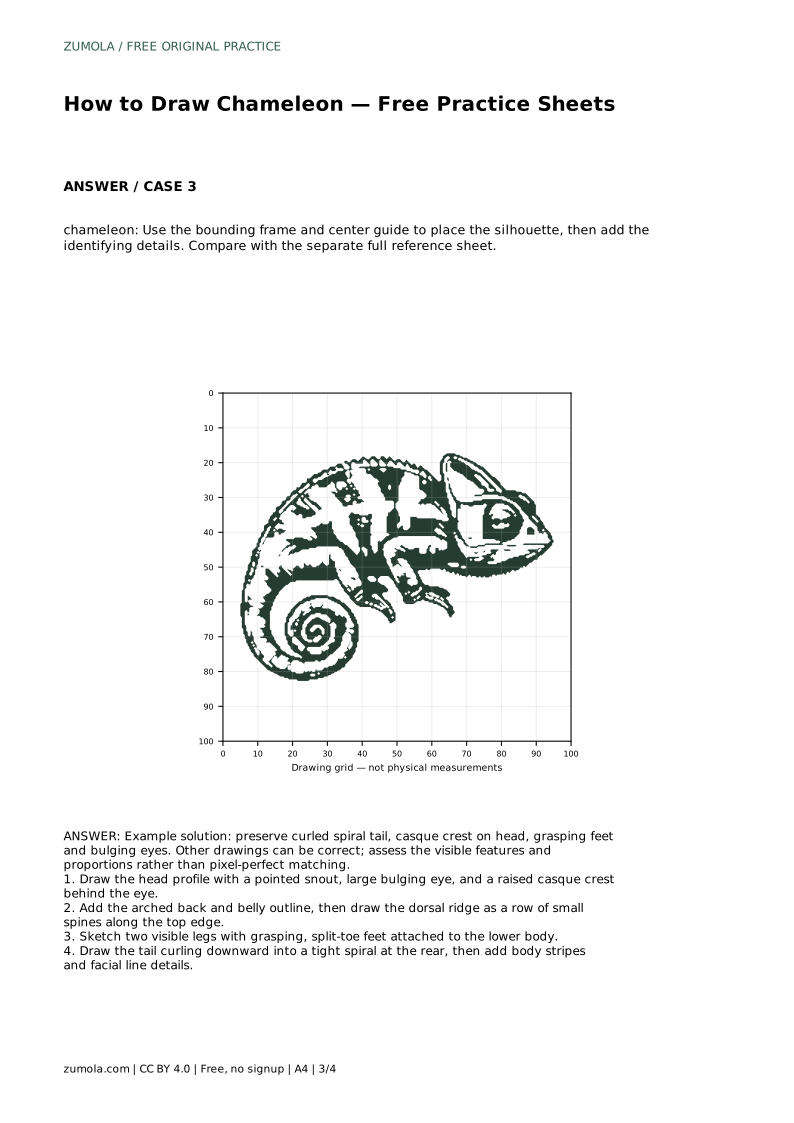
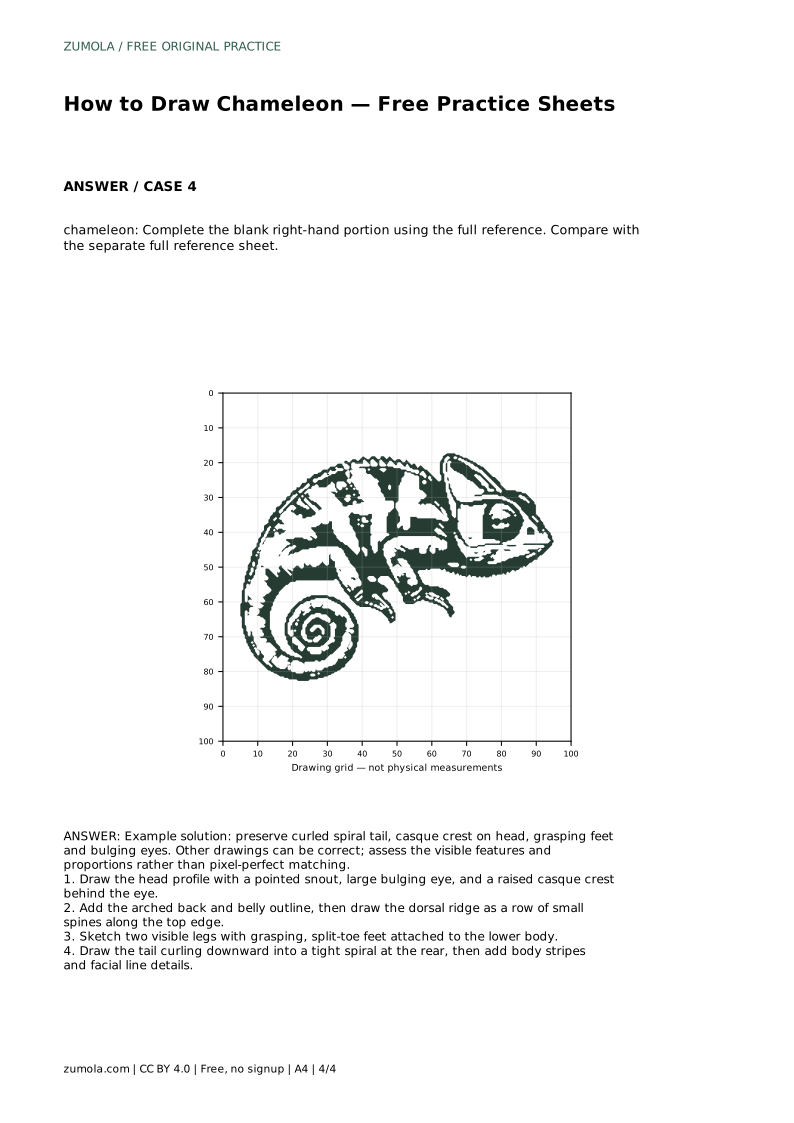
Reference diagrams
LETTER · Download PDF
A4 · Download PDF
Free original resources
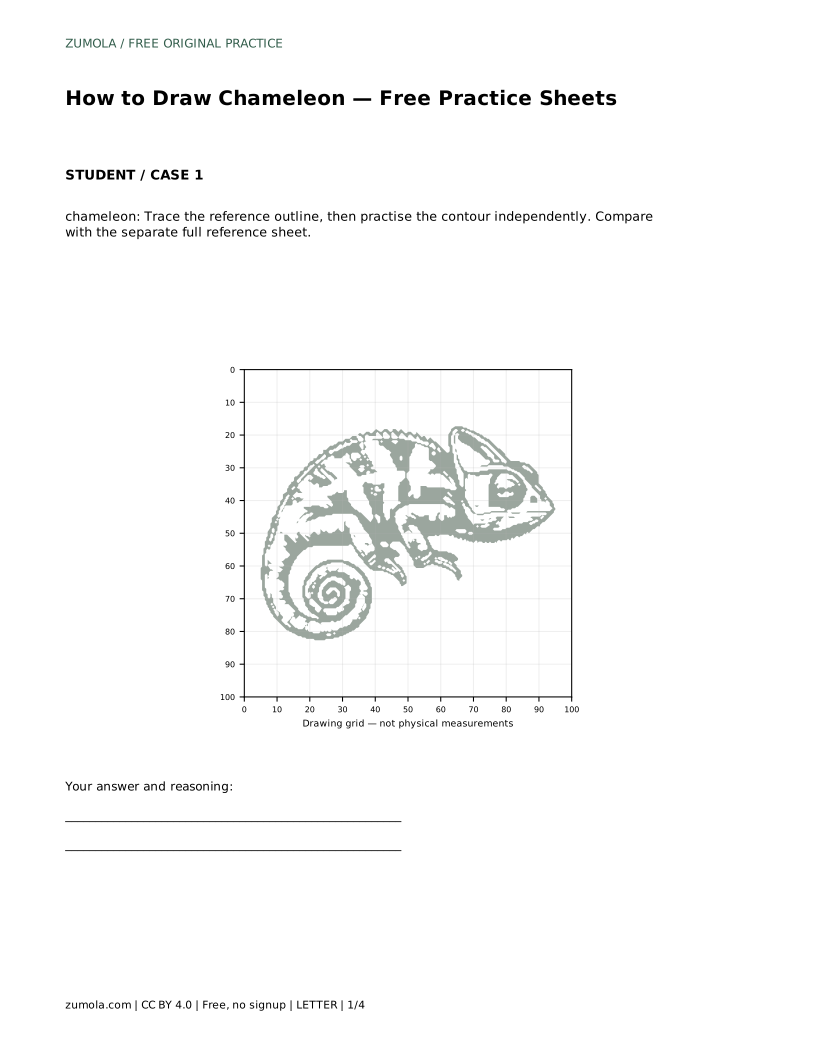
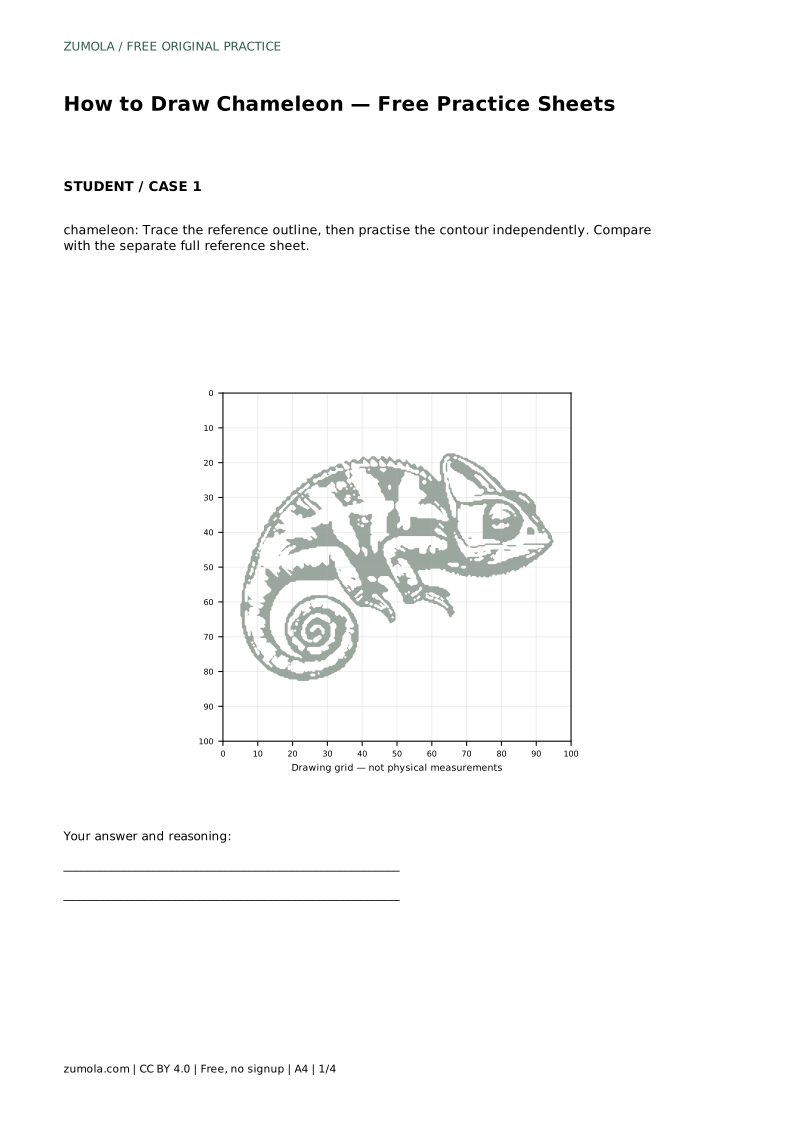
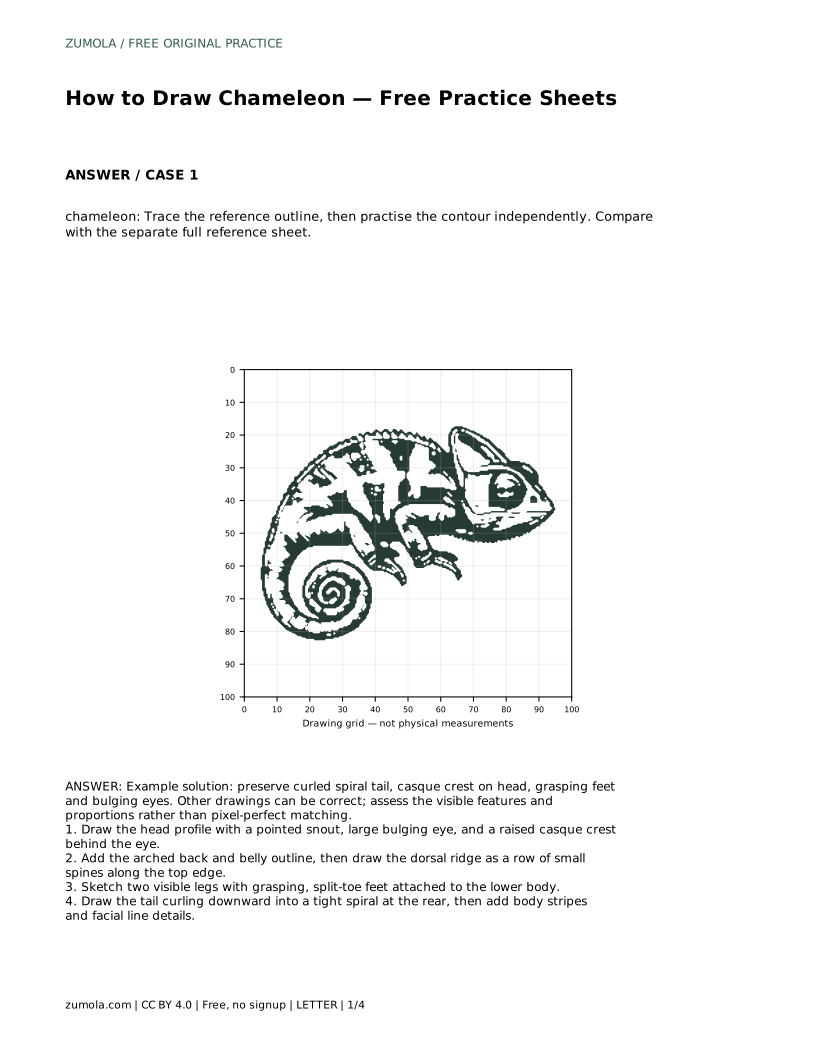
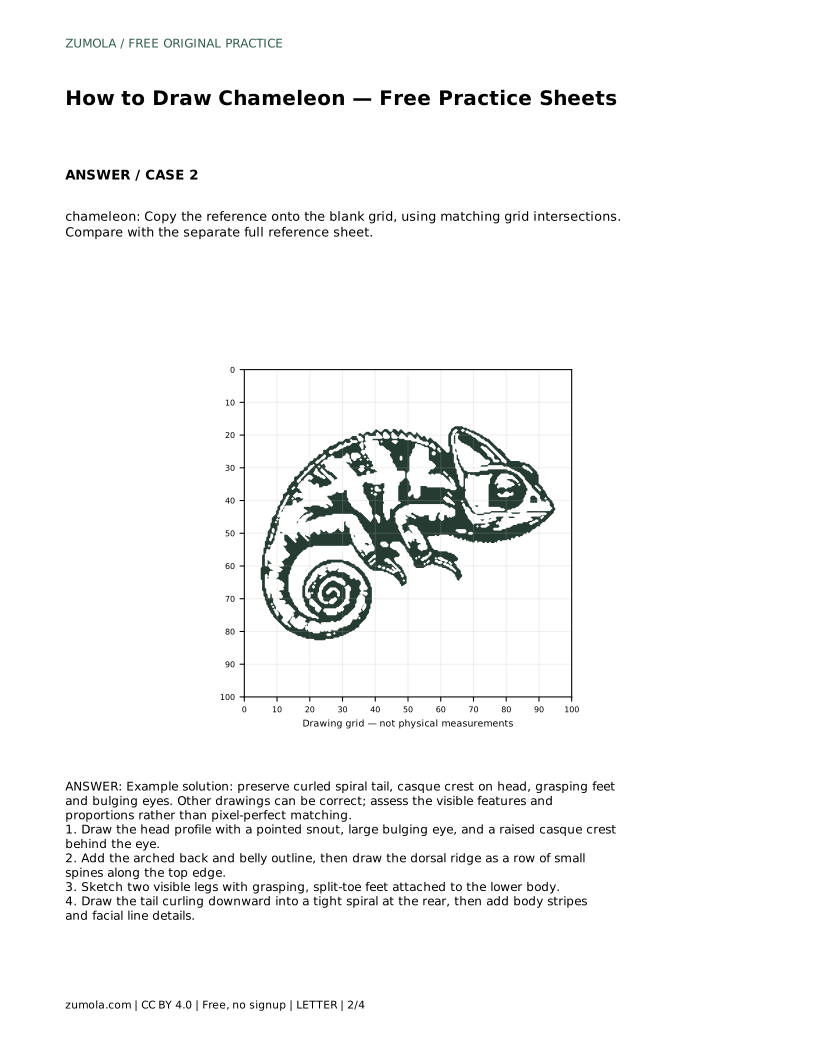
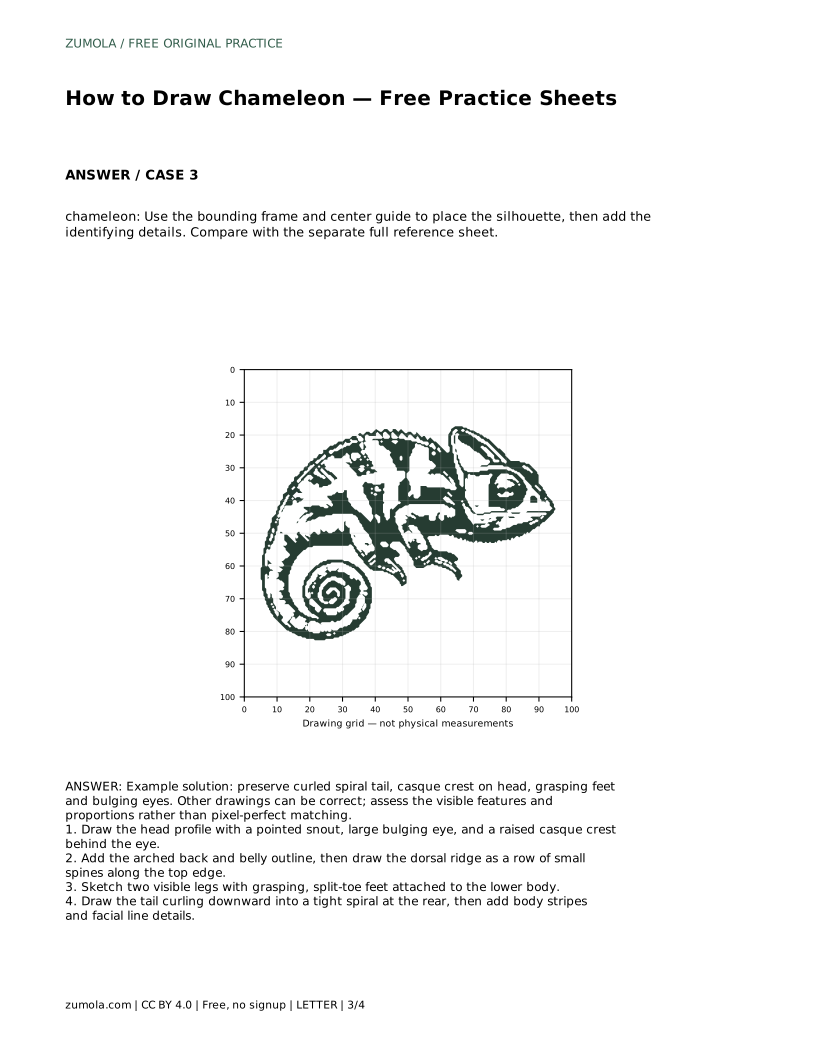
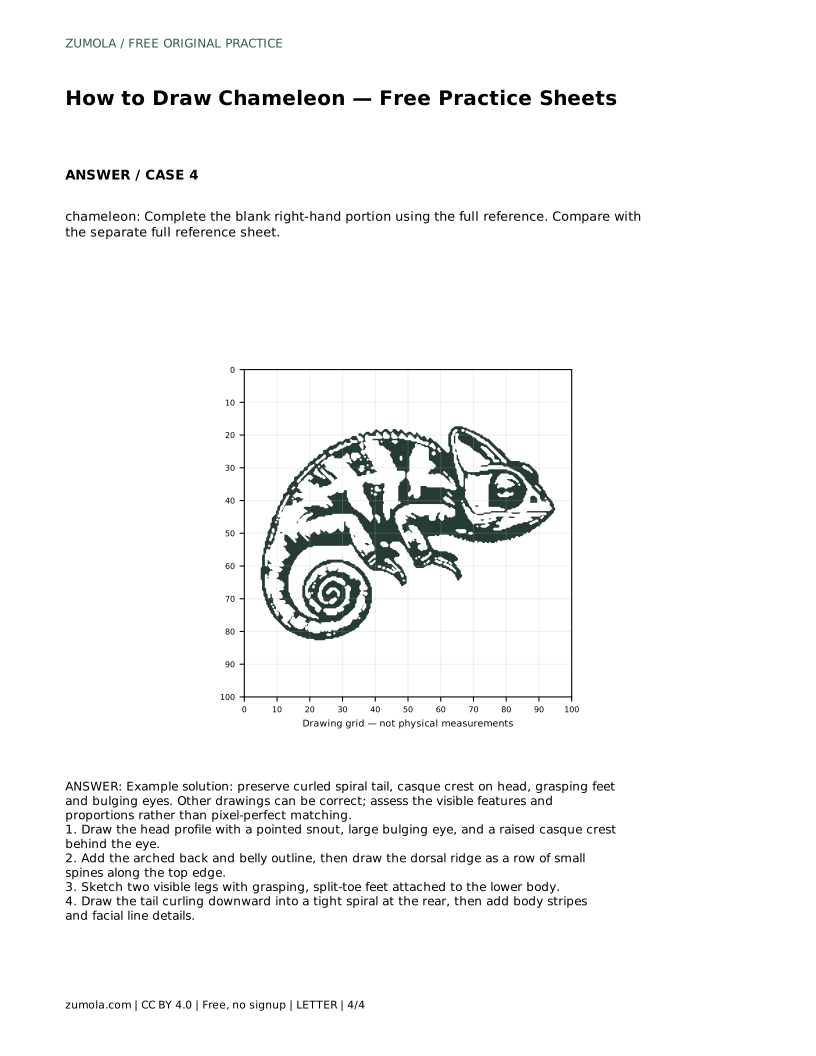
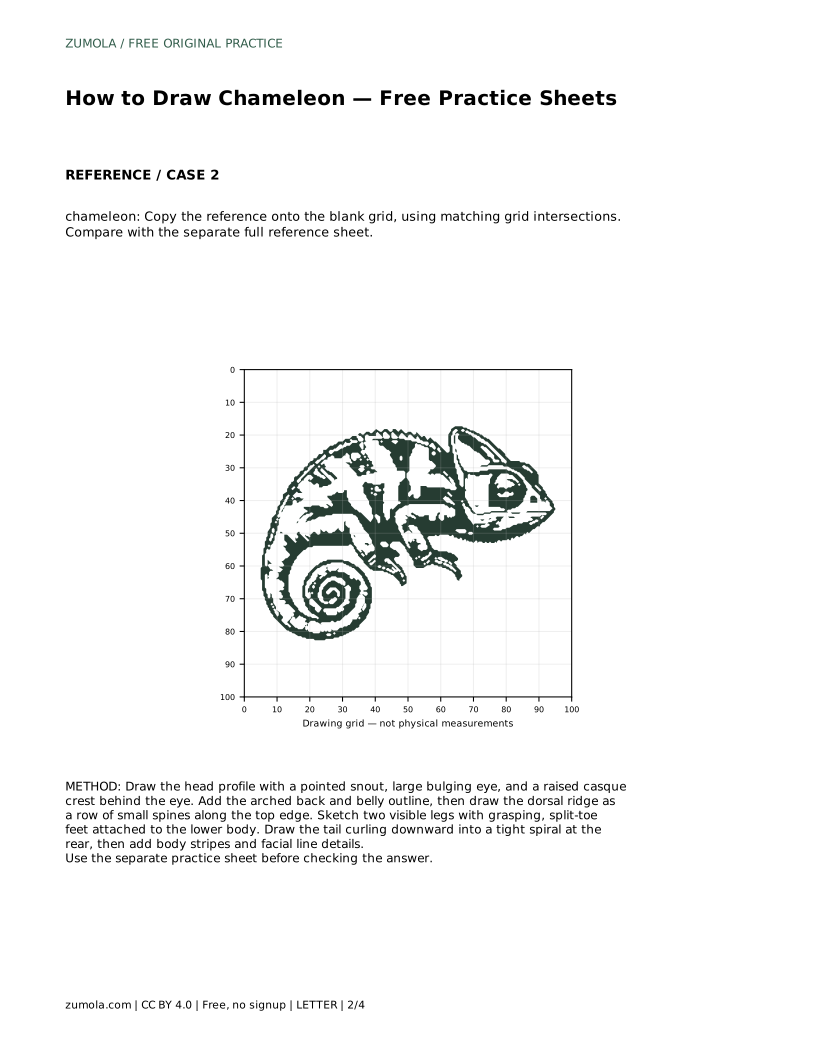
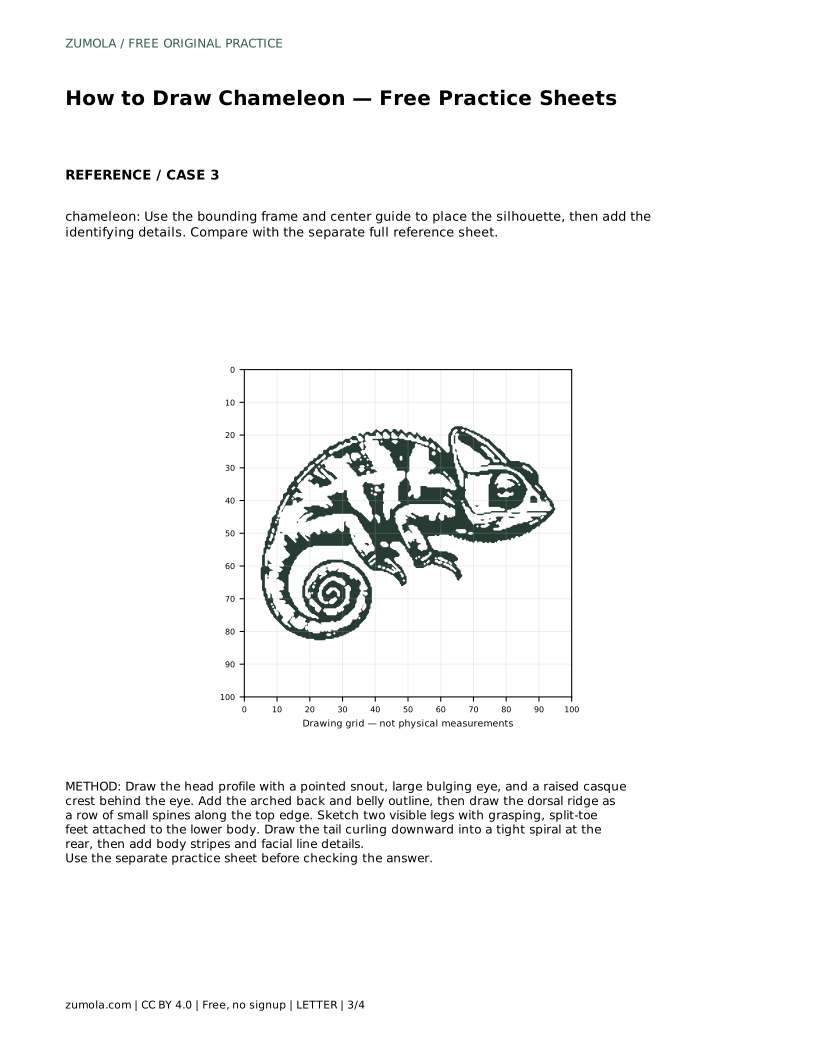
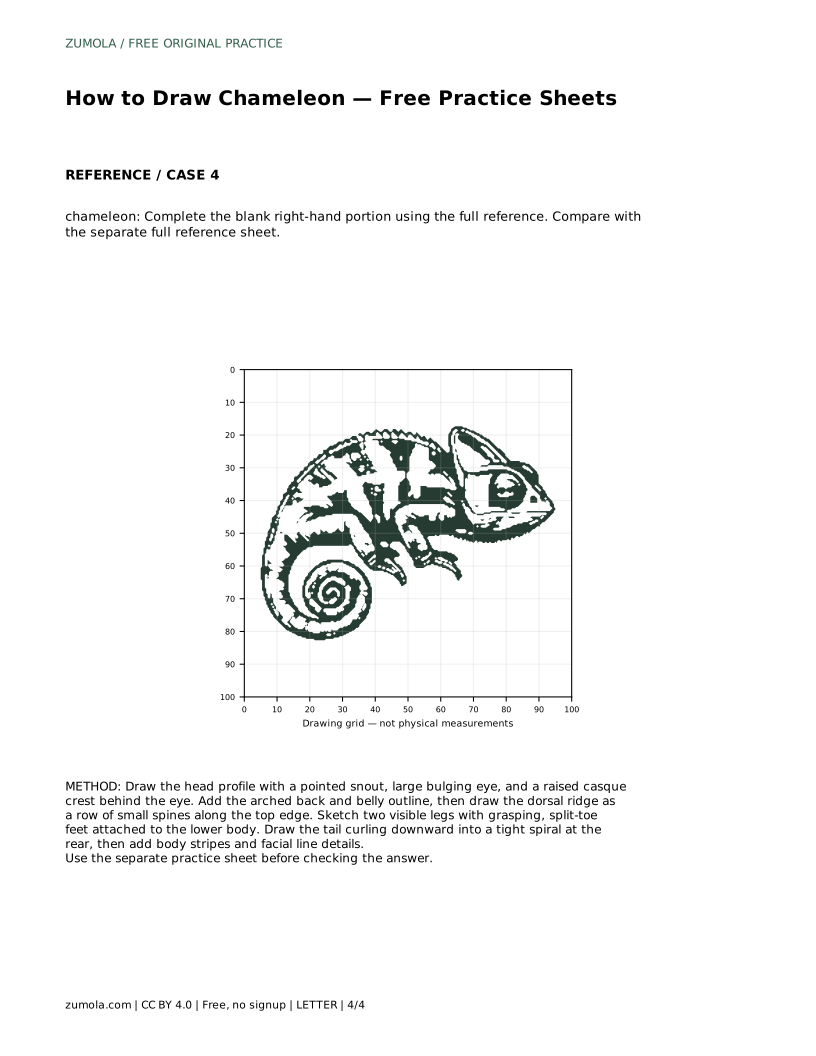
Learn to draw a chameleon by tracing its outline, then working independently. Focus on the curled tail, casque crest, bulging eye and grasping feet.
Four original cases, with reference diagrams, practice sheets and worked answers. Everything is free; no signup required.
LETTER · Download PDF
A4 · Download PDF
LETTER · Download PDF
A4 · Download PDF
LETTER · Download PDF
A4 · Download PDF
Use A4 or US Letter to match your printer. Use the stated values and conditions to solve each exercise; diagrams are not physical measuring rulers.
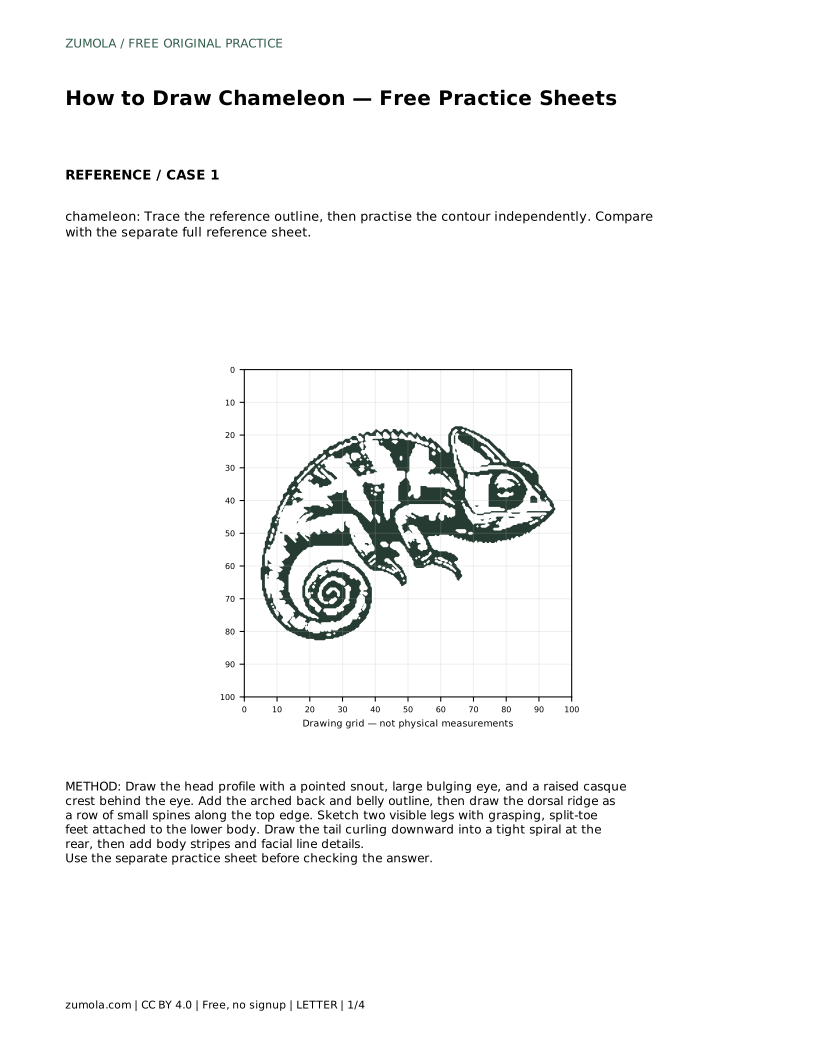
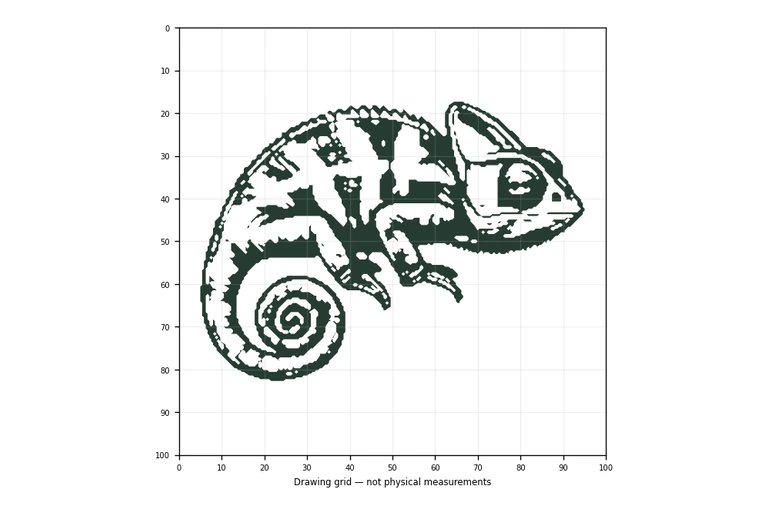
Drawing a chameleon is easier when you know which features make it recognizable. This page walks you through a tracing exercise: first follow the reference outline, then practise the same contour on your own. The goal is not a pixel-perfect copy but a clear chameleon silhouette with the right proportions and identifying details. Keep your pencil light at first so you can adjust the shape before adding stripes and facial lines.
Begin at the head because it carries most of the chameleon's identity. Draw a profile with a pointed snout, then place one large bulging eye on the side of the head. Behind the eye, add a raised casque crest, the helmet-like ridge that gives many chameleons their distinctive profile. Keep the eye as a circle with a smaller inner circle for the pupil, and let it sit proud of the head outline rather than flush with it.
Work lightly here. If the snout is too blunt or the crest too low, the drawing will read as a lizard rather than a chameleon. Compare your head shape with the reference before moving on.
From the back of the head, draw an arched back line and a lower belly line that meet toward the rear. Along the top edge, add the dorsal ridge as a row of small spines; keep them short and evenly spaced so the back stays readable. Then sketch two visible legs attached to the lower body. Chameleon feet are adapted for grasping, so show split, clamp-like toes rather than flat paws.
Check that the legs sit under the body and that the belly line does not dip below them. Proportion matters more than detail at this stage.
At the rear, draw the tail curling downward into a tight spiral. The spiral is a strong identifying feature, so keep the curve smooth and the coils close together. Once the silhouette is complete, add body stripes and facial line details. Stripes should follow the curve of the body rather than run straight across it.
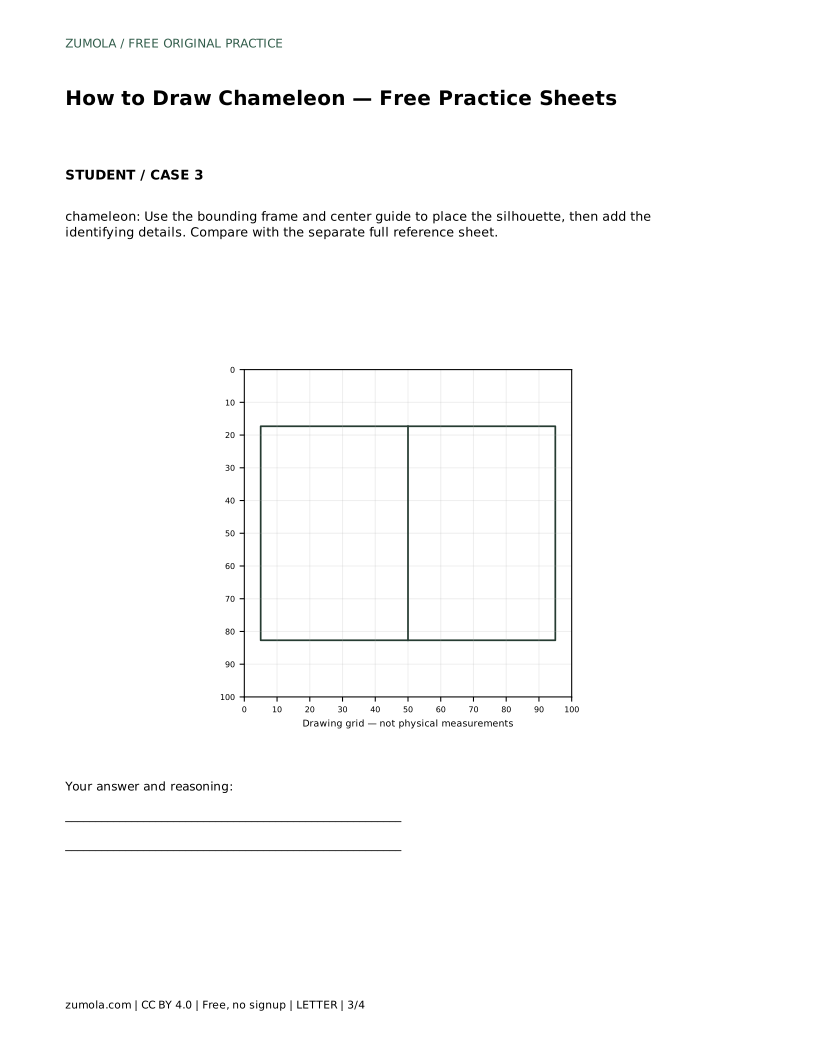
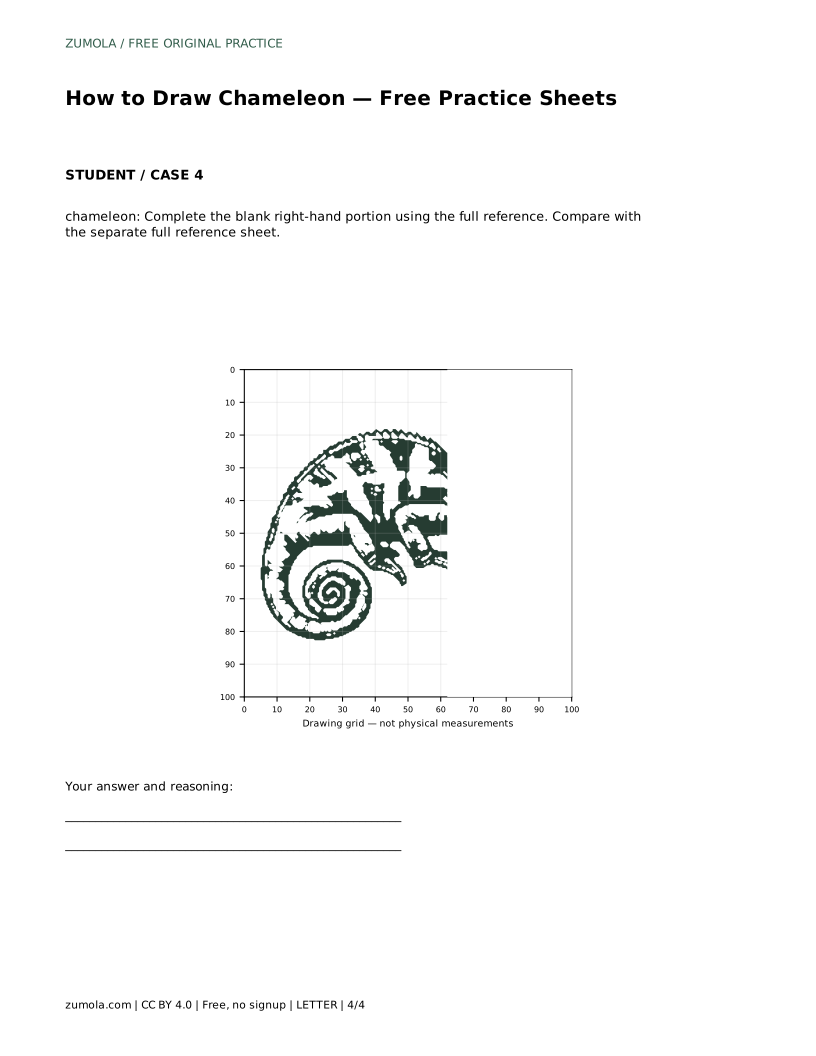
Finally, compare your drawing with the separate full reference sheet. Ask whether the curled spiral tail, casque crest, grasping feet and bulging eyes are all present and in sensible proportion. Other drawings can be correct; assess the visible features and proportions rather than pixel-perfect matching.
chameleon: Trace the reference outline, then practise the contour independently. Compare with the separate full reference sheet.
Example solution: preserve curled spiral tail, casque crest on head, grasping feet and bulging eyes. Other drawings can be correct; assess the visible features and proportions rather than pixel-perfect matching. Draw the head profile with a pointed snout, large bulging eye, and a raised casque crest behind the eye. Add the arched back and belly outline, then draw the dorsal ridge as a row of small spines along the top edge. Sketch two visible legs with grasping, split-toe feet attached to the lower body. Draw the tail curling downward into a tight spiral at the rear, then add body stripes and facial line details.
No. Preserve the curled spiral tail, casque crest, grasping feet and bulging eyes, then judge your drawing on visible features and proportions rather than pixel-perfect matching.
Trace the reference outline first to learn the contour, then practise the same shape independently on a blank area.
Head first, then body and ridge, then legs, then the spiral tail, and finally stripes and facial details.
All drawing practice · Free coordinate paper
Original resources · CC BY 4.0 · Free for personal and classroom use with attribution.