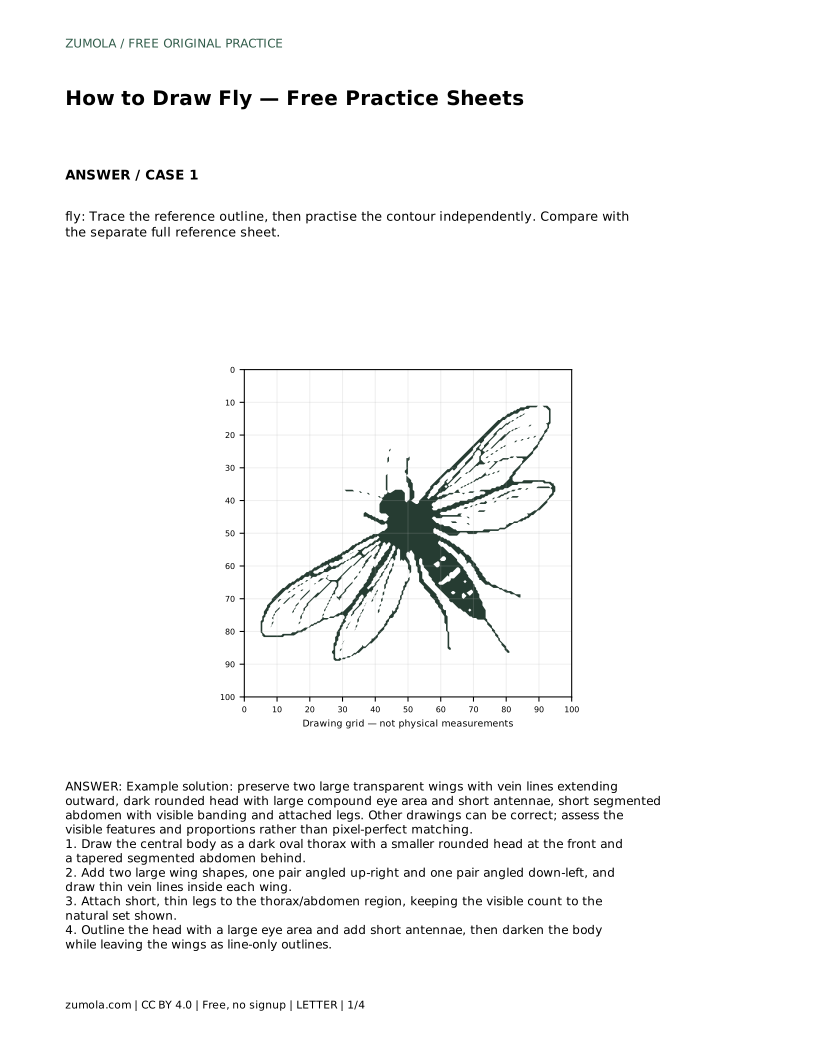
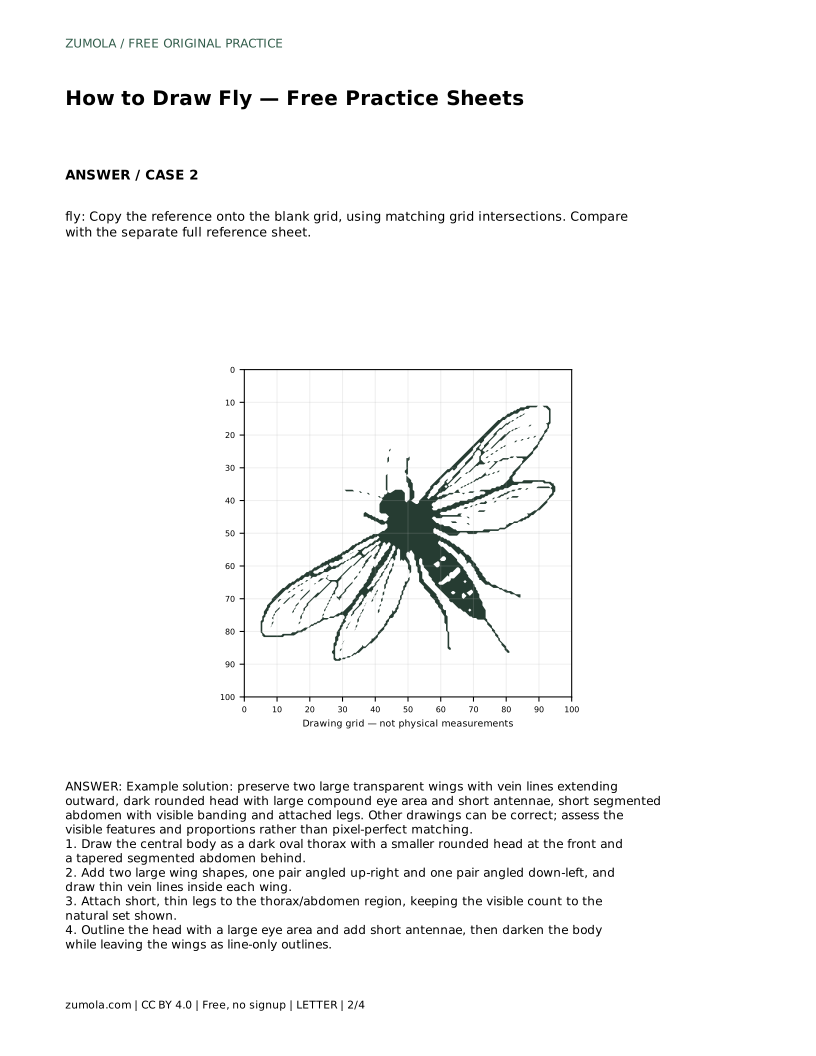
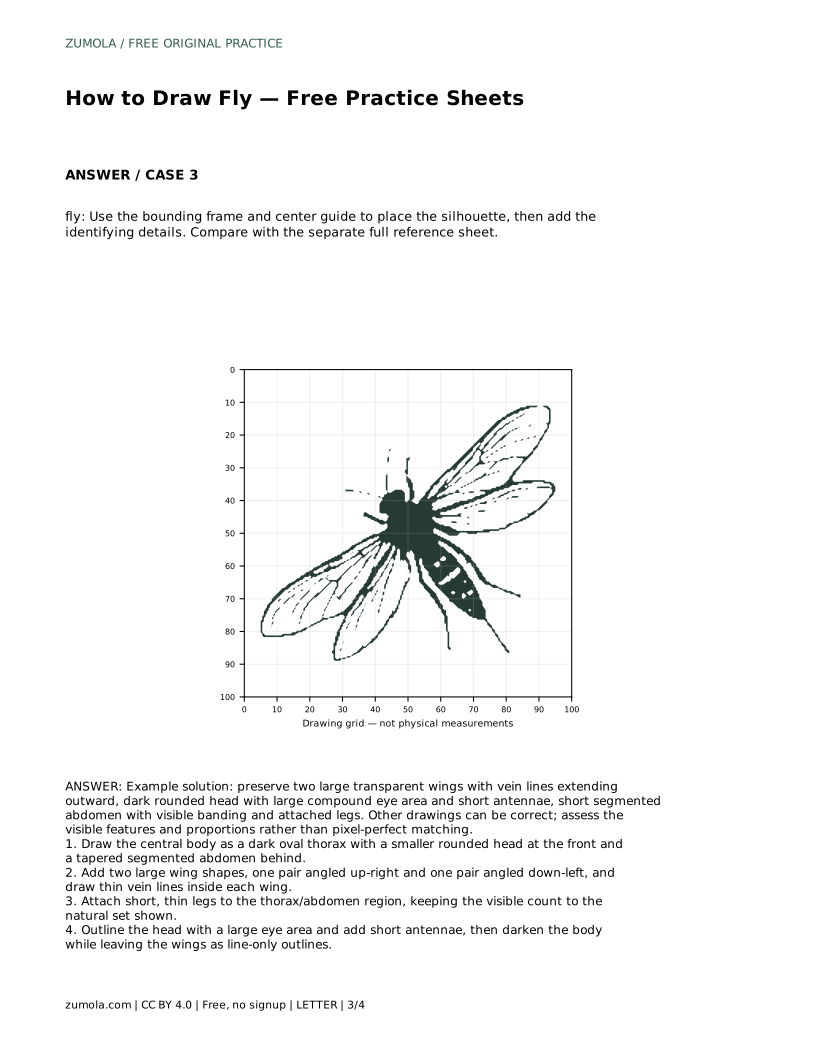
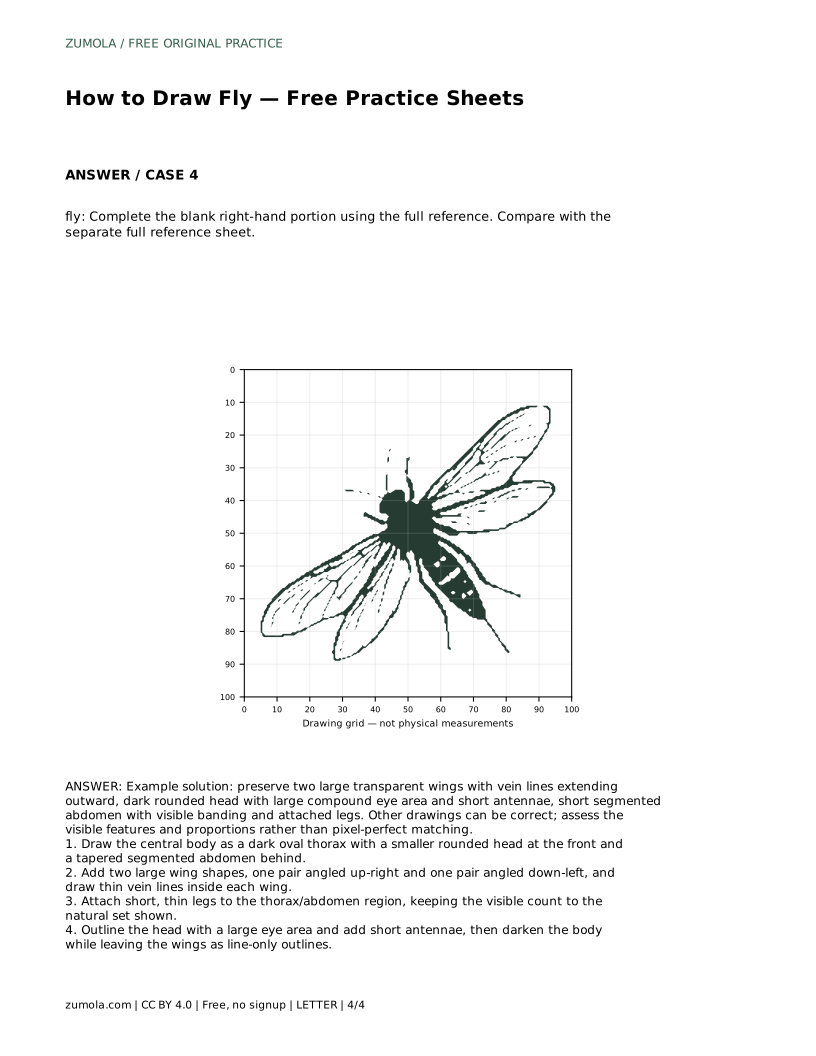
Reference diagrams
LETTER · Download PDF
A4 · Download PDF
Free original resources
Learn to draw a fly by building the body, wings, legs, and head in order. Use trace, grid, frame, and half-completion sheets to practise observation and proportion.
Four original cases, with reference diagrams, practice sheets and worked answers. Everything is free; no signup required.
LETTER · Download PDF
A4 · Download PDF
LETTER · Download PDF
A4 · Download PDF
LETTER · Download PDF
A4 · Download PDF
Use A4 or US Letter to match your printer. Use the stated values and conditions to solve each exercise; diagrams are not physical measuring rulers.
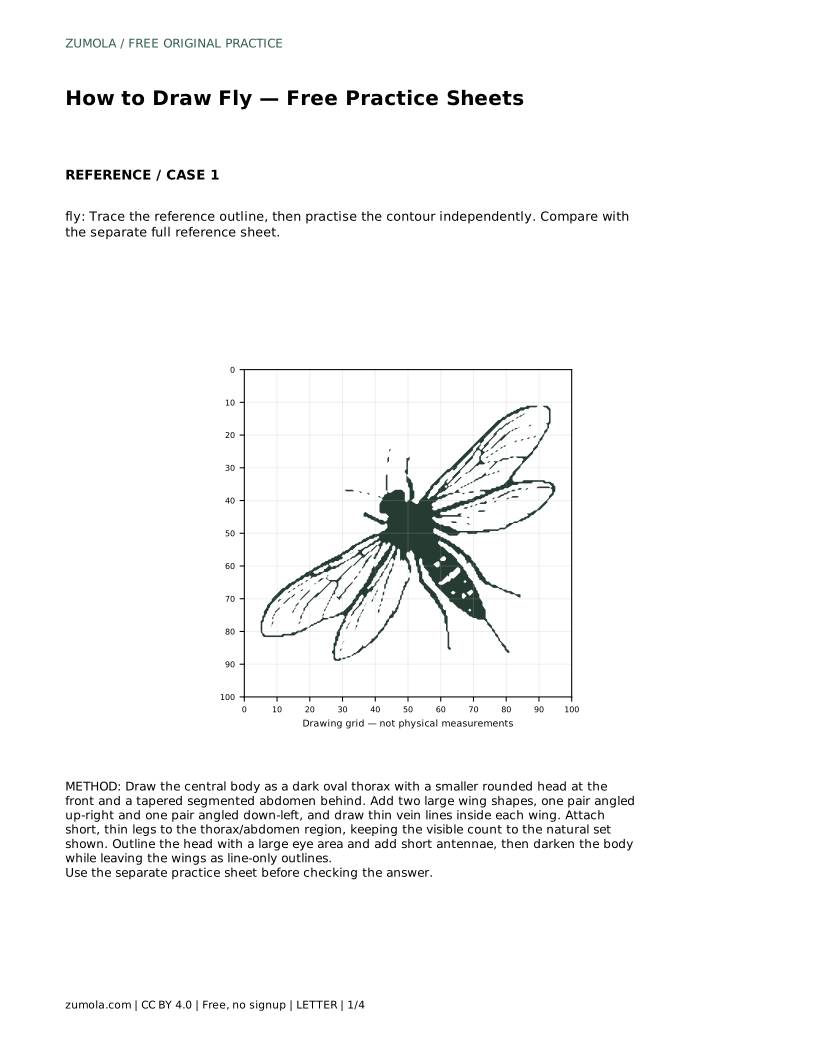
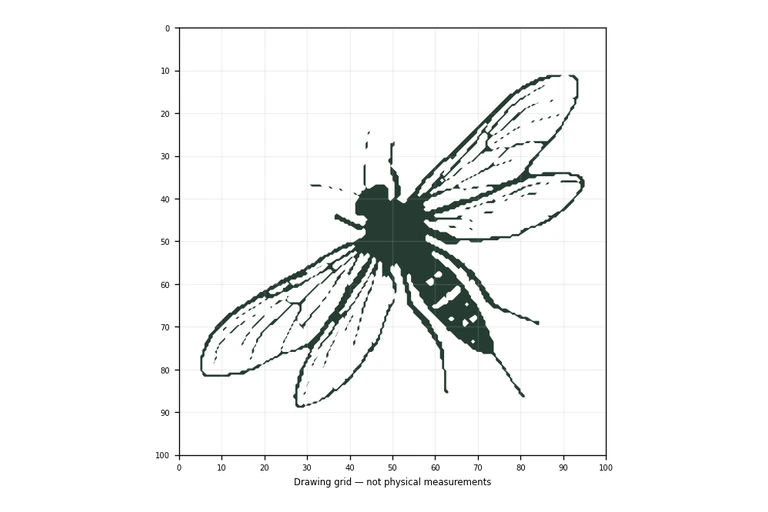
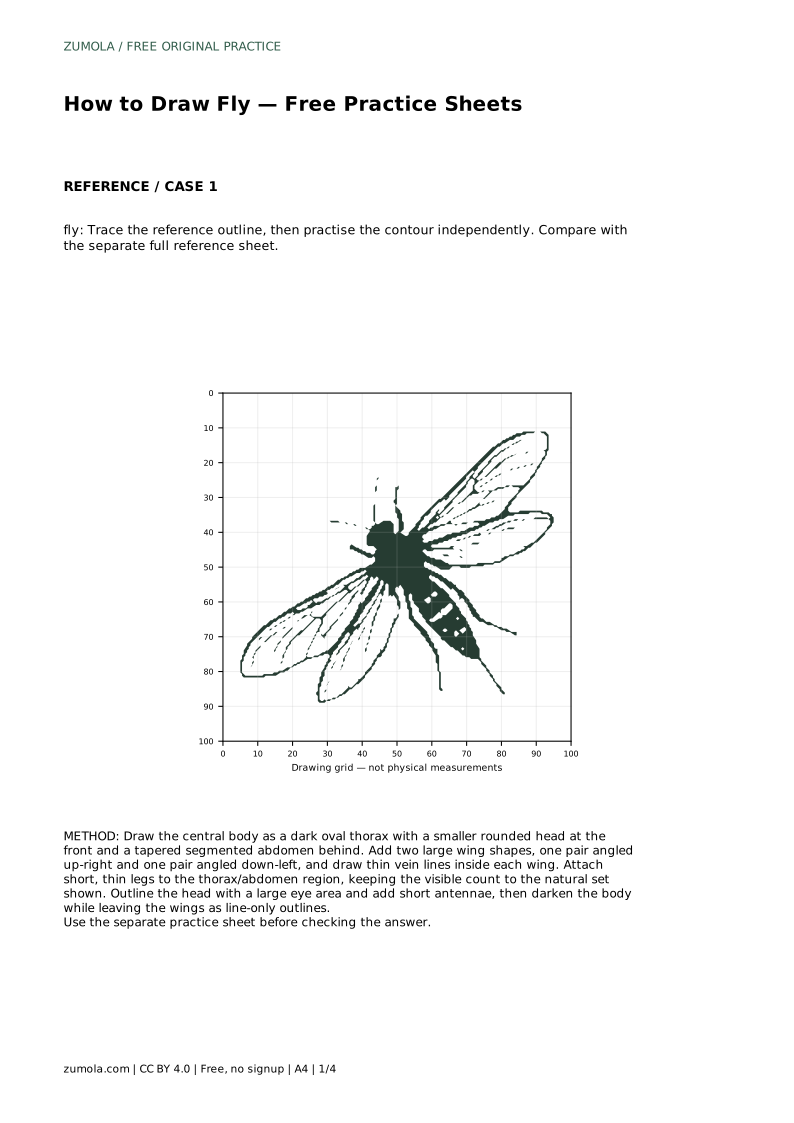
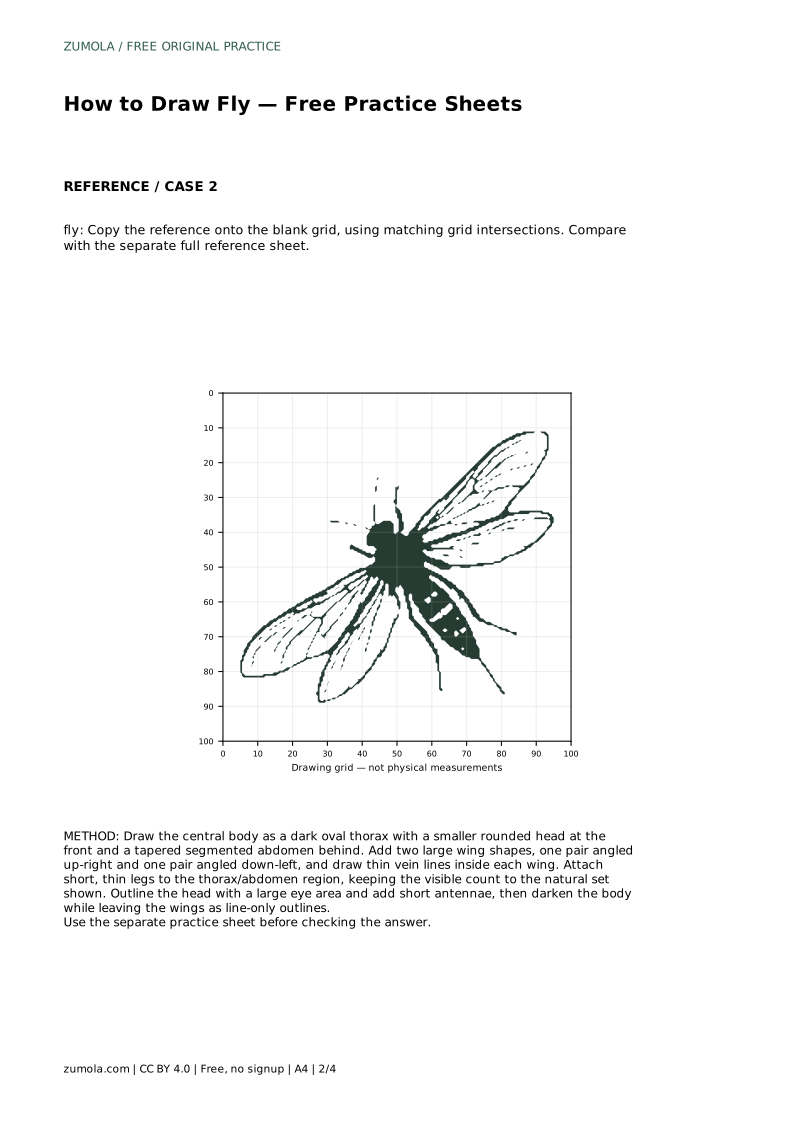
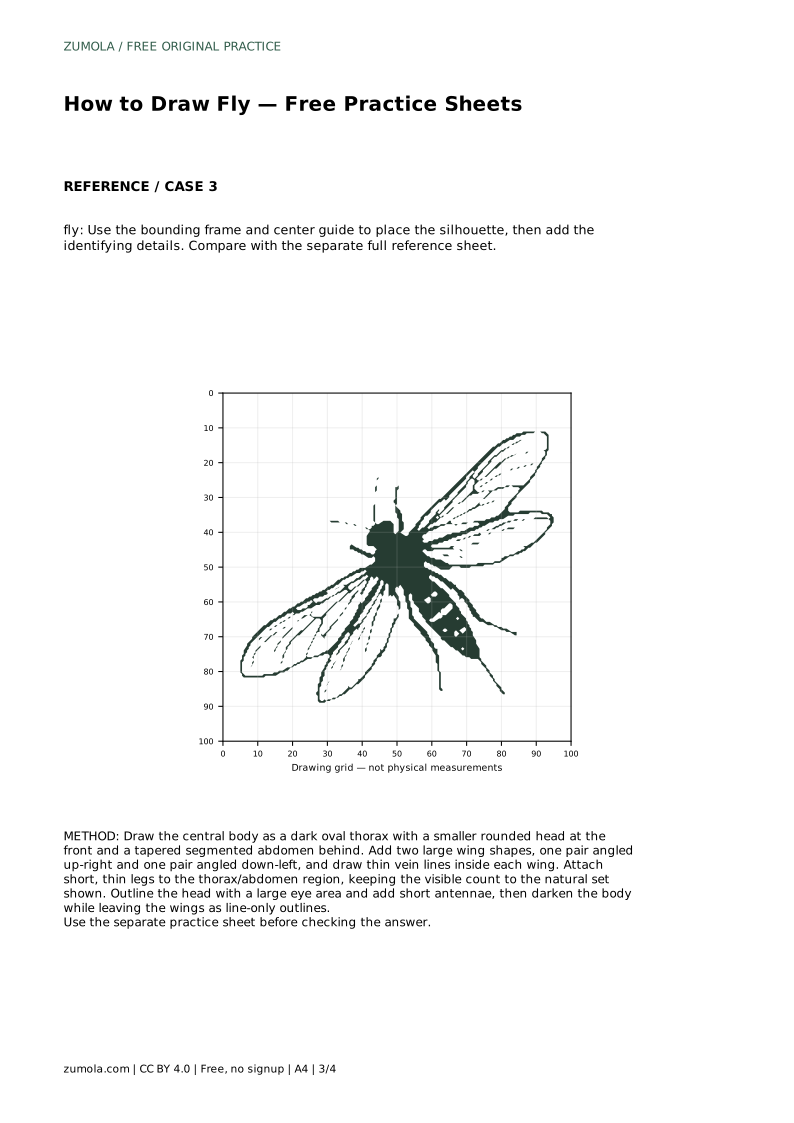
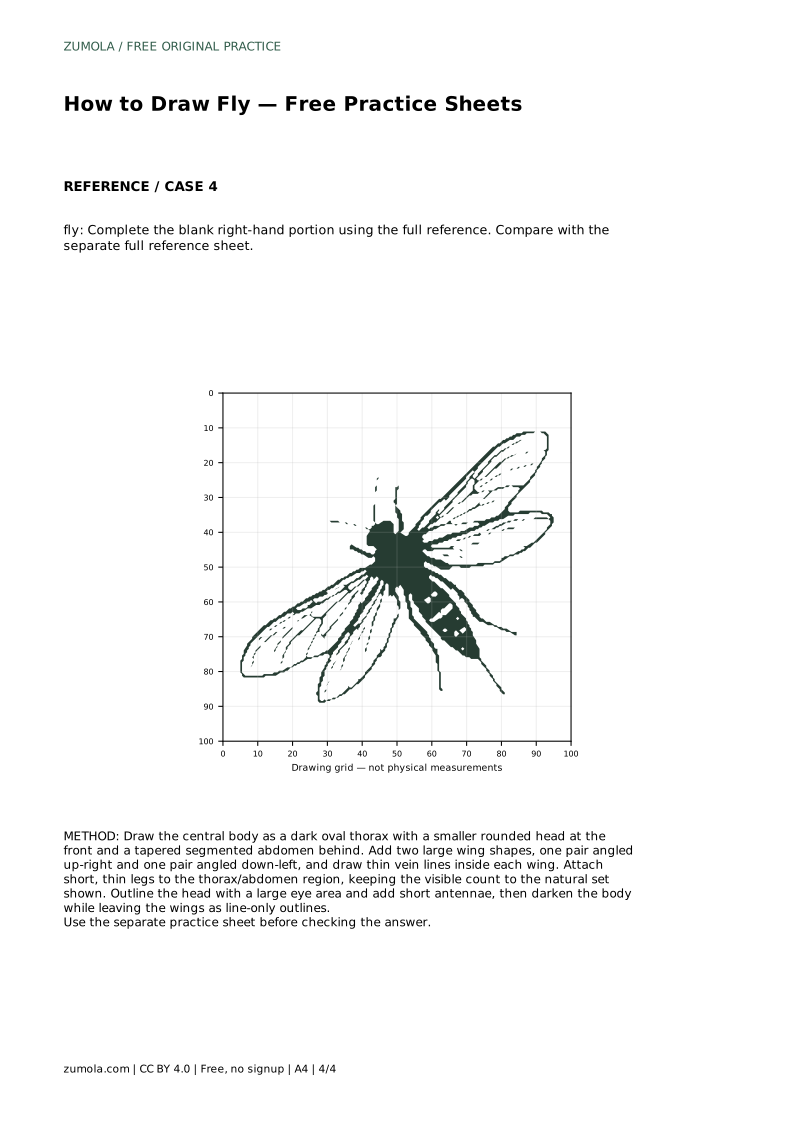
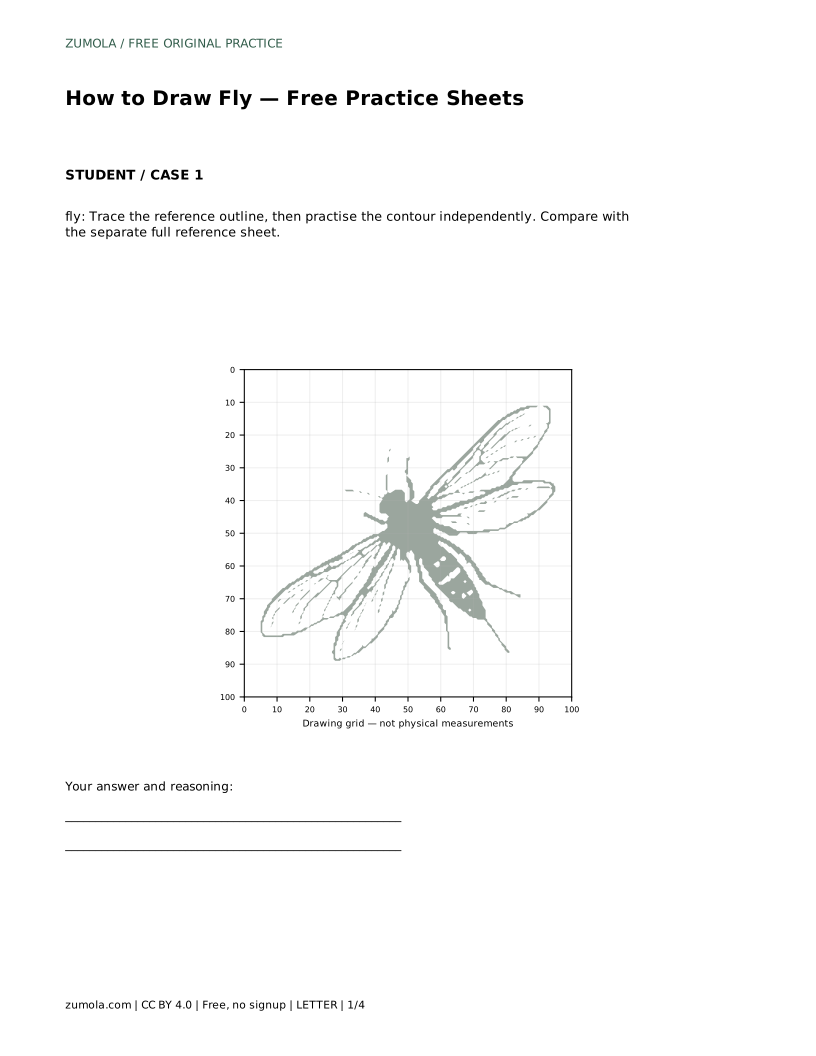
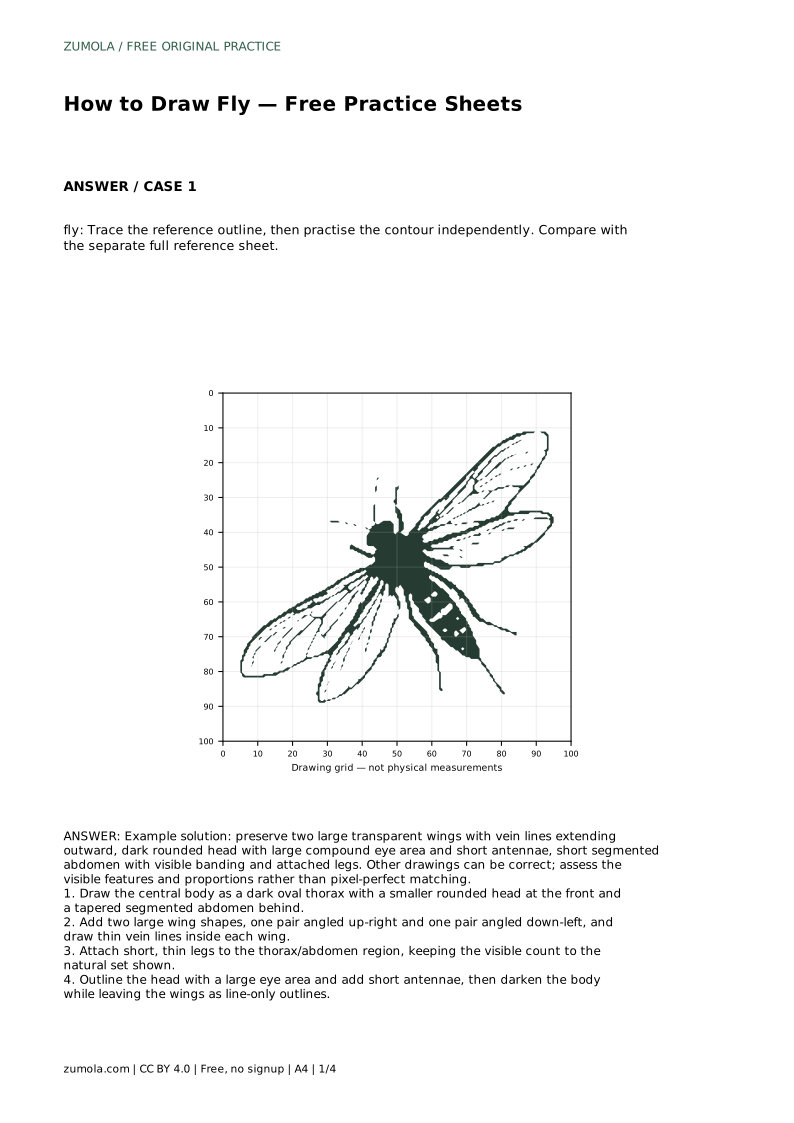
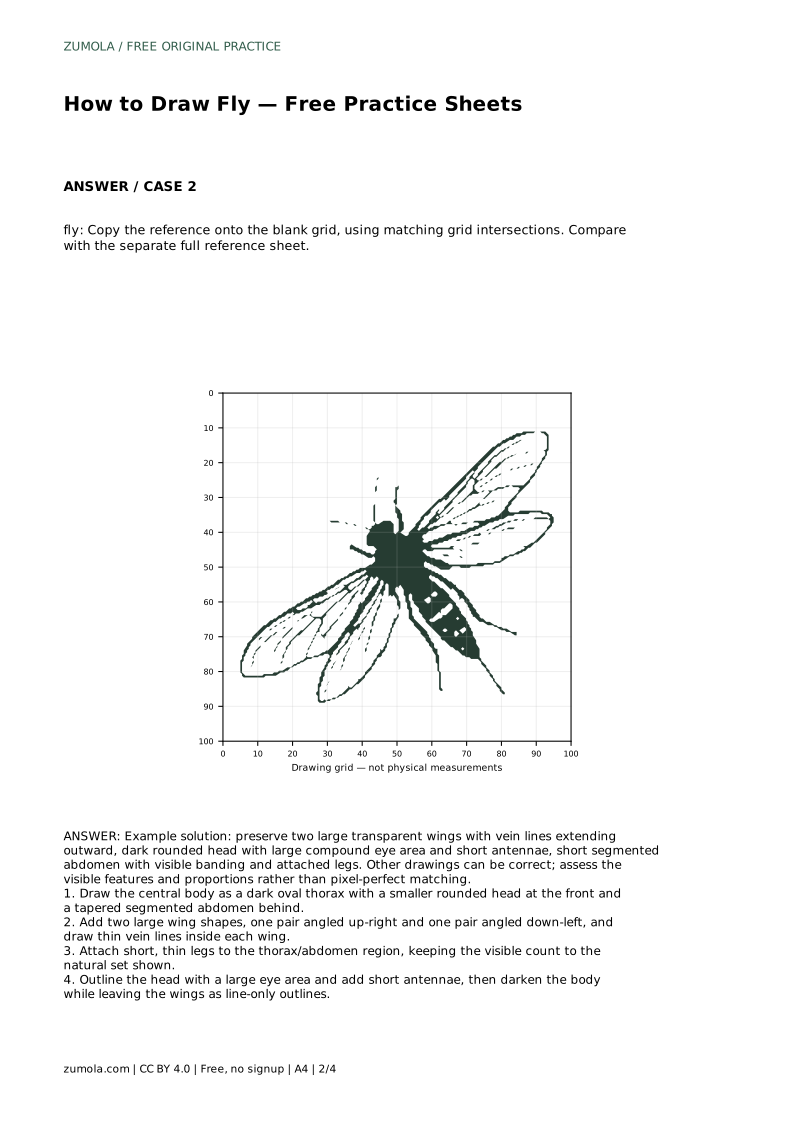
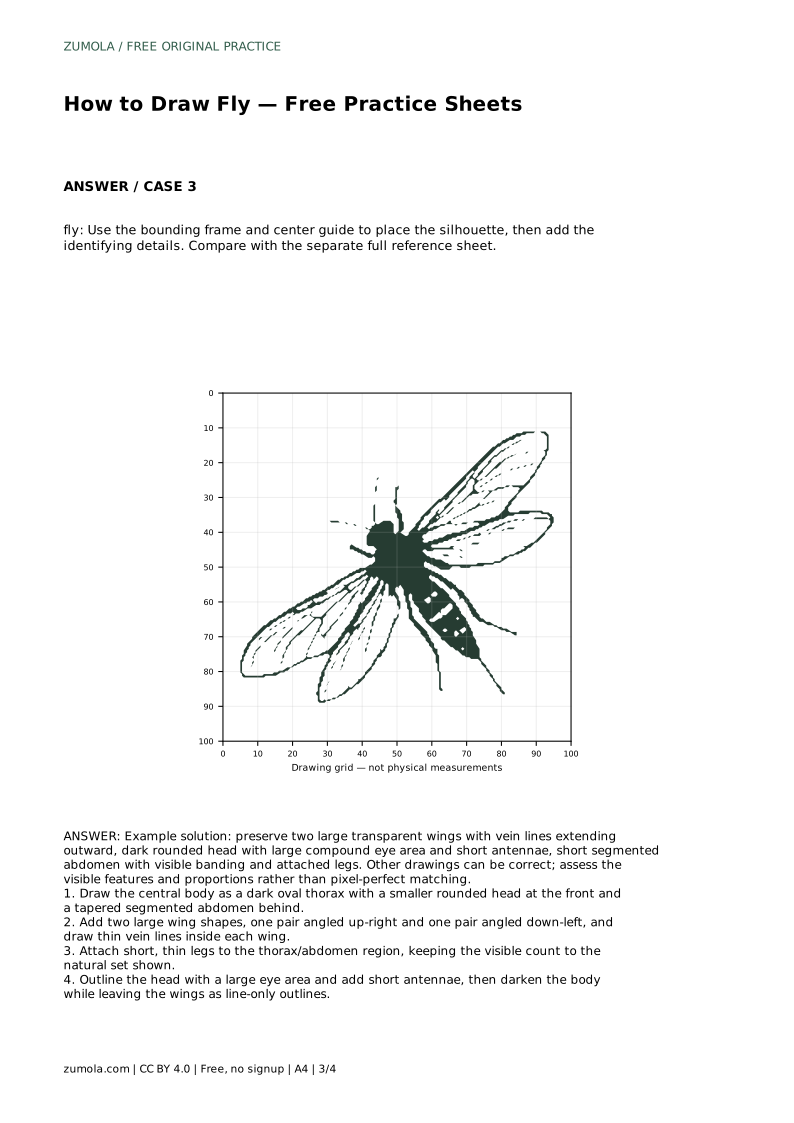
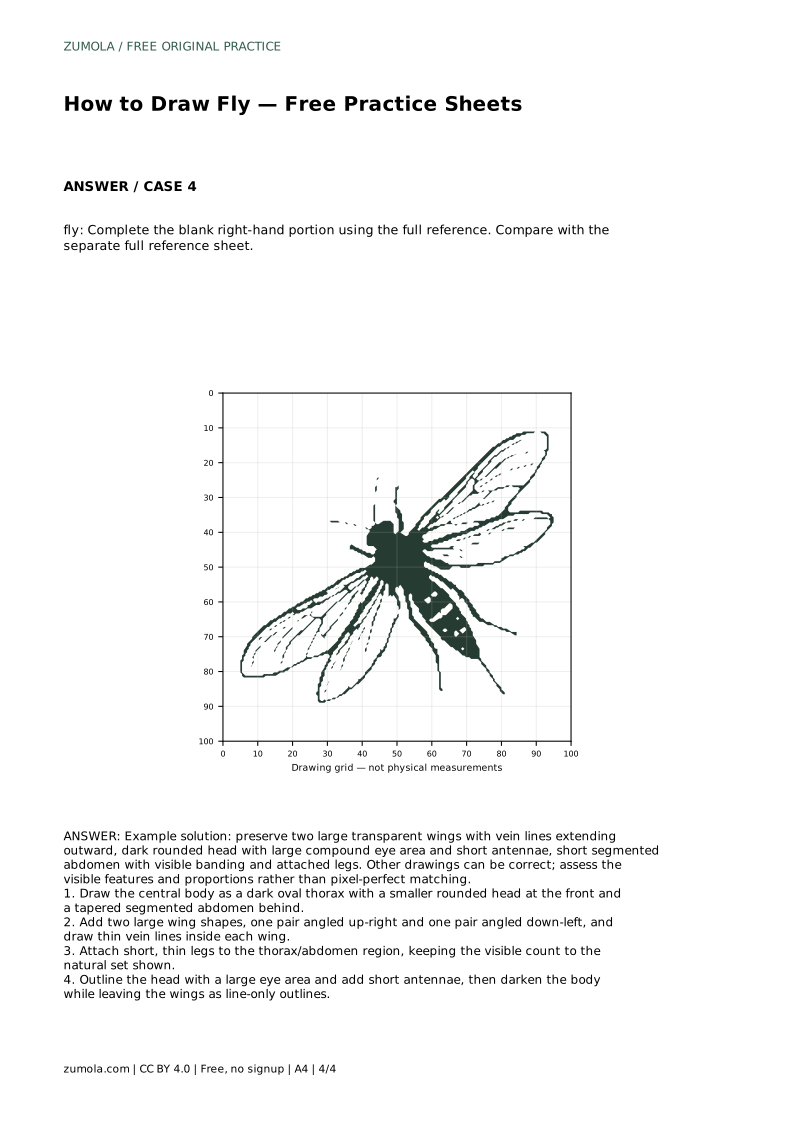
Drawing a fly is a lesson in seeing how parts connect: a compact body, two large transparent wings, short legs, and a head dominated by a big eye area. This page explains a reliable order for constructing those features and how to use the practice sheet formats. The goal is not a pixel-perfect copy but a drawing that preserves the fly's visible structure and proportions. Each sheet type asks you to compare your work with a separate full reference, so you can check what you noticed and what you missed.
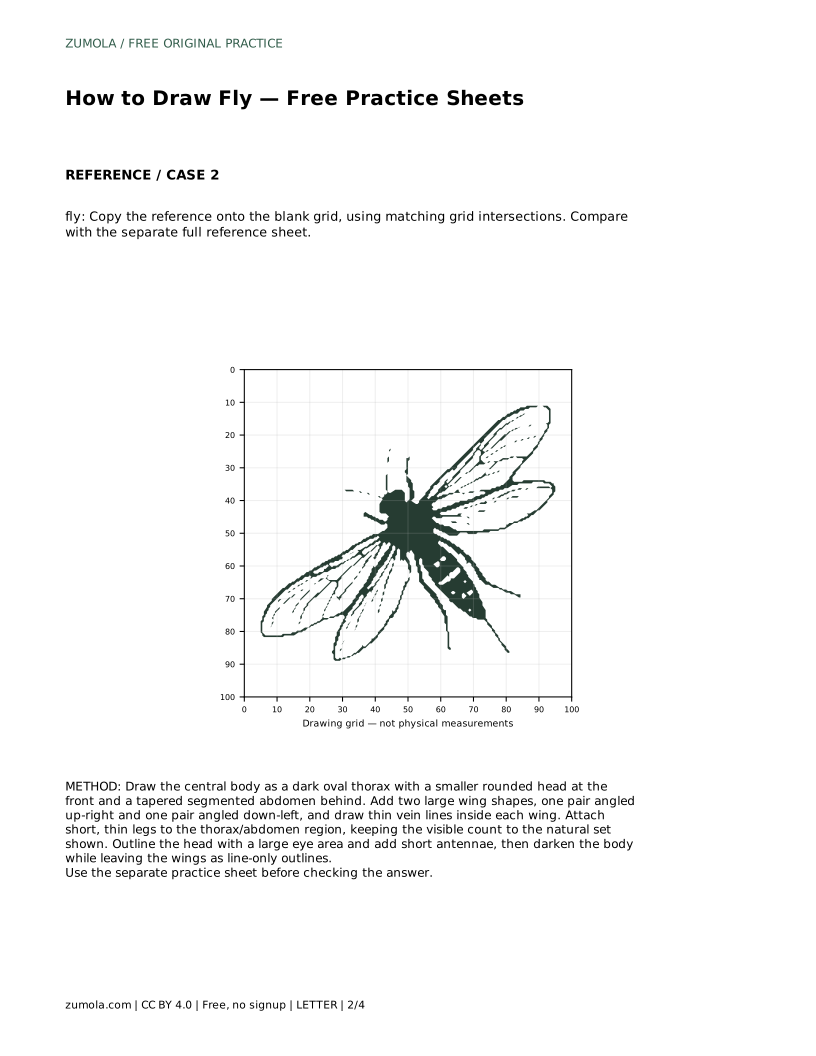
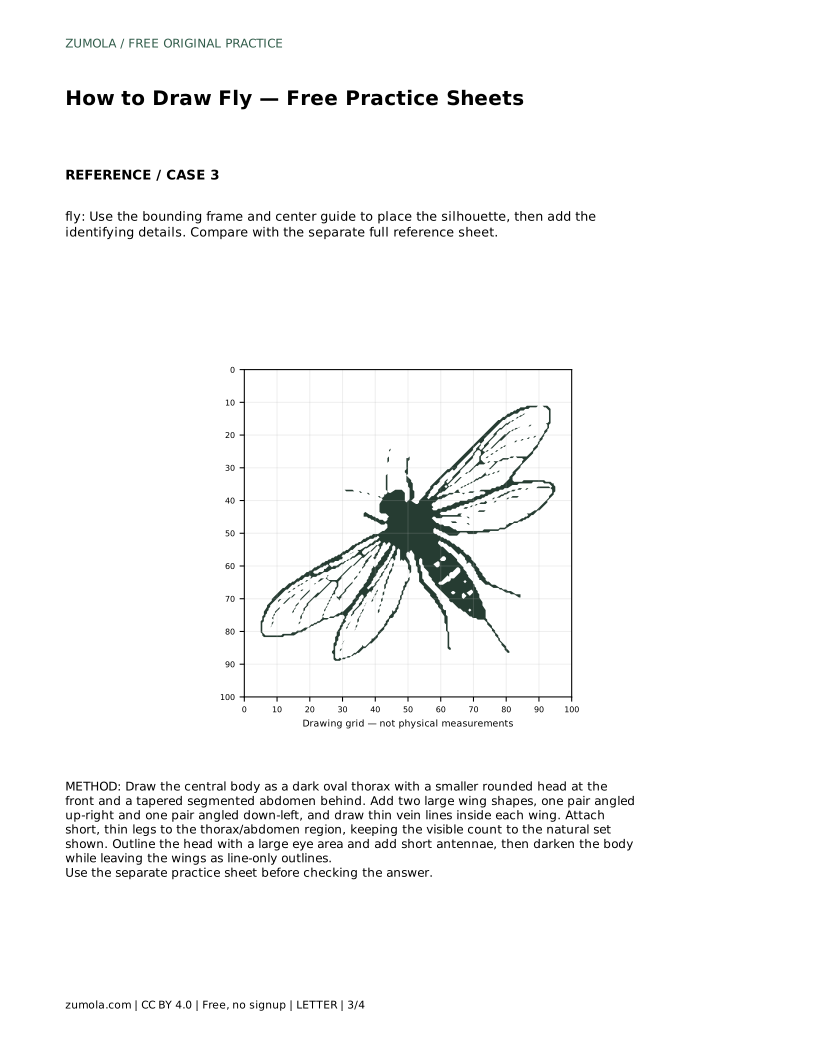
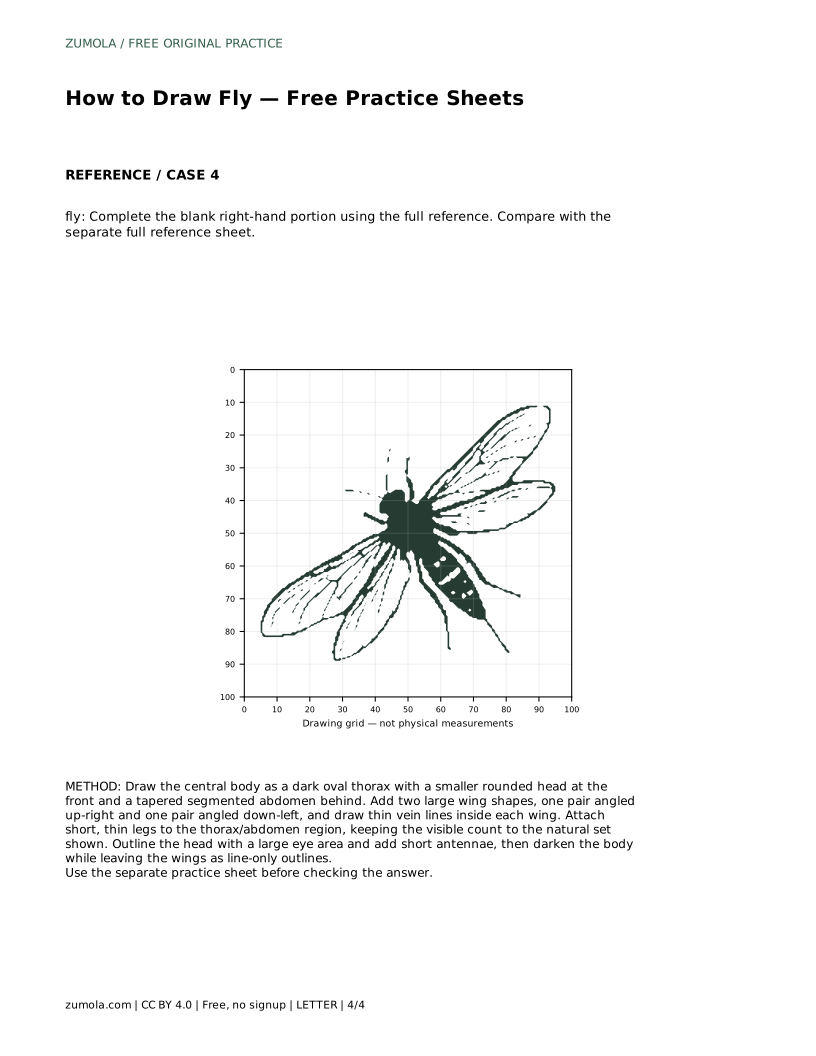
Start with the central mass rather than the wings. A fly's body reads as three connected regions: a dark oval thorax in the middle, a smaller rounded head at the front, and a tapered segmented abdomen behind. Place these as simple shapes first, checking that the head is clearly smaller than the thorax and that the abdomen narrows toward its tip. Keep the body angled as in your reference; the direction of the head and abdomen sets the whole pose.
Once the body shapes sit correctly, add the two large wings. In the reference they are angled outward, one pair up-right and one pair down-left. Draw each wing as a broad shape with a thin outline, then add vein lines inside. Leave the wings as line-only outlines so they read as transparent. After the wings, attach short thin legs to the thorax and abdomen region, keeping the visible count to the natural set shown in the reference. Finally, outline the head with a large eye area and add short antennae, then darken the body while keeping the wings light.
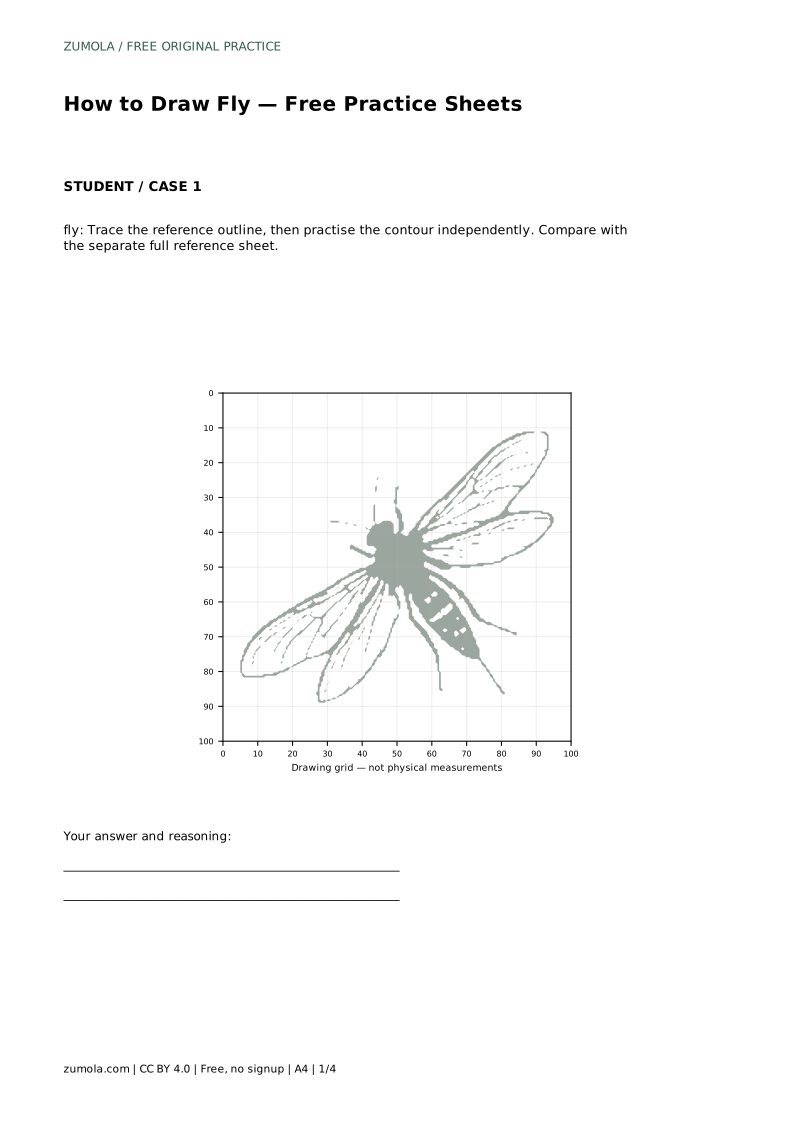
The trace sheet asks you to follow the reference outline first, then repeat the contour independently on the blank area. Tracing builds the sequence of the body, wings, and legs; the independent pass shows whether you can reproduce that sequence without guidance. Compare both attempts with the separate full reference sheet, not with your traced line, because the reference is the standard.
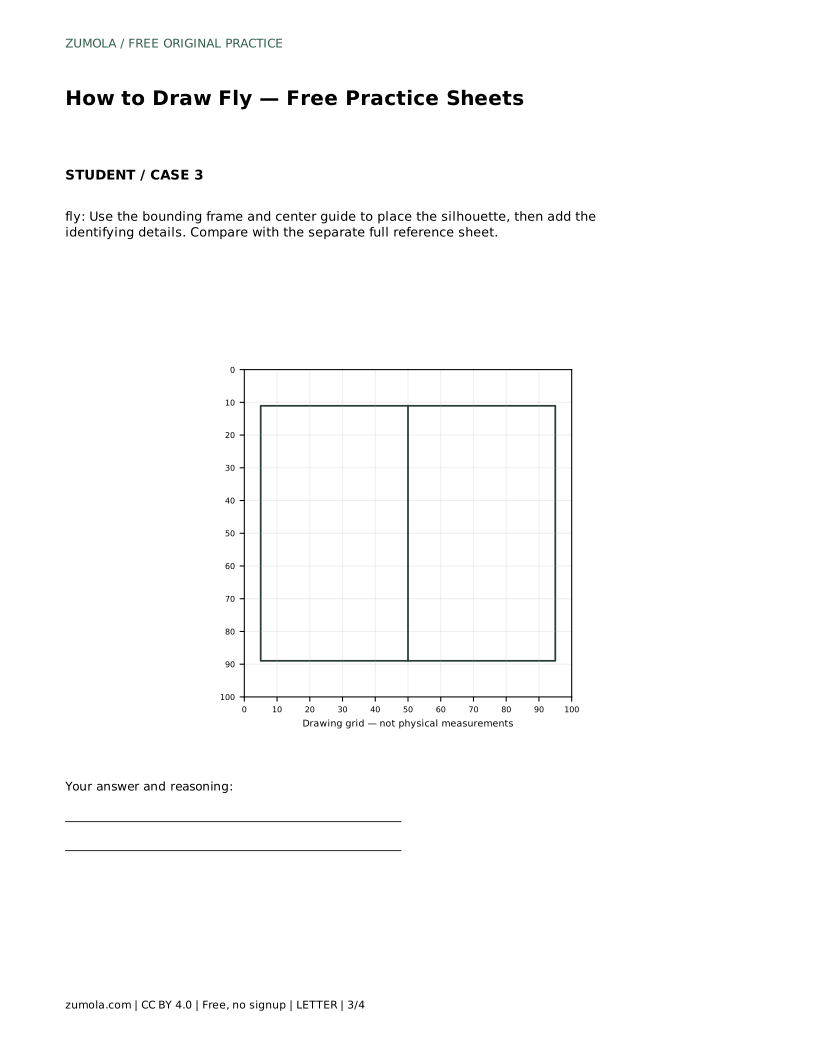
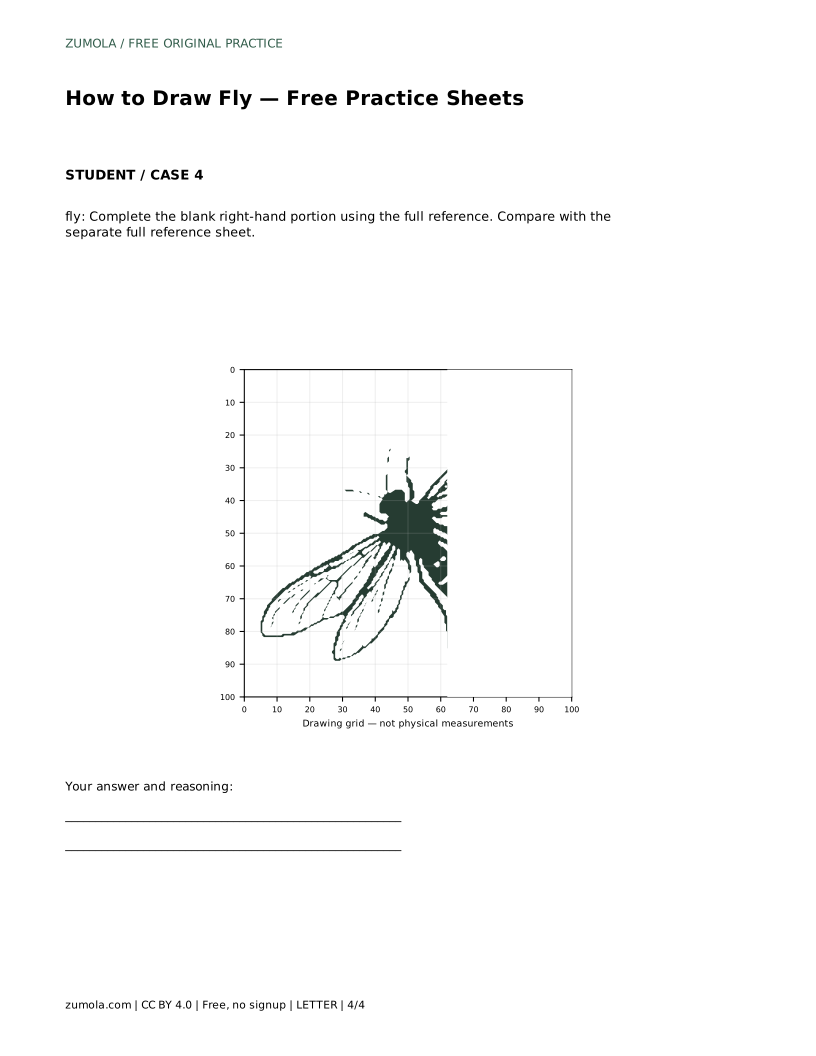
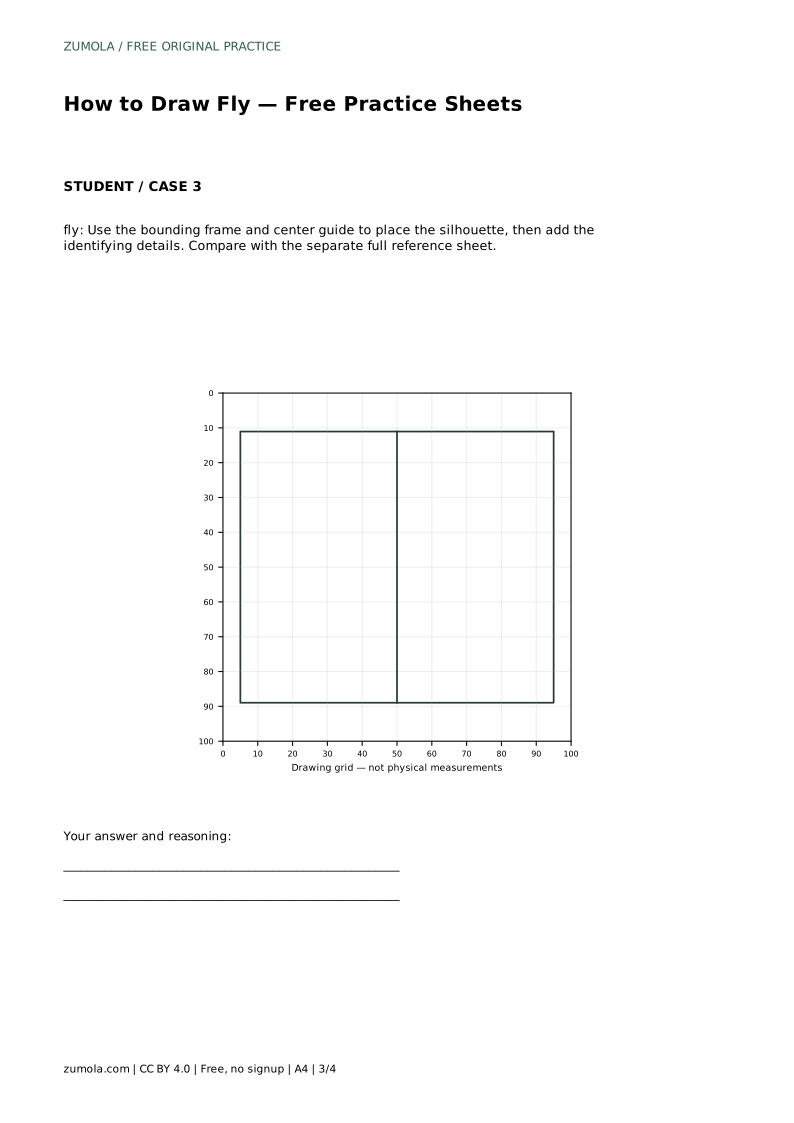
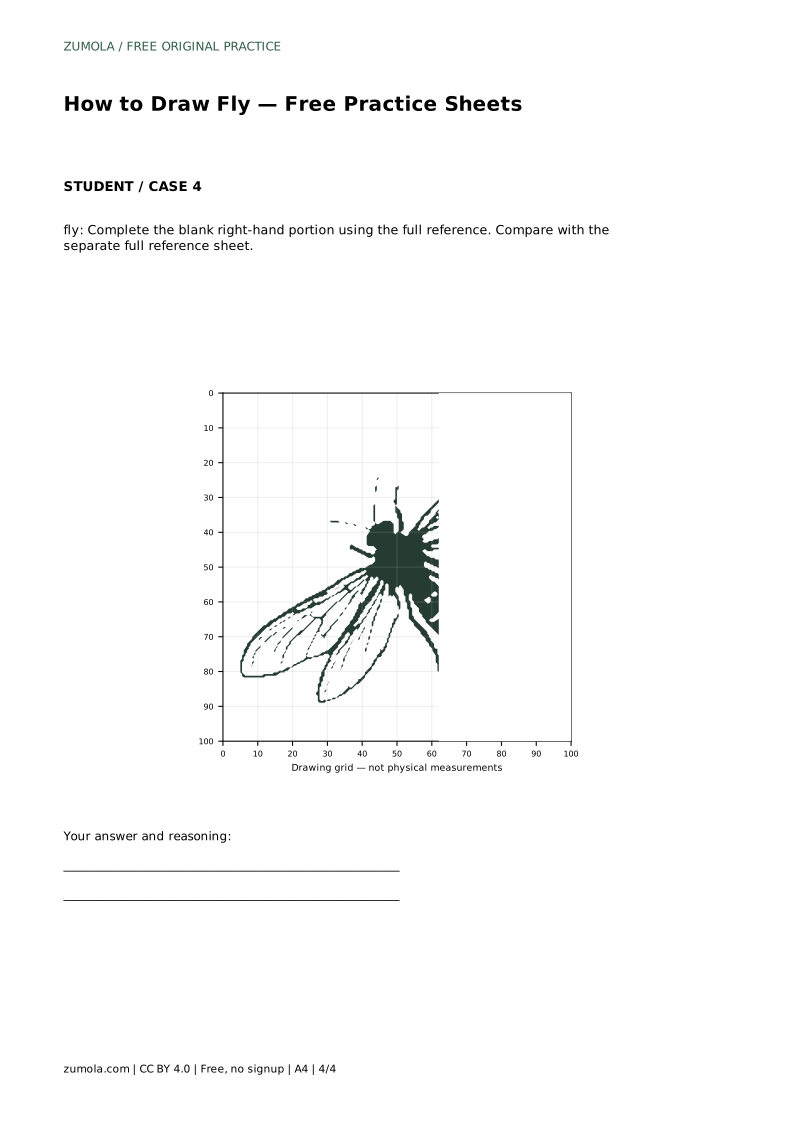
The grid sheet asks you to copy the reference onto a blank grid using matching grid intersections. Use the grid to judge where the head sits relative to the thorax, how far the wings extend, and where the legs attach. The bounding-frame sheet gives you a frame and center guide to place the silhouette before adding identifying details; use the center guide to check that the body is not drifting to one side. The half-completion sheet gives you the left portion and asks you to complete the right-hand portion using the full reference, which tests whether you can continue proportions across the page.
A fly drawing can be correct in many ways. Assess whether the two large transparent wings have vein lines extending outward, whether the head is dark and rounded with a large compound eye area and short antennae, whether the abdomen is short, segmented, and visibly banded, and whether the legs are attached to the thorax and abdomen region. Proportions matter: the wings should be large relative to the body, and the head should be smaller than the thorax. Use the rubric below to review your sheet against those visible features rather than against a single ideal outline.
fly: Trace the reference outline, then practise the contour independently. Compare with the separate full reference sheet.
Example solution: preserve two large transparent wings with vein lines extending outward, dark rounded head with large compound eye area and short antennae, short segmented abdomen with visible banding and attached legs. Other drawings can be correct; assess the visible features and proportions rather than pixel-perfect matching. Draw the central body as a dark oval thorax with a smaller rounded head at the front and a tapered segmented abdomen behind. Add two large wing shapes, one pair angled up-right and one pair angled down-left, and draw thin vein lines inside each wing. Attach short, thin legs to the thorax/abdomen region, keeping the visible count to the natural set shown. Outline the head with a large eye area and add short antennae, then darken the body while leaving the wings as line-only outlines.
No. Preserve the two large transparent wings with vein lines extending outward; the exact vein pattern can vary as long as the wings read as veined and transparent.
Check the visible features and proportions against the full reference: two large wings with veins, a dark rounded head with a large eye area and short antennae, a short segmented abdomen with banding, and attached legs. Other drawings can be correct.
The grid sheet uses matching grid intersections to place parts, while the frame sheet uses a bounding frame and center guide to place the silhouette before adding details.
All drawing practice · Free coordinate paper
Original resources · CC BY 4.0 · Free for personal and classroom use with attribution.