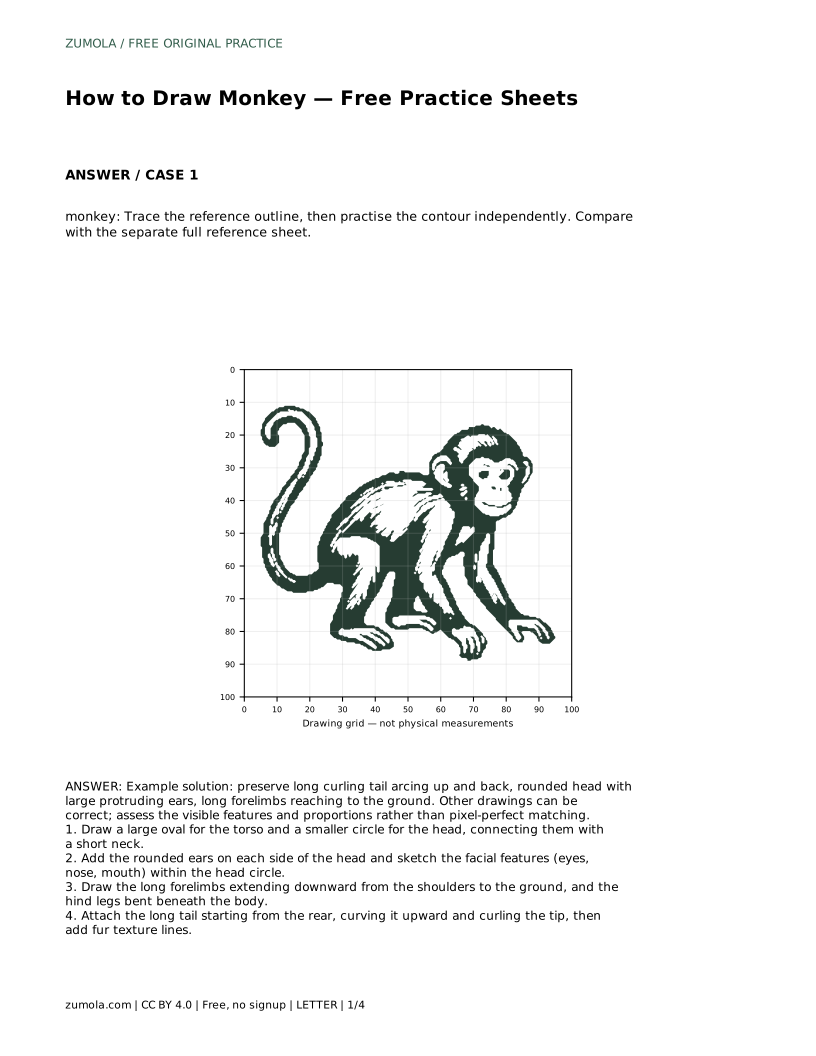
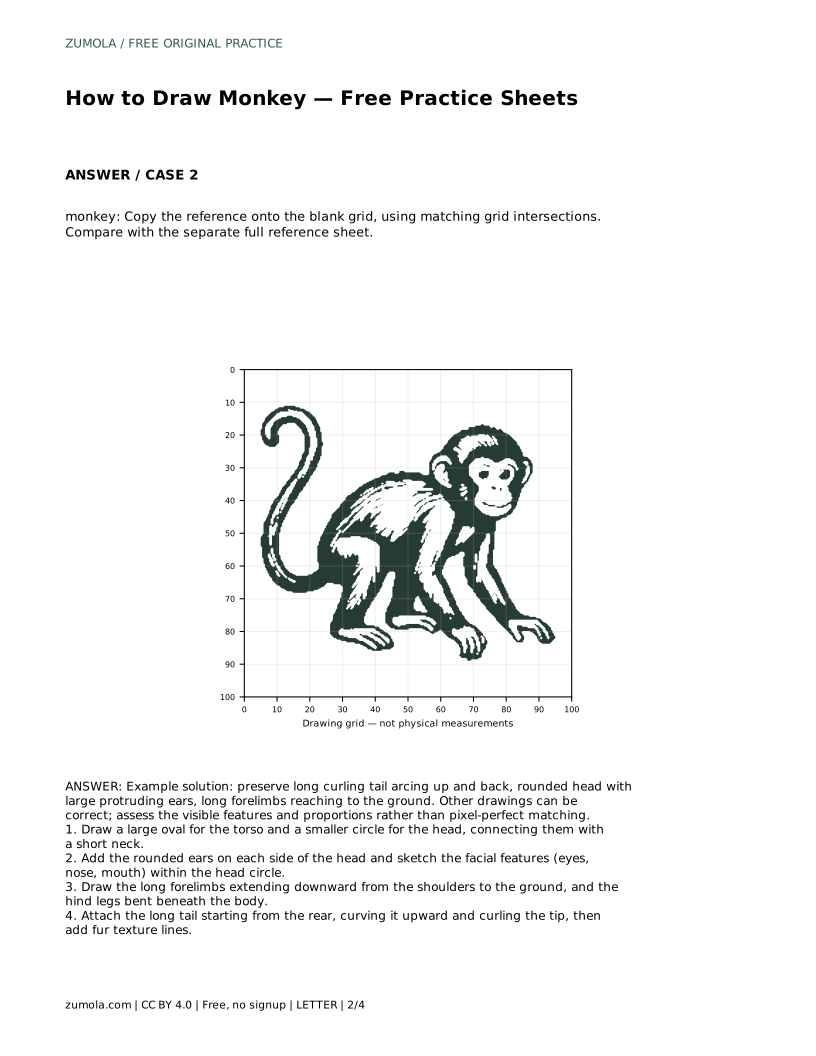
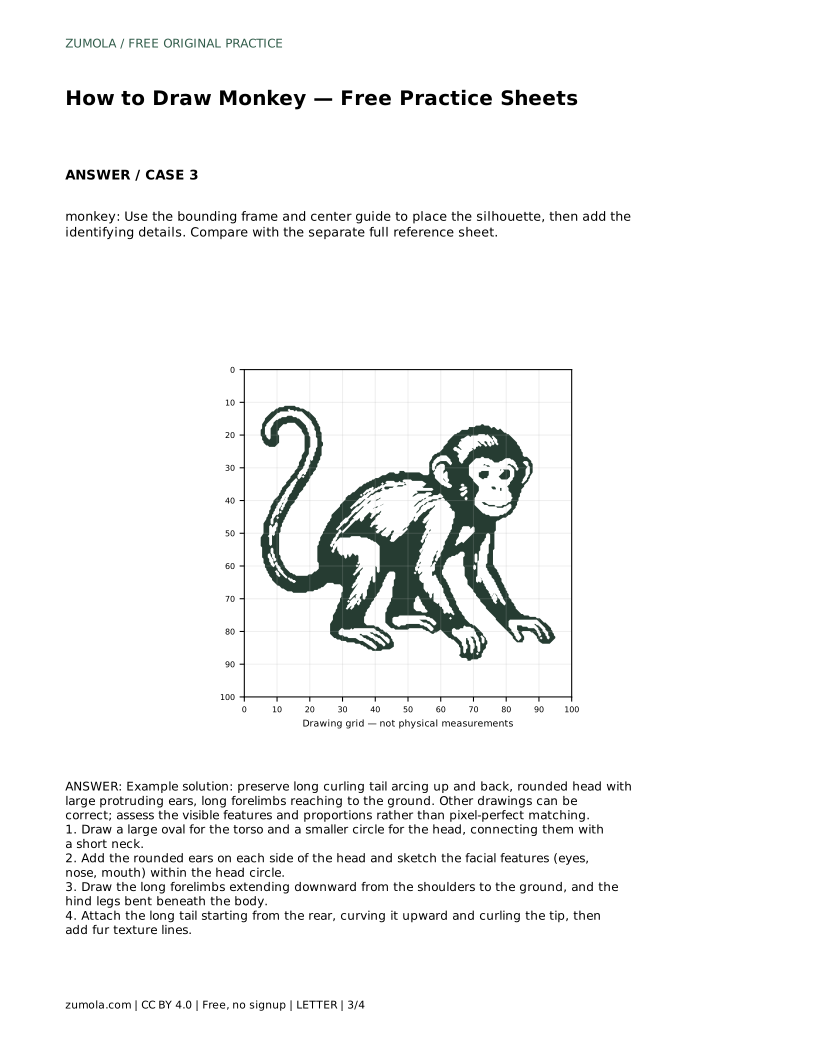
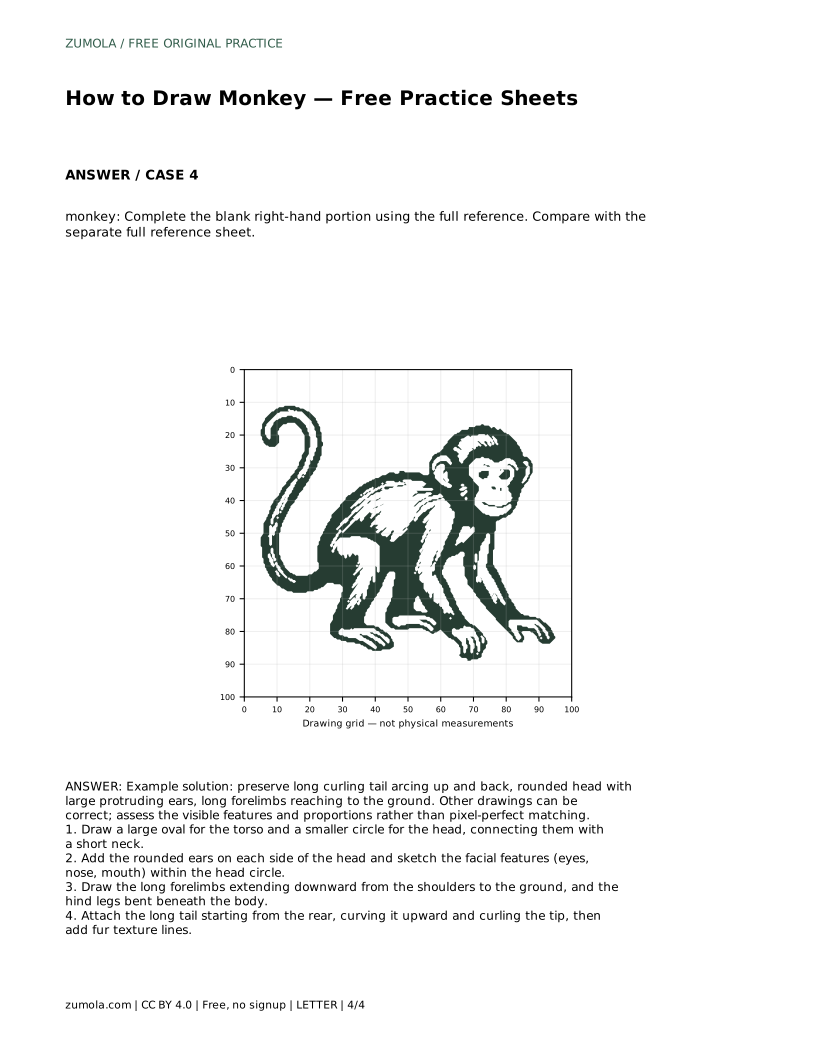
Reference diagrams
LETTER · Download PDF
A4 · Download PDF
Free original resources
Learn to draw a monkey by building the body from simple shapes, placing ears and face, adding long forelimbs and a curling tail, then checking proportions.
Four original cases, with reference diagrams, practice sheets and worked answers. Everything is free; no signup required.
LETTER · Download PDF
A4 · Download PDF
LETTER · Download PDF
A4 · Download PDF
LETTER · Download PDF
A4 · Download PDF
Use A4 or US Letter to match your printer. Use the stated values and conditions to solve each exercise; diagrams are not physical measuring rulers.
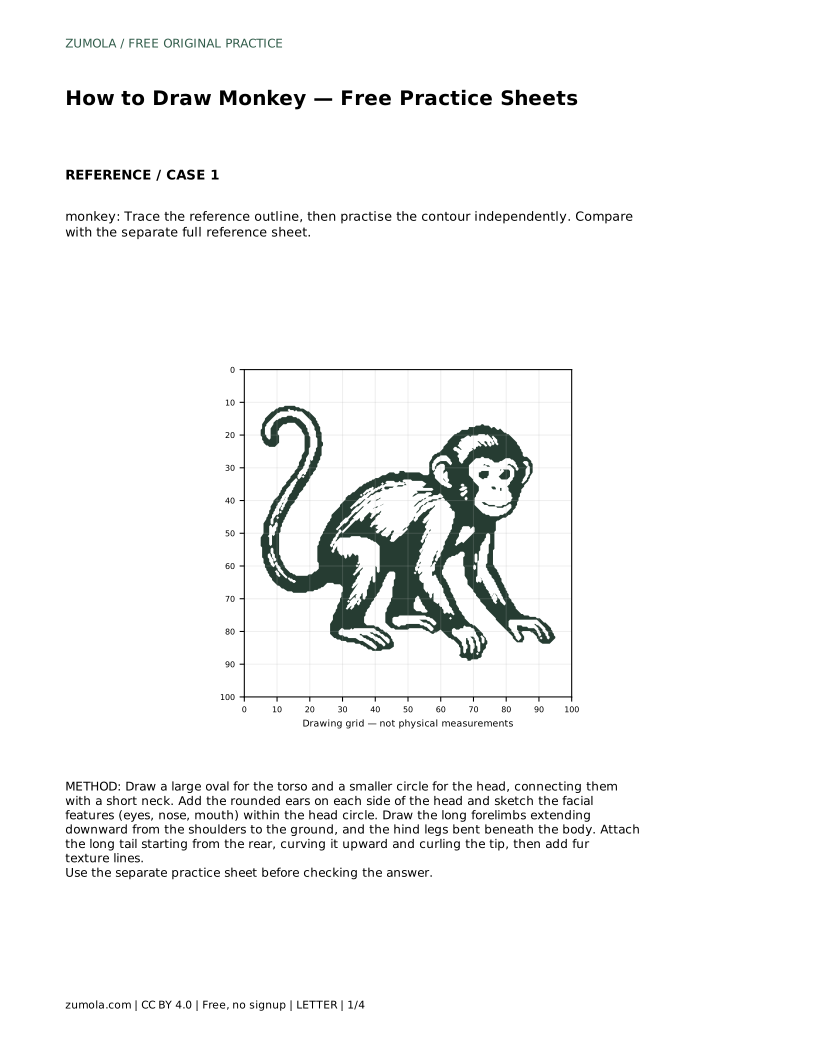
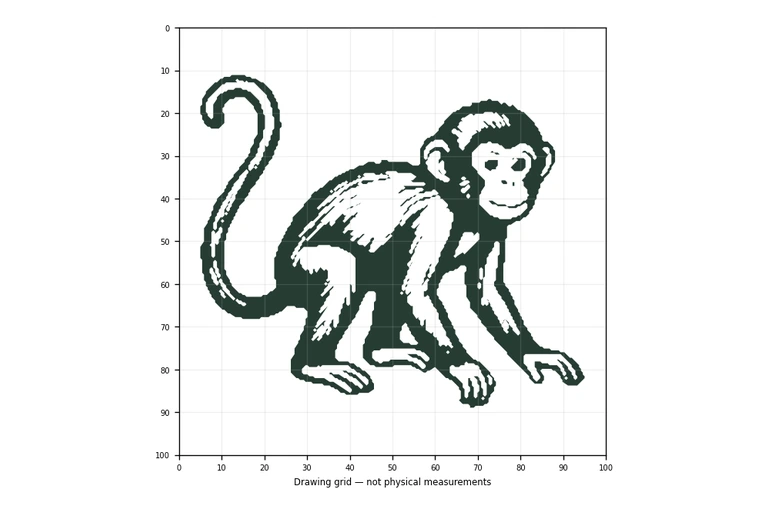
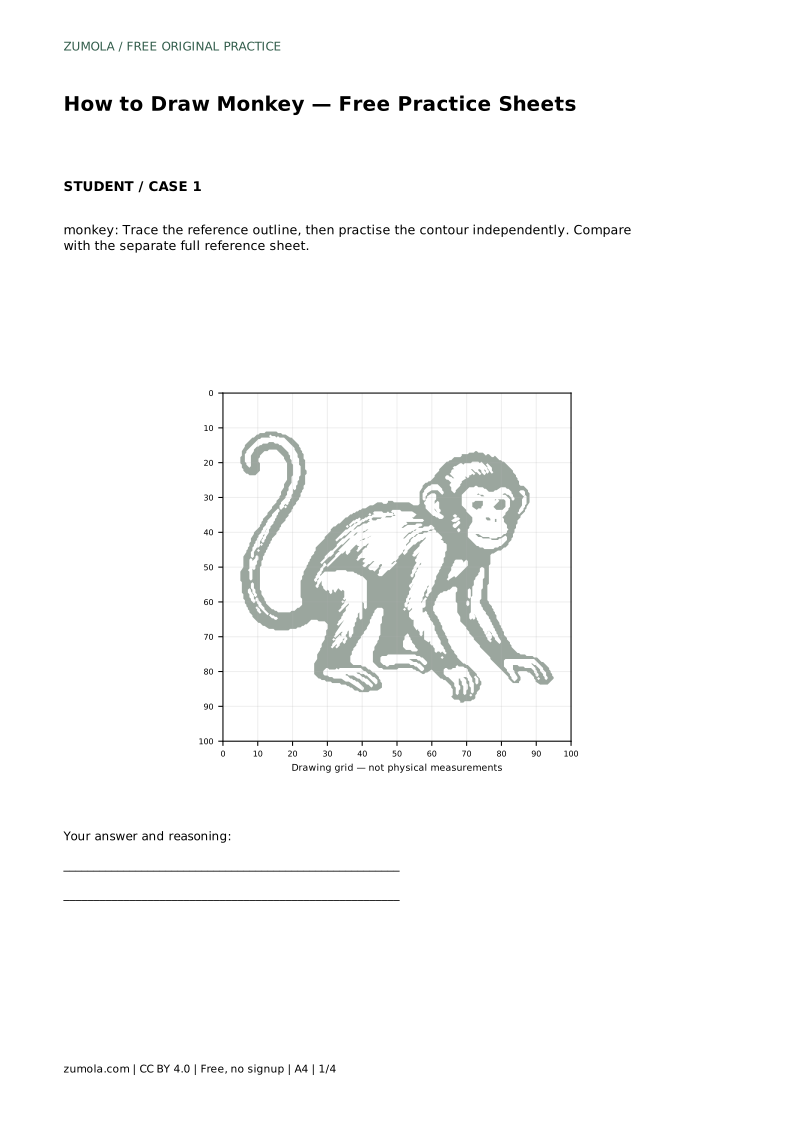
Drawing a monkey is easier when you build it in layers: a large torso oval, a smaller head circle, then the features that make the animal recognizable. The practice sheets let you trace a reference outline first, then try the contour independently. Because drawings can succeed in different ways, compare visible features and proportions rather than expecting a pixel-perfect match.
Begin with two simple shapes rather than the outline. Draw a large oval for the torso and a smaller circle for the head, then connect them with a short neck. Keep the head noticeably smaller than the torso so the body reads as the main mass. Lightly sketch these shapes so you can adjust them before committing to darker lines.
Check the relationship between the two shapes before adding detail. The head should sit above the torso, not beside it, and the neck should be short enough that the head feels attached rather than floating. If the head looks too large, shrink it slightly; if the torso looks narrow, widen the oval. These small corrections early on prevent awkward proportions later.
Place rounded ears on each side of the head, making them large enough to protrude visibly. Inside the head circle, sketch the eyes, nose, and mouth. Keep the facial features grouped toward the lower half of the head, leaving room above for the forehead. Symmetry helps here: compare the distance from each eye to the nearest ear.
Next, draw the long forelimbs extending downward from the shoulders to the ground. These arms are a defining feature, so give them length rather than stubby proportions. Draw the hind legs bent beneath the body, suggesting a crouched or seated stance. Check that both forelimbs reach roughly the same level so the monkey appears balanced.
Attach the tail at the rear of the torso, curving it upward and curling the tip. The long curling tail is one of the monkey's most recognizable features, so give it a clear arc rather than a straight line. Add light fur texture lines along the arms, legs, and tail to suggest hair without overworking the surface.
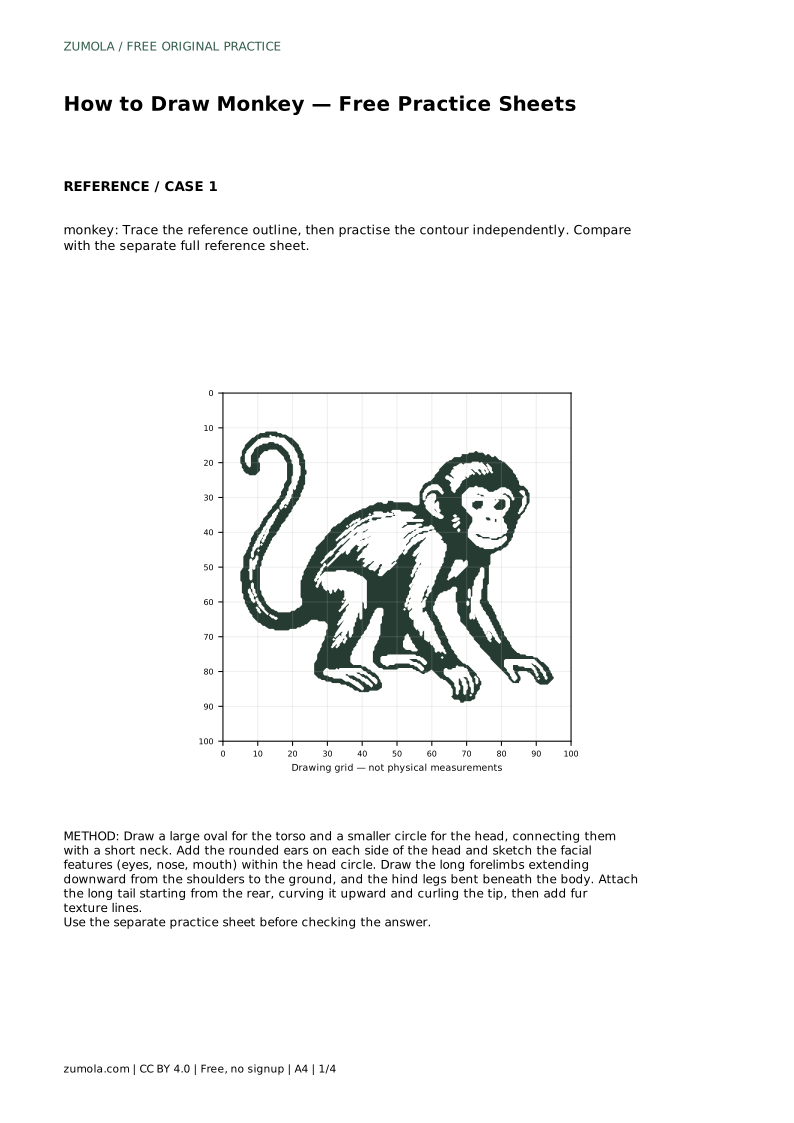
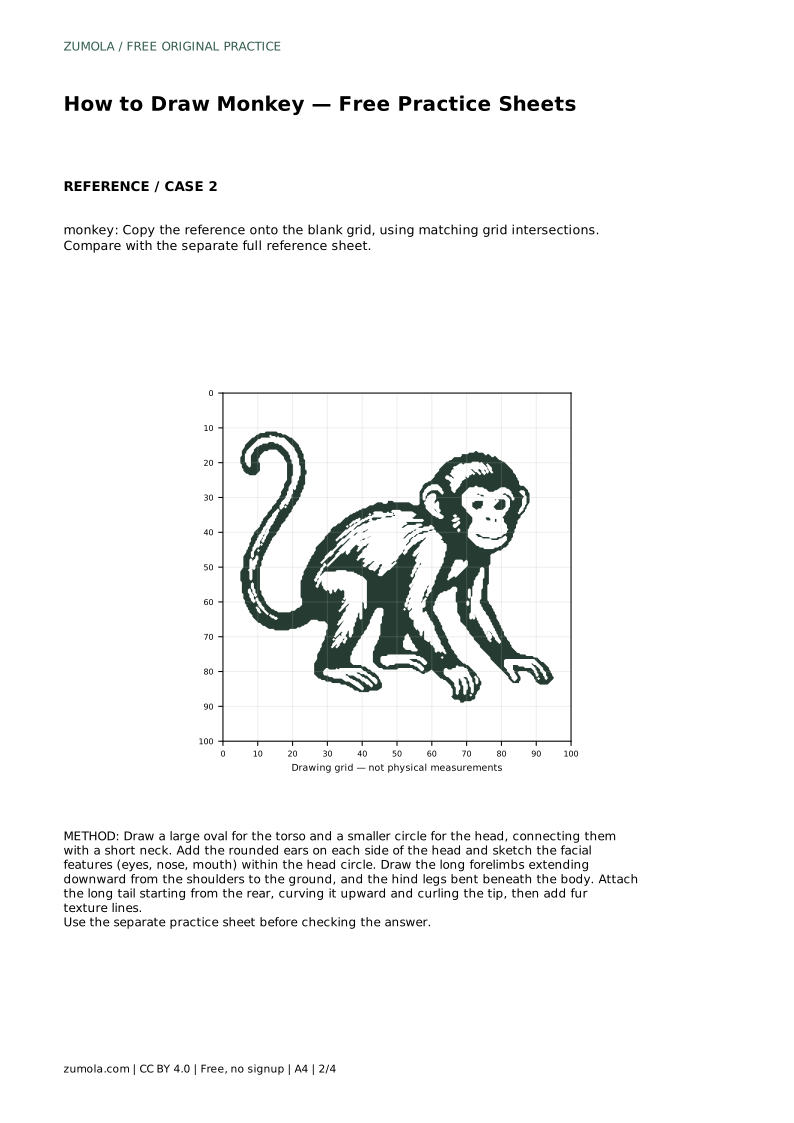
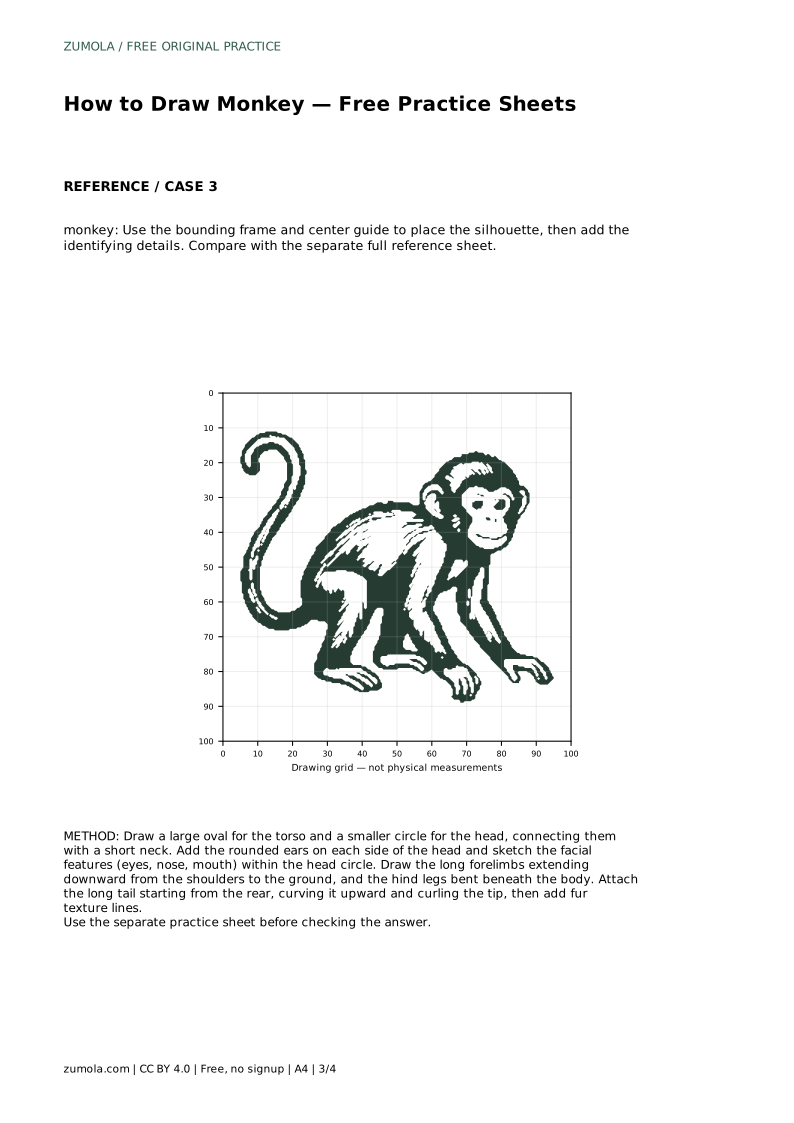
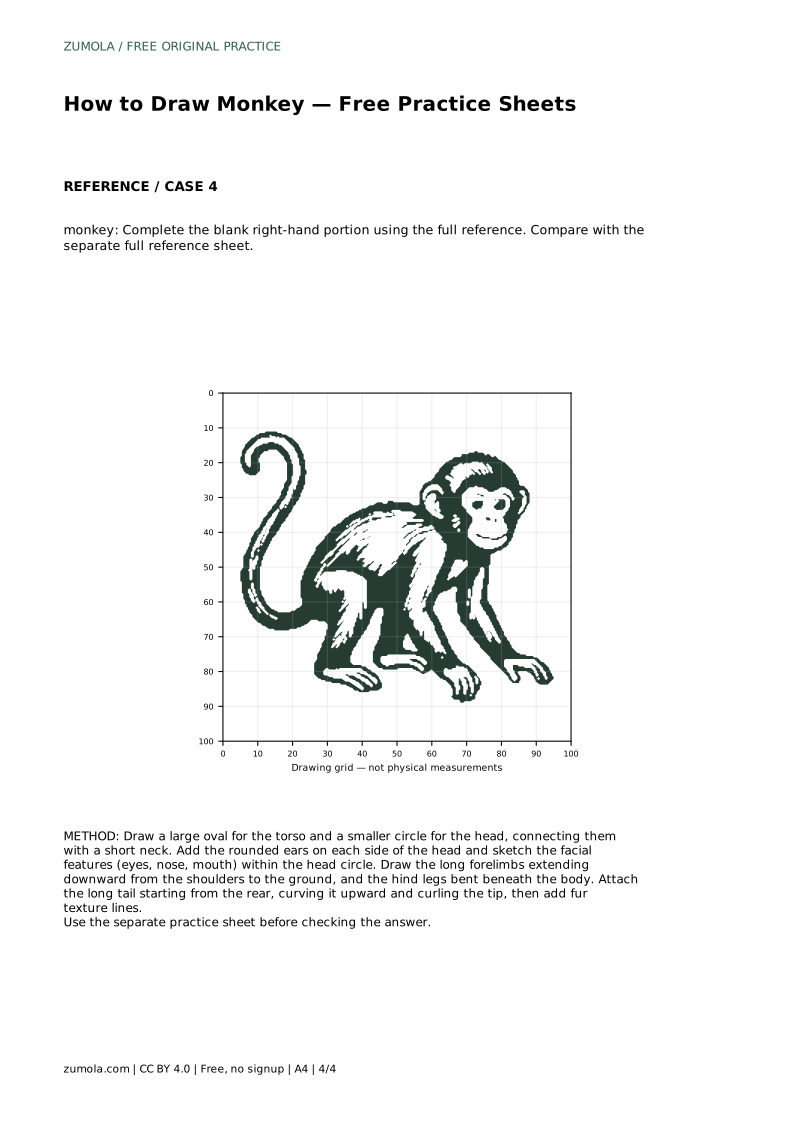
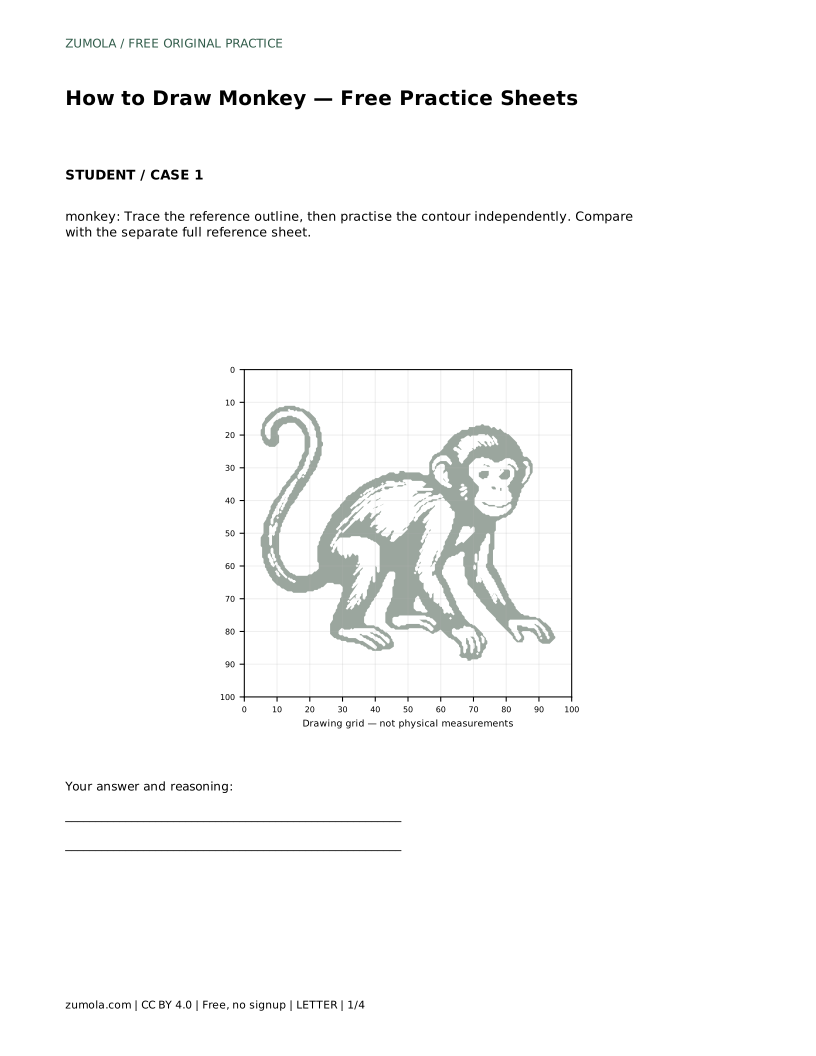
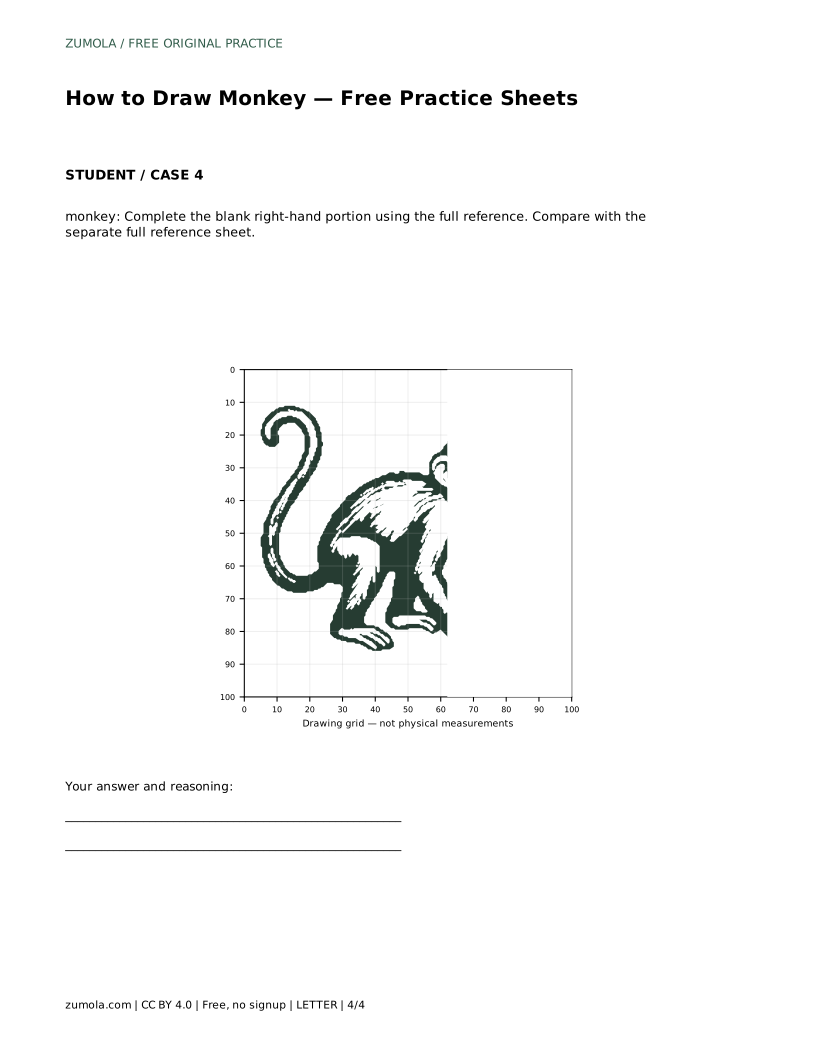
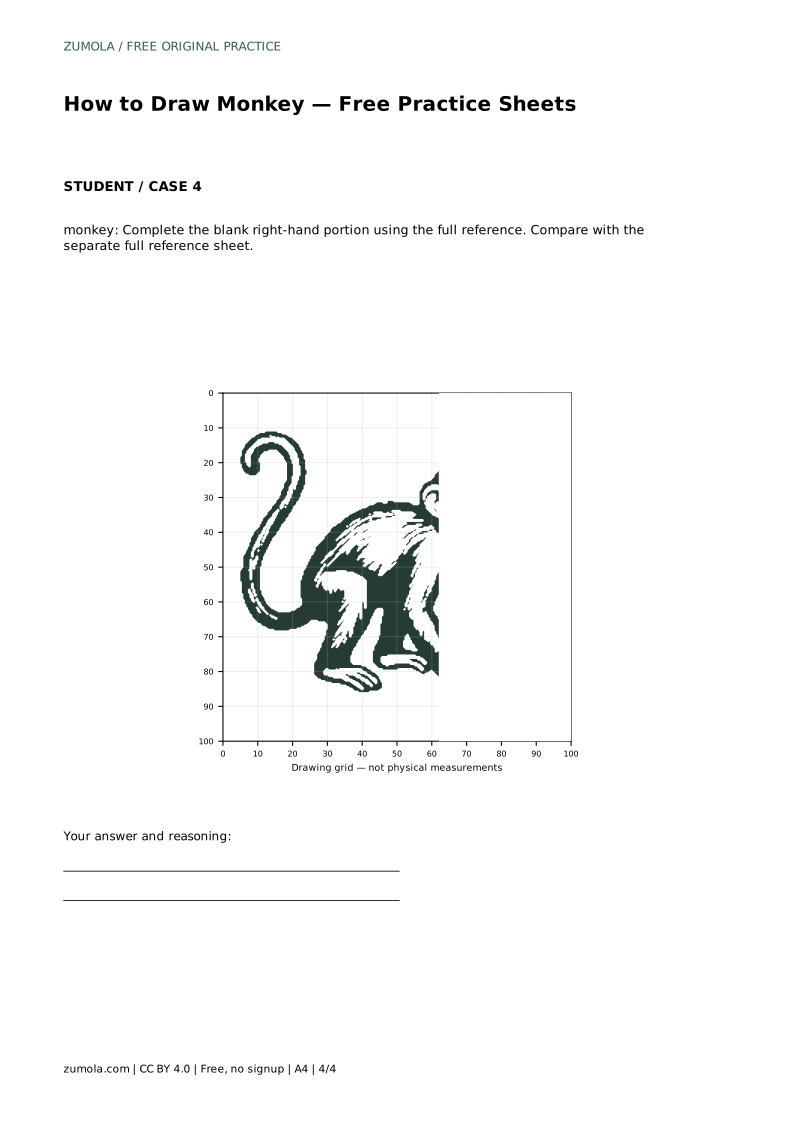
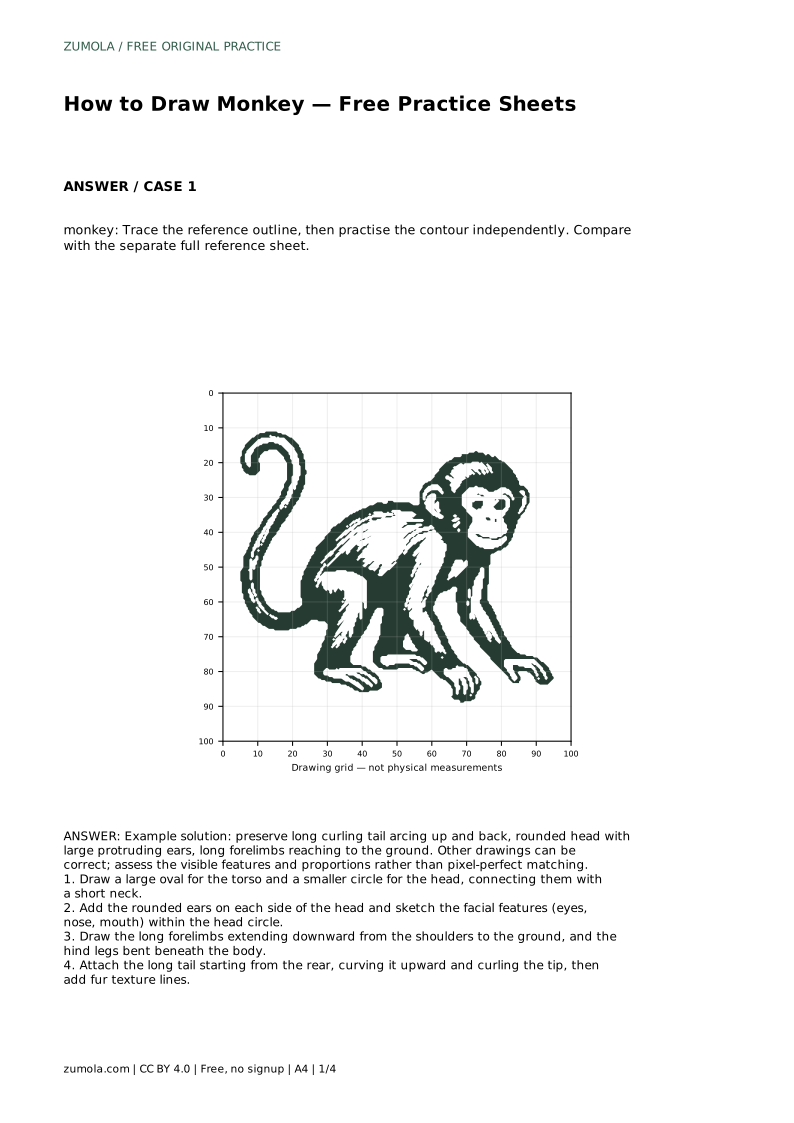
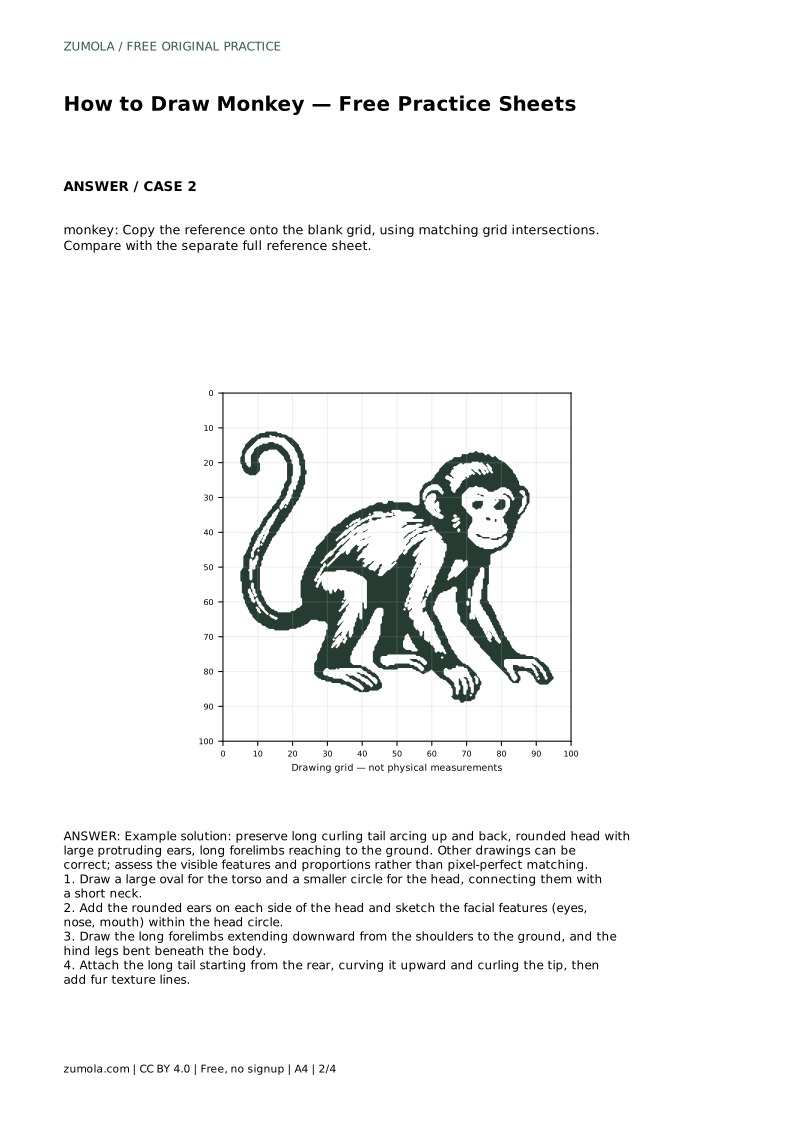
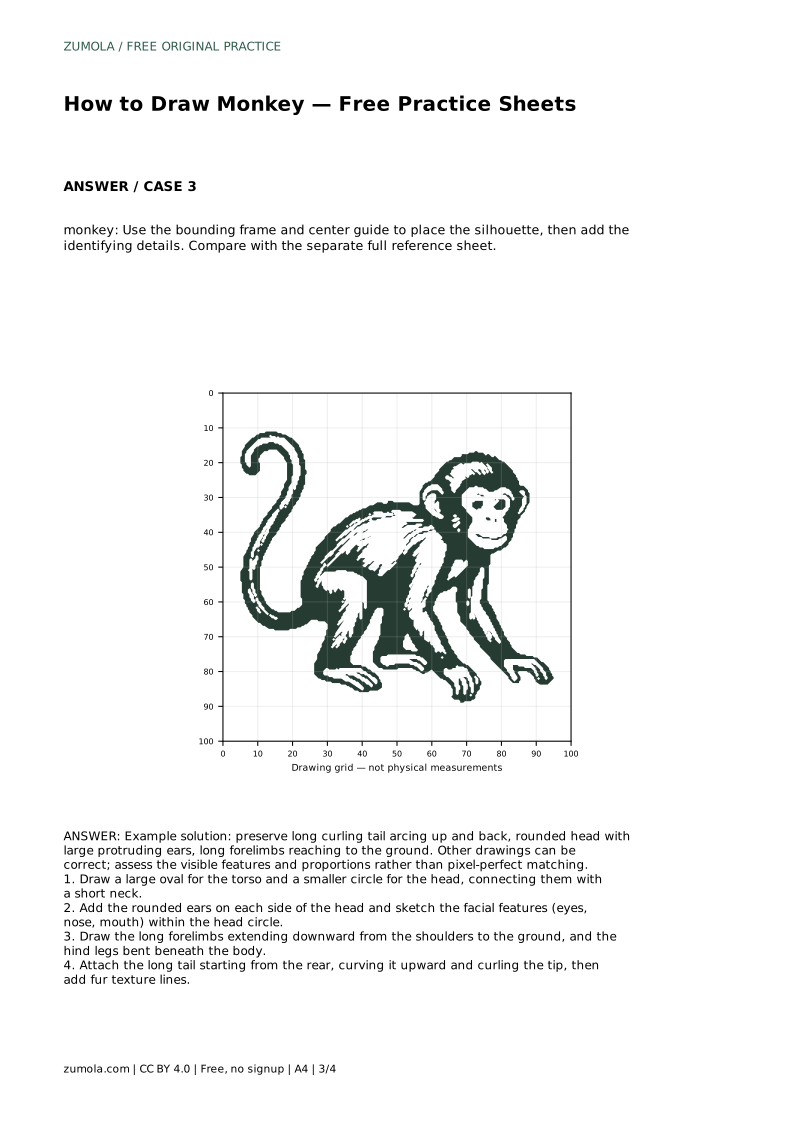
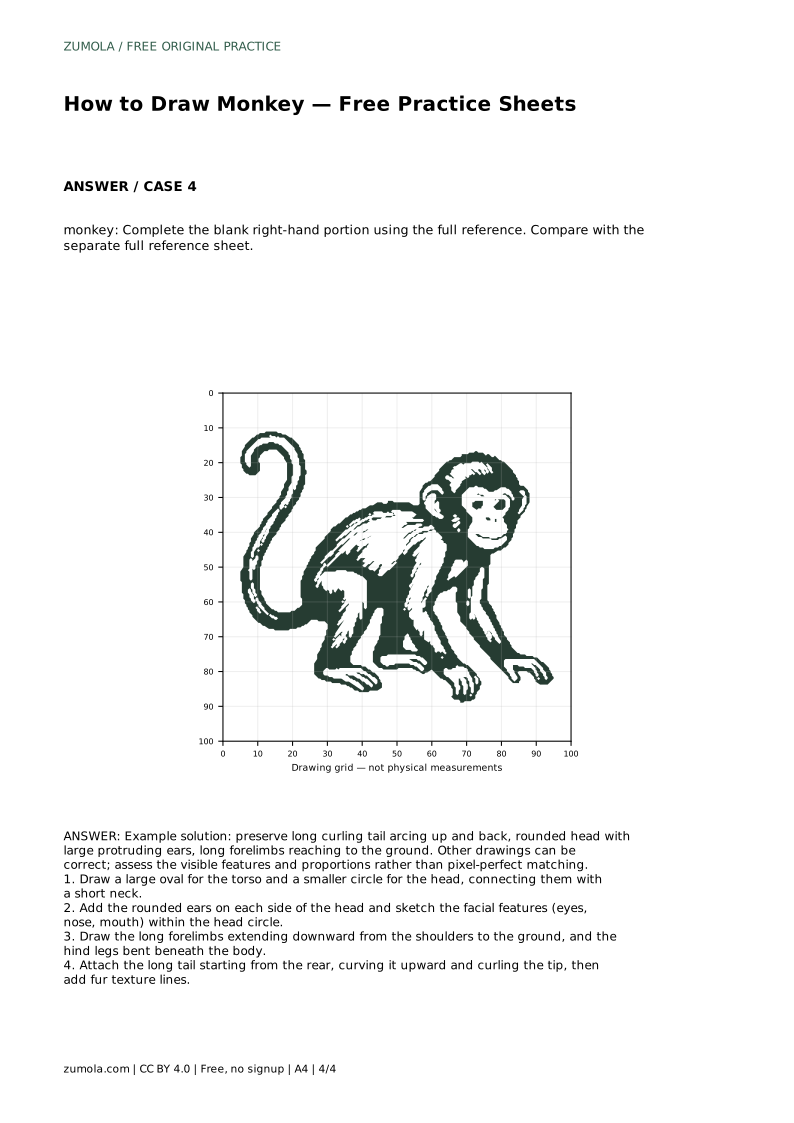
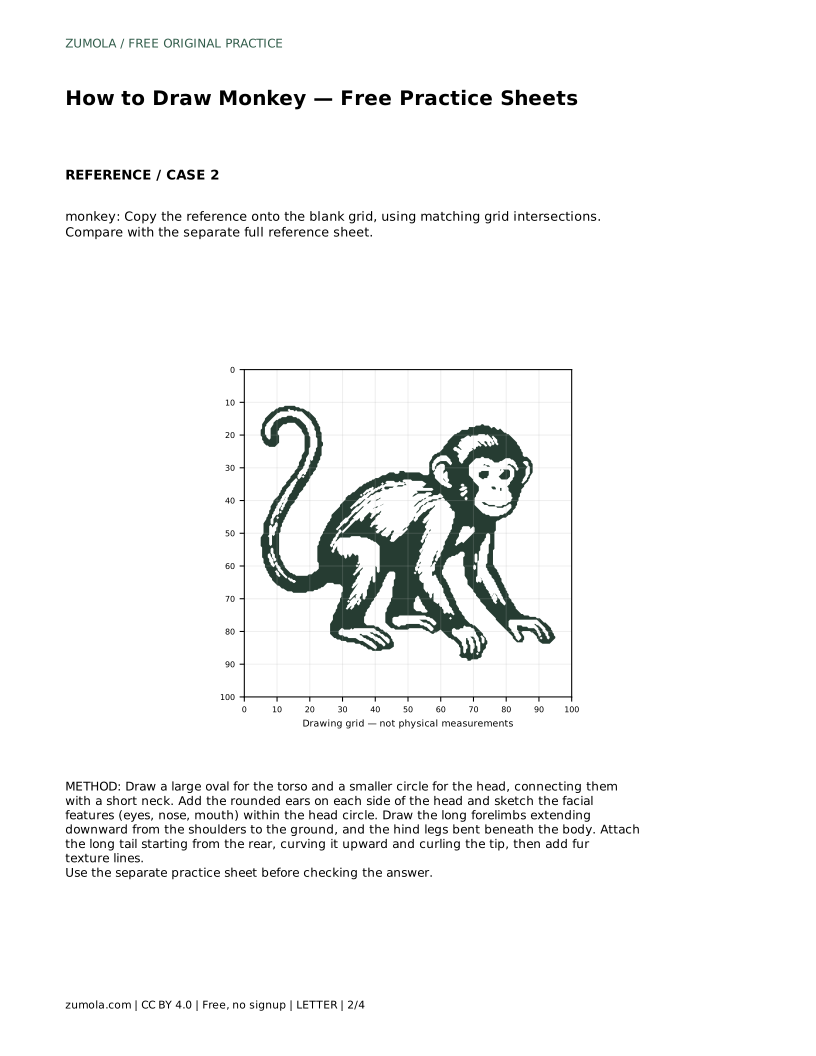
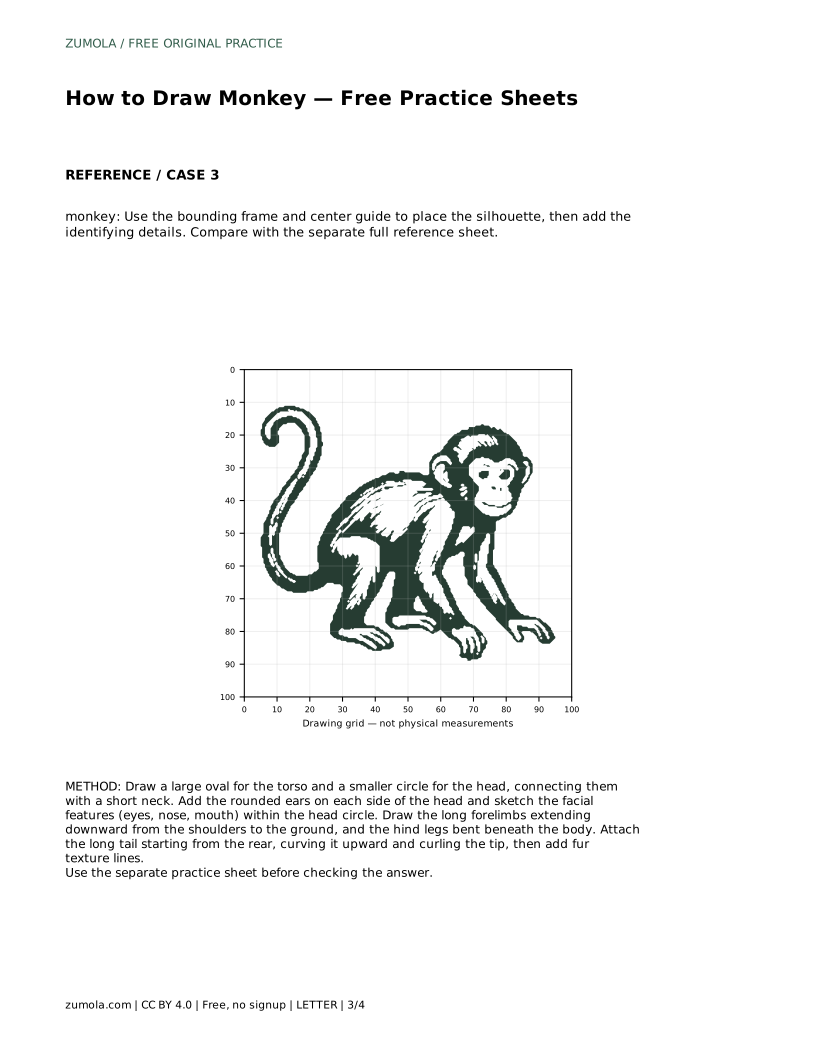
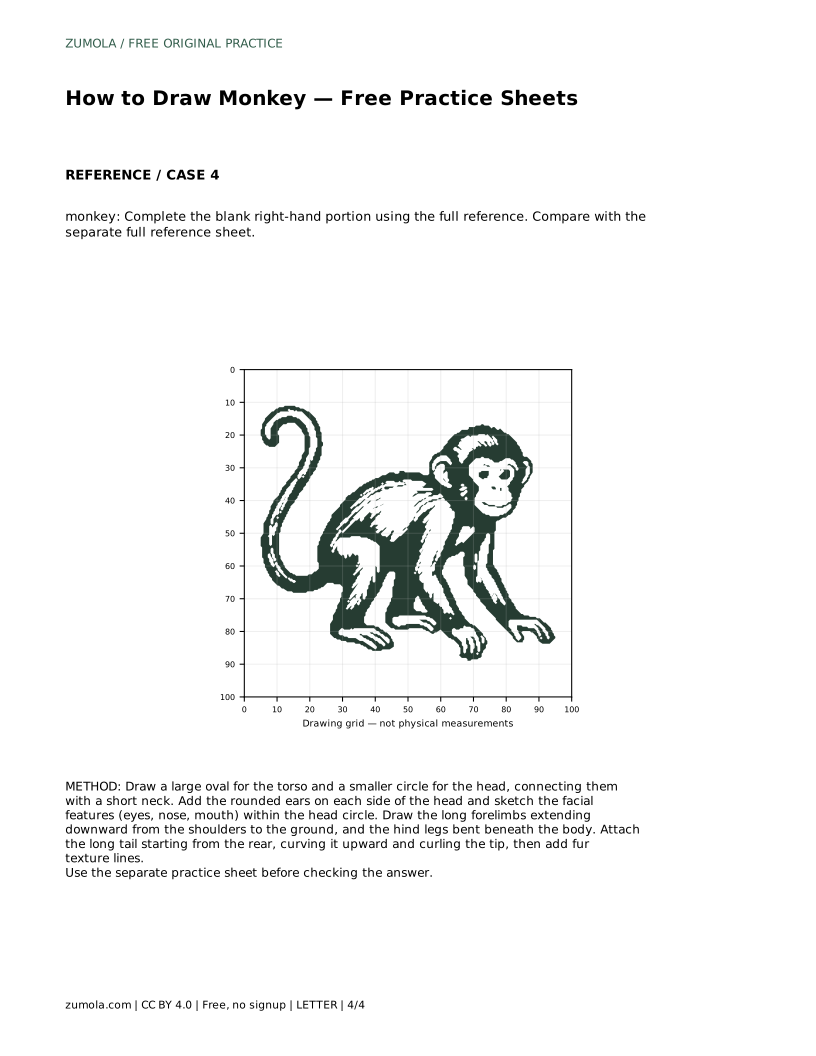
When the drawing is complete, compare it with the separate full reference sheet. Look for the long curling tail arcing up and back, the rounded head with large protruding ears, and the long forelimbs reaching to the ground. Other drawings can be correct; assess the visible features and proportions rather than pixel-perfect matching.
monkey: Trace the reference outline, then practise the contour independently. Compare with the separate full reference sheet.
Example solution: preserve long curling tail arcing up and back, rounded head with large protruding ears, long forelimbs reaching to the ground. Other drawings can be correct; assess the visible features and proportions rather than pixel-perfect matching. Draw a large oval for the torso and a smaller circle for the head, connecting them with a short neck. Add the rounded ears on each side of the head and sketch the facial features (eyes, nose, mouth) within the head circle. Draw the long forelimbs extending downward from the shoulders to the ground, and the hind legs bent beneath the body. Attach the long tail starting from the rear, curving it upward and curling the tip, then add fur texture lines.
No. Other drawings can be correct; assess the visible features and proportions rather than pixel-perfect matching.
Check the long curling tail, the rounded head with large protruding ears, and the long forelimbs reaching to the ground.
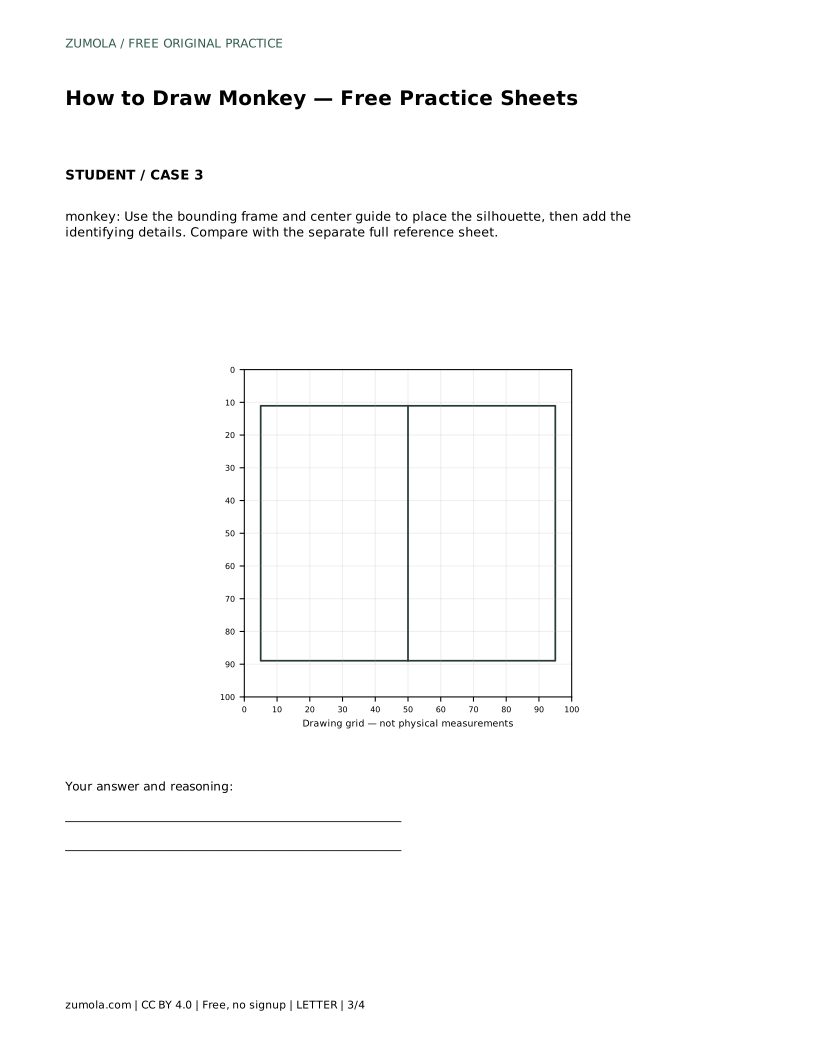
Trace the reference outline first to learn the contour, then practise the contour independently and compare with the full reference sheet.
All drawing practice · Free coordinate paper
Original resources · CC BY 4.0 · Free for personal and classroom use with attribution.