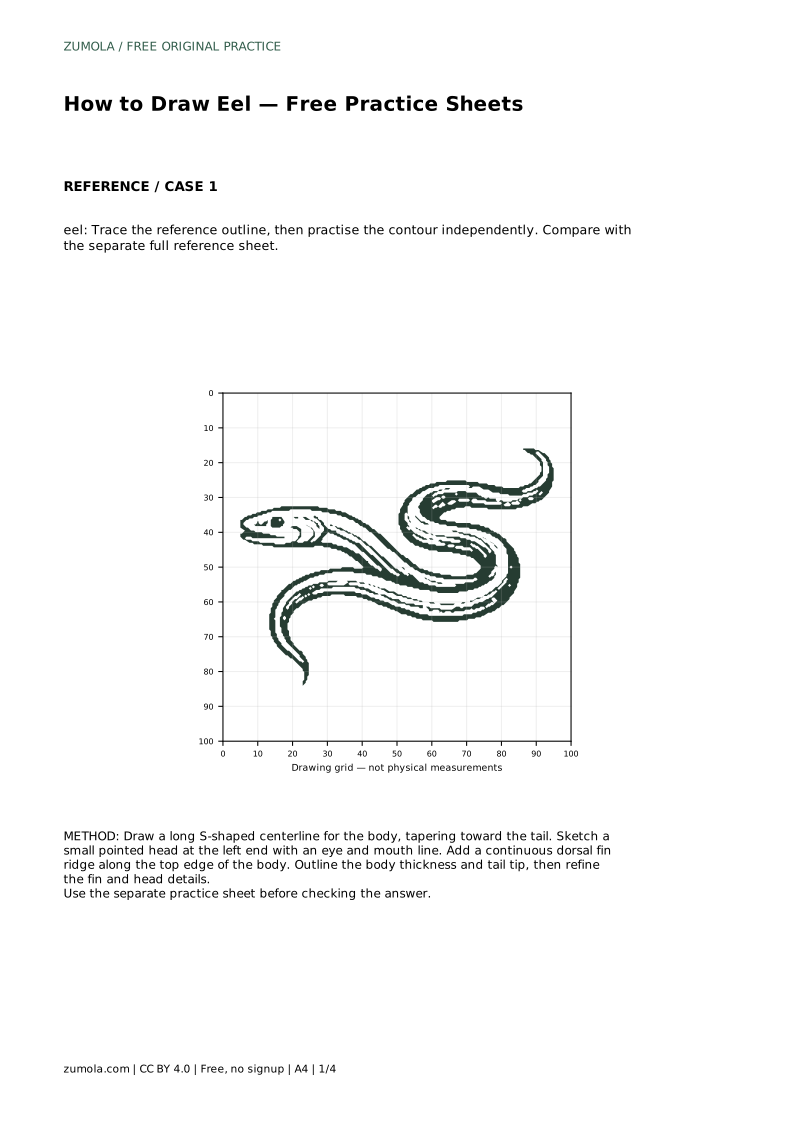
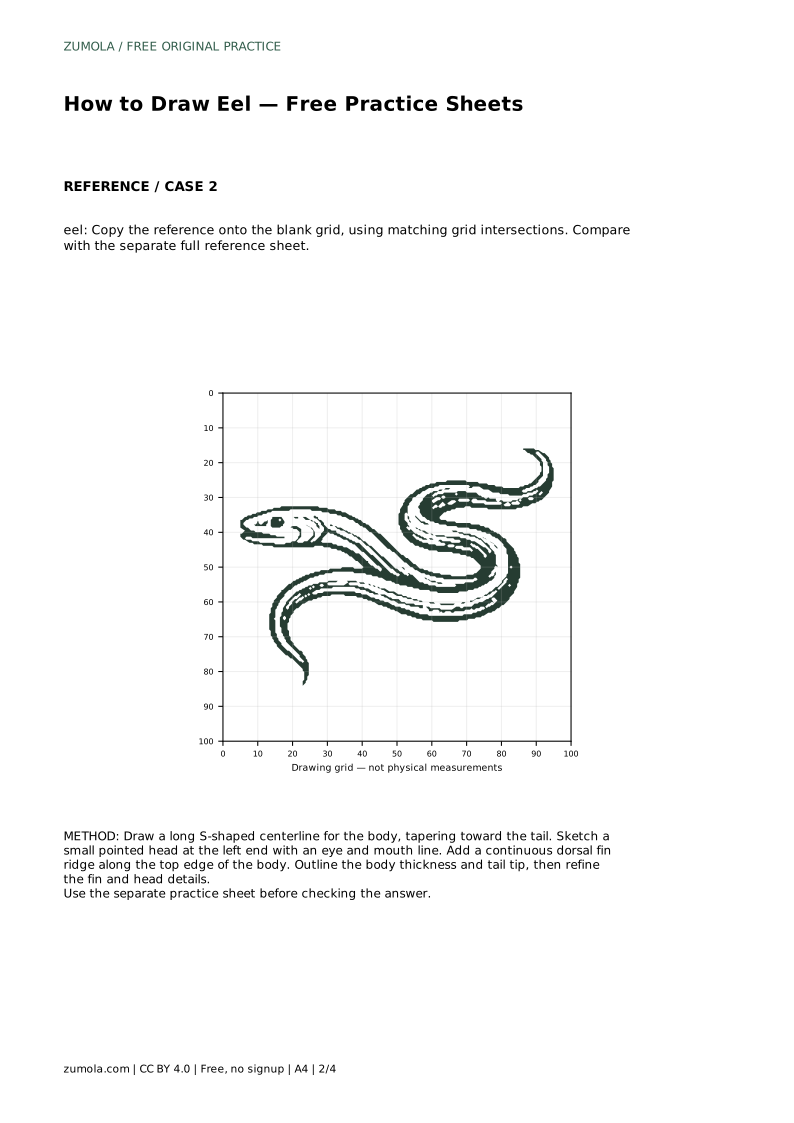
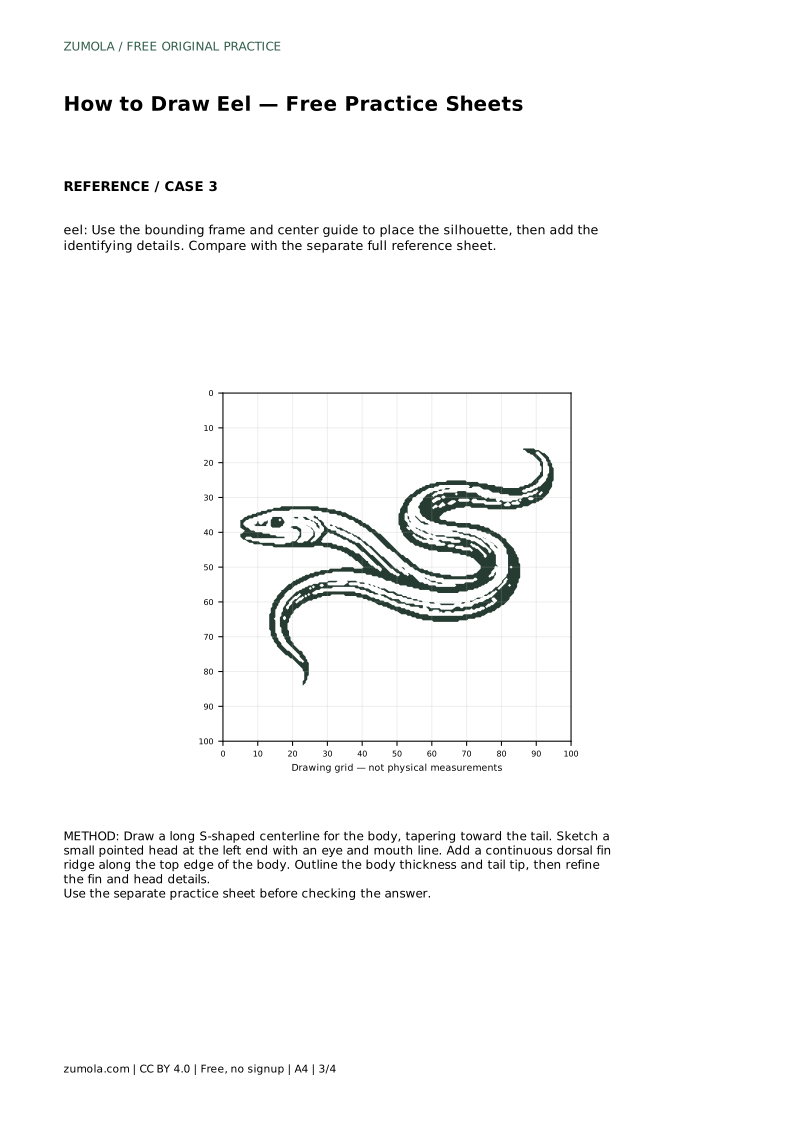
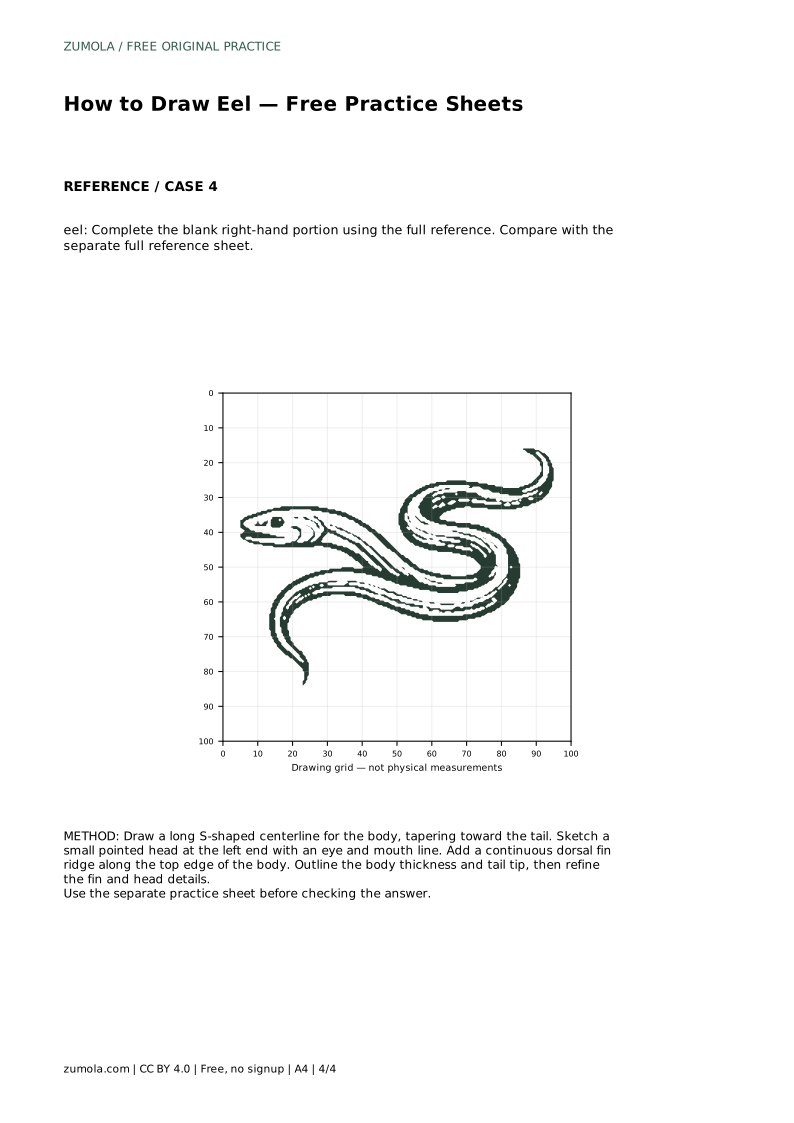
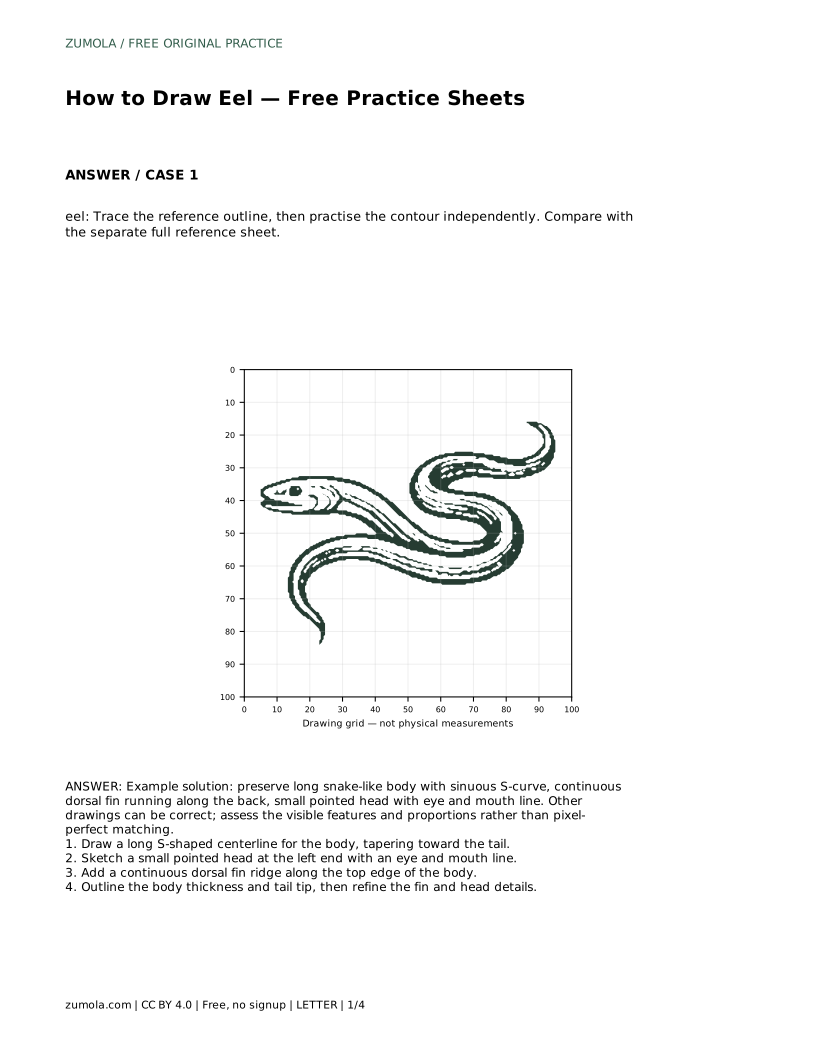
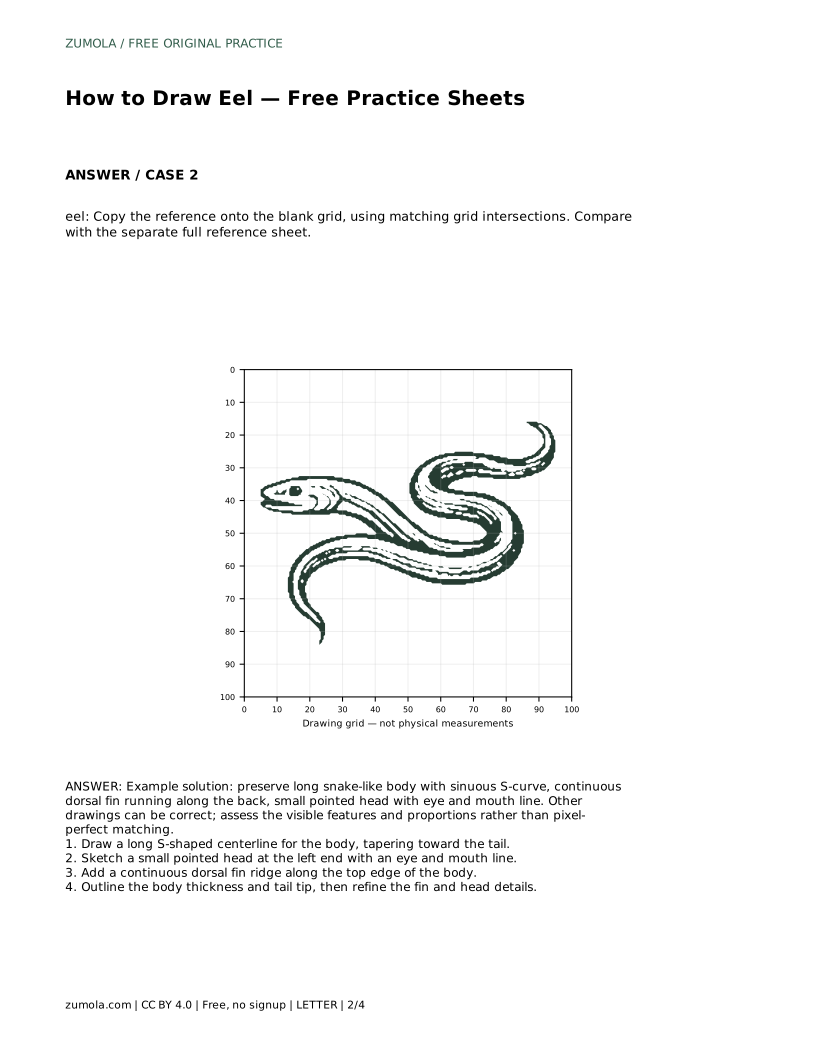
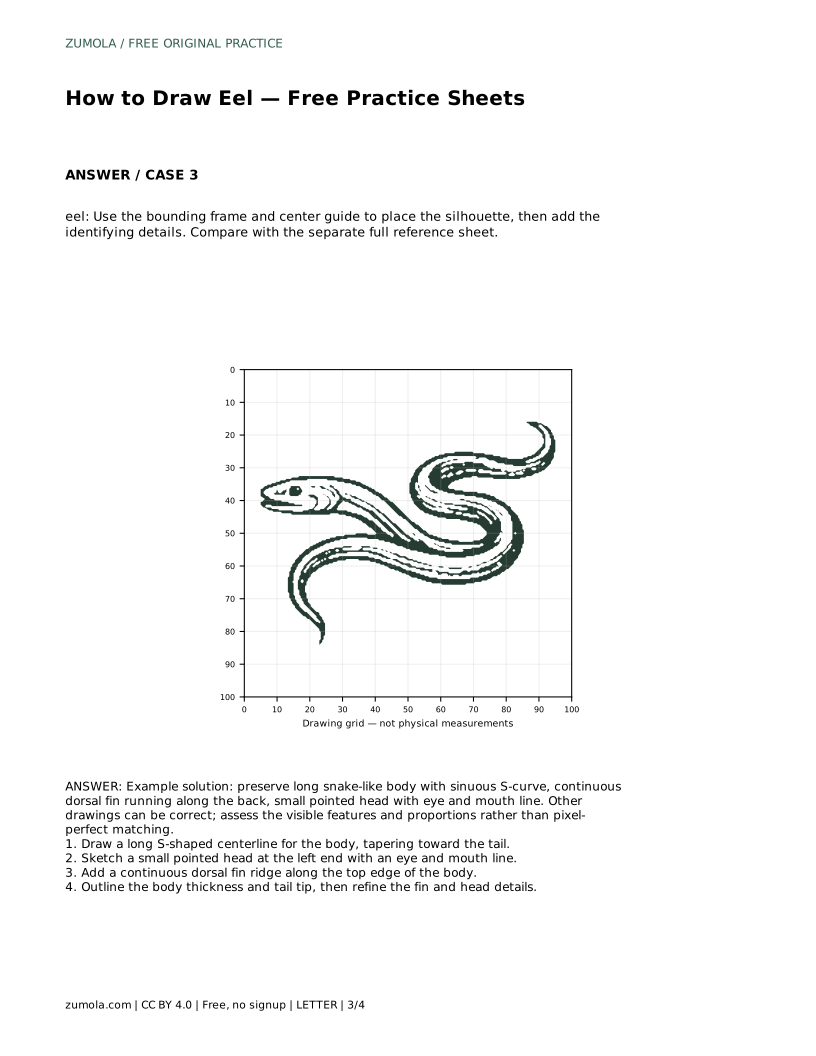
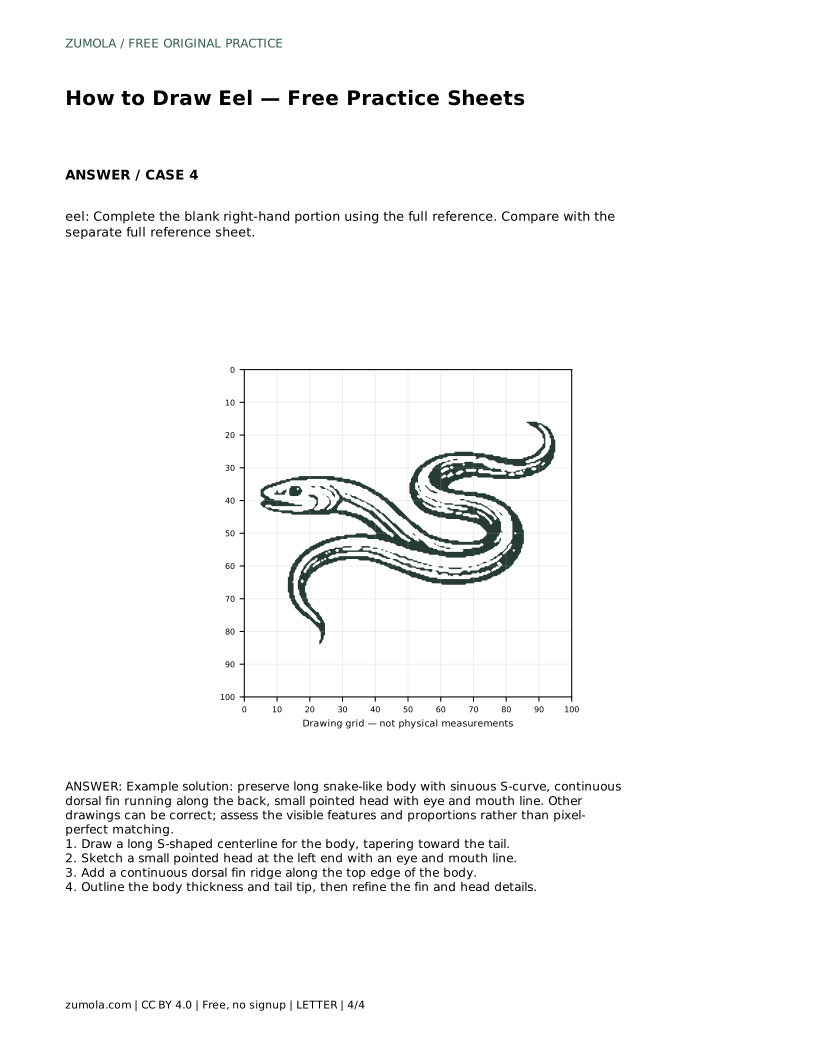
Reference diagrams
LETTER · Download PDF
A4 · Download PDF
Free original resources
Learn to draw an eel with a long S-curve body, pointed head, and continuous dorsal fin. Trace, grid, and complete-the-drawing practice sheets support each step.
Four original cases, with reference diagrams, practice sheets and worked answers. Everything is free; no signup required.
LETTER · Download PDF
A4 · Download PDF
LETTER · Download PDF
A4 · Download PDF
LETTER · Download PDF
A4 · Download PDF
Use A4 or US Letter to match your printer. Use the stated values and conditions to solve each exercise; diagrams are not physical measuring rulers.
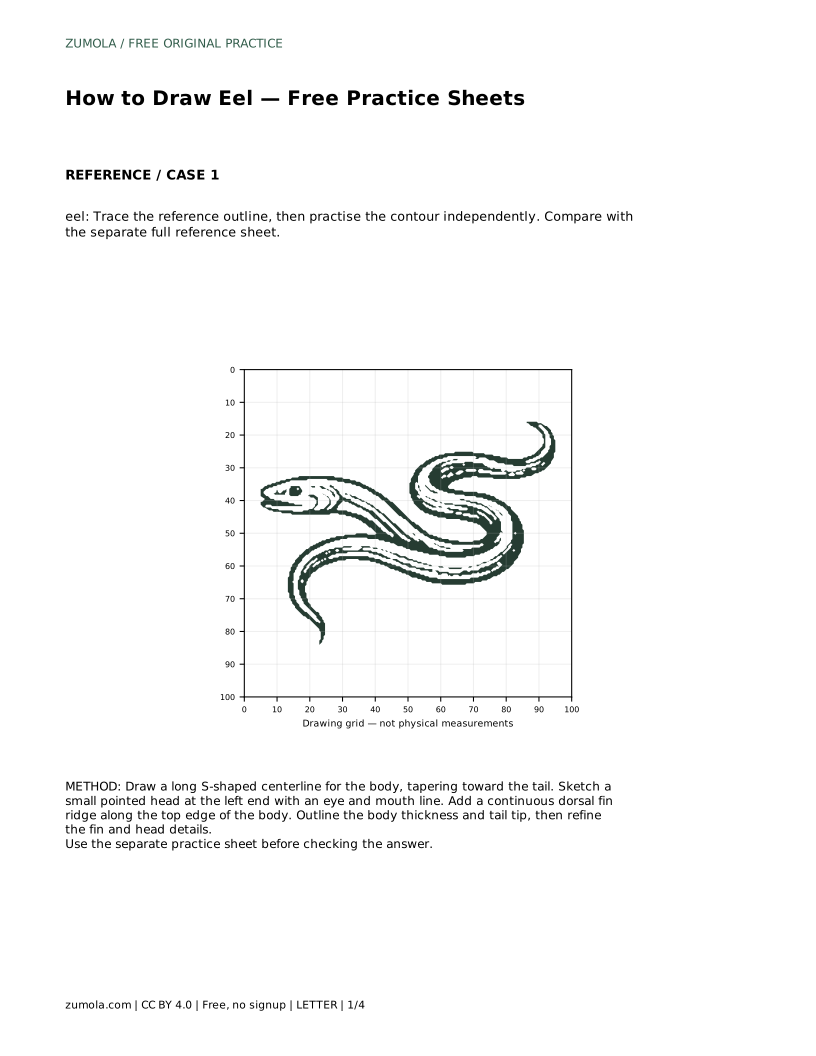
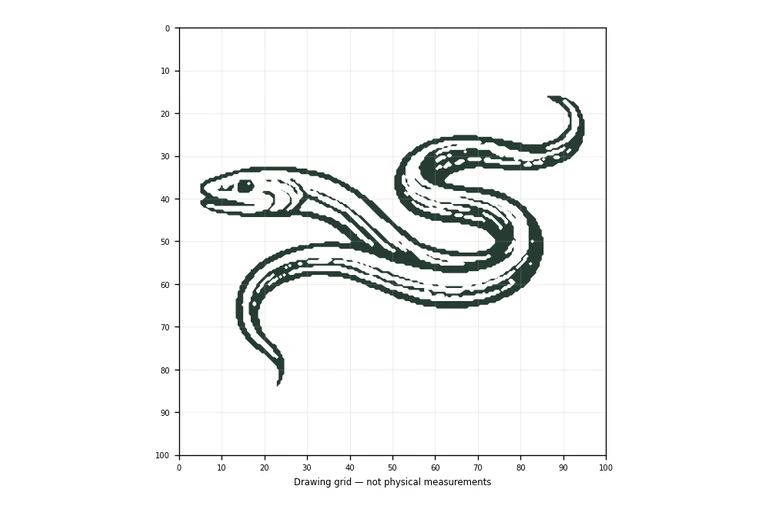
Eels are easy to recognize but surprisingly tricky to draw well. Their long, snake-like bodies curve through the water, and a single wobbly line can make the whole drawing look stiff or lumpy. This page walks you through the key features that make an eel read as an eel: a sinuous S-curve, a tapering tail, a small pointed head, and a continuous dorsal fin running along the back. The practice sheets let you trace, copy on a grid, place a silhouette inside a frame, and finish a half-drawn eel.
Most beginners draw the outer edge of the body first, then discover the curve is uneven and the thickness changes unpredictably. A better order is to draw a single long S-shaped centerline from head to tail, tapering it as it approaches the tail tip. This line is the spine of your drawing and controls the whole pose.
Keep the S gentle. An eel's body bends smoothly rather than zigzagging, so aim for two soft curves: one near the head and one toward the tail. The centerline should get thinner toward the tail end, because the body narrows there. Once the centerline feels right, you can build thickness on both sides of it.
The head is small relative to the body and comes to a point. Place the eye just behind the tip and draw a short mouth line along the lower edge of the head. Avoid making the head large or round; a big round head turns the drawing into a fish or a snake rather than an eel.
The dorsal fin is the feature that most clearly separates an eel from a snake. It runs continuously along the top edge of the body, from behind the head toward the tail, without gaps. Draw it as a low ridge that follows the same S-curve as the body. Keep the fin height modest and even, and let it merge into the tail tip rather than stopping abruptly.
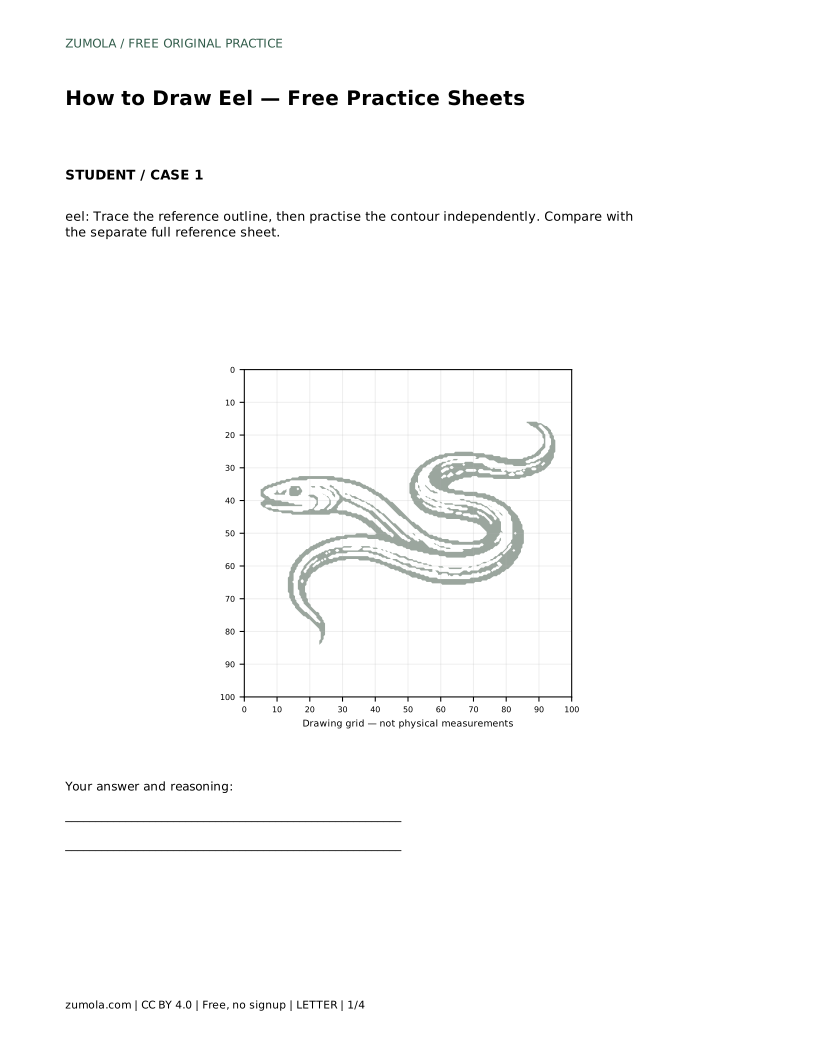
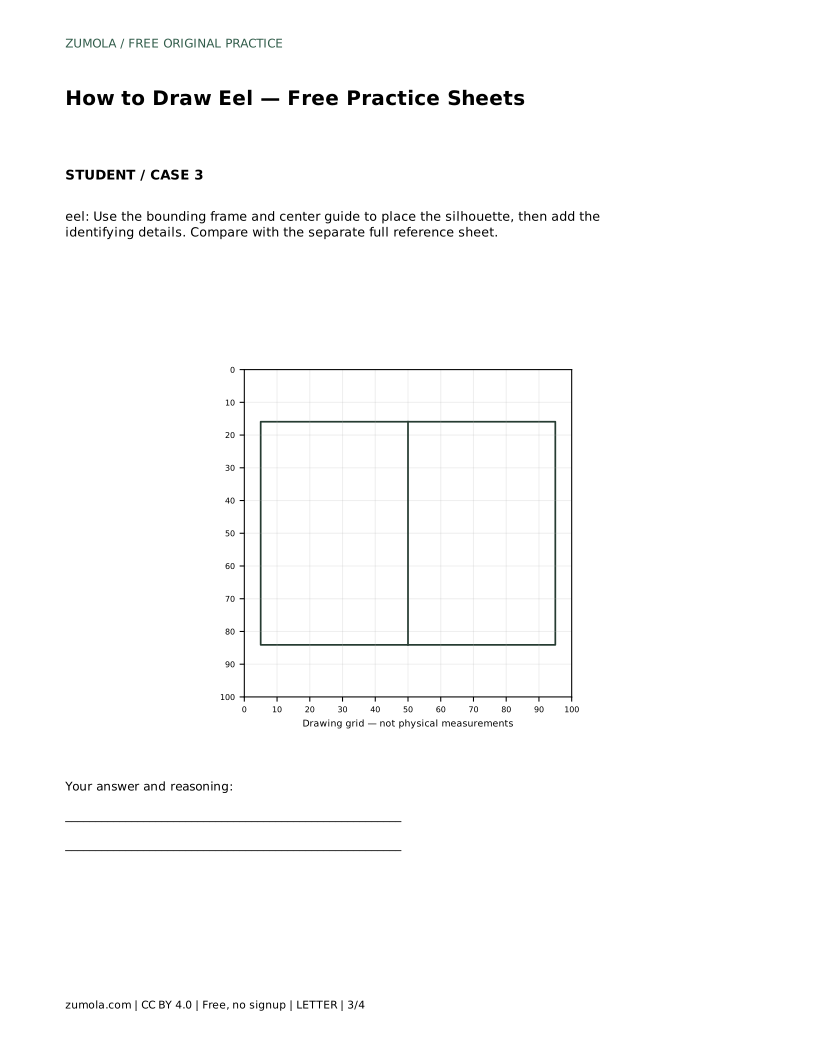
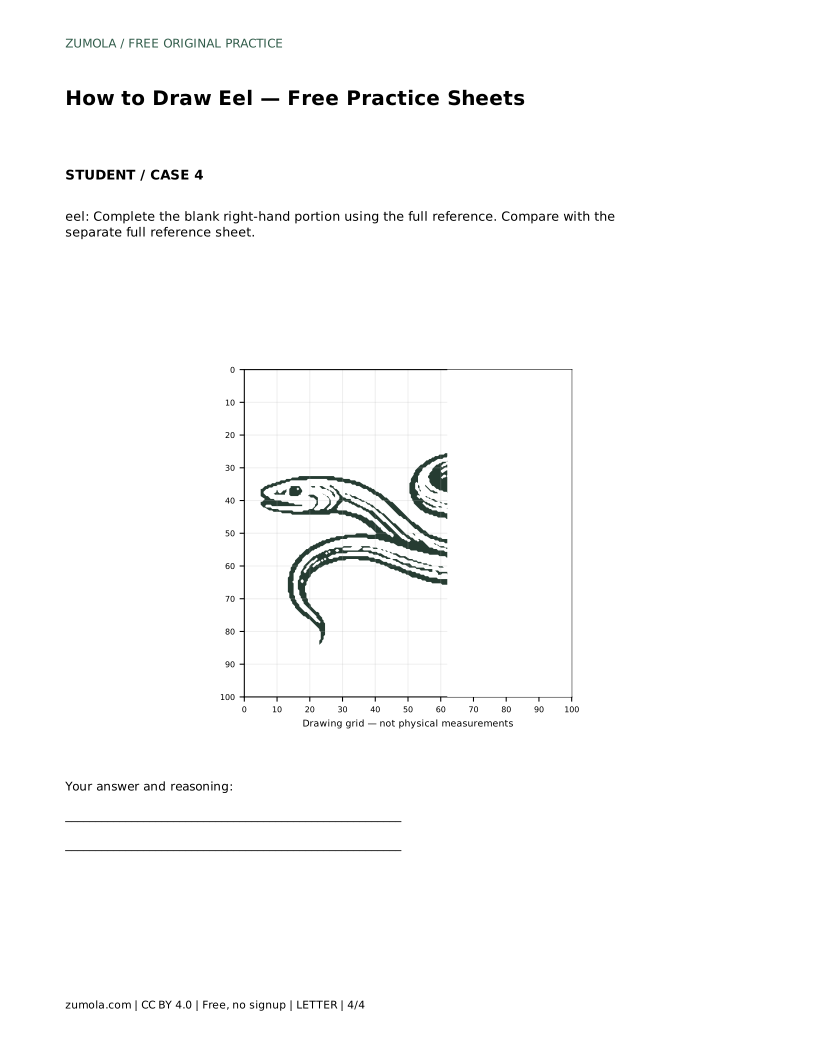
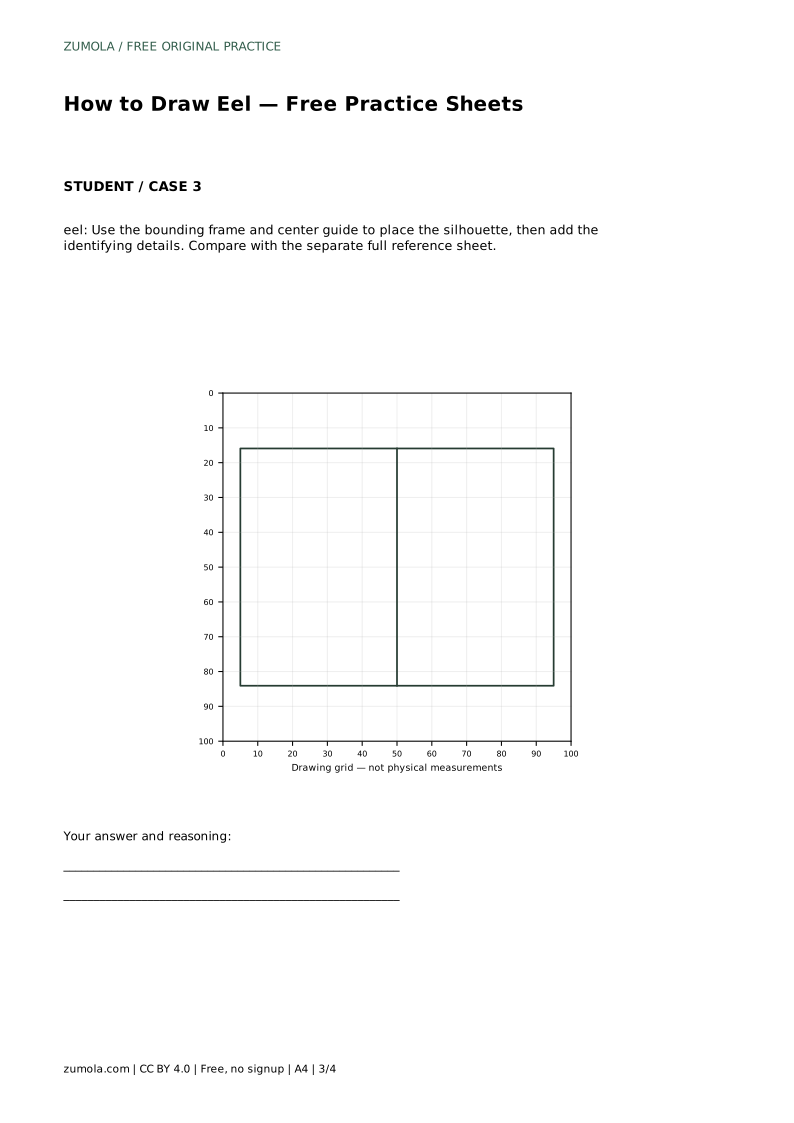
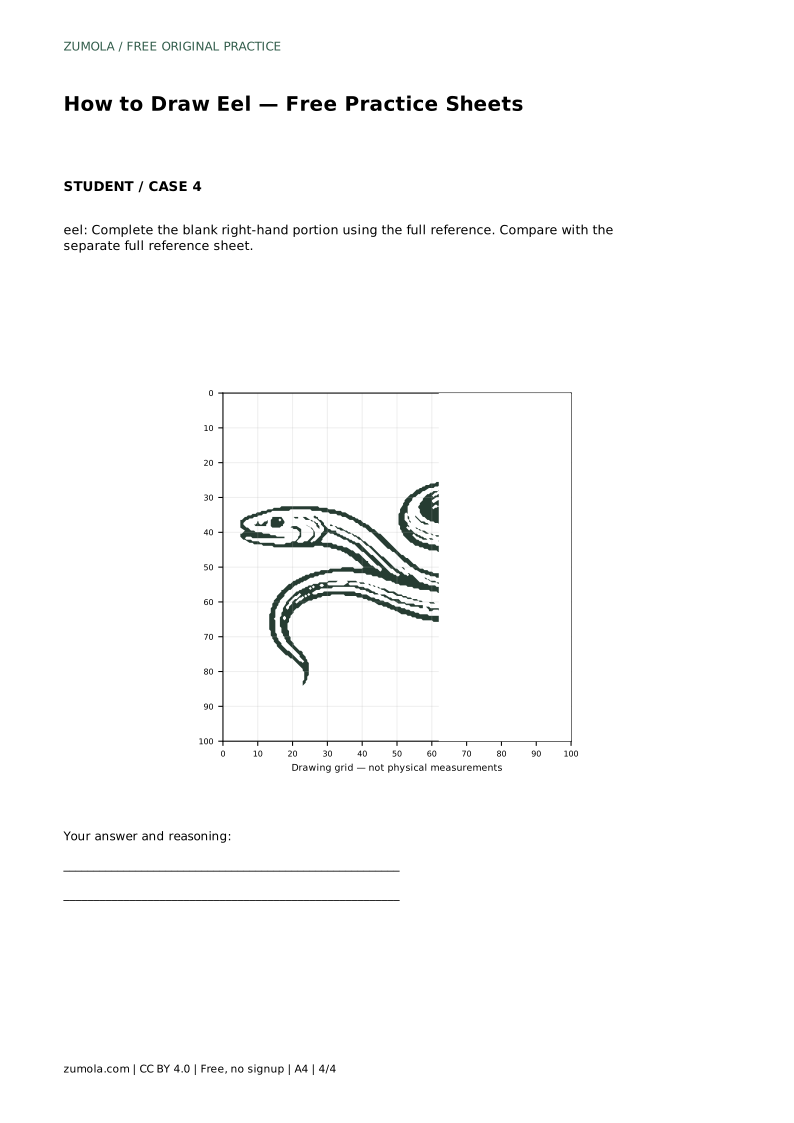
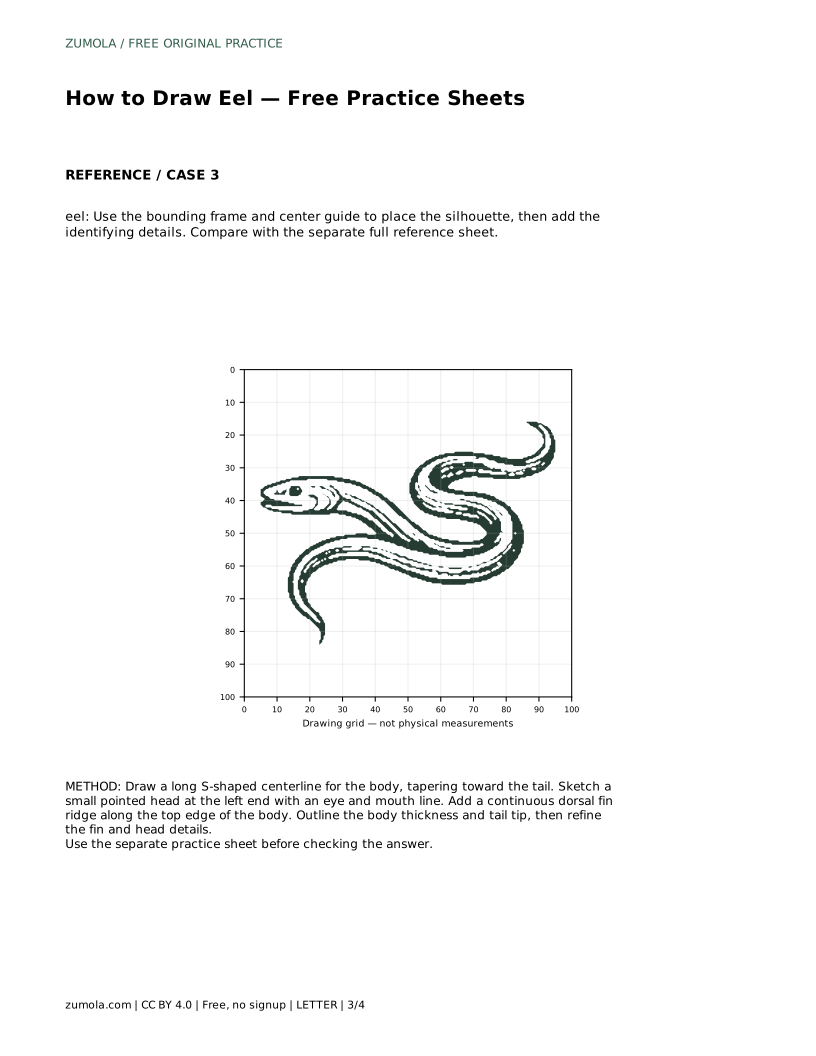
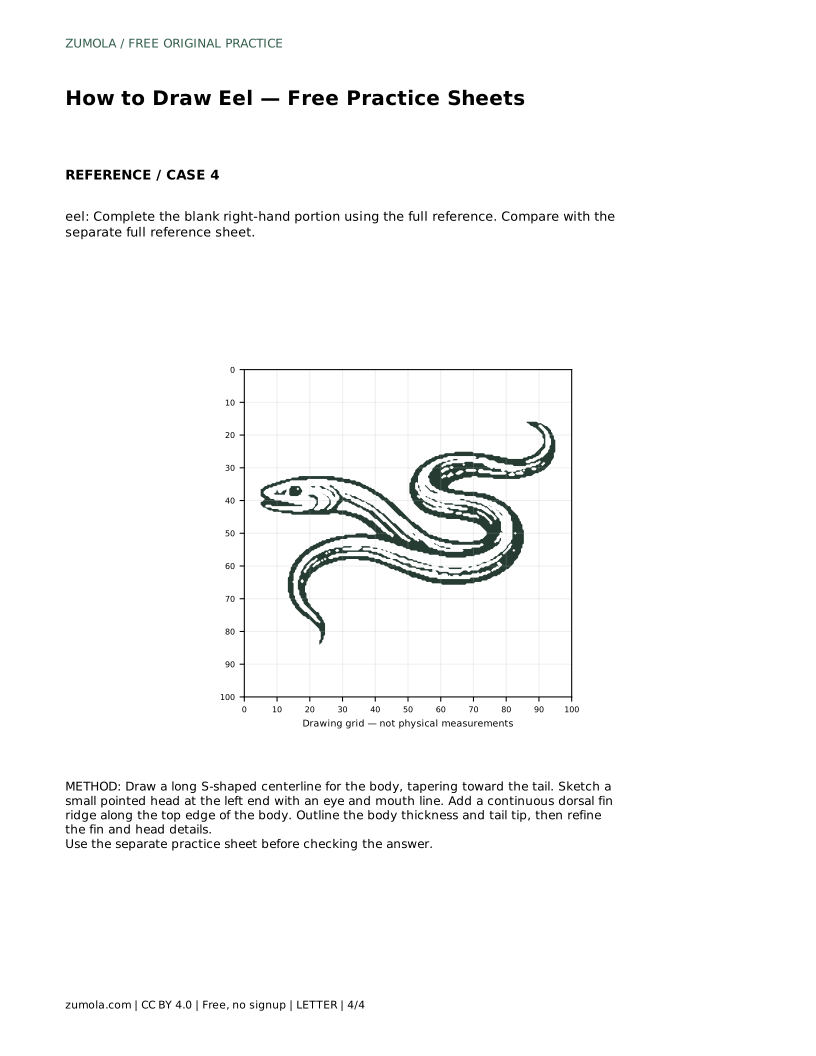
Each sheet format trains a different part of the skill. Tracing the reference outline builds familiarity with the curve and fin placement. Copying onto a blank grid asks you to judge position and proportion using matching grid intersections. The bounding frame and center guide help you place the silhouette before adding details. The complete-the-drawing sheet gives you the left portion and asks you to finish the right side using the full reference.
After any format, compare your drawing with the separate full reference sheet. Check the S-curve, the taper toward the tail, the continuous fin, and the small pointed head. Small differences in curve shape are fine; the goal is to preserve the visible features and proportions.
Once the centerline and fin are in place, outline the body thickness on both sides. Keep the thickness fairly consistent through the middle and narrow it gradually toward the tail. A common problem is a body that bulges in the middle and then pinches suddenly, which looks like two different animals joined together.
Finish the tail tip as a clean taper that meets the fin. Then check the whole drawing at a glance: does the body read as one continuous sinuous form? If the curve looks stiff, redraw the centerline rather than patching the outline.
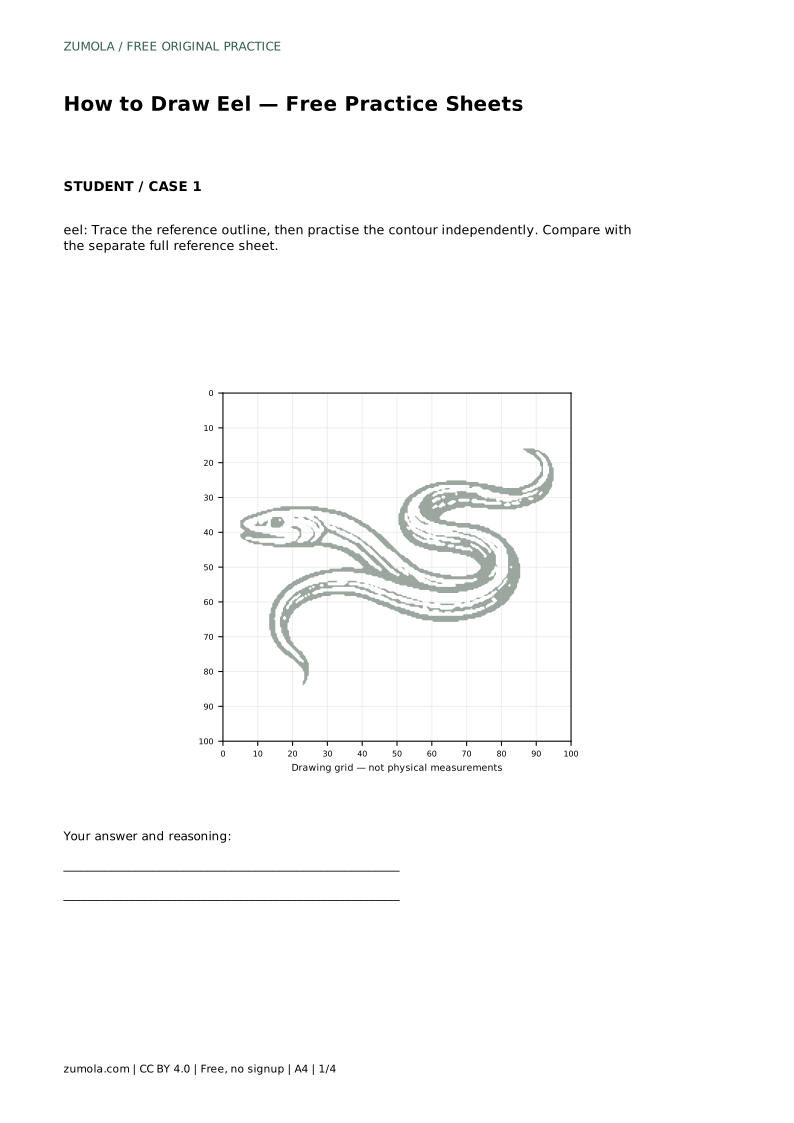
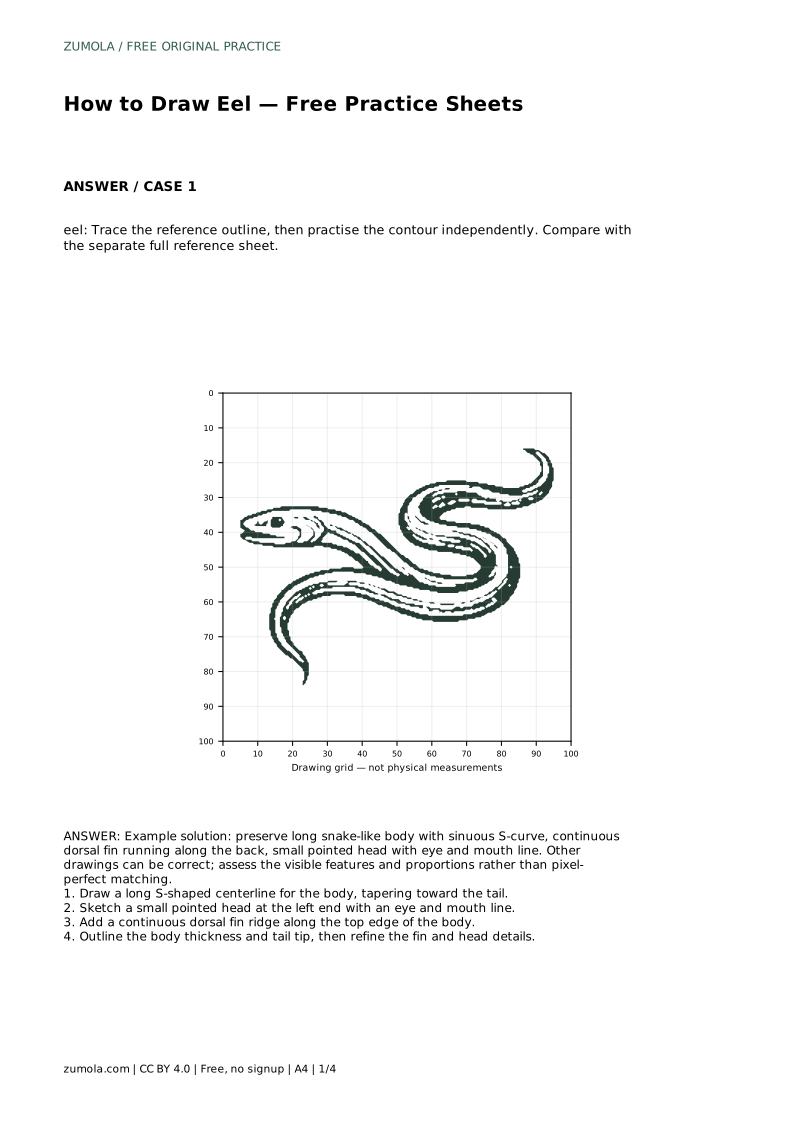
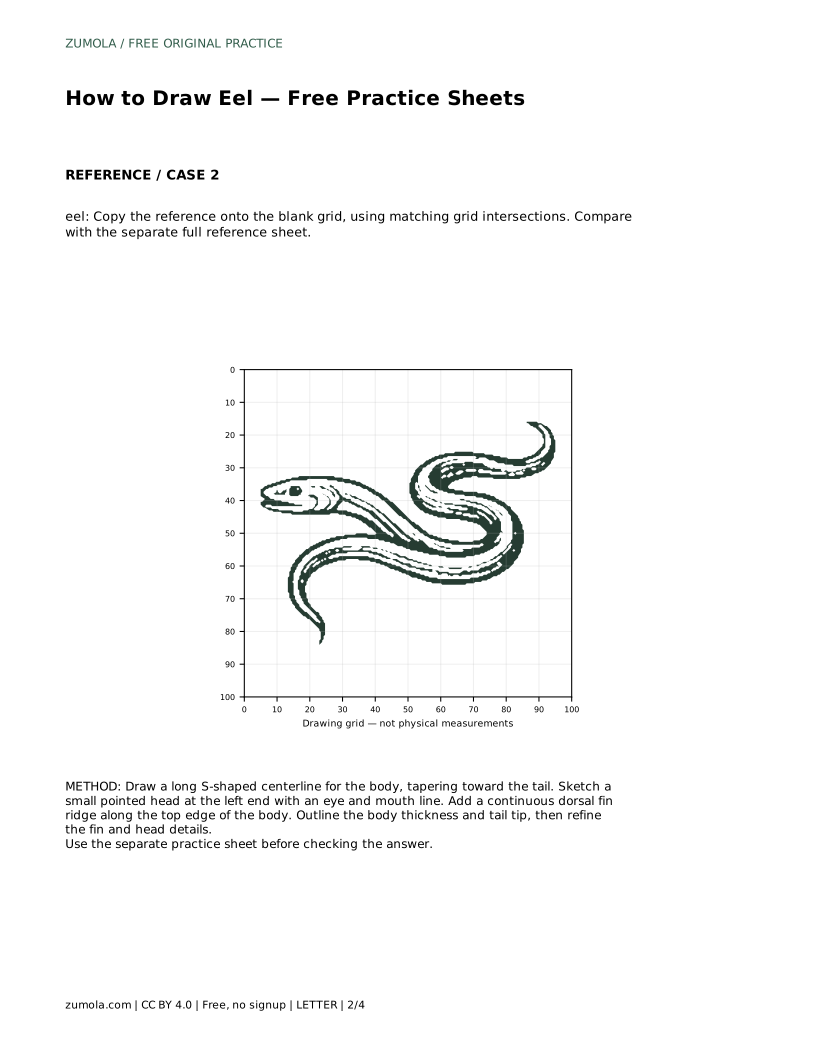
eel: Trace the reference outline, then practise the contour independently. Compare with the separate full reference sheet.
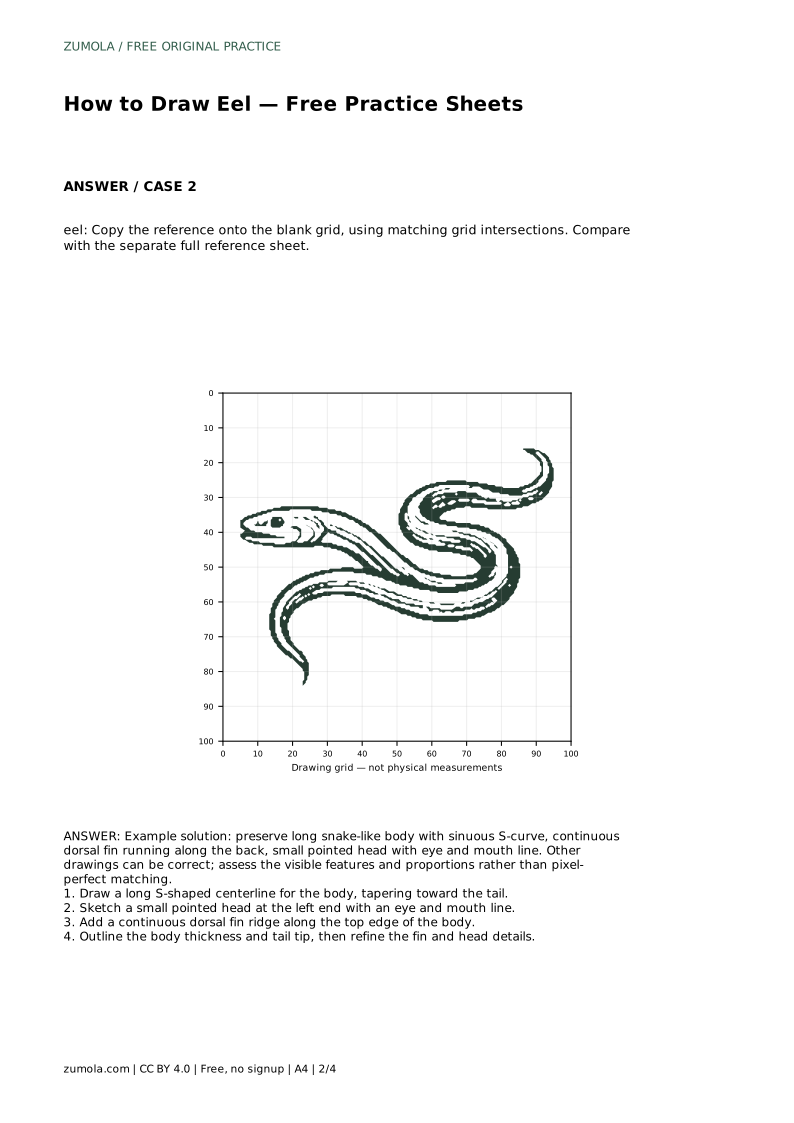
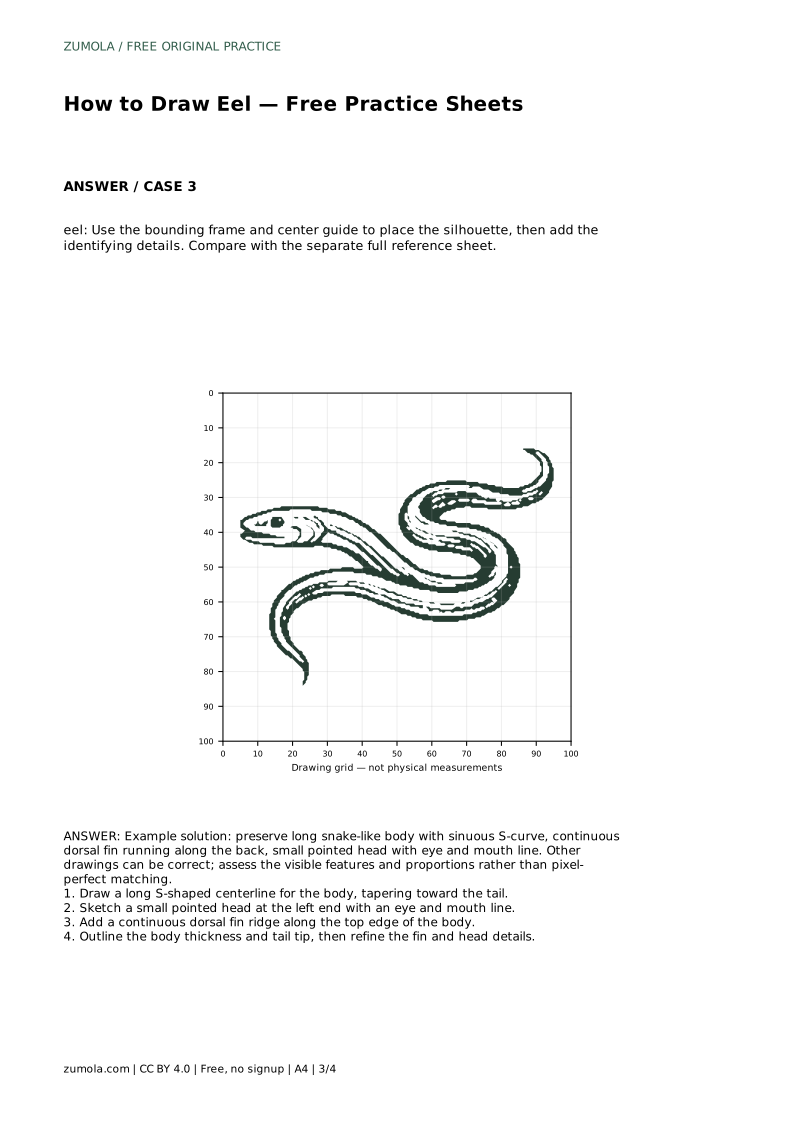
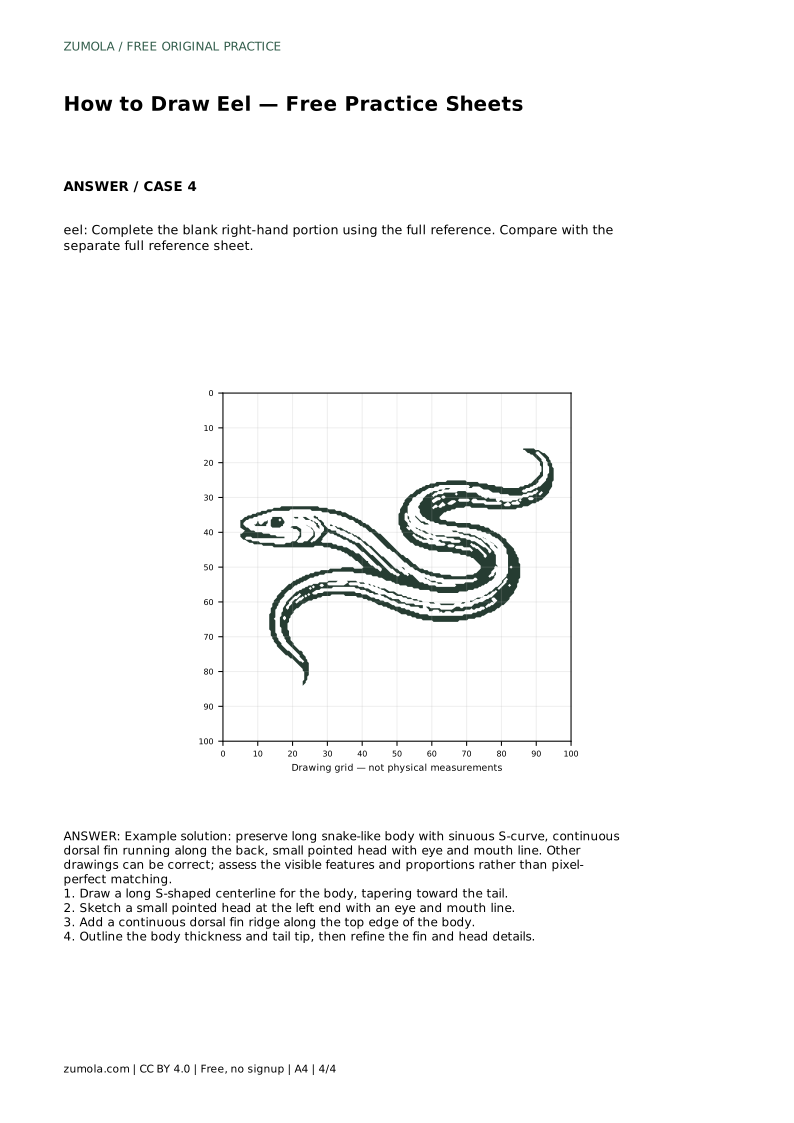
Example solution: preserve long snake-like body with sinuous S-curve, continuous dorsal fin running along the back, small pointed head with eye and mouth line. Other drawings can be correct; assess the visible features and proportions rather than pixel-perfect matching. Draw a long S-shaped centerline for the body, tapering toward the tail. Sketch a small pointed head at the left end with an eye and mouth line. Add a continuous dorsal fin ridge along the top edge of the body. Outline the body thickness and tail tip, then refine the fin and head details.
No. Other drawings can be correct. Assess the visible features and proportions, such as the S-curve, continuous dorsal fin, and small pointed head, rather than pixel-perfect matching.
Start with the trace sheet to learn the curve and fin placement, then move to the grid, frame, and complete-the-drawing formats as your confidence grows.
A snake lacks the continuous dorsal fin along the back. Adding that unbroken fin ridge and keeping the head small and pointed helps the drawing read as an eel.
All drawing practice · Free coordinate paper
Original resources · CC BY 4.0 · Free for personal and classroom use with attribution.