Reference diagrams
LETTER · Download PDF
A4 · Download PDF
Free original resources
Learn to draw a dragonfly with four long wings, a segmented body, and large eyes. Trace, grid, and complete-the-picture practice build the same core skills.
Four original cases, with reference diagrams, practice sheets and worked answers. Everything is free; no signup required.
LETTER · Download PDF
A4 · Download PDF
LETTER · Download PDF
A4 · Download PDF
LETTER · Download PDF
A4 · Download PDF
Use A4 or US Letter to match your printer. Use the stated values and conditions to solve each exercise; diagrams are not physical measuring rulers.
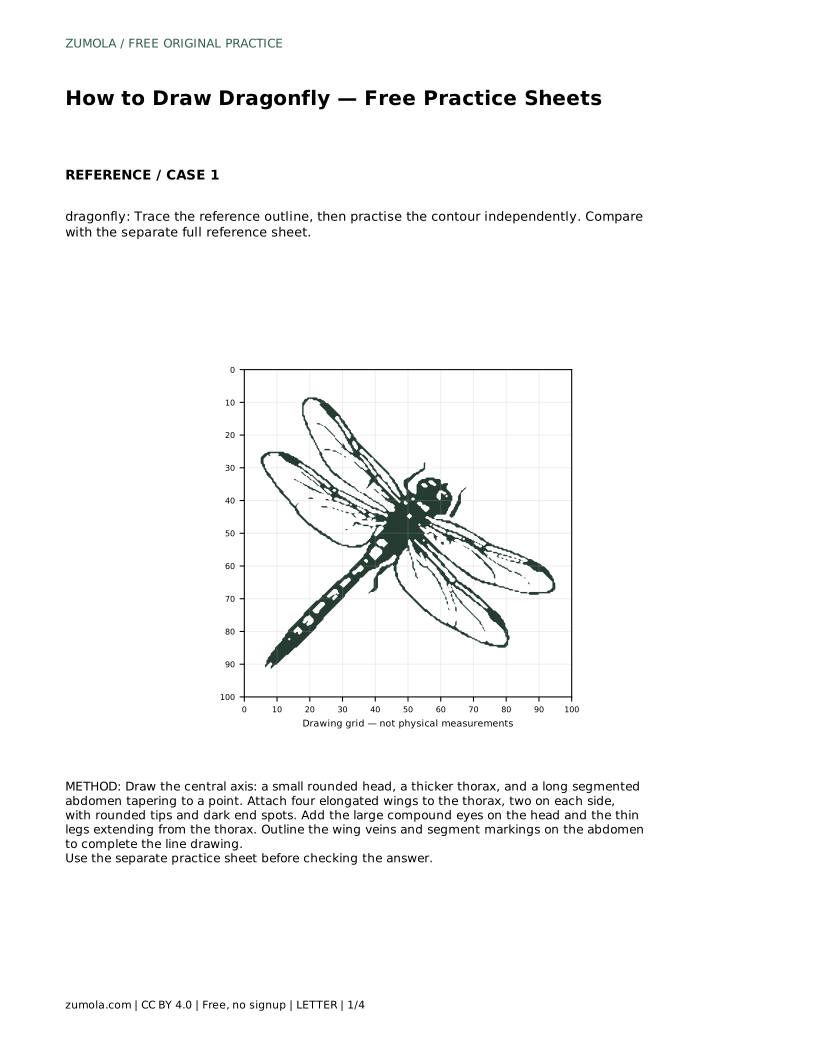
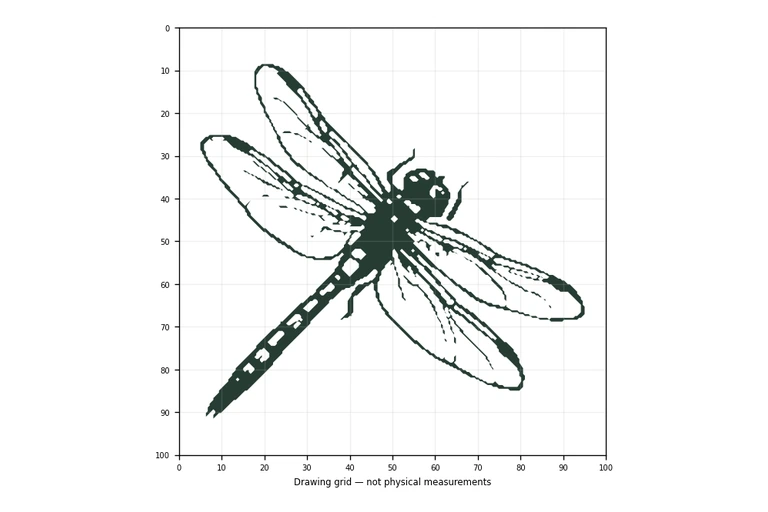
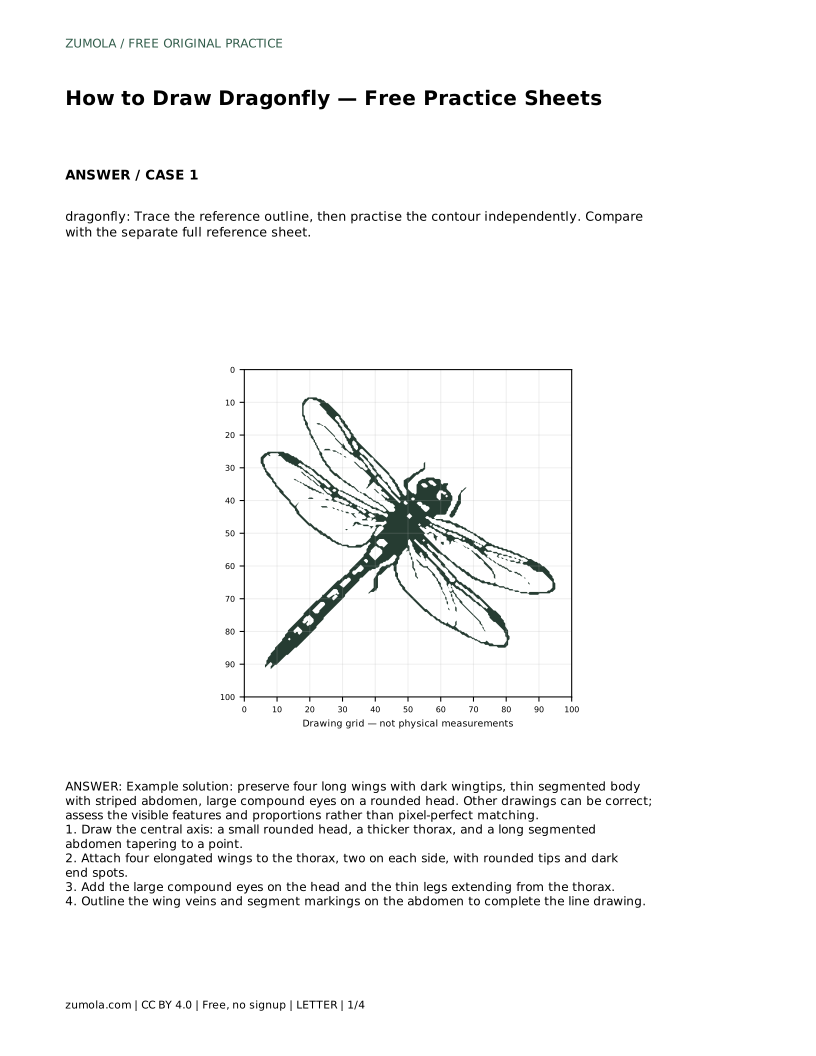
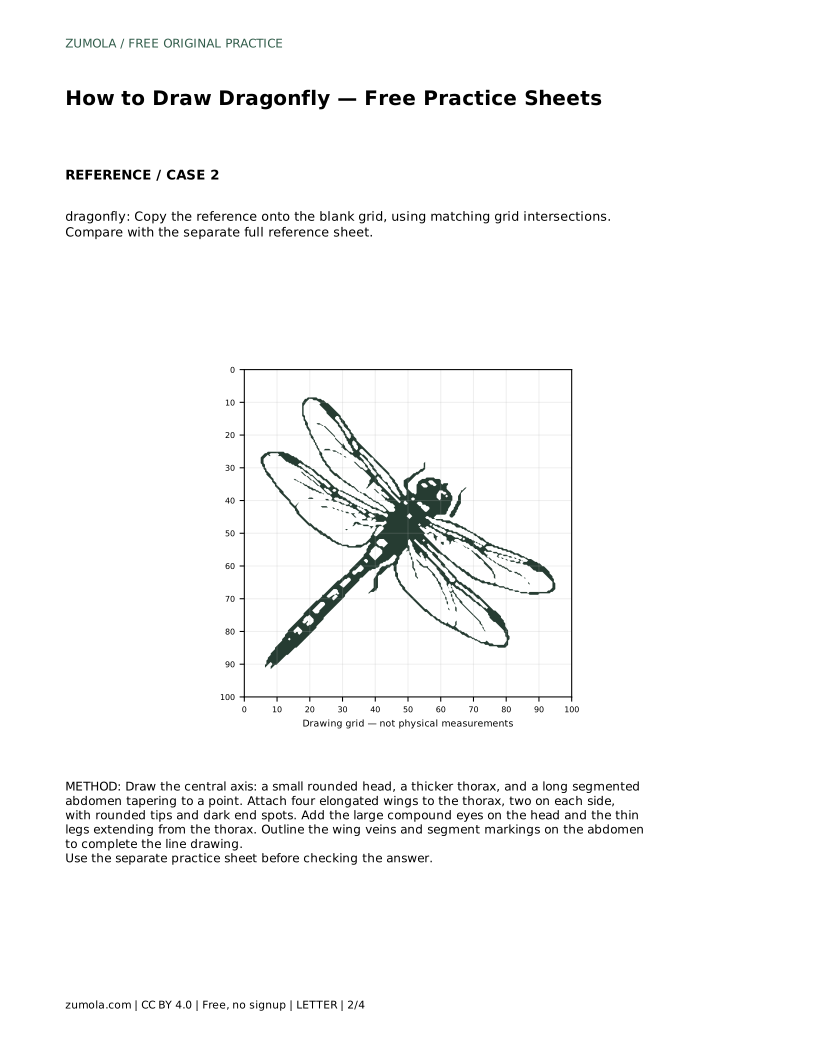
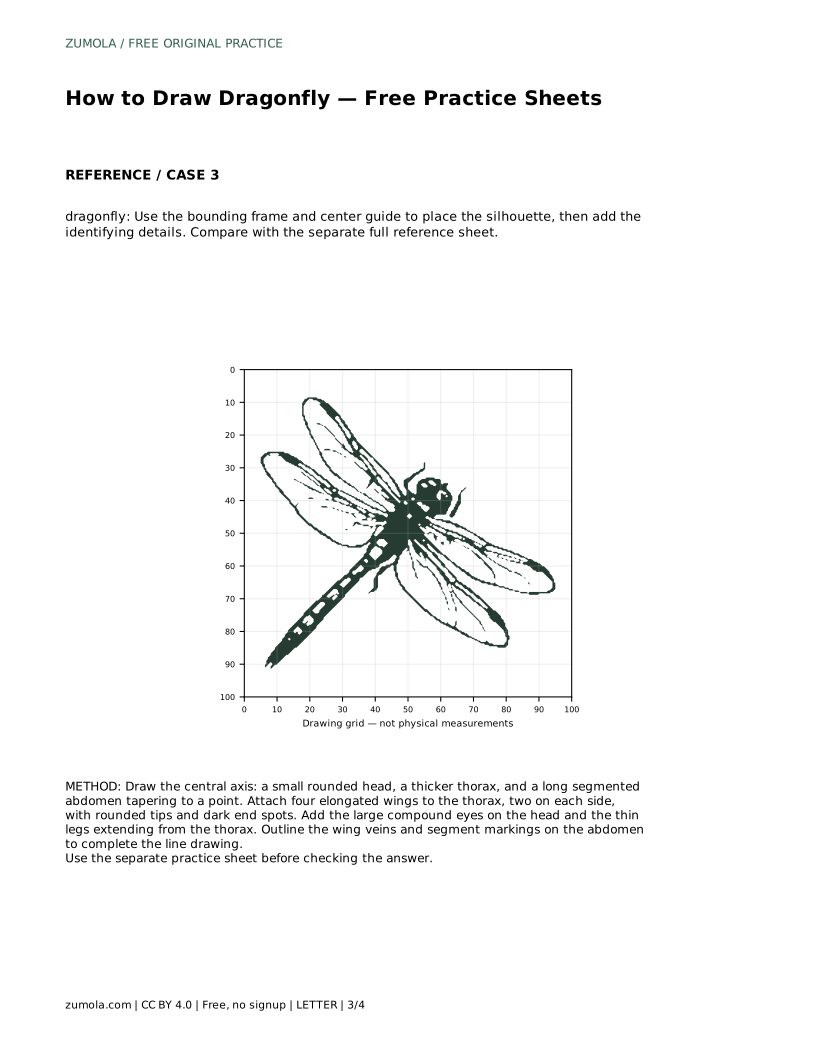
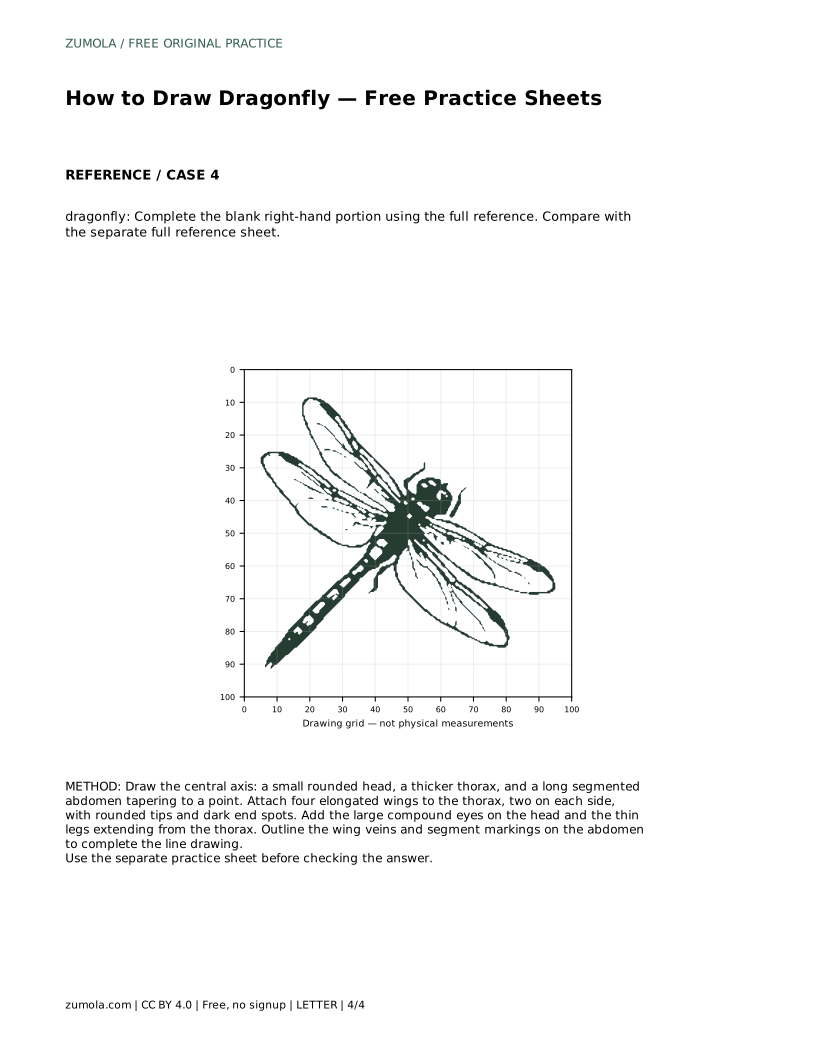
A dragonfly is a rewarding subject because its structure is clear: a small rounded head with large compound eyes, a thicker thorax, a long segmented abdomen that tapers to a point, and four elongated wings. This page teaches a simple step-by-step method, then shows how tracing, grid copying, and partial-outline practice each train a different part of the same skill. Draw lightly at first so you can adjust proportions before committing to darker lines.
Start with the body, not the wings. Draw a small rounded head, then a thicker oval thorax directly behind it, then a long abdomen made of short segments that narrow toward the tip. Keeping these three parts on one gentle line gives the insect its balanced silhouette. The abdomen should be clearly longer than the thorax, and the head should stay small relative to both.
Once the axis reads correctly, attach the wings. A dragonfly has four elongated wings, two on each side, joined at the thorax. Draw them long and narrow with rounded tips, spreading outward and slightly back. Add a dark spot near each wingtip, then place the large compound eyes on the head and thin legs extending from the thorax. Finish with light wing veins and segment stripes on the abdomen.
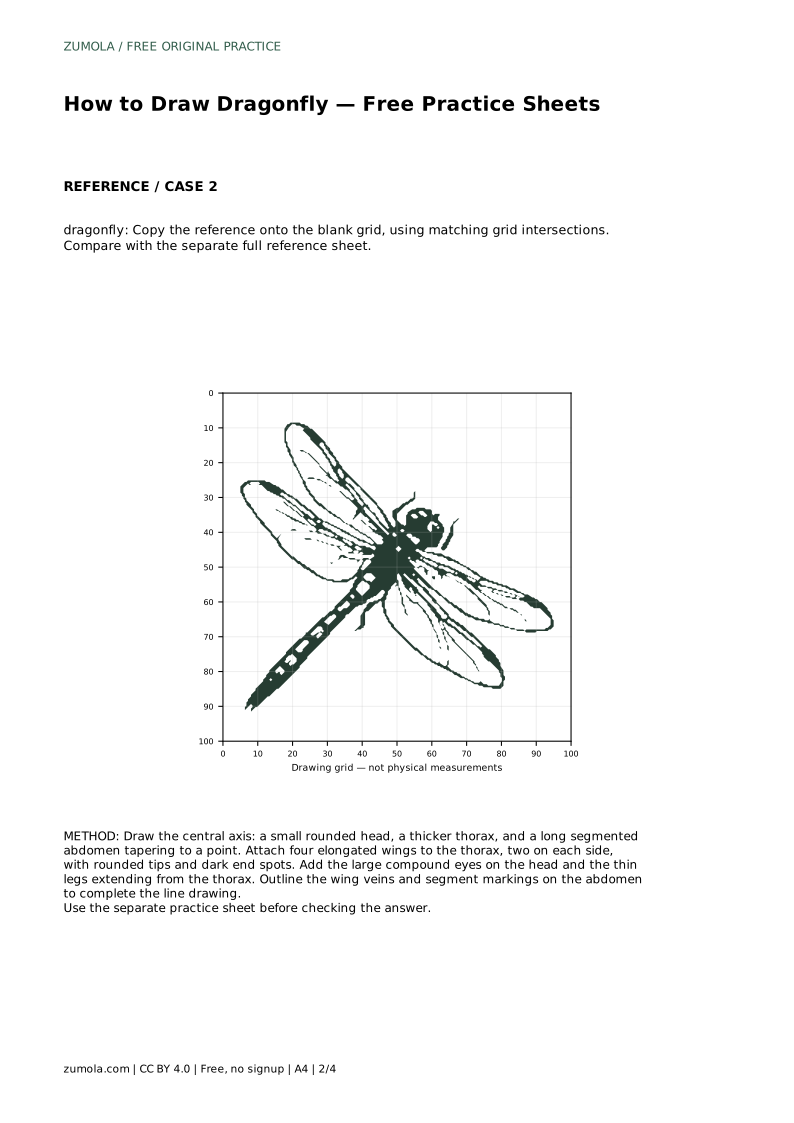
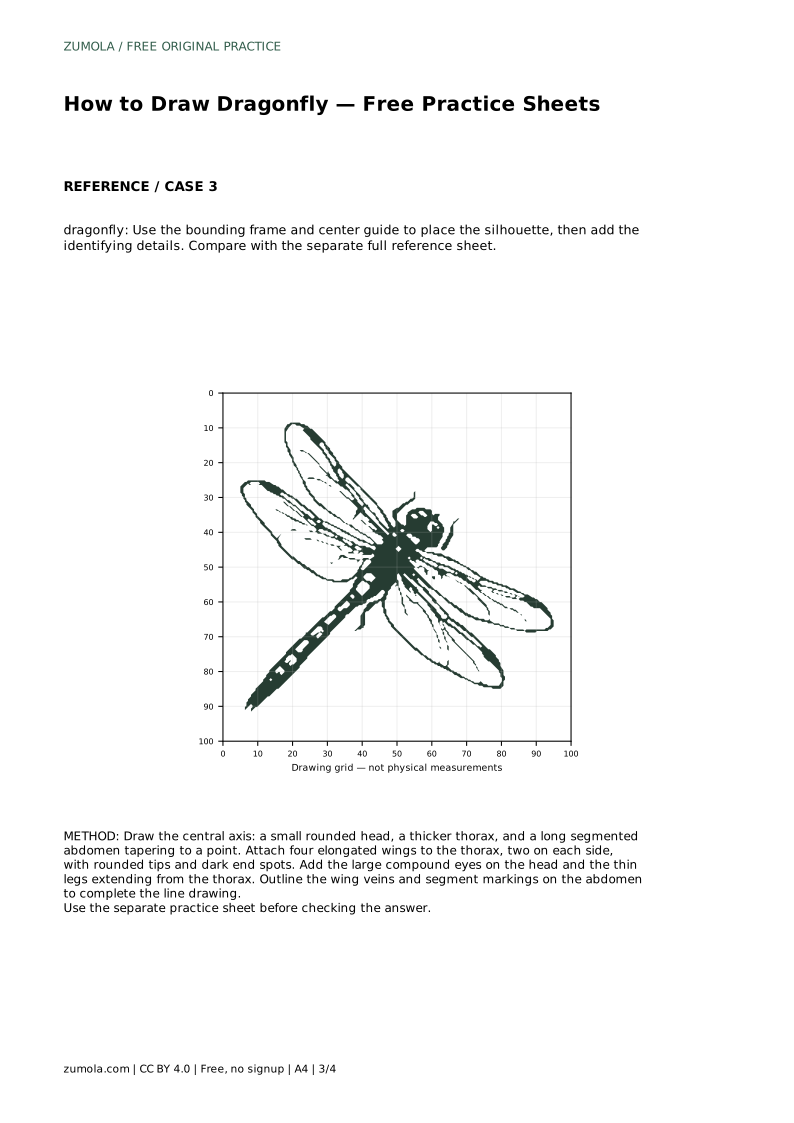
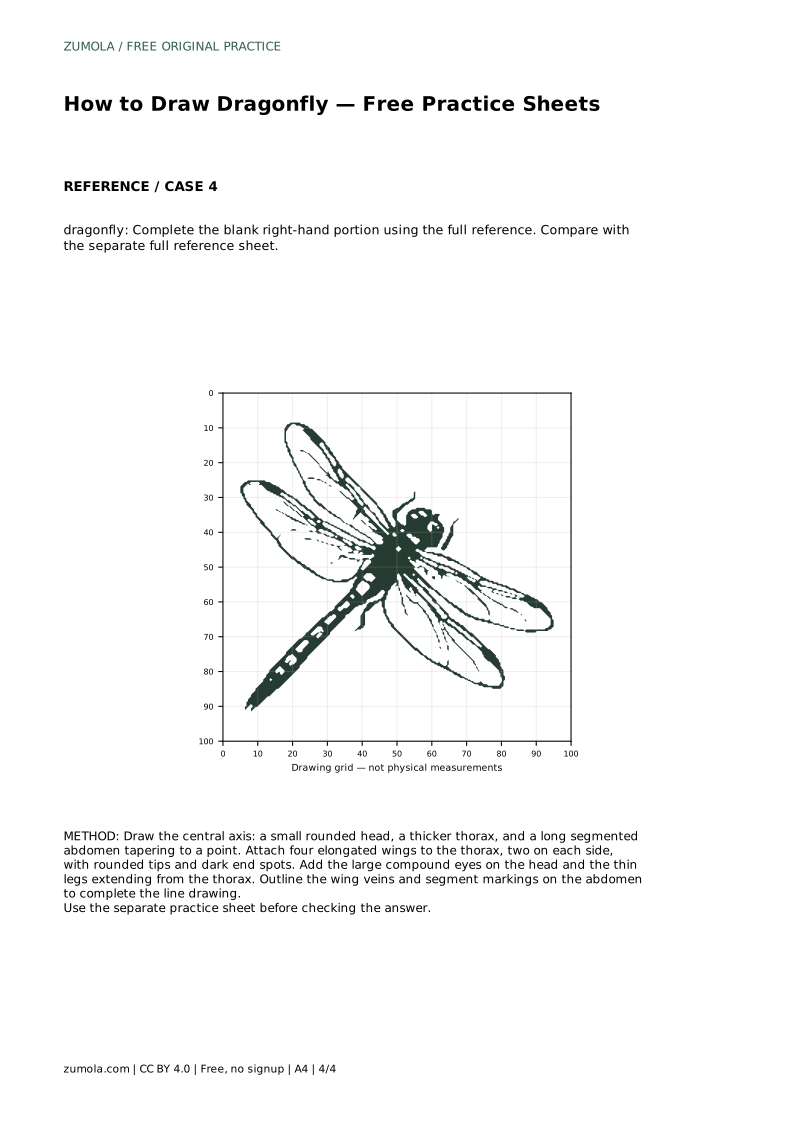
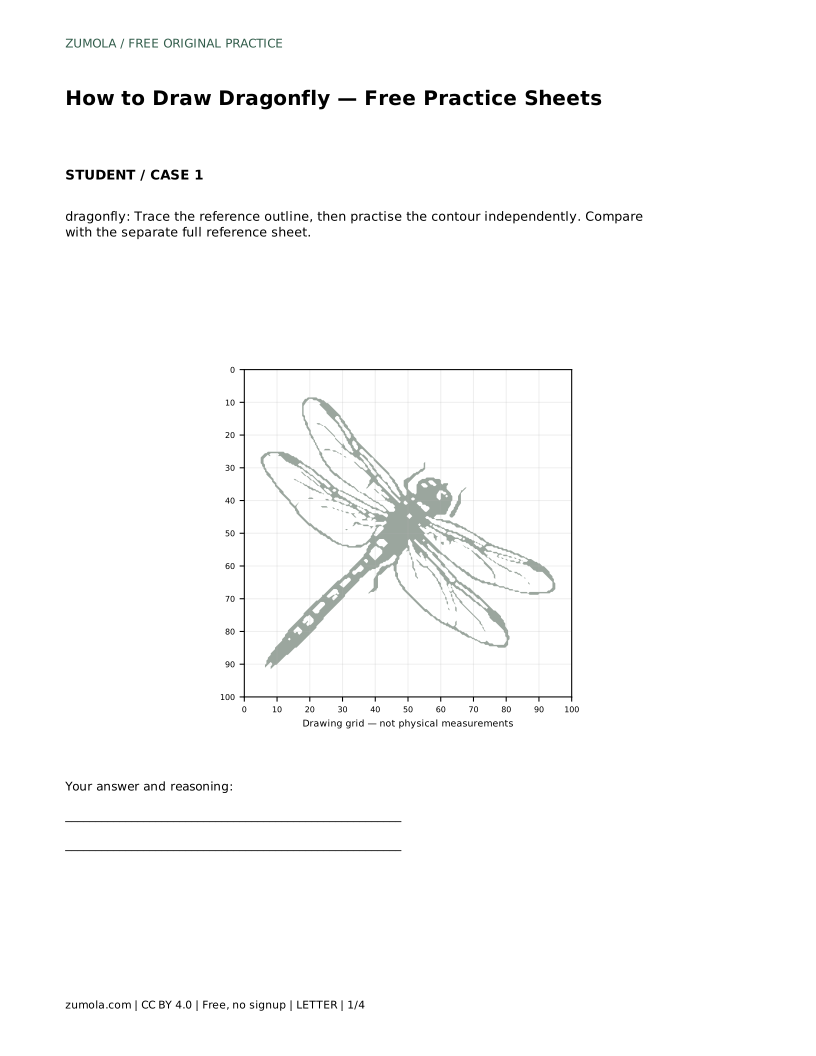
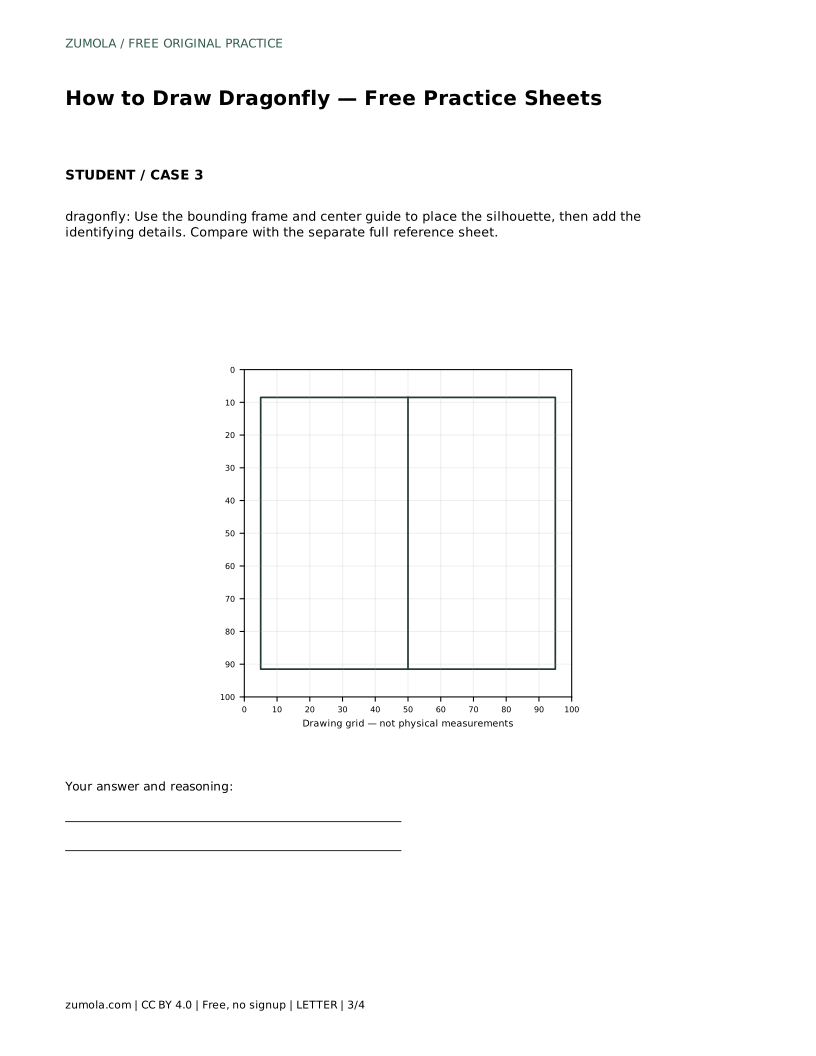
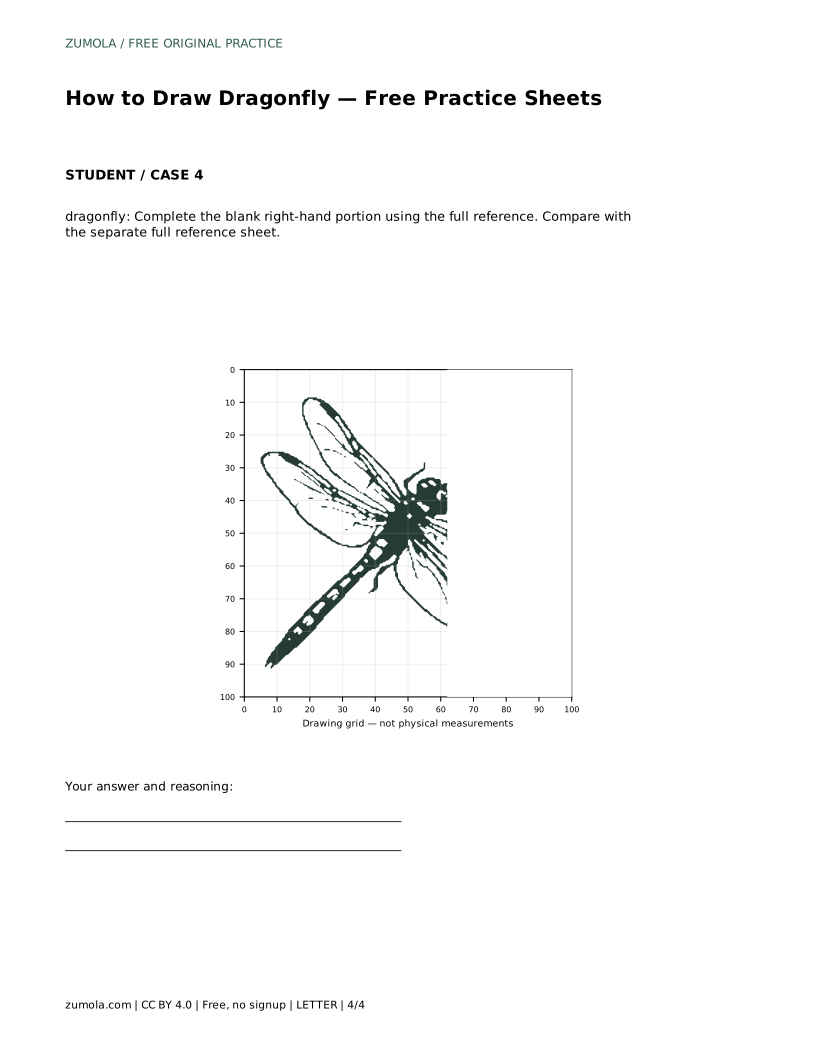
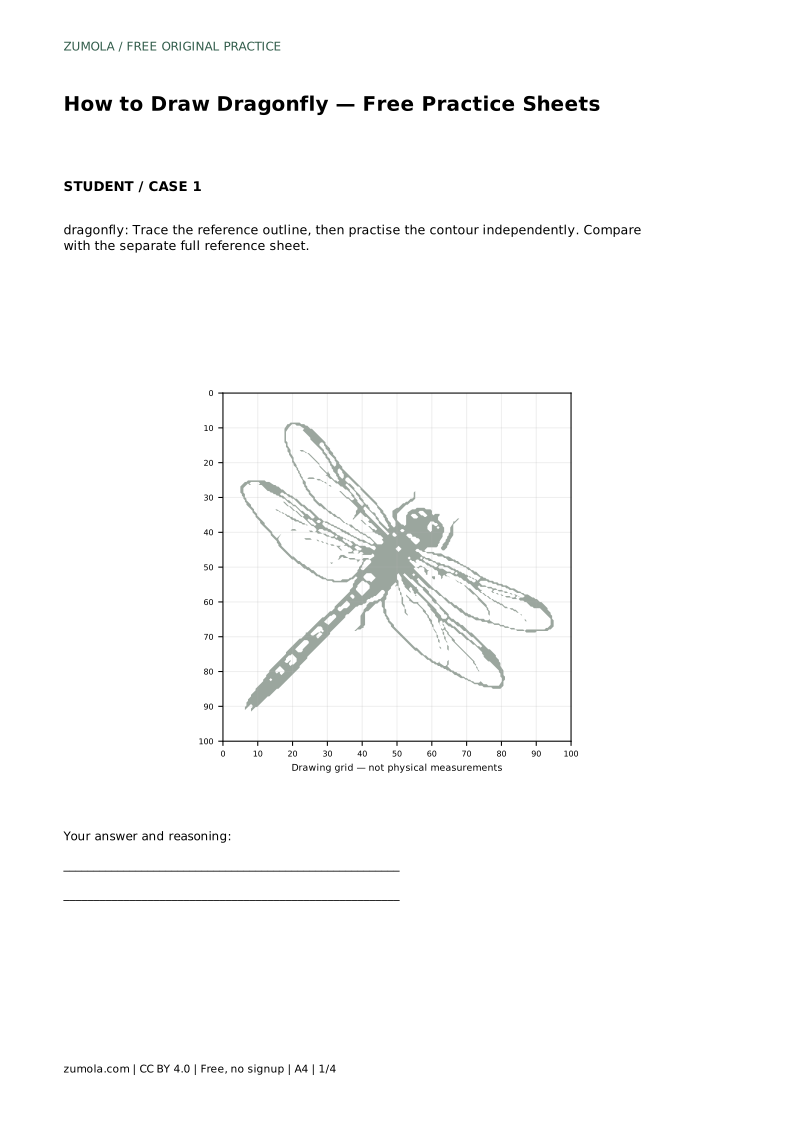
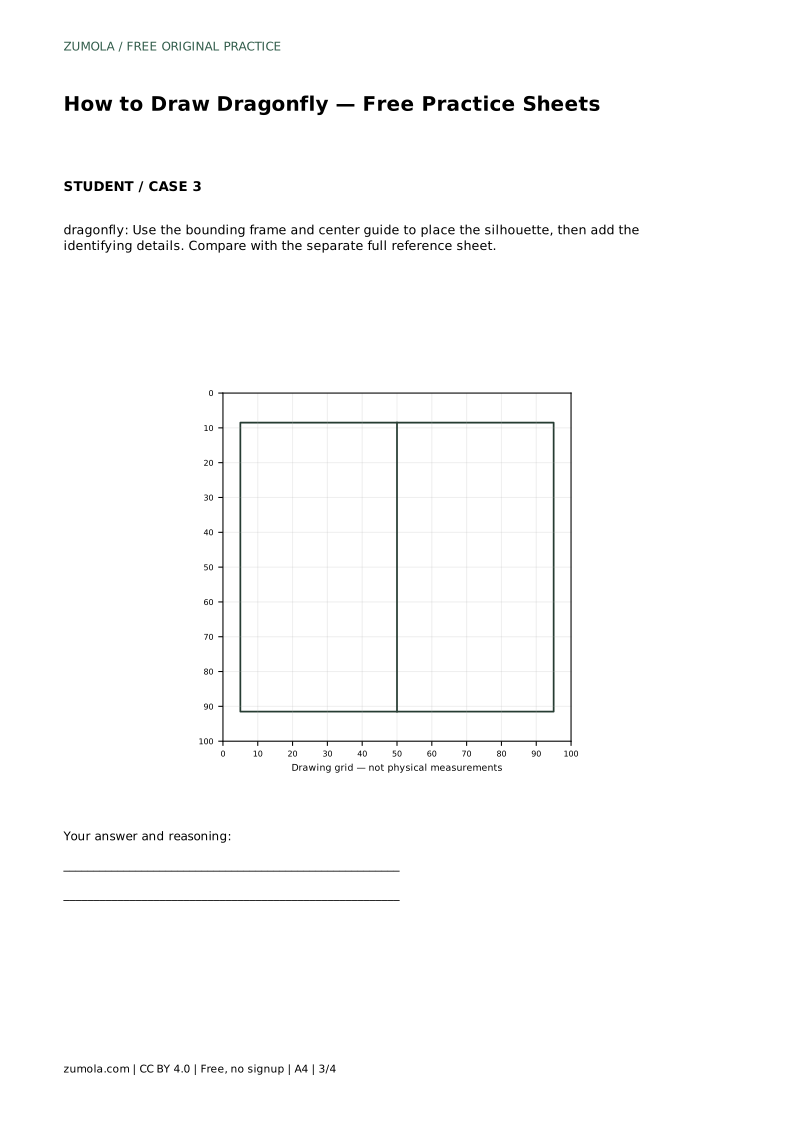
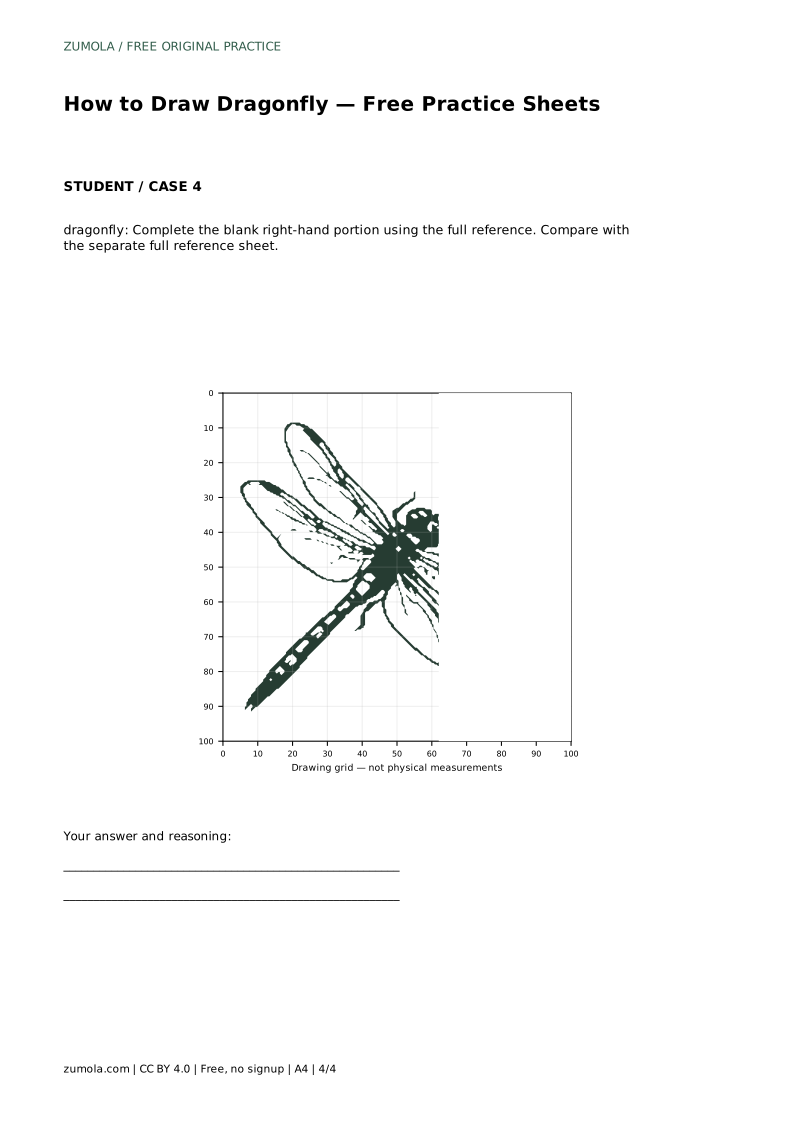
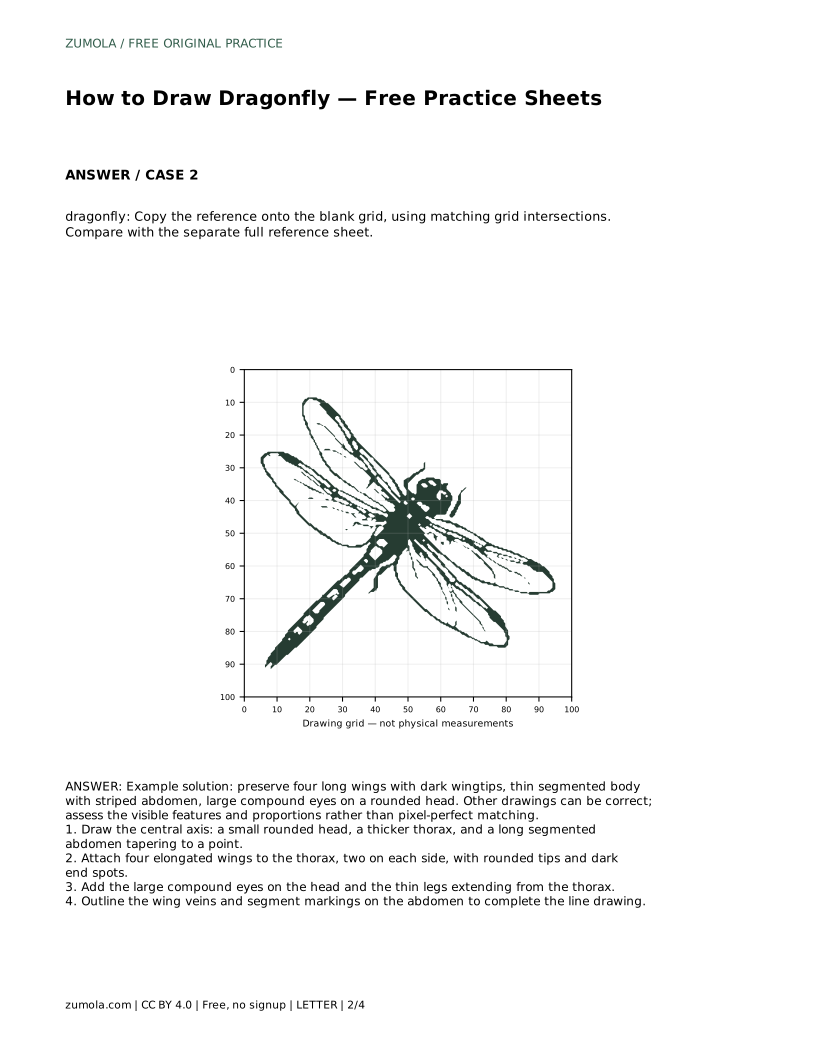
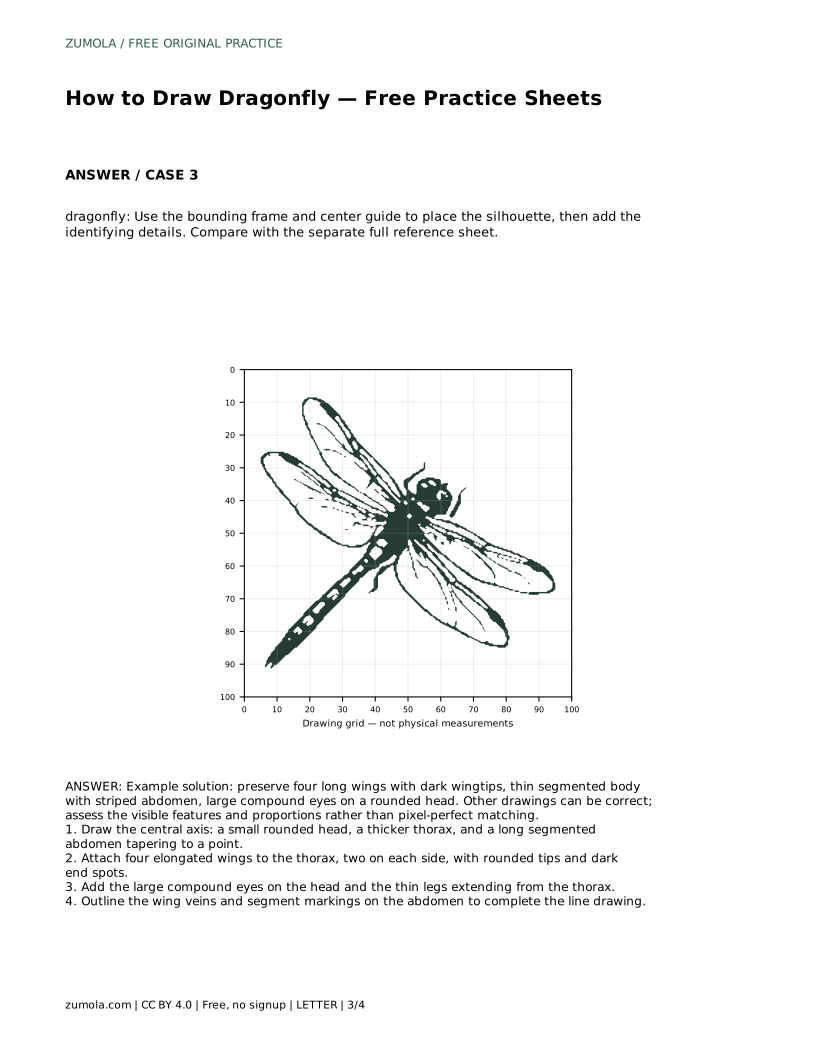
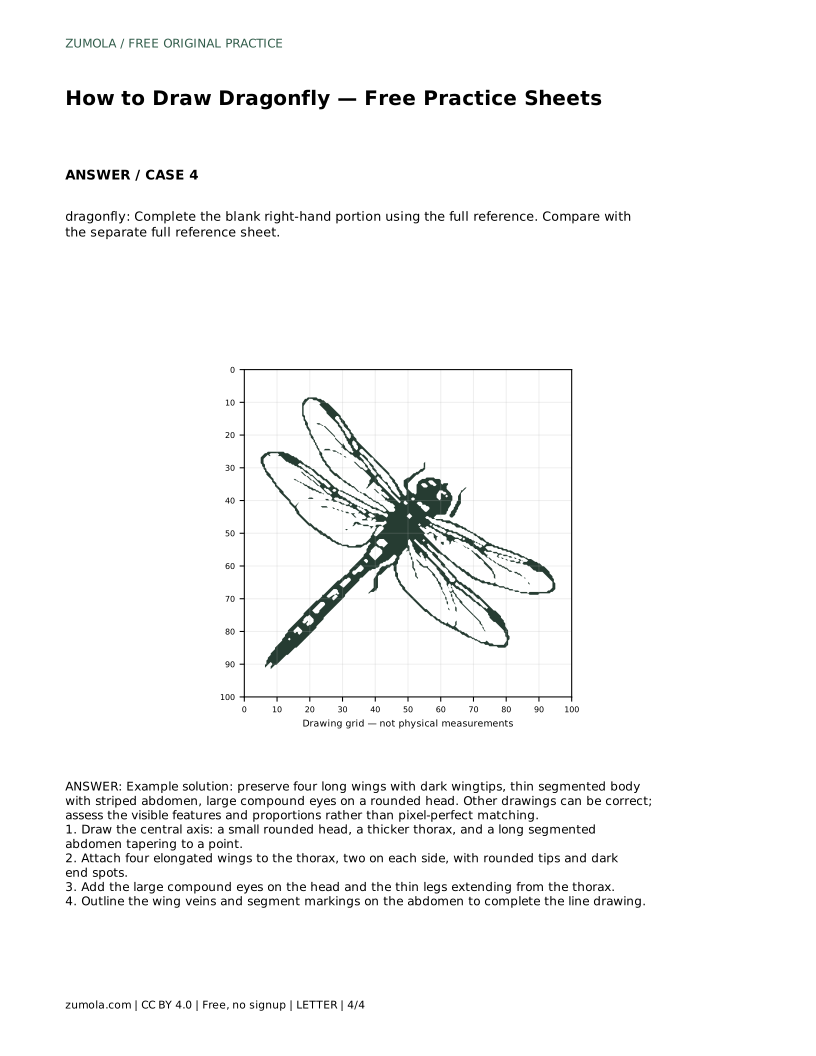
Tracing the reference outline first, then drawing the contour independently, builds muscle memory for the wing shape and body proportions. Grid copying trains placement: you match the drawing to grid intersections so the wings land at the right length and angle. The bounding frame and center guide help you position the whole silhouette before adding details. The complete-the-picture sheet asks you to finish a blank portion using the full reference, which tests whether you can carry proportions across a gap.
Each sheet has a separate full reference to compare against. Because drawings can legitimately vary, judge your work by visible features and proportions rather than pixel-perfect matching.
Compare your drawing to the reference by asking specific questions: Are there exactly four wings? Do the wingtips stay rounded? Is the abdomen longer than the thorax and clearly segmented? Are the eyes large and set on a small rounded head? Are the dark wingtip spots present?
Line quality matters too. Light construction lines should be erased or softened, and final outlines should be confident rather than scratchy. Wing veins should suggest structure without crowding the wing.
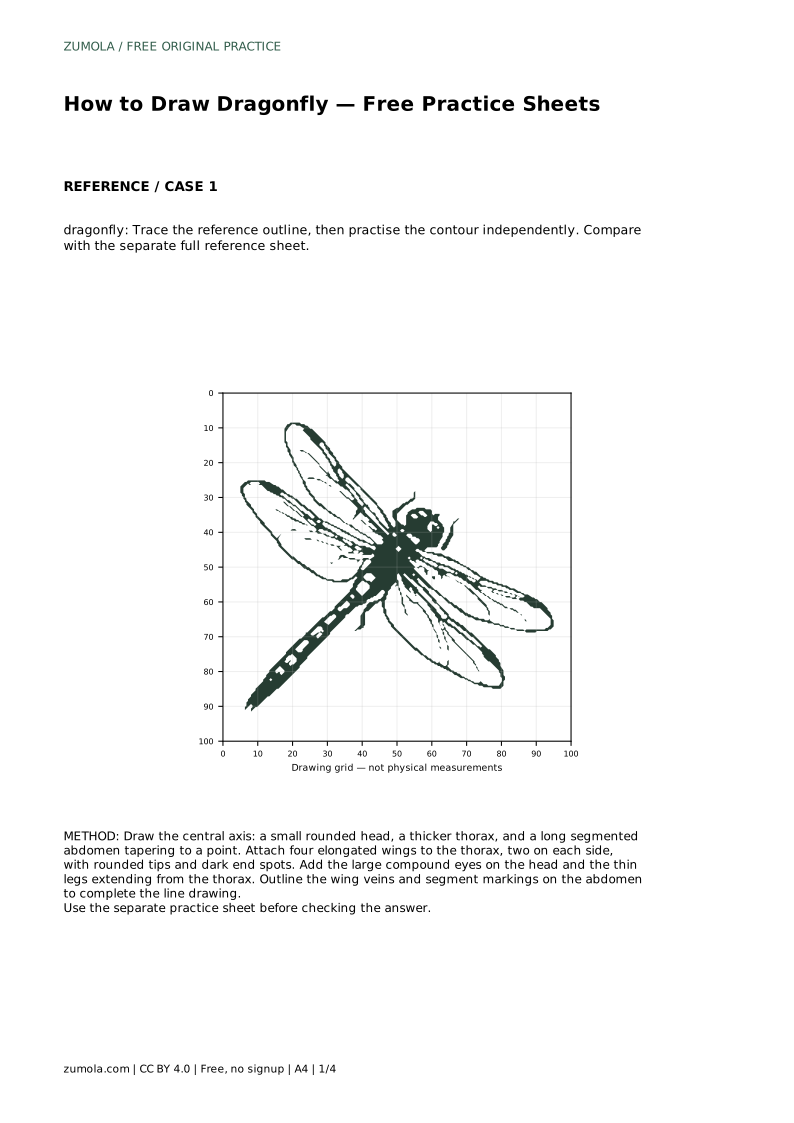
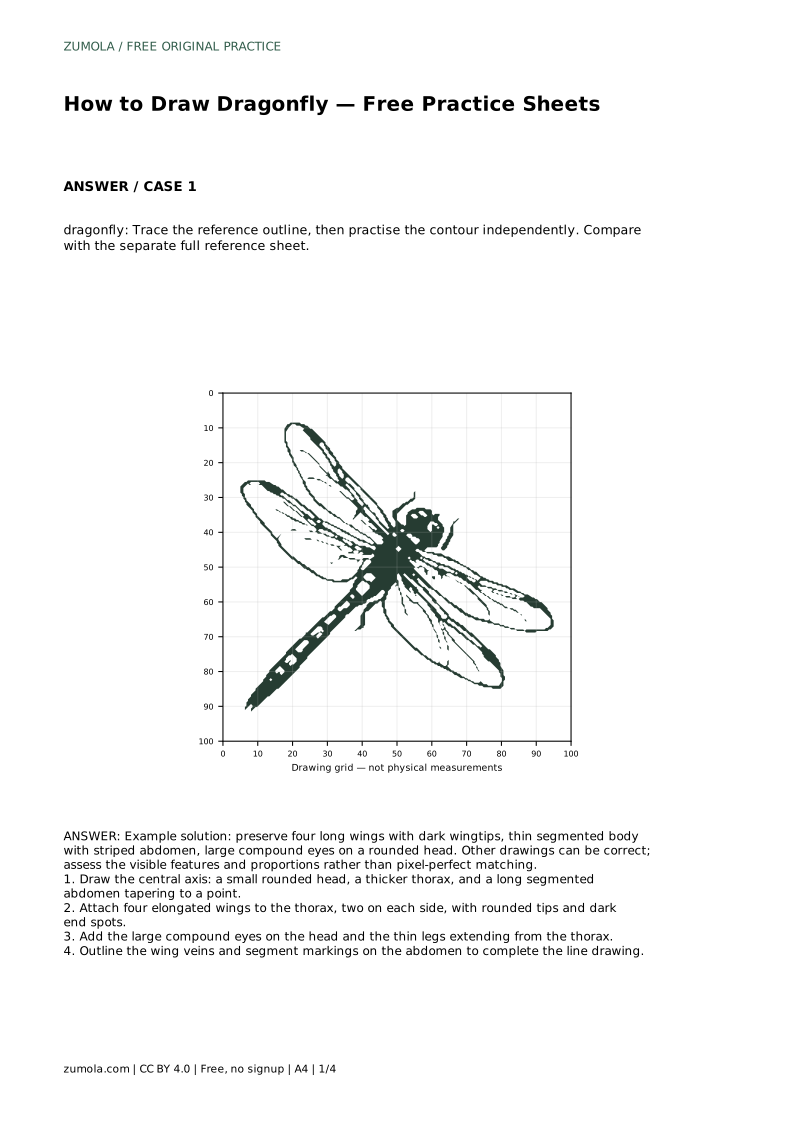
dragonfly: Trace the reference outline, then practise the contour independently. Compare with the separate full reference sheet.
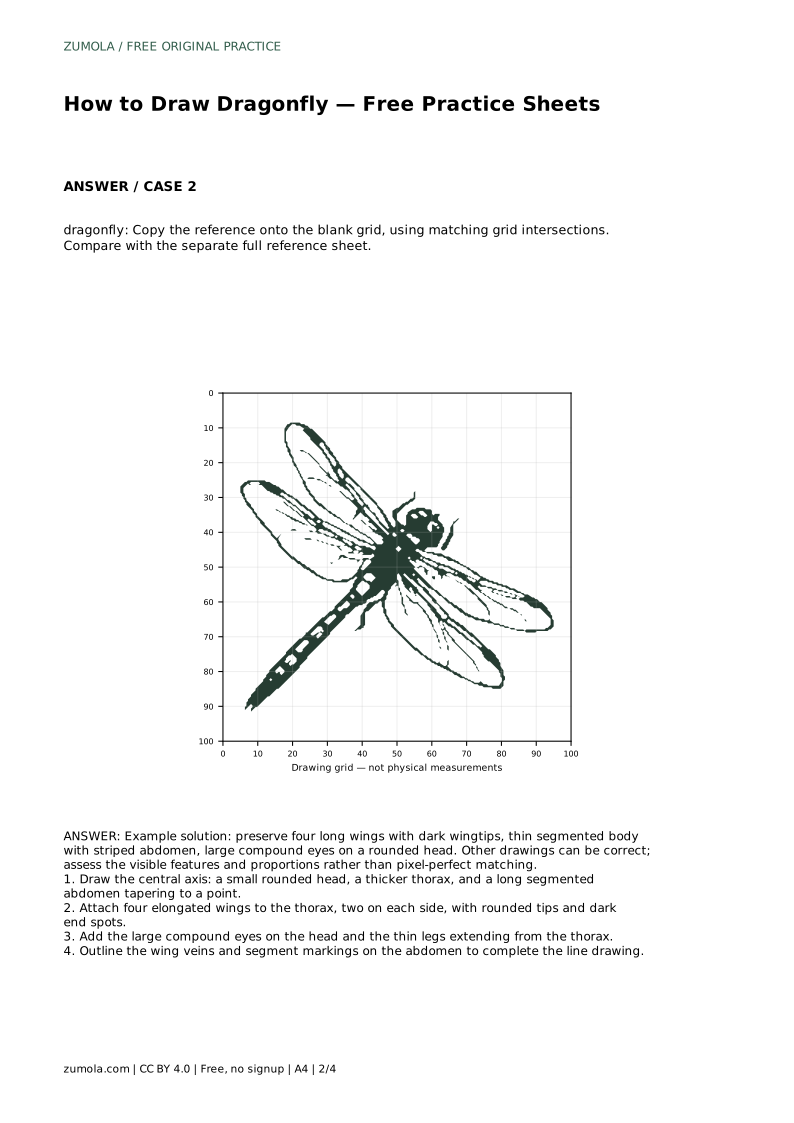
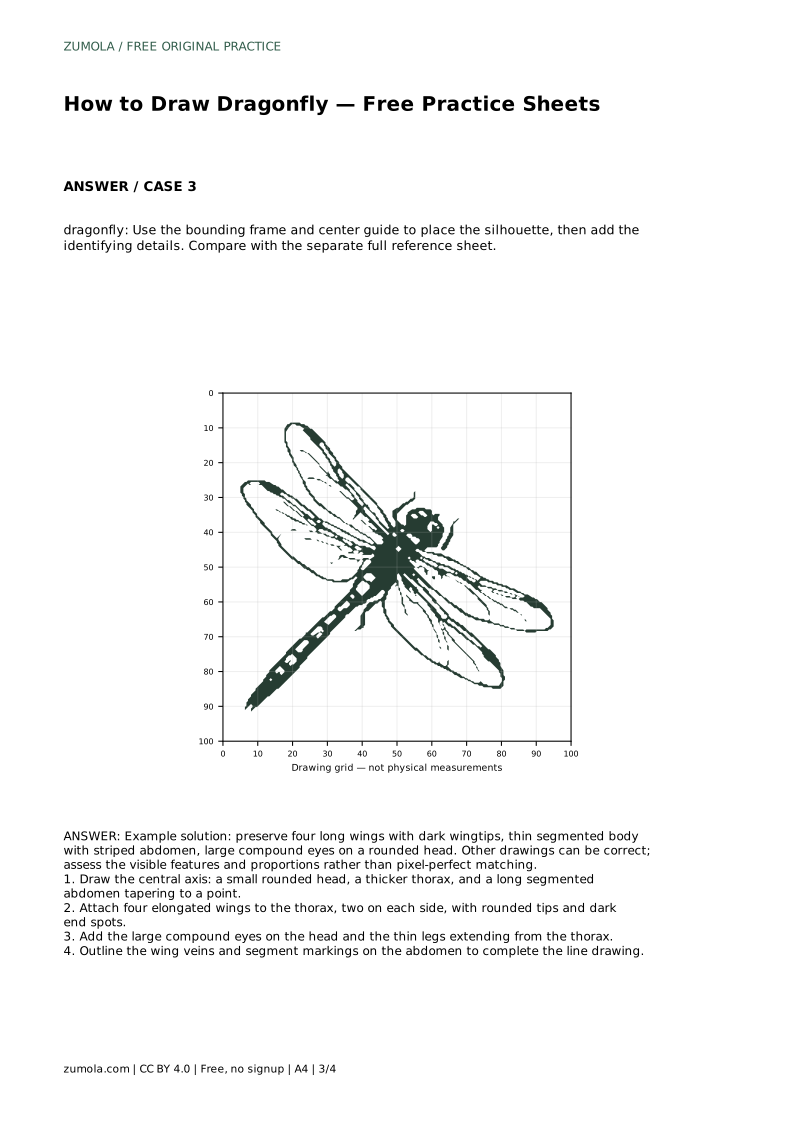
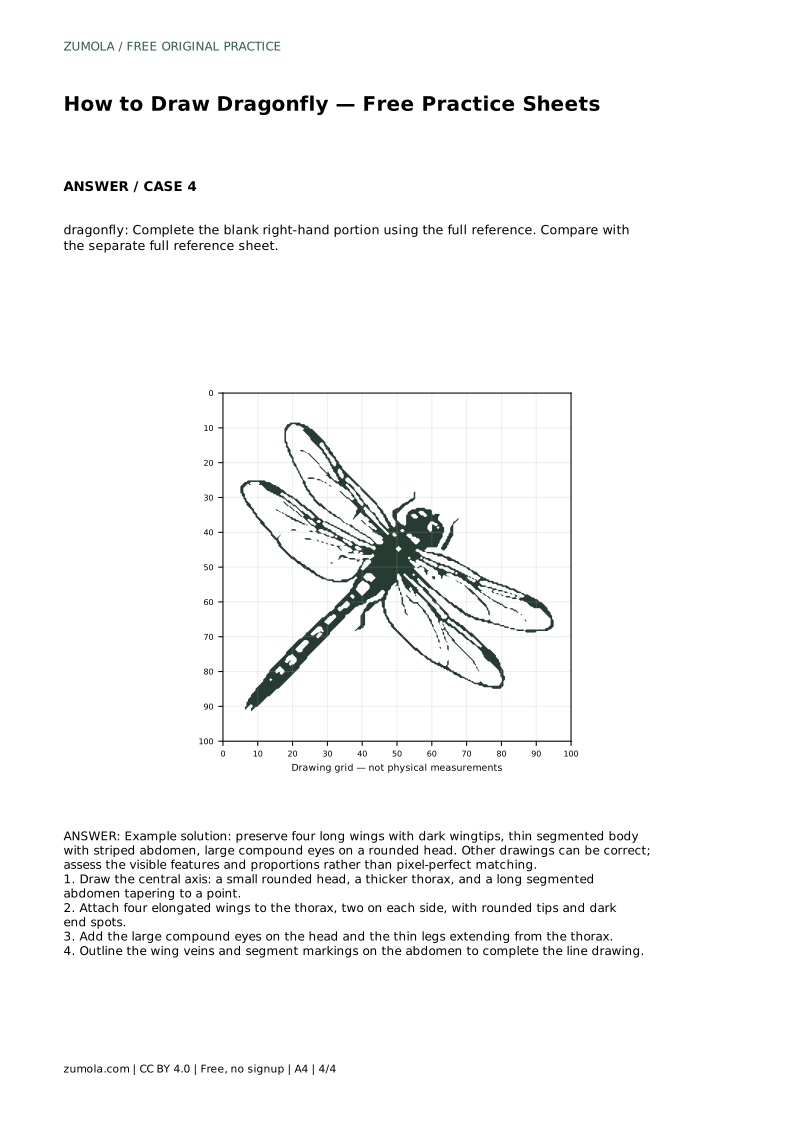
Example solution: preserve four long wings with dark wingtips, thin segmented body with striped abdomen, large compound eyes on a rounded head. Other drawings can be correct; assess the visible features and proportions rather than pixel-perfect matching. Draw the central axis: a small rounded head, a thicker thorax, and a long segmented abdomen tapering to a point. Attach four elongated wings to the thorax, two on each side, with rounded tips and dark end spots. Add the large compound eyes on the head and the thin legs extending from the thorax. Outline the wing veins and segment markings on the abdomen to complete the line drawing.
No. Several drawings can be correct. Assess whether the four wings, segmented tapering abdomen, large eyes, and dark wingtips are present and proportioned sensibly.
Begin with tracing to learn the shapes, then move to the grid or bounding-frame sheet for placement, and finish with the complete-the-picture sheet for independent practice.
Draw the body axis first, then measure each wing outward from the thorax on both sides, matching length and angle before adding veins and tip spots.
All drawing practice · Free coordinate paper
Original resources · CC BY 4.0 · Free for personal and classroom use with attribution.