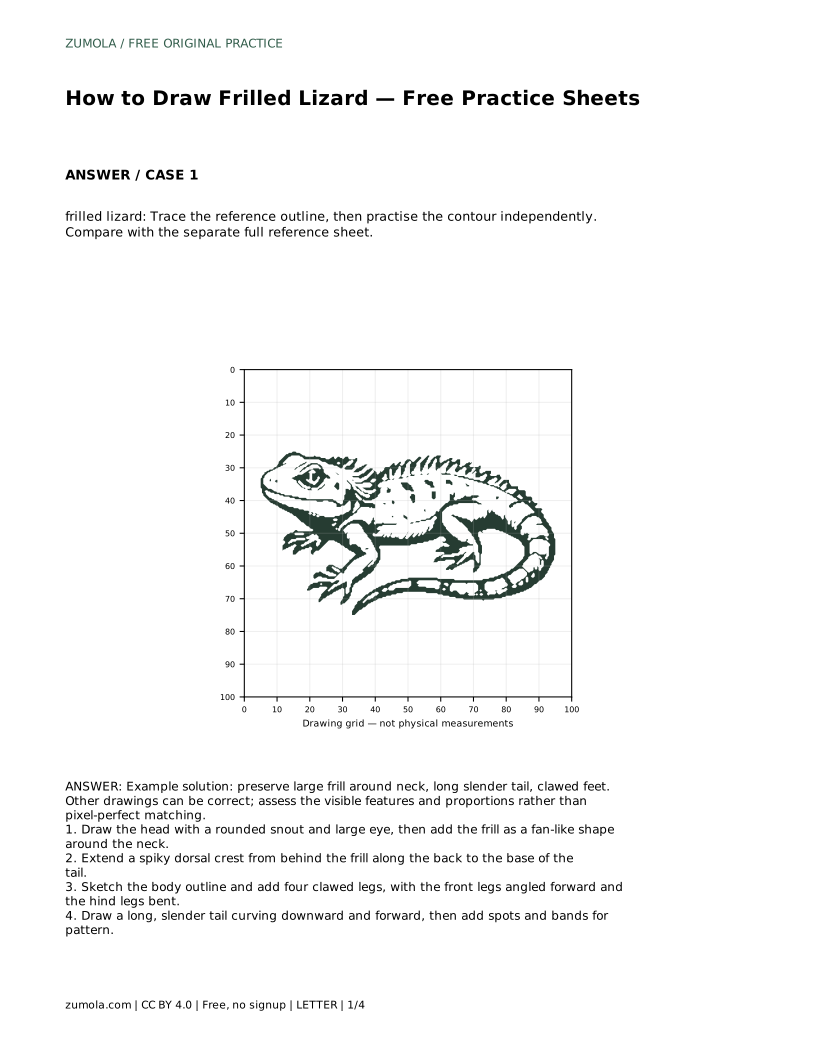
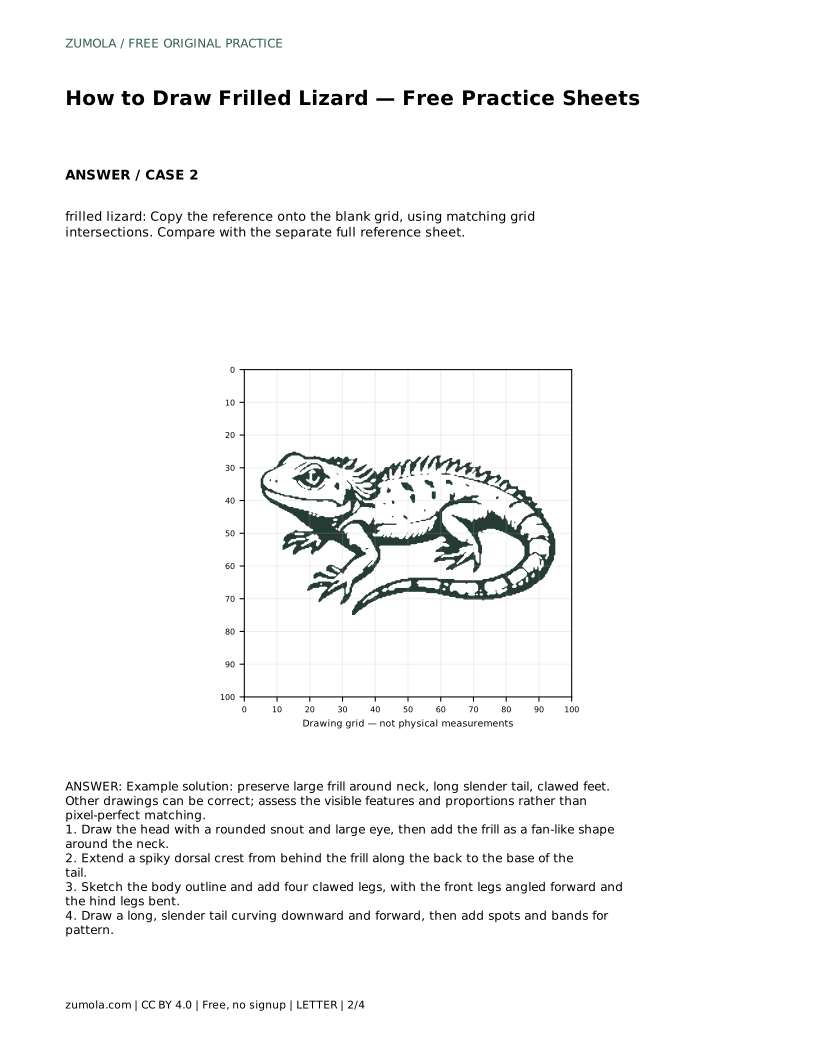
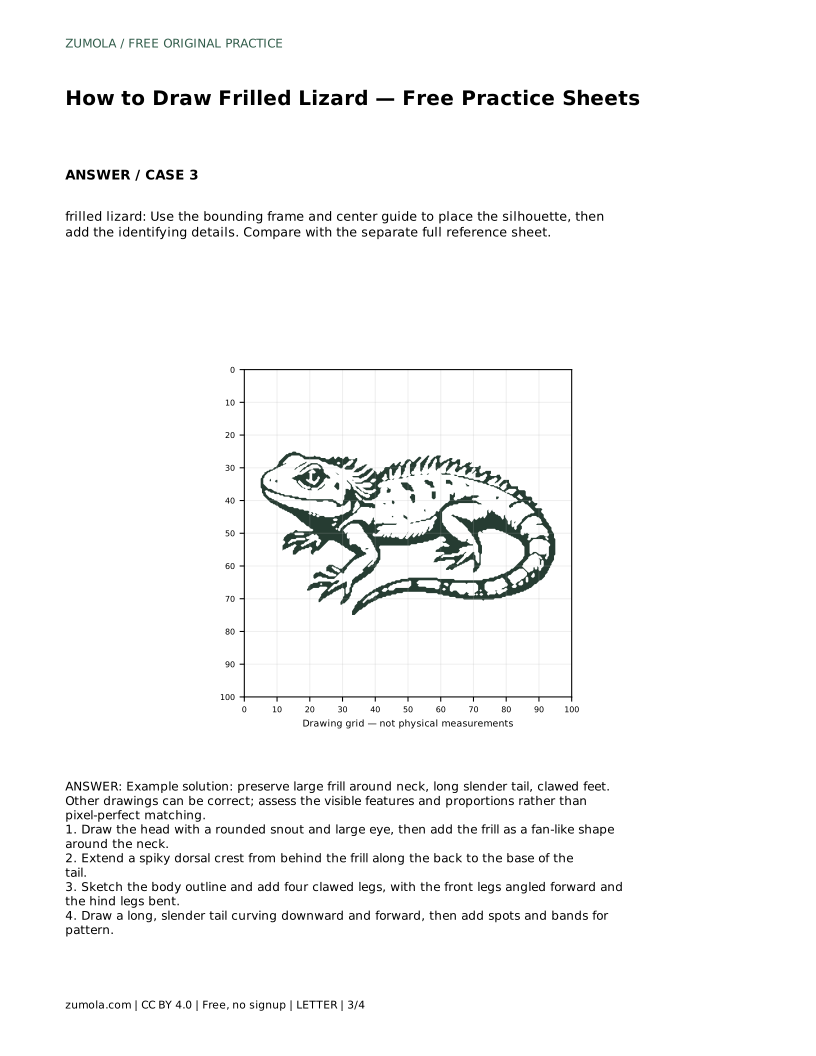
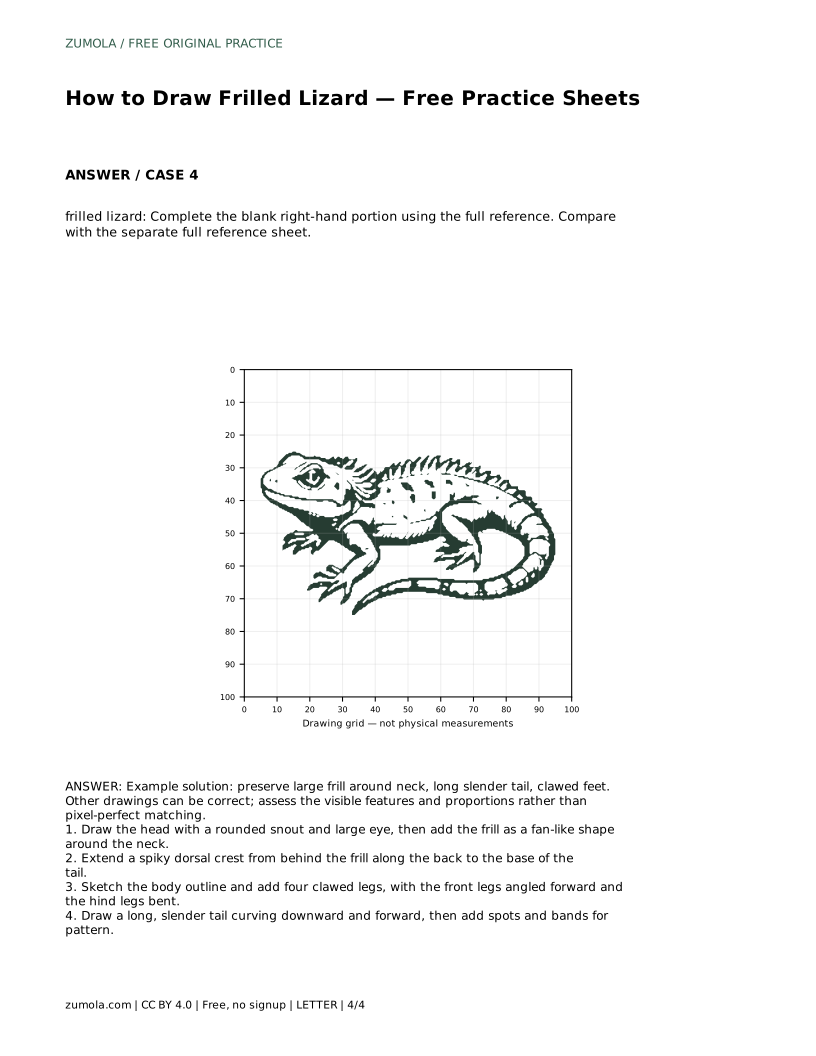
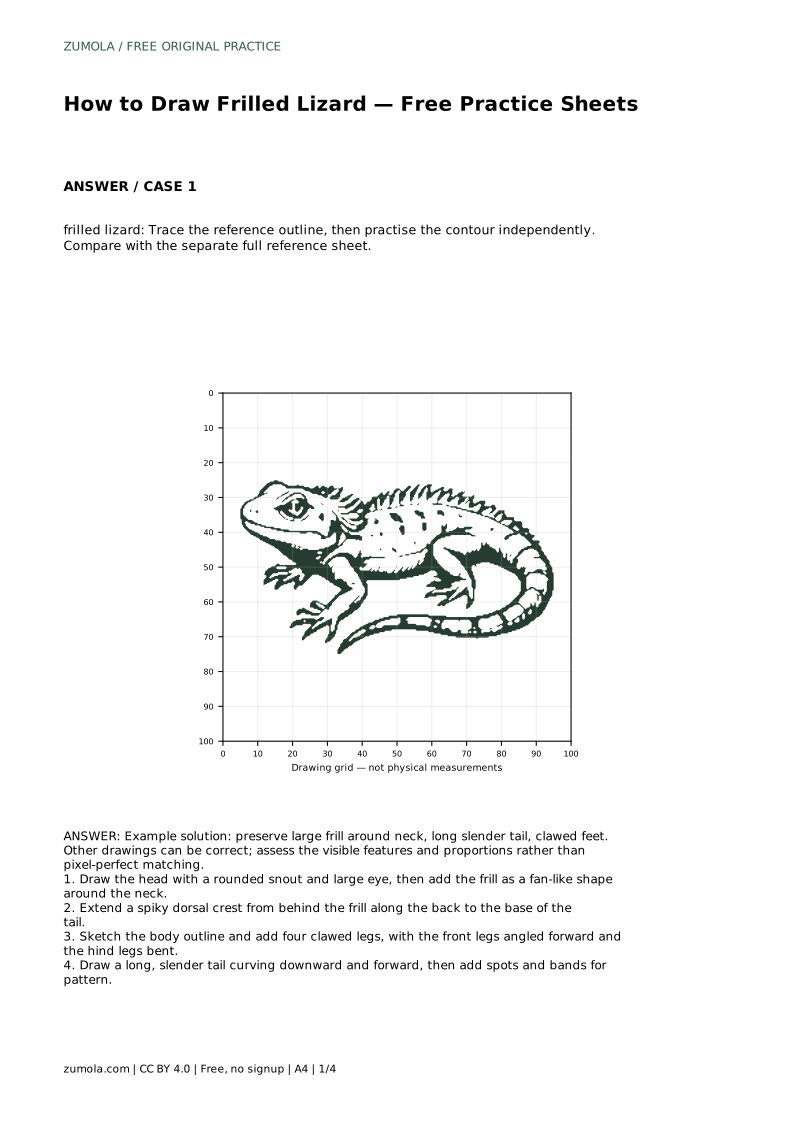
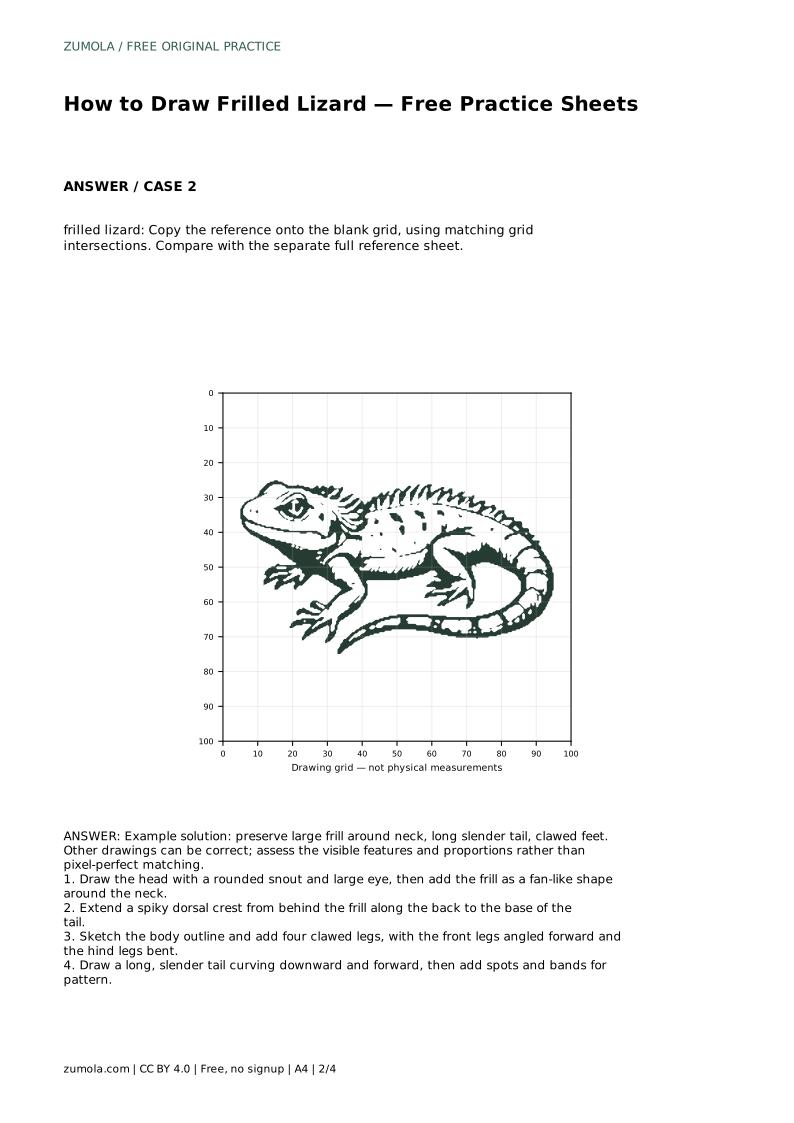
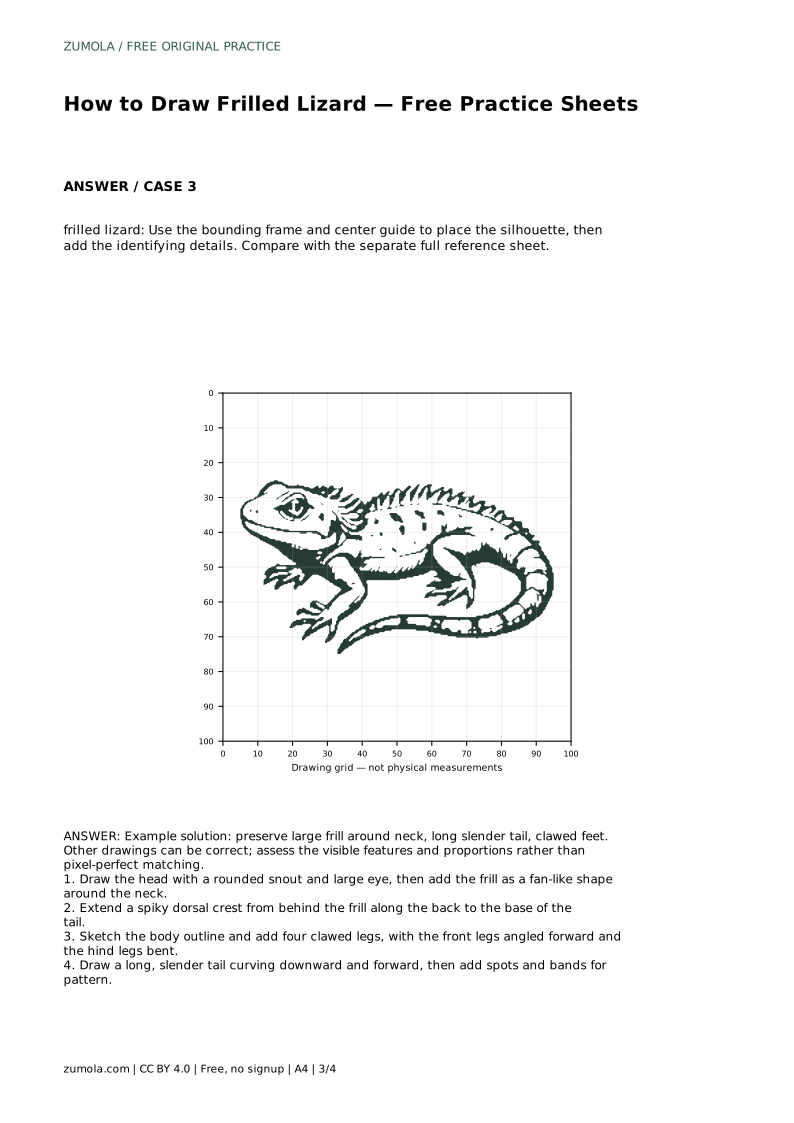
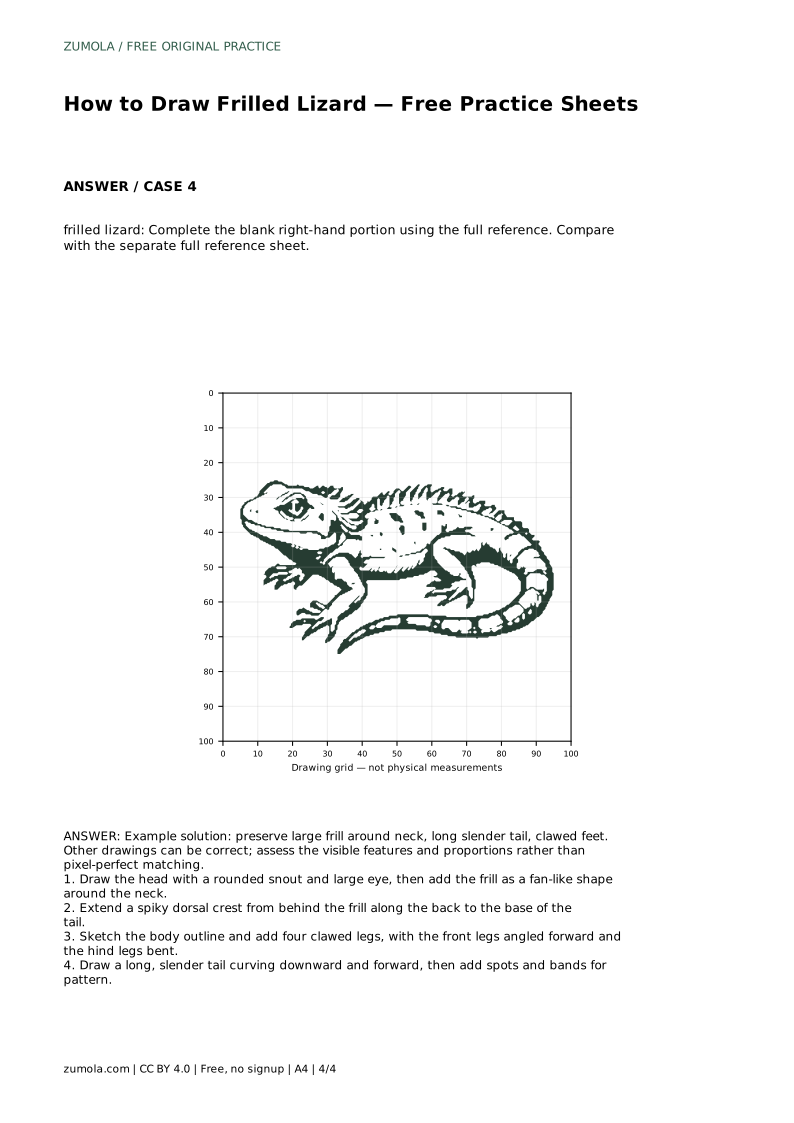
Reference diagrams
LETTER · Download PDF
A4 · Download PDF
Free original resources
Learn to draw a frilled lizard by building the neck frill, dorsal crest, clawed legs, and long tail, then practise with tracing, grid, and partial-reference sheets.
Four original cases, with reference diagrams, practice sheets and worked answers. Everything is free; no signup required.
LETTER · Download PDF
A4 · Download PDF
LETTER · Download PDF
A4 · Download PDF
LETTER · Download PDF
A4 · Download PDF
Use A4 or US Letter to match your printer. Use the stated values and conditions to solve each exercise; diagrams are not physical measuring rulers.
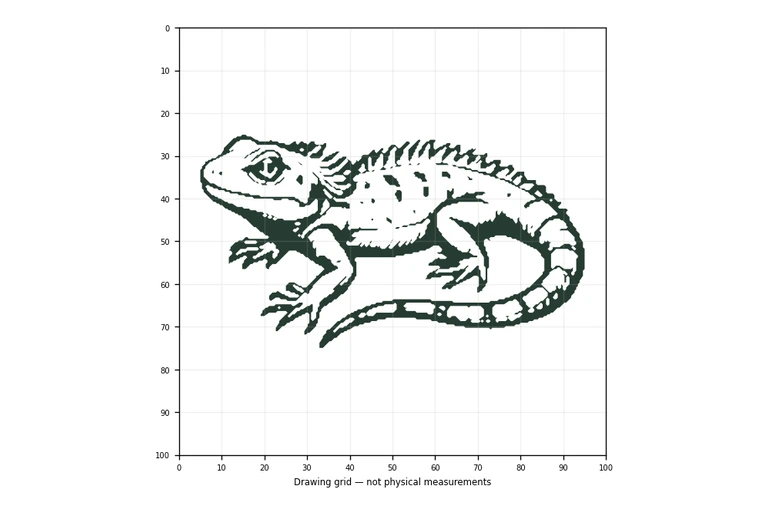
A frilled lizard is recognisable by its wide neck frill, spiky crest, slim body, clawed feet, and long tail. This page shows a reliable order for drawing those features so the animal stays readable even when your proportions differ from the reference. You will start with the head and frill, add the crest and body, place four legs, then finish the tail and pattern. The practice sheets let you trace, copy onto a grid, or complete a partial drawing.
Begin with the head rather than the frill. Draw a rounded snout and a large eye, keeping the head small relative to the frill that will surround it. The frill is a fan-like shape around the neck, so sketch it as a broad arc opening behind the head, with a few gentle folds or scallops along its outer edge. Keep the frill attached at the neck; it should read as skin supported by the neck, not as a separate collar floating around the animal.
Check the head-to-frill ratio before continuing. If the frill looks like a small disc, widen it; if it swallows the head, shrink it. The eye should sit on the head, not on the frill.
Extend a spiky dorsal crest from behind the frill along the back to the base of the tail. Keep the spikes small and evenly spaced so the crest reads as a line of points rather than a second frill. Sketch the body outline as a slim shape that narrows toward the tail base.
Add four clawed legs. Angle the front legs forward and bend the hind legs, which gives the lizard a low, ready stance. Draw claws as short points at the toes. Keep all four feet visible or clearly implied so the animal does not look two-legged.
Draw a long, slender tail curving downward and forward. The tail should be clearly longer than the body and should taper gradually rather than ending in a blunt stub. Add spots and bands for pattern, placing marks along the body and tail without covering the frill's outline.
Compare your drawing with the full reference sheet only after the silhouette is complete. Check that the frill, crest, four clawed feet, and long tail are all present and in proportion to one another.
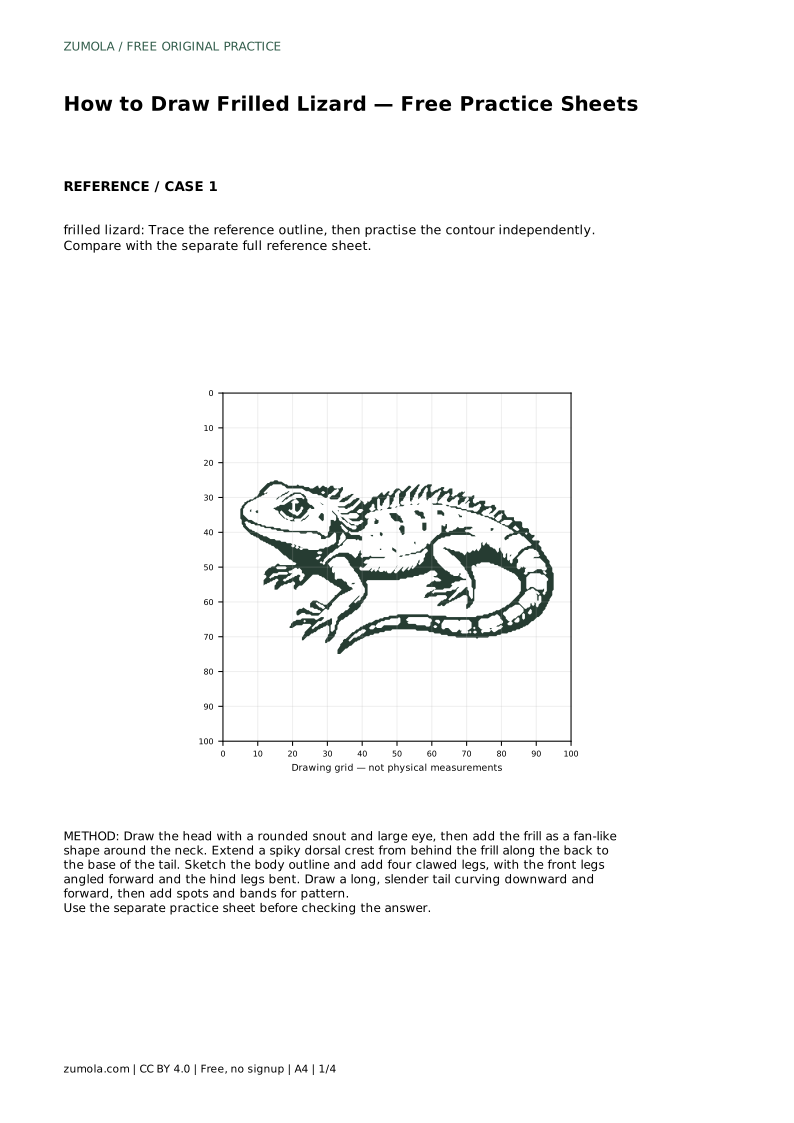
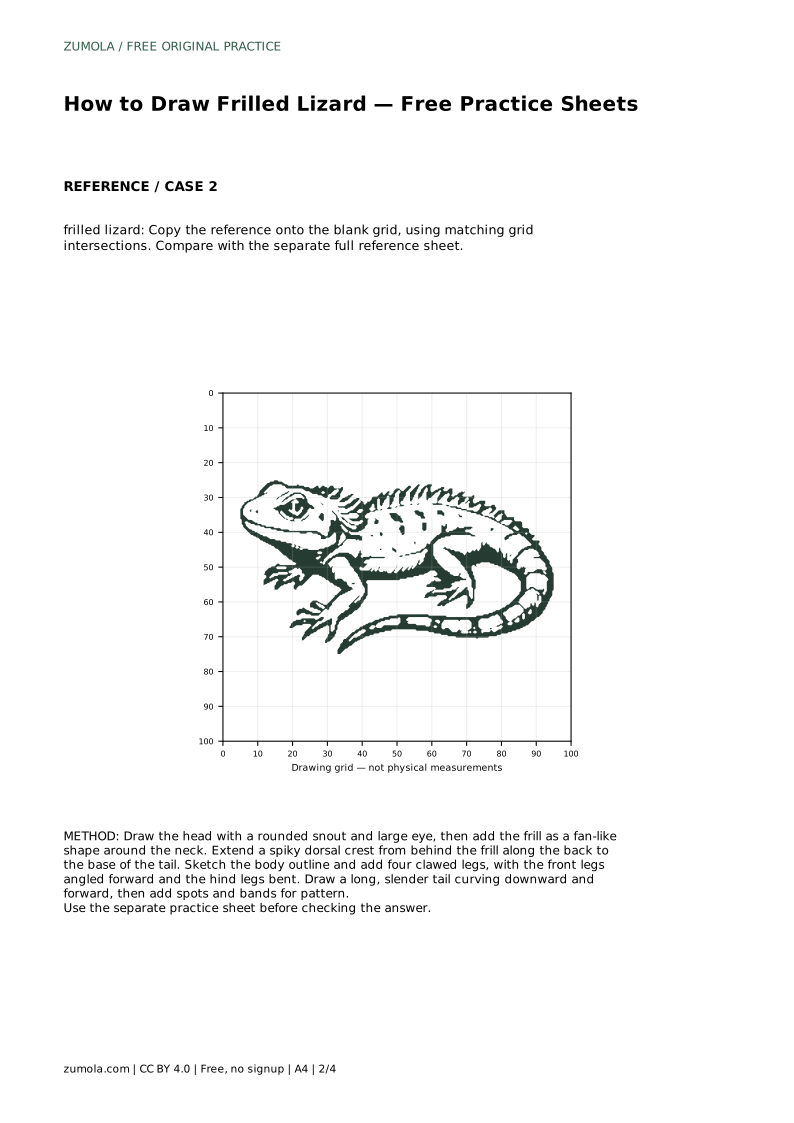
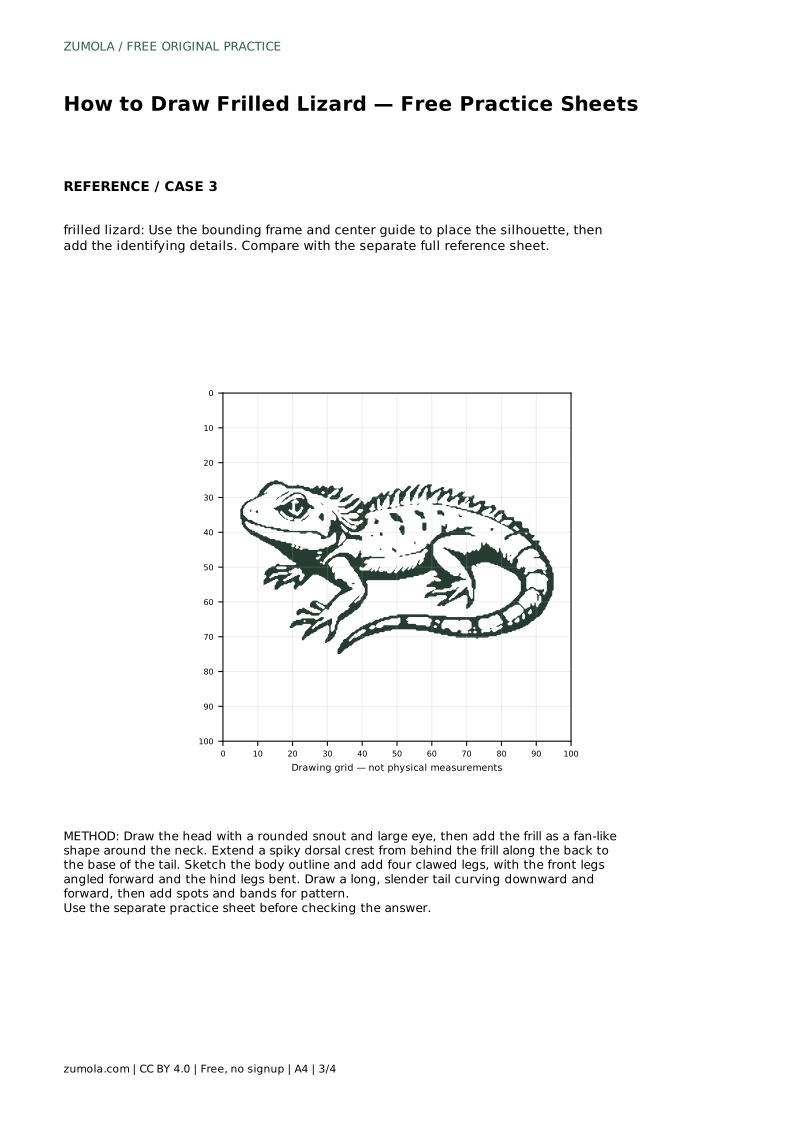
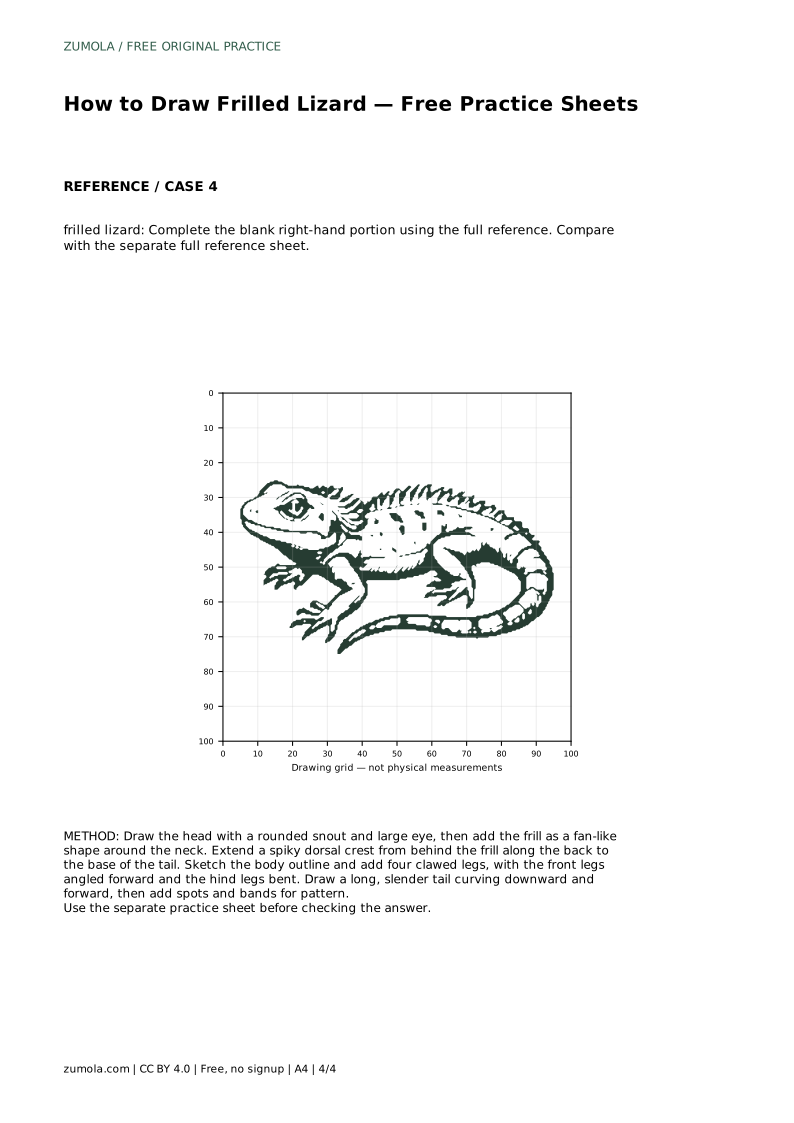
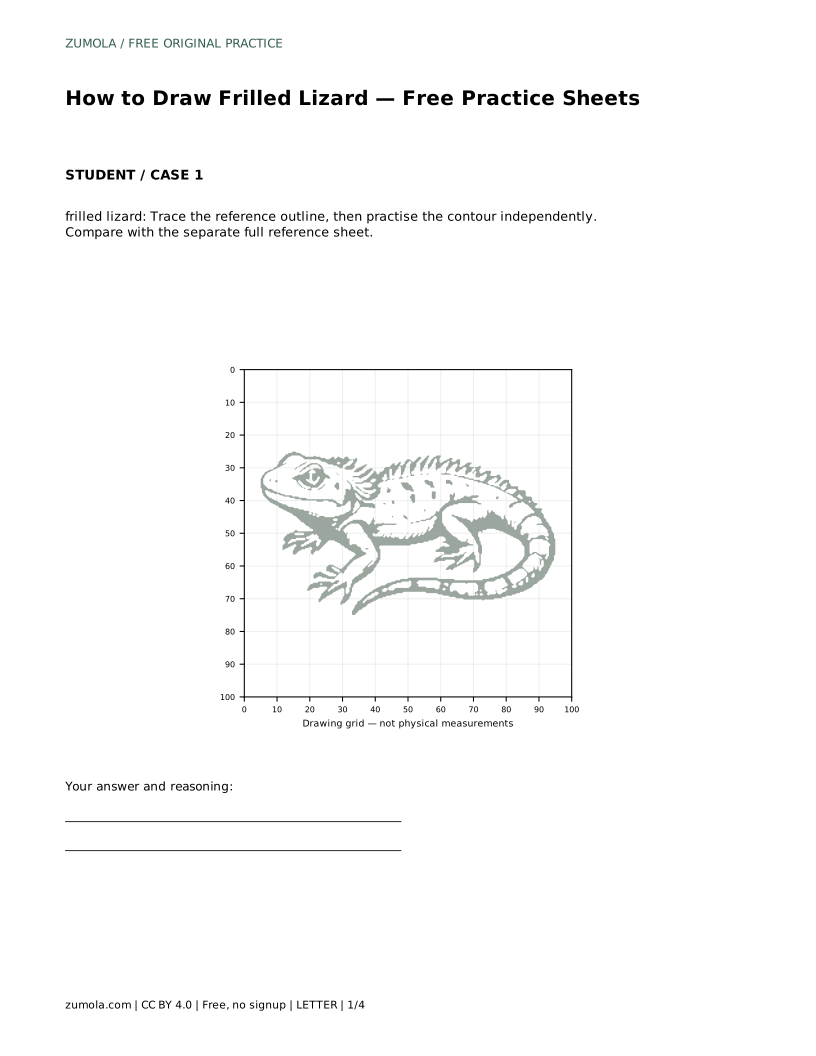
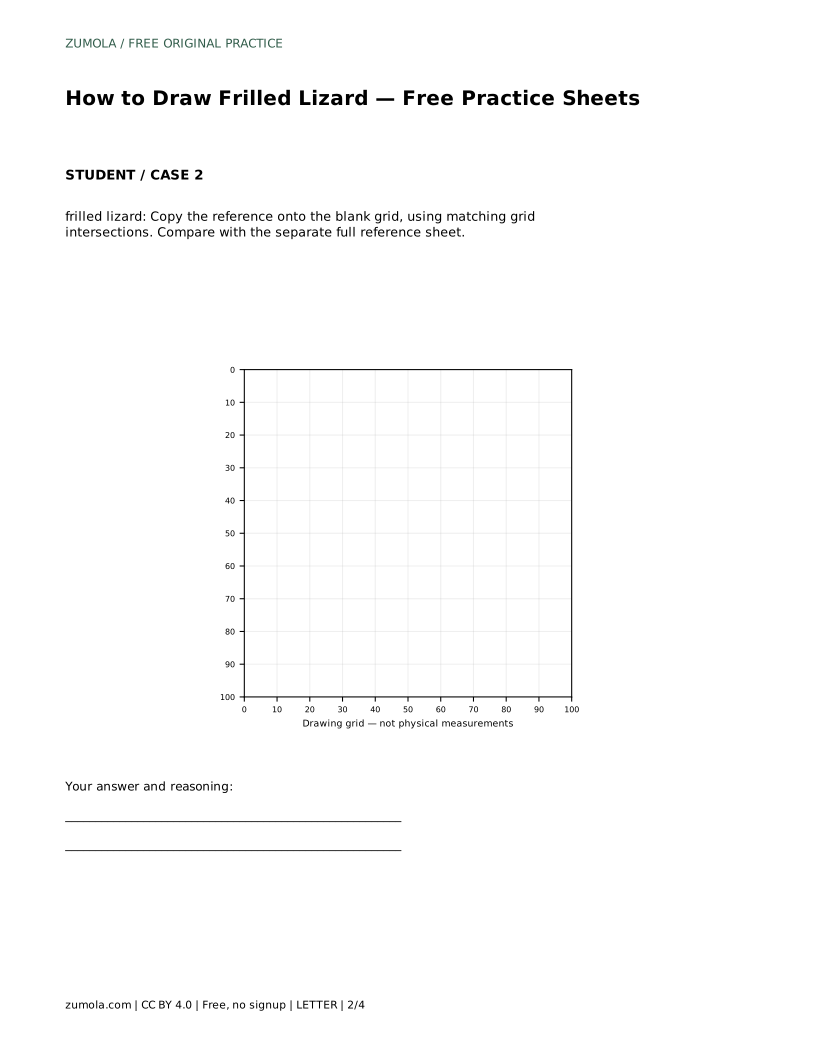
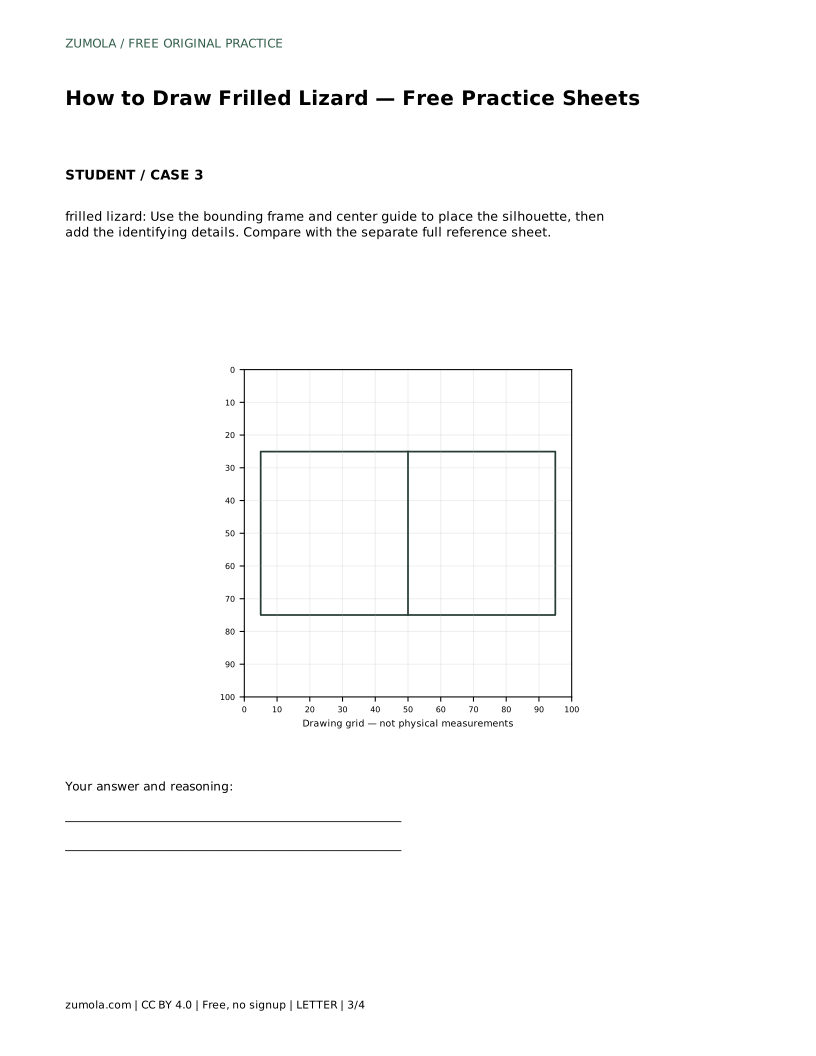
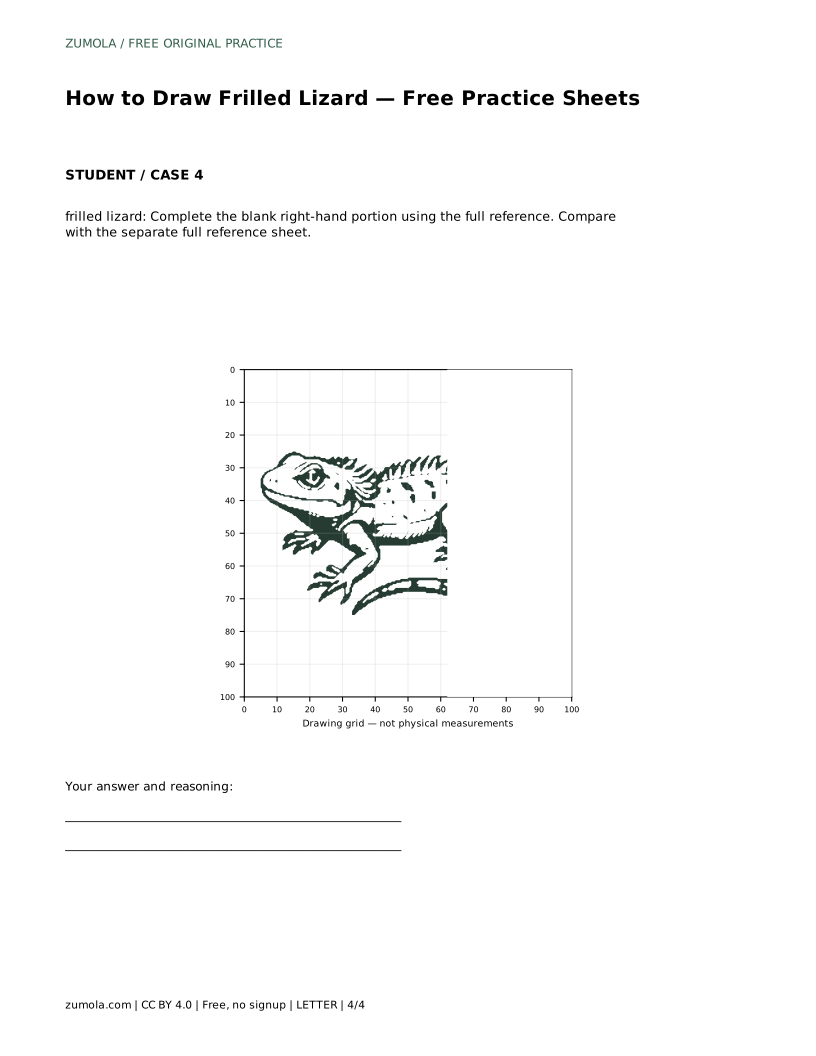
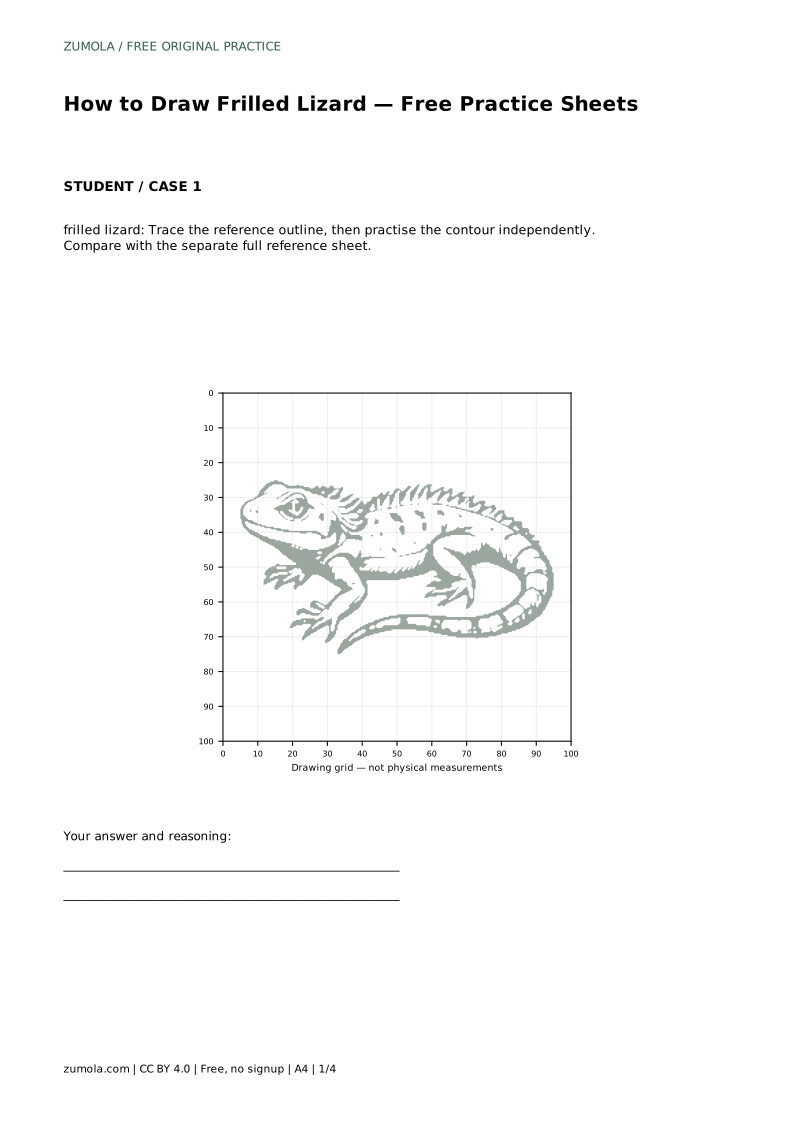
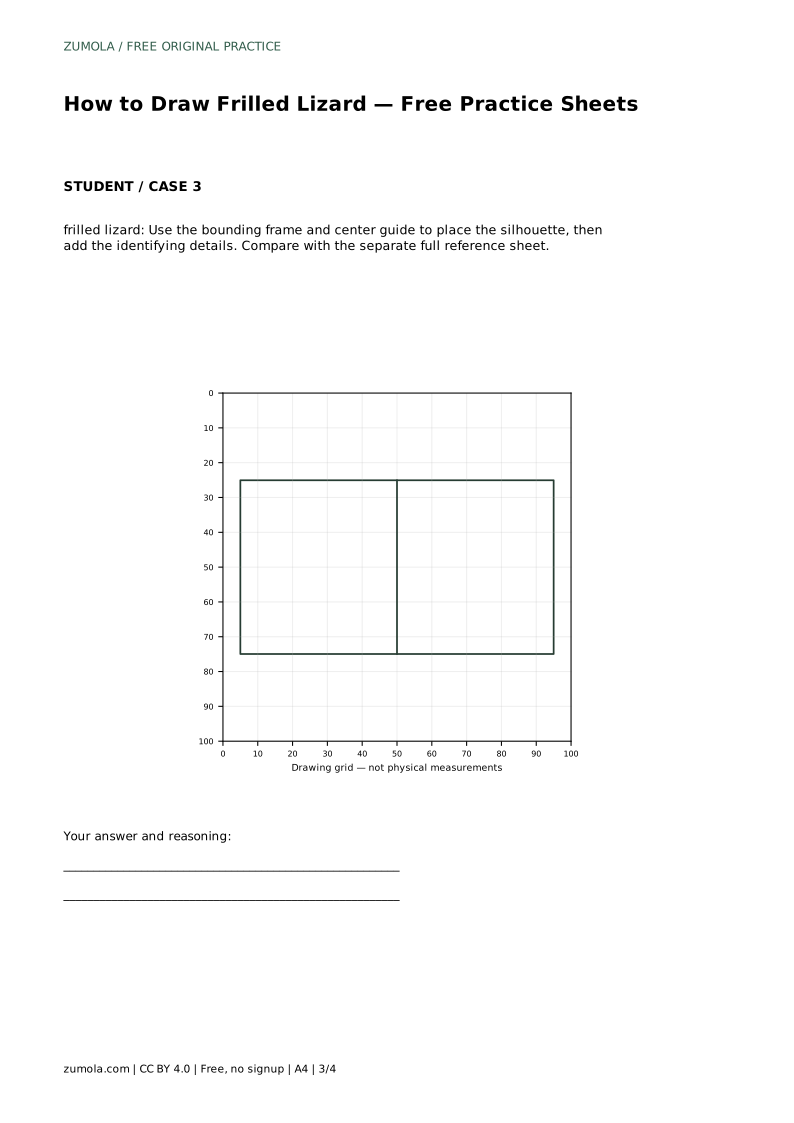
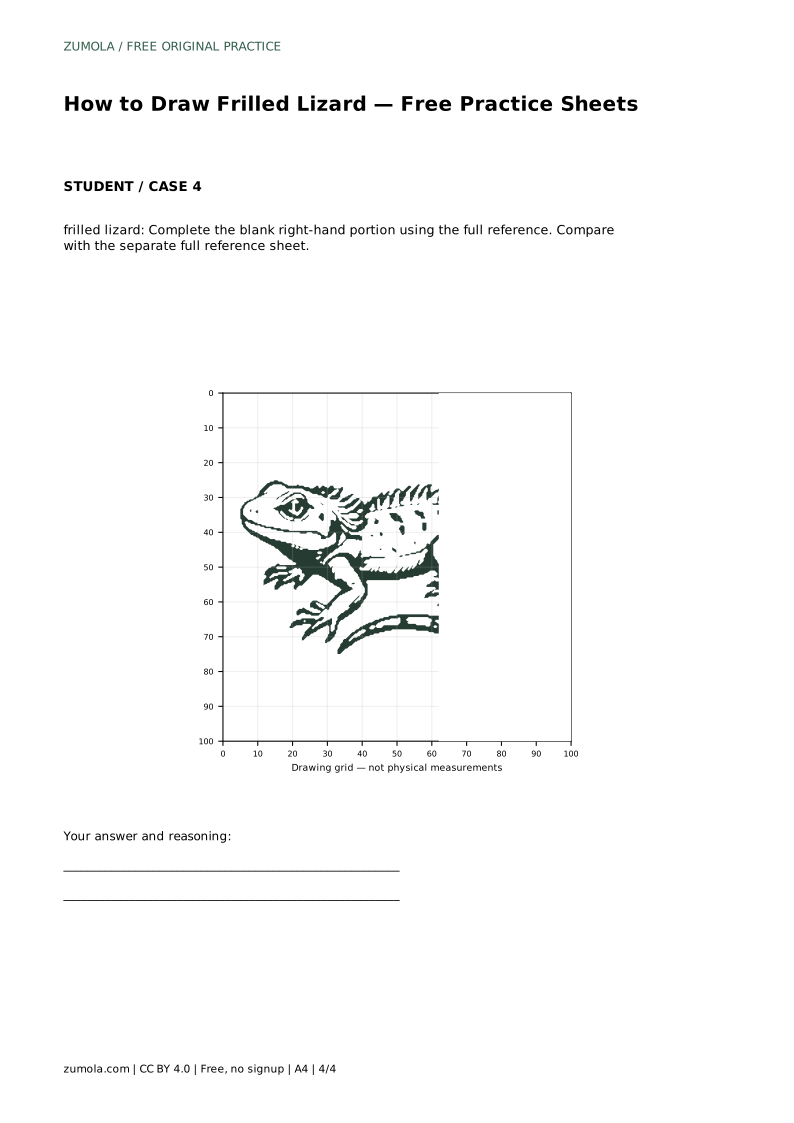
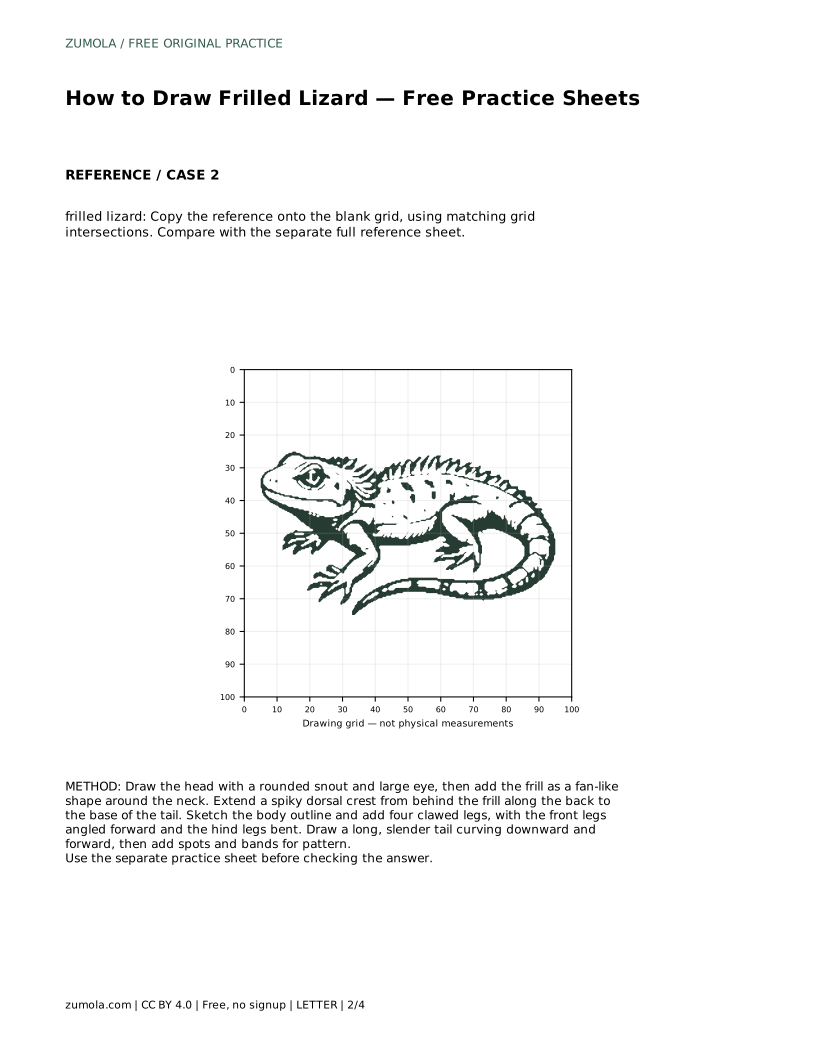
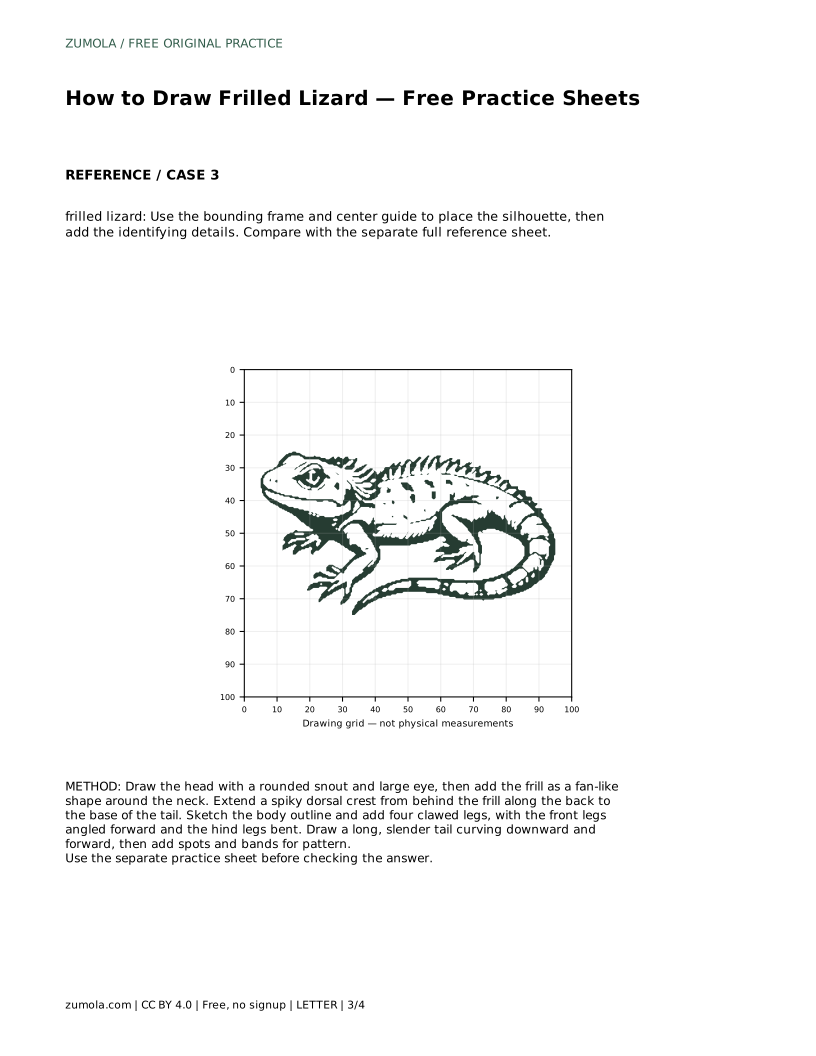
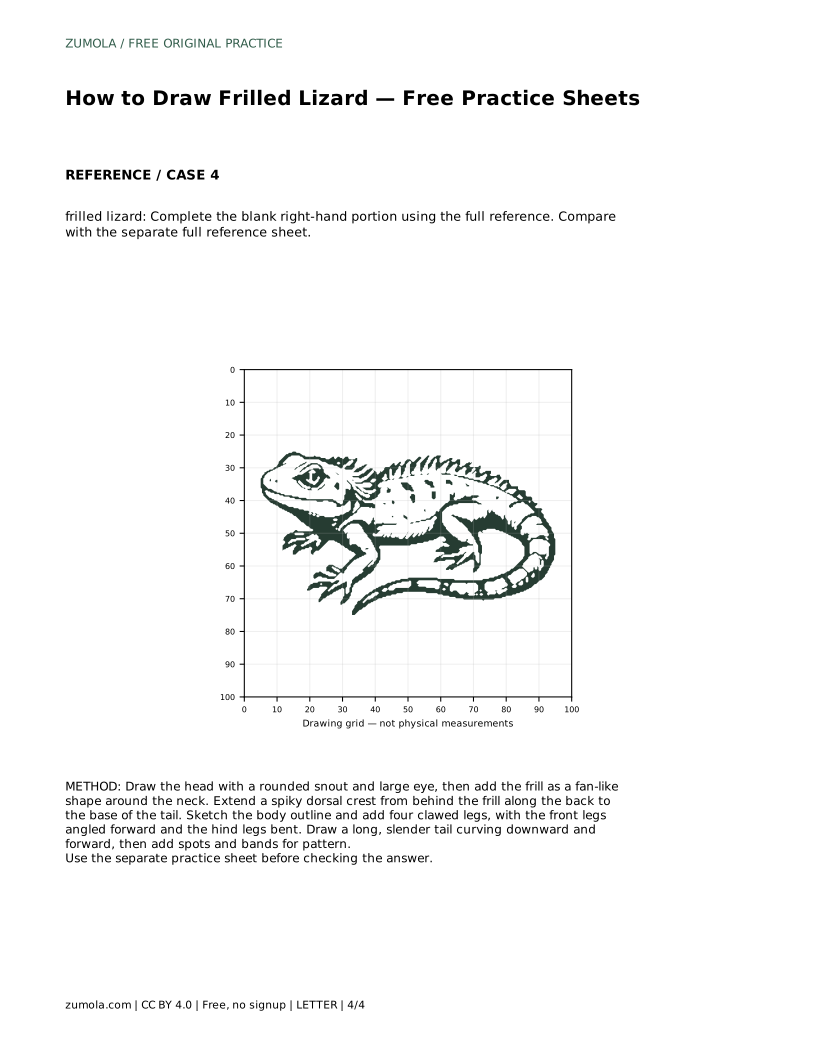
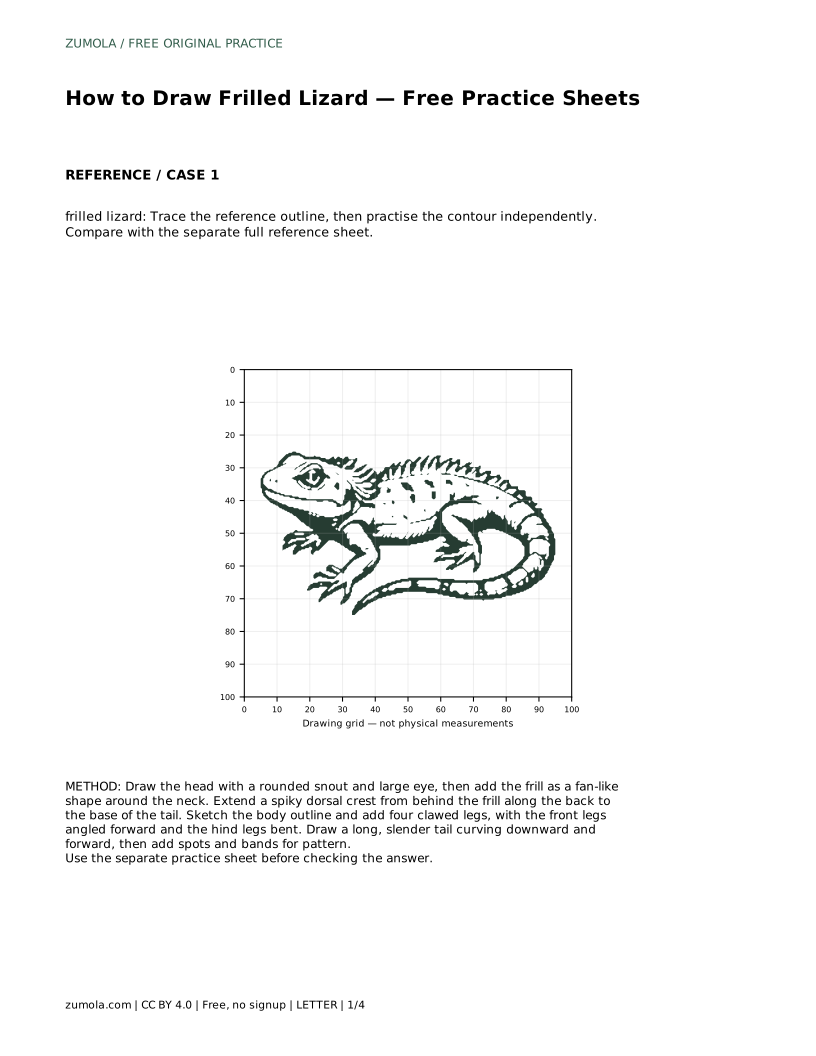
The tracing sheet asks you to follow the reference outline first, then repeat the contour without tracing. The grid sheet asks you to copy the reference onto a blank grid using matching intersections. The bounding-frame sheet uses a frame and centre guide to place the silhouette before details. The partial sheet gives the left portion and asks you to complete the right side from the full reference.
Each sheet trains a different skill: tracing builds familiarity, grids build proportion, frames build placement, and partial completion builds recall. Use the full reference sheet for comparison after each attempt.
There is no single correct drawing. Use the rubric below to judge whether the visible features and proportions are convincing, rather than whether your lines match the reference exactly.
frilled lizard: Trace the reference outline, then practise the contour independently. Compare with the separate full reference sheet.
Example solution: preserve large frill around neck, long slender tail, clawed feet. Other drawings can be correct; assess the visible features and proportions rather than pixel-perfect matching. Draw the head with a rounded snout and large eye, then add the frill as a fan-like shape around the neck. Extend a spiky dorsal crest from behind the frill along the back to the base of the tail. Sketch the body outline and add four clawed legs, with the front legs angled forward and the hind legs bent. Draw a long, slender tail curving downward and forward, then add spots and bands for pattern.
No. Other drawings can be correct. Assess the visible features and proportions rather than pixel-perfect matching.
Head and eye first, then the frill, then the dorsal crest, body, four clawed legs, and finally the long tail and pattern.
Complete the blank right-hand portion using the full reference, then compare your finished drawing with the separate full reference sheet.
All drawing practice · Free coordinate paper
Original resources · CC BY 4.0 · Free for personal and classroom use with attribution.