Reference diagrams
LETTER · Download PDF
A4 · Download PDF
Free original resources
Learn to draw a baseball glove by building its outline, webbing, finger seams and wrist strap. Includes a worked example, common mistakes and a drawing rubric.
Four original cases, with reference diagrams, practice sheets and worked answers. Everything is free; no signup required.
LETTER · Download PDF
A4 · Download PDF
LETTER · Download PDF
A4 · Download PDF
LETTER · Download PDF
A4 · Download PDF
Use A4 or US Letter to match your printer. Use the stated values and conditions to solve each exercise; diagrams are not physical measuring rulers.
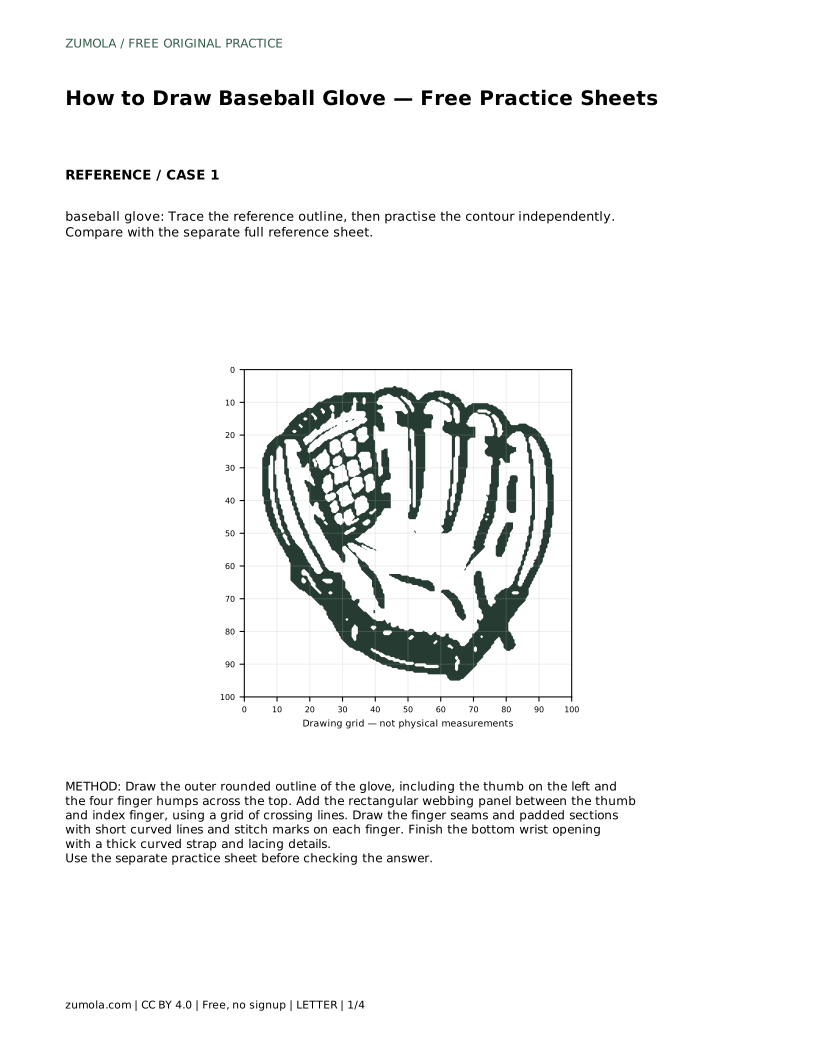
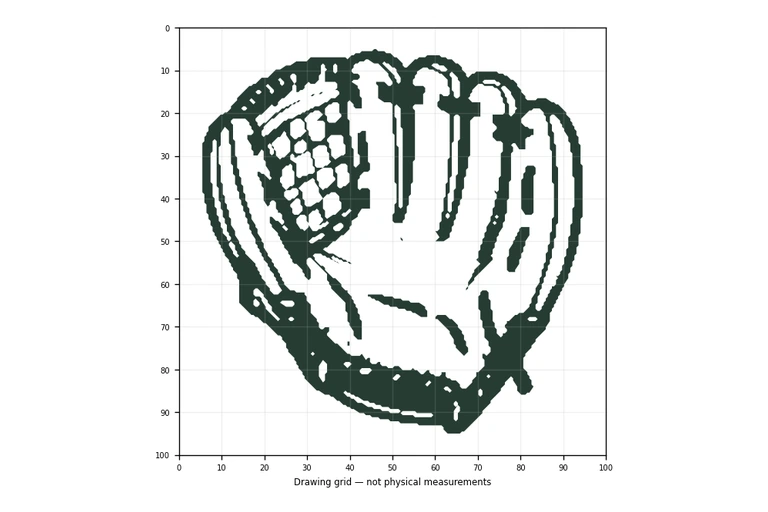
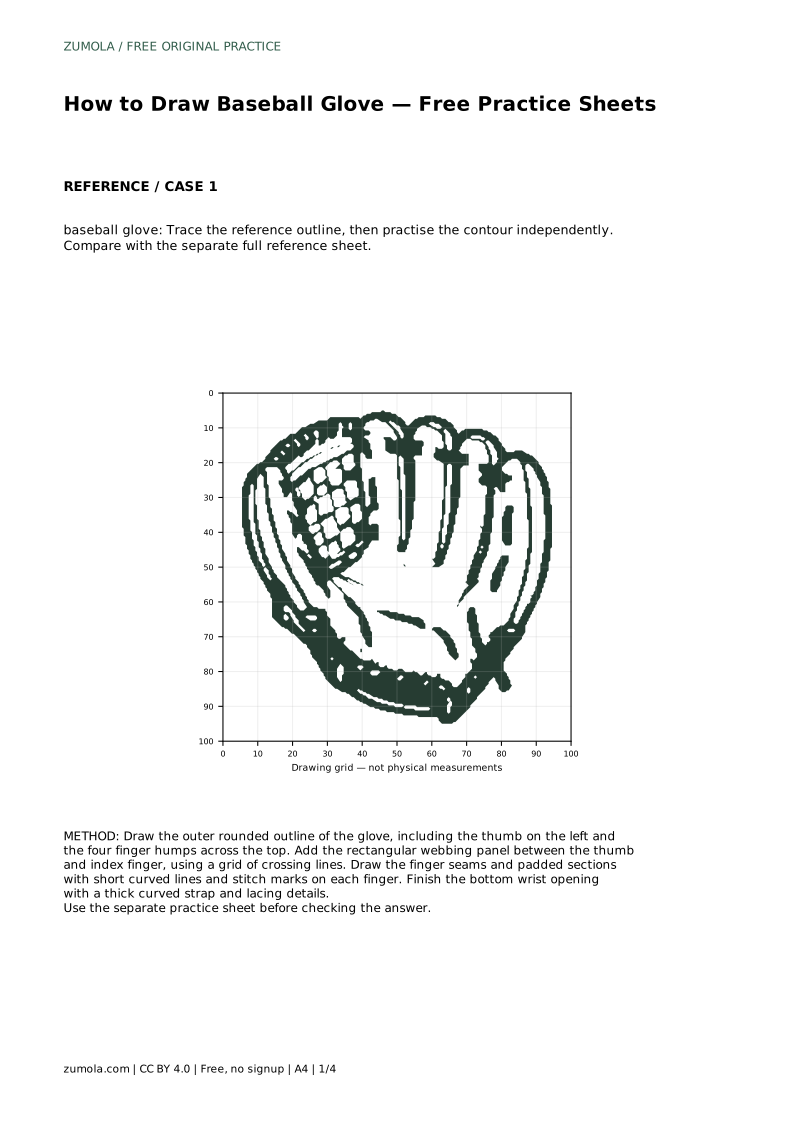
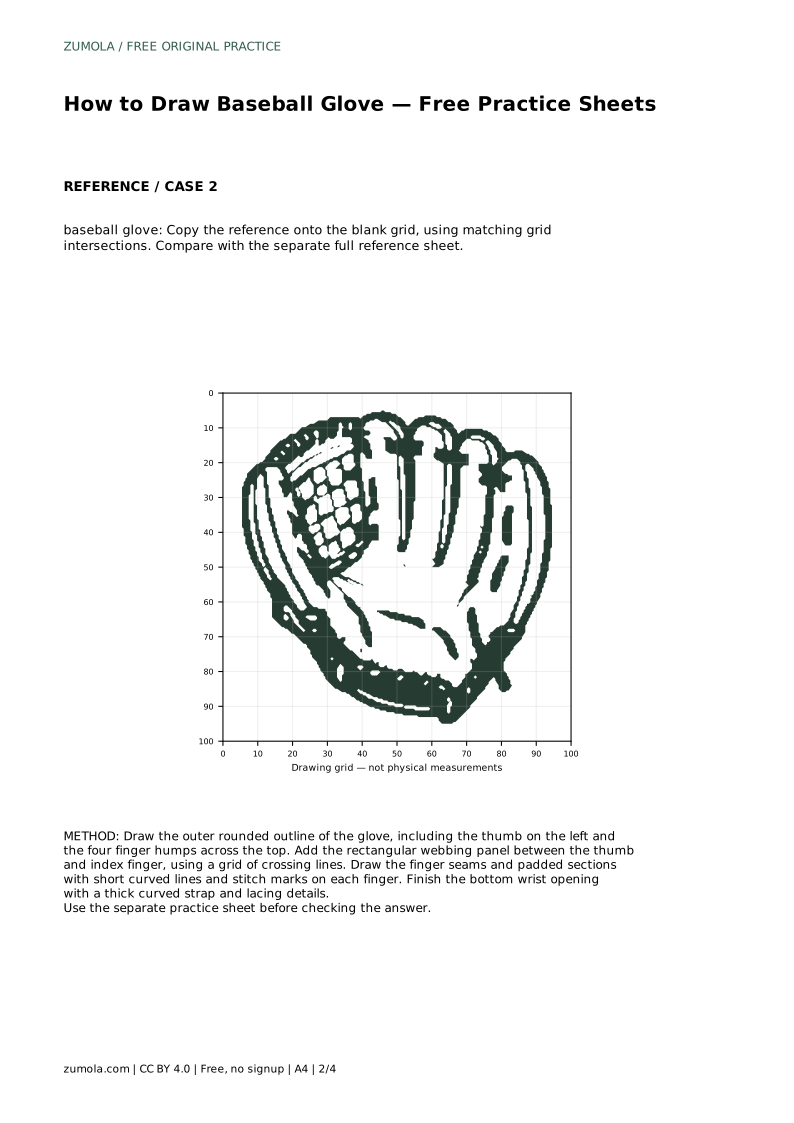
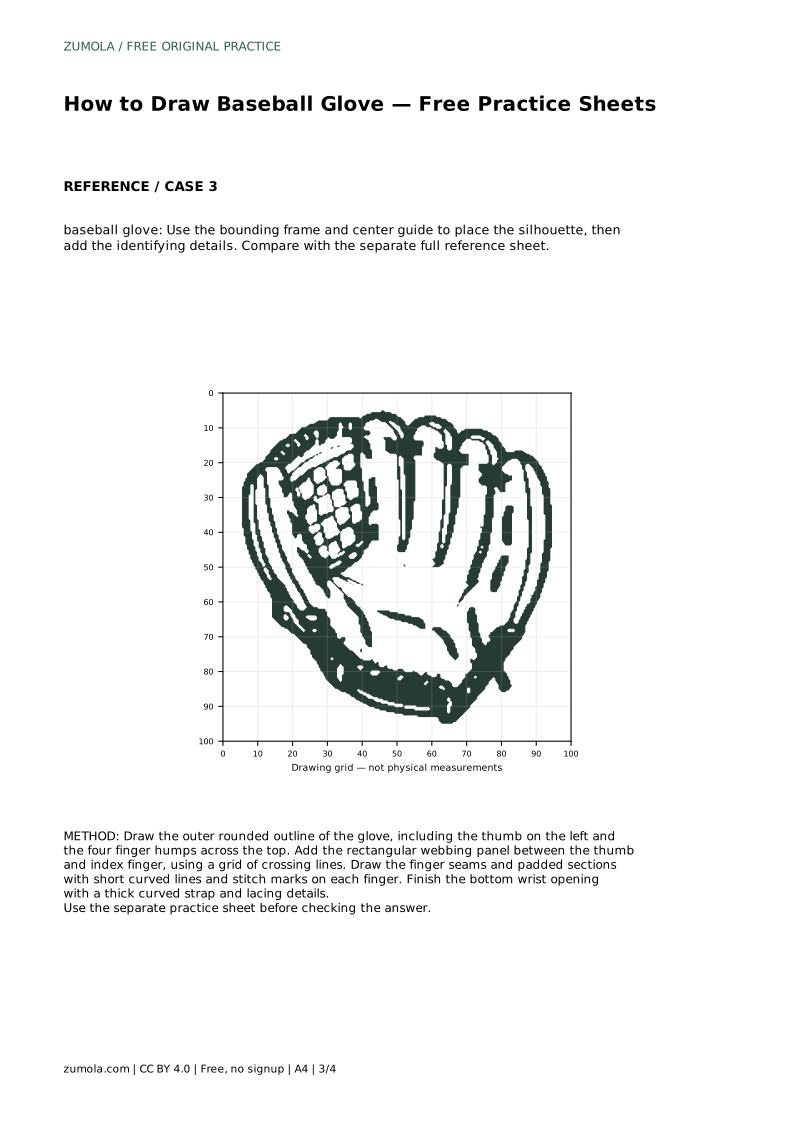
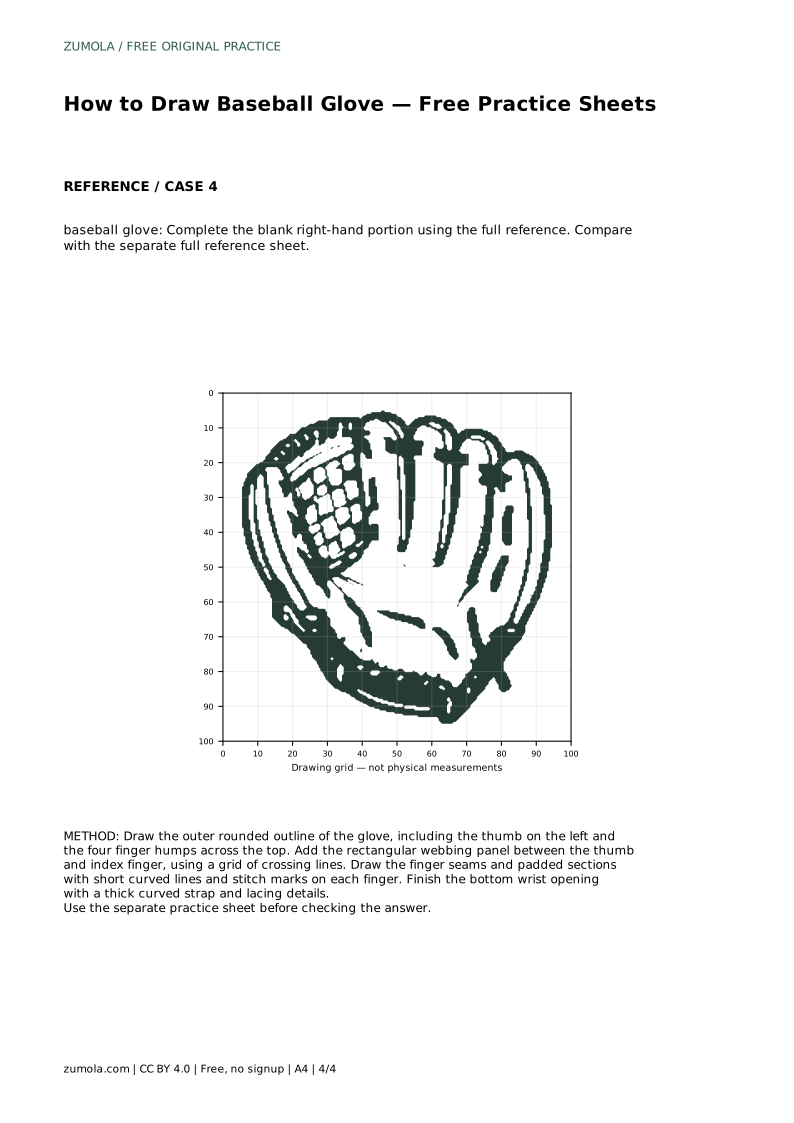
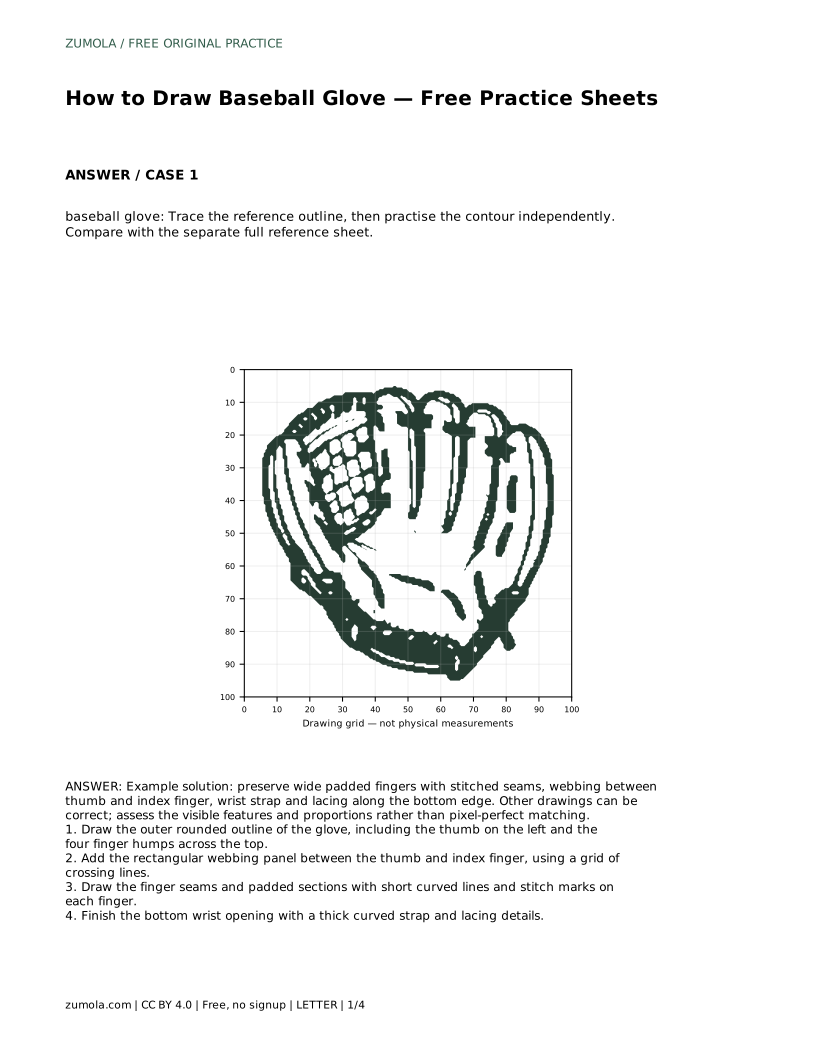
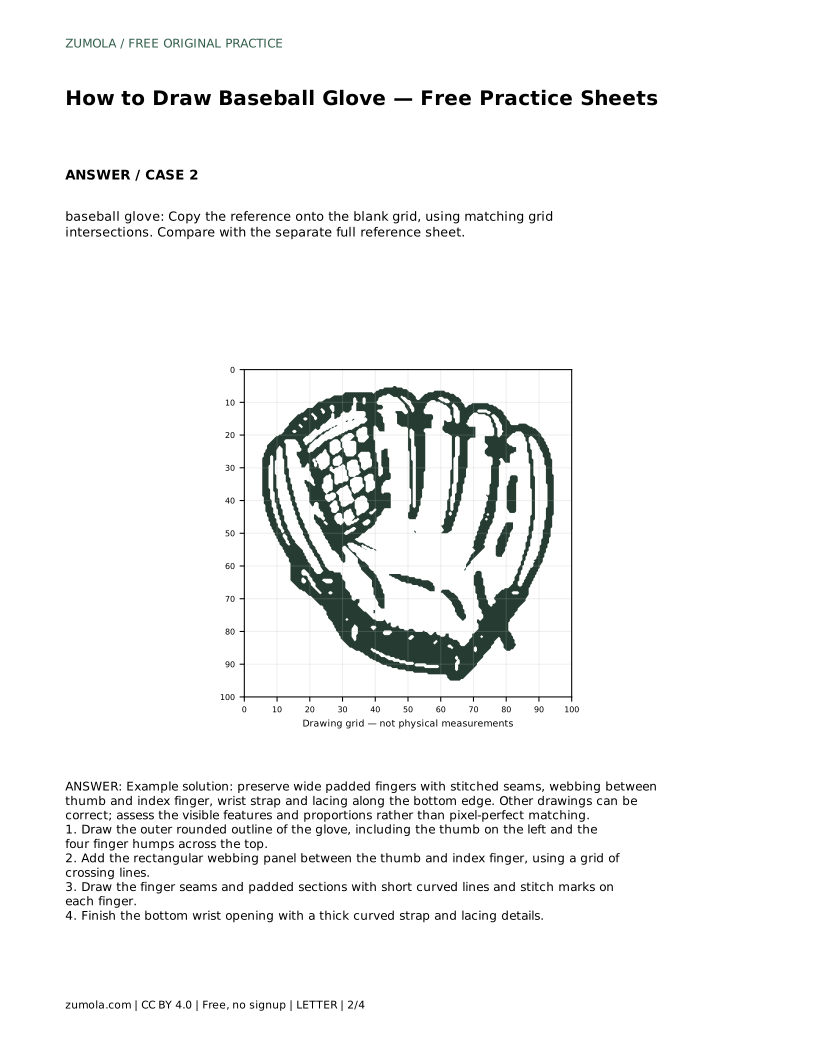
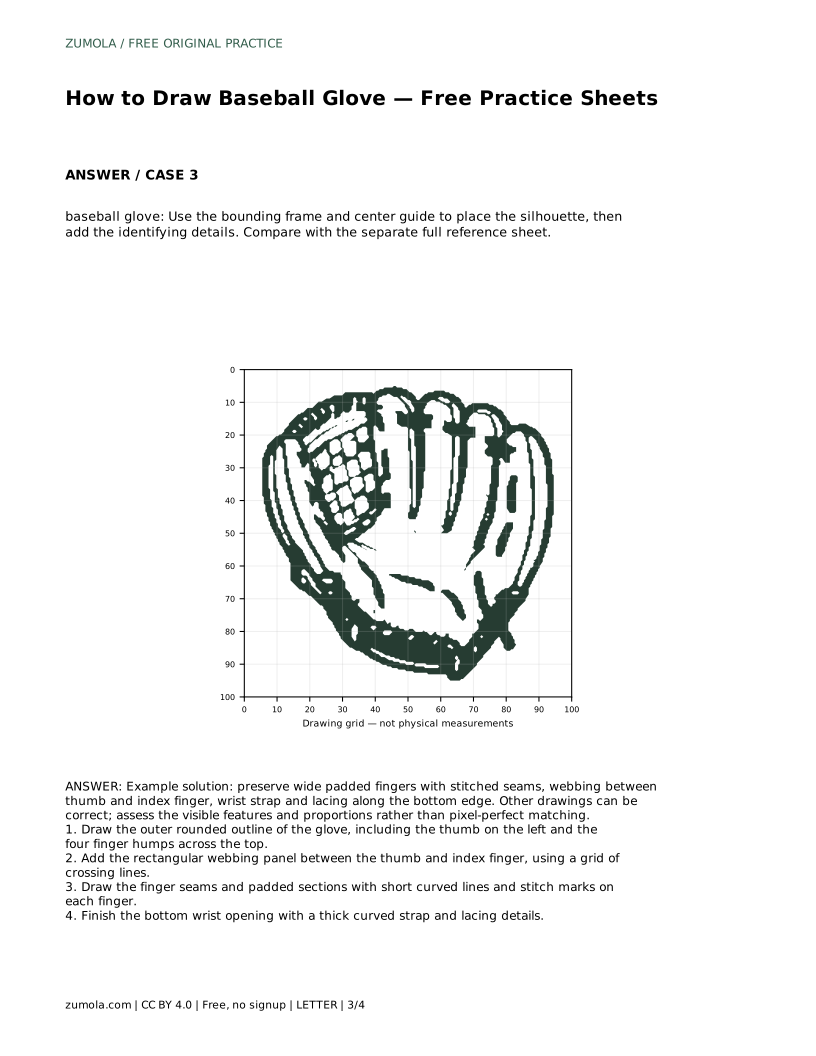
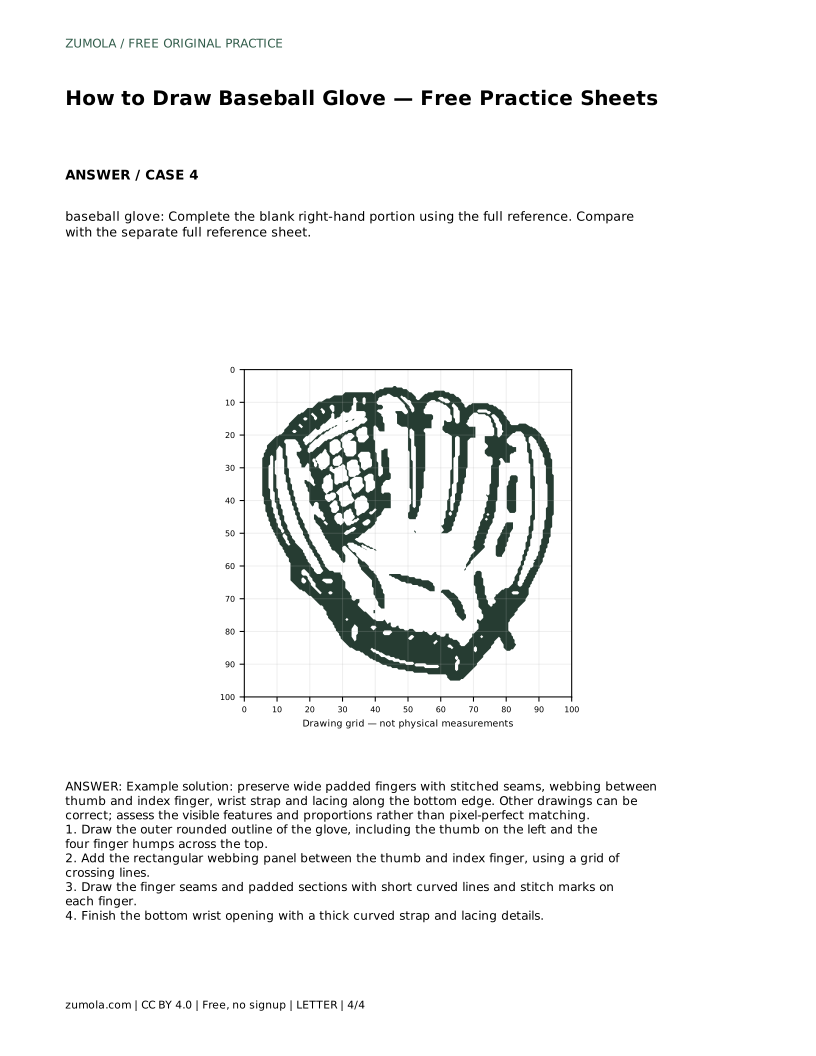
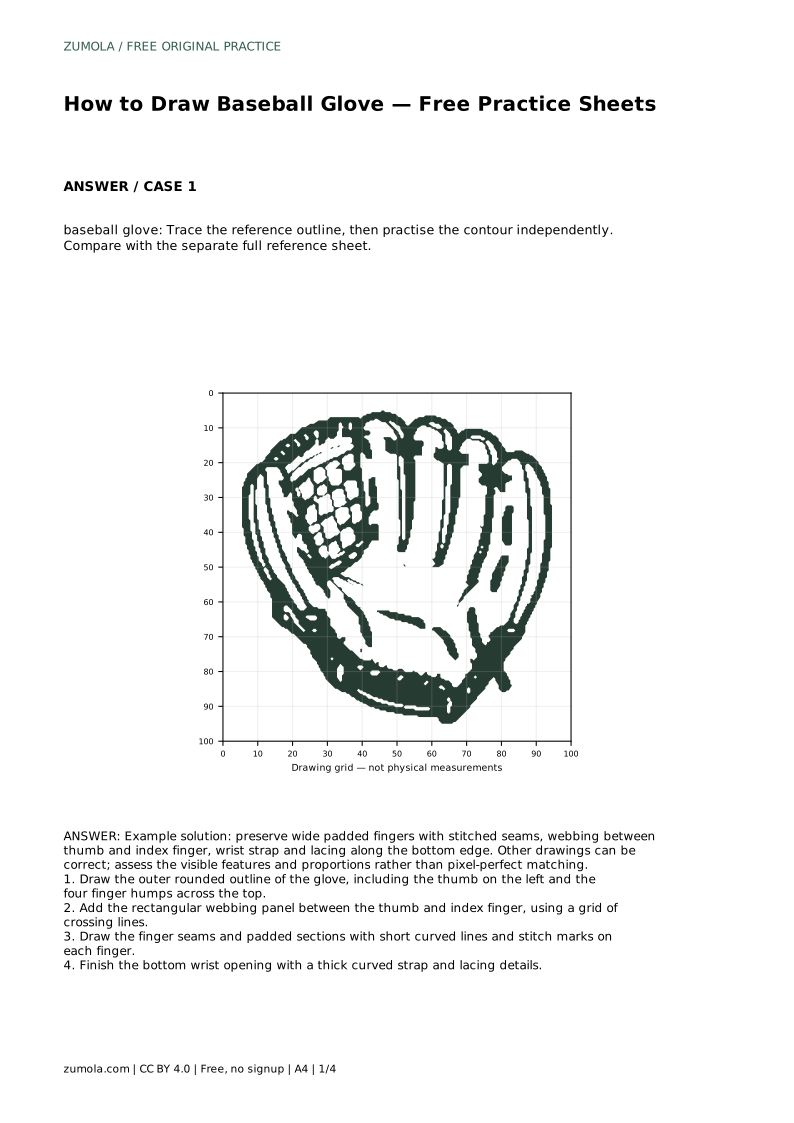
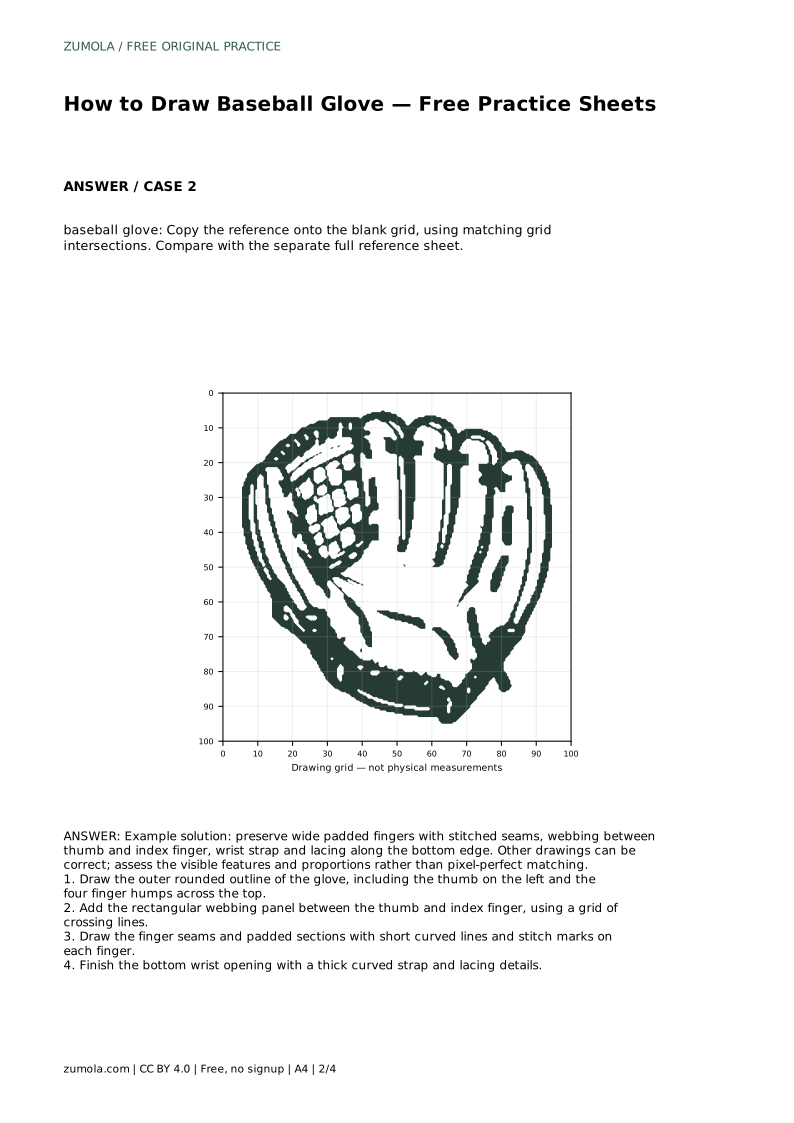
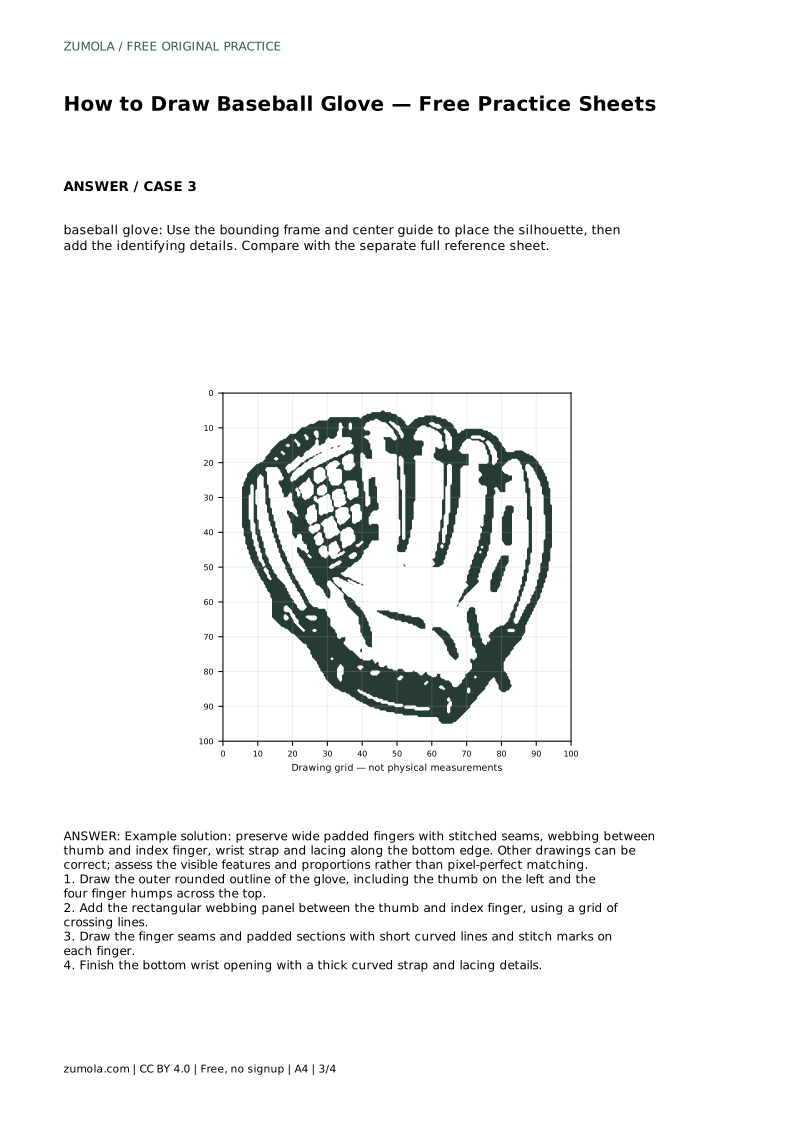
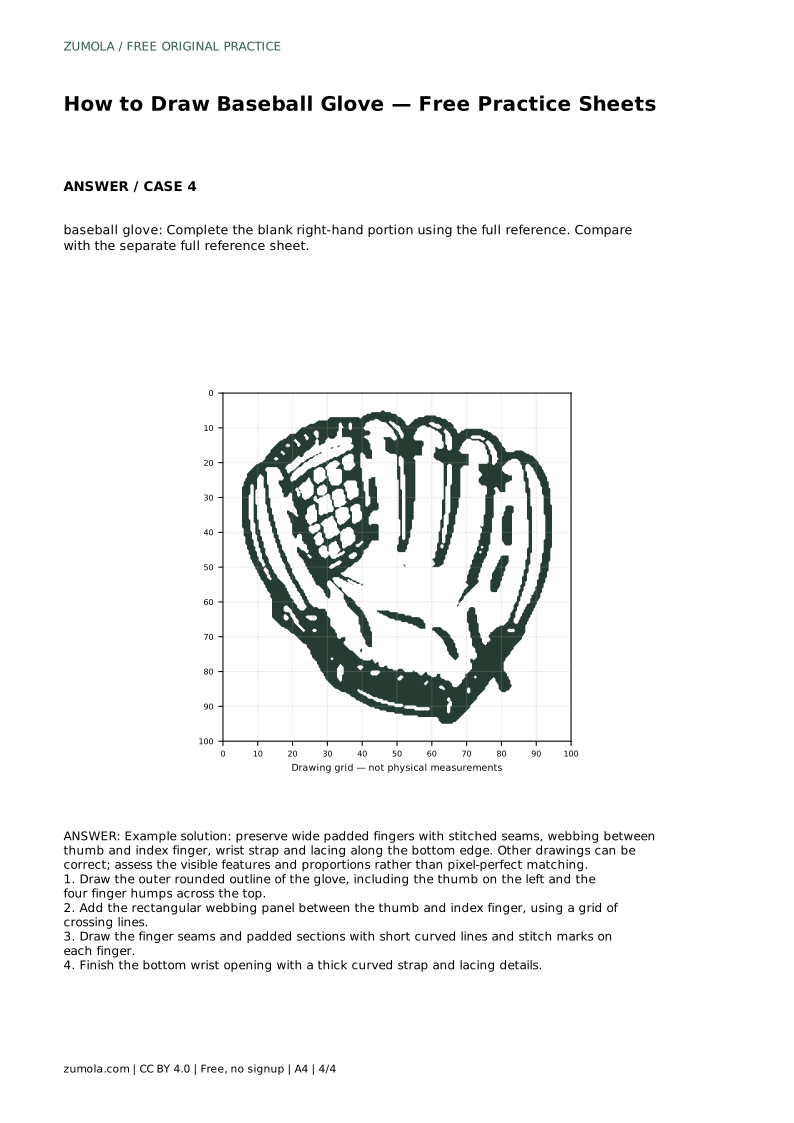
A baseball glove is mostly a rounded shape with a few identifying details, so it rewards careful looking more than fast linework. This page shows how to build the glove from its outer silhouette inward: thumb, four padded finger humps, webbing panel, seams and wrist opening. The practice sheets let you trace a reference outline, copy onto a grid, place the silhouette with a bounding frame and center guide, or complete a partly blank drawing.
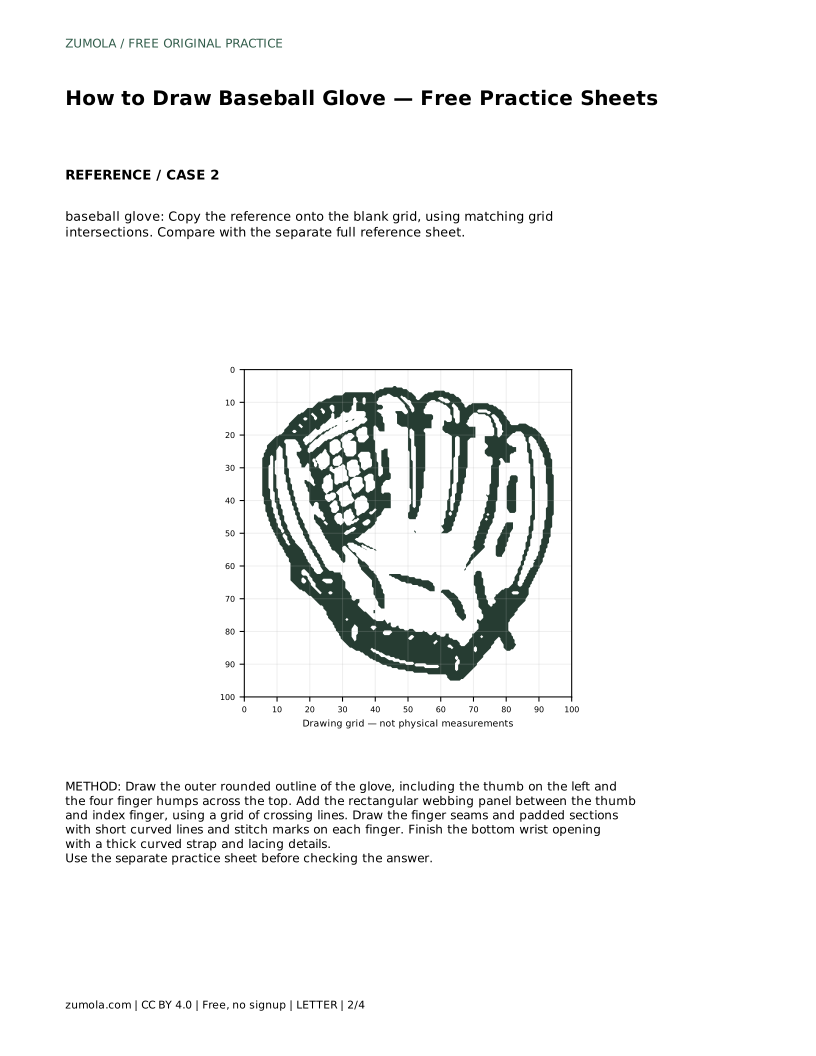
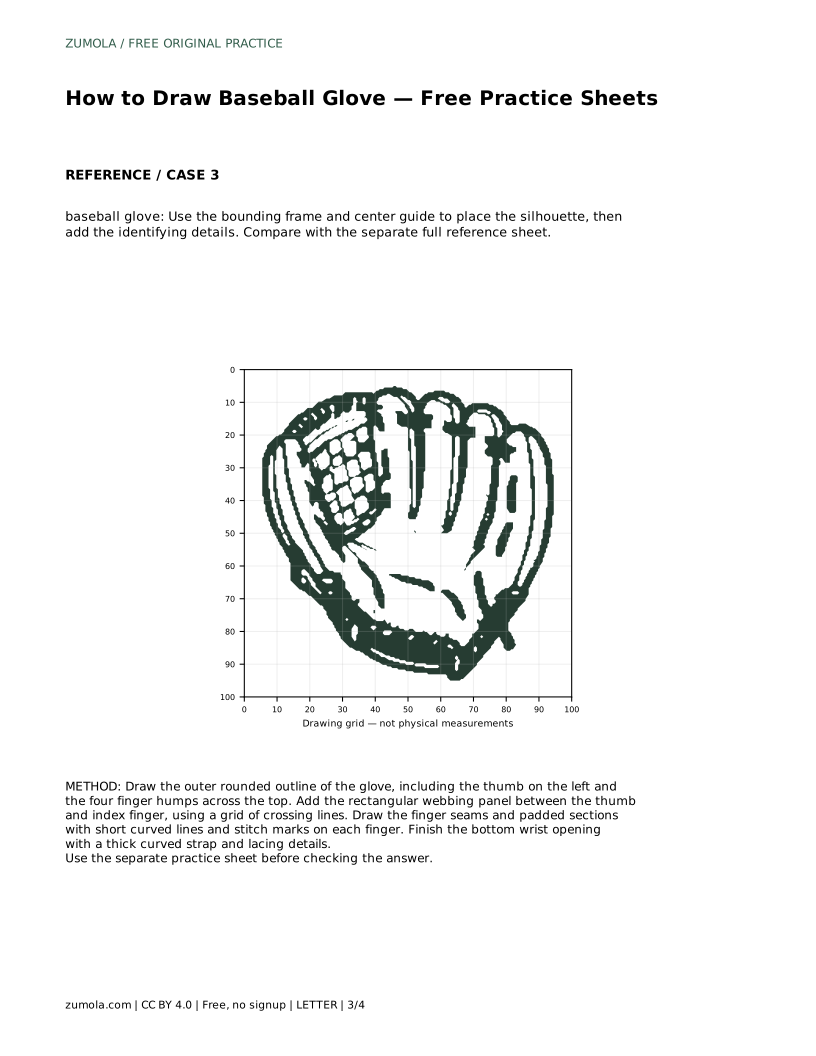
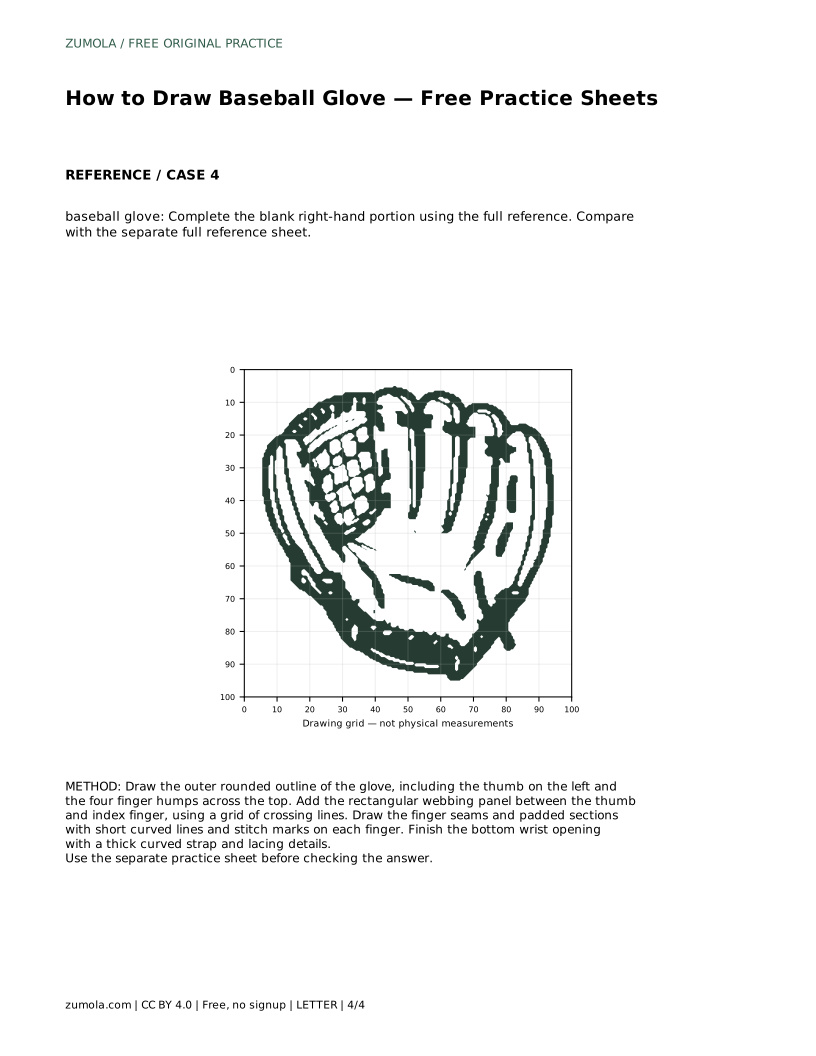
Begin by treating the glove as one closed shape. The thumb sits on the left, and four rounded finger humps run across the top. Keep those humps wide and padded rather than pointed; a glove reads as a glove because the fingers look stuffed and soft. Check that the overall shape is wider at the top than at the wrist, and that the bottom edge curves gently rather than forming a straight line.
Only after the outline is stable should you add interior features. This order prevents you from drawing attractive stitching on a shape that is too narrow or too tall.
The webbing is the rectangular panel between the thumb and index finger. Draw its outer edges first, then add a grid of crossing lines inside it. Keep the crossings evenly spaced so the panel looks woven rather than scribbled.
Next, mark the finger seams with short curved lines that follow the padding. Add small stitch marks along those seams. Stitches should be short and regular; long, sweeping marks stop reading as stitching. The seams also help separate the fingers visually, so place them where the humps meet.
The bottom of the glove is the wrist opening. Draw a thick curved strap across it, then add lacing details along the lower edge. Lacing can be simplified as a series of short crossing or looping lines; it does not need to be dense to be convincing.
Compare your finished drawing with the separate full reference sheet. Look for the features listed in the rubric rather than expecting a pixel-perfect match, because several valid drawings can show the same glove.
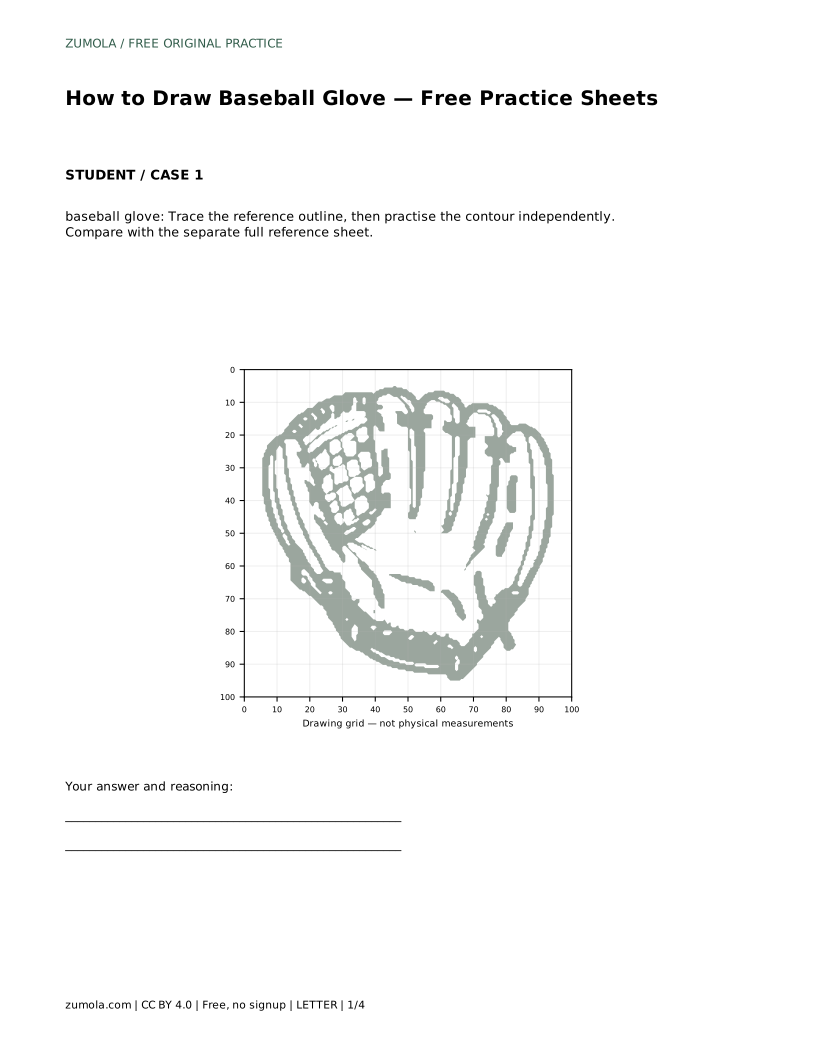
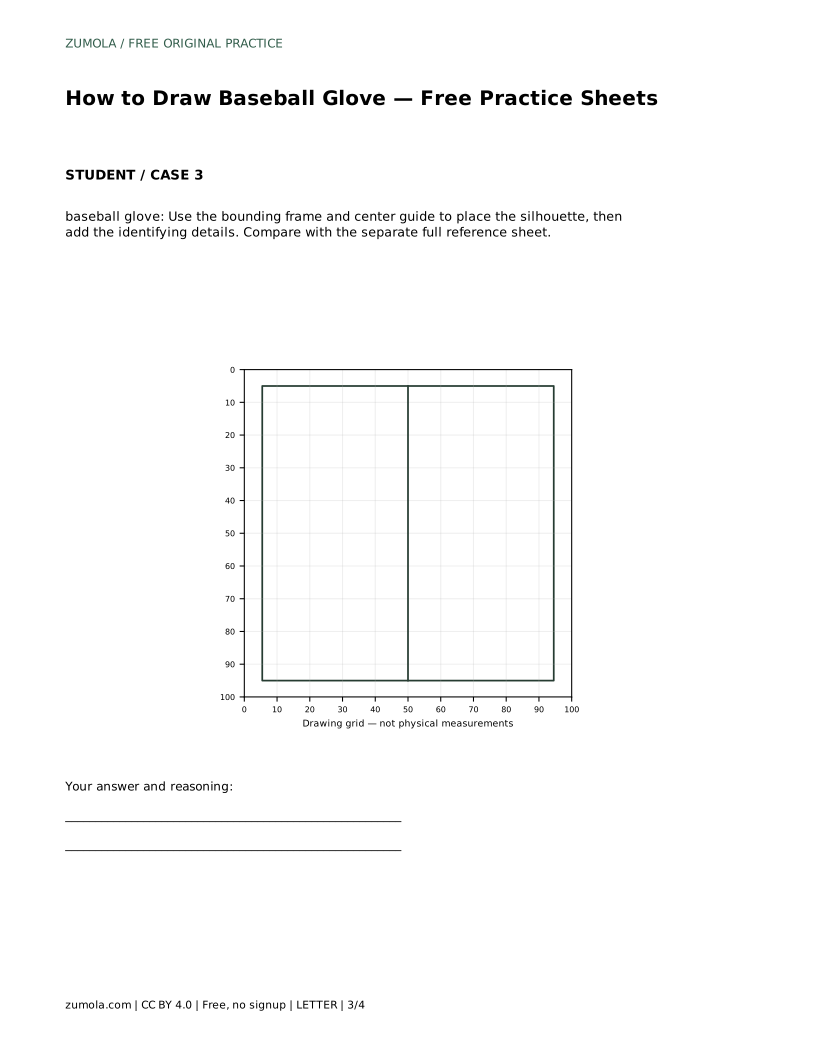
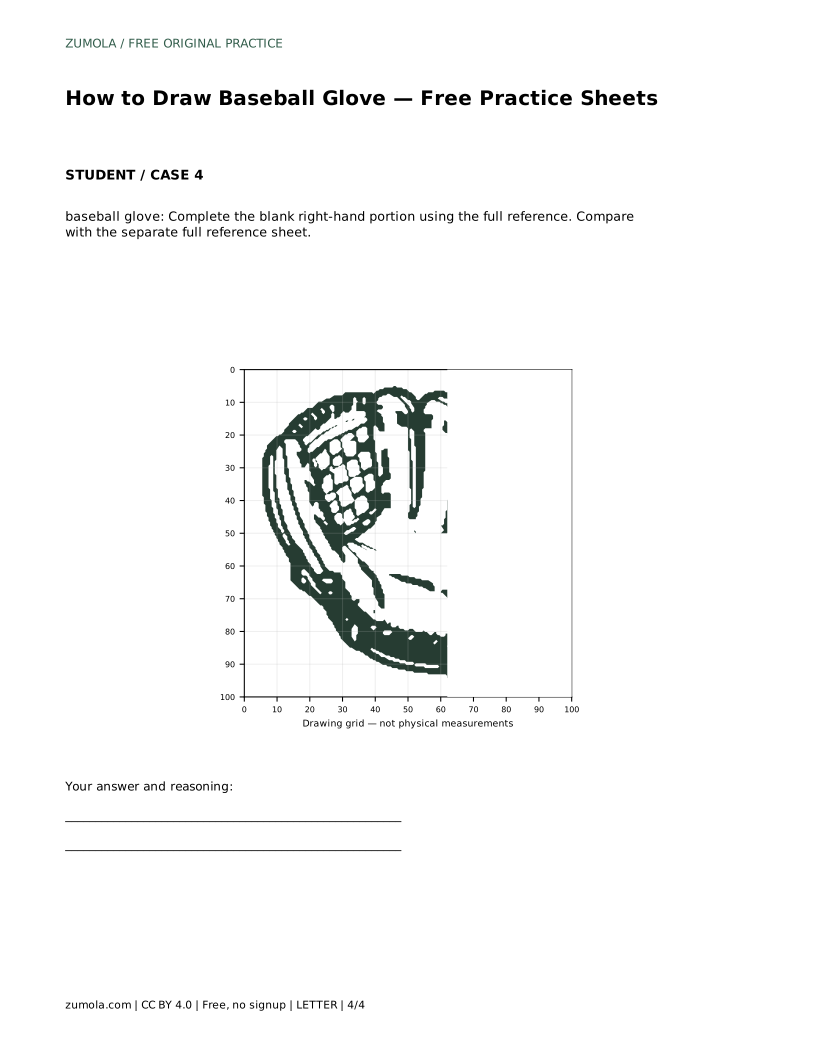
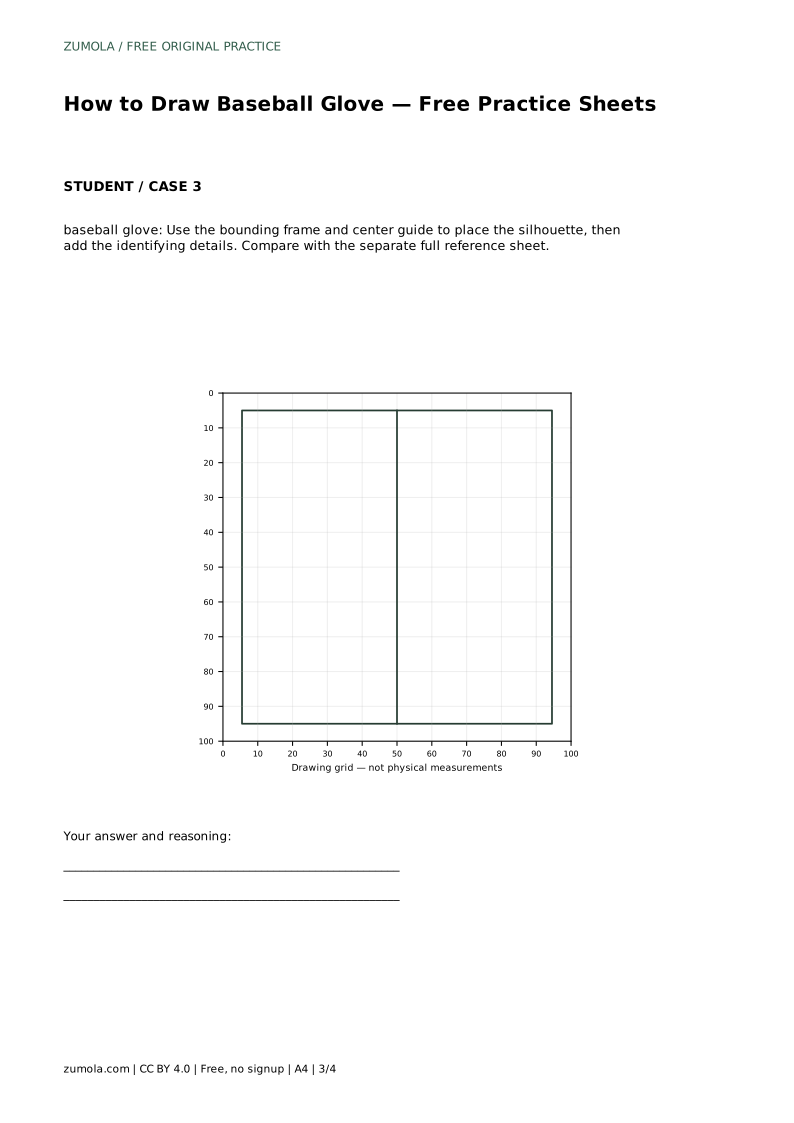
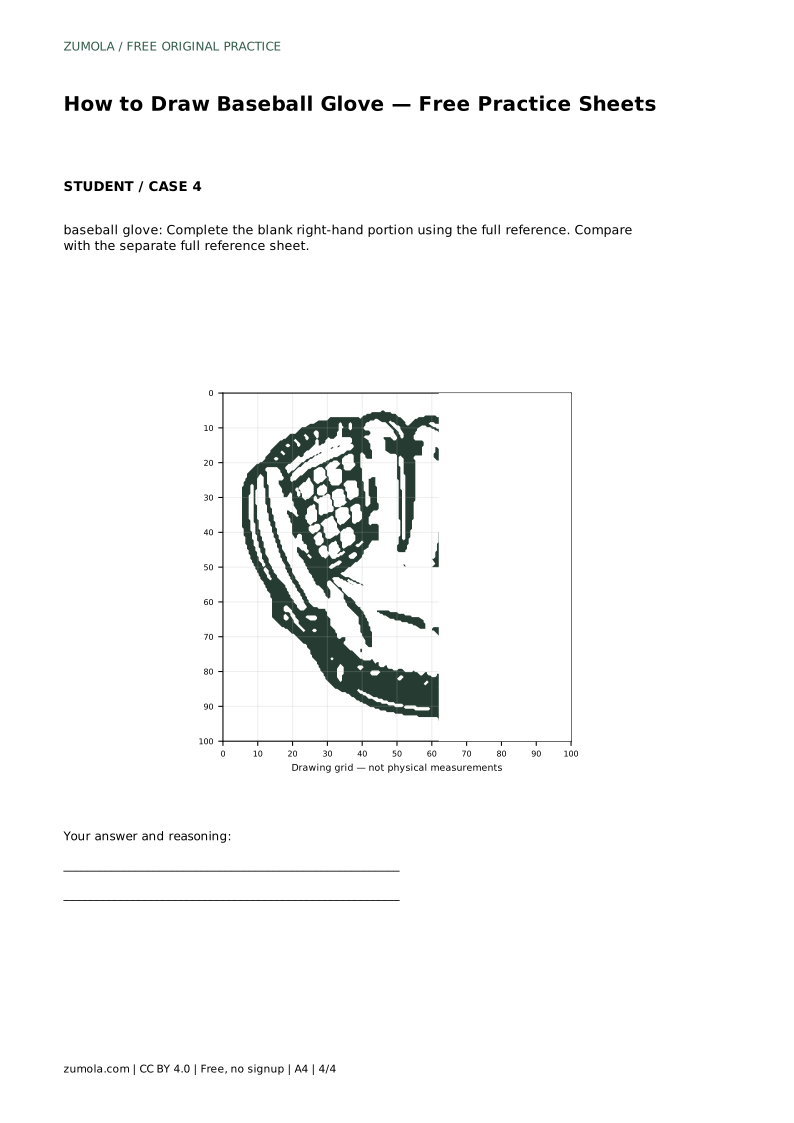
Tracing the reference outline helps you feel the proportions. Copying onto a blank grid trains you to match intersections rather than guess. The bounding frame and center guide help you place the silhouette before adding details. The partly blank sheet asks you to complete the missing right-hand portion using the full reference.
Each format targets a different skill, so choose the one that matches what you find difficult. If your outline keeps drifting, use the bounding frame. If your details are misplaced, use the grid.
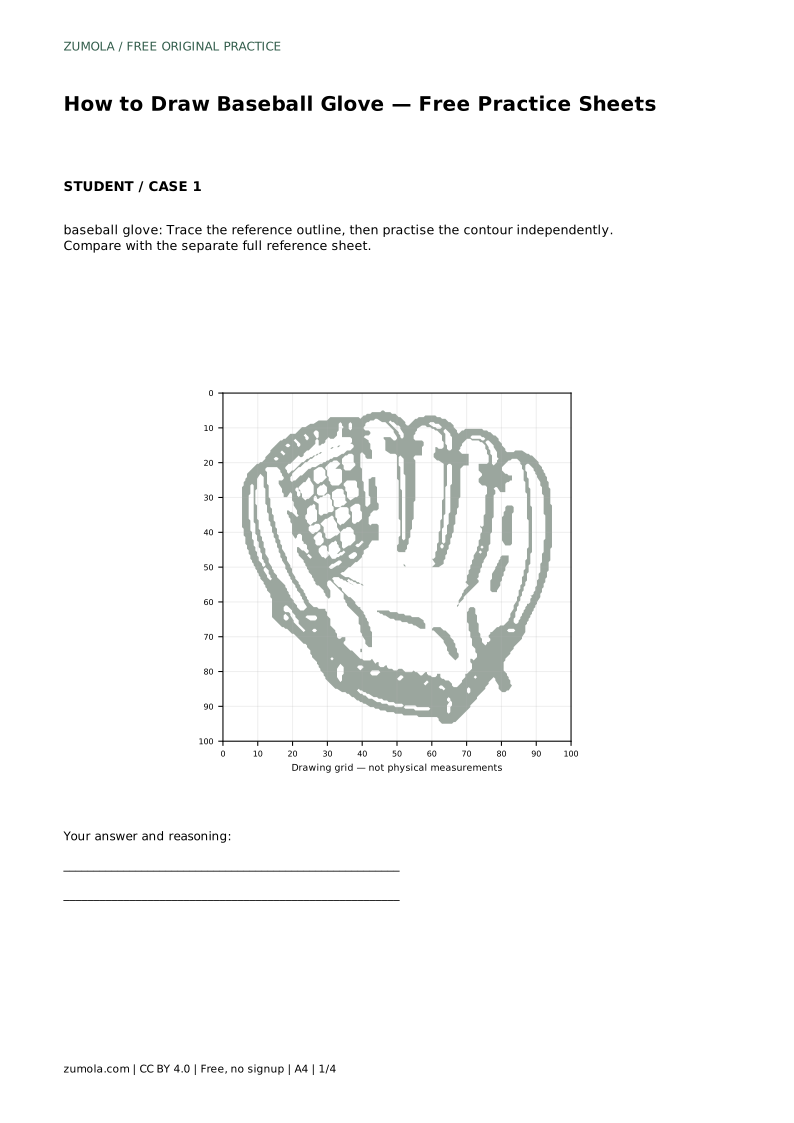
Prompt: Trace the reference outline, then practise the contour independently. Compare with the separate full reference sheet.
Example solution: preserve wide padded fingers with stitched seams, webbing between thumb and index finger, wrist strap and lacing along the bottom edge. Other drawings can be correct; assess the visible features and proportions rather than pixel-perfect matching.
Most glove drawings fail on proportion or on missing identifying details. Check these three points before you call a drawing finished.
baseball glove: Trace the reference outline, then practise the contour independently. Compare with the separate full reference sheet.
Example solution: preserve wide padded fingers with stitched seams, webbing between thumb and index finger, wrist strap and lacing along the bottom edge. Other drawings can be correct; assess the visible features and proportions rather than pixel-perfect matching. Draw the outer rounded outline of the glove, including the thumb on the left and the four finger humps across the top. Add the rectangular webbing panel between the thumb and index finger, using a grid of crossing lines. Draw the finger seams and padded sections with short curved lines and stitch marks on each finger. Finish the bottom wrist opening with a thick curved strap and lacing details.
No. Several drawings can be correct. Assess whether the wide padded fingers, stitched seams, webbing, wrist strap and lacing are visible and proportioned sensibly.
Start with tracing if the outline is unfamiliar, then move to the grid or bounding frame to practise placement without tracing.
Keep stitches short and regular along the seams. A few clear marks are enough; dense stitching is not required for the glove to read correctly.
All drawing practice · Free coordinate paper
Original resources · CC BY 4.0 · Free for personal and classroom use with attribution.