Reference diagrams
LETTER · Download PDF
A4 · Download PDF
Free original resources
Learn to draw a bracelet by building an open circular band, evenly spaced links, a front charm and a clasp gap. Free printable practice sheets support each stage.
Four original cases, with reference diagrams, practice sheets and worked answers. Everything is free; no signup required.
LETTER · Download PDF
A4 · Download PDF
LETTER · Download PDF
A4 · Download PDF
LETTER · Download PDF
A4 · Download PDF
Use A4 or US Letter to match your printer. Use the stated values and conditions to solve each exercise; diagrams are not physical measuring rulers.
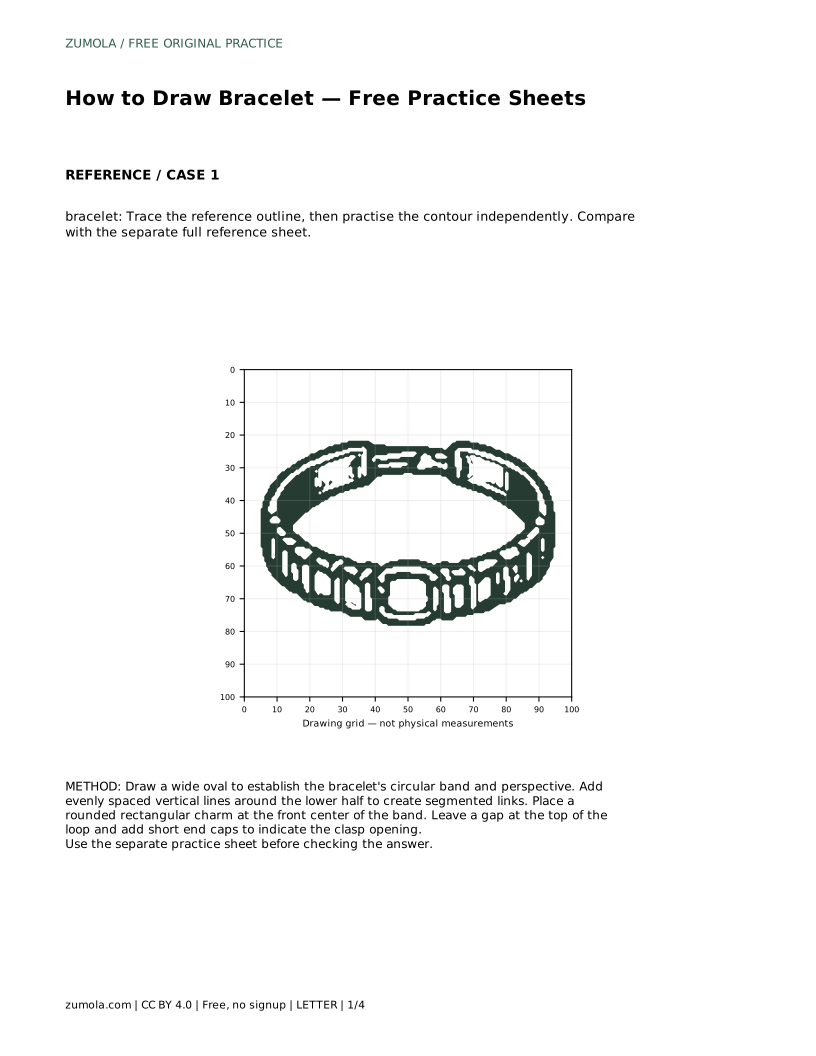
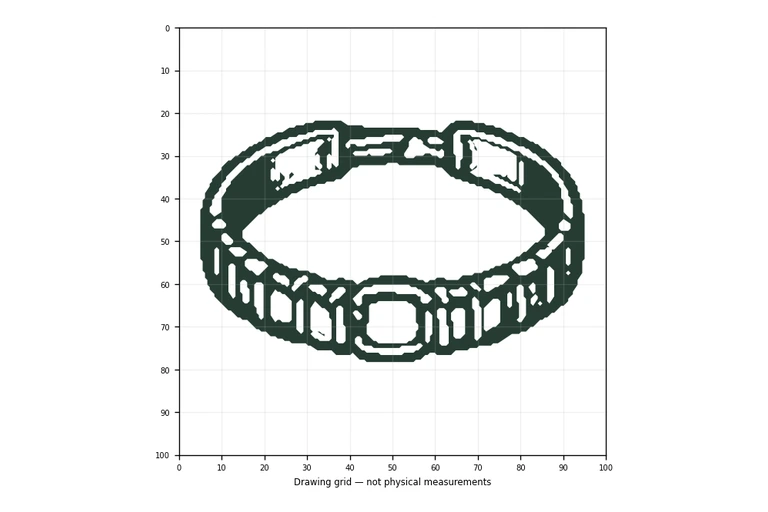
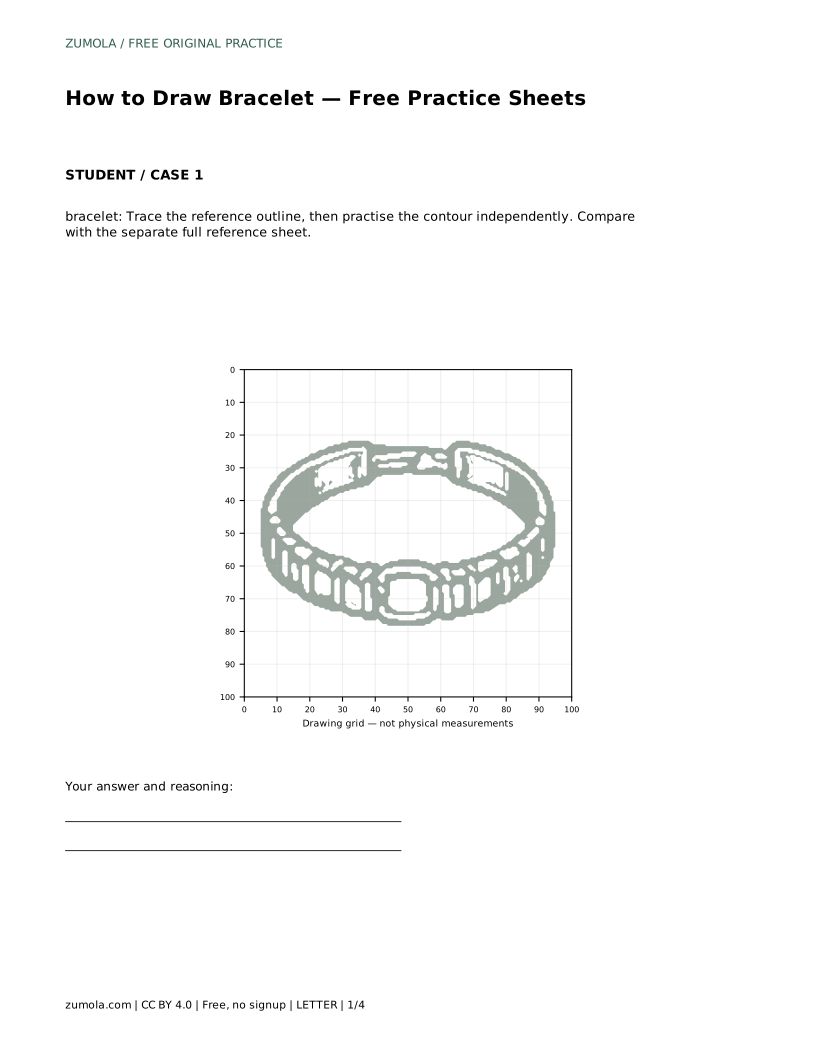
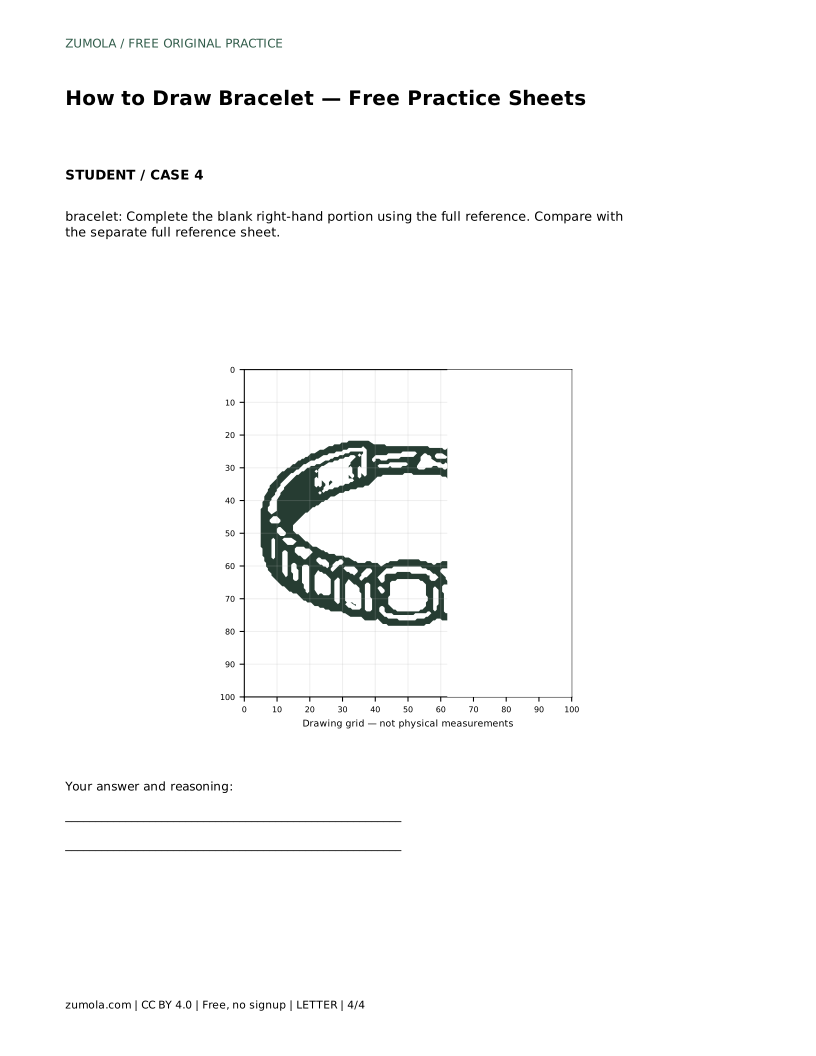
A bracelet drawing reads clearly when the band looks like a loop seen slightly from above, the links follow that curve, and the clasp opening is deliberate rather than accidental. This page teaches a reliable order: establish the oval band, segment the lower half, place the focal charm at the front, then leave a clean gap at the top with short end caps. The practice sheets let you trace, copy onto a grid, use a bounding frame, or complete a partial drawing.
Begin with a wide oval rather than a perfect circle. A bracelet sits around a wrist, so the front of the band appears lower and broader while the back edge sits higher and narrower. Keep the oval open at the top: that gap is where the clasp will go, and deciding it early prevents the loop from closing into a ring.
Lightly mark the oval's center so the charm and link spacing stay balanced. Check that the left and right sides of the band are similar in height before adding detail.
Links should follow the band's curve, not sit as straight vertical bars. On the lower half, where the band faces the viewer, draw short lines that cross the band at roughly even intervals. As the band curves toward the sides, tilt those dividing lines so they point toward the oval's center.
Keep spacing consistent by counting intervals rather than guessing. If the band is divided into eight segments across the visible front, each segment should occupy about the same share of the curve.
The charm is the focal element, so place it at the front center where the band is widest. A rounded rectangle or oval works well because it echoes the band's curve without competing with it. Center the charm on the marked midpoint and keep its width smaller than the band's front span.
Finish by adding short end caps at both sides of the top gap. These caps show where the band ends and the clasp would connect. Keep the gap narrow enough to read as an opening, not as a missing section.
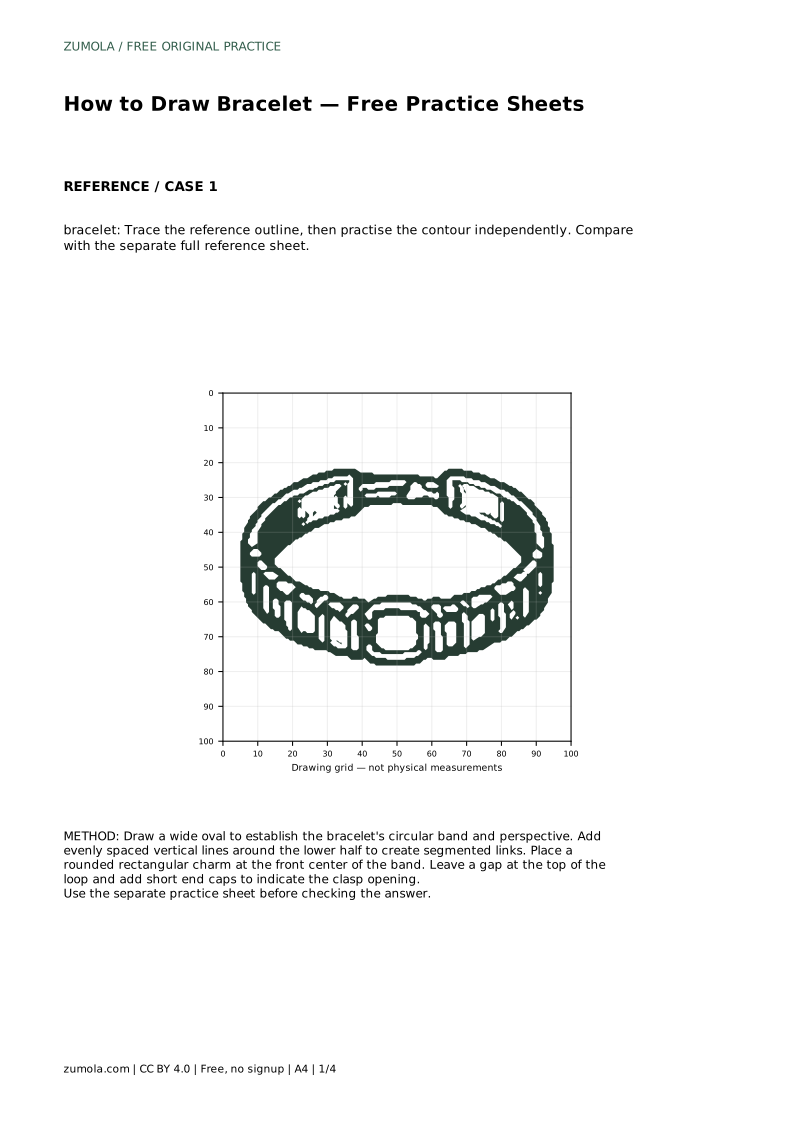
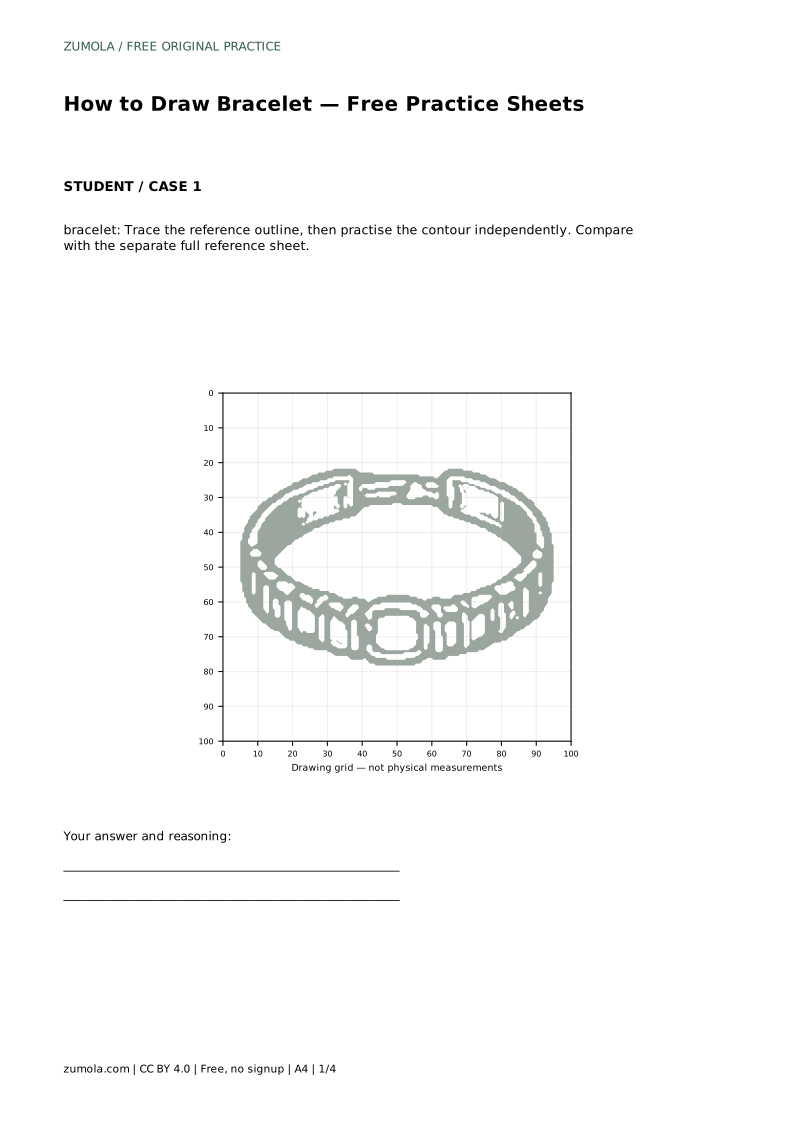
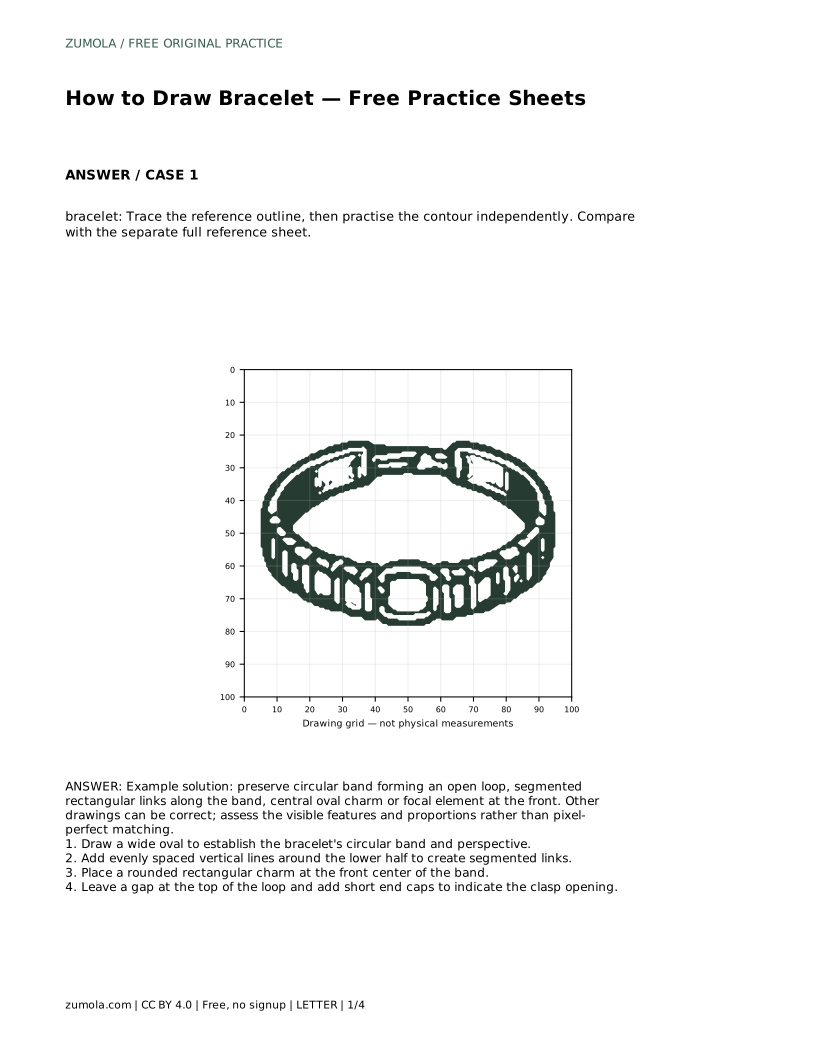
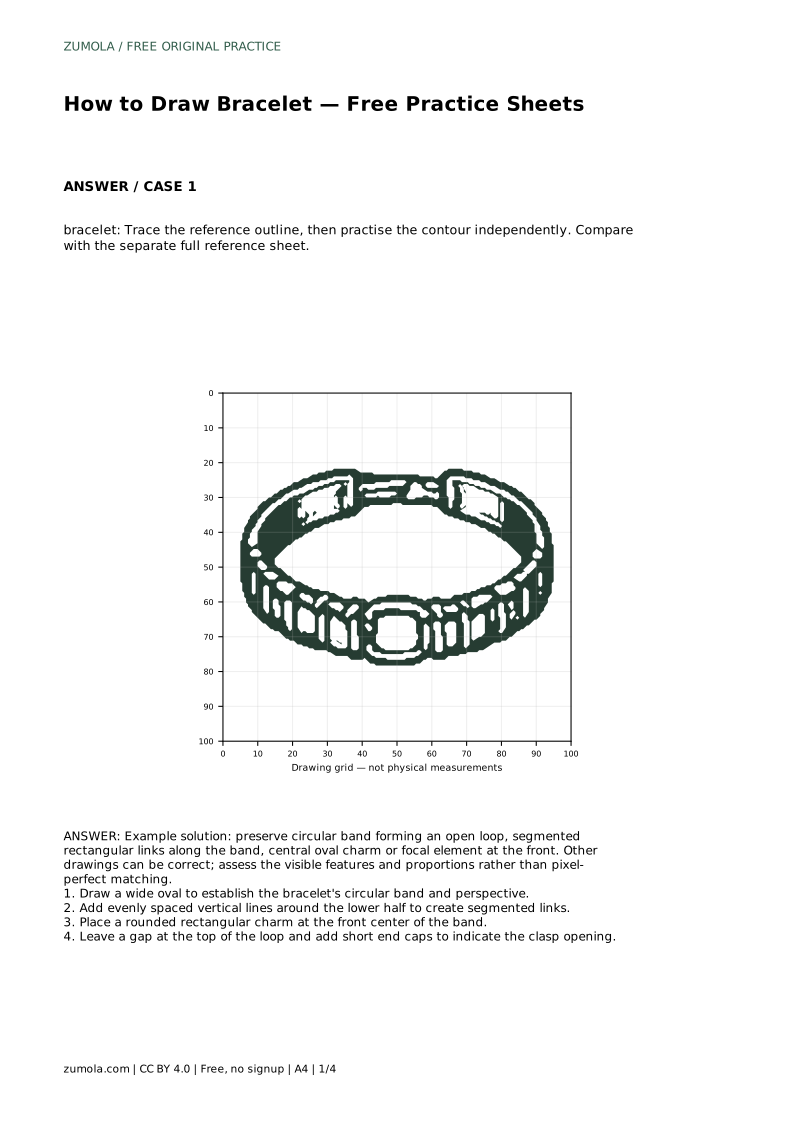
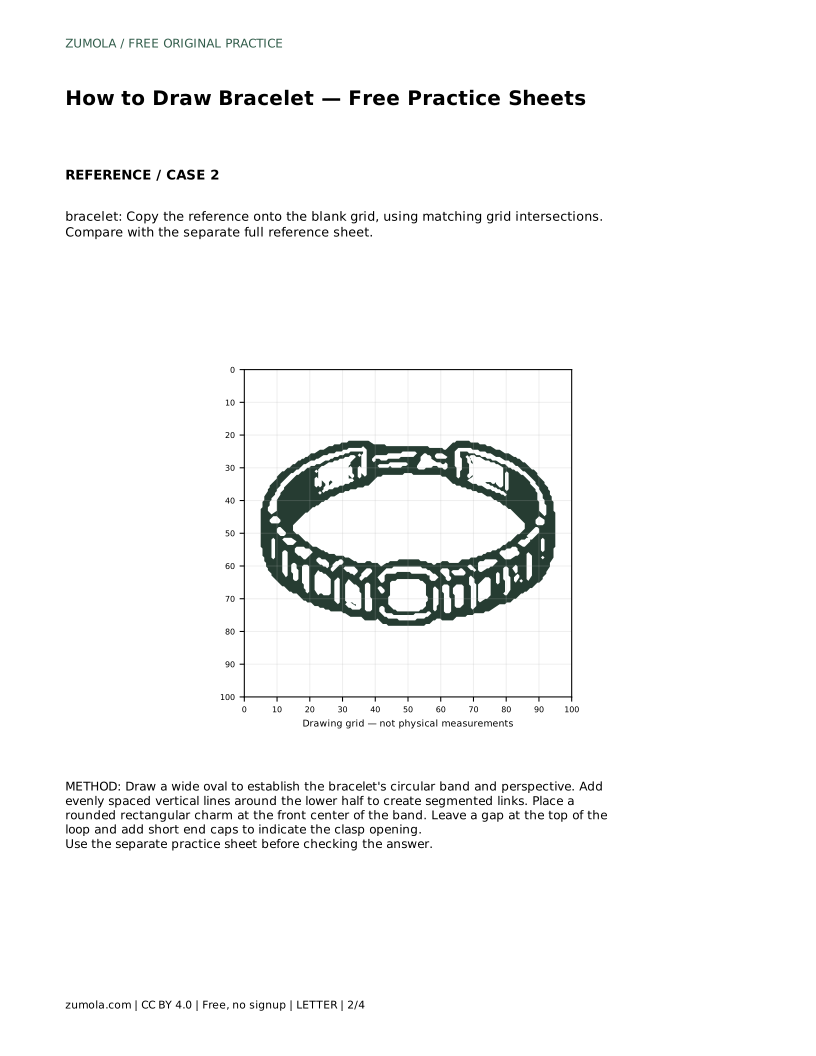
bracelet: Trace the reference outline, then practise the contour independently. Compare with the separate full reference sheet.
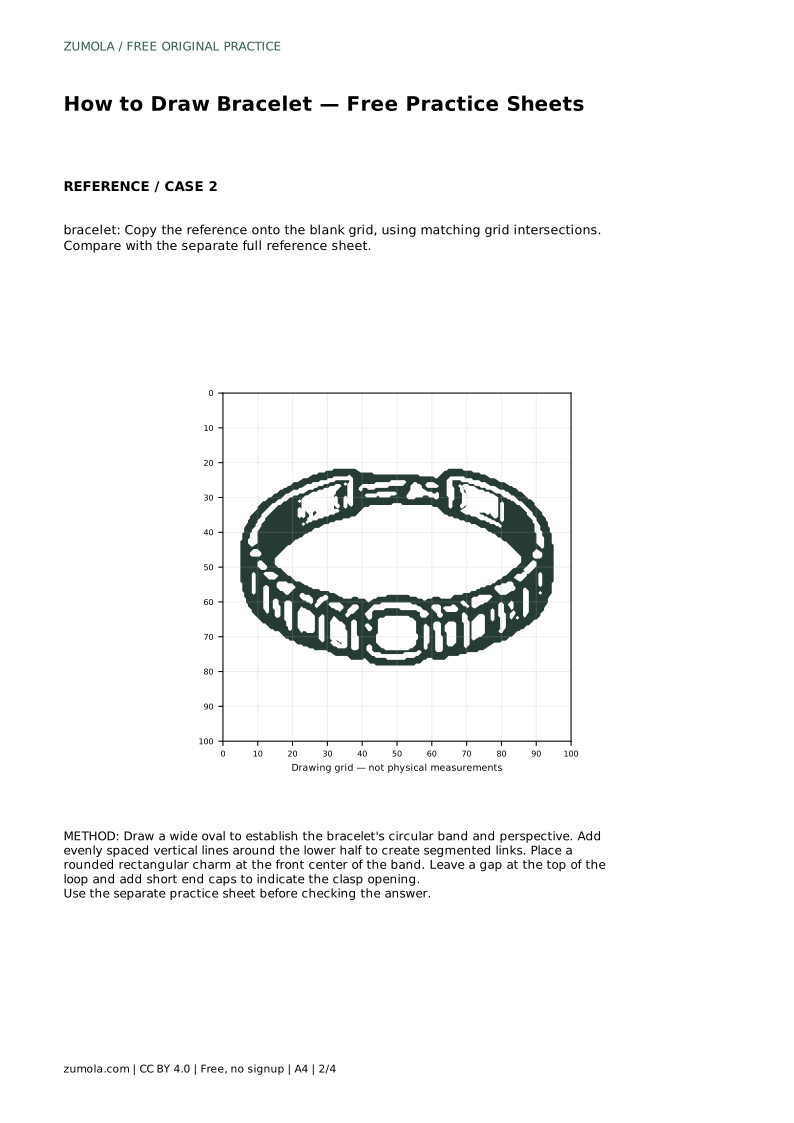
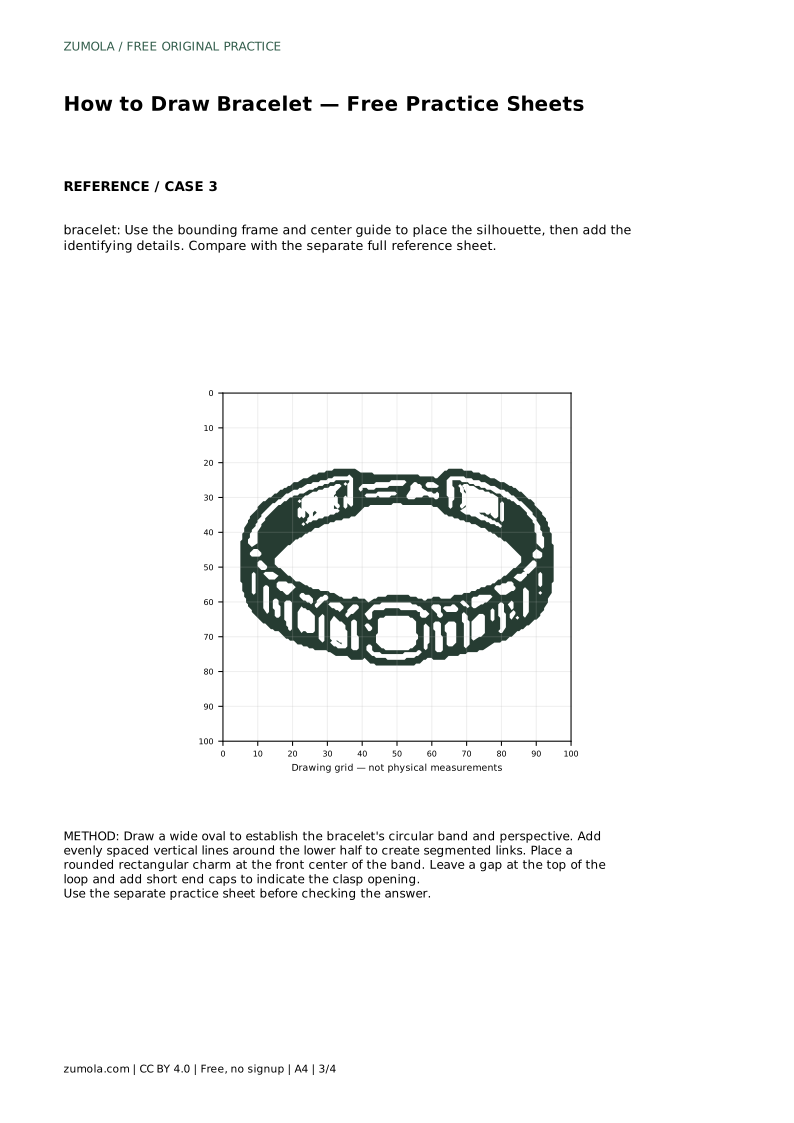
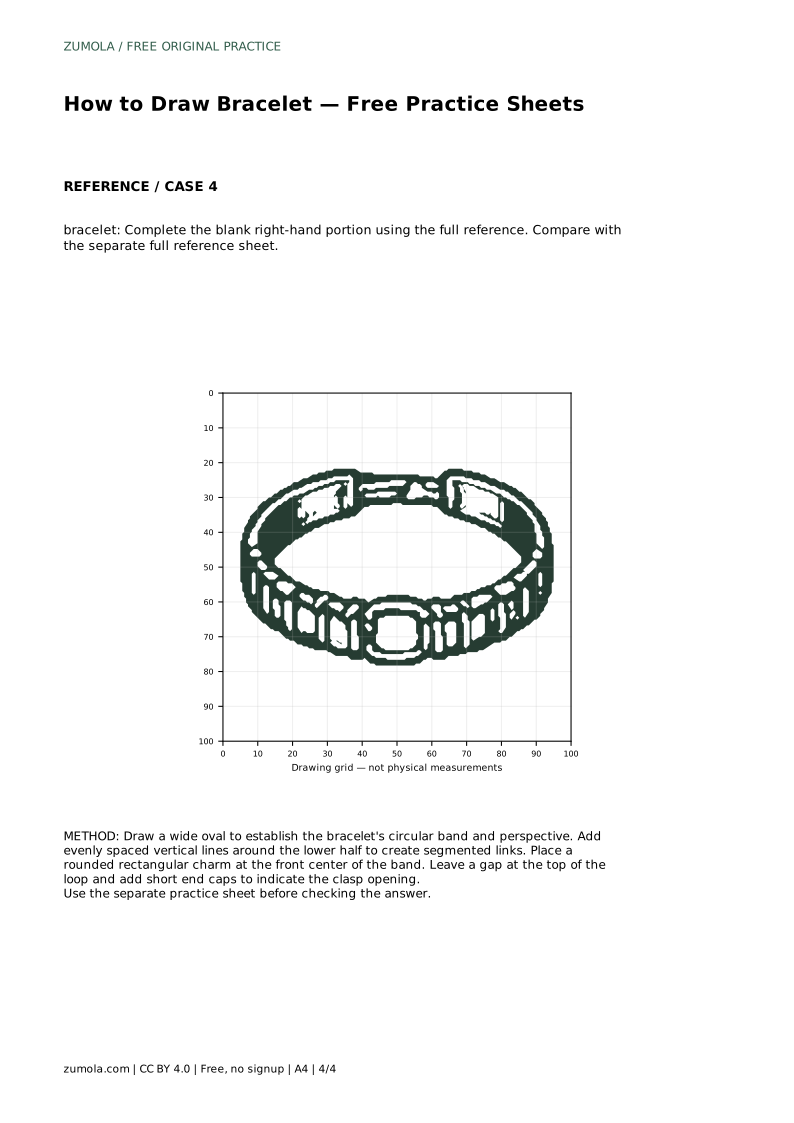
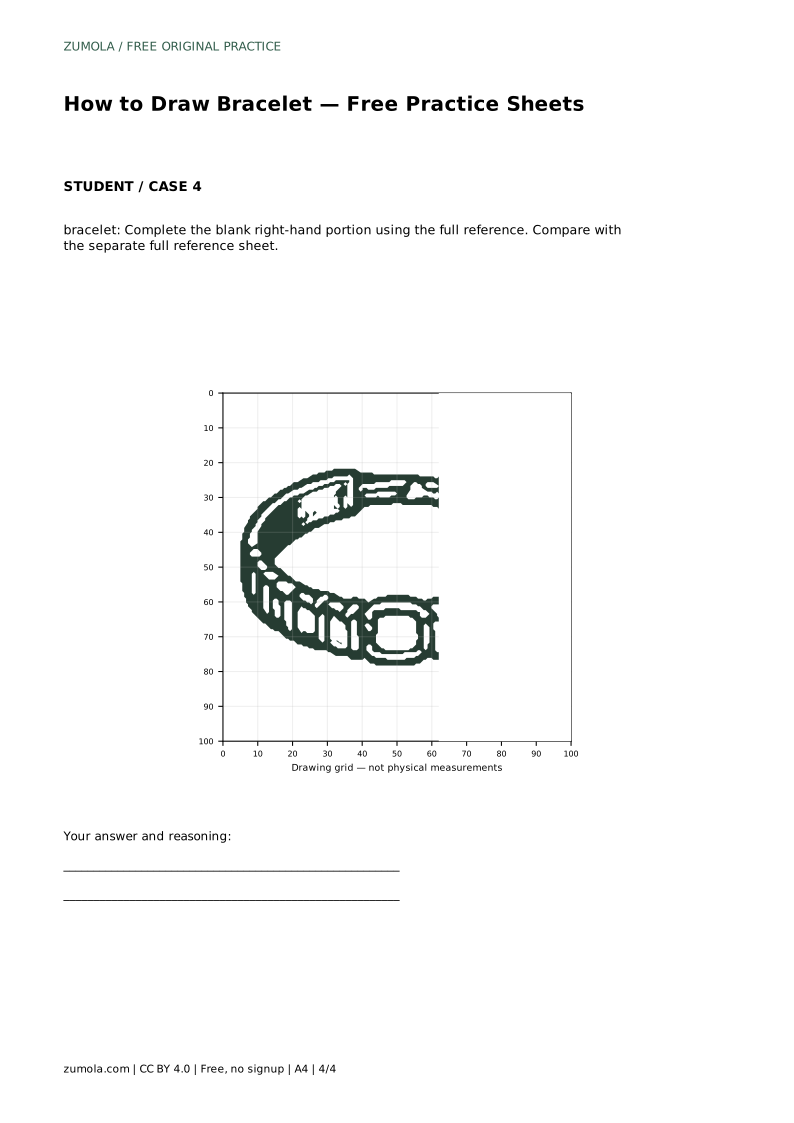
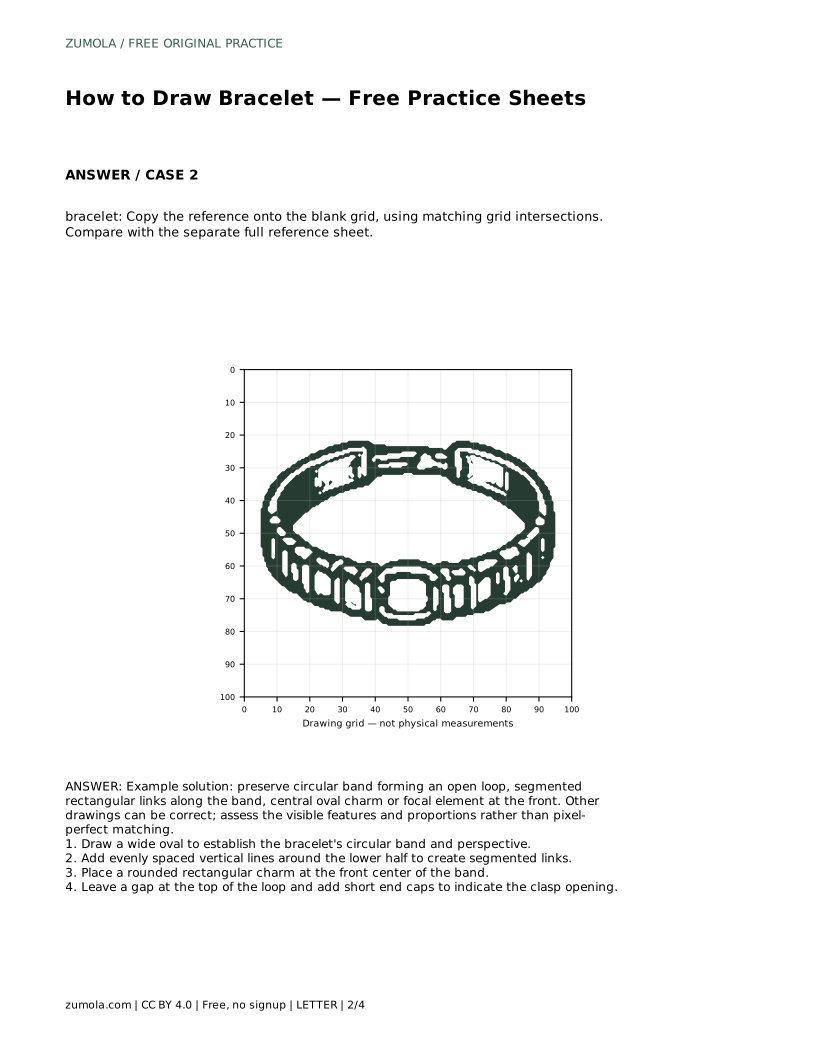
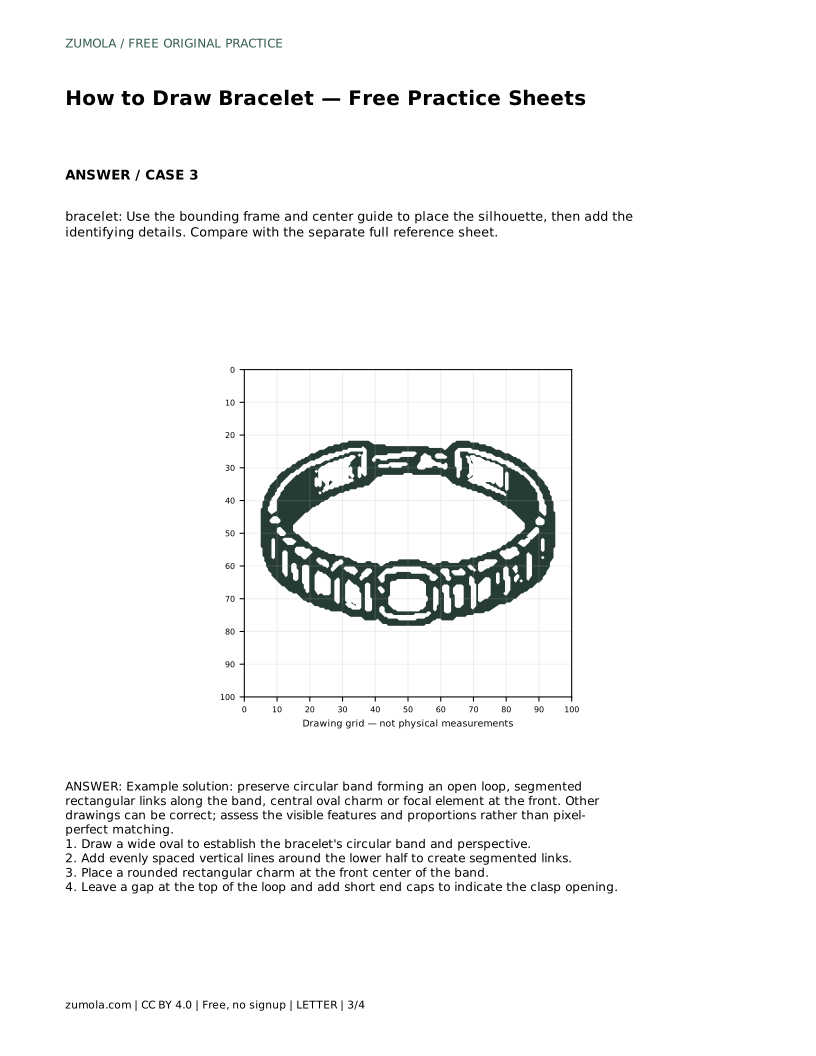
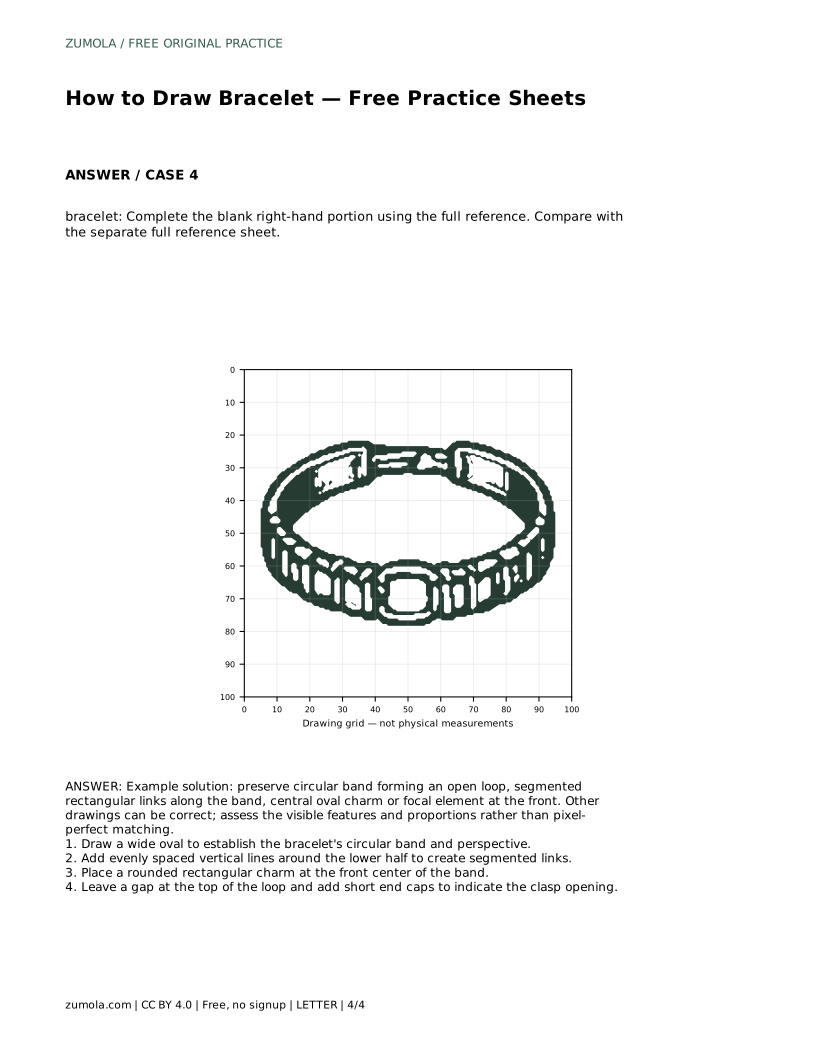
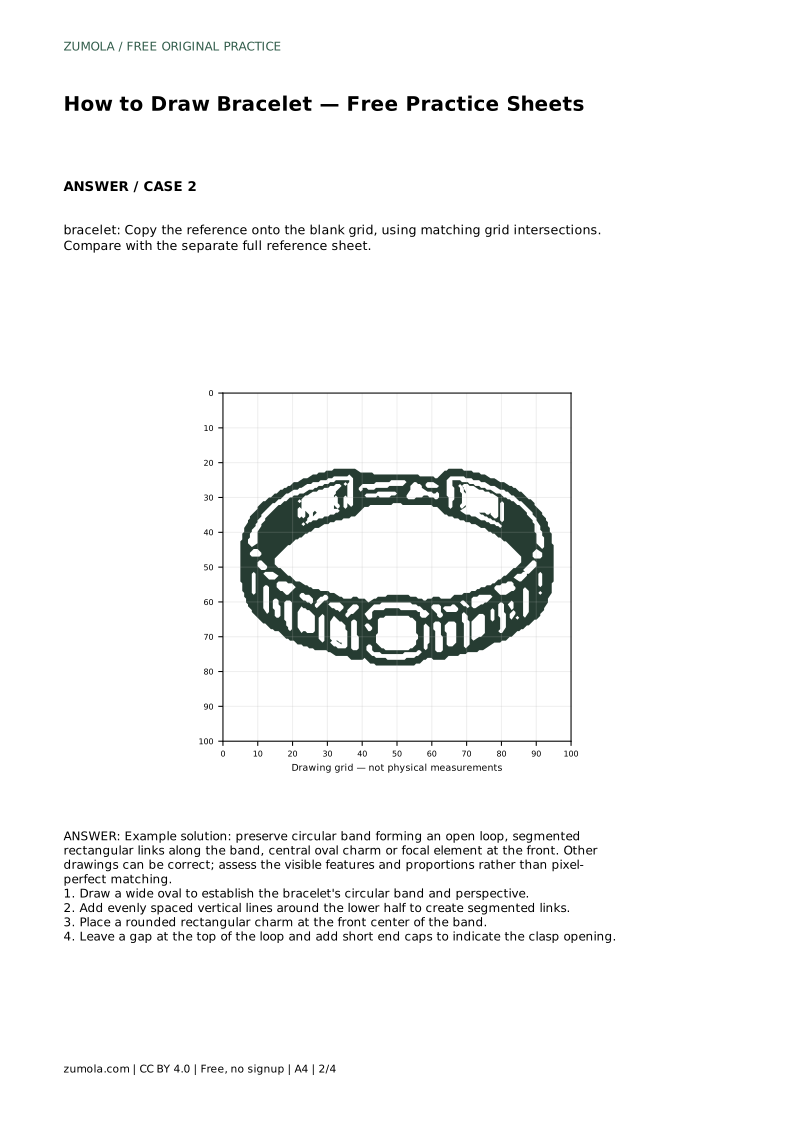
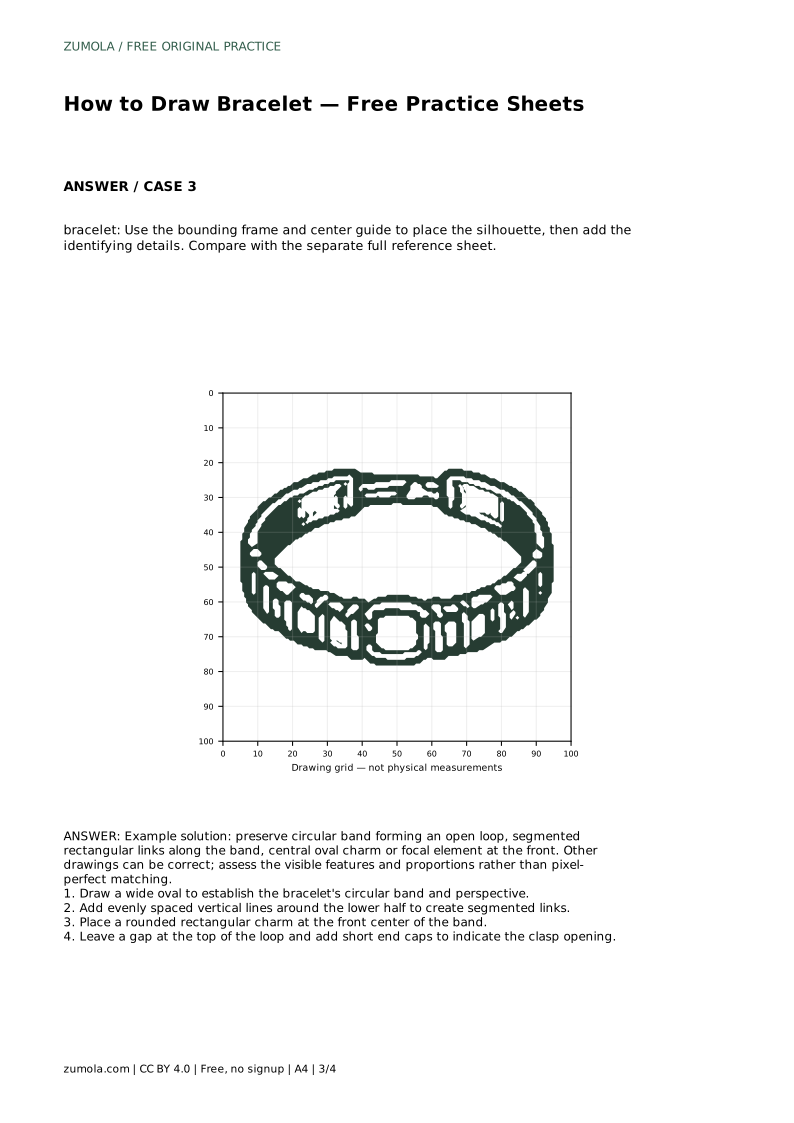
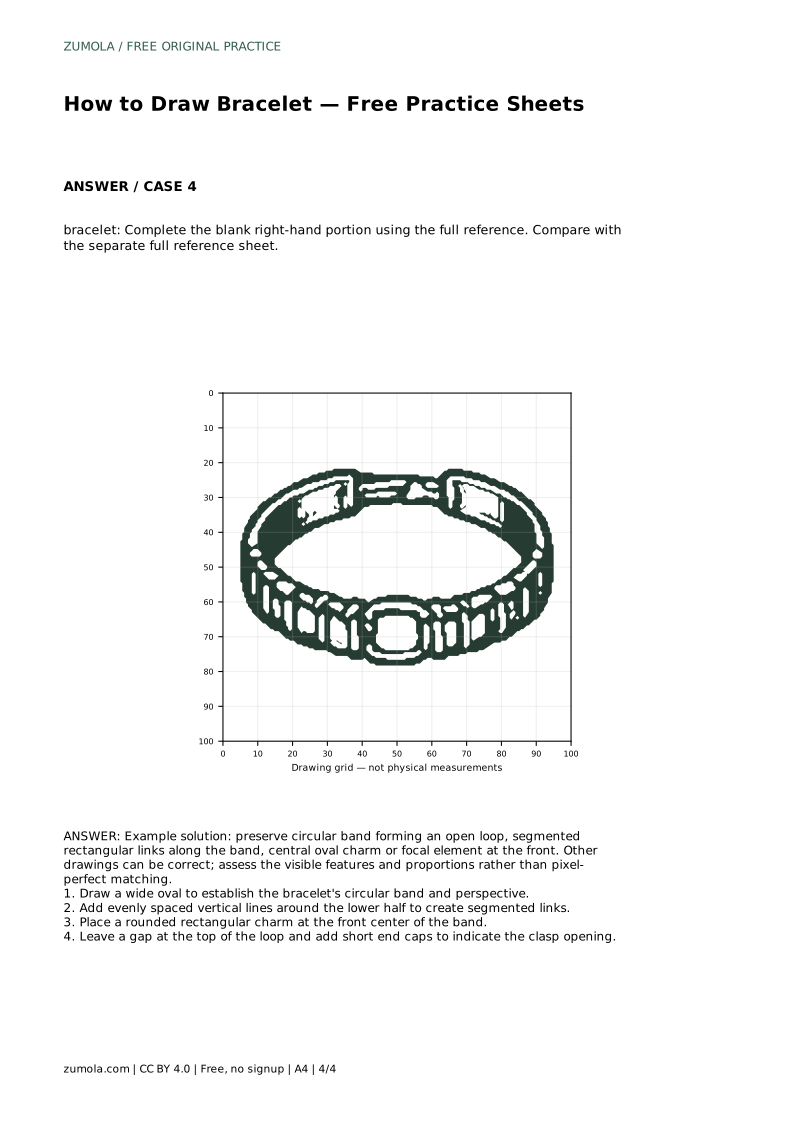
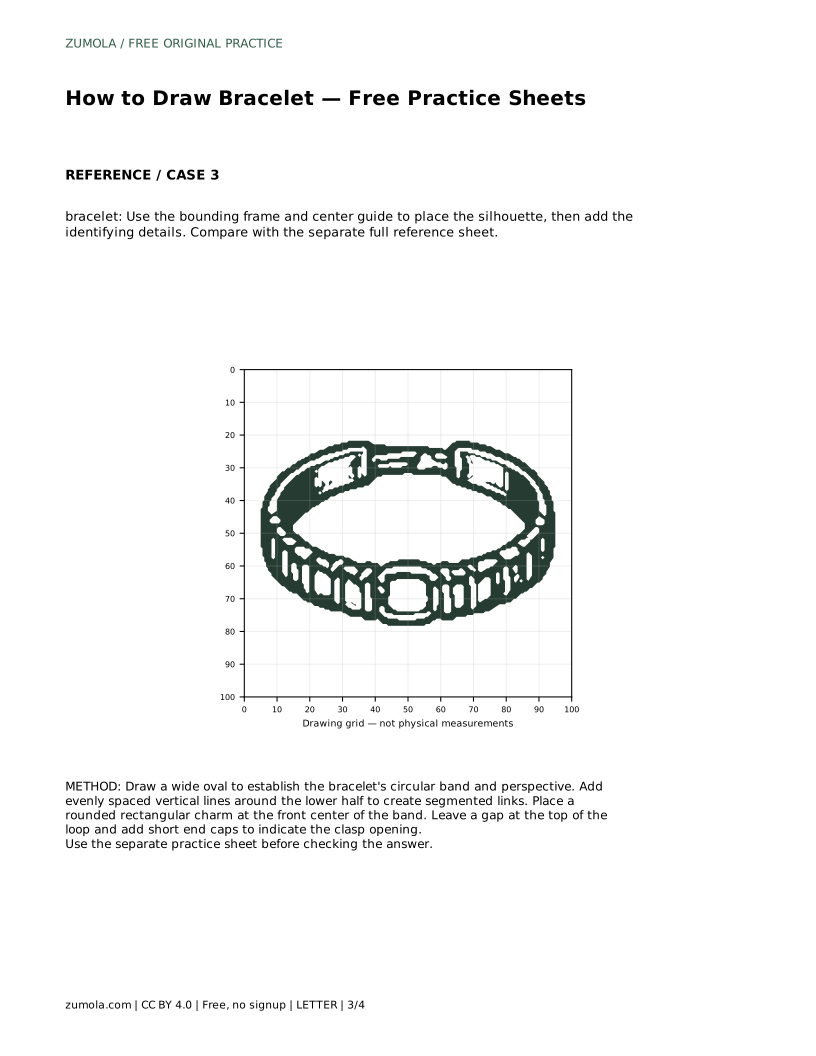
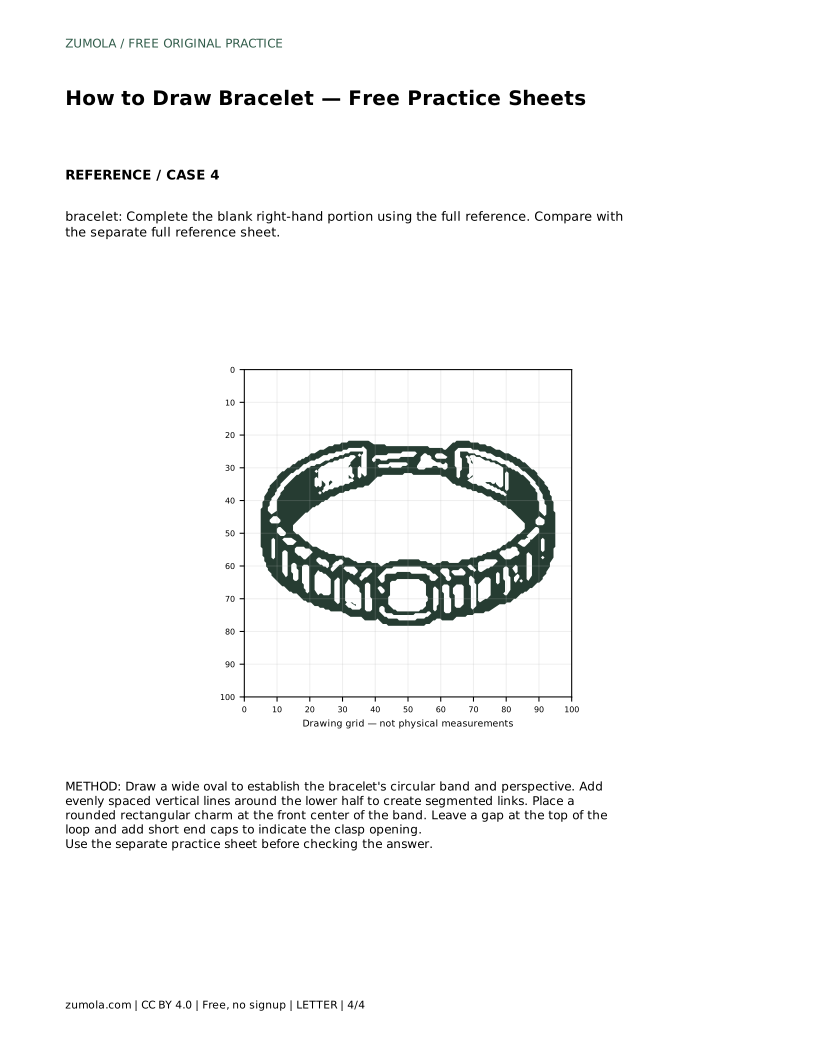
Example solution: preserve circular band forming an open loop, segmented rectangular links along the band, central oval charm or focal element at the front. Other drawings can be correct; assess the visible features and proportions rather than pixel-perfect matching. Draw a wide oval to establish the bracelet's circular band and perspective. Add evenly spaced vertical lines around the lower half to create segmented links. Place a rounded rectangular charm at the front center of the band. Leave a gap at the top of the loop and add short end caps to indicate the clasp opening.
No. A wide oval usually reads better because it suggests the band wrapping around a wrist. Keep the left and right sides balanced rather than forcing a circle.
Choose a count you can space evenly, such as six to eight across the visible front. Consistency matters more than a specific number.
That can still be correct. Check that the open loop, segmented band, front charm and clasp gap are all present and proportionally balanced.
All drawing practice · Free coordinate paper
Original resources · CC BY 4.0 · Free for personal and classroom use with attribution.