Reference diagrams
LETTER · Download PDF
A4 · Download PDF
Free original resources
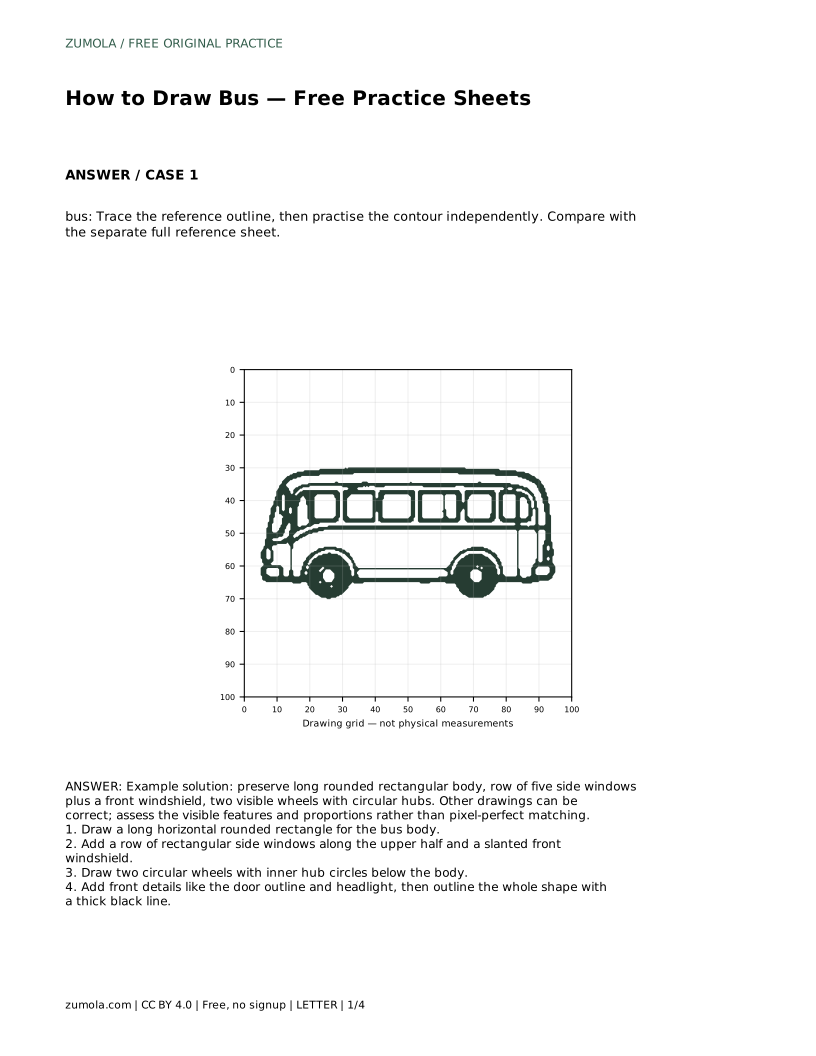
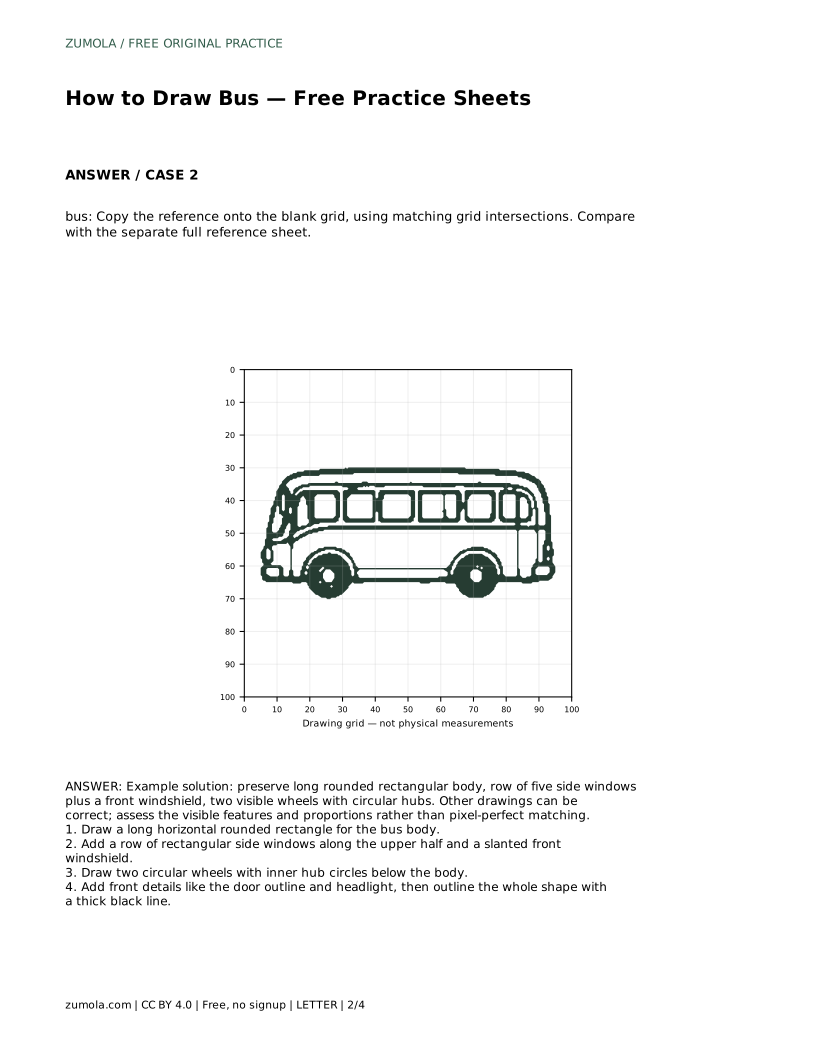
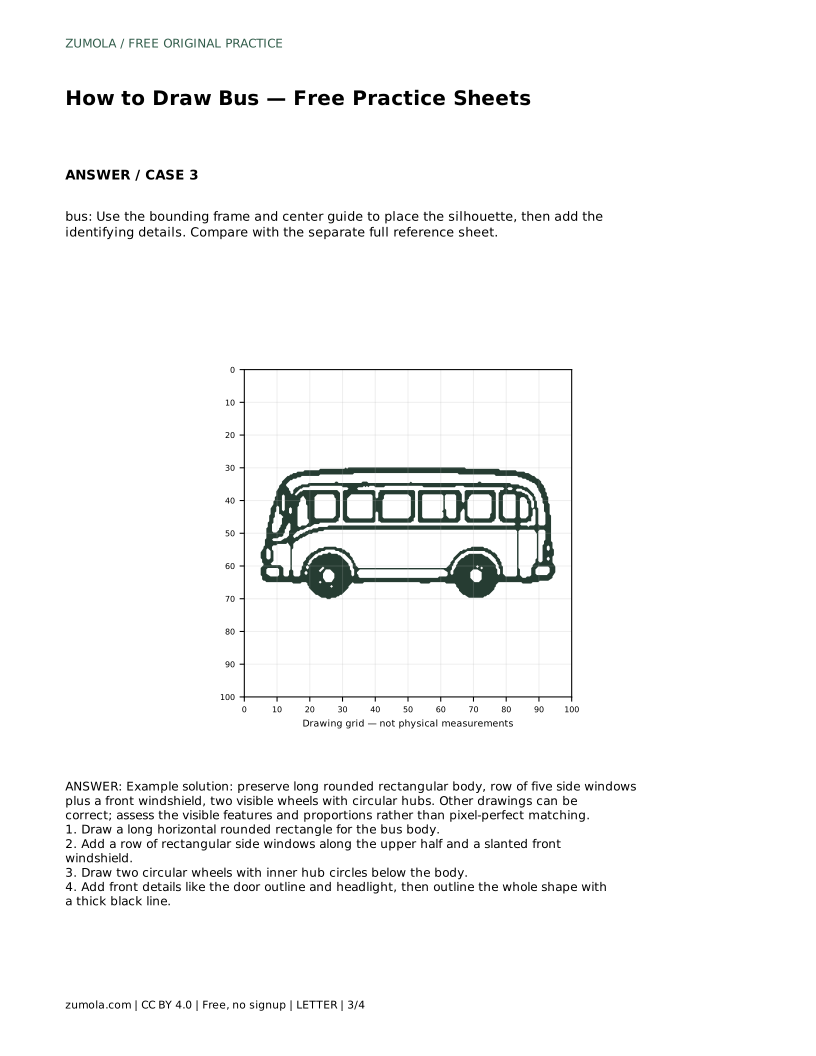
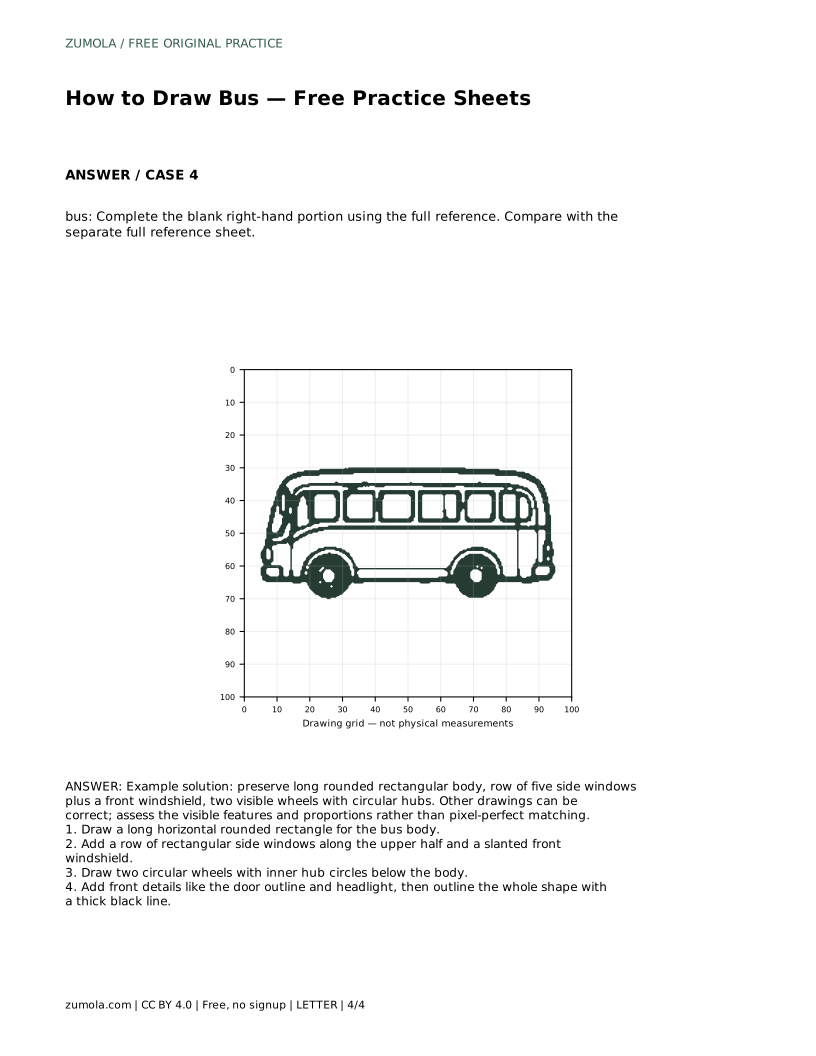
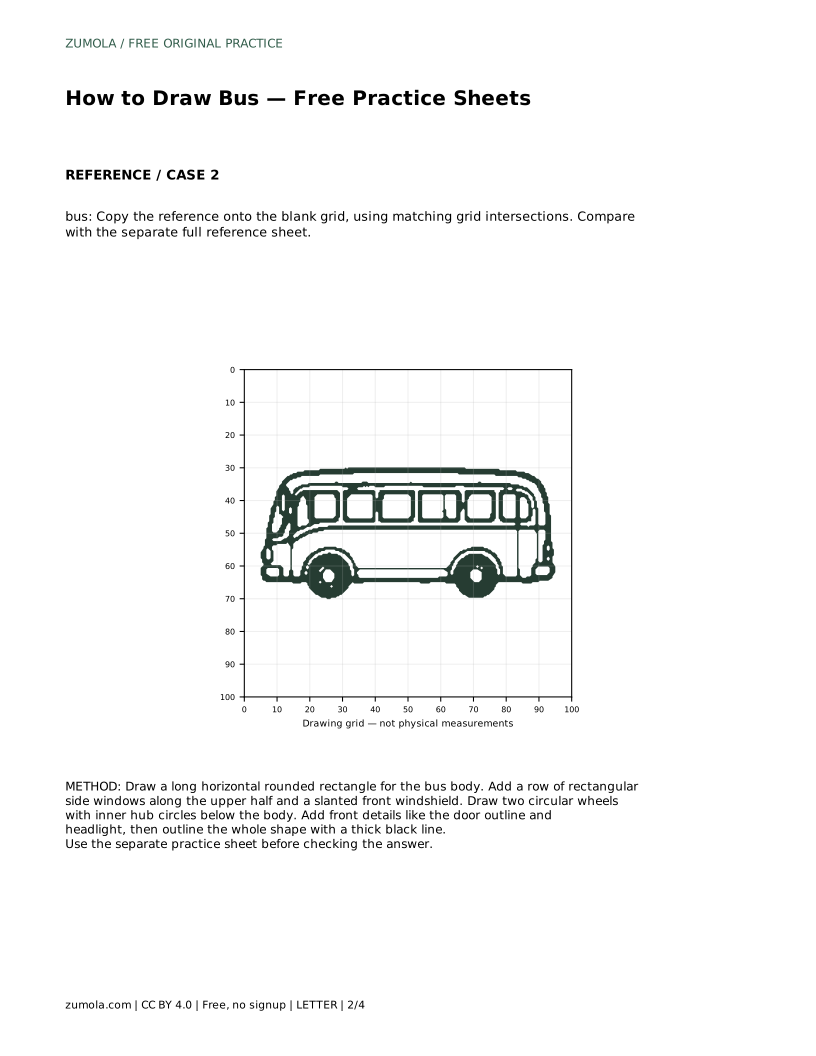
Learn an easy bus drawing method: build a long rounded body, add side windows and a slanted windshield, place two wheels with hubs, then outline the shape cleanly.
Four original cases, with reference diagrams, practice sheets and worked answers. Everything is free; no signup required.
LETTER · Download PDF
A4 · Download PDF
LETTER · Download PDF
A4 · Download PDF
LETTER · Download PDF
A4 · Download PDF
Use A4 or US Letter to match your printer. Use the stated values and conditions to solve each exercise; diagrams are not physical measuring rulers.
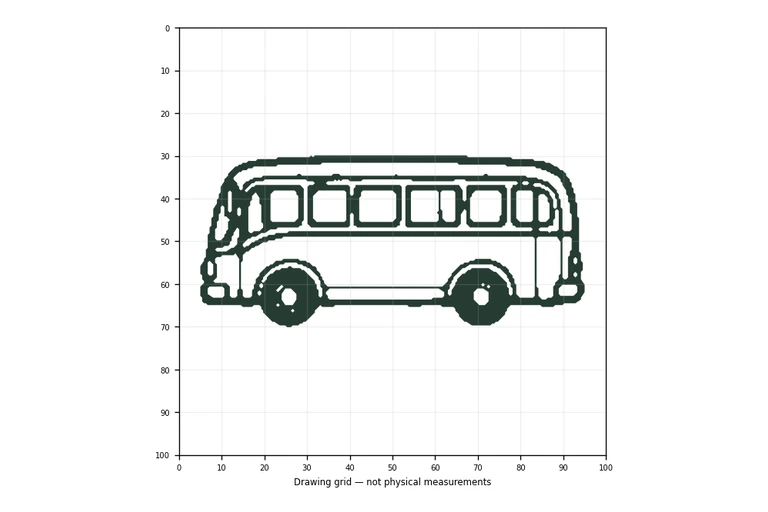
Drawing a bus is mostly a lesson in proportion: one long body, a steady row of windows, and wheels that sit at the same height. This page explains a simple order for building the shape, then shows how to use tracing, grid, frame-and-center, and partial-completion practice sheets to strengthen the same skill. Each sheet has a separate full reference for comparison, so you can check features and placement without expecting a pixel-perfect match.
Begin with the largest shape, because everything else is positioned against it. A bus reads as a long horizontal rounded rectangle: wider than it is tall, with softly curved corners rather than sharp ones. Keep the top and bottom edges roughly parallel so the body does not look tilted.
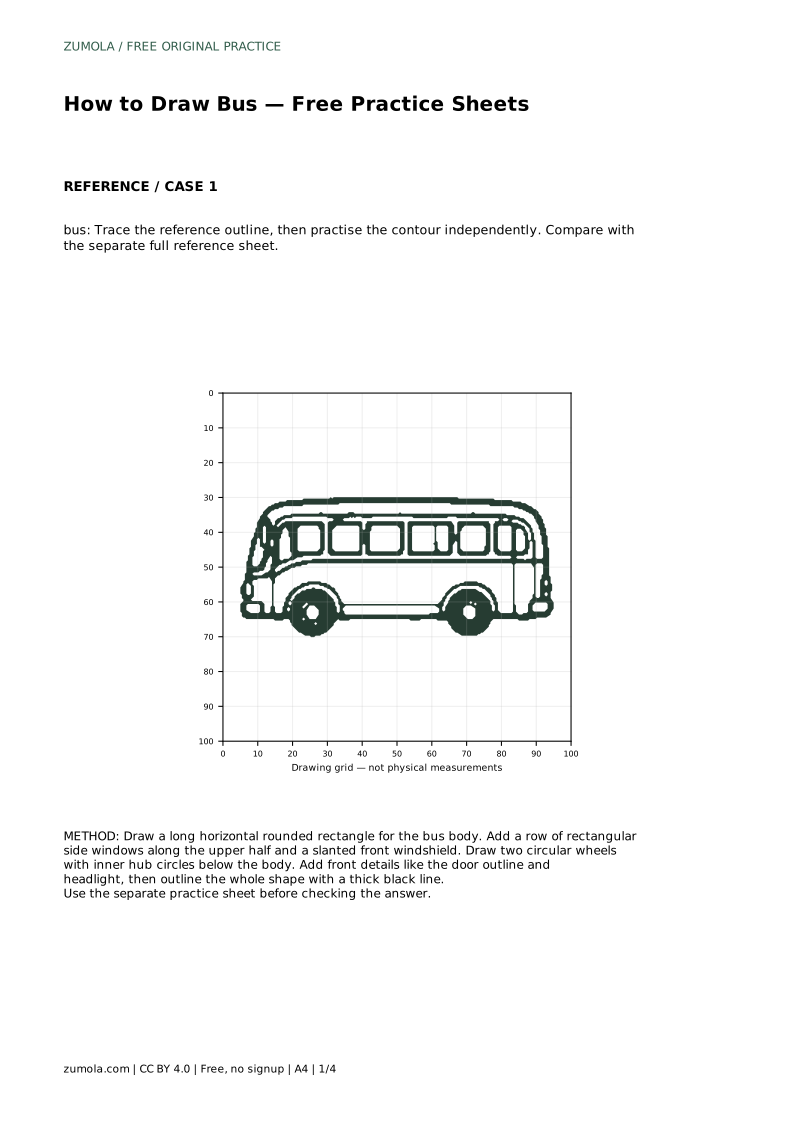
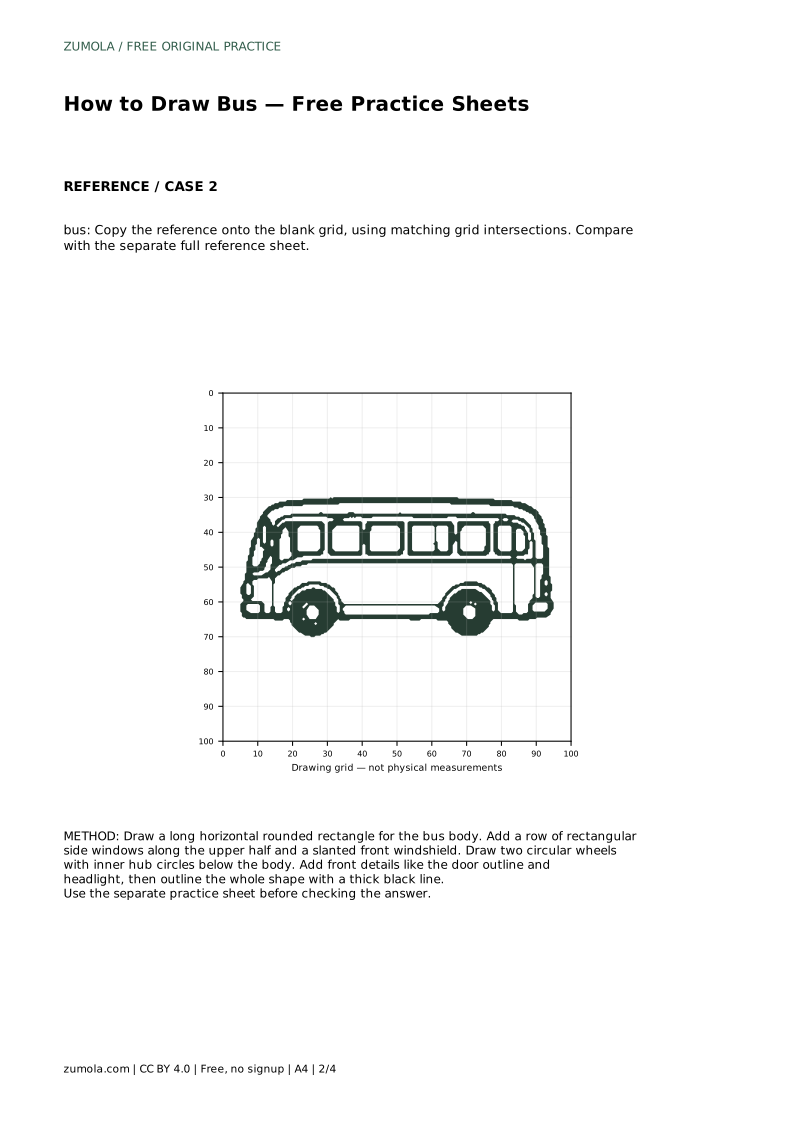
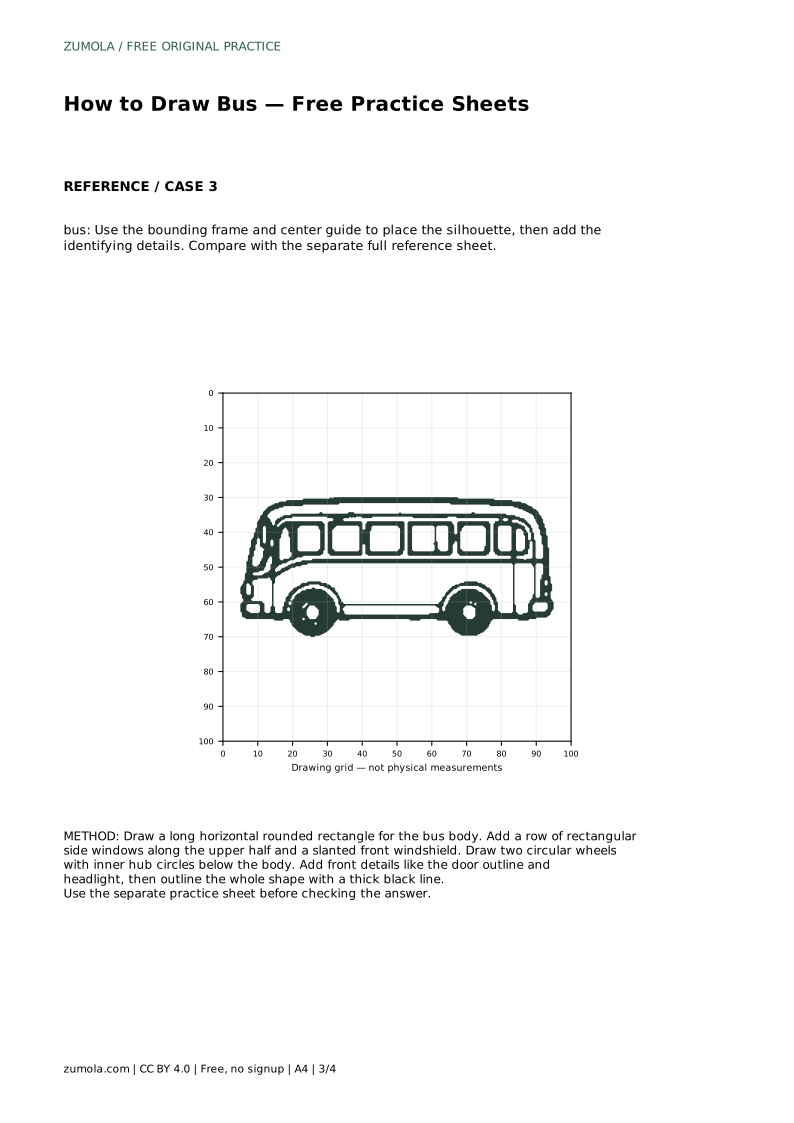
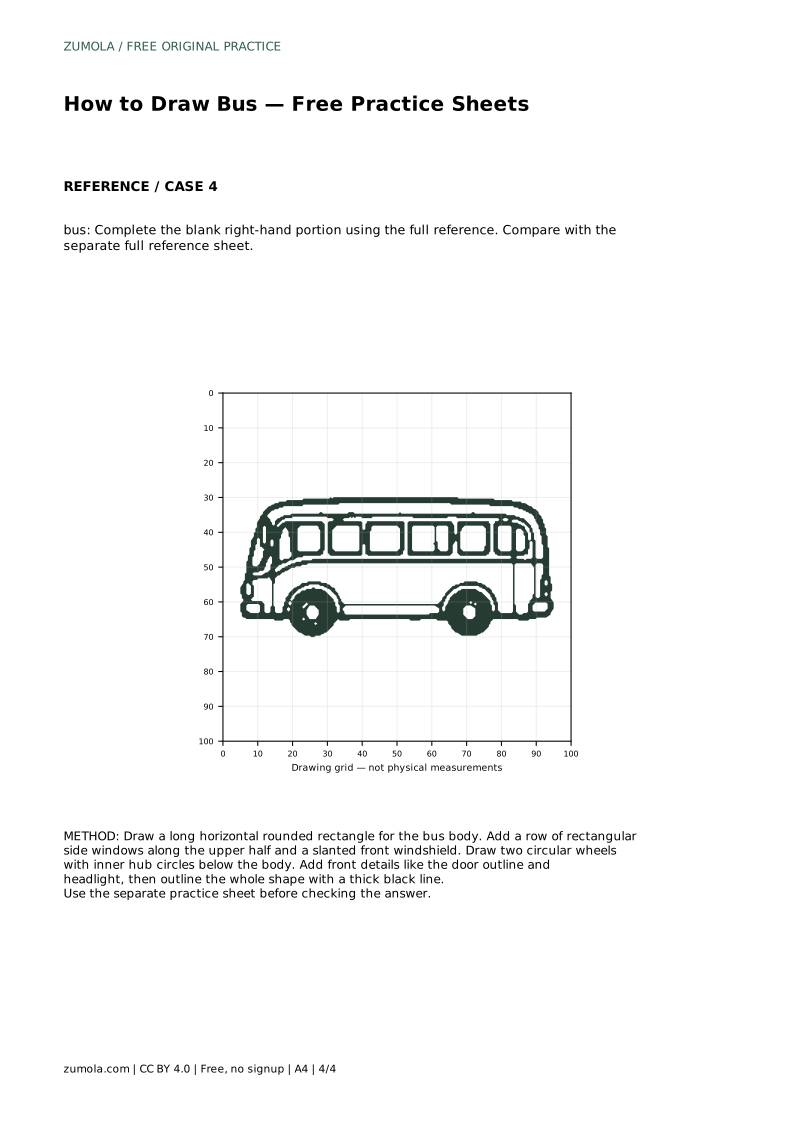
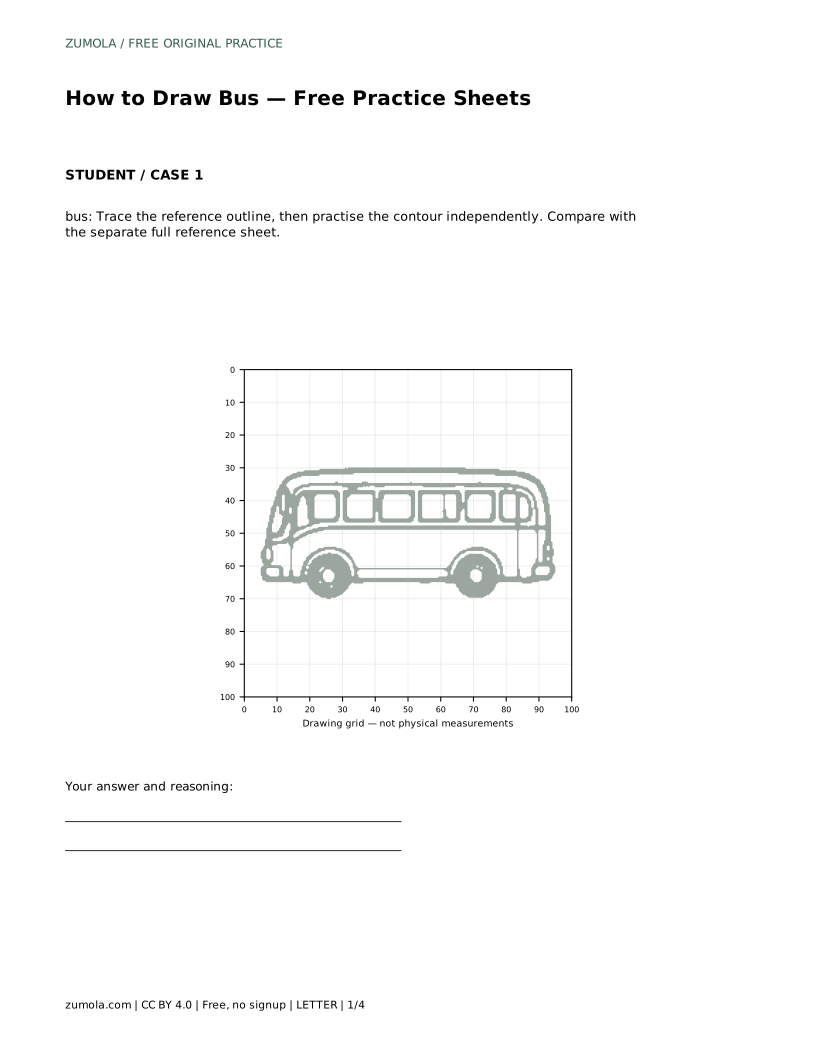
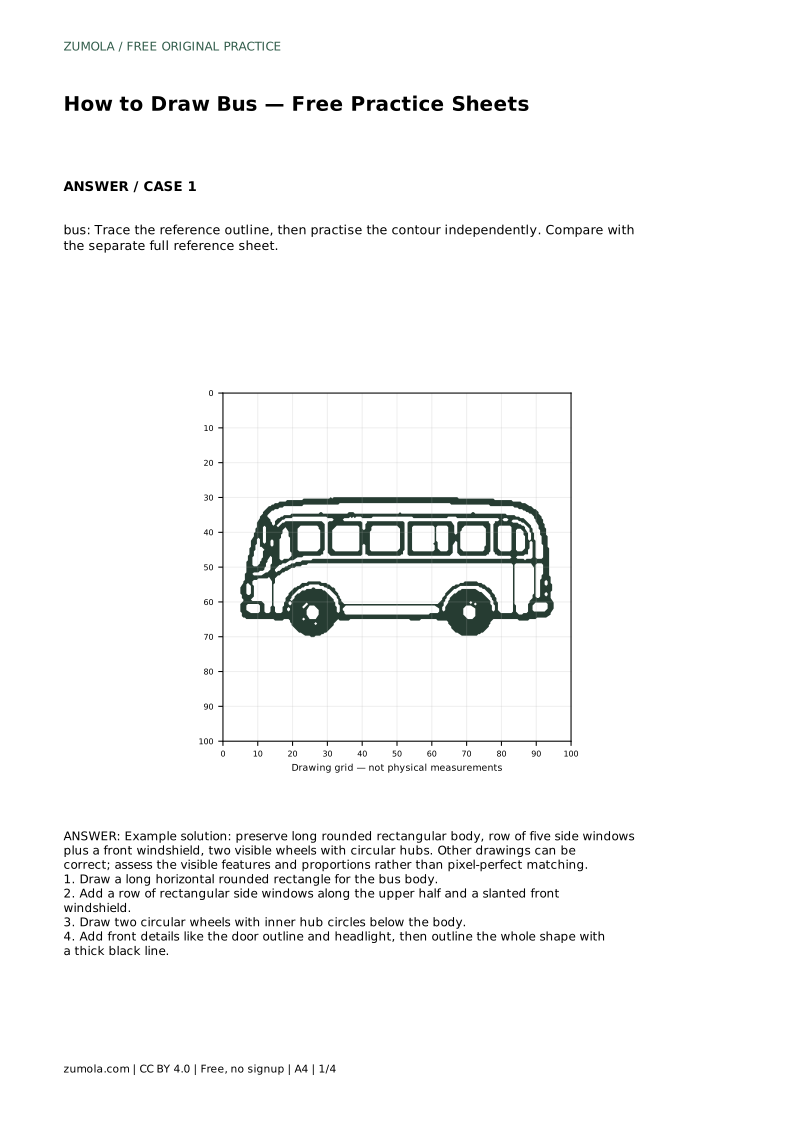
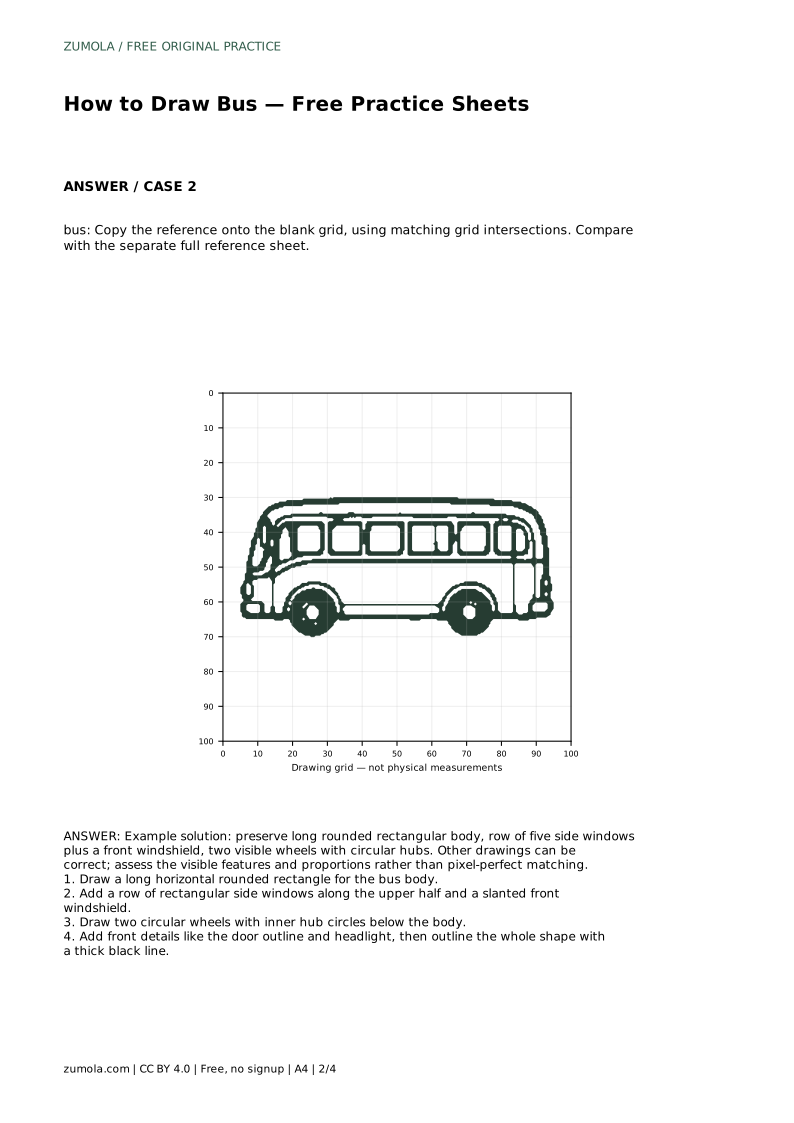
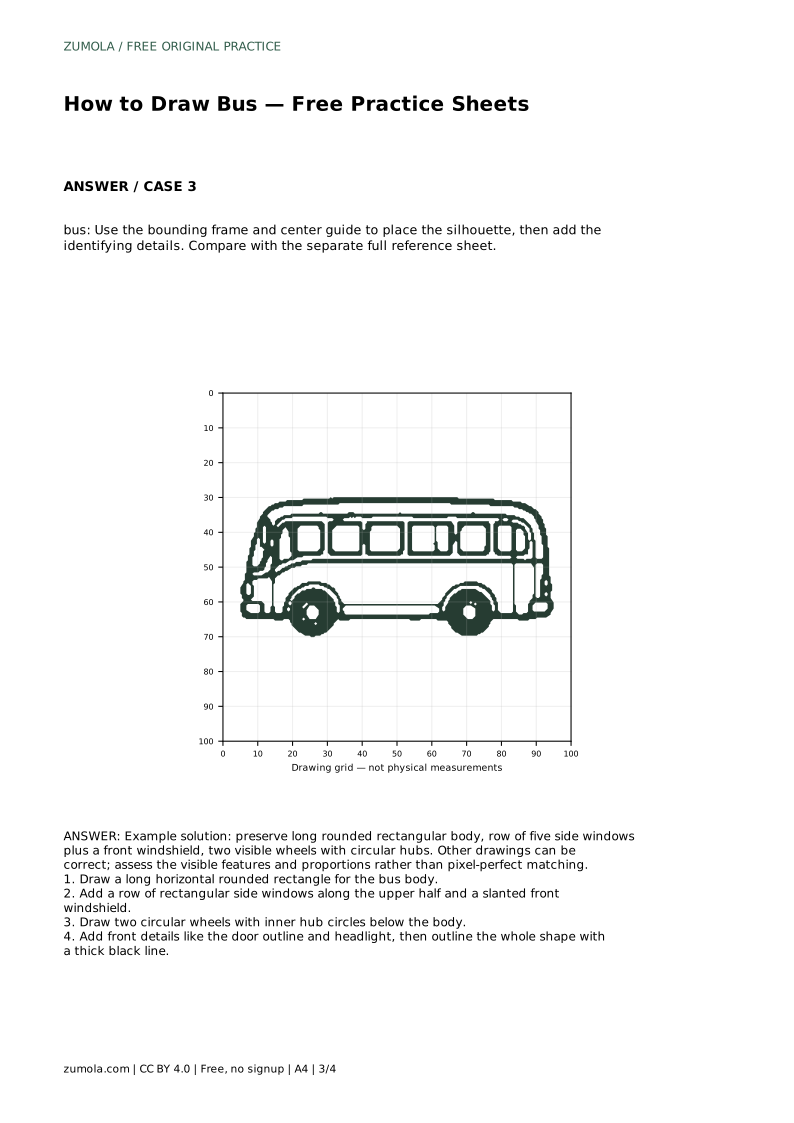
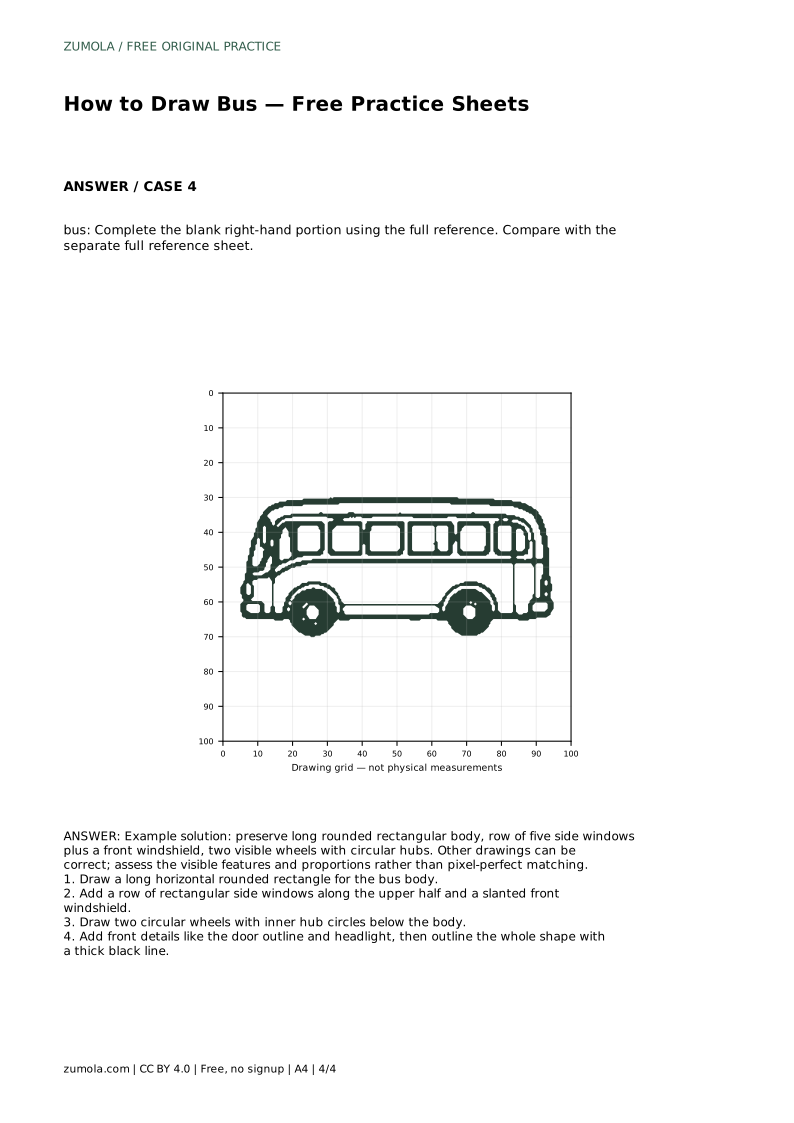
Next, divide the upper half into a row of rectangular side windows. On the practice reference, that row contains five side windows, and a slanted front windshield sits at the front end. Leave a consistent strip of body above and below the windows. The slant of the windshield should follow the front edge of the body, so the glass looks set into the bus rather than pasted on.
Wheels are the detail most likely to drift. Draw two circles below the body, sitting at the same height, with a small inner circle for each hub. The wheels should touch or slightly overlap the lower edge of the body so the bus looks supported, not floating. Keep the circles round; an oval wheel makes the whole drawing look unstable.
Then add the front details: a door outline and a headlight. The door is a tall rectangle within the body, and the headlight is a small shape near the front lower corner. These details identify the drawing as a bus, so place them where they are clearly visible rather than crowding the windows.
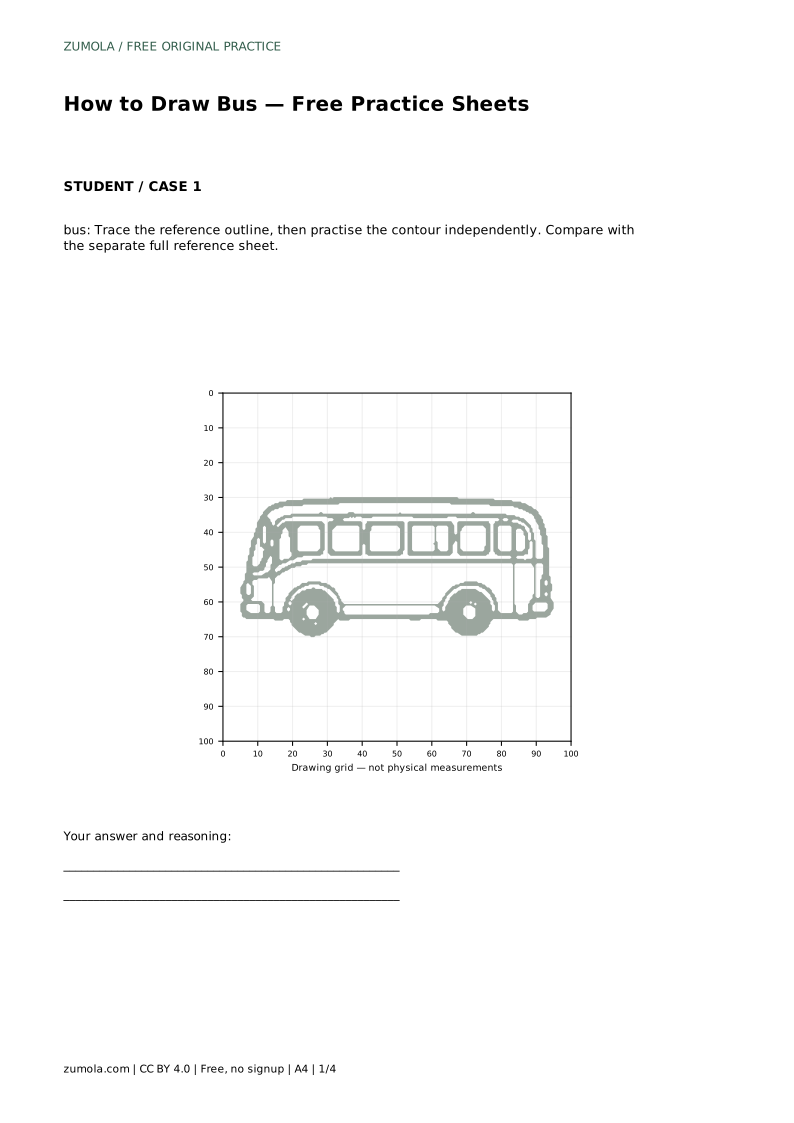
The tracing sheet asks you to follow the reference outline first, then practise the contour independently. Tracing builds the hand motion; the independent pass tests whether you can reproduce the shape without guidance.
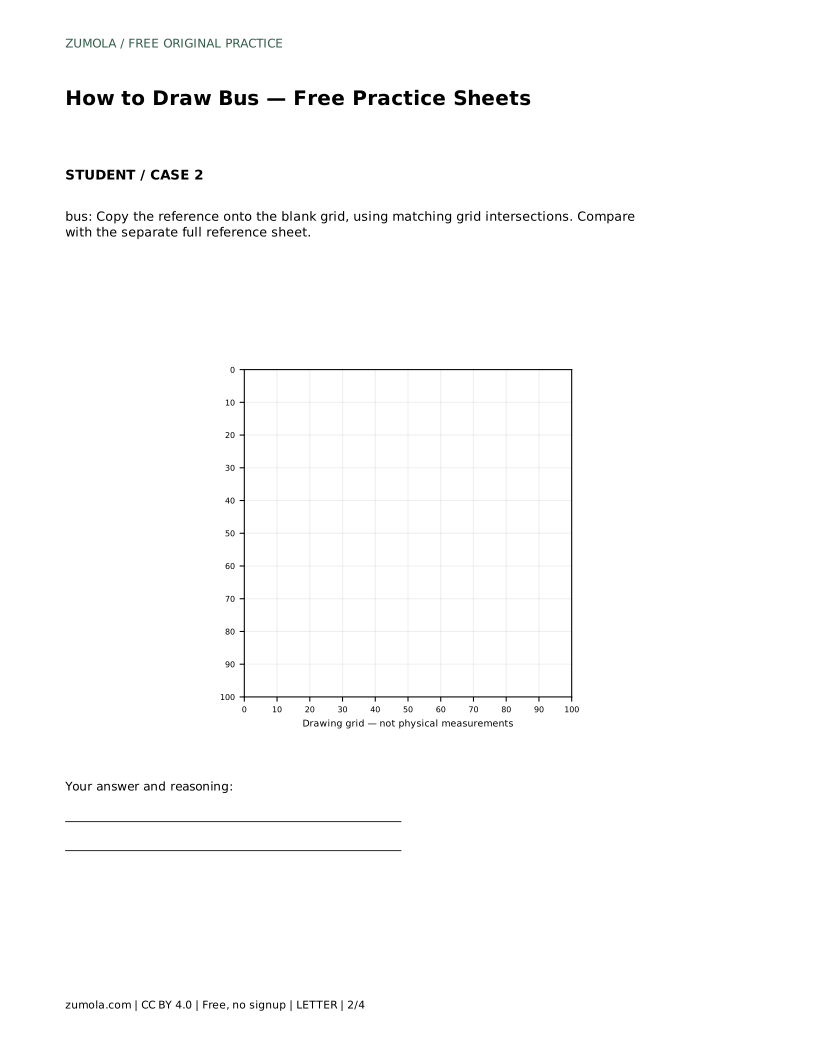
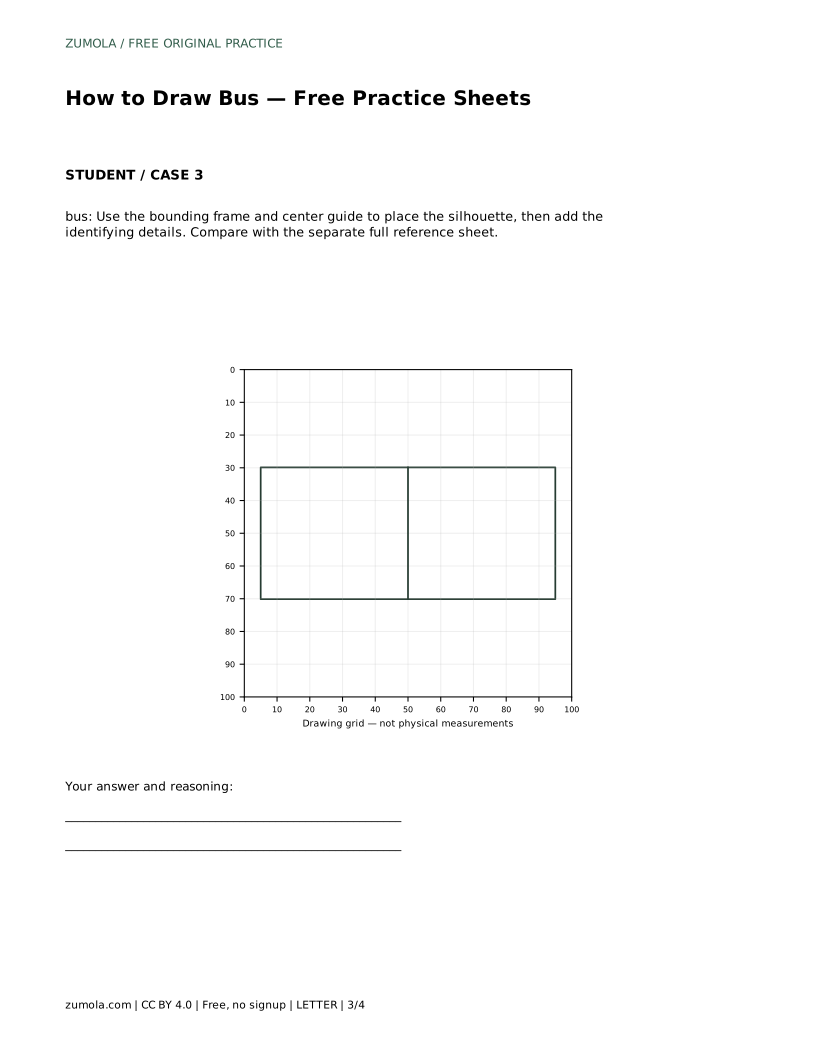
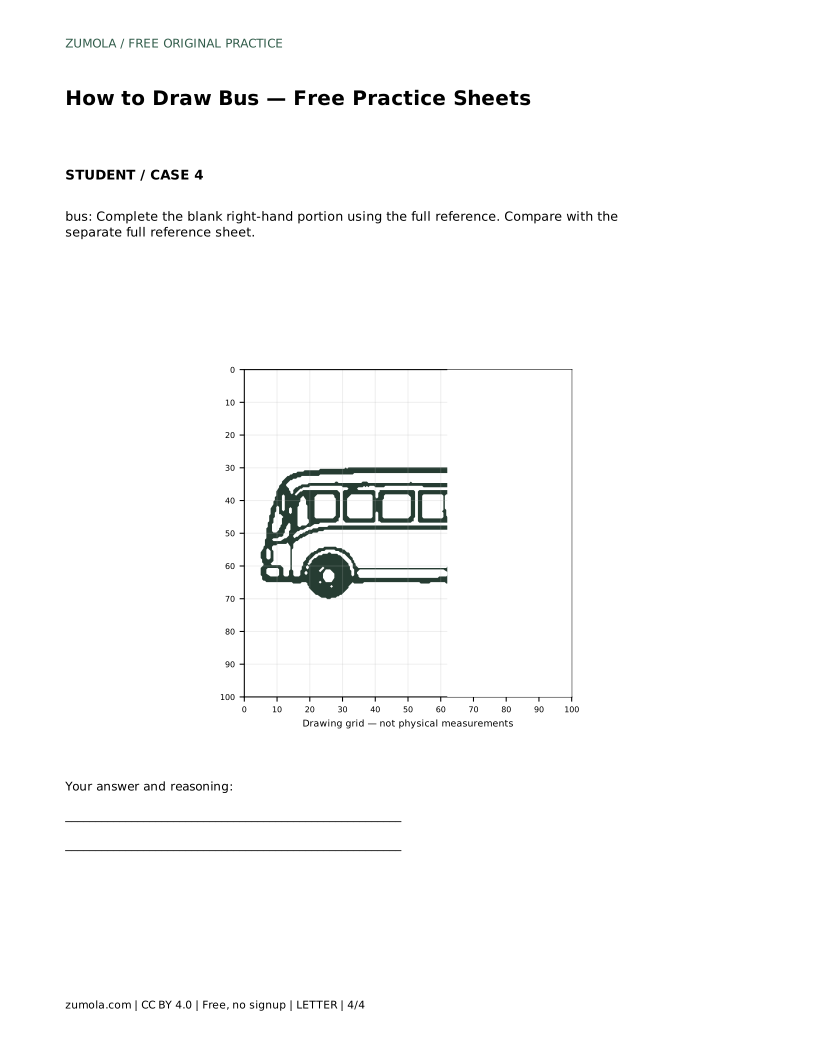
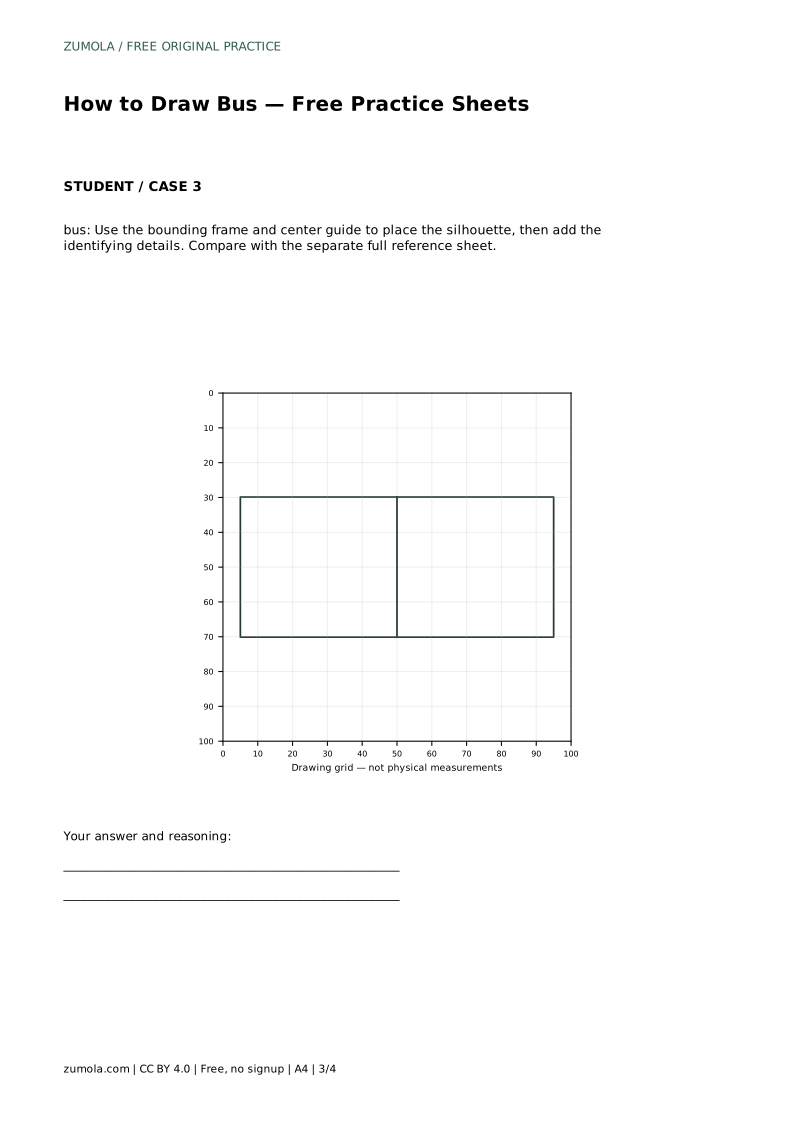
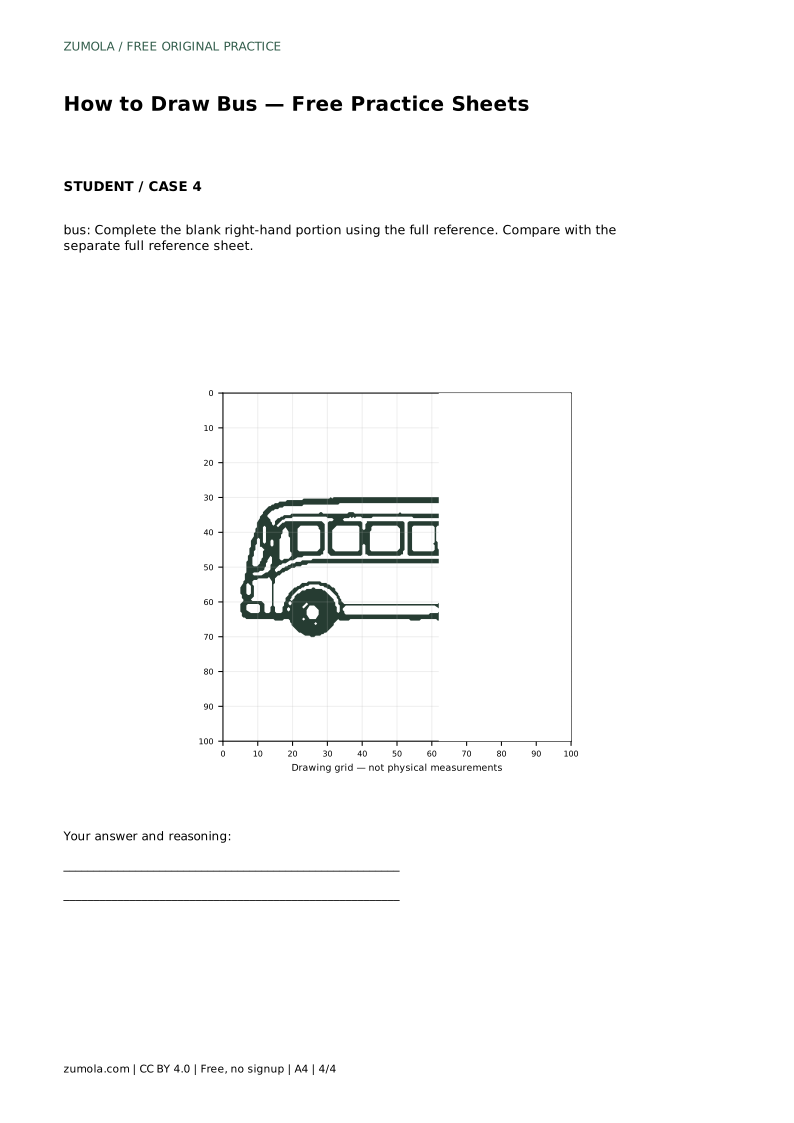
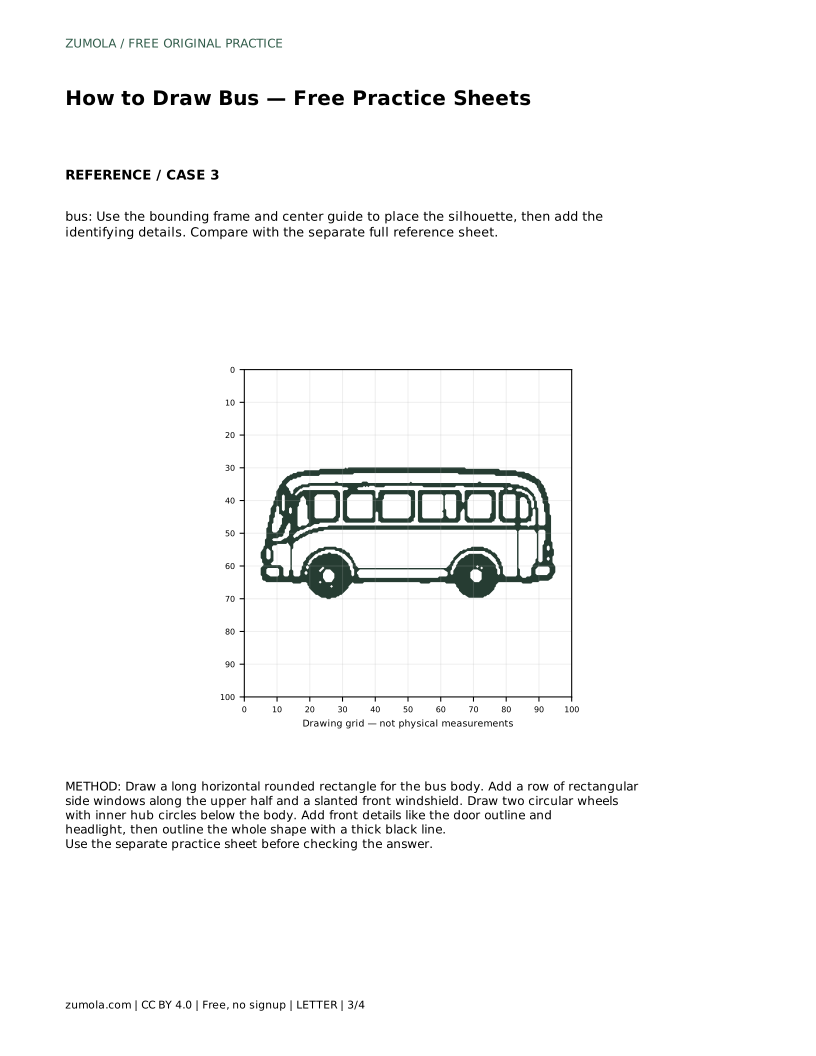
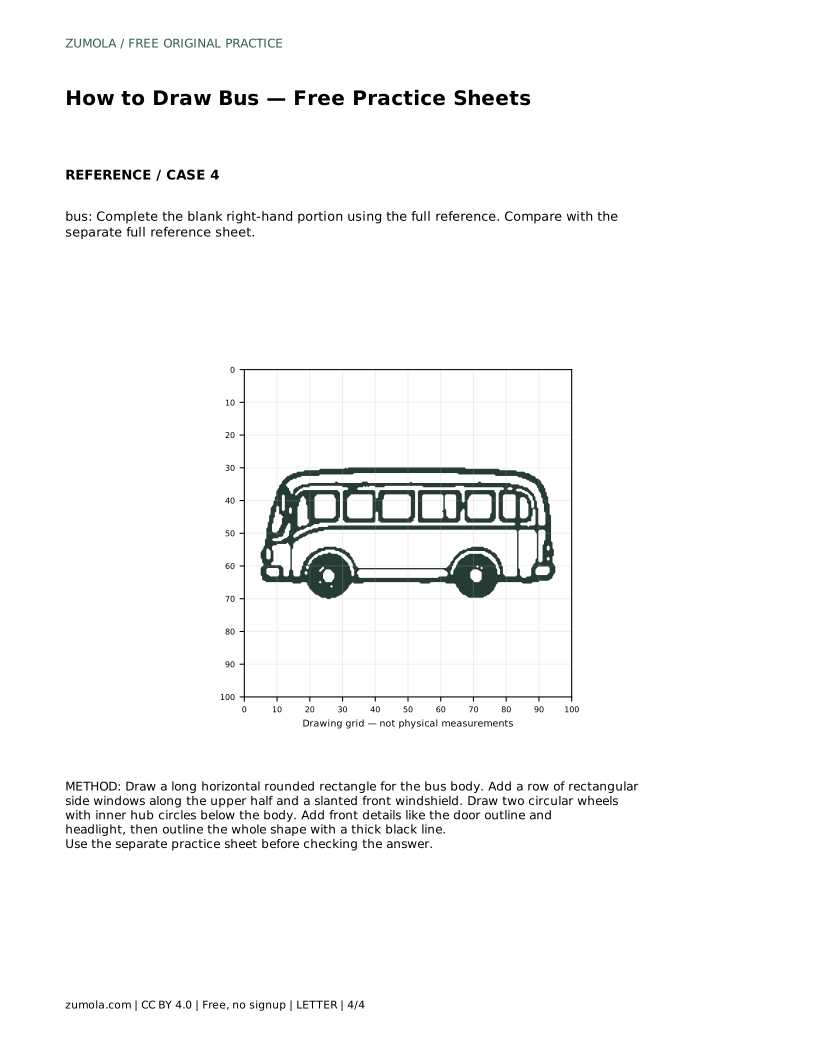
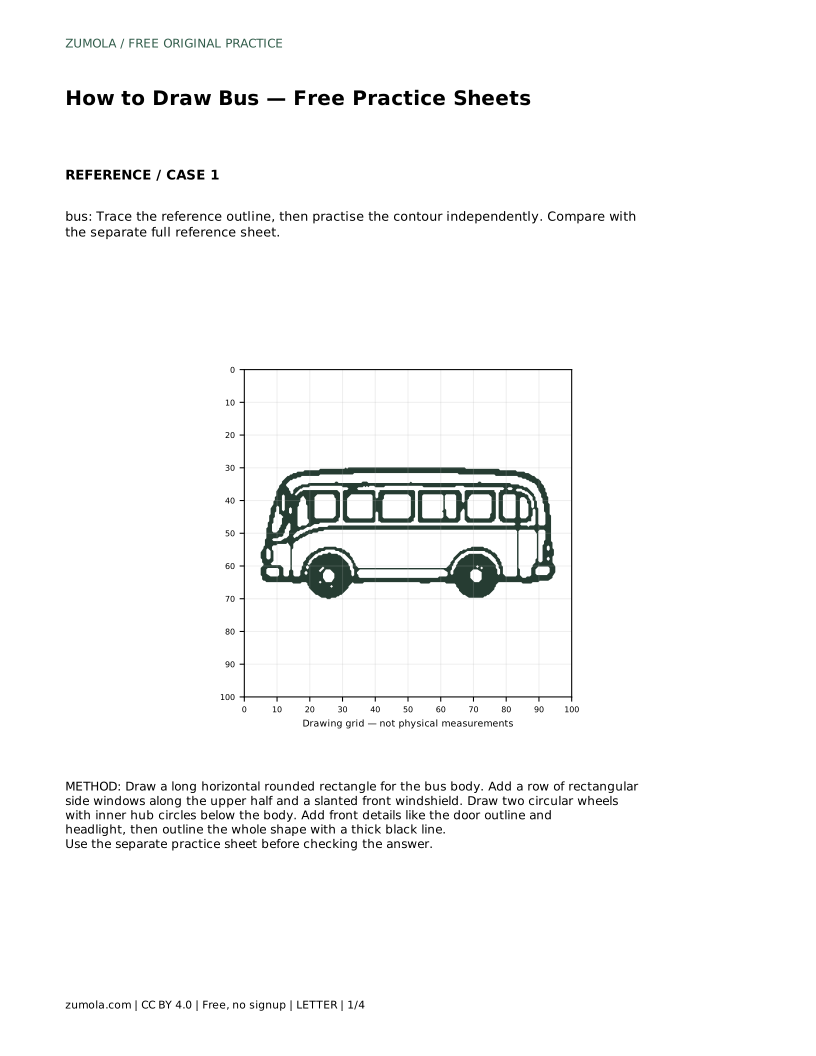
The grid sheet asks you to copy the reference onto a blank grid using matching grid intersections. This trains you to judge where each feature sits relative to the others. The frame-and-center sheet gives a bounding frame and center guide so you can place the silhouette before adding details. The partial-completion sheet shows the left portion and asks you to finish the blank right-hand portion using the full reference. In every format, compare with the separate full reference sheet at the end.
bus: Trace the reference outline, then practise the contour independently. Compare with the separate full reference sheet.
Example solution: preserve long rounded rectangular body, row of five side windows plus a front windshield, two visible wheels with circular hubs. Other drawings can be correct; assess the visible features and proportions rather than pixel-perfect matching. Draw a long horizontal rounded rectangle for the bus body. Add a row of rectangular side windows along the upper half and a slanted front windshield. Draw two circular wheels with inner hub circles below the body. Add front details like the door outline and headlight, then outline the whole shape with a thick black line.
No. Other drawings can be correct. Assess the visible features and proportions rather than pixel-perfect matching: a long rounded body, a row of five side windows plus a slanted front windshield, and two visible wheels with circular hubs.
Start with the tracing sheet to learn the contour, then move to the grid or frame-and-center sheet to practise placement without tracing. Finish with the partial-completion sheet to test independent recall.
Building the body first, then the windows, then the wheels and front details keeps each new feature positioned against a stable shape. Drawing details first makes proportion harder to control.
All drawing practice · Free coordinate paper
Original resources · CC BY 4.0 · Free for personal and classroom use with attribution.