Reference diagrams
LETTER · Download PDF
A4 · Download PDF
Free original resources
Learn to draw a canoe by building the hull curve, pointed ends, rim, planking, seats, and paddle. Use the practice sheets to compare proportions and visible features.
Four original cases, with reference diagrams, practice sheets and worked answers. Everything is free; no signup required.
LETTER · Download PDF
A4 · Download PDF
LETTER · Download PDF
A4 · Download PDF
LETTER · Download PDF
A4 · Download PDF
Use A4 or US Letter to match your printer. Use the stated values and conditions to solve each exercise; diagrams are not physical measuring rulers.
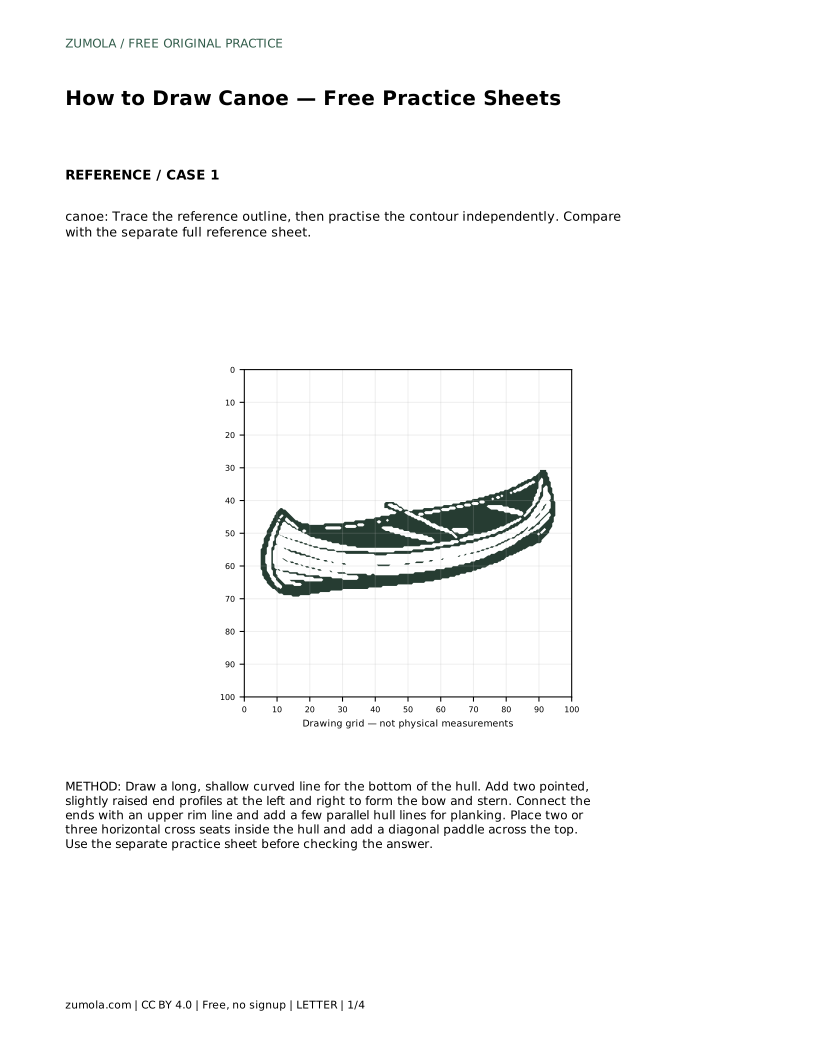
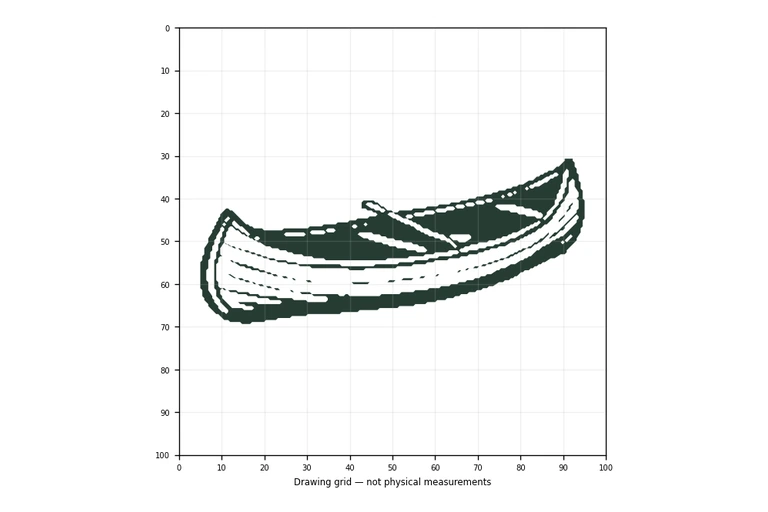
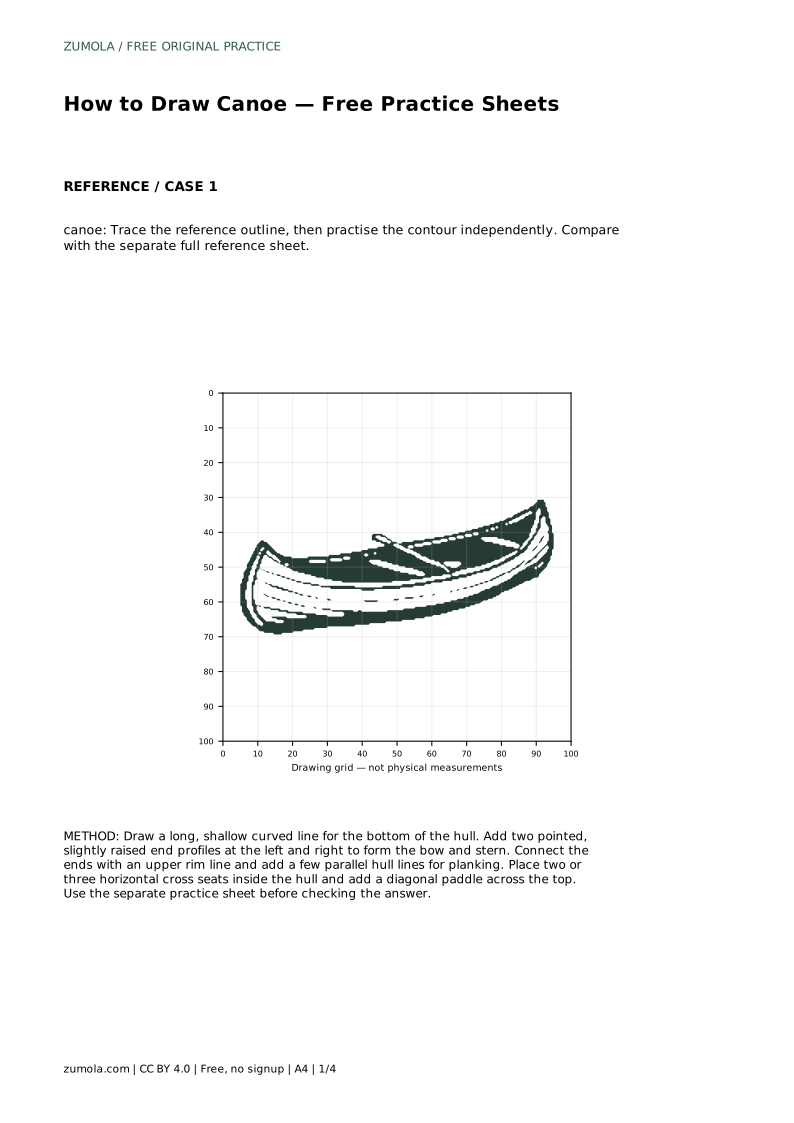
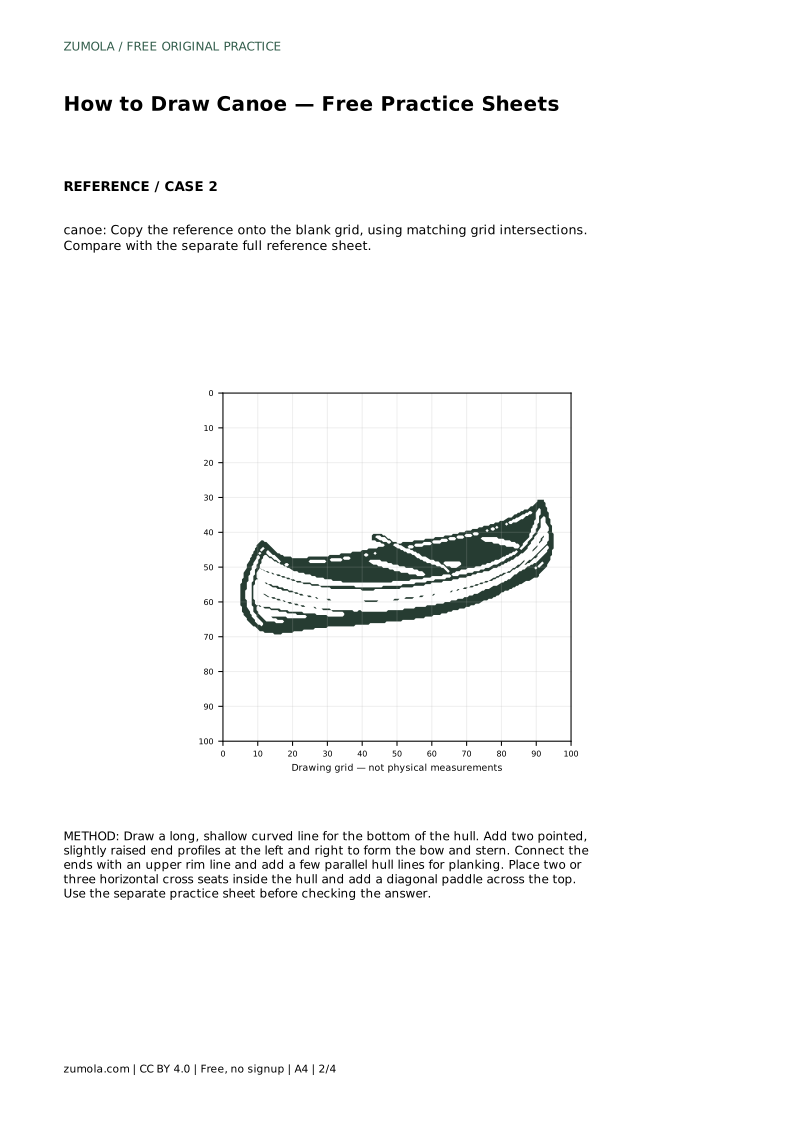
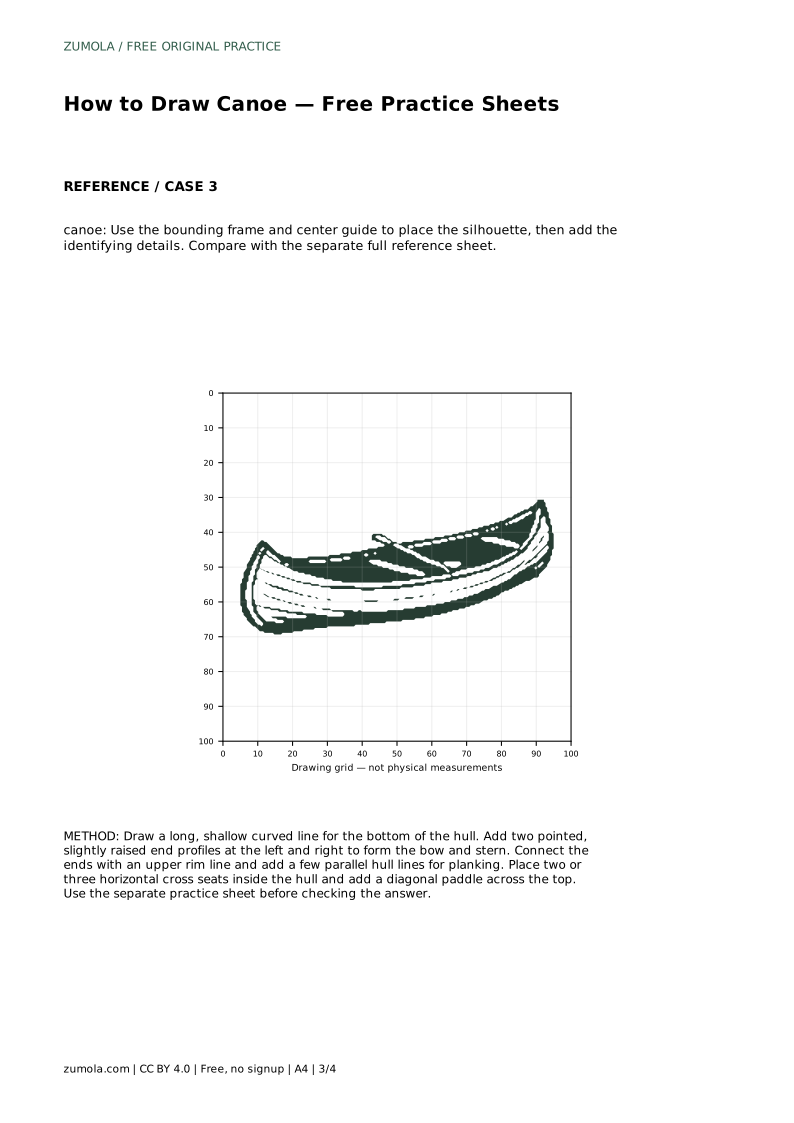
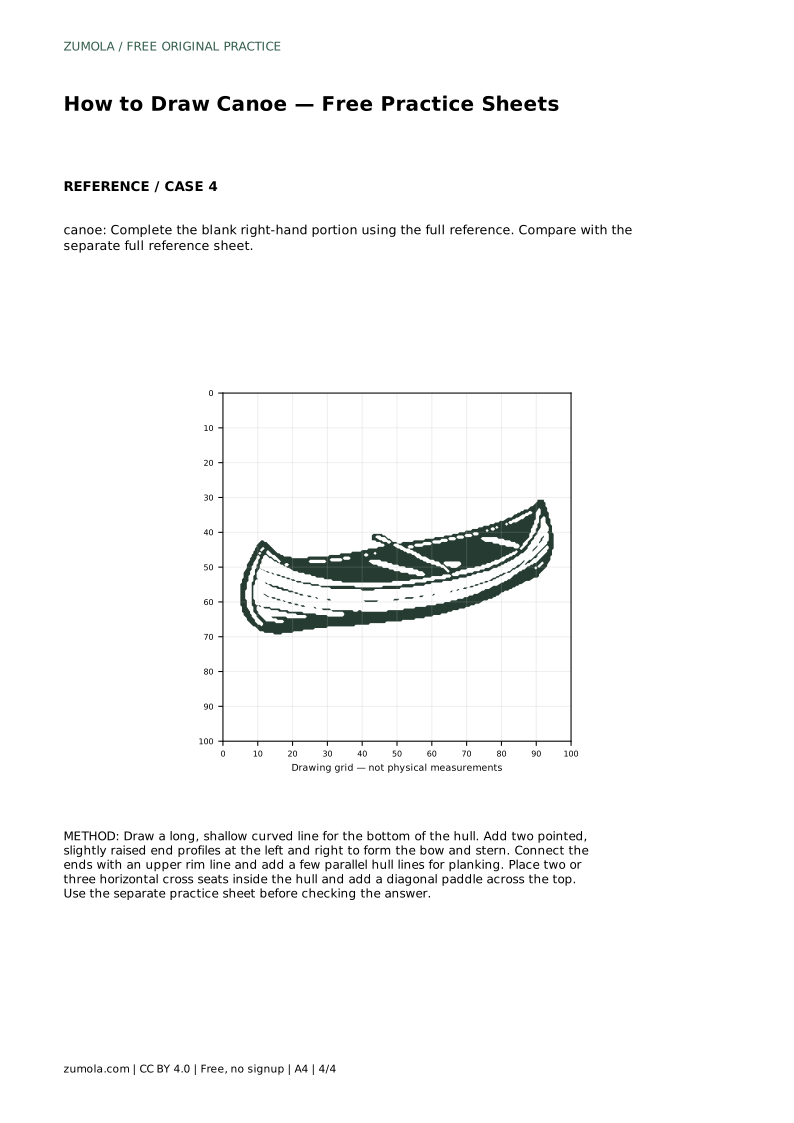
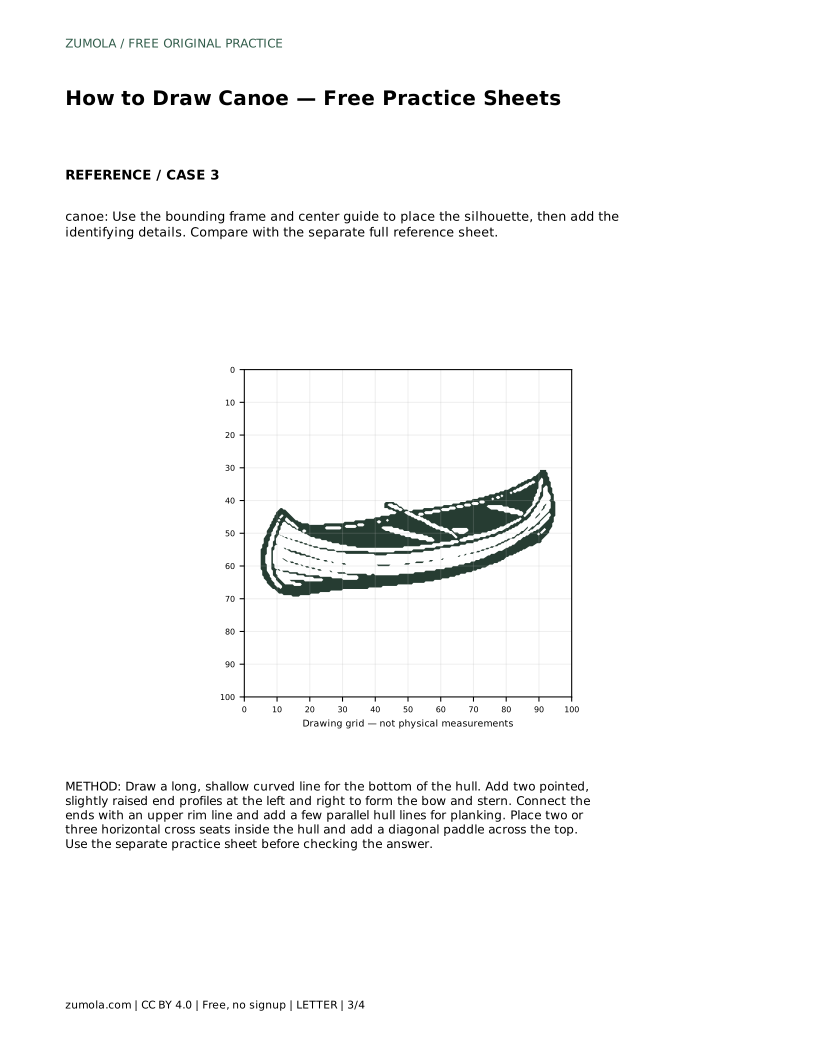
Drawing a canoe is mostly a problem of long, shallow curves and clear internal structure. The hull should read as a single graceful shape with a gently arched bottom and slightly raised, pointed ends. Once that silhouette is in place, the rim, planking lines, cross seats, and paddle make the object unmistakable. The practice sheets let you trace, copy onto a grid, place the silhouette inside a bounding frame, or complete a partially drawn version. Because canoes vary, judge your drawing by visible features and proportions rather than an exact match.
Start with the bottom of the hull: a long, shallow curve that dips gently in the middle. Keep it wide rather than deep, because a canoe is longer than it is tall. At each end, add a pointed profile that turns slightly upward. These are the bow and stern. They should feel balanced, even if one end is a little more raised. Avoid making the ends sharp spikes; they are rounded points that belong to the hull.
Next, connect the two ends with an upper rim line. This line runs roughly parallel to the bottom curve but sits higher. The space between the rim and the bottom is the side of the hull. Check that the hull does not become a narrow sliver or a deep bowl. A useful check is to compare the length of the hull with its height: the length should be clearly greater.
Planking lines are long, gentle curves that follow the hull. Space them evenly and keep them inside the hull shape. They should not cross the rim or spill outside the silhouette. Two or three lines are enough to suggest construction without turning the drawing into a grid.
Cross seats, also called thwarts, are horizontal bars inside the hull. Place two or three of them at intervals along the length. They should sit below the rim and above the bottom, and they should look like they span the width of the canoe. A diagonal paddle across the top adds a clear human-use cue. The paddle shaft can cross the rim, but the blade should stay simple and readable.
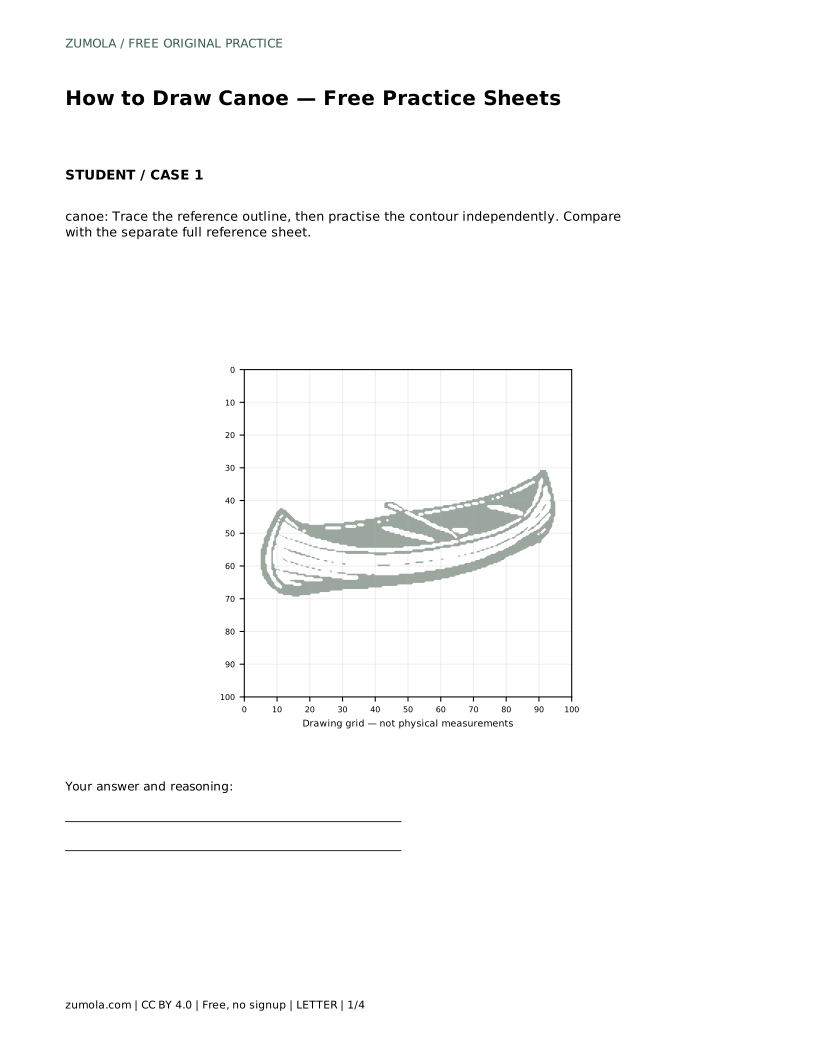
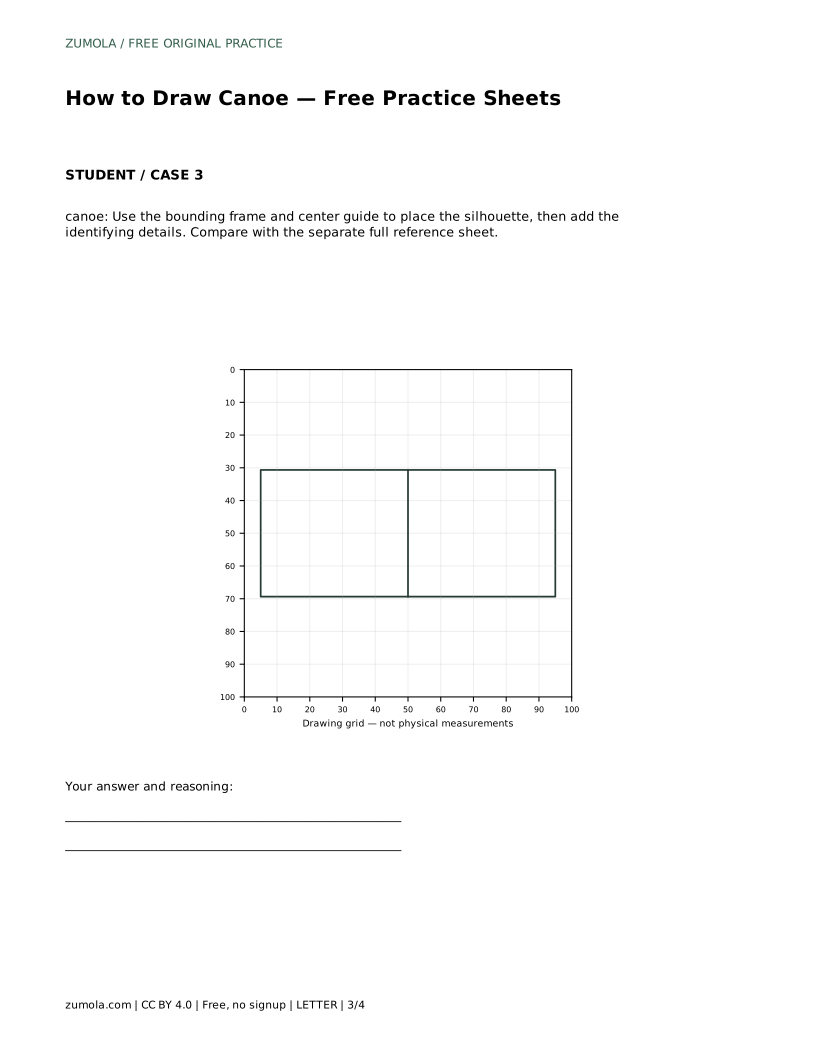
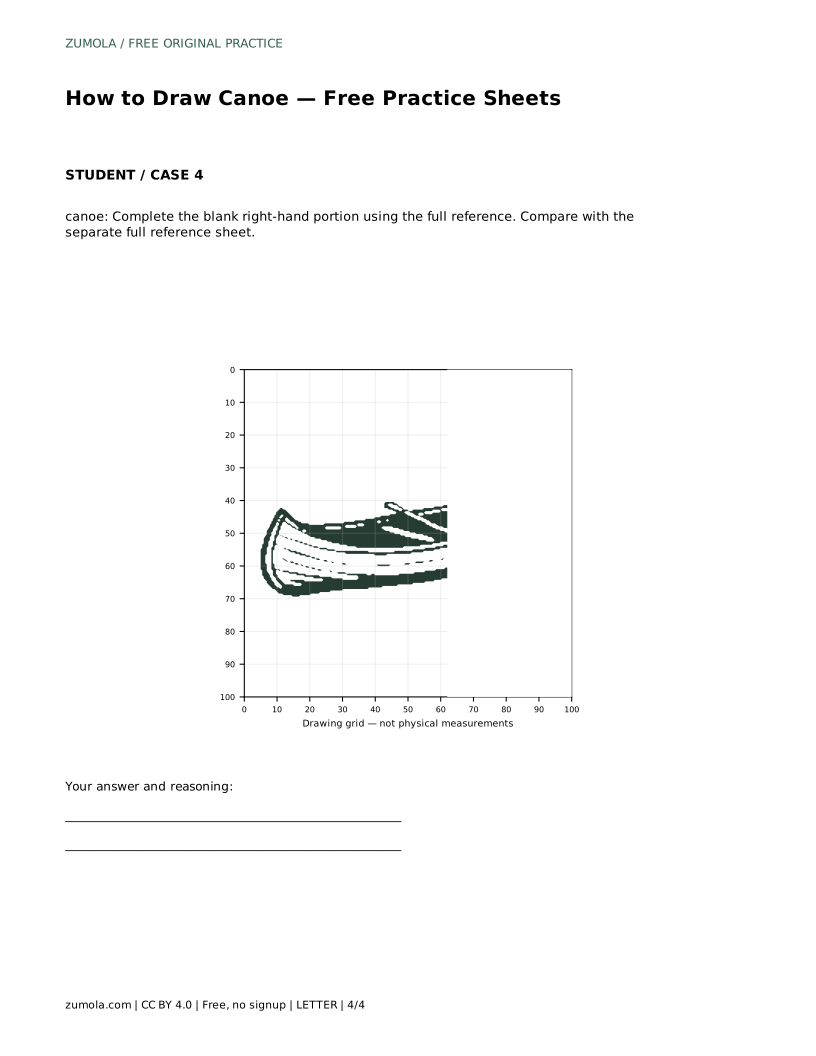
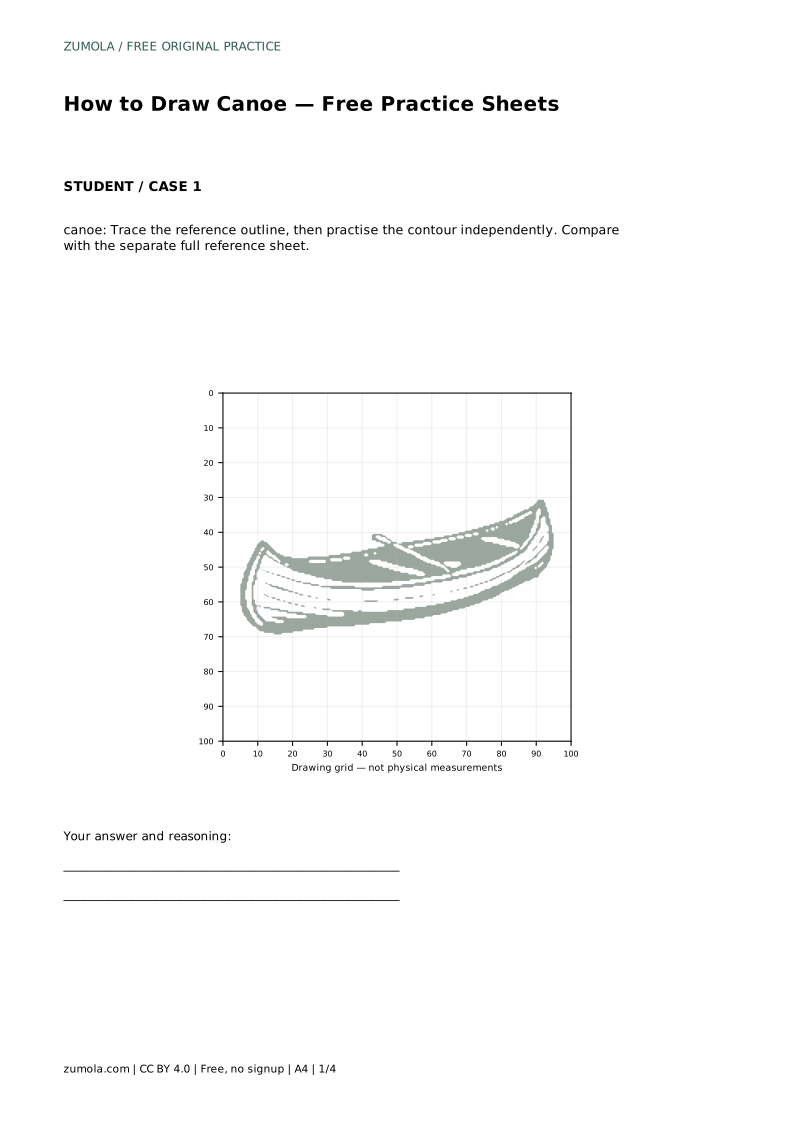
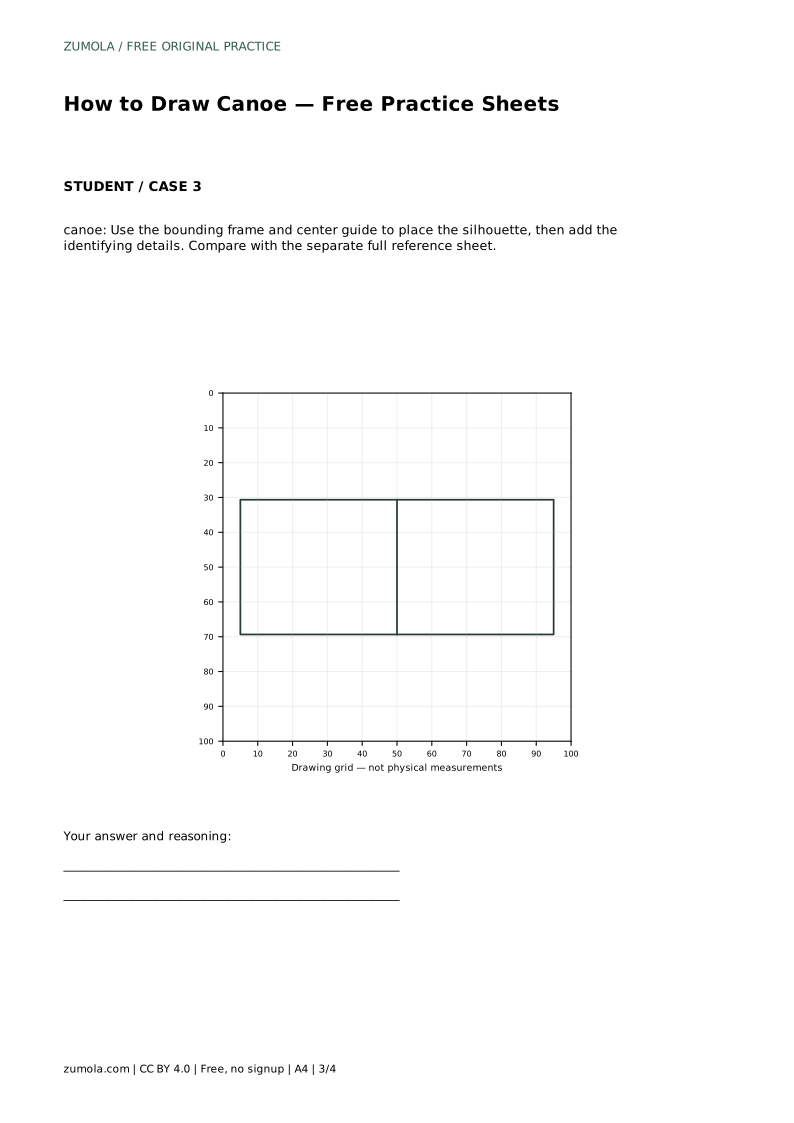
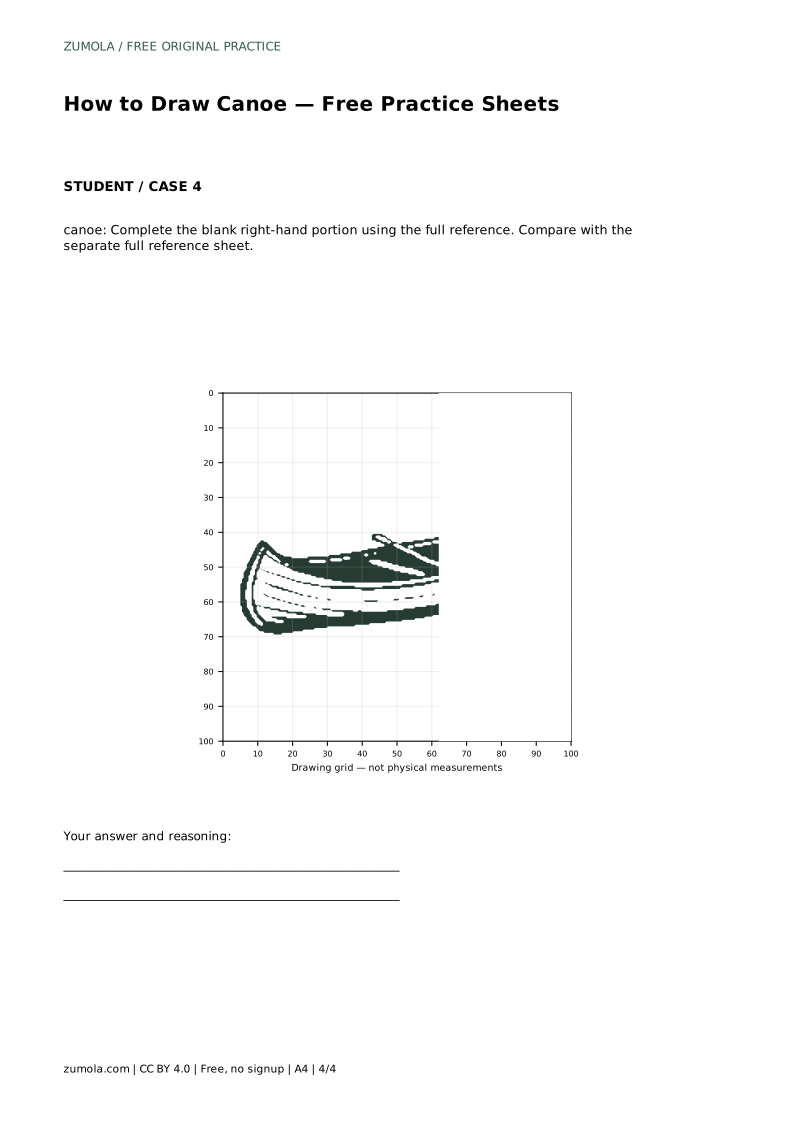
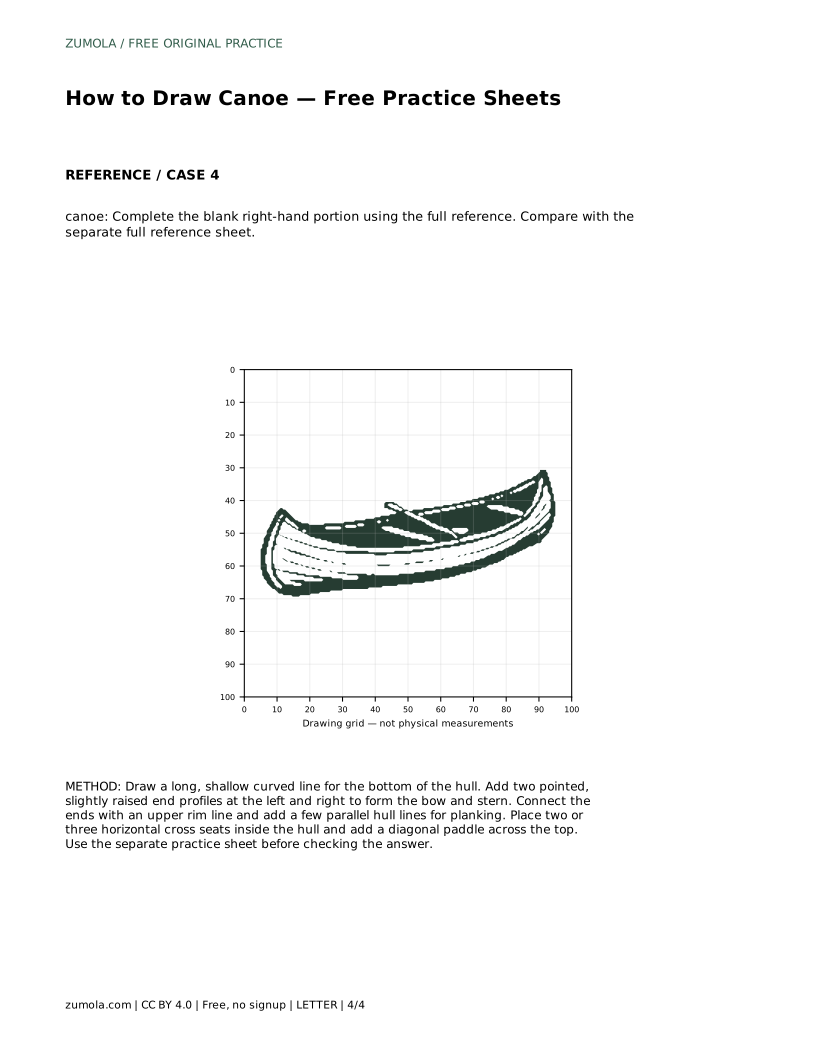
Tracing helps you feel the long curve of the hull and the rhythm of the planking. After tracing, try the same contour on blank paper without looking at the reference. Copying onto a grid trains you to match intersections and proportions. The bounding frame and center guide help you place the silhouette before adding details. The partial drawing asks you to complete the missing side using the full reference.
Each method has a different purpose, so do not expect identical results. The traced version may be tighter; the freehand version may be looser. What matters is that the canoe still shows a long curved hull, gently arched bottom, pointed and slightly upturned ends, visible interior cross seats, and a paddle if you include one.
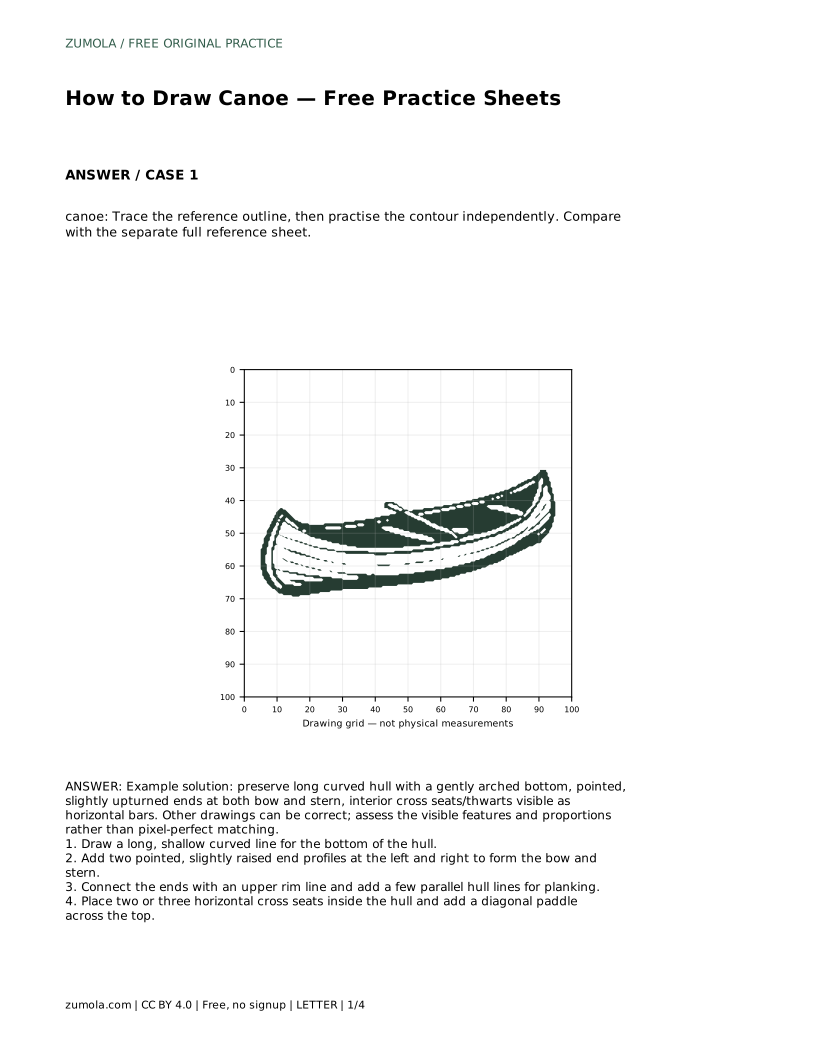
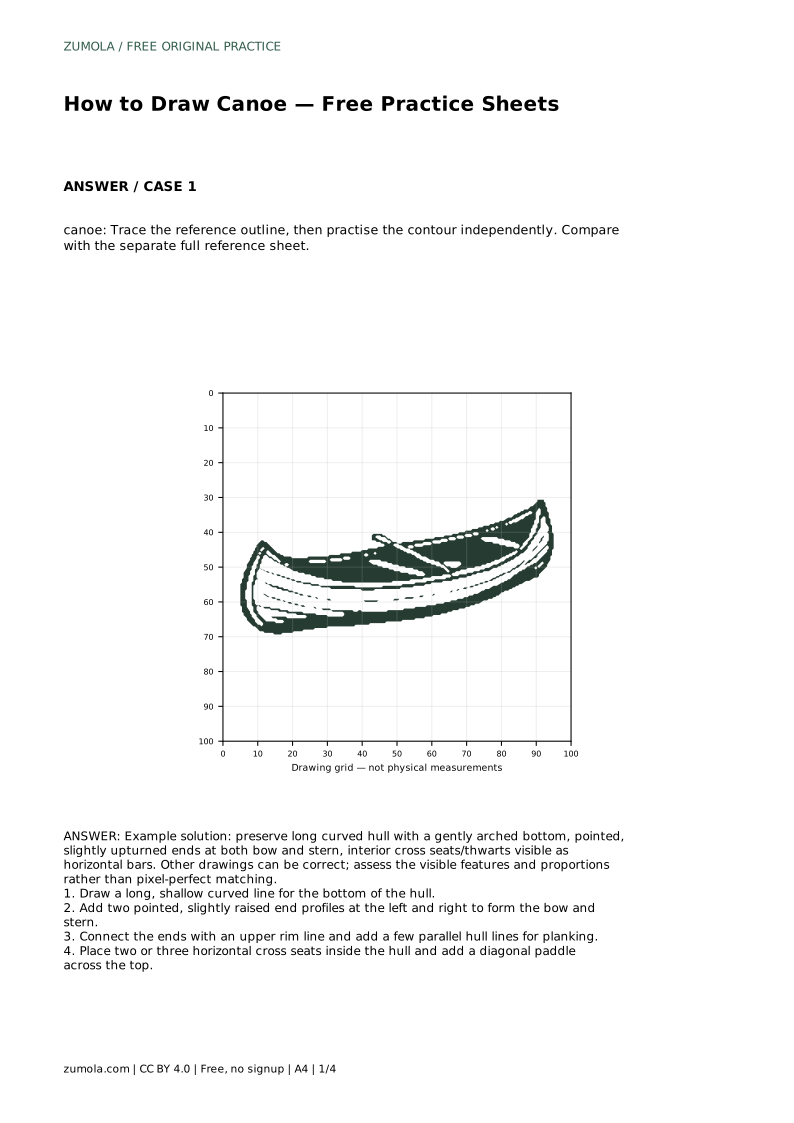
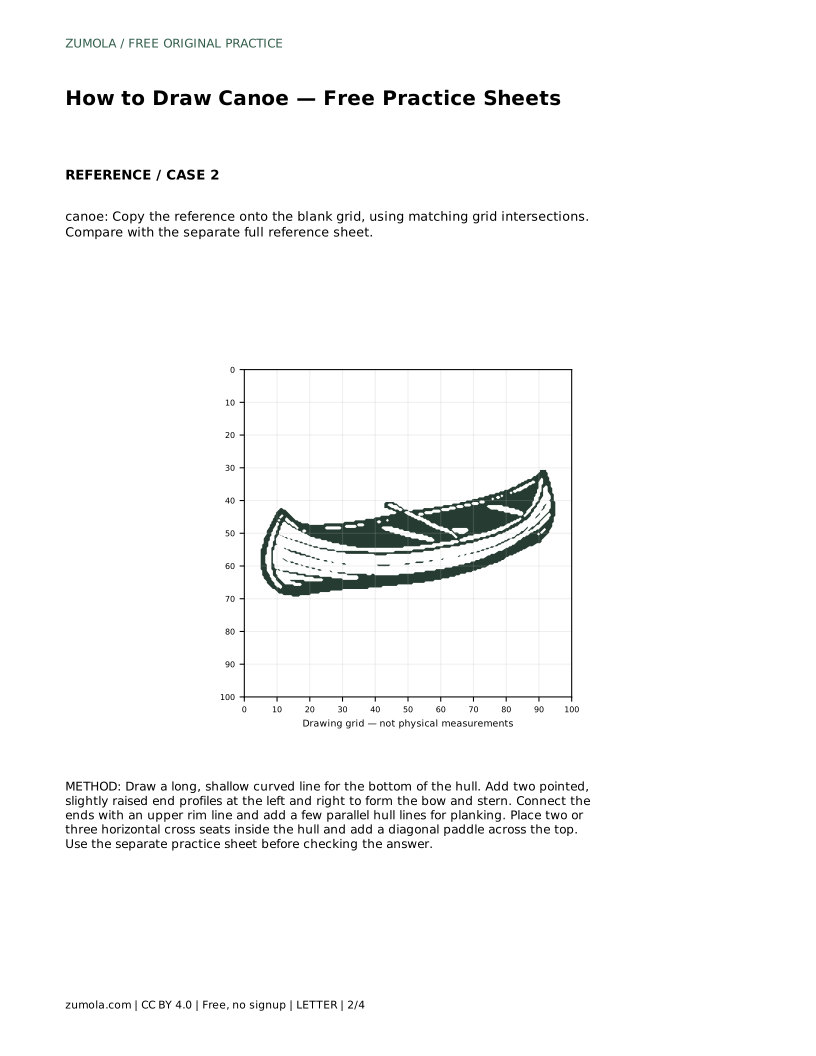
canoe: Trace the reference outline, then practise the contour independently. Compare with the separate full reference sheet.
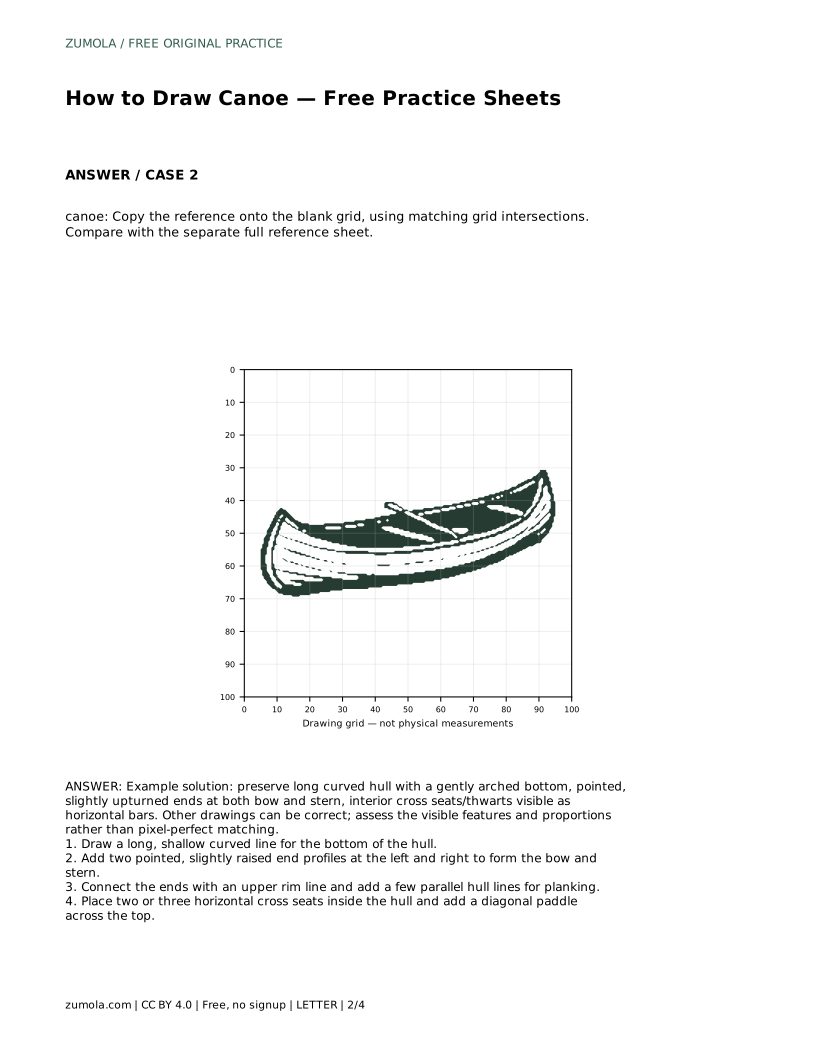
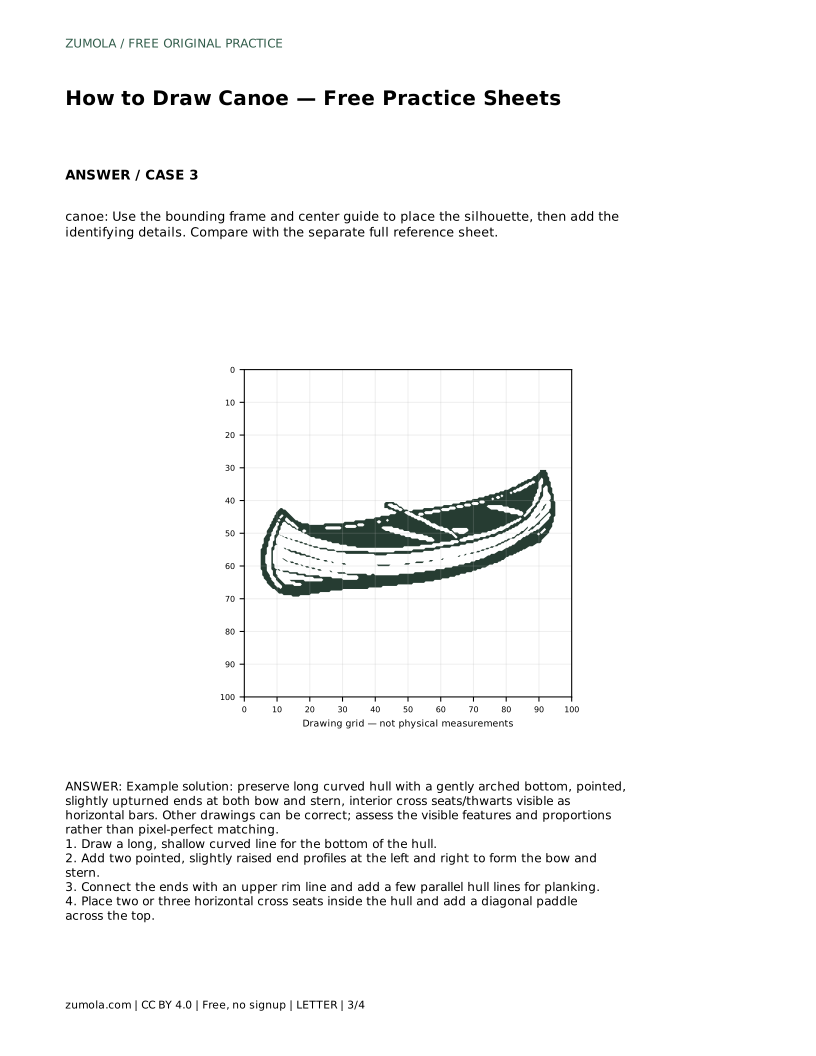
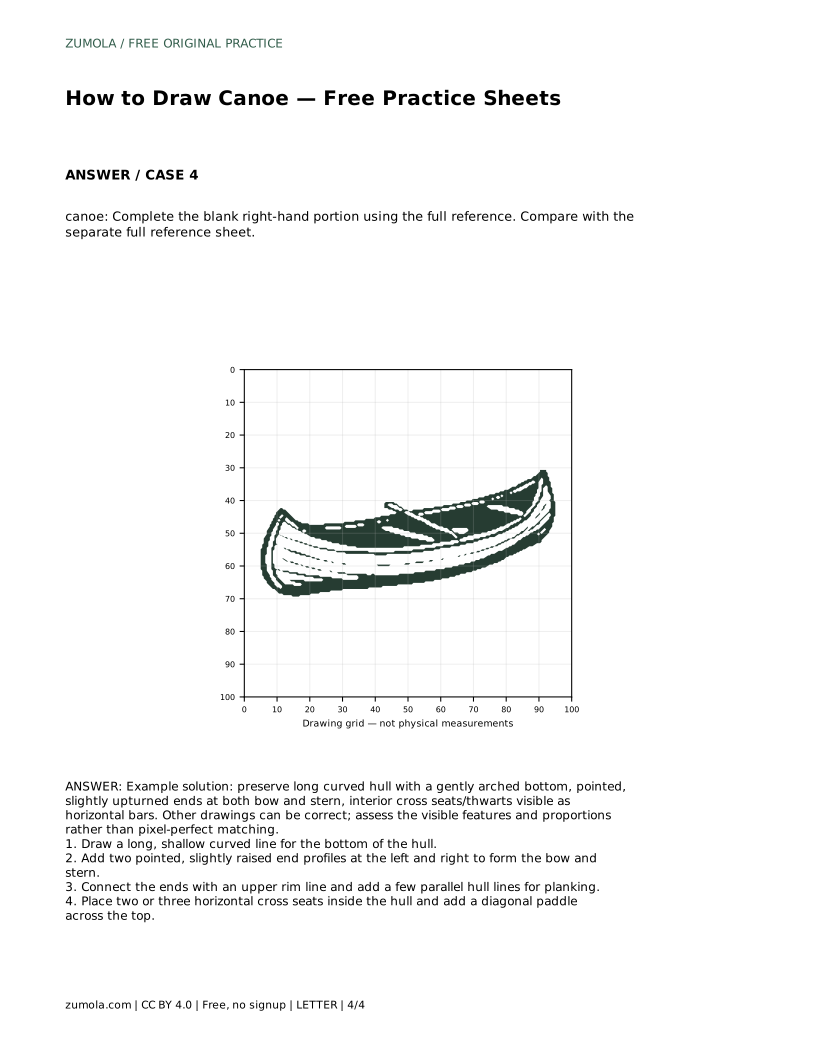
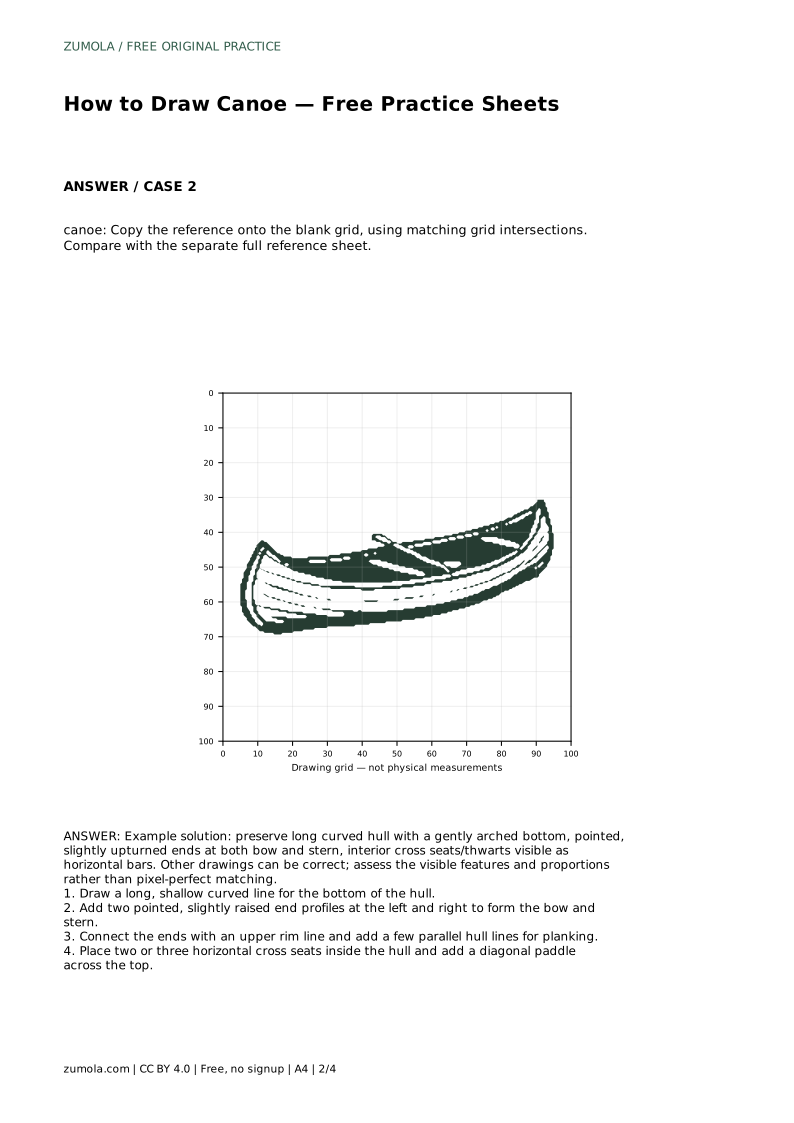
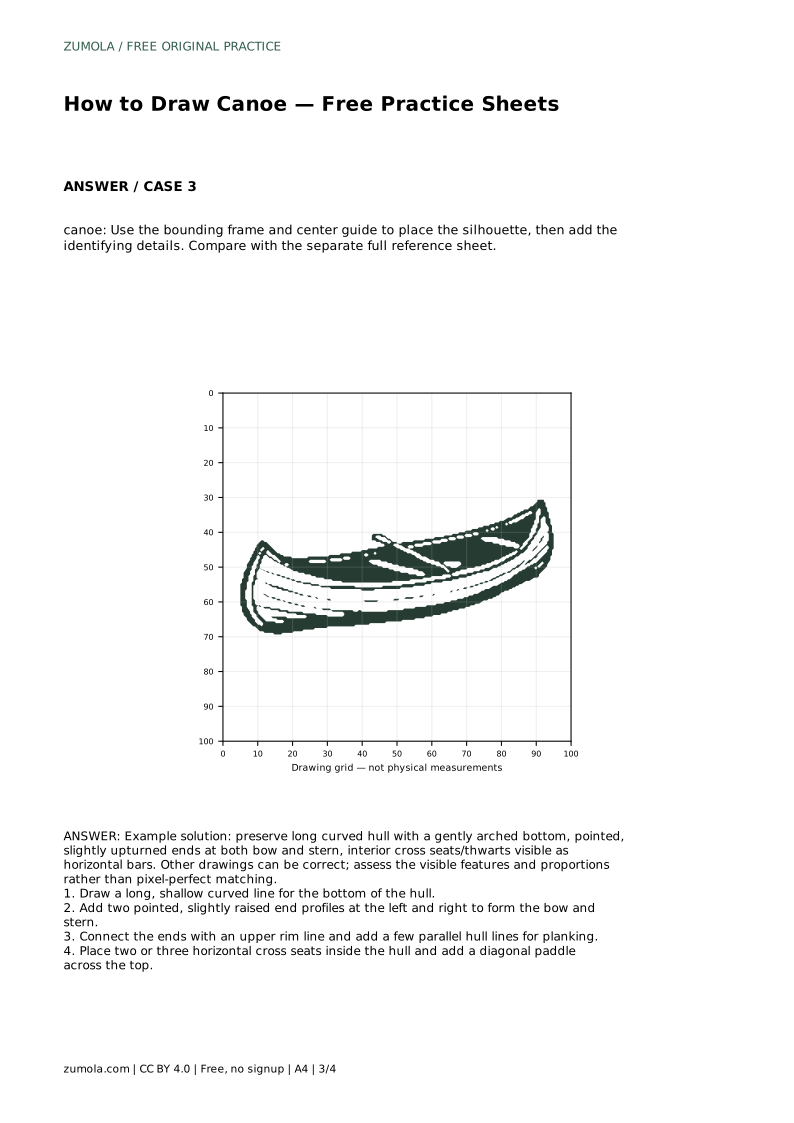
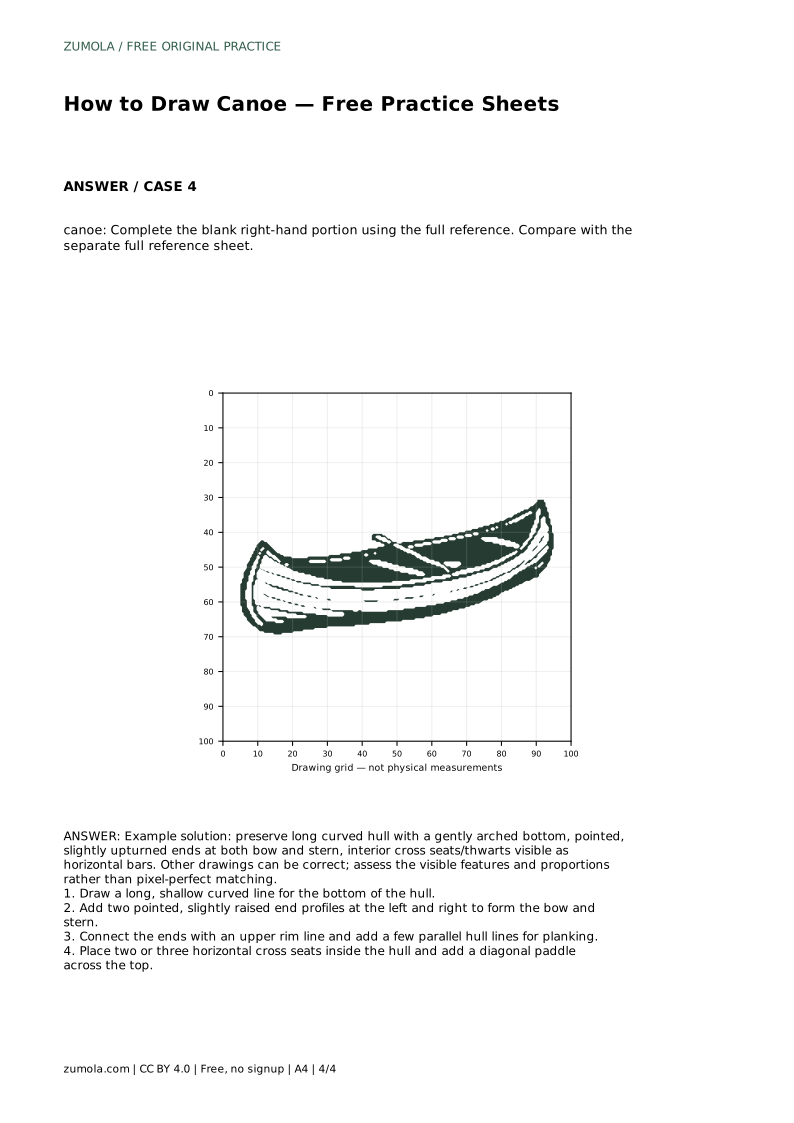
Example solution: preserve long curved hull with a gently arched bottom, pointed, slightly upturned ends at both bow and stern, interior cross seats/thwarts visible as horizontal bars. Other drawings can be correct; assess the visible features and proportions rather than pixel-perfect matching. Draw a long, shallow curved line for the bottom of the hull. Add two pointed, slightly raised end profiles at the left and right to form the bow and stern. Connect the ends with an upper rim line and add a few parallel hull lines for planking. Place two or three horizontal cross seats inside the hull and add a diagonal paddle across the top.
No. Canoes vary in shape, and drawings can be correct with different proportions. Assess whether the long curved hull, gently arched bottom, pointed and slightly upturned ends, and visible cross seats are present and readable.
Two or three horizontal cross seats are enough to make the interior read clearly. Keep them below the rim and spaced along the hull.
A diagonal paddle across the top is optional but useful because it signals how the canoe is used. Keep the shaft and blade simple so they do not overpower the hull.
All drawing practice · Free coordinate paper
Original resources · CC BY 4.0 · Free for personal and classroom use with attribution.