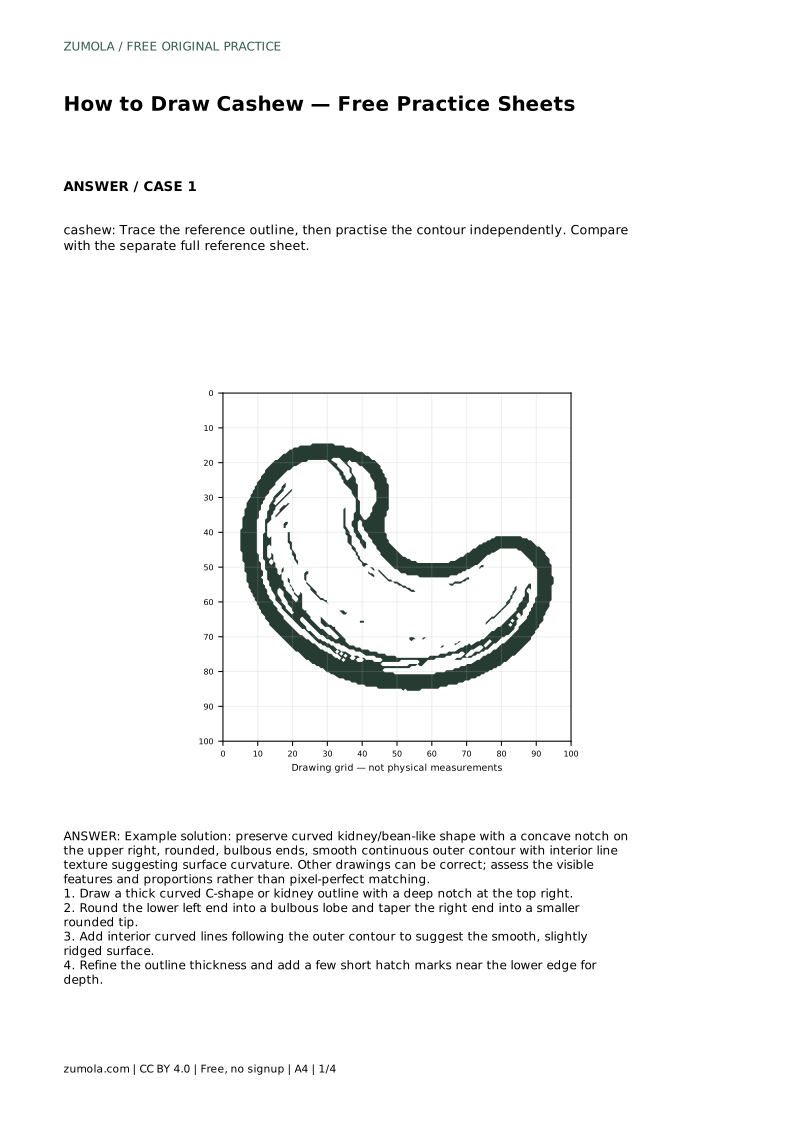
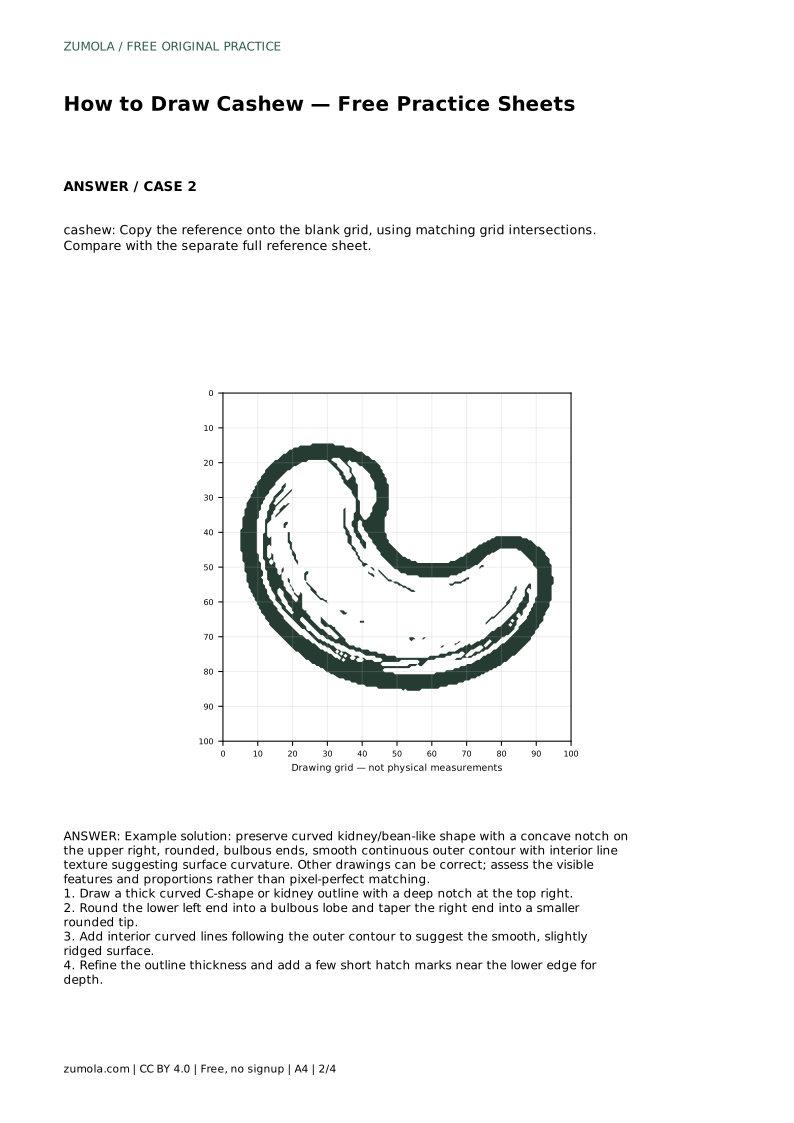
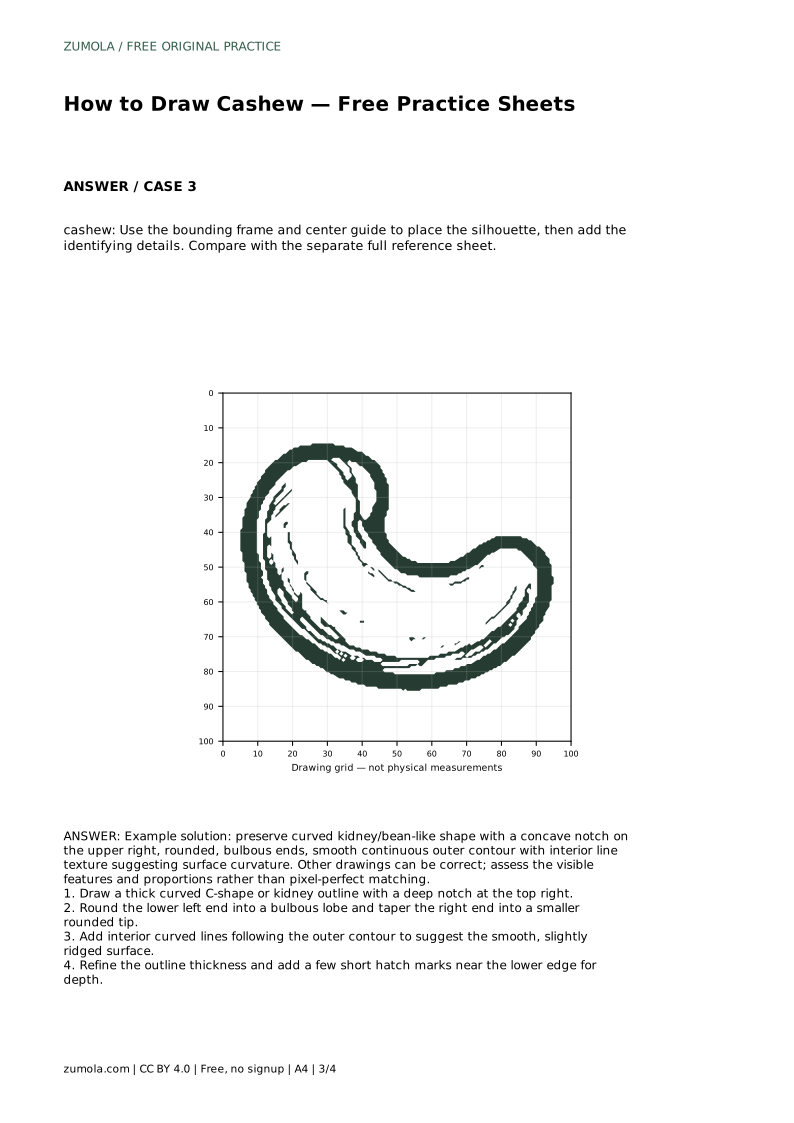
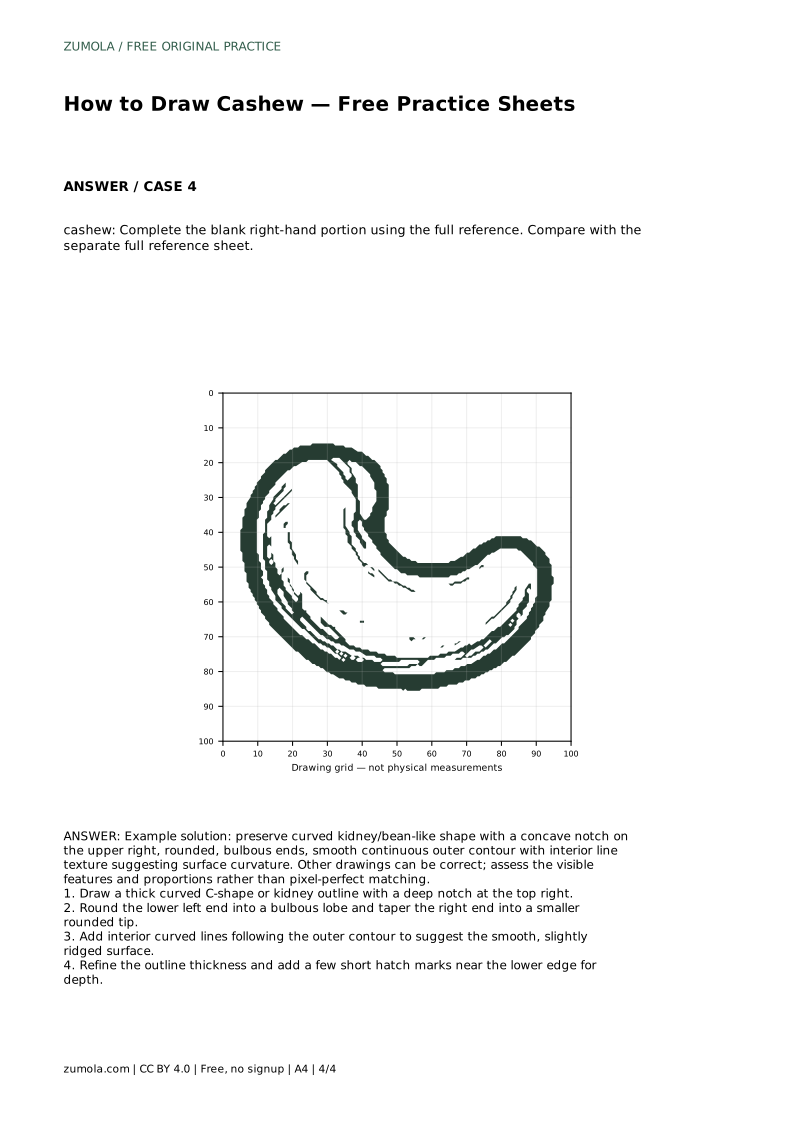
Reference diagrams
LETTER · Download PDF
A4 · Download PDF
Free original resources
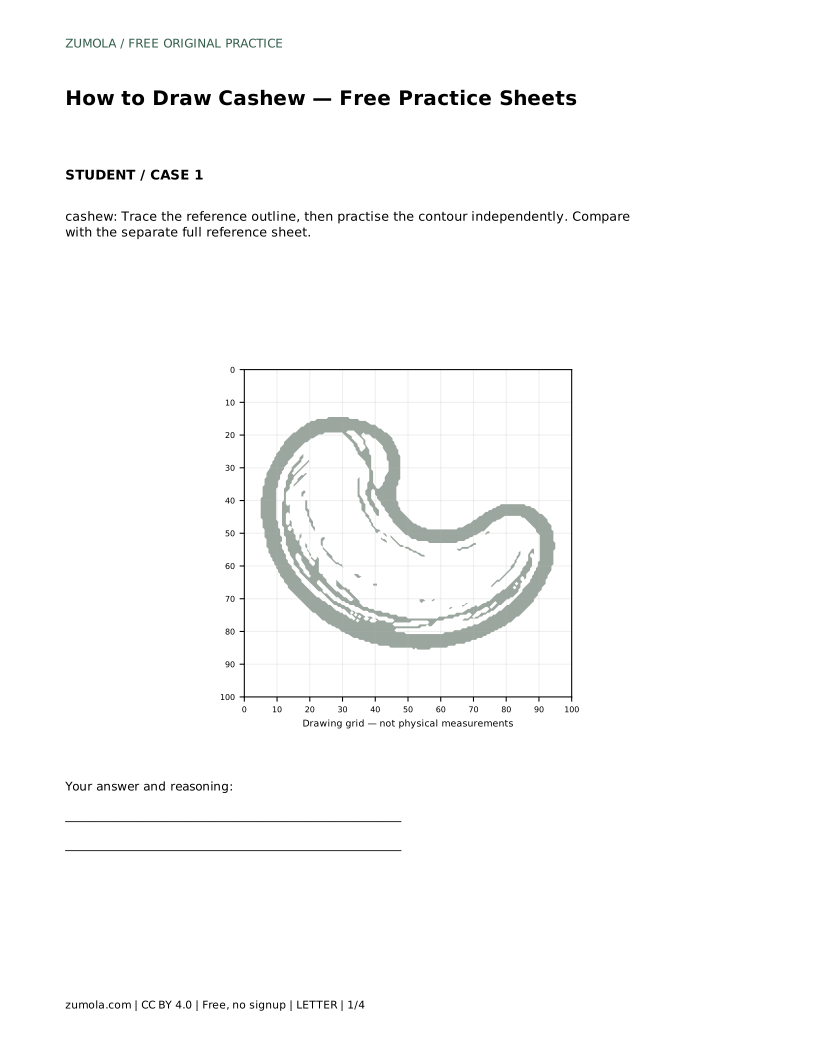
Learn to draw a cashew by building its curved kidney outline, upper-right notch and rounded ends, then adding interior lines that suggest surface curvature.
Four original cases, with reference diagrams, practice sheets and worked answers. Everything is free; no signup required.
LETTER · Download PDF
A4 · Download PDF
LETTER · Download PDF
A4 · Download PDF
LETTER · Download PDF
A4 · Download PDF
Use A4 or US Letter to match your printer. Use the stated values and conditions to solve each exercise; diagrams are not physical measuring rulers.
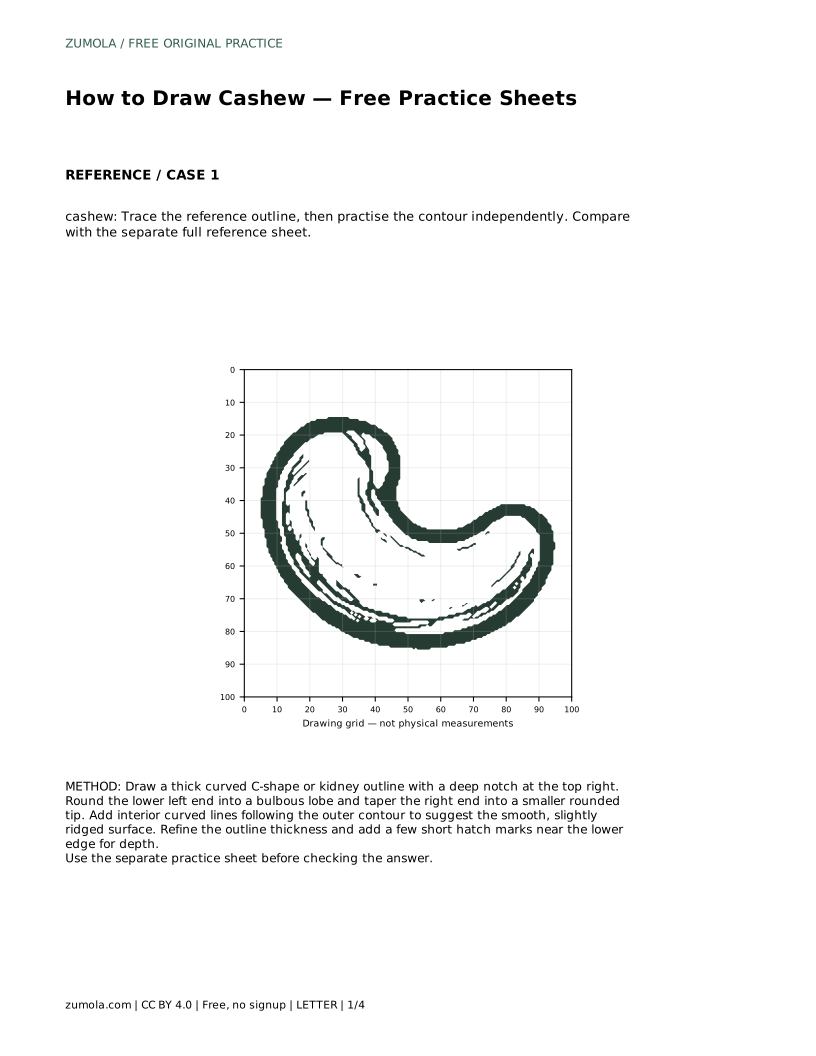
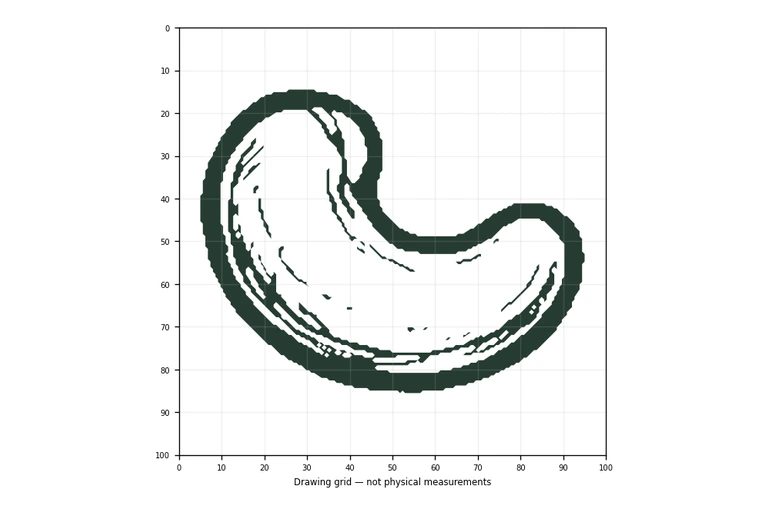
A cashew is easy to recognise but surprisingly easy to draw as a plain bean. The difference lies in three features: a thick curved outline, a concave notch near the upper right, and two rounded ends of unequal size. This page explains how to place those features deliberately, then how to add interior lines that make the surface feel smooth and slightly ridged rather than flat.
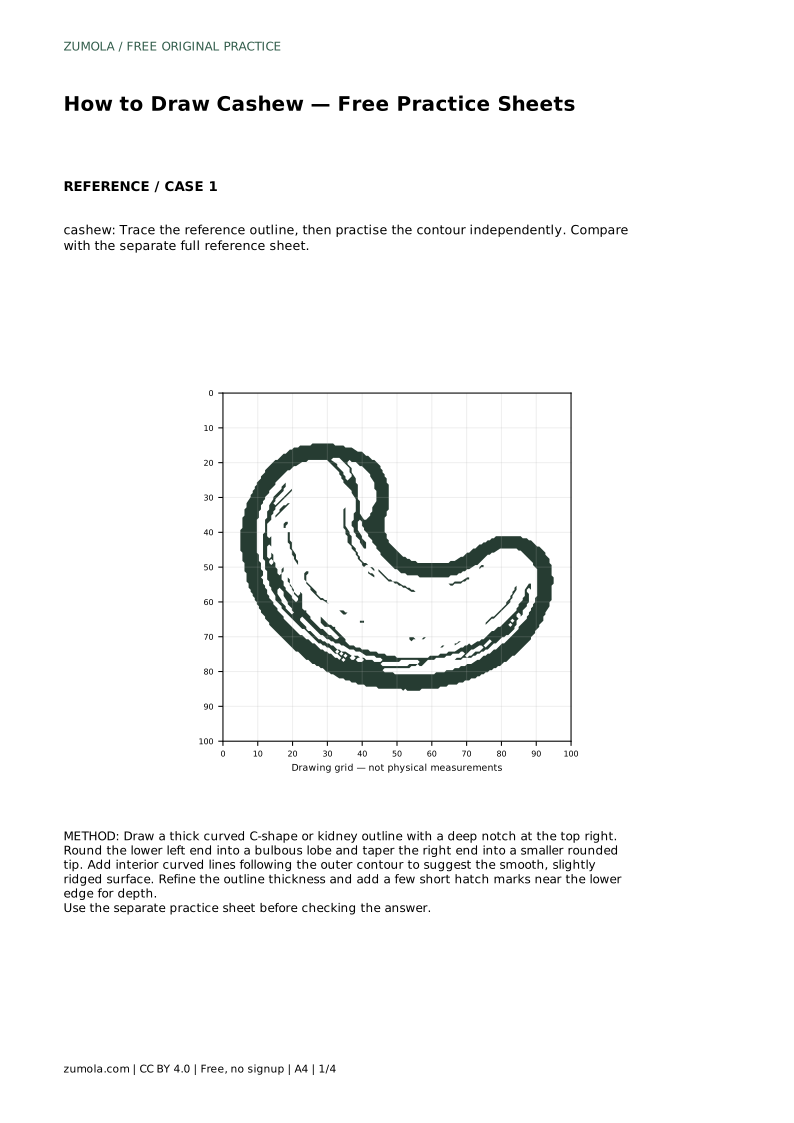
Begin by thinking of the cashew as a thick curved C-shape or kidney, not a circle or an oval. The lower left end should swell into a bulbous lobe, while the right end tapers into a smaller rounded tip. Keep the outer contour smooth and continuous; small wobbles read as damage rather than character.
Place the shape on the page before committing to detail. A light outline lets you adjust the curve and the balance between the two ends without erasing heavily. The notch belongs at the top right, and it should cut inward enough to be clearly visible at a glance.
Interior lines are what stop the cashew looking like a flat sticker. Draw a few curved lines that follow the direction of the outer contour, running roughly parallel to it rather than crossing it. These lines suggest the smooth, slightly ridged surface of the nut.
Keep the interior marks sparse. Two or three long curves usually communicate more than many short ones, because each line should describe a change in surface direction. Near the lower edge, a few short hatch marks can suggest depth and a slight shadow without turning the drawing into a shaded study.
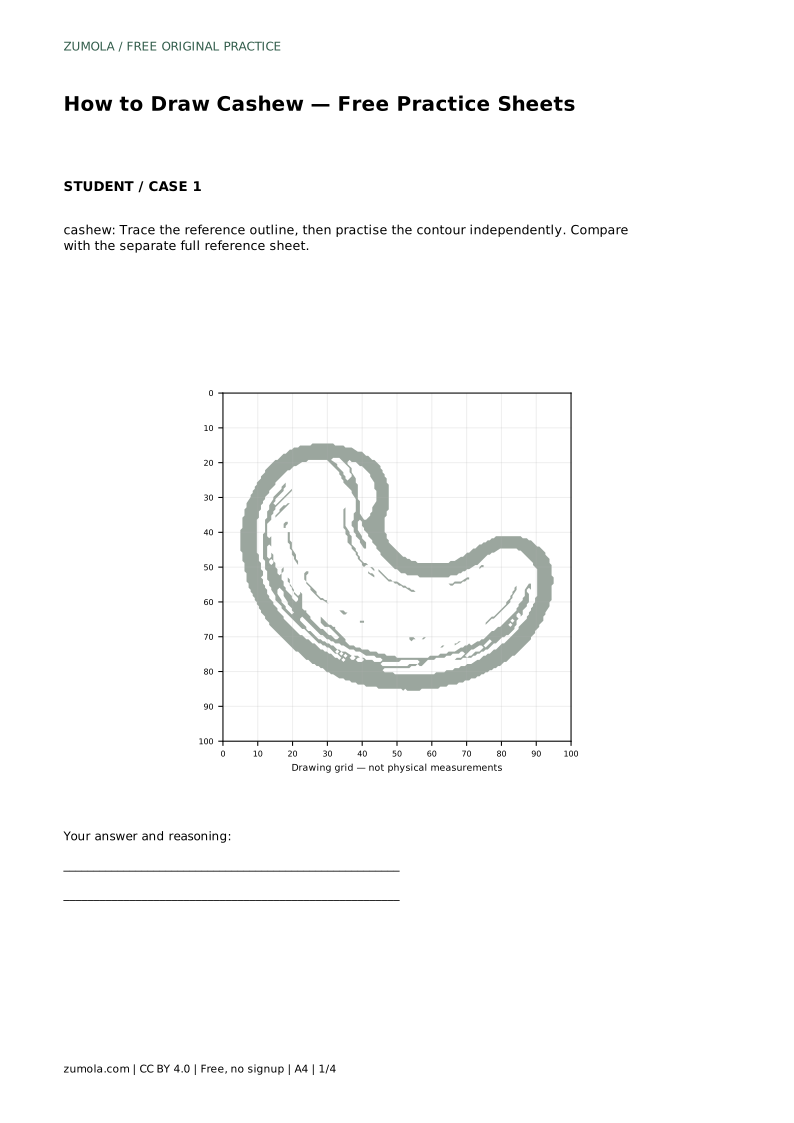
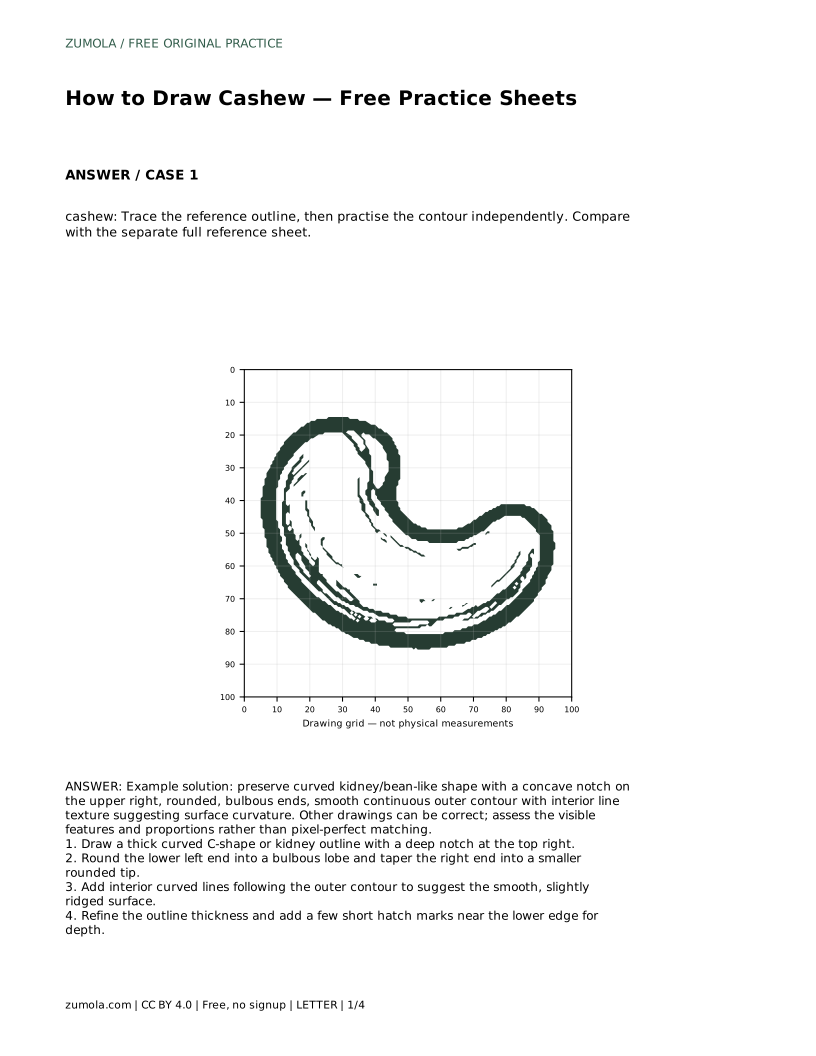
Tracing a reference outline helps you feel the curve before drawing it independently. After tracing, cover the reference and redraw the contour from memory, then compare your result with the separate full reference sheet. The comparison is about visible features and proportions, not pixel-perfect matching.
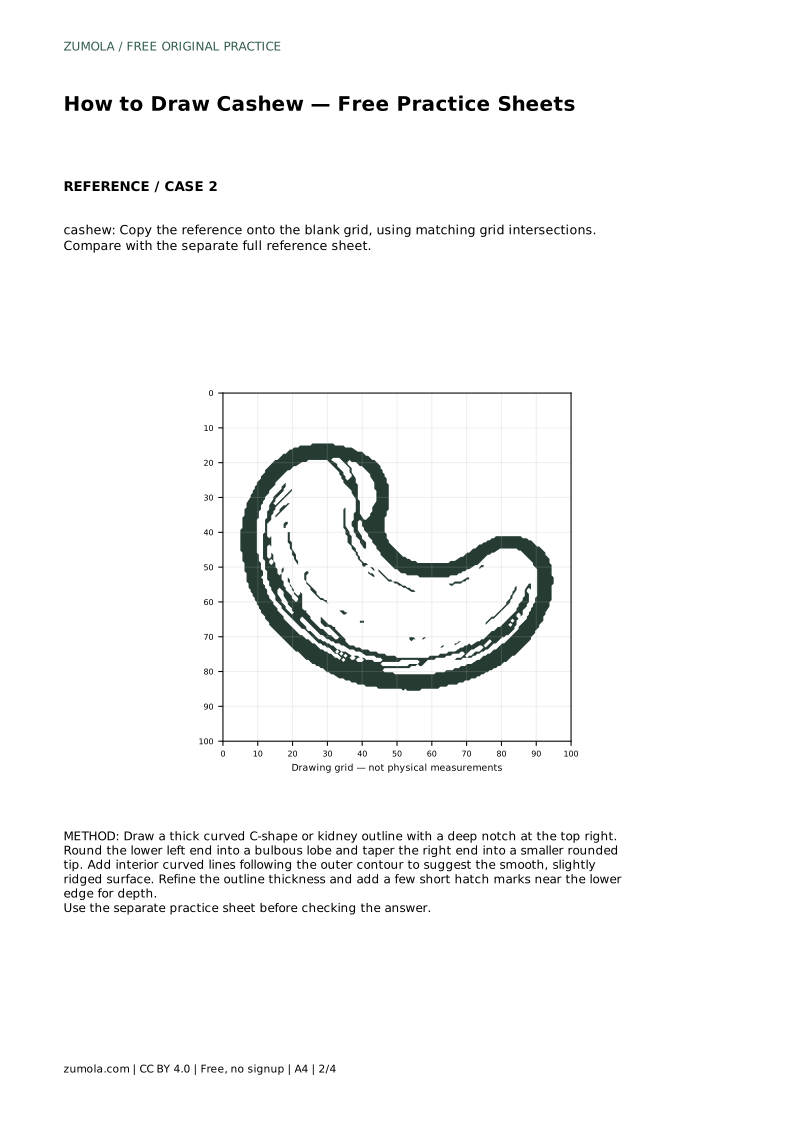
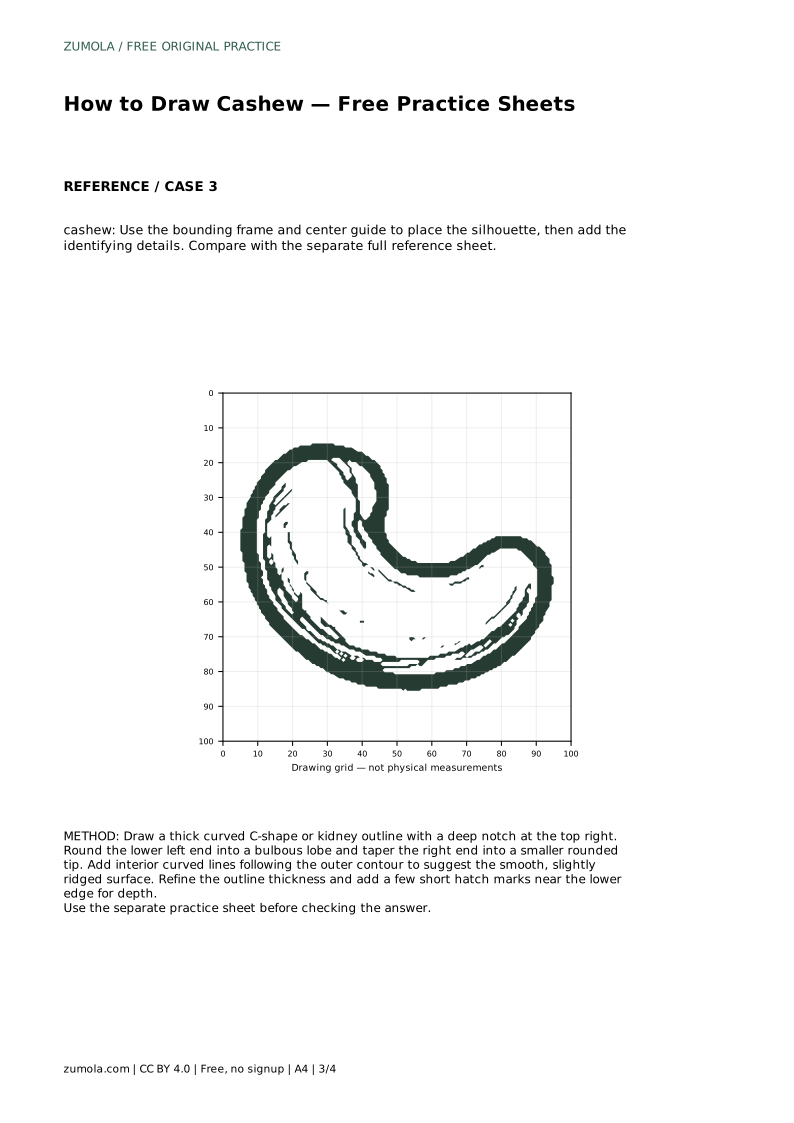
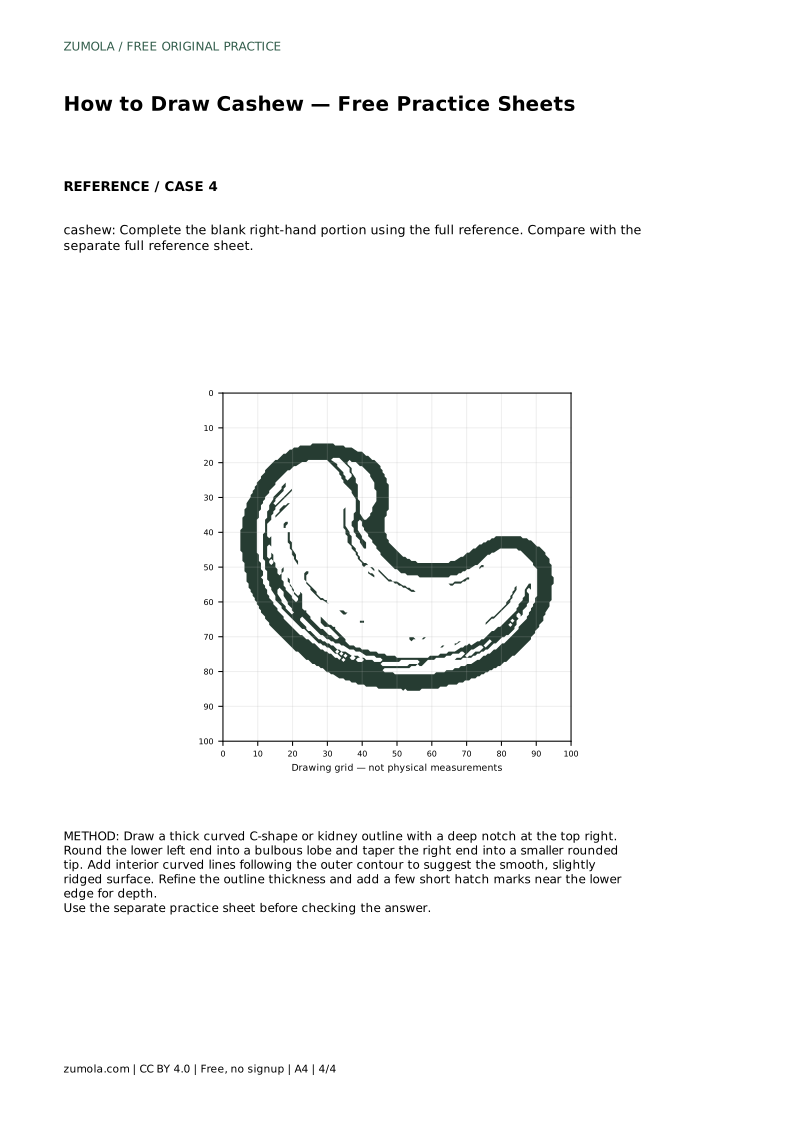
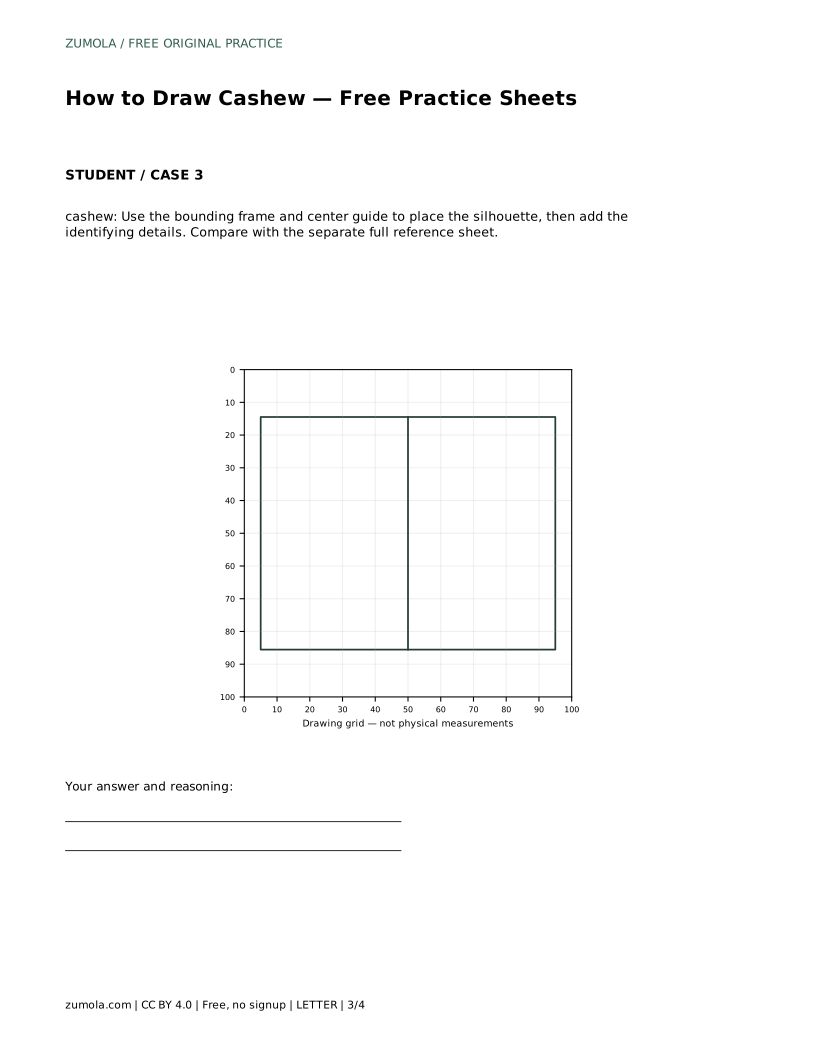
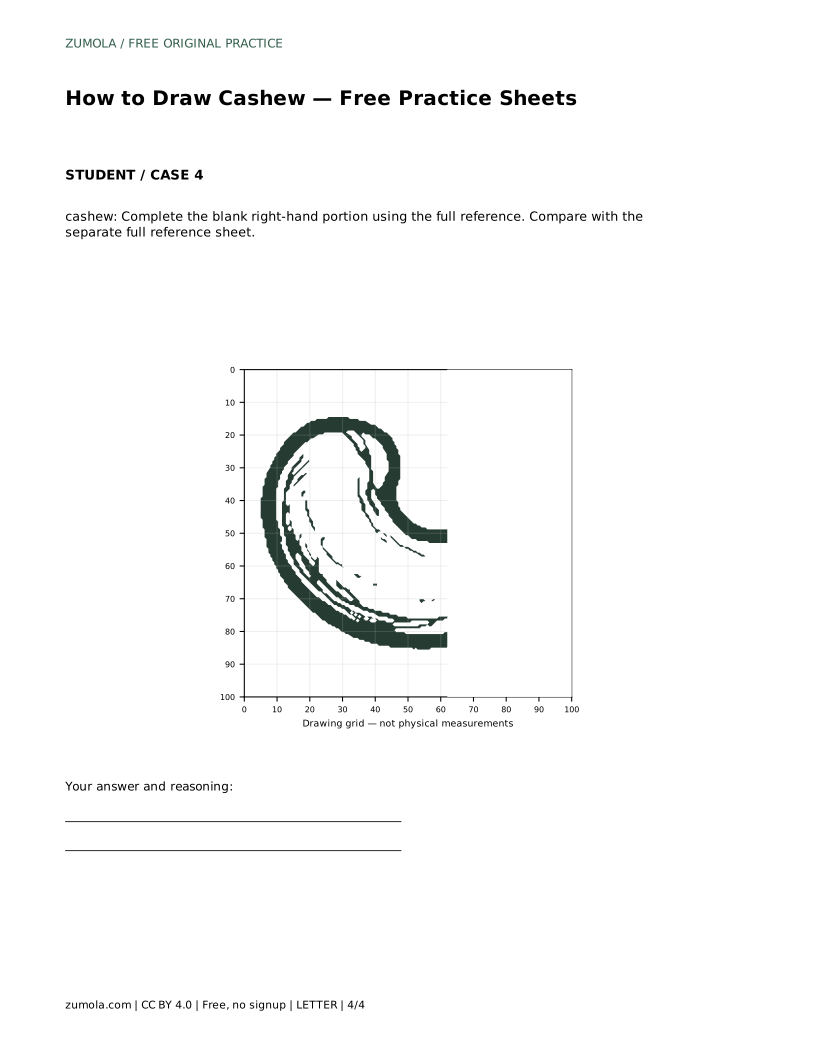
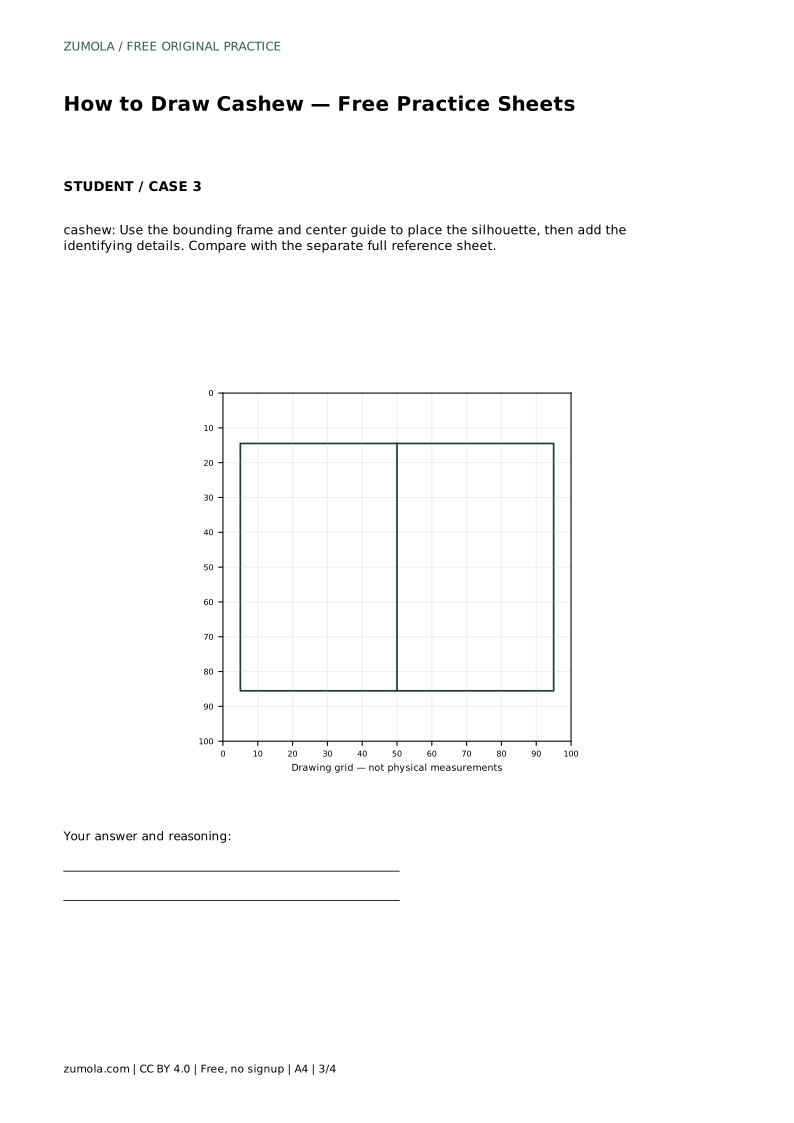
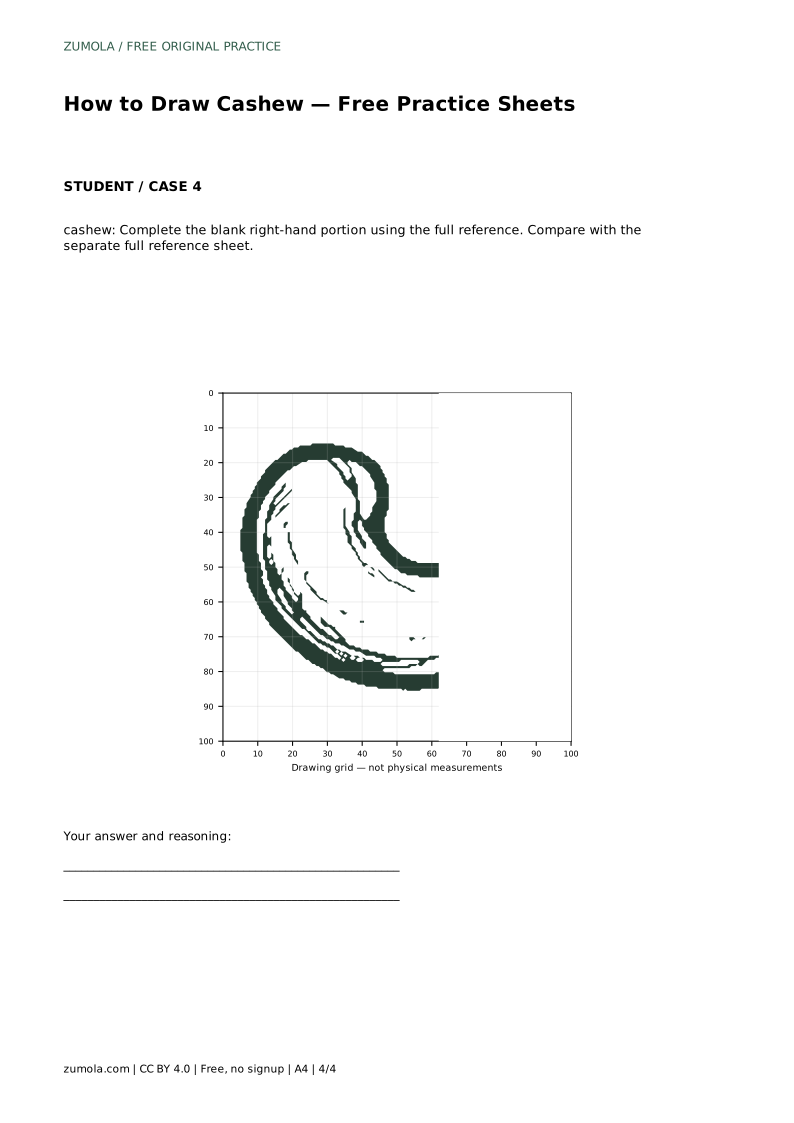
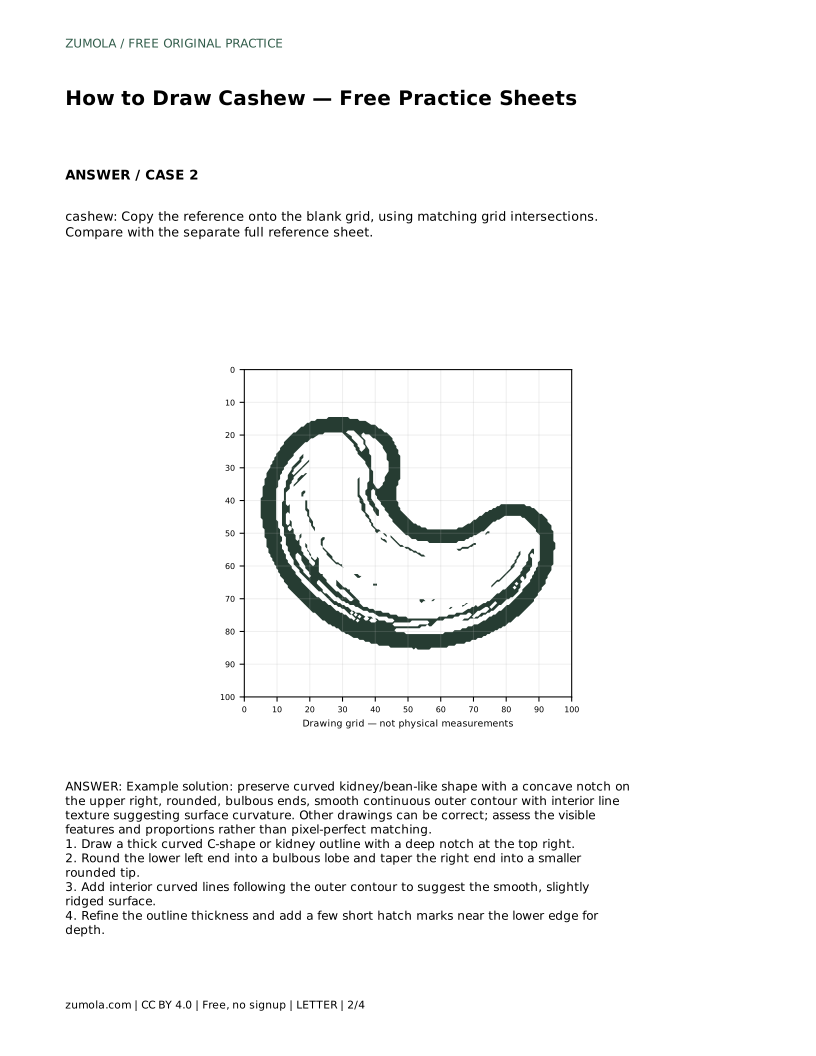
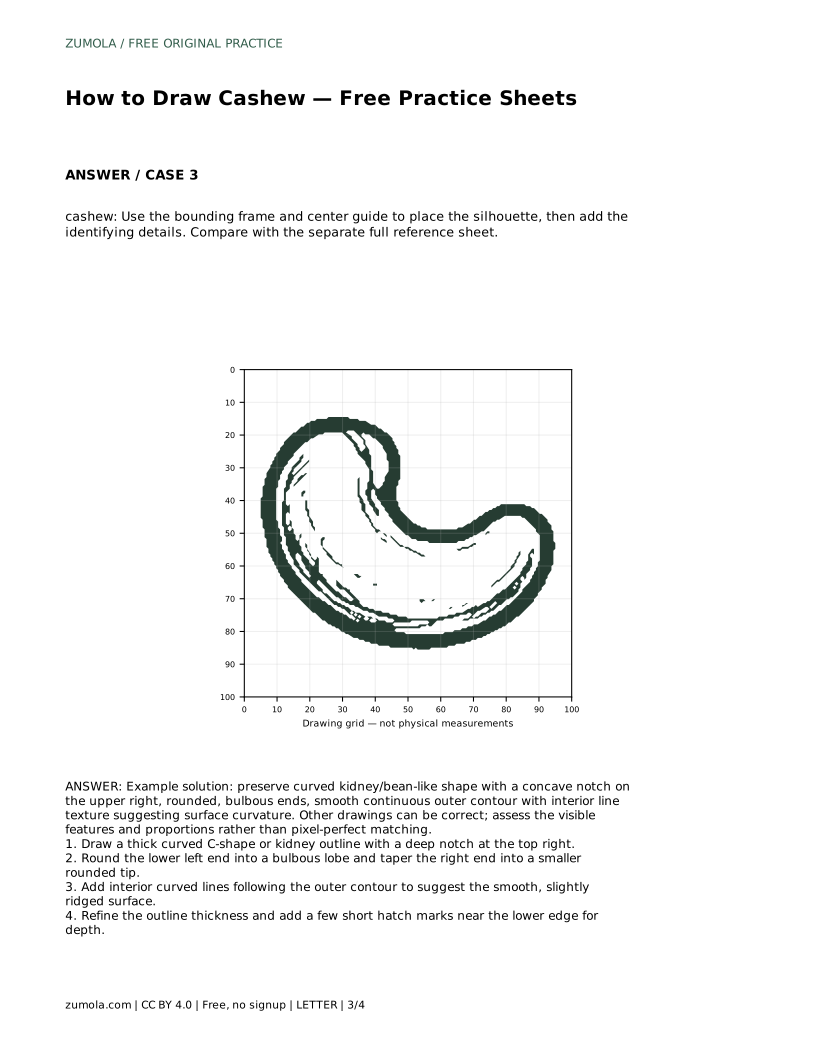
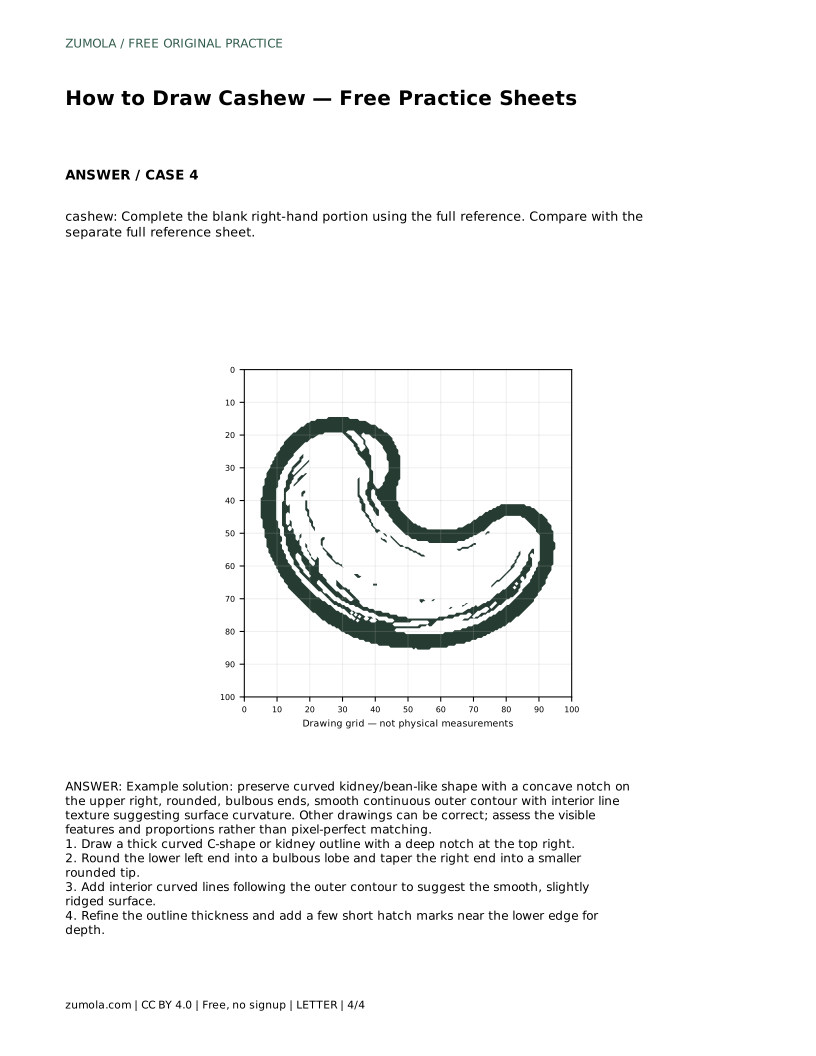
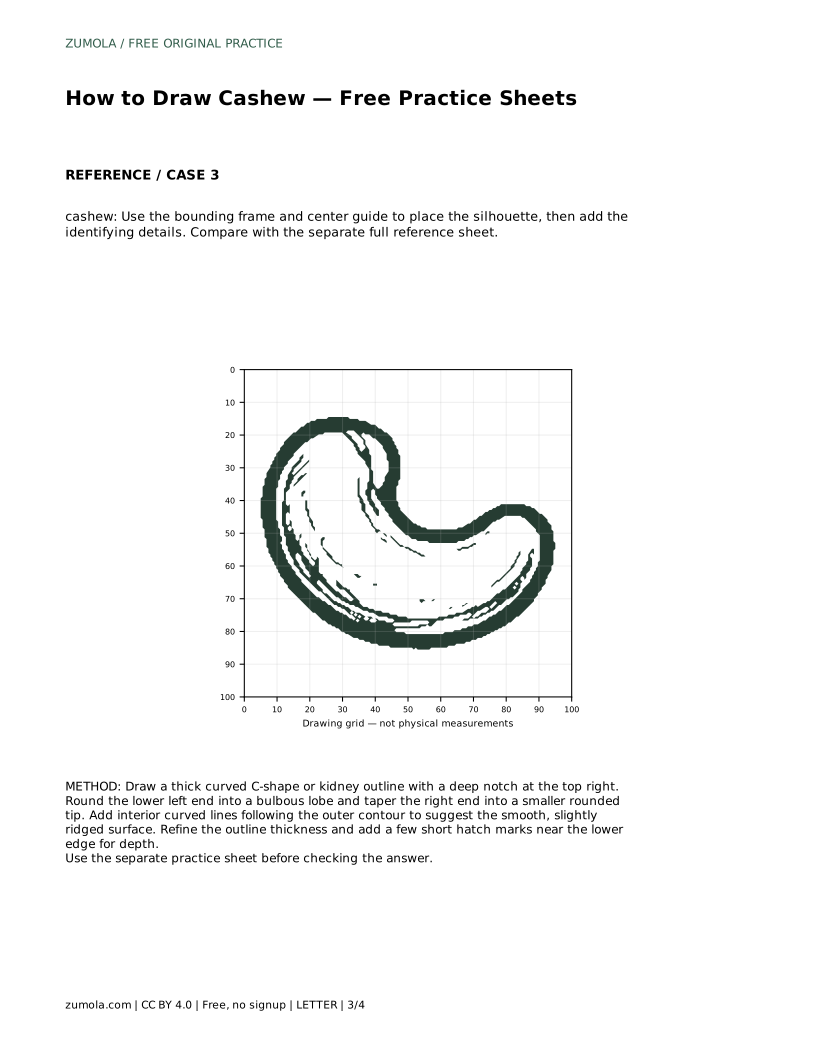
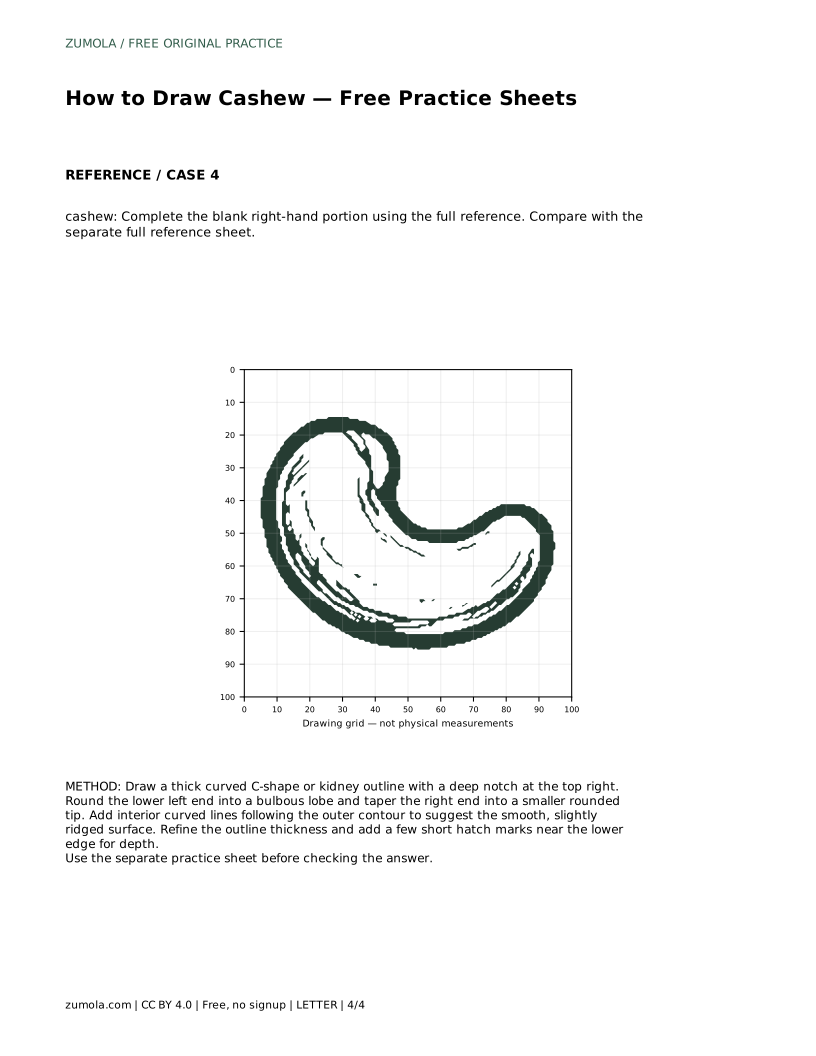
A grid version asks you to copy the reference onto a blank grid using matching intersections. This is useful for judging where the notch sits relative to the widest part of the body. A bounding frame with a centre guide helps you place the silhouette before adding identifying details. A partial-reference sheet, where the right-hand portion is blank, tests whether you can complete the shape using the full reference as a guide.
Cashew drawings have multiple valid outcomes, so judge the presence and balance of features rather than exact replication. Ask whether the notch is visible, whether the two ends differ in size, and whether the interior lines follow the outer curve. A drawing with a clear silhouette and restrained surface lines will read as a cashew even if its proportions differ from the reference.
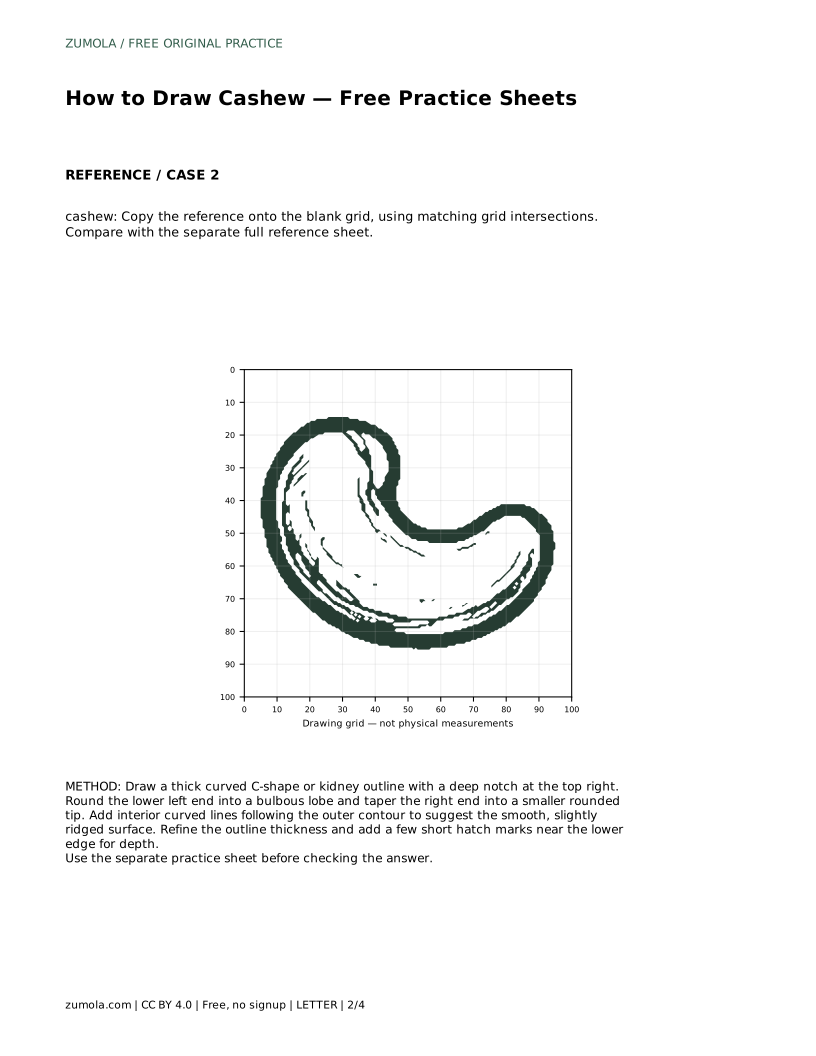
cashew: Trace the reference outline, then practise the contour independently. Compare with the separate full reference sheet.
Example solution: preserve curved kidney/bean-like shape with a concave notch on the upper right, rounded, bulbous ends, smooth continuous outer contour with interior line texture suggesting surface curvature. Other drawings can be correct; assess the visible features and proportions rather than pixel-perfect matching. Draw a thick curved C-shape or kidney outline with a deep notch at the top right. Round the lower left end into a bulbous lobe and taper the right end into a smaller rounded tip. Add interior curved lines following the outer contour to suggest the smooth, slightly ridged surface. Refine the outline thickness and add a few short hatch marks near the lower edge for depth.
For this practice task, yes. Placing the notch at the upper right keeps your drawing comparable with the reference sheet, so differences in proportion are easier to spot.
A few long curves are enough. Two or three lines following the outer contour usually suggest the surface better than many short marks.
That can still be correct. Assess whether the notch, rounded ends, smooth contour and interior curvature are present and balanced rather than expecting an identical copy.
All drawing practice · Free coordinate paper
Original resources · CC BY 4.0 · Free for personal and classroom use with attribution.