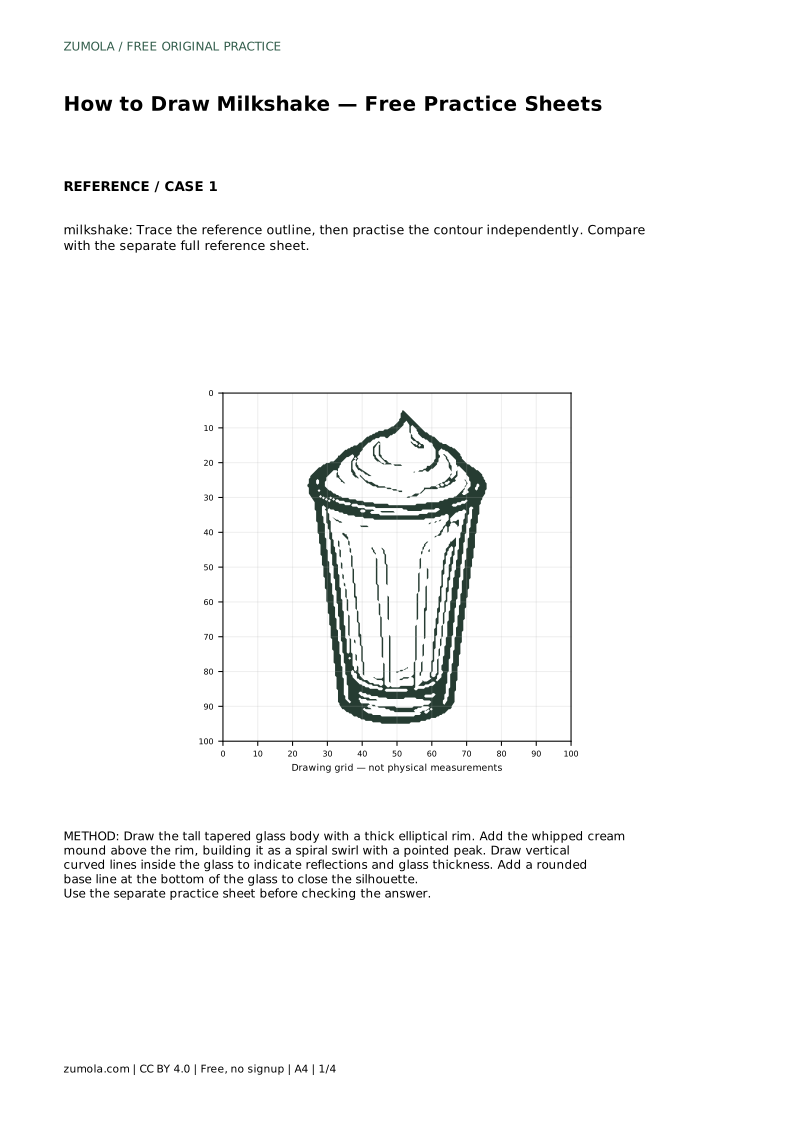
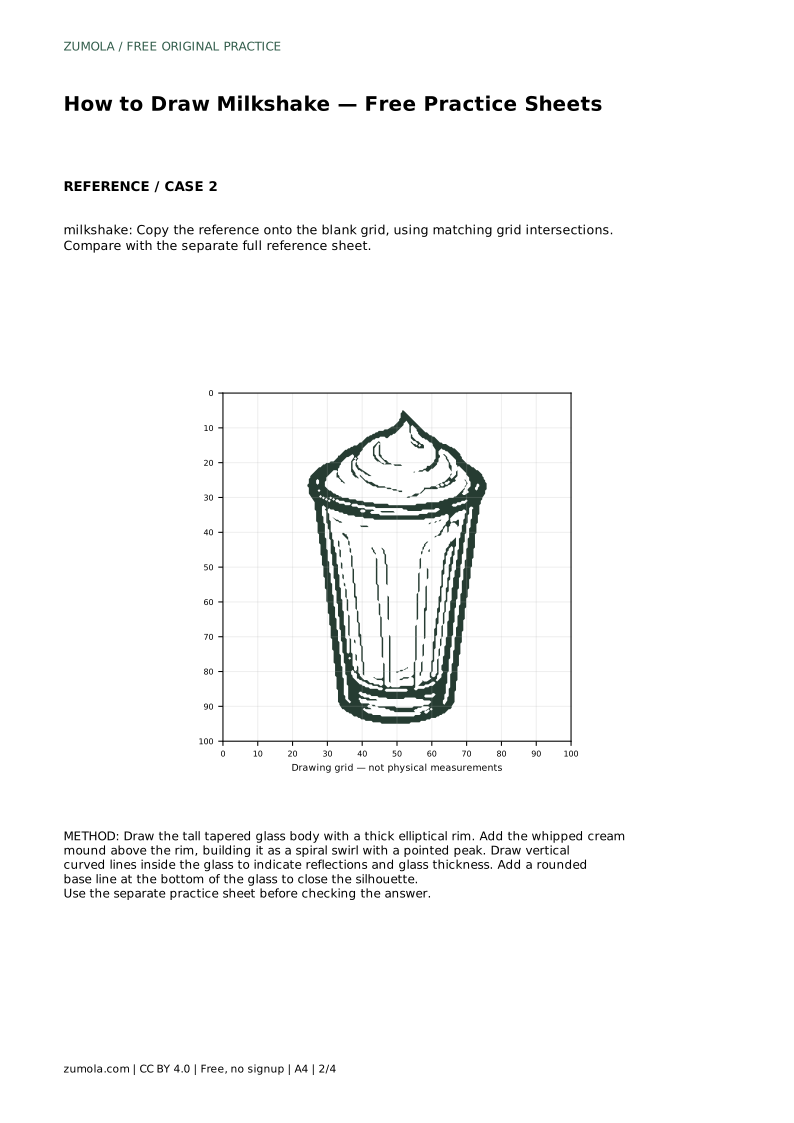
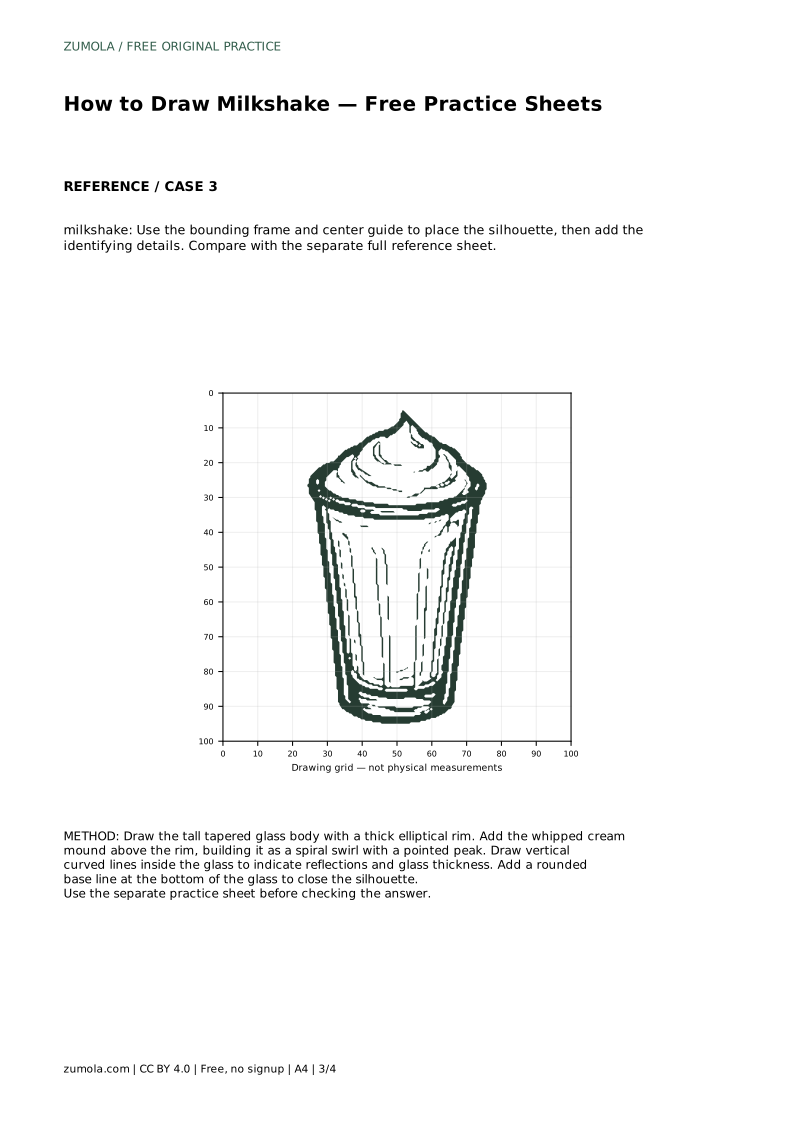
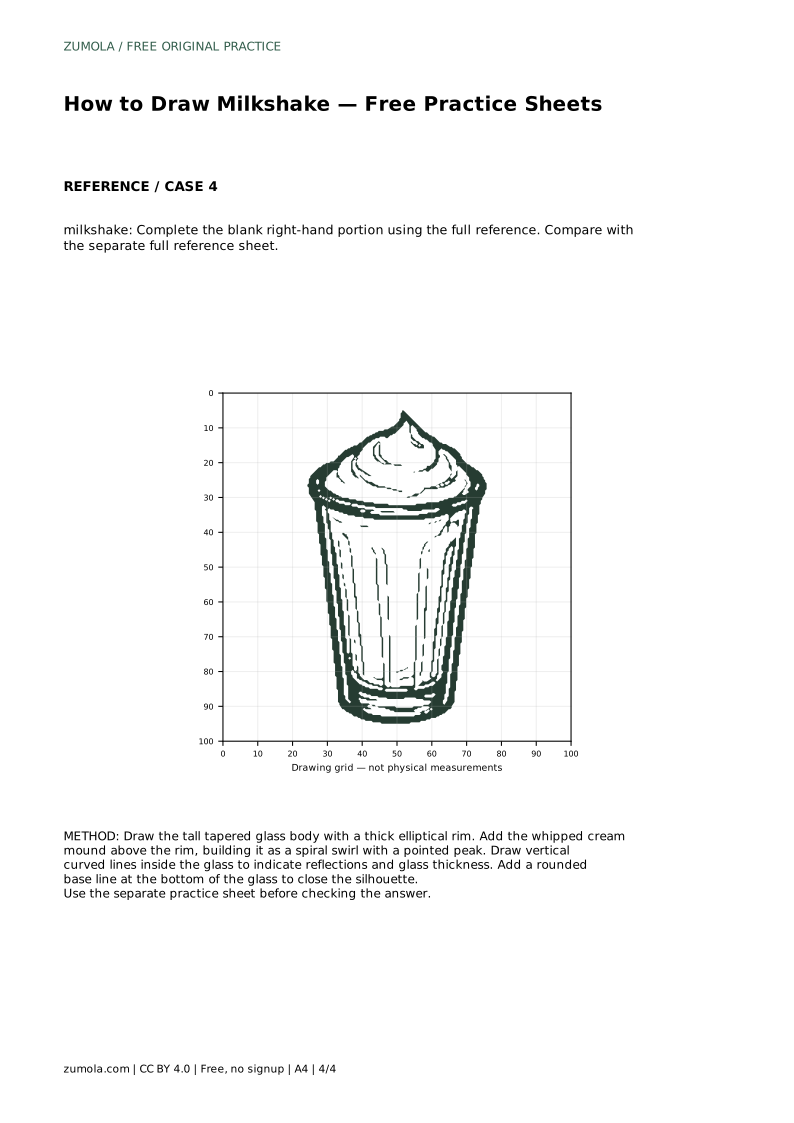
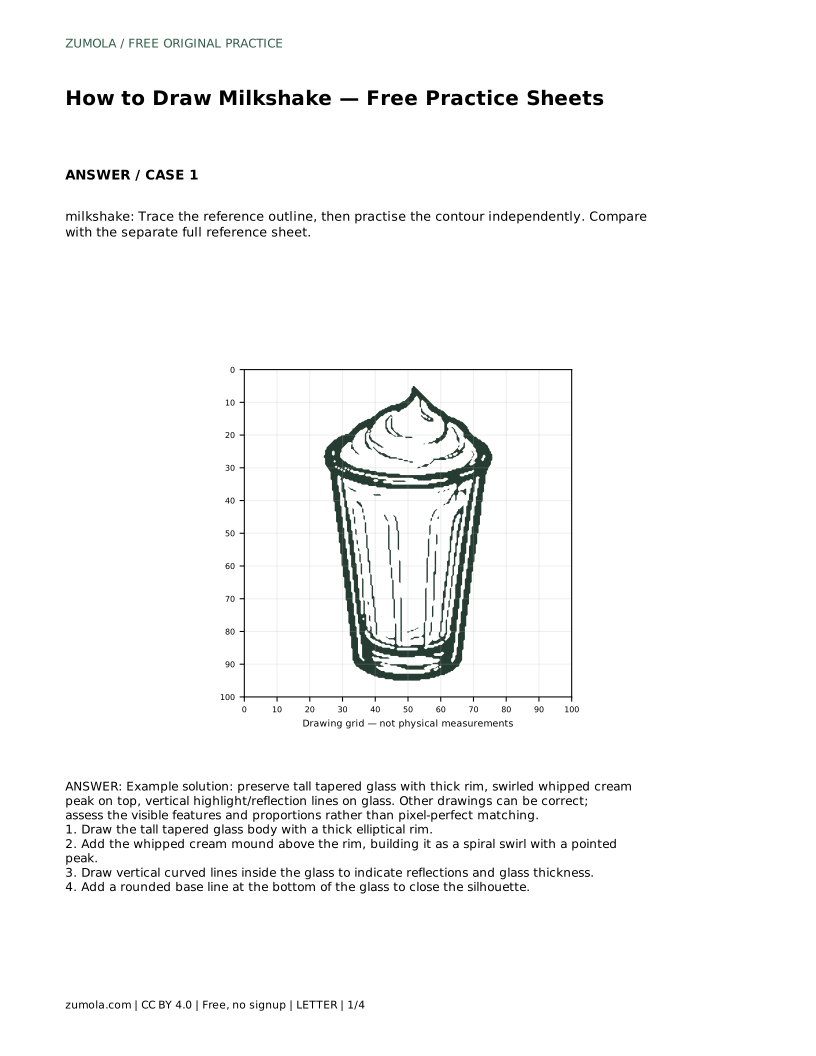
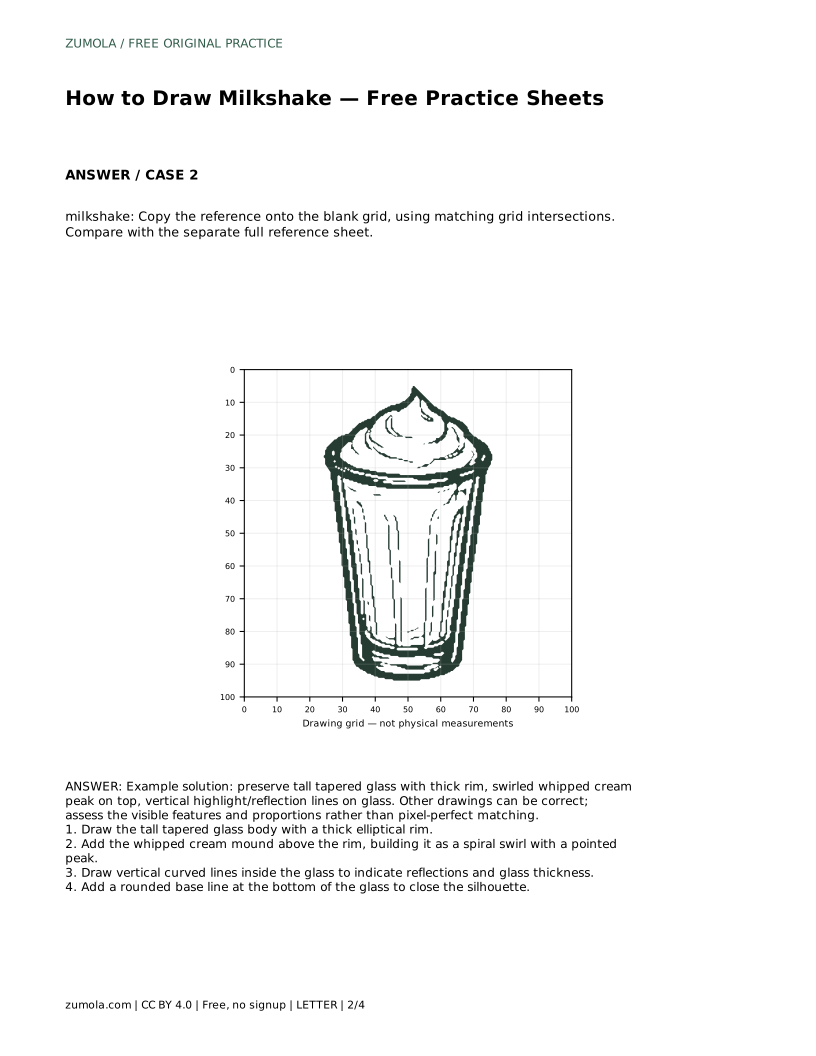
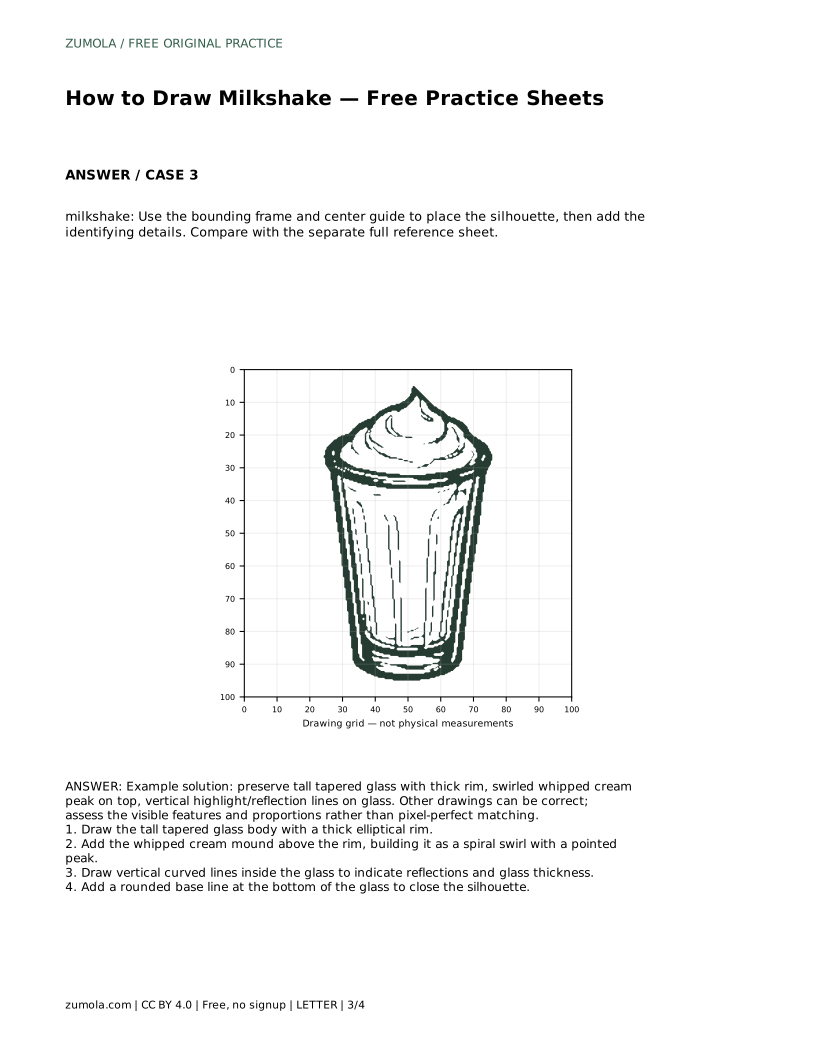
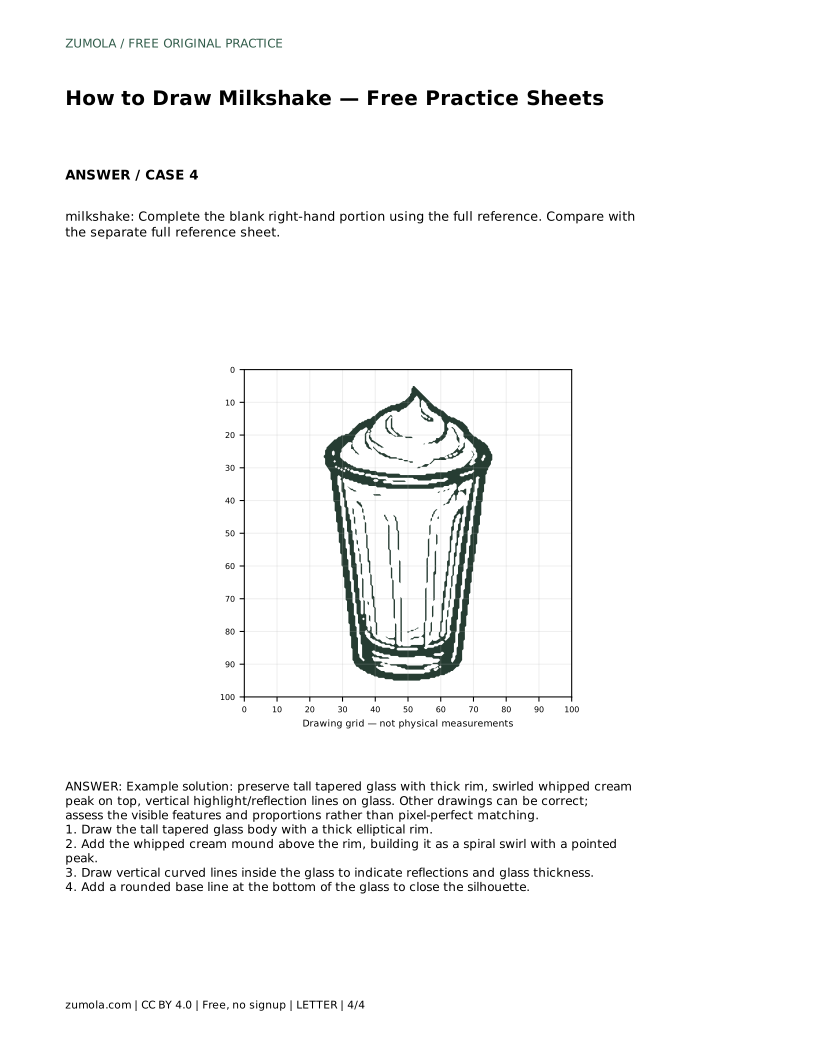
Reference diagrams
LETTER · Download PDF
A4 · Download PDF
Free original resources
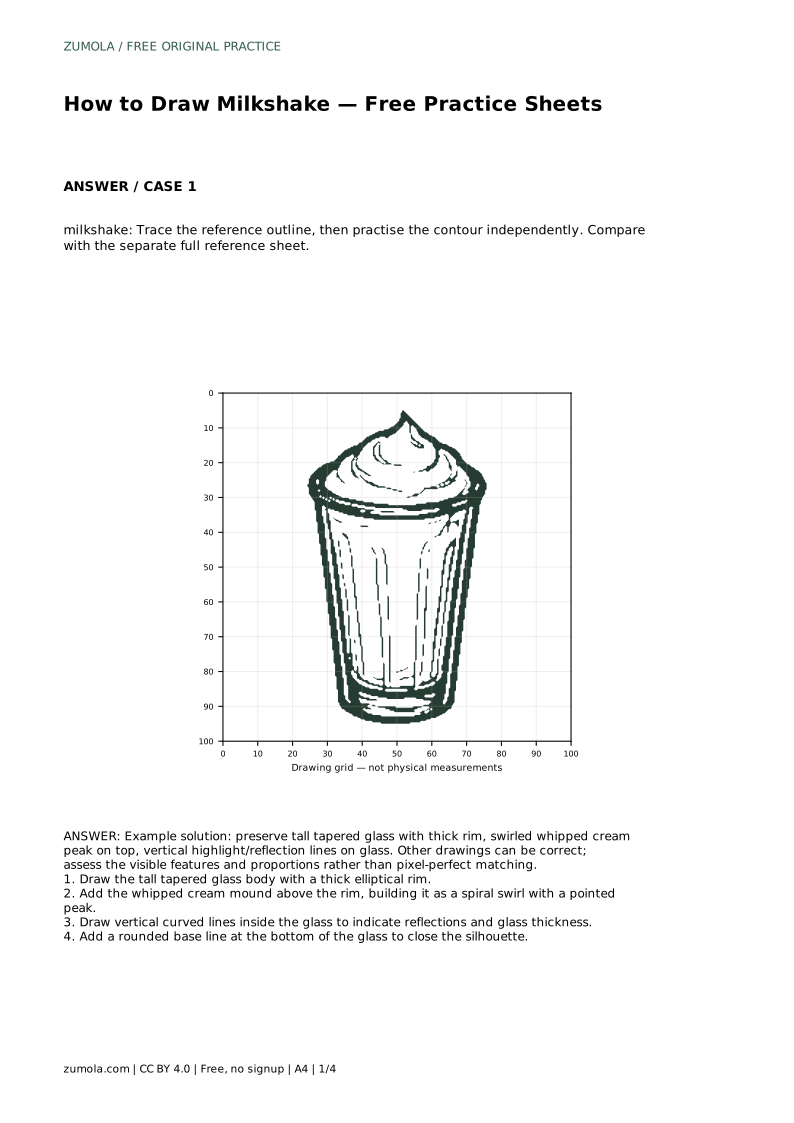
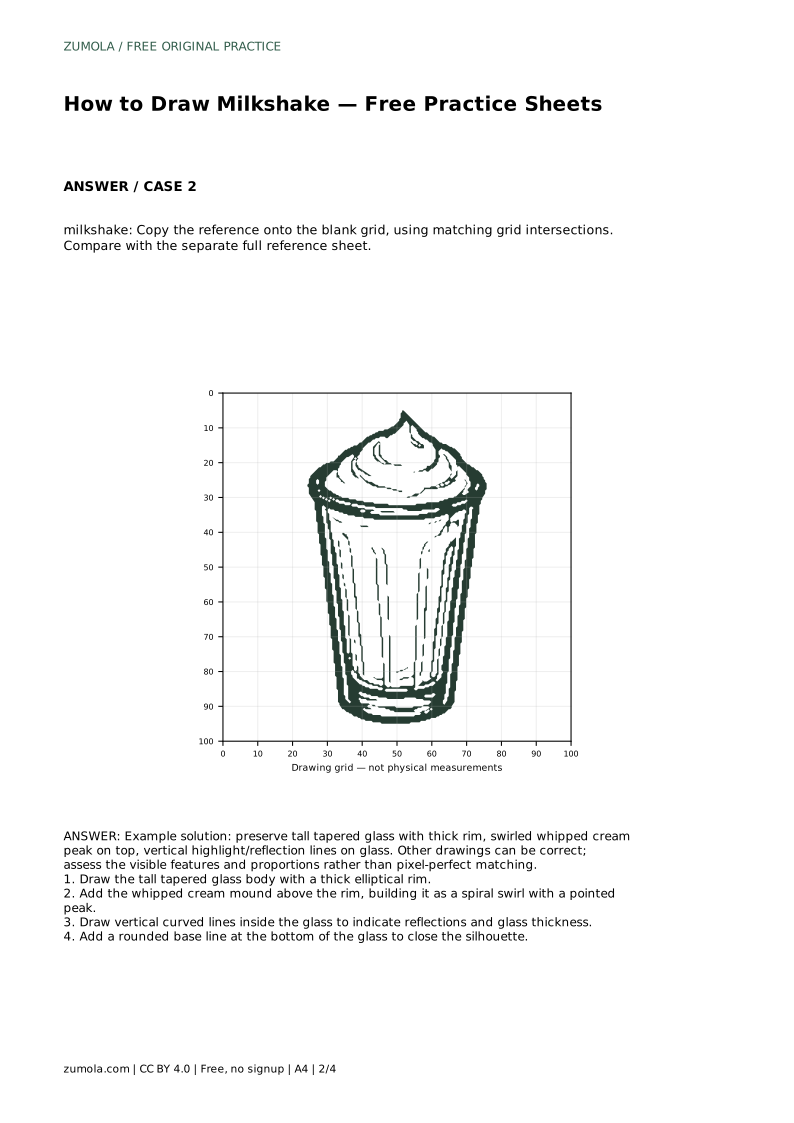
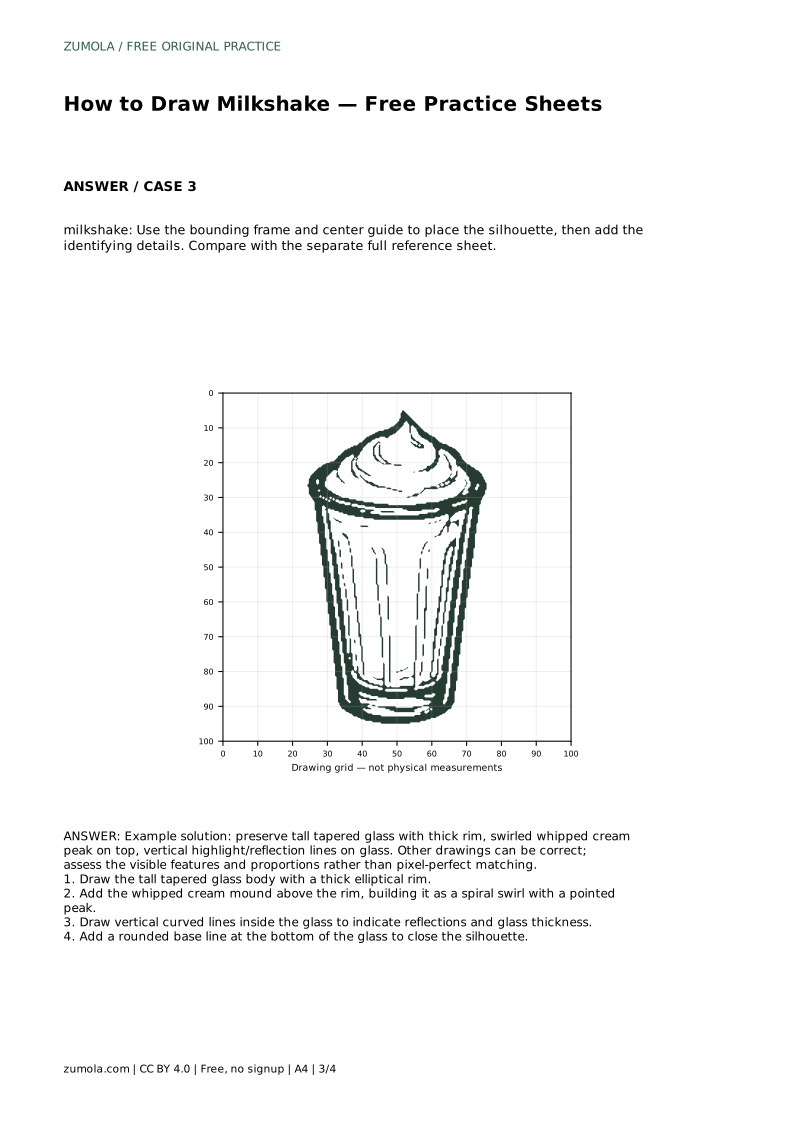
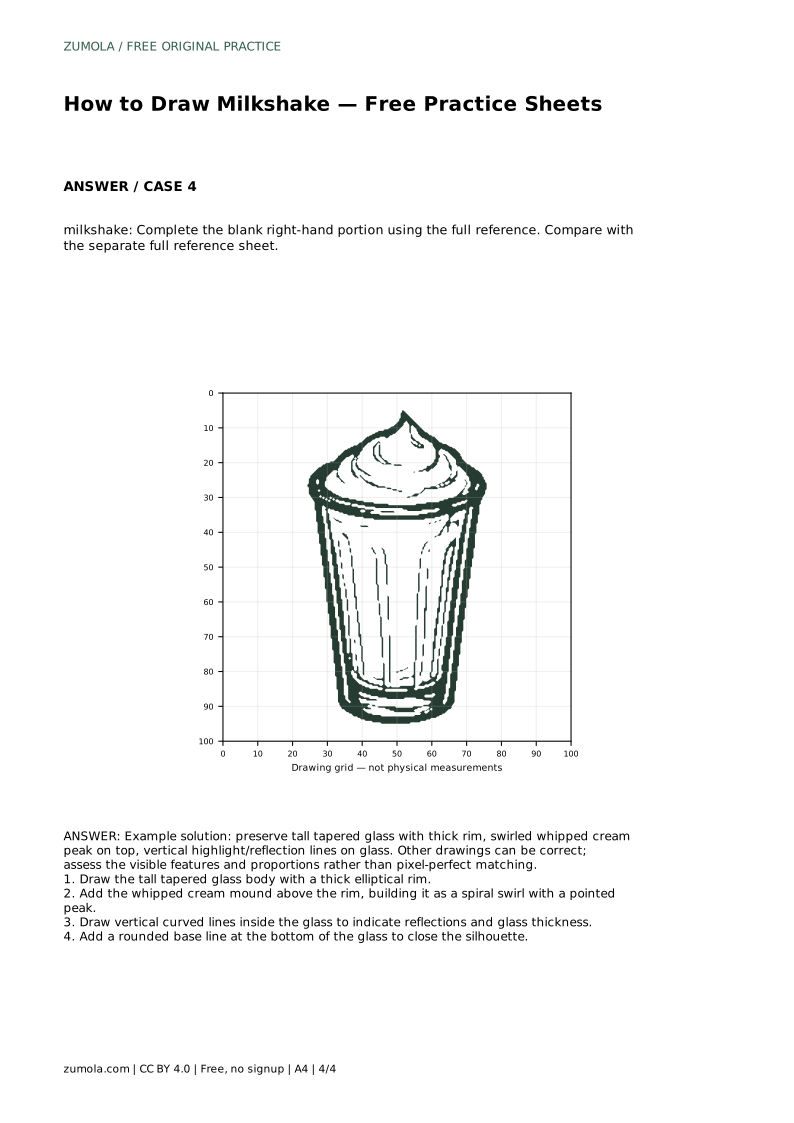
Learn to draw a milkshake with a tall tapered glass, thick rim, swirled whipped cream peak, and reflection lines. Free printable practice sheets support each step.
Four original cases, with reference diagrams, practice sheets and worked answers. Everything is free; no signup required.
LETTER · Download PDF
A4 · Download PDF
LETTER · Download PDF
A4 · Download PDF
LETTER · Download PDF
A4 · Download PDF
Use A4 or US Letter to match your printer. Use the stated values and conditions to solve each exercise; diagrams are not physical measuring rulers.
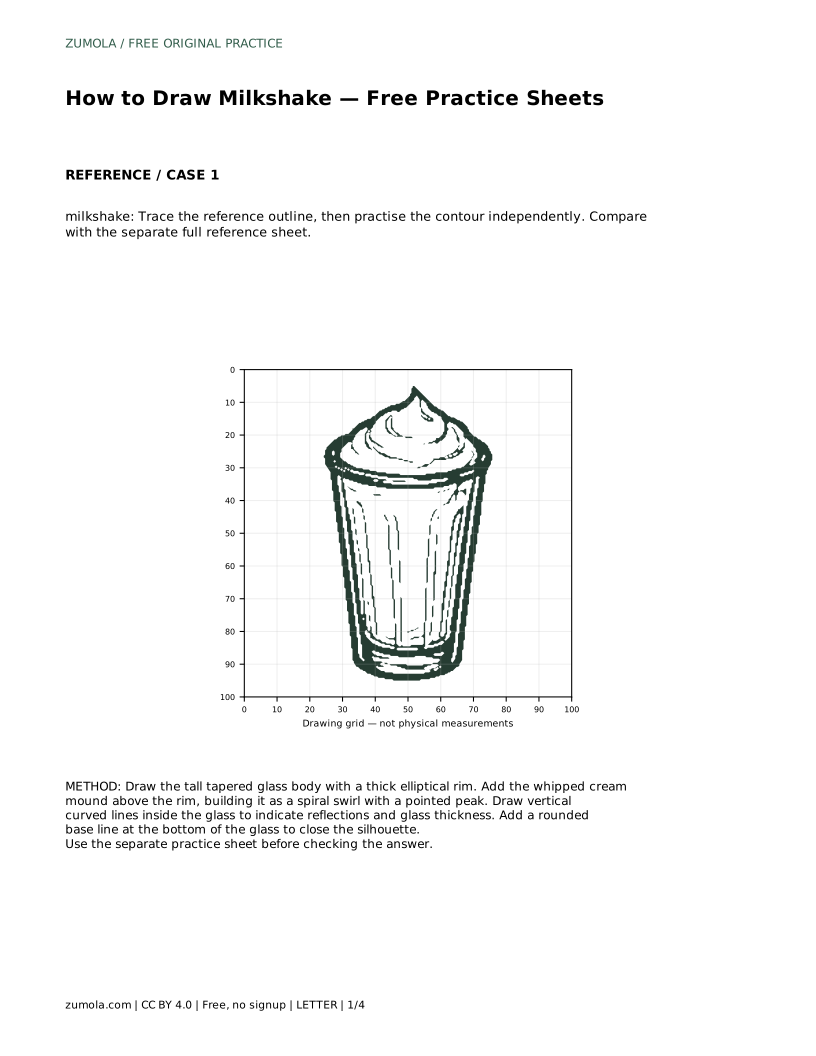
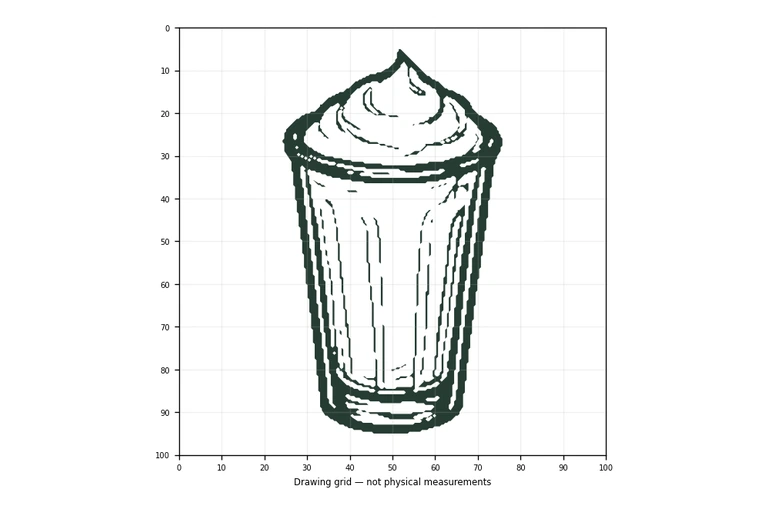
A milkshake drawing is mostly a study in two shapes: a tall glass that narrows toward the base, and a soft whipped cream mound that rises above the rim. This page explains how to build those shapes in order, then how to add the details that make the drawing read clearly as a milkshake rather than a generic cup. The practice sheets let you trace, copy onto a grid, place the silhouette with a center guide, or complete a partially drawn version.
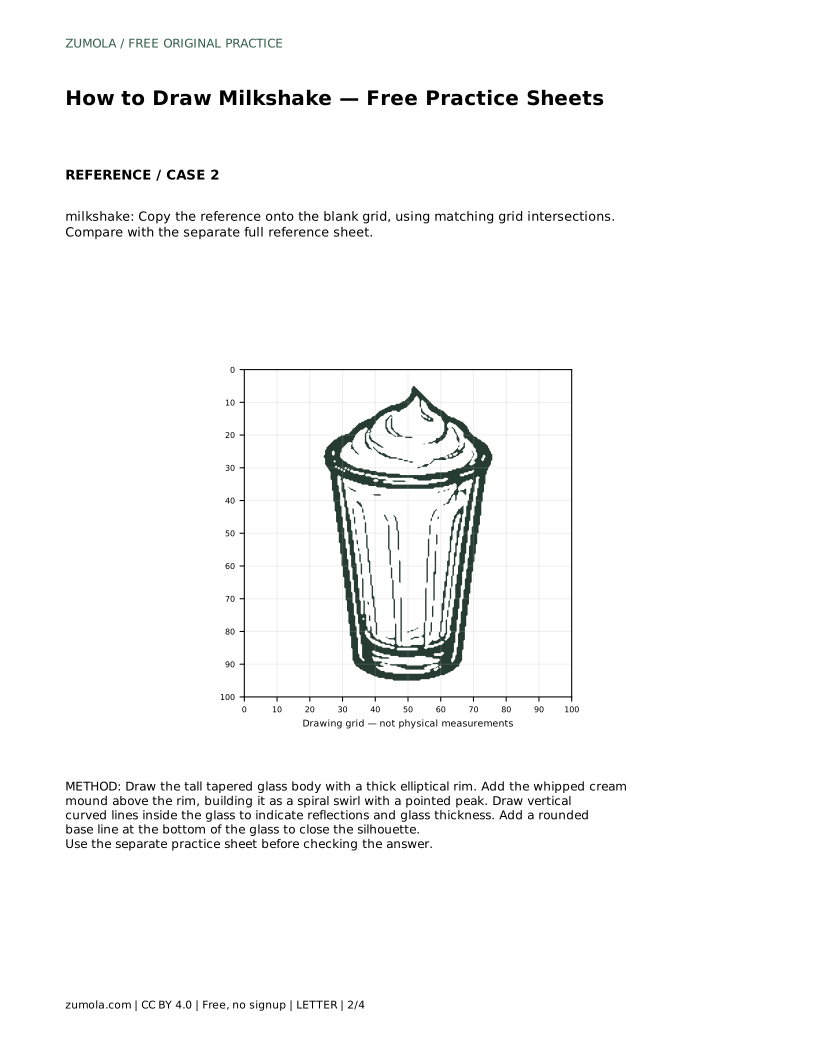
The glass sets the proportions for everything above it. Draw the body as a tall shape that is wider at the top and tapers gently toward the base. Keep the two side edges roughly symmetrical so the glass does not lean. The rim is a thick ellipse, not a flat line: a milkshake glass has visible thickness, so draw an outer ellipse and a slightly smaller inner ellipse inside it. The gap between them is the rim.
Close the silhouette at the bottom with a rounded base line. A small curve is enough; the base should feel stable and sit level with the rim's ellipse. If the base looks pointed or too narrow, widen it slightly before adding anything on top.
Treat the whipped cream as a stack of curved layers rather than a single blob. Begin at the rim and draw a soft curve that rises and turns, then add another curve above it that turns in the same direction. Each layer should be slightly smaller than the one below, ending in a pointed peak. The spiral direction matters less than consistency: if the lower curve turns left, keep the upper curves turning left too.
Let the cream overlap the rim slightly so it looks like it sits inside the glass. Avoid making the mound perfectly round; a few gentle bumps along the outer edge suggest softness without turning the shape into a cloud.
Vertical curved lines inside the glass suggest reflections and glass thickness. Place one or two lines near the left or right edge, following the taper of the glass rather than running perfectly straight. Keep them short and light so they read as highlights, not as cracks. A second line close to the first can suggest the far wall of the glass.
Before finishing, compare the drawing to the reference sheet. Check four things: the glass tapers, the rim is thick, the cream spirals to a peak, and the reflection lines follow the glass edge. Adjust proportions rather than erasing everything; small shifts in width or height usually fix the overall read.
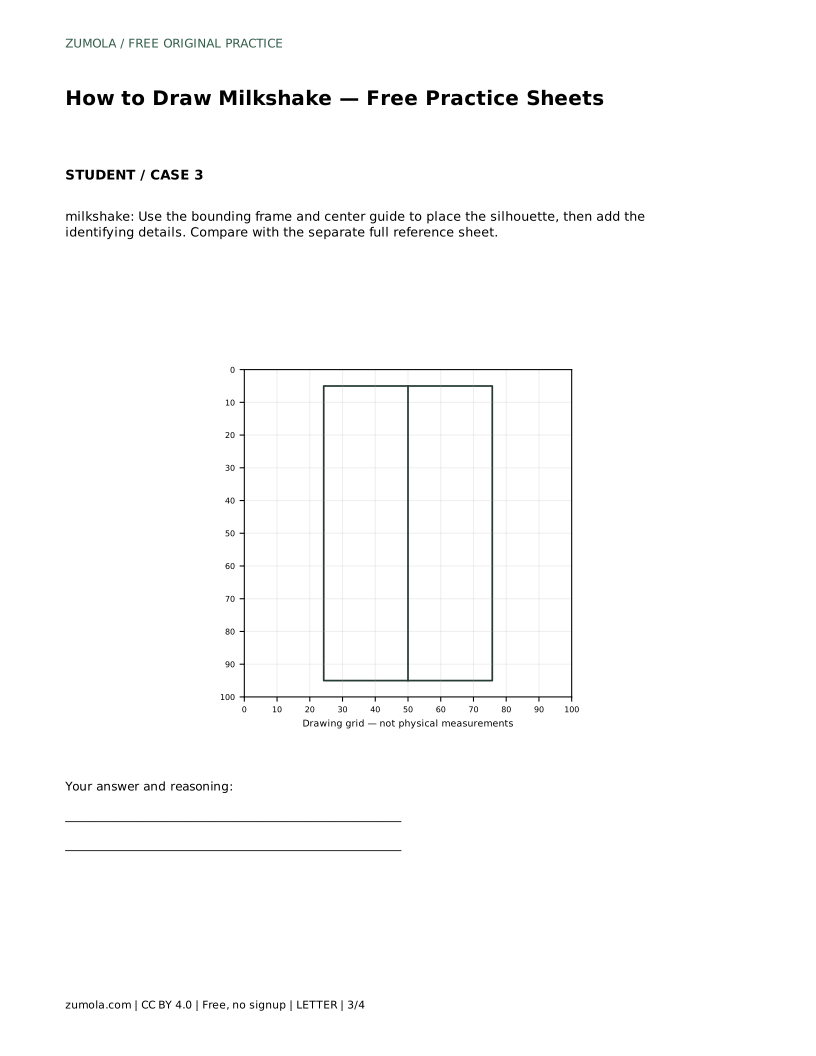
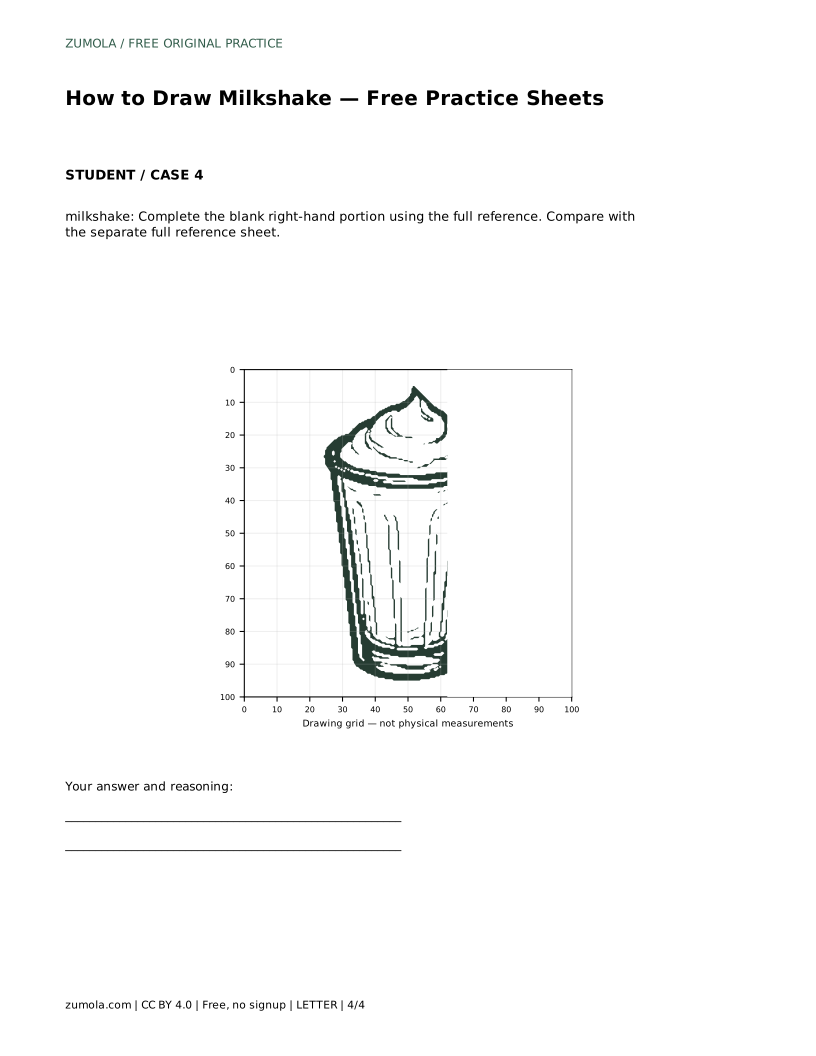
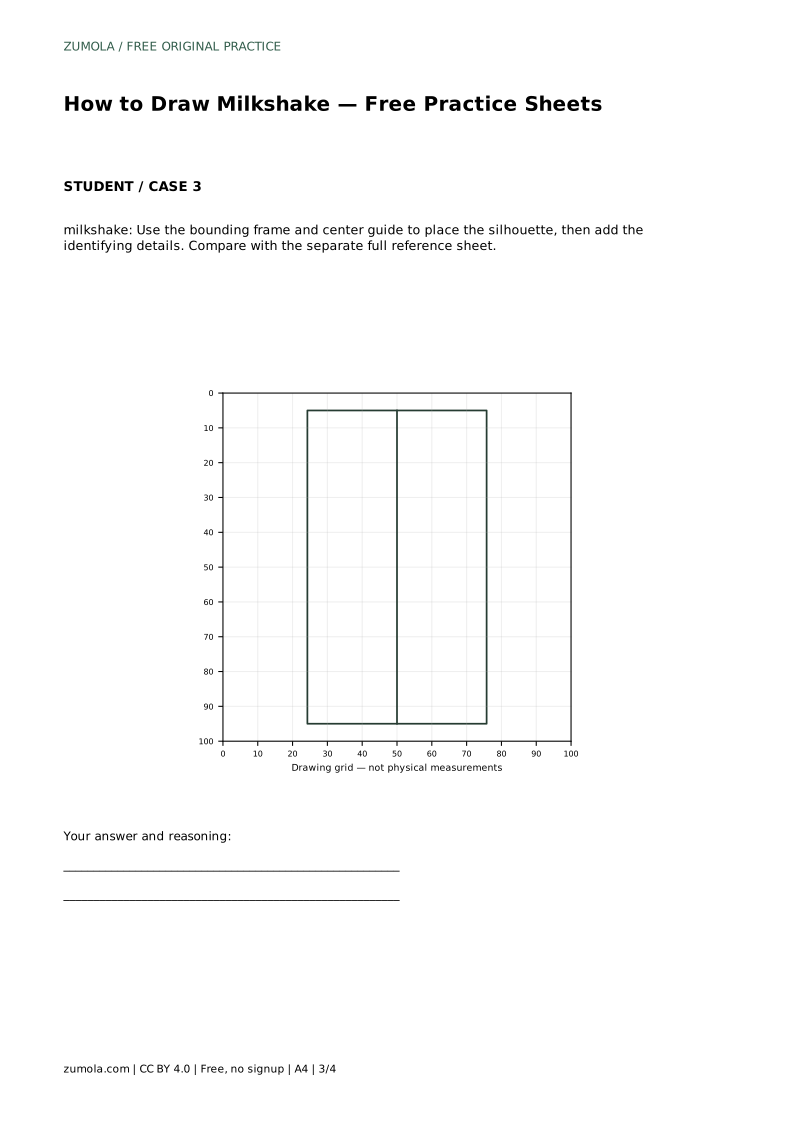
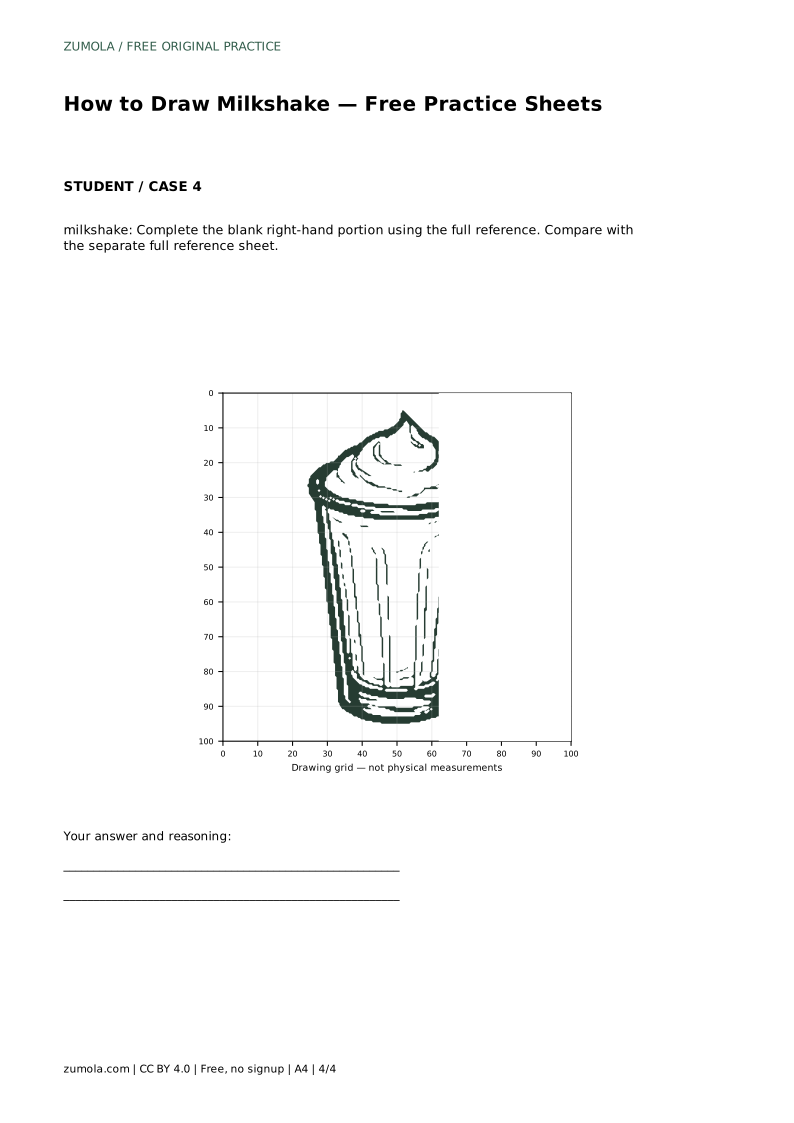
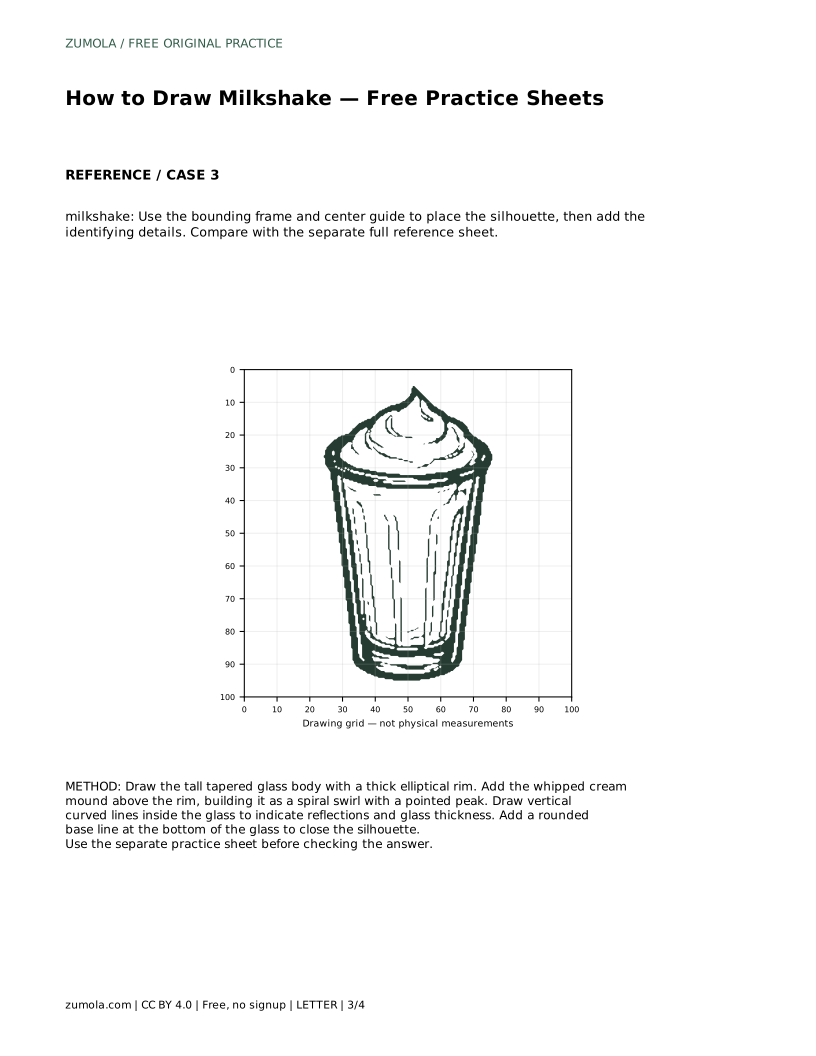
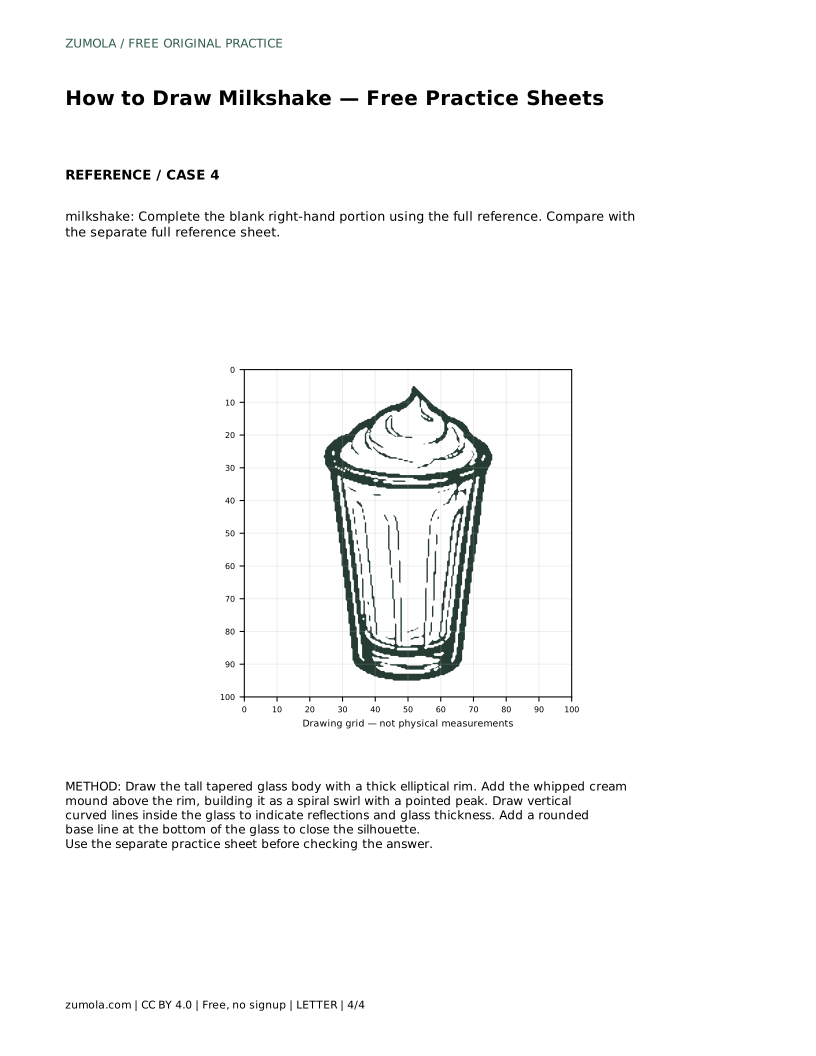
Each format targets a different part of the skill. Tracing builds the contour in your hand. Copying onto a blank grid trains you to judge position and size by matching intersections. The bounding frame and center guide help you place the silhouette before adding details. The partial drawing asks you to complete the missing portion using the full reference.
Use the separate full reference sheet for comparison after each attempt. Because drawings can be correct in different ways, judge the visible features and proportions rather than pixel-perfect matching.
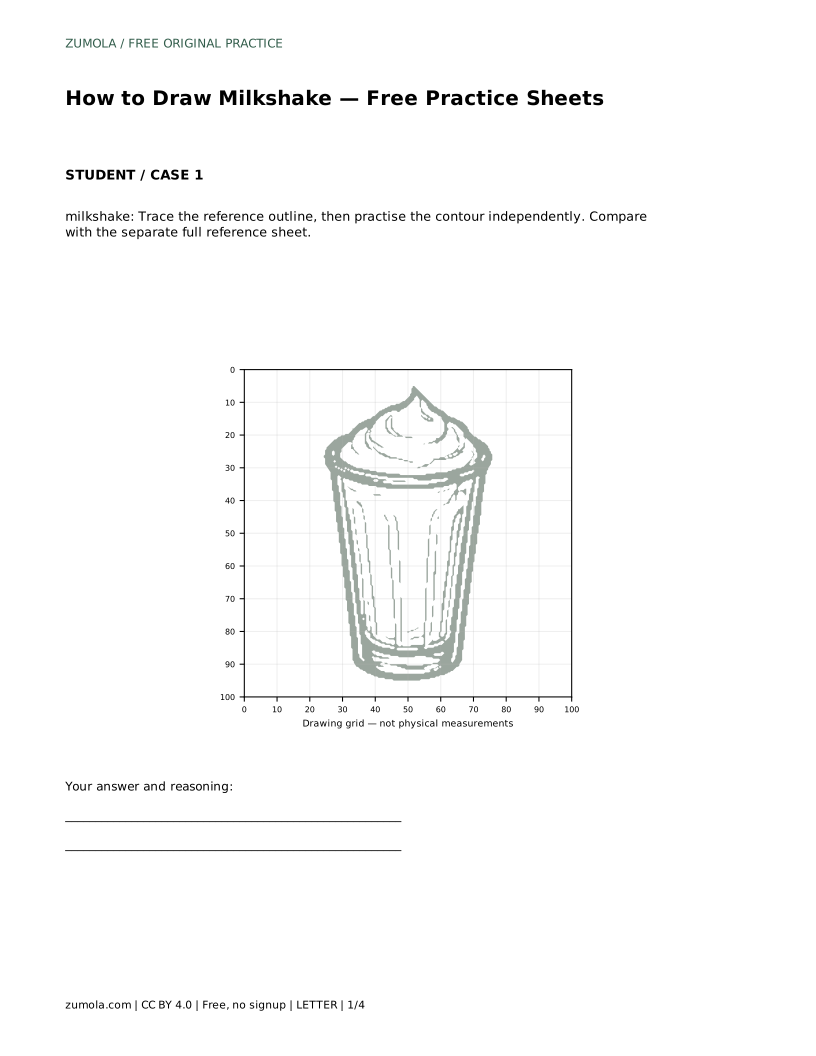
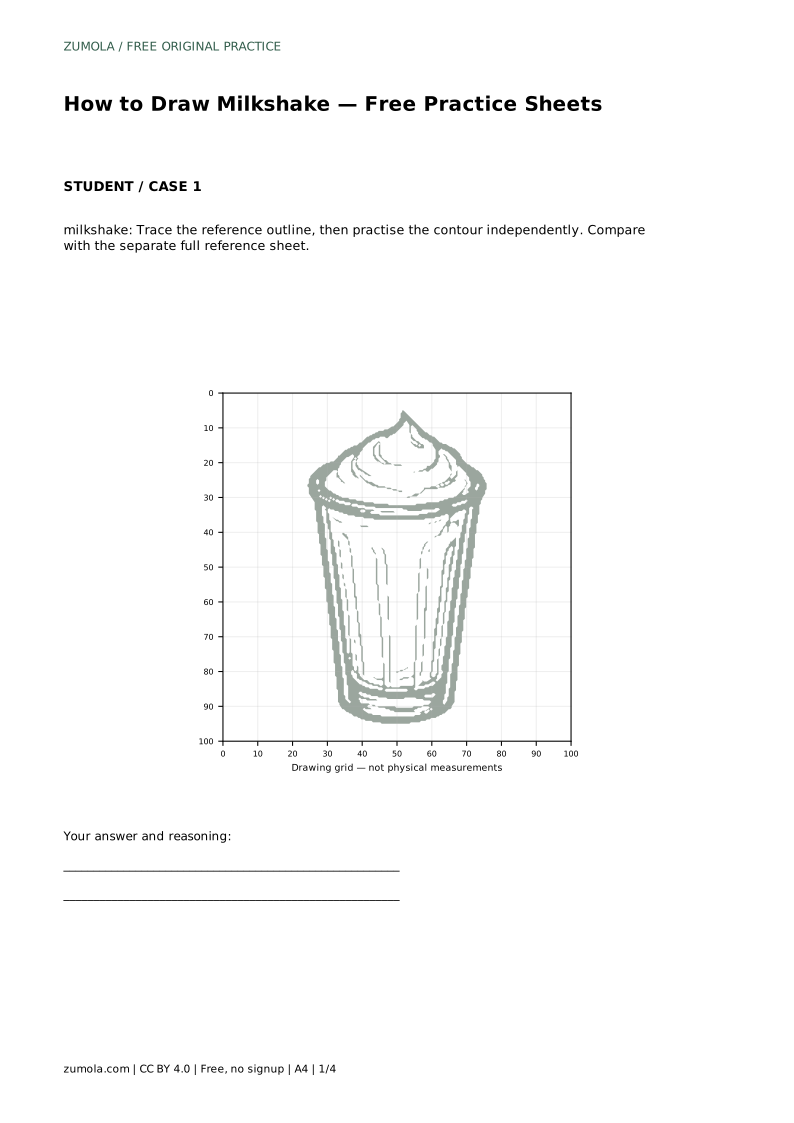
milkshake: Trace the reference outline, then practise the contour independently. Compare with the separate full reference sheet.
Example solution: preserve tall tapered glass with thick rim, swirled whipped cream peak on top, vertical highlight/reflection lines on glass. Other drawings can be correct; assess the visible features and proportions rather than pixel-perfect matching. Draw the tall tapered glass body with a thick elliptical rim. Add the whipped cream mound above the rim, building it as a spiral swirl with a pointed peak. Draw vertical curved lines inside the glass to indicate reflections and glass thickness. Add a rounded base line at the bottom of the glass to close the silhouette.
No. Choose either direction and keep the curves consistent so the layers look connected.
One or two is enough. More lines can make the glass look cracked rather than reflective.
That can still be correct. Check the tapered glass, thick rim, spiral cream peak, and reflection lines instead of matching every pixel.
All drawing practice · Free coordinate paper
Original resources · CC BY 4.0 · Free for personal and classroom use with attribution.