Reference diagrams
LETTER · Download PDF
A4 · Download PDF
Free original resources
Learn to draw a chicken drumstick by tracing, gridding, and completing a reference. Build the meat, bone, and contour step by step with free practice sheets.
Four original cases, with reference diagrams, practice sheets and worked answers. Everything is free; no signup required.
LETTER · Download PDF
A4 · Download PDF
LETTER · Download PDF
A4 · Download PDF
LETTER · Download PDF
A4 · Download PDF
Use A4 or US Letter to match your printer. Use the stated values and conditions to solve each exercise; diagrams are not physical measuring rulers.
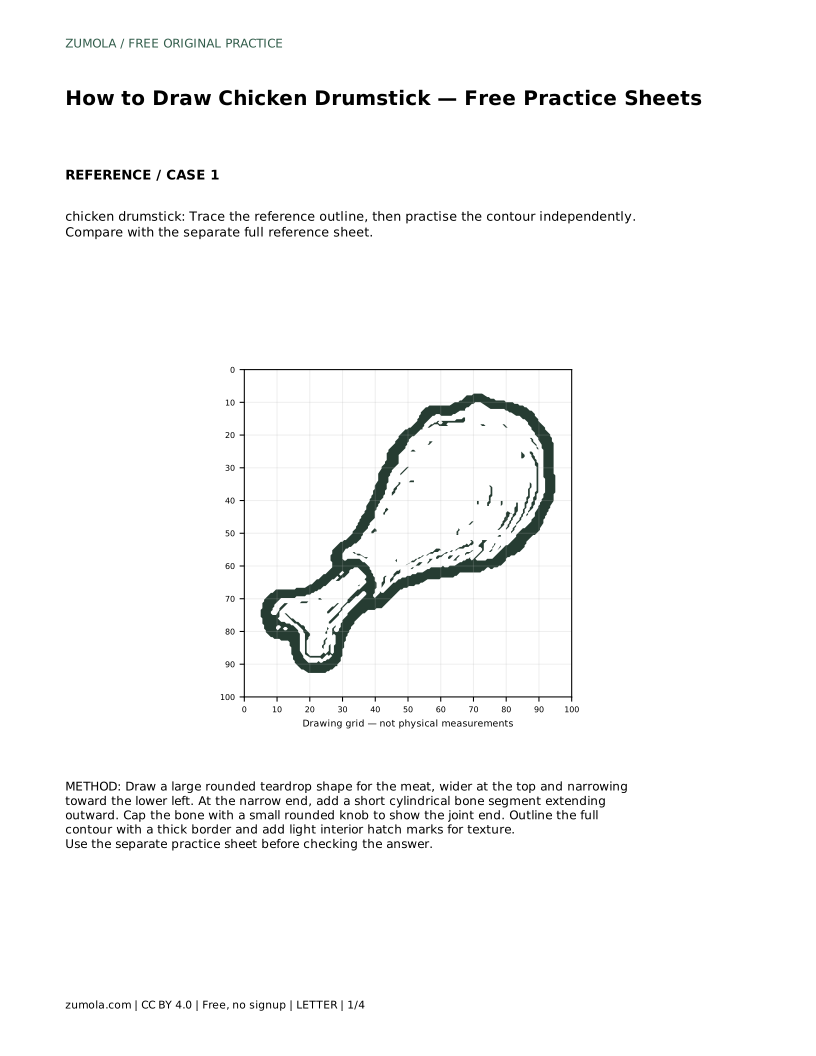
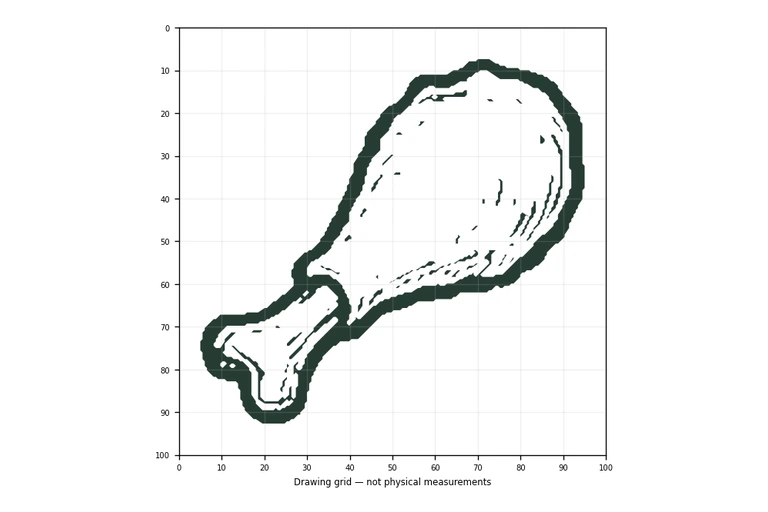
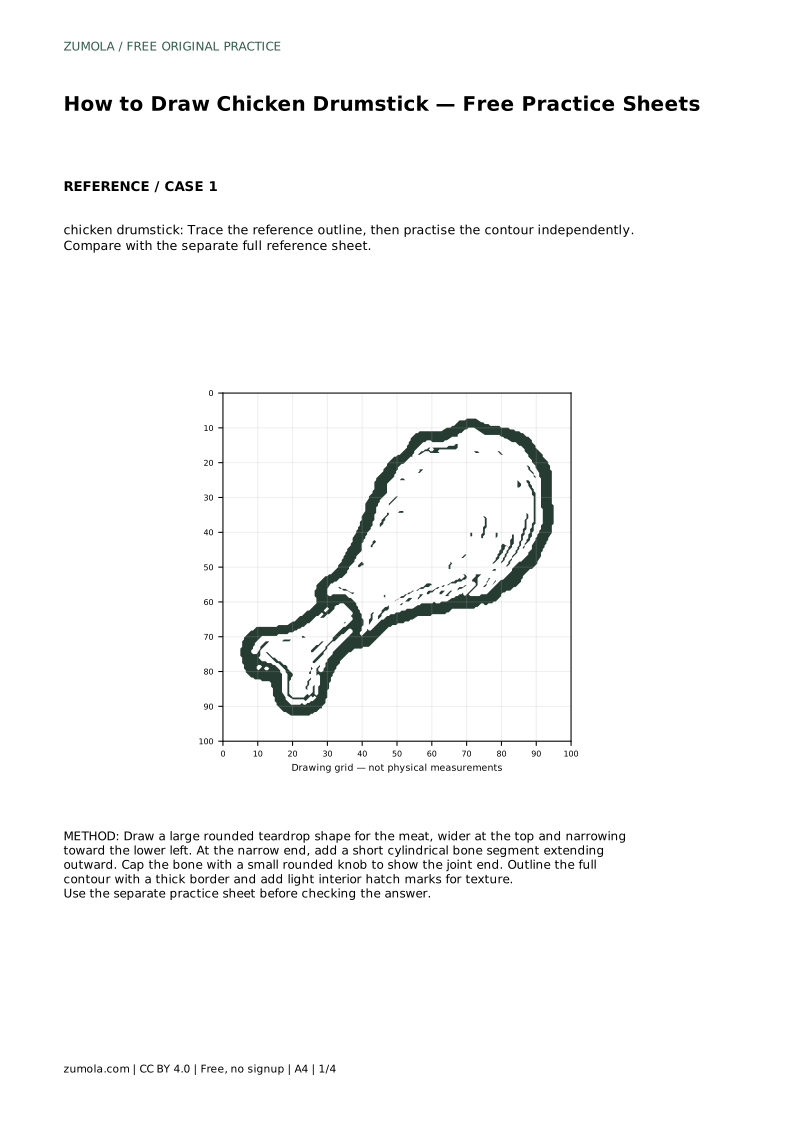
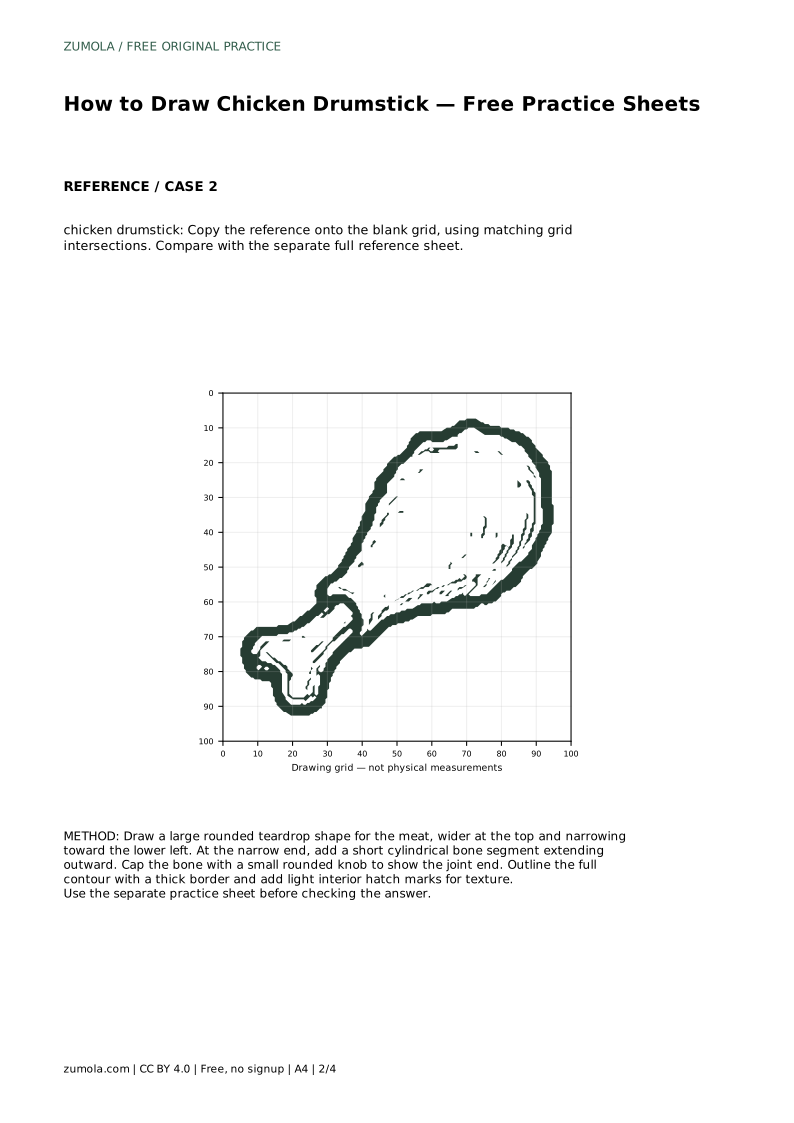
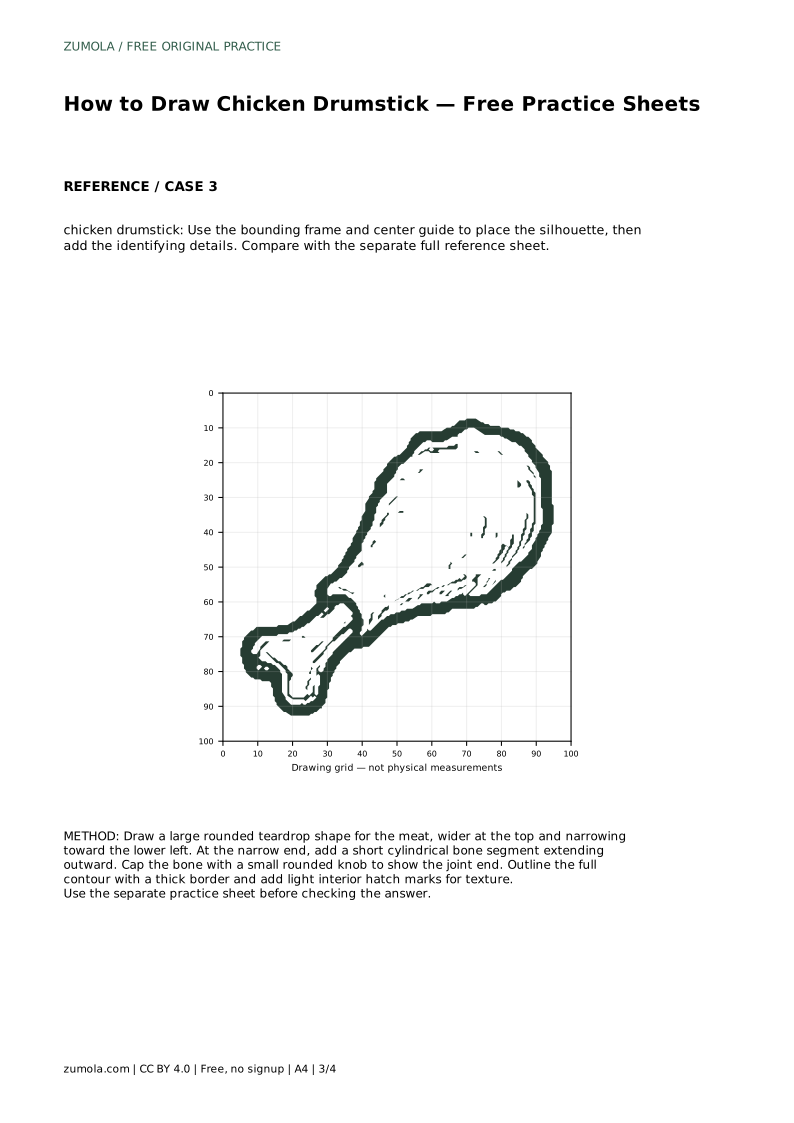
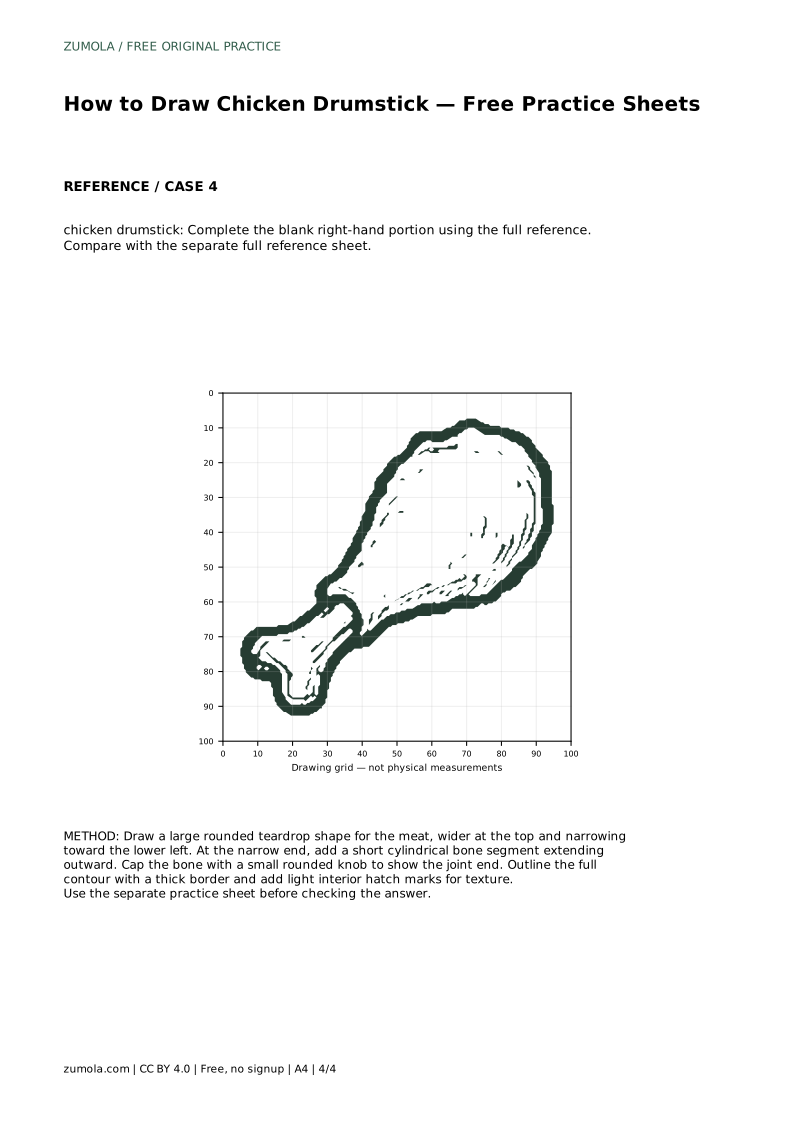
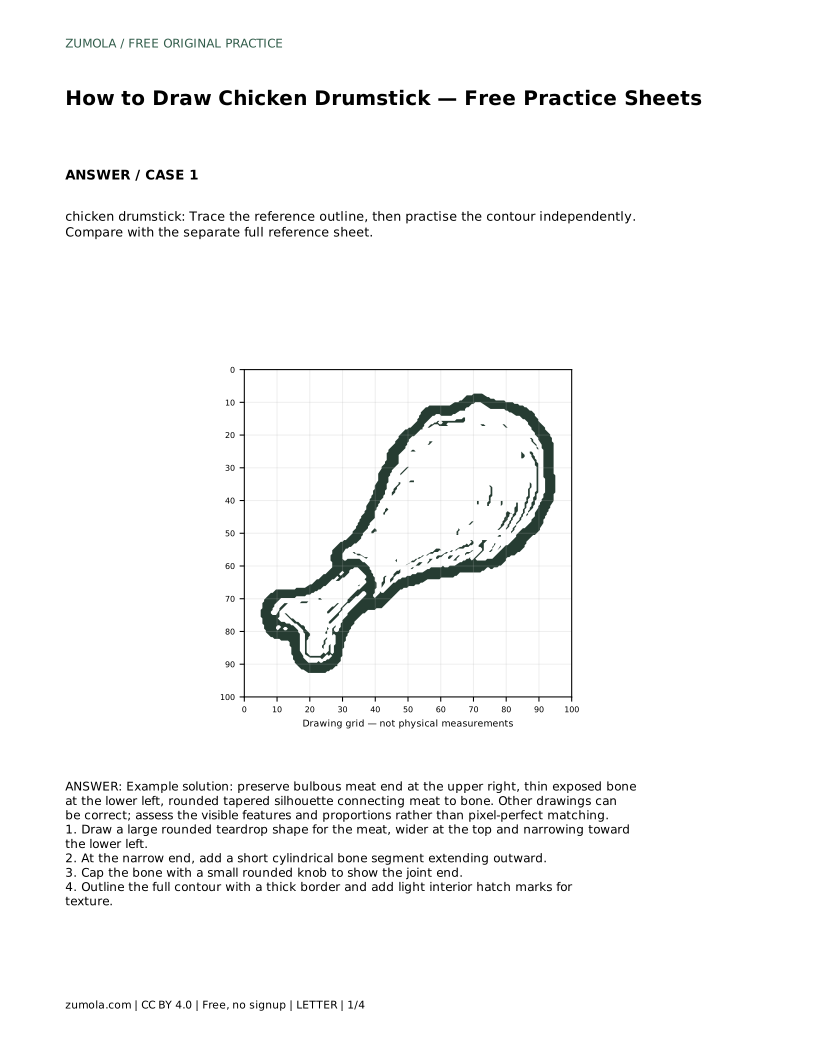
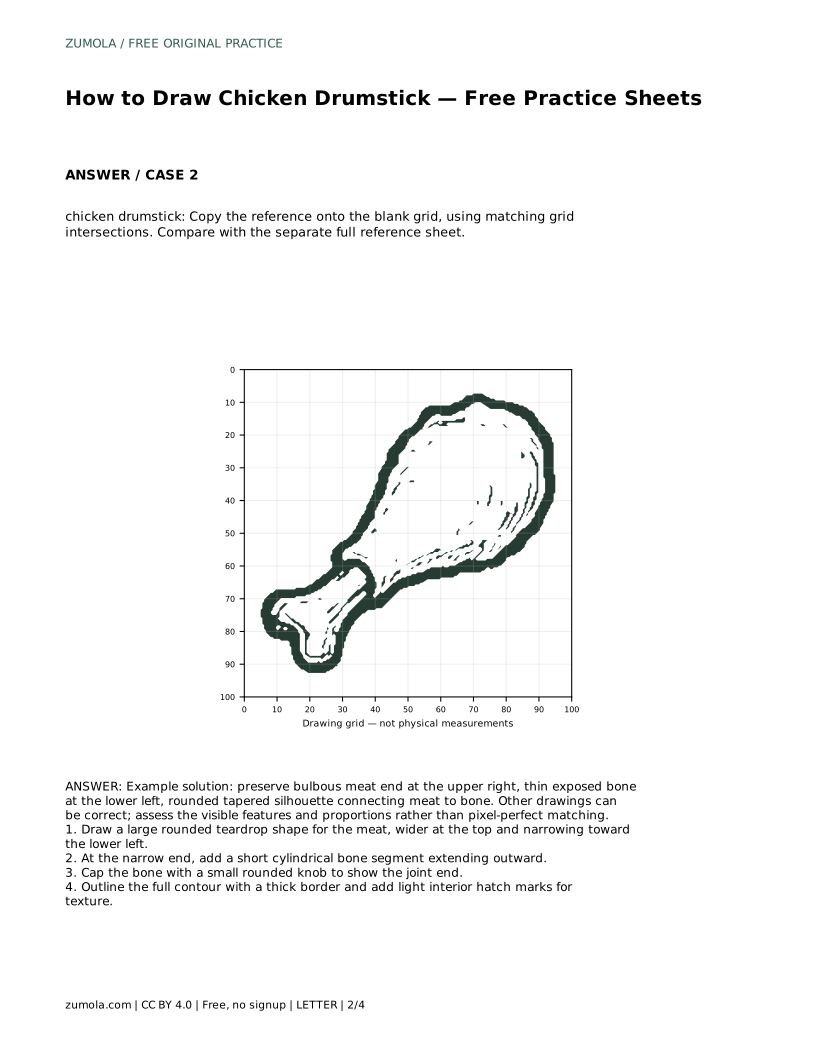
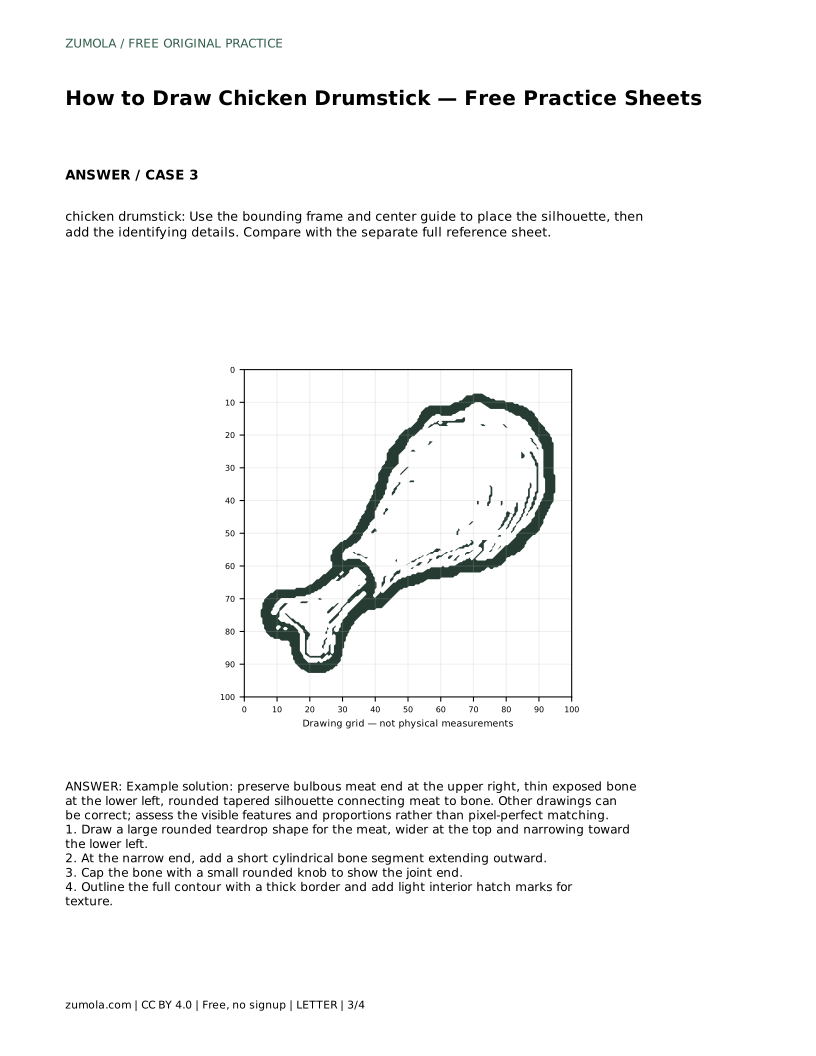
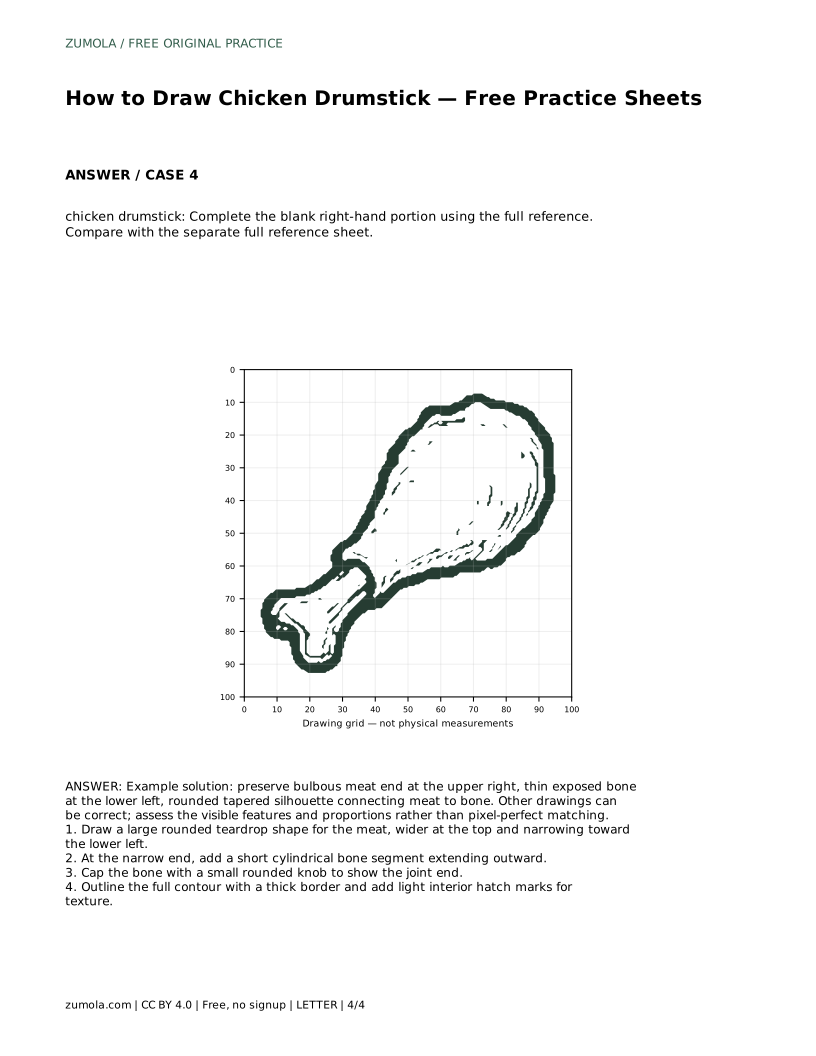
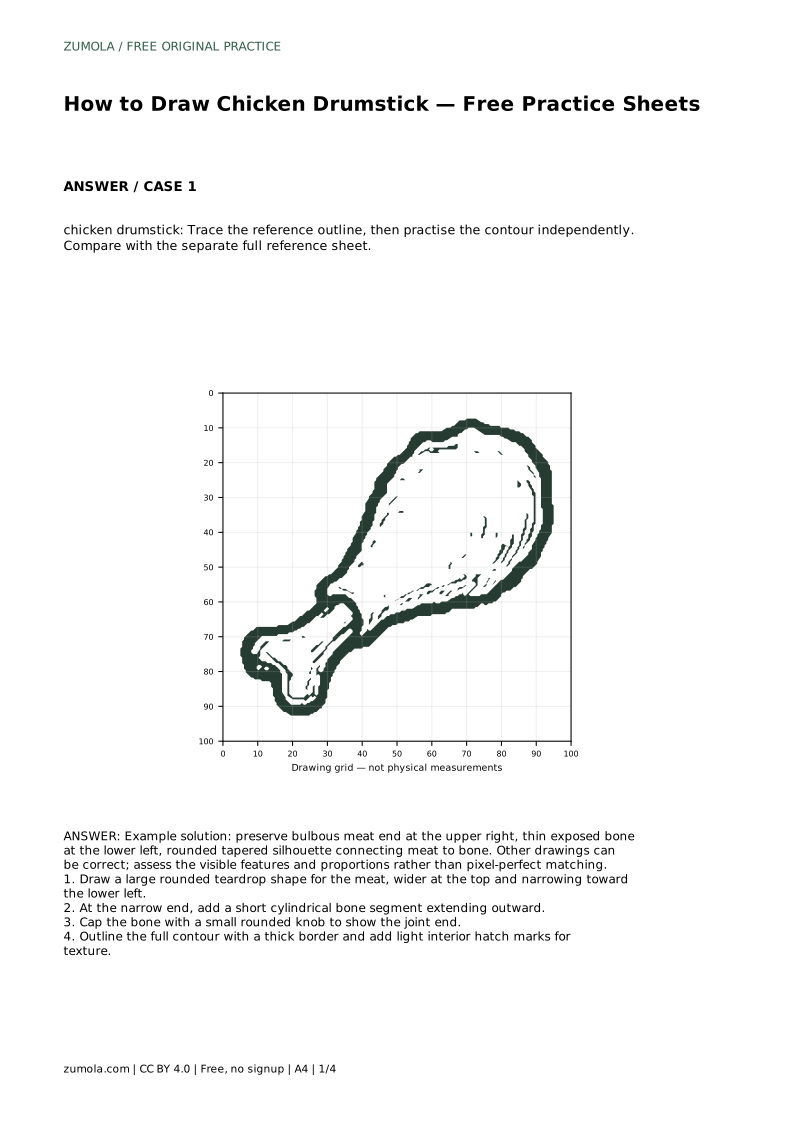
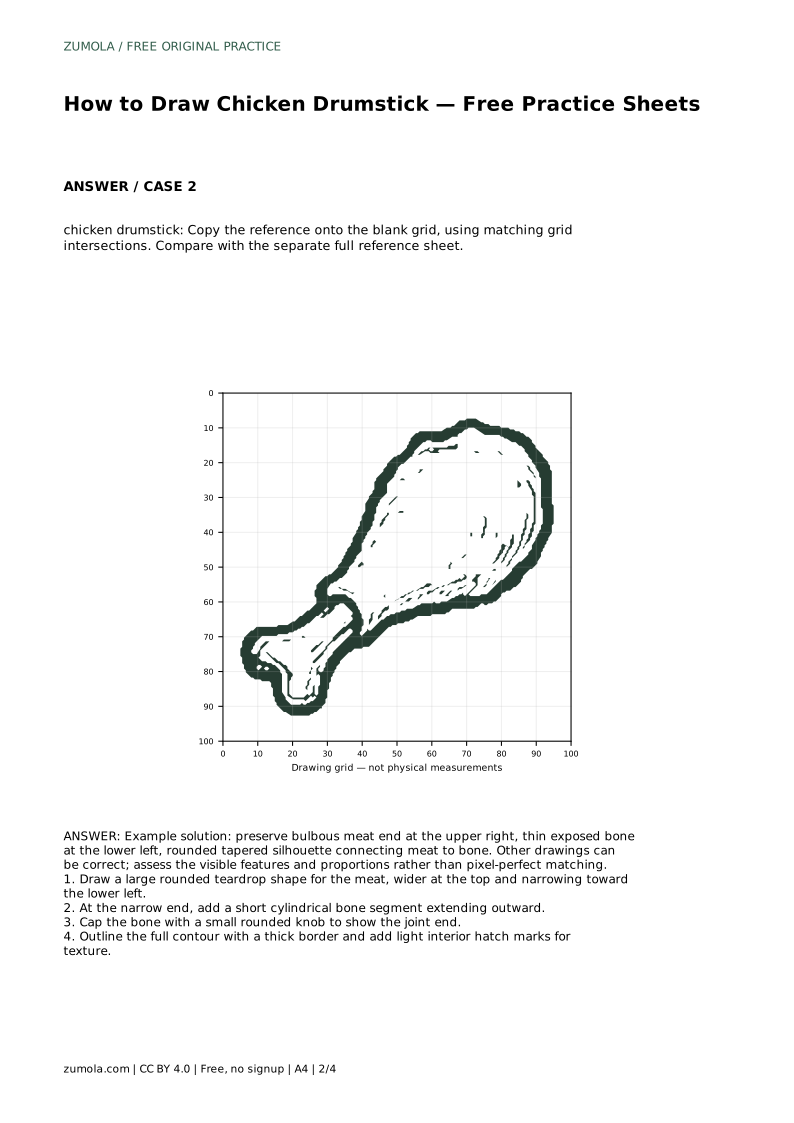
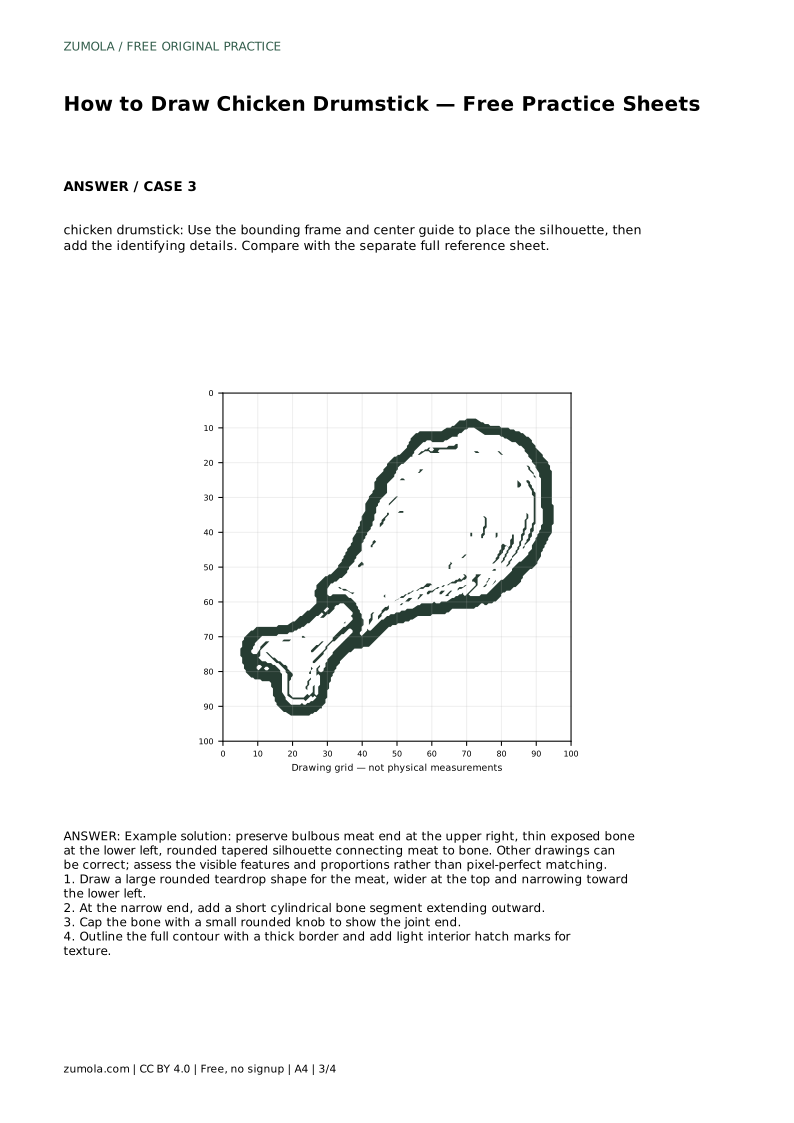
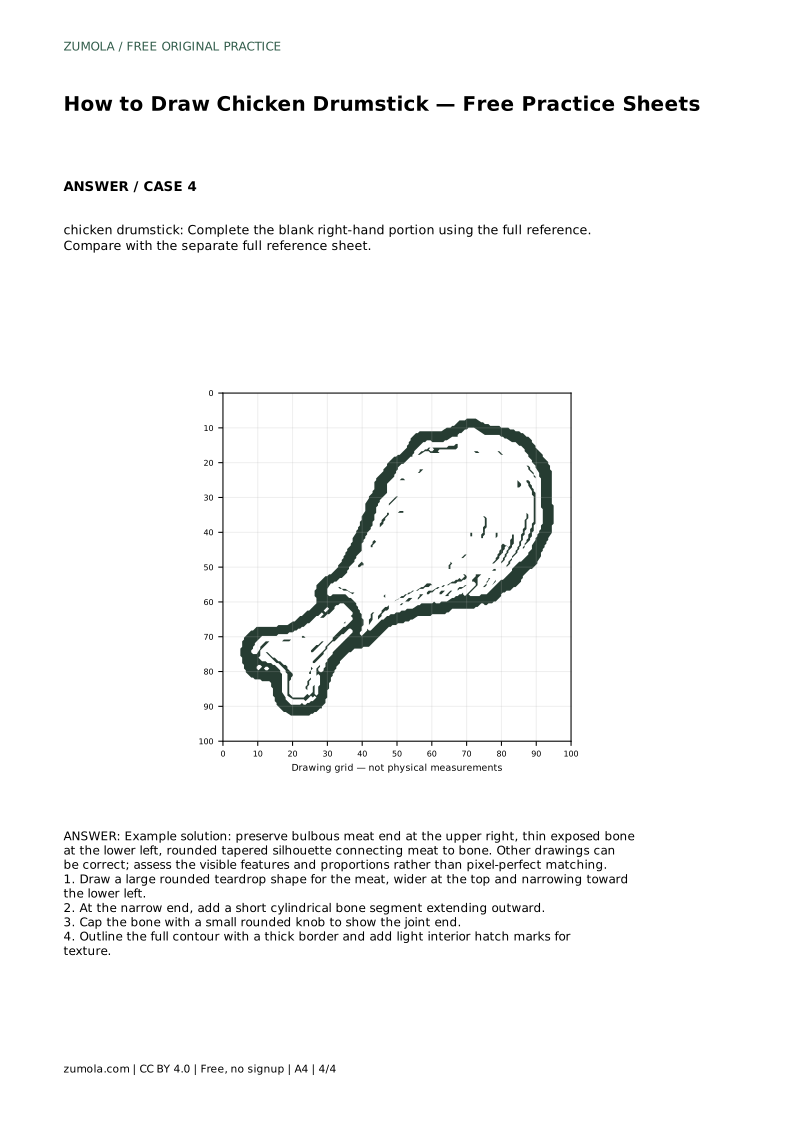
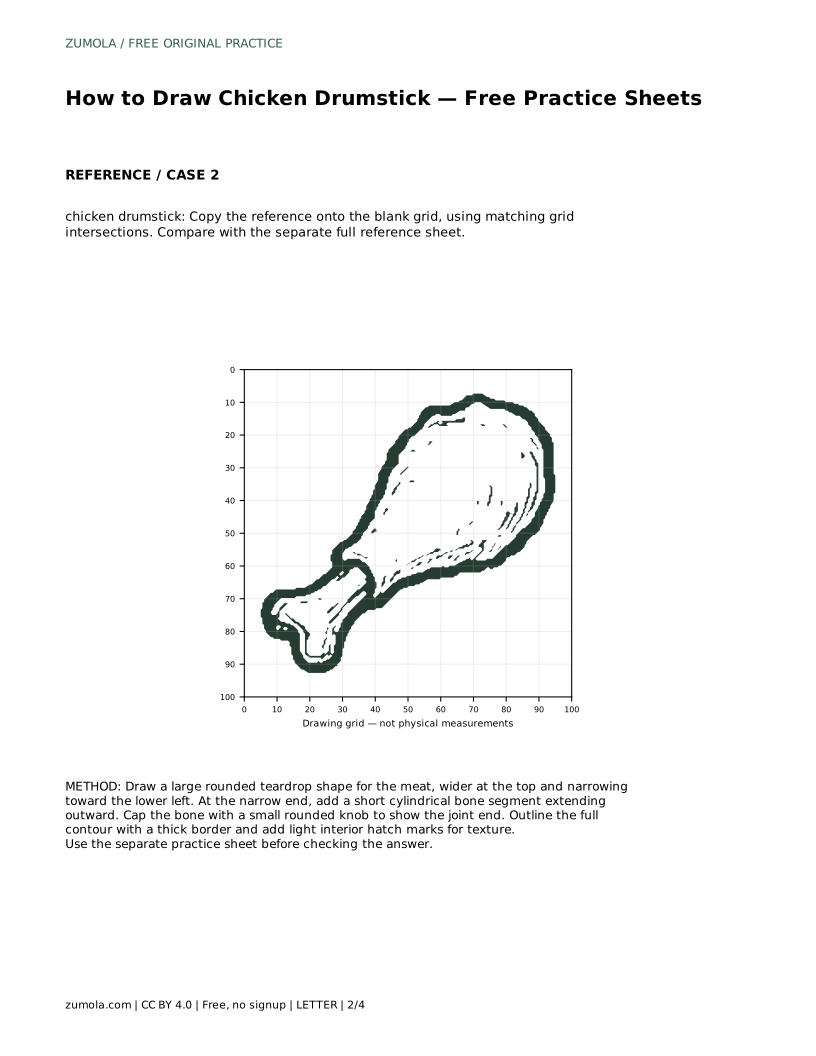
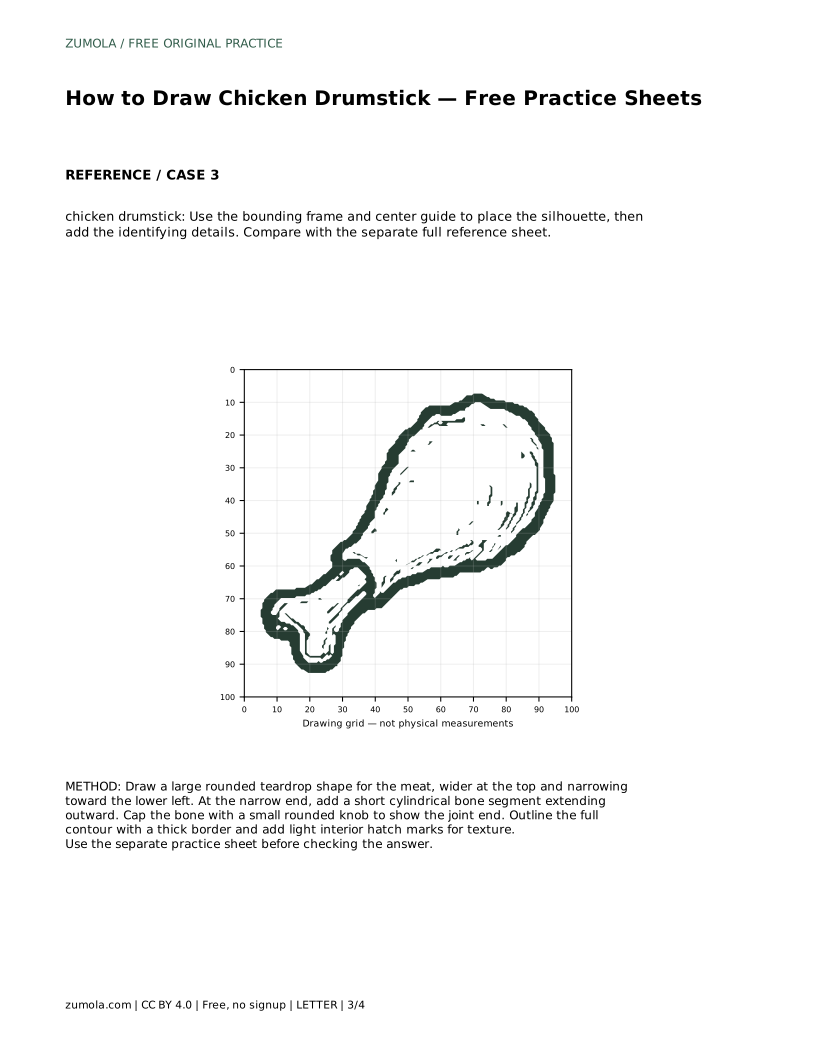
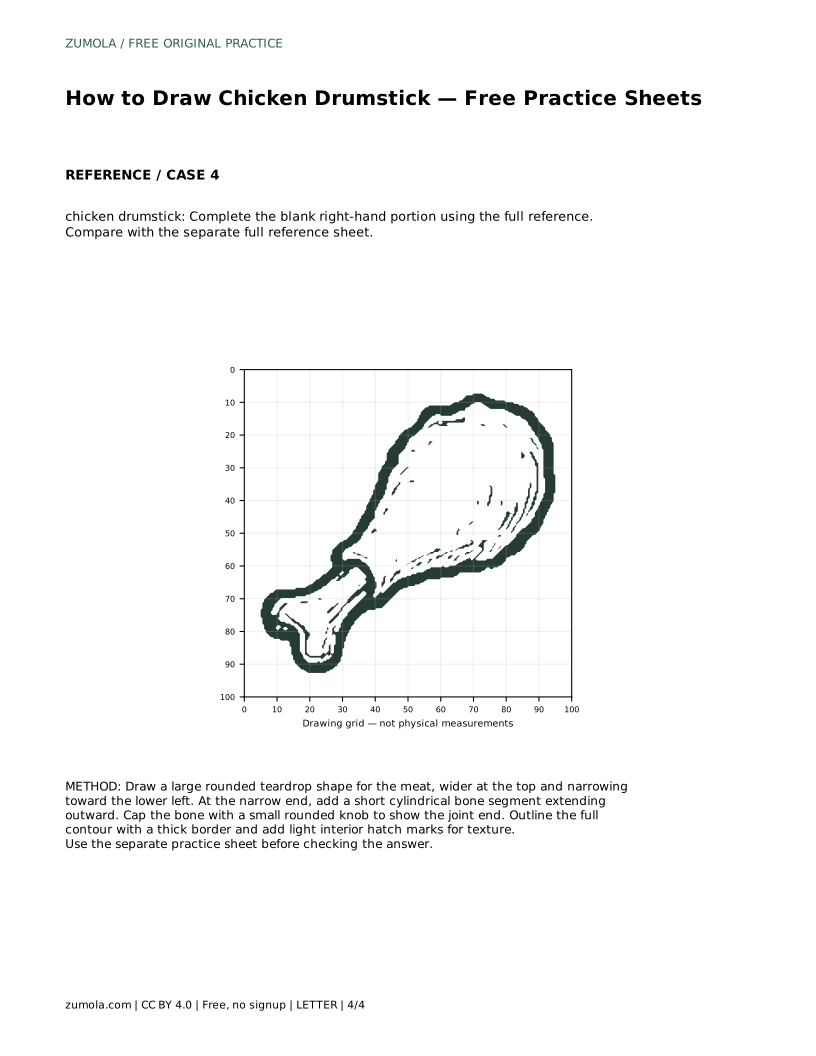
A chicken drumstick is a simple, recognizable shape: a rounded meat end, a narrowing taper, and a short bone with a knob at the tip. This page shows how to build that silhouette in order, then how to use tracing, grid, and partial-reference sheets to practise it. Each method trains a different skill, so compare your drawing with the full reference sheet rather than expecting an identical copy.
Start with the meat as a large rounded teardrop, wider at the top and narrowing toward the lower left. At the narrow end, add a short cylindrical bone segment extending outward, then cap it with a small rounded knob to show the joint end. Keep the transition from meat to bone rounded and tapered so the silhouette reads as one continuous form.
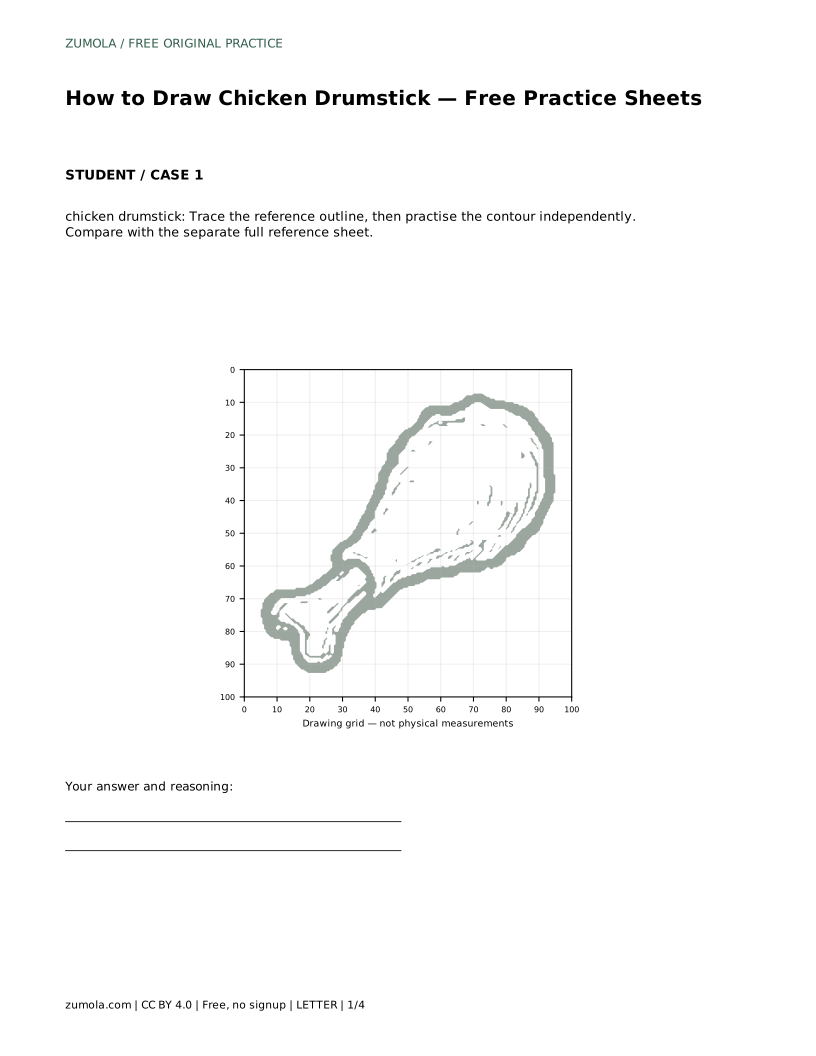
Once the outline is clear, draw the full contour with a thick border and add light interior hatch marks for texture. The hatching should follow the curve of the meat rather than sit at random angles. Keep the bone area plain so it contrasts with the textured meat.
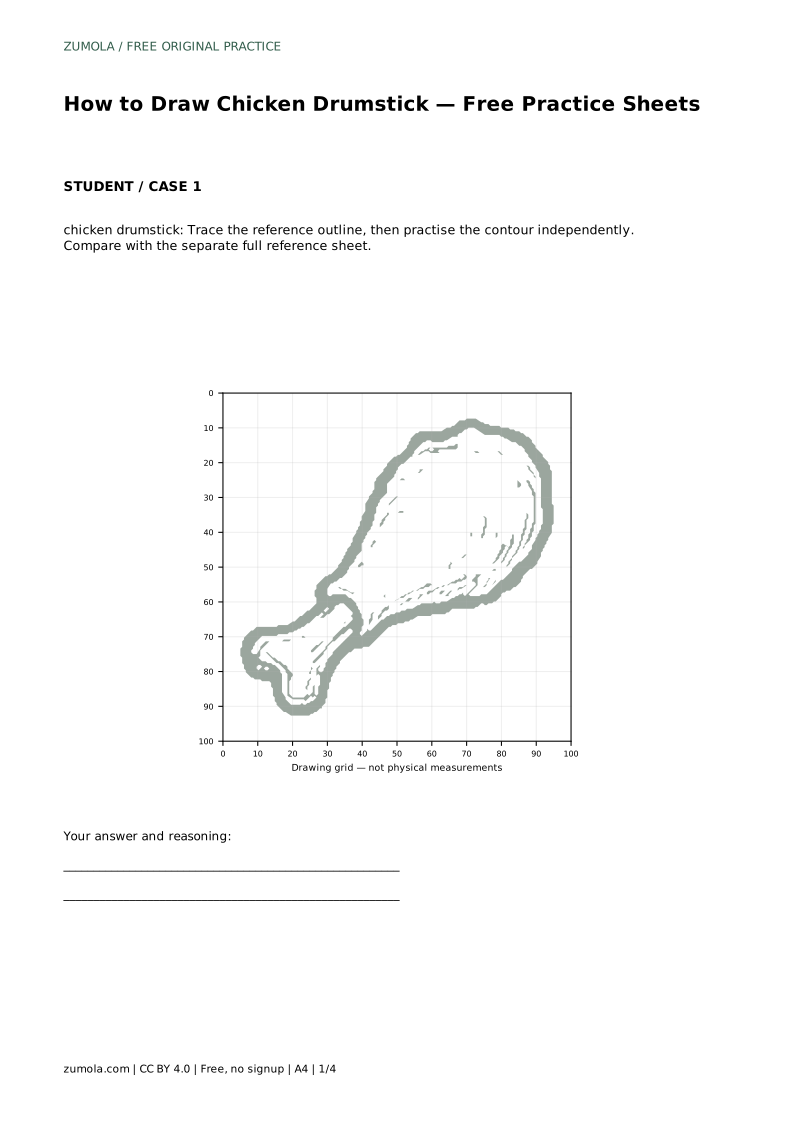
The trace sheet asks you to follow the reference outline first, then repeat the contour on your own beside it. Tracing builds muscle memory for the curve; the independent repeat shows whether you can reproduce it without help.
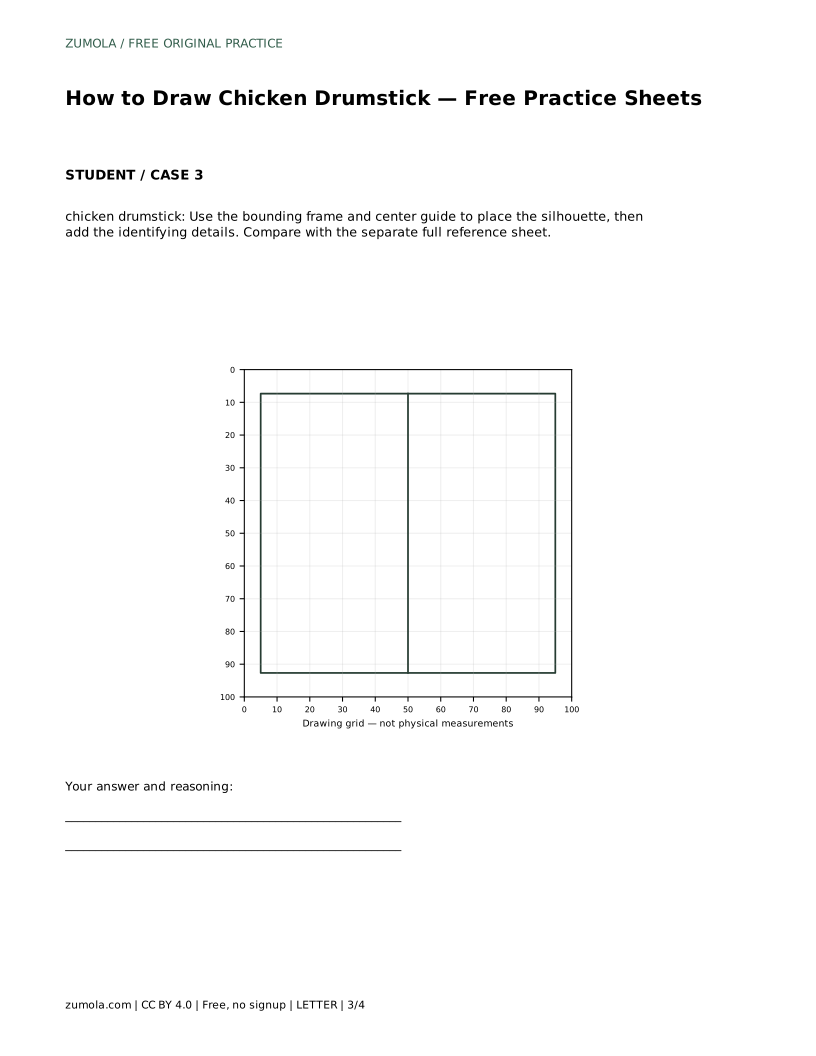
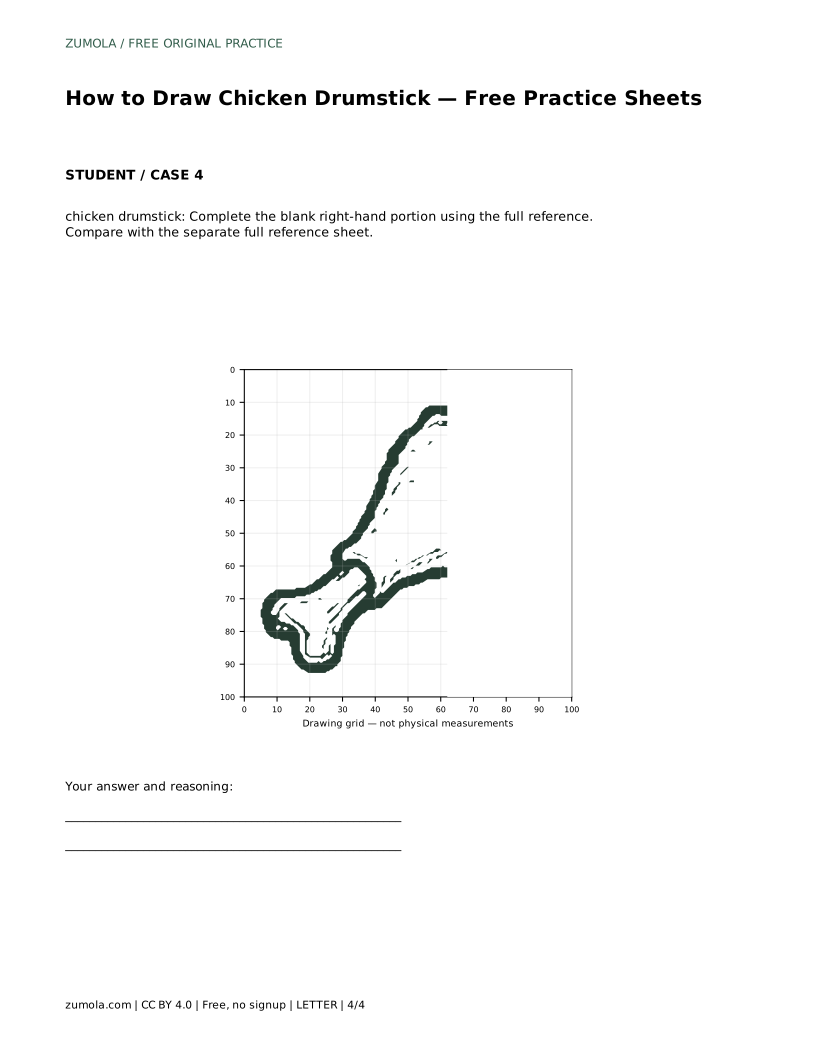
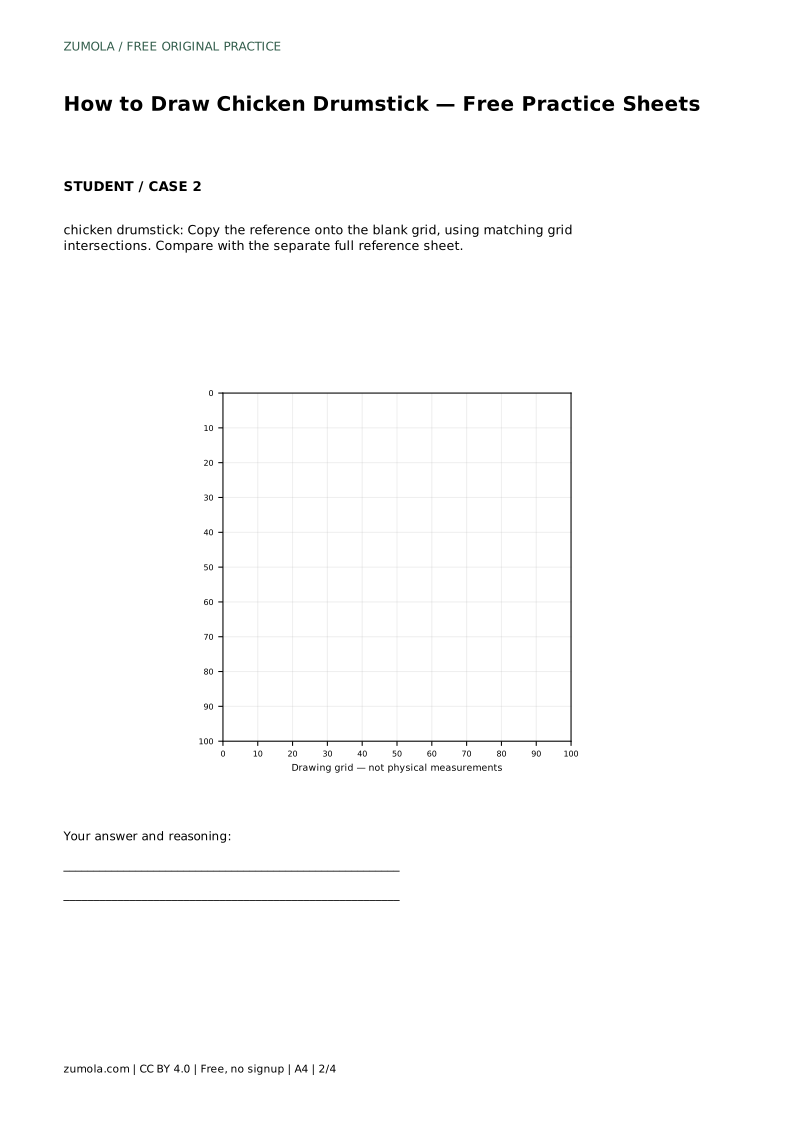
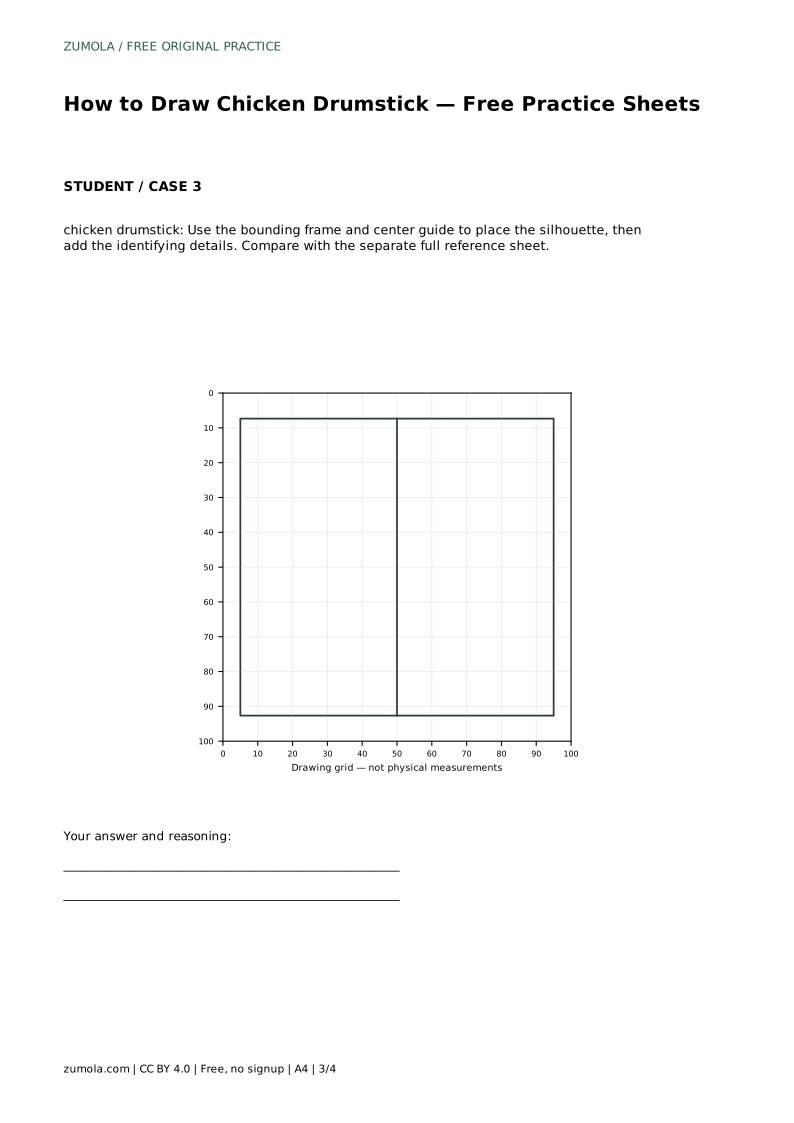
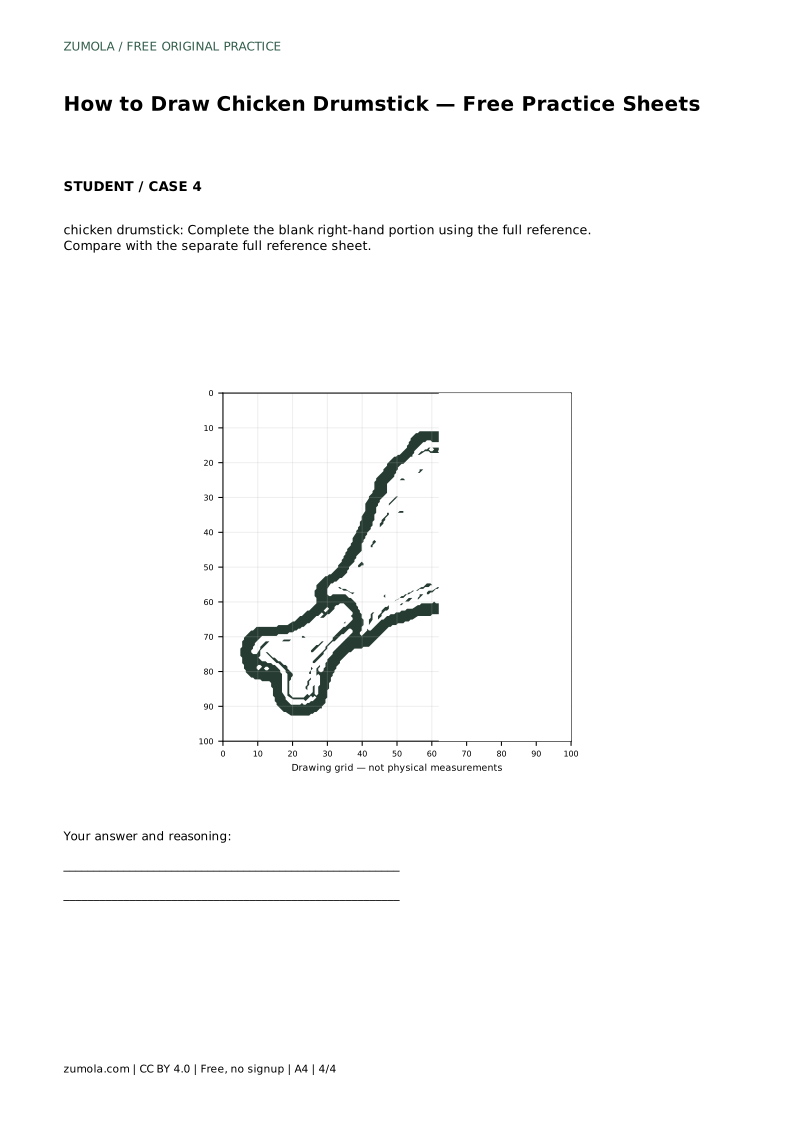
The grid sheet asks you to copy the reference onto a blank grid using matching intersections. Place the widest part of the meat and the bone tip first, then connect them. The bounding-frame sheet gives you a center guide for placing the silhouette before adding details. The partial sheet shows the left half only, so you complete the right side using the full reference. In every case, compare with the separate full reference sheet at the end.
Most drumstick drawings go wrong in proportion rather than in line quality. The meat should be clearly larger than the bone, and the bone should stay short and thin. If the bone looks long or thick, the shape starts to resemble a different cut of meat.
Check the angle too. In the reference, the meat sits at the upper right and the bone points to the lower left. Rotating the whole shape is fine, but the relationship between the two ends should stay consistent. Compare your drawing side by side with the reference before you commit to hatching.
chicken drumstick: Trace the reference outline, then practise the contour independently. Compare with the separate full reference sheet.
Example solution: preserve bulbous meat end at the upper right, thin exposed bone at the lower left, rounded tapered silhouette connecting meat to bone. Other drawings can be correct; assess the visible features and proportions rather than pixel-perfect matching. Draw a large rounded teardrop shape for the meat, wider at the top and narrowing toward the lower left. At the narrow end, add a short cylindrical bone segment extending outward. Cap the bone with a small rounded knob to show the joint end. Outline the full contour with a thick border and add light interior hatch marks for texture.
No. Several drawings can be correct. Assess the visible features and proportions, such as the bulbous meat end, the thin bone, and the rounded tapered silhouette, rather than pixel-perfect matching.
Start with the trace sheet to learn the contour, then move to the grid or frame sheet to practise placement, and finish with the partial sheet to test independent completion.
In the reference, the bone points to the lower left while the meat sits at the upper right. You can rotate the whole drawing, but keep the bone pointing away from the meat's widest end.
All drawing practice · Free coordinate paper
Original resources · CC BY 4.0 · Free for personal and classroom use with attribution.