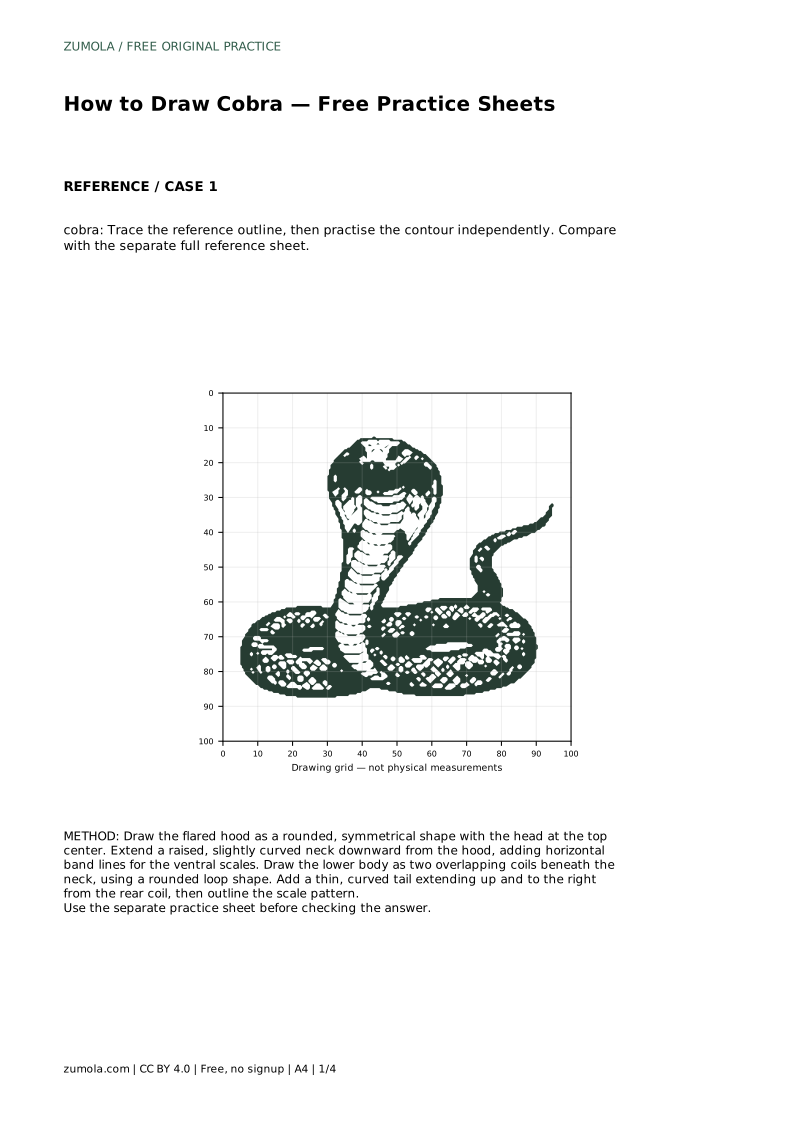
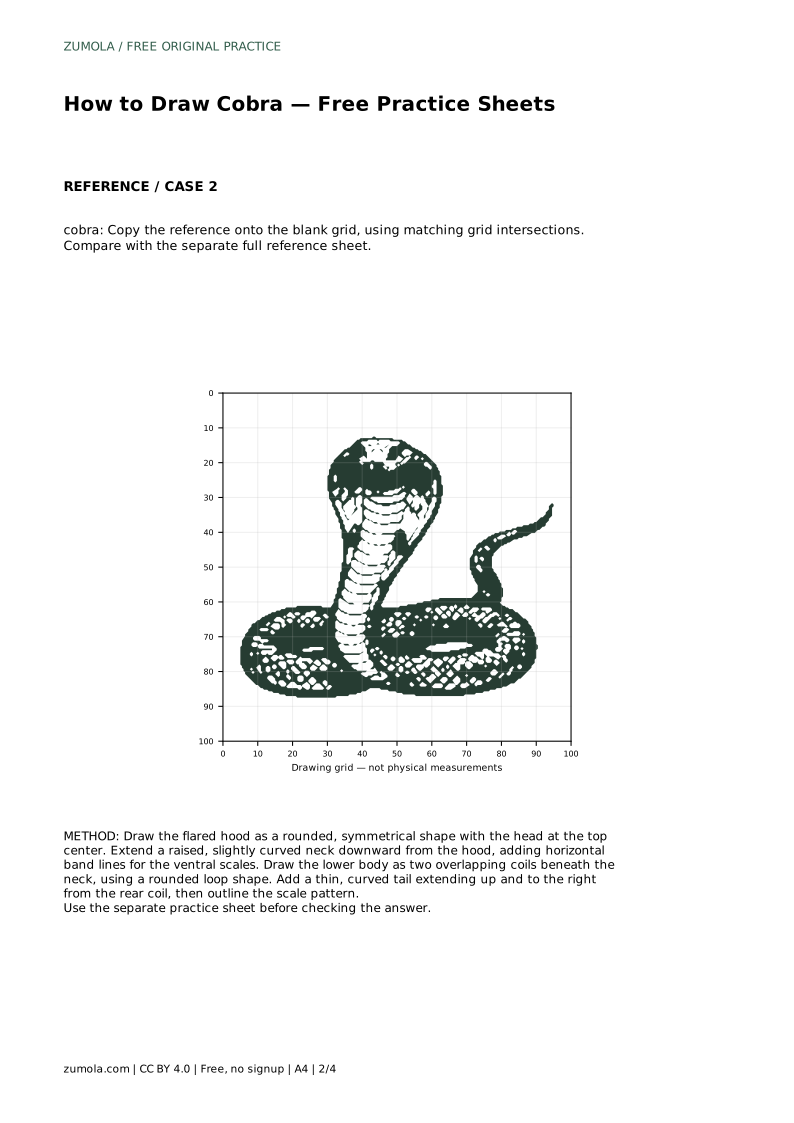
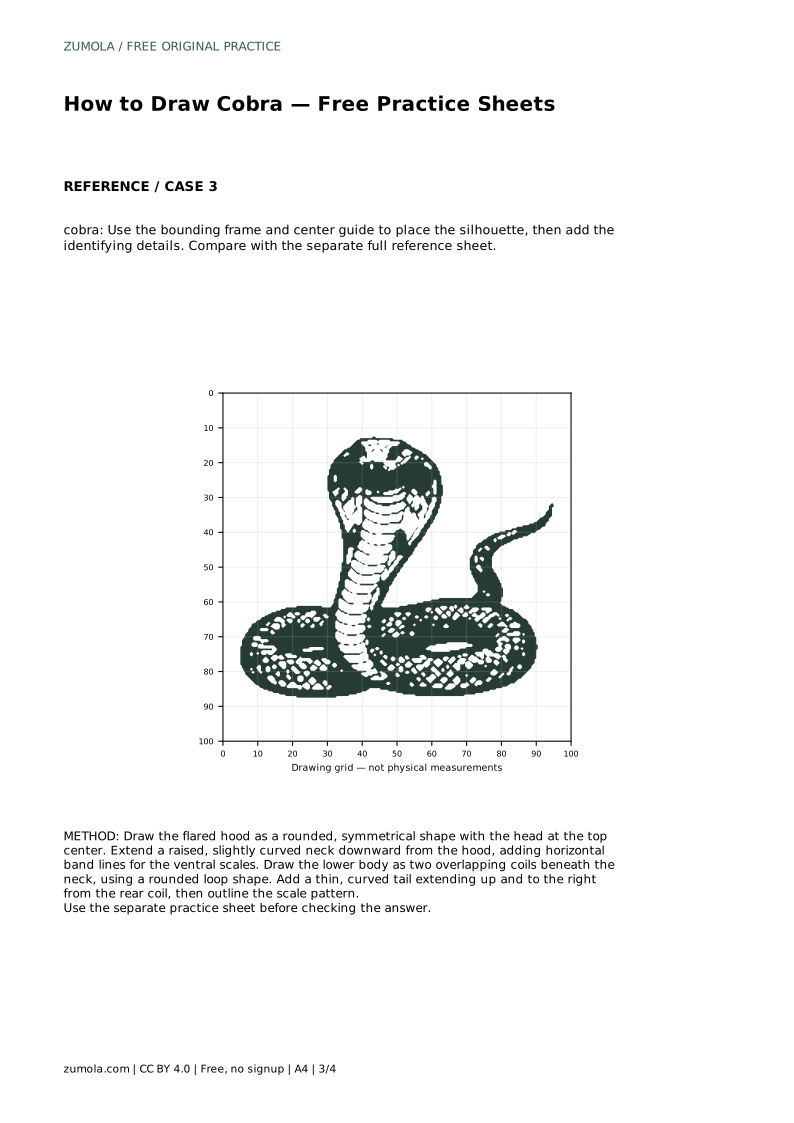
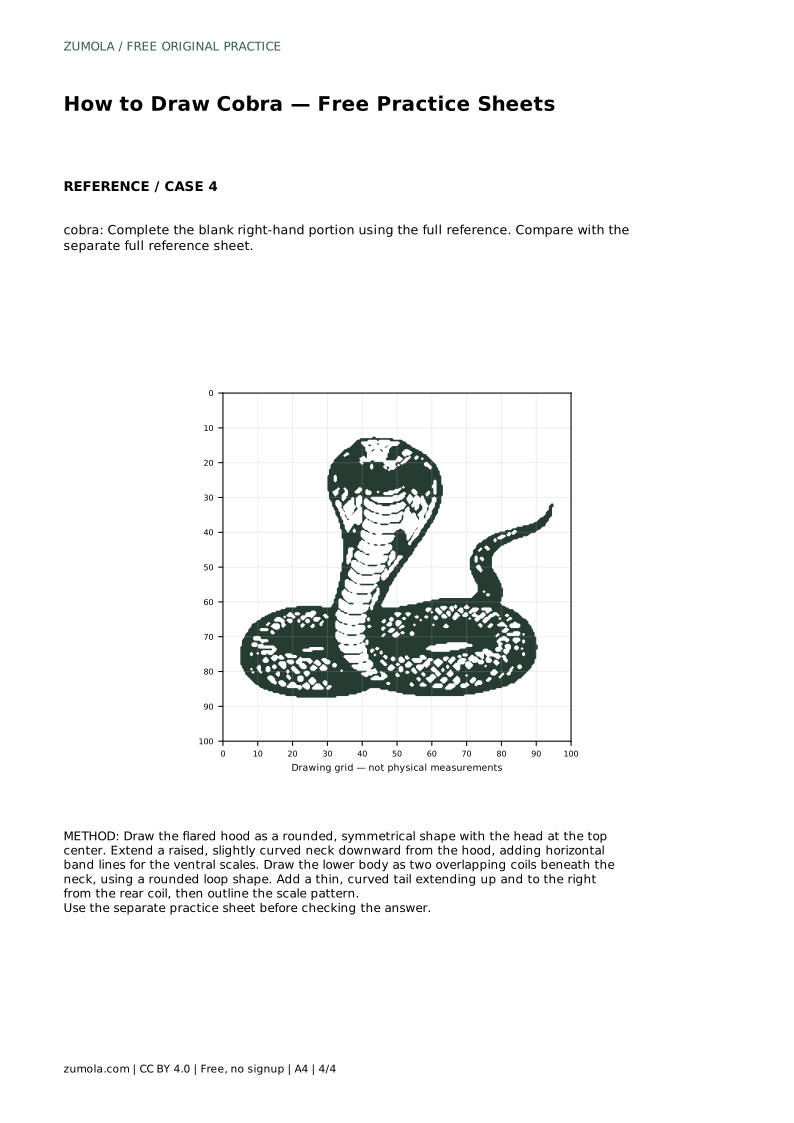
Reference diagrams
LETTER · Download PDF
A4 · Download PDF
Free original resources
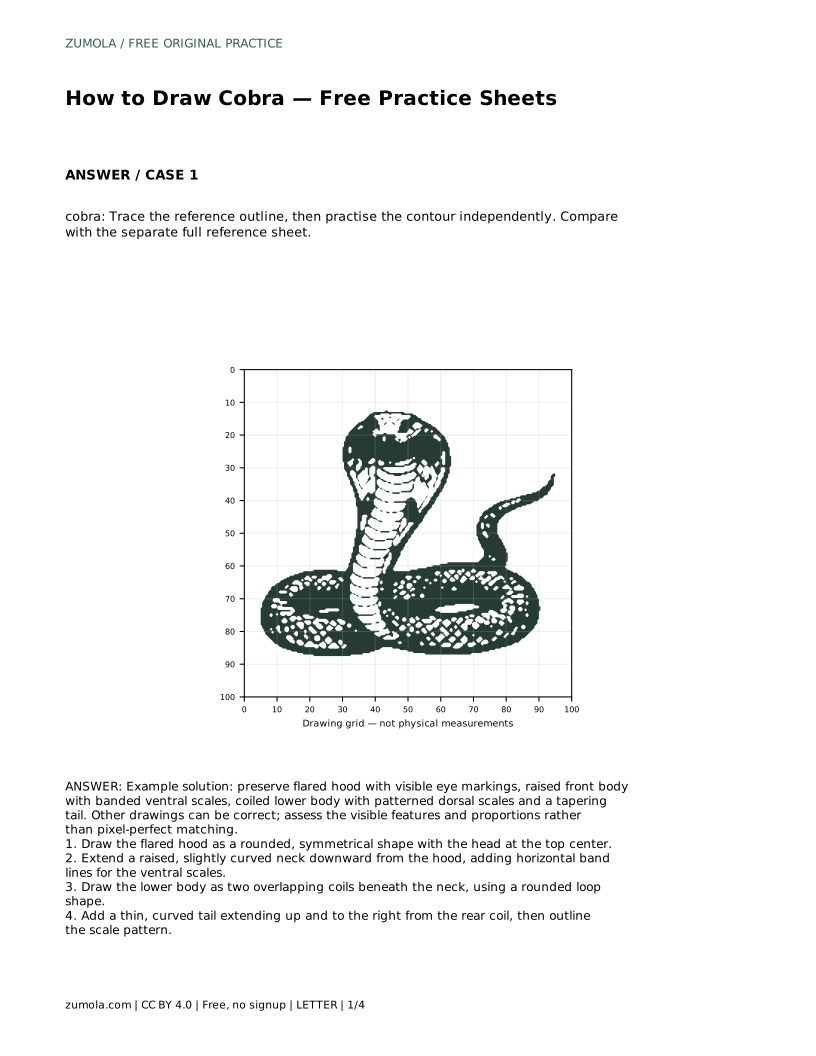
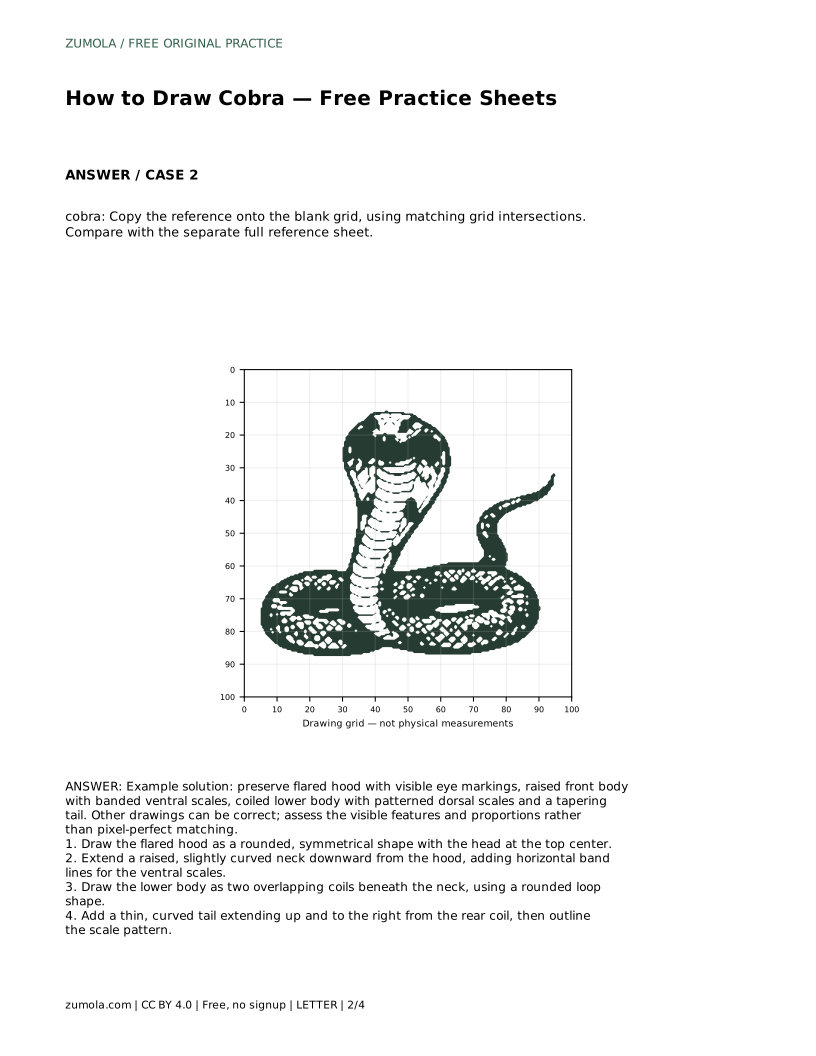
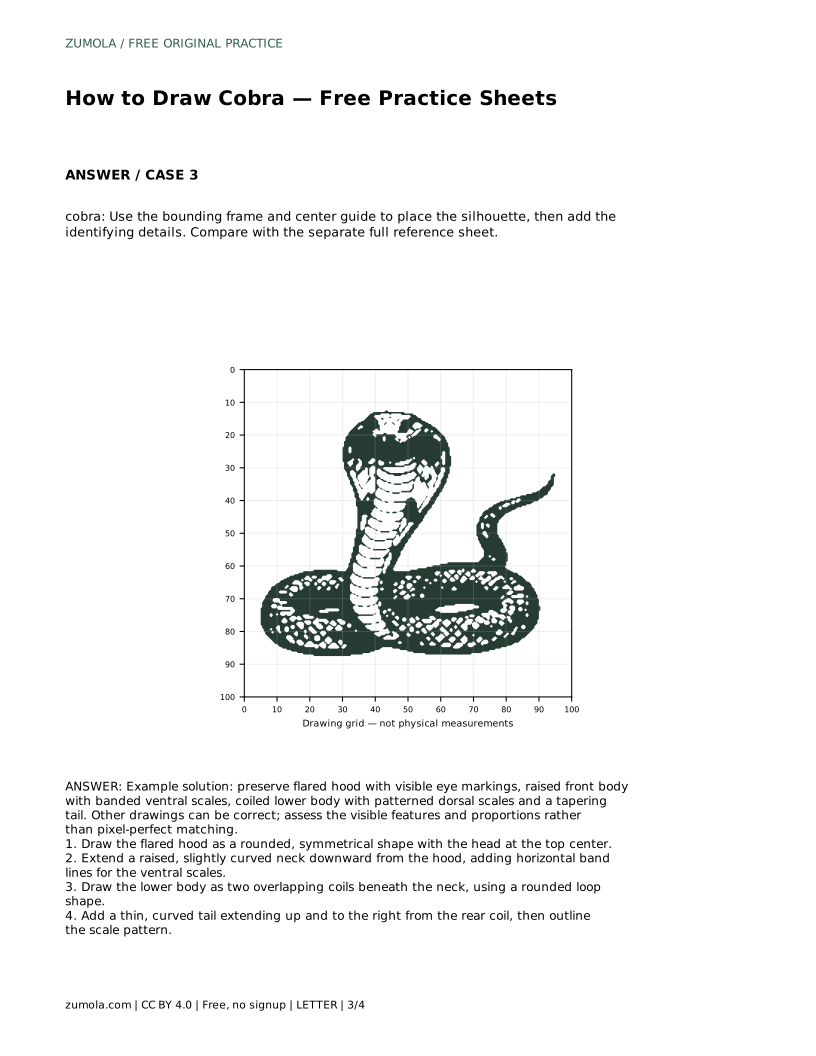
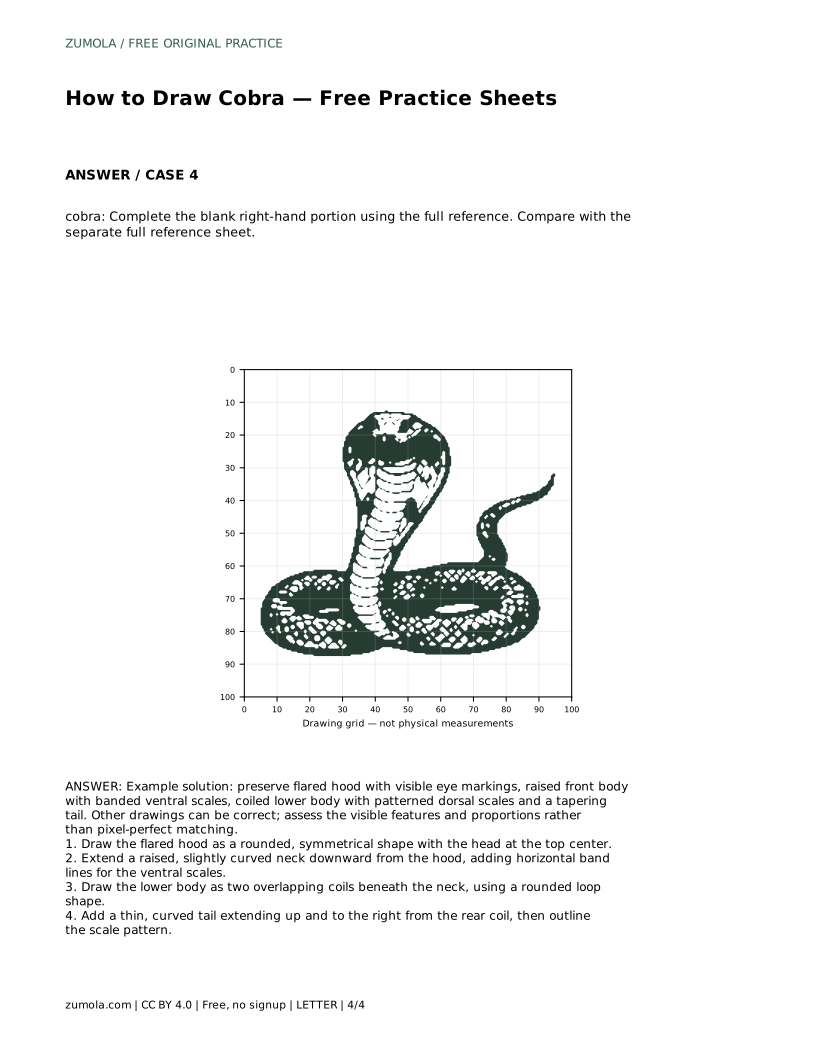
Learn to draw a cobra by building the flared hood, raised neck, coils, and tail. Use the practice sheets to compare proportions and scale patterns.
Four original cases, with reference diagrams, practice sheets and worked answers. Everything is free; no signup required.
LETTER · Download PDF
A4 · Download PDF
LETTER · Download PDF
A4 · Download PDF
LETTER · Download PDF
A4 · Download PDF
Use A4 or US Letter to match your printer. Use the stated values and conditions to solve each exercise; diagrams are not physical measuring rulers.
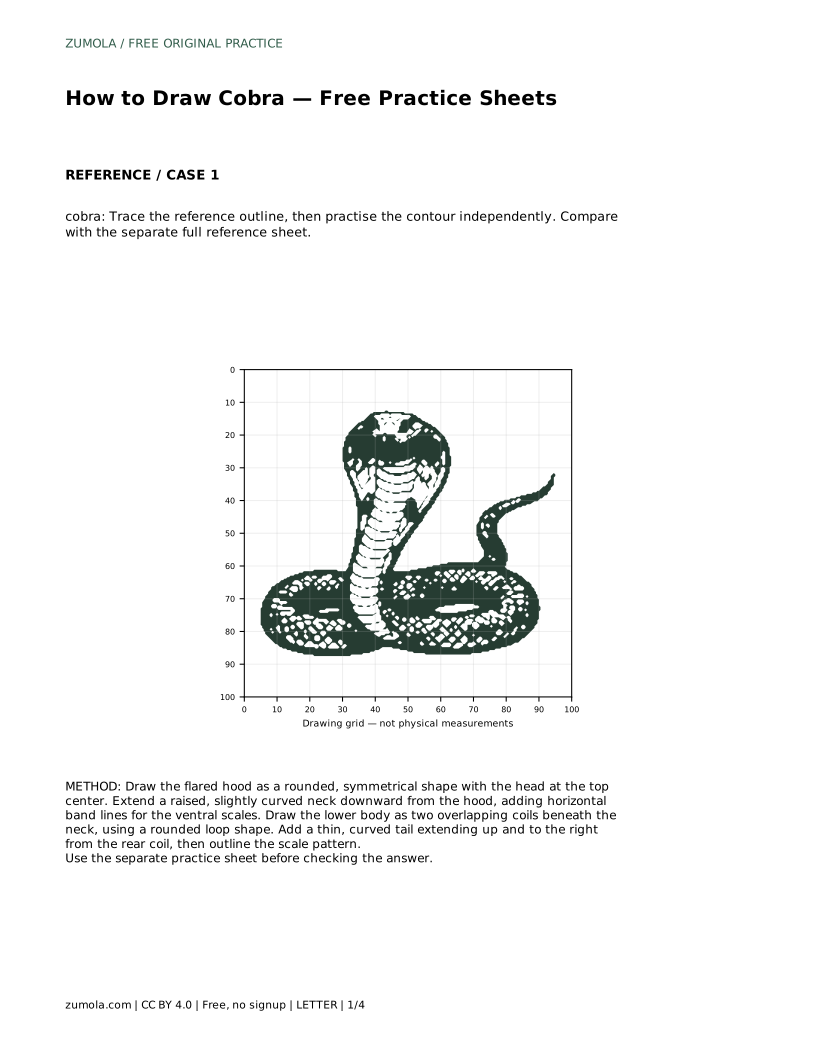
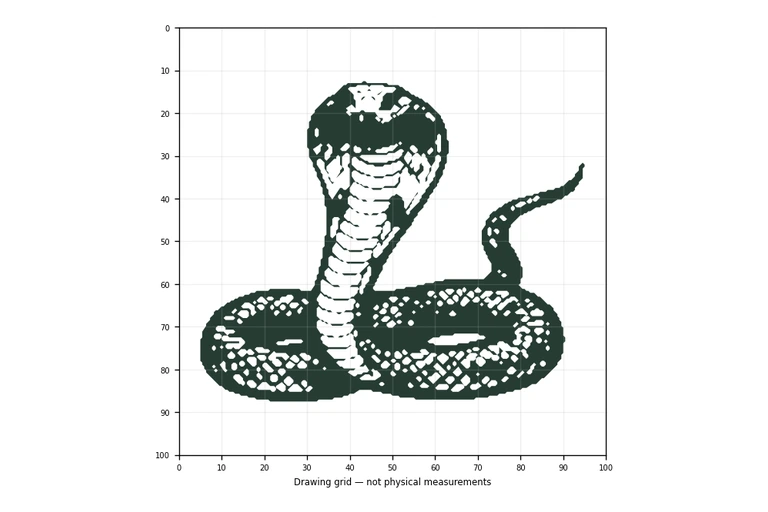
Drawing a cobra is mostly a problem of arranging a few strong shapes in the right order. The hood is a broad, rounded form; the neck rises from it; the lower body coils beneath; and a thin tail finishes the silhouette. This page explains how to construct those parts, where to place the eye markings and banded scales, and how to use the practice sheets to check your proportions without expecting a pixel-perfect copy.
Start with the hood because it controls the overall width of the drawing. Think of it as a rounded, symmetrical shape with the head at the top center. Keep the left and right edges similar in height so the hood reads as flared rather than lopsided. The head sits inside the top of the hood, not above it.
Next, extend a raised, slightly curved neck downward from the hood. The neck should be narrower than the hood but wide enough to suggest a snake's body. Add horizontal band lines across the neck to represent the ventral scales. These lines should follow the curve of the neck rather than running straight across.
Below the neck, draw the lower body as two overlapping coils. Use rounded loop shapes that sit beneath the neck and overlap slightly. The coils give the cobra a stable base and help the eye understand how the body continues. Finally, add a thin, curved tail extending up and to the right from the rear coil. The tail should taper gradually, not end abruptly.
The eye markings are a key feature of many cobra drawings. Place them on the hood, roughly level with each other and set back from the head. They should be visible but not oversized. A simple curved line or small shape can suggest the marking without turning the hood into a face.
The dorsal scale pattern belongs on the coils and the back of the neck. Use a repeating shape, such as small diamonds or chevrons, and let the pattern follow the curve of the body. On the ventral side, keep the horizontal band lines consistent in spacing. Avoid covering every part of the snake with the same pattern; the contrast between banded underside and patterned back helps the drawing read clearly.
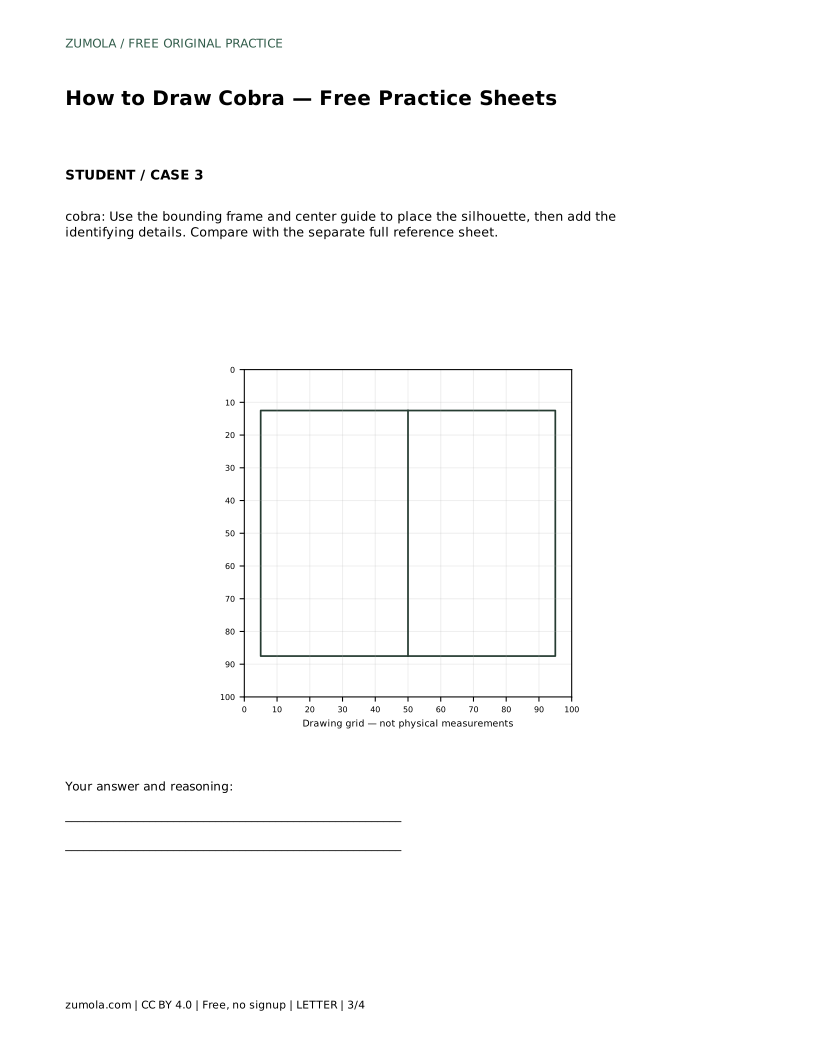
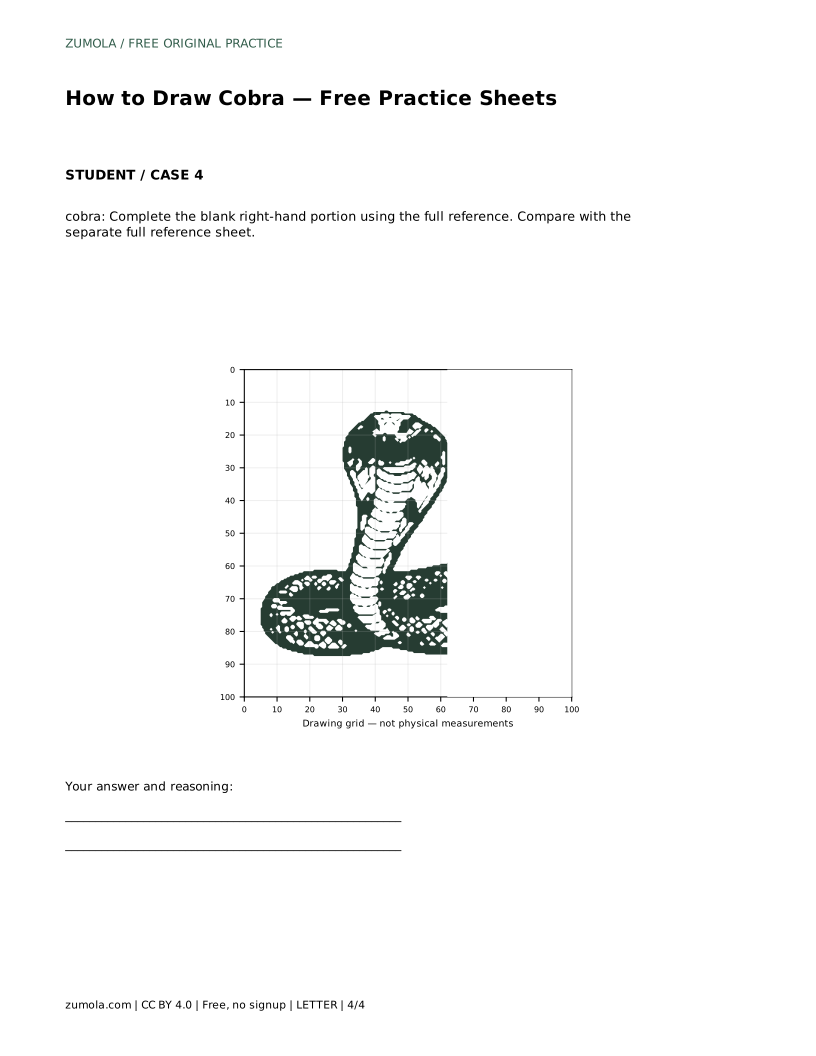
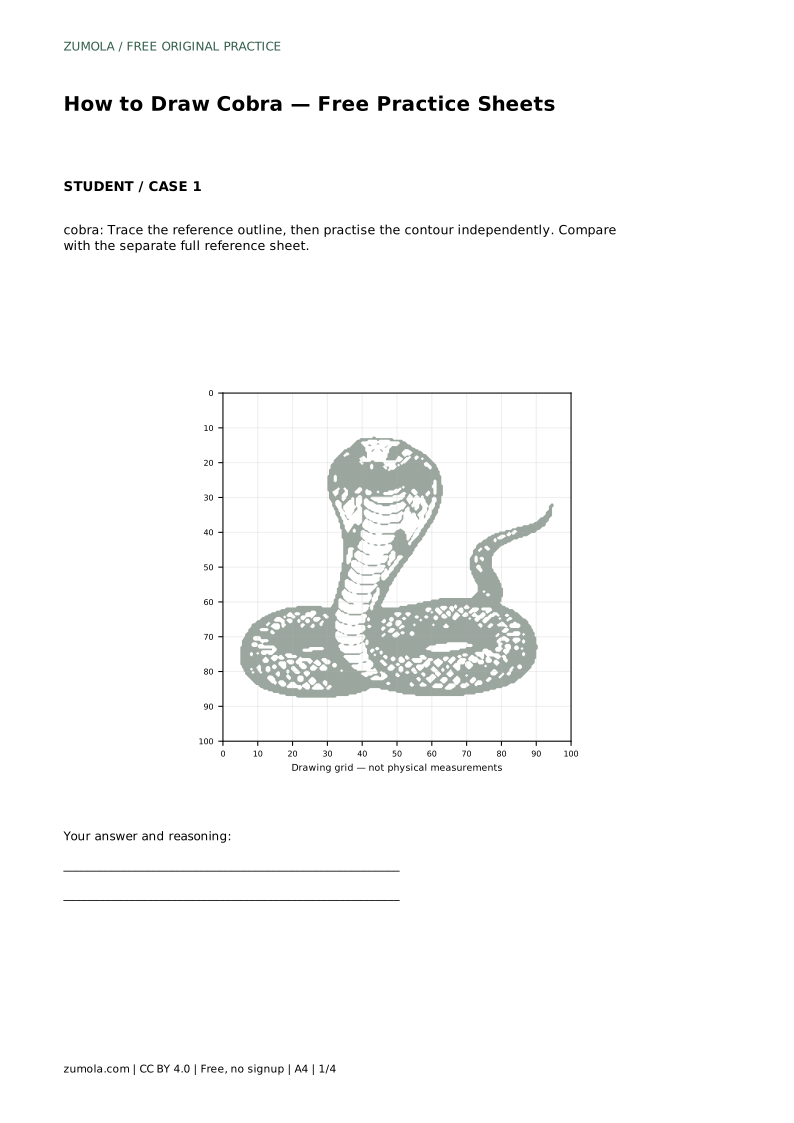
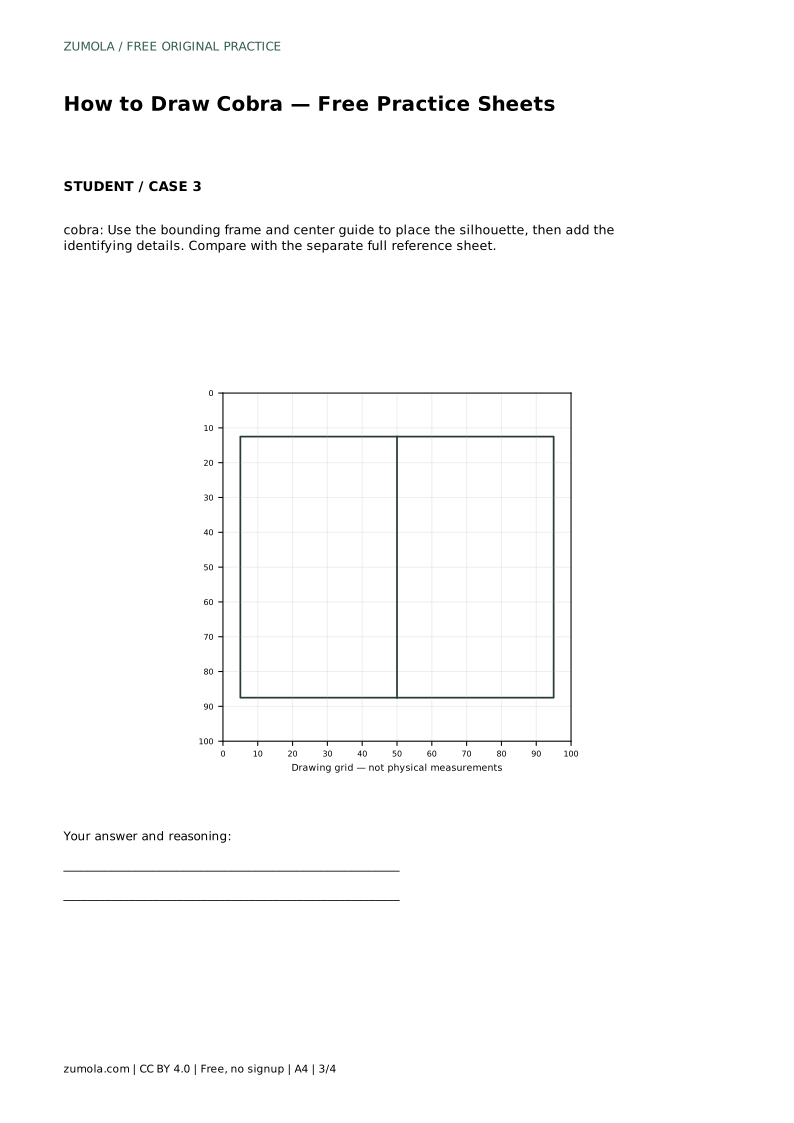
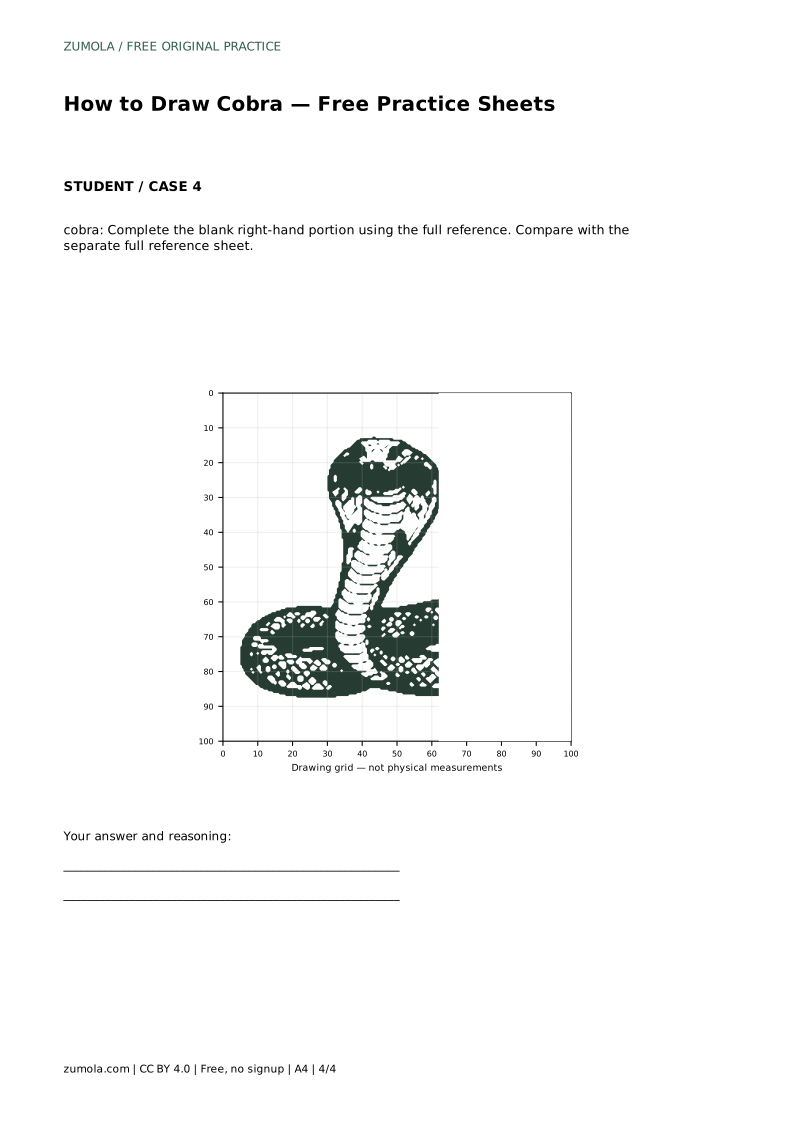
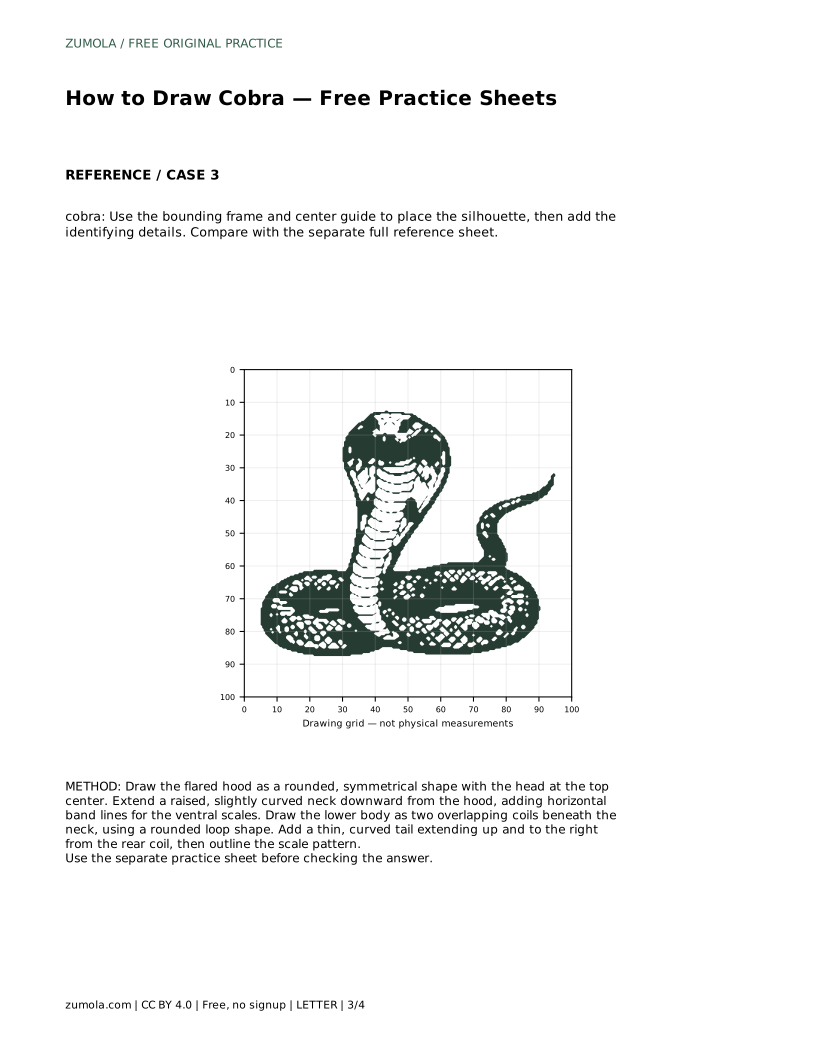
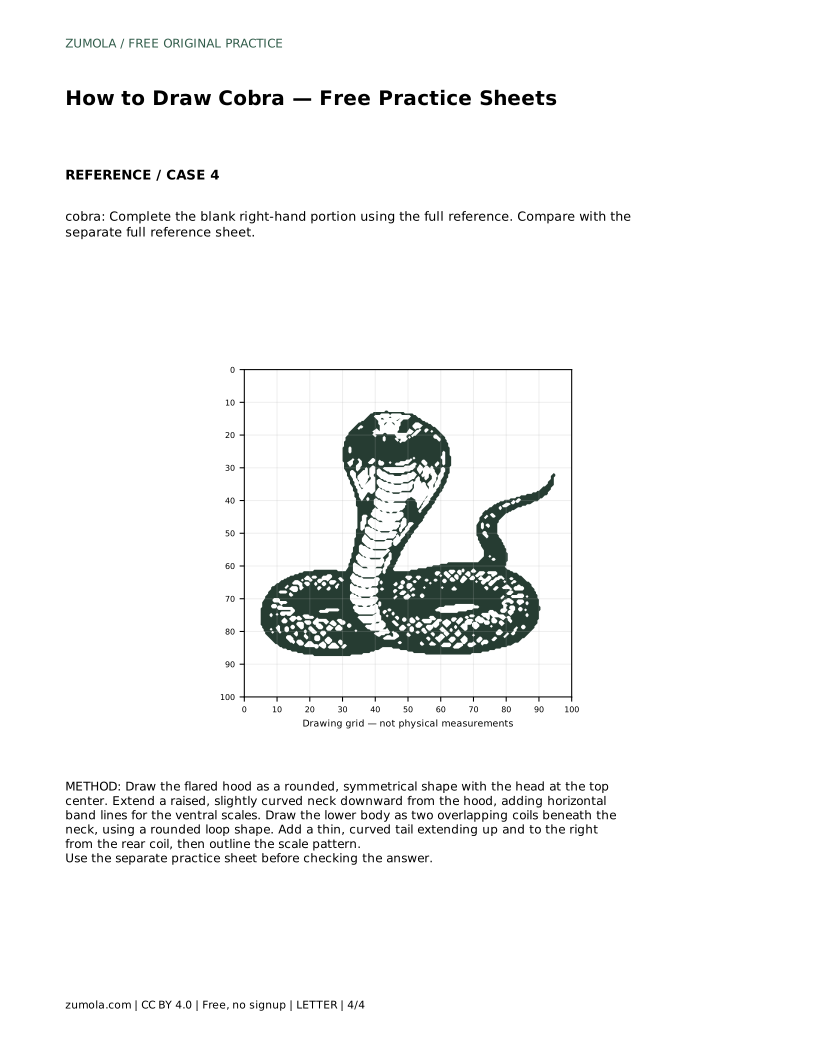
The practice sheets offer different ways to work: tracing the reference outline, copying onto a blank grid, using a bounding frame and center guide, or completing a blank right-hand portion. Each method asks you to notice proportions and placement. After you finish, compare your drawing with the separate full reference sheet. Ask whether the hood is symmetrical, whether the neck rises from the center, whether the coils overlap clearly, and whether the tail tapers.
A cobra drawing can be correct without matching every line. The goal is to preserve the visible features: a flared hood with eye markings, a raised front body with banded ventral scales, a coiled lower body with a patterned back, and a tapering tail. Use the rubric below to assess your own work and decide what to adjust next time.
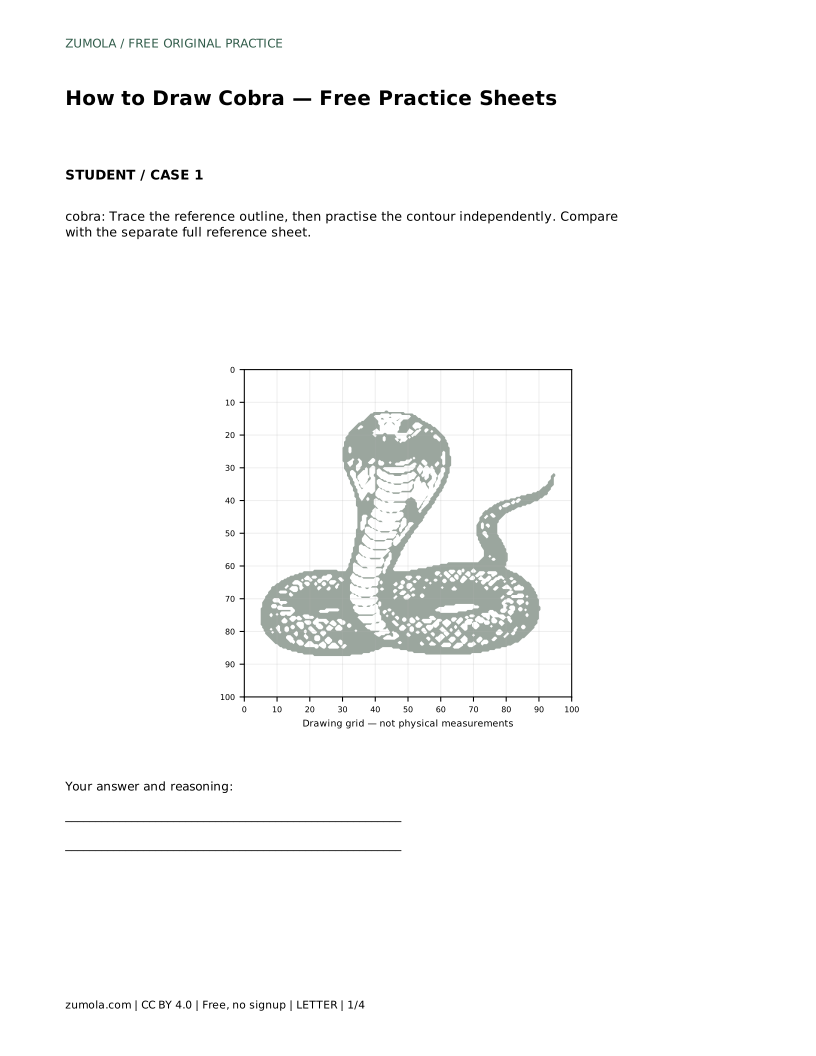
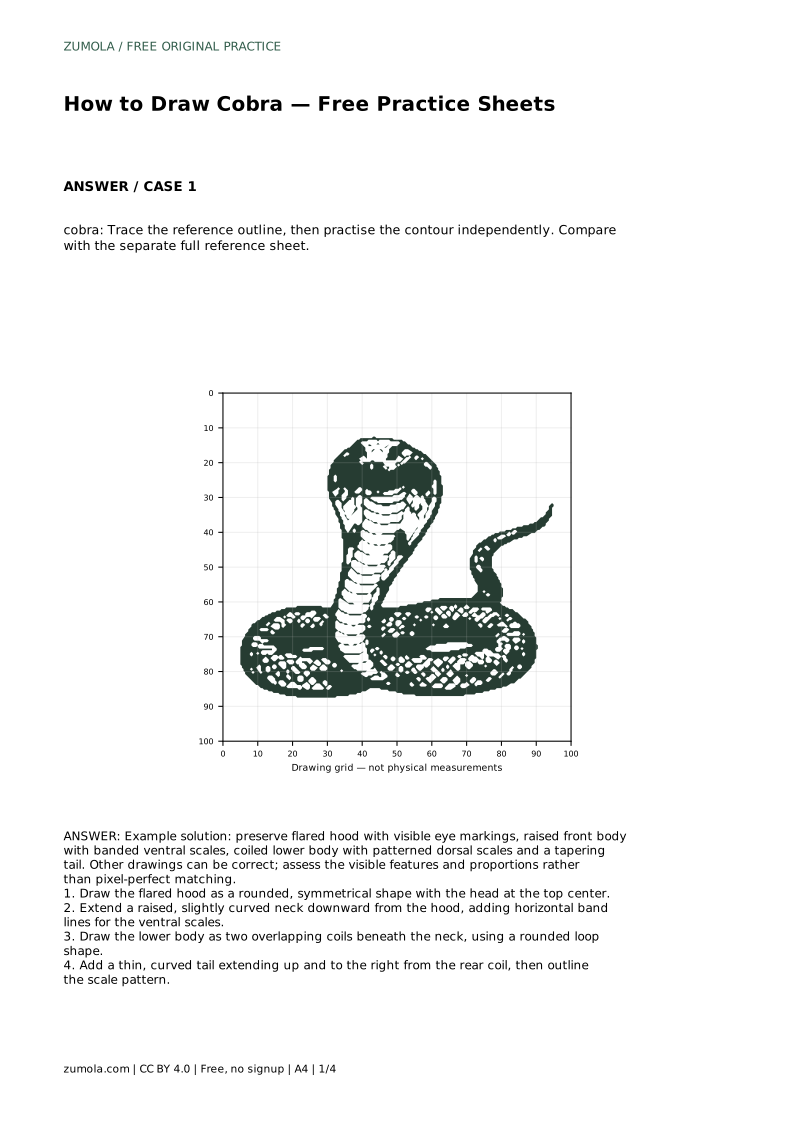
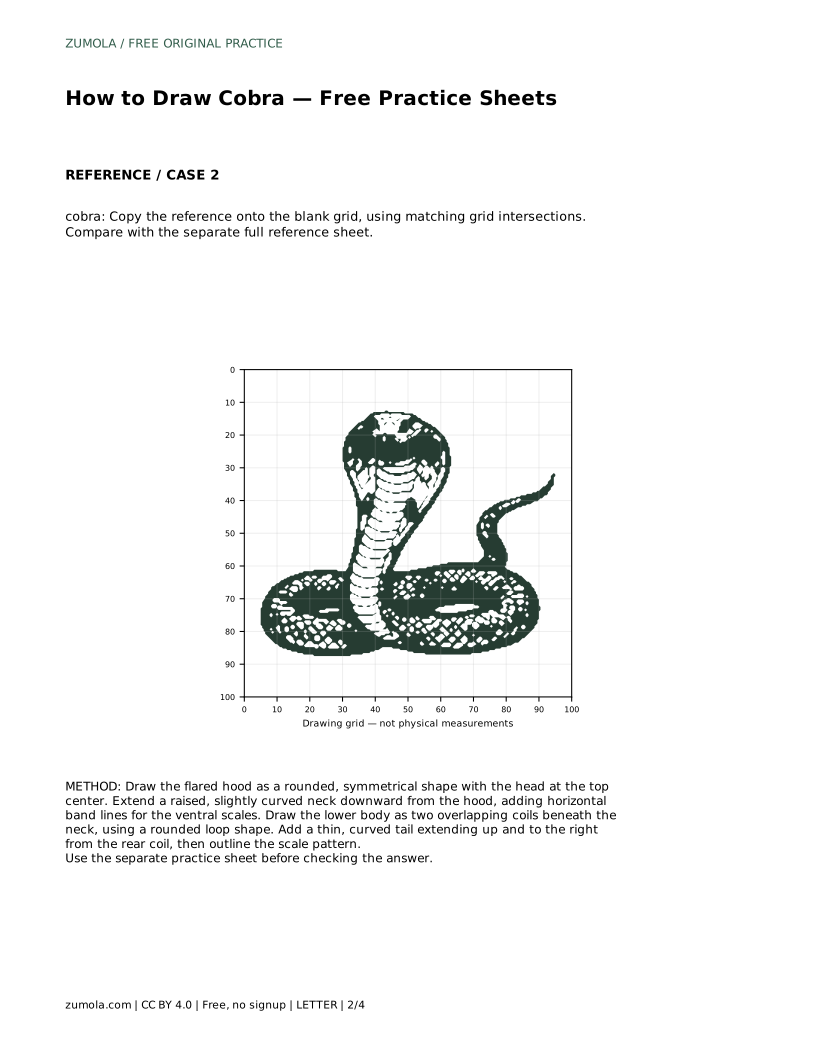
cobra: Trace the reference outline, then practise the contour independently. Compare with the separate full reference sheet.
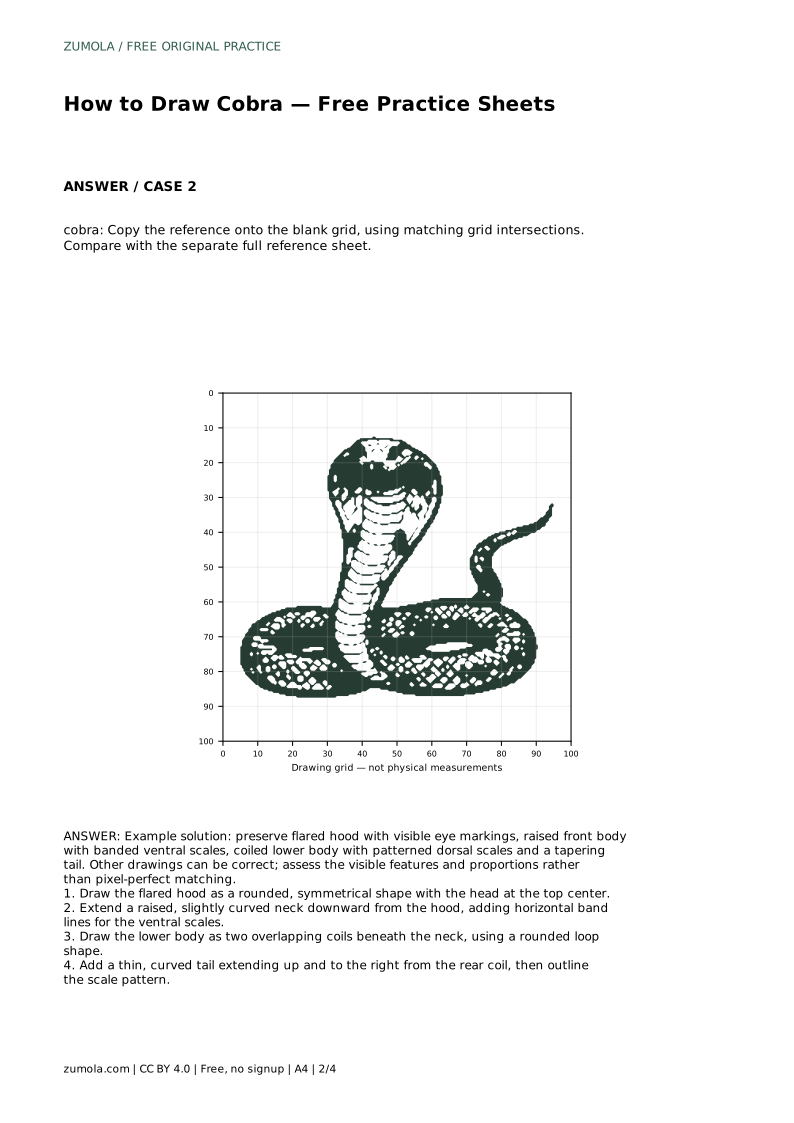
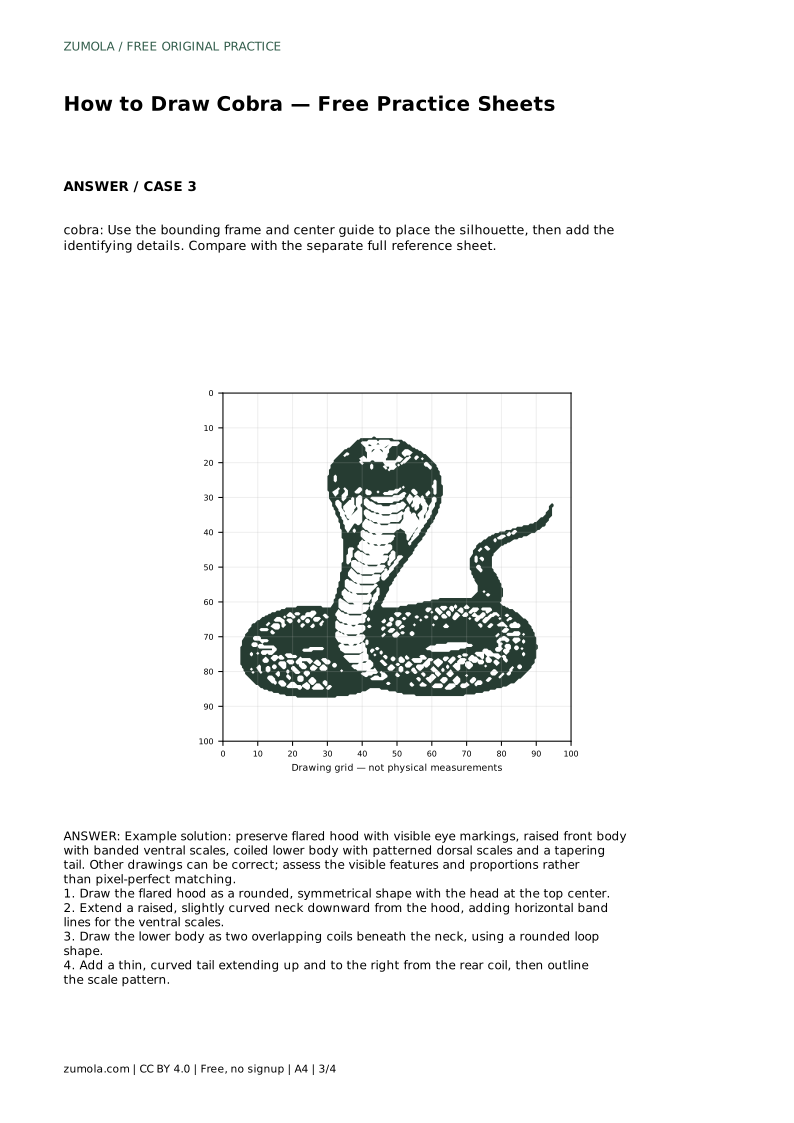
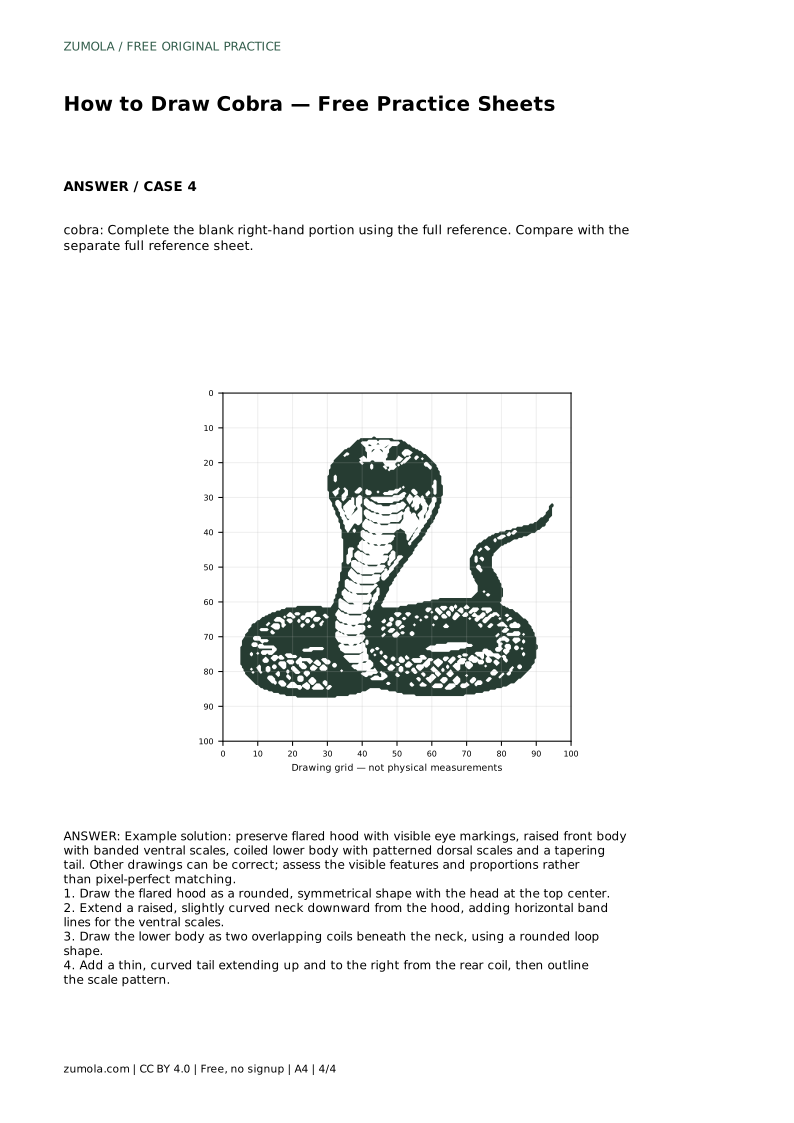
Example solution: preserve flared hood with visible eye markings, raised front body with banded ventral scales, coiled lower body with patterned dorsal scales and a tapering tail. Other drawings can be correct; assess the visible features and proportions rather than pixel-perfect matching. Draw the flared hood as a rounded, symmetrical shape with the head at the top center. Extend a raised, slightly curved neck downward from the hood, adding horizontal band lines for the ventral scales. Draw the lower body as two overlapping coils beneath the neck, using a rounded loop shape. Add a thin, curved tail extending up and to the right from the rear coil, then outline the scale pattern.
No. A repeating pattern on the back and evenly spaced band lines on the neck are enough to suggest scales. Too many small marks can make the drawing busy and obscure the main shapes.
Compare your drawing with the full reference sheet and check the hood width, the neck height, the overlap of the two coils, and the taper of the tail. These four relationships matter more than matching individual lines.
Yes. The coils can vary in shape and overlap as long as the lower body reads as coiled and the tail tapers from the rear coil. Assess the visible features and proportions rather than pixel-perfect matching.
All drawing practice · Free coordinate paper
Original resources · CC BY 4.0 · Free for personal and classroom use with attribution.