Reference diagrams
LETTER · Download PDF
A4 · Download PDF
Free original resources
Learn to draw a stag beetle by building its head, branched mandibles, segmented body, and six jointed legs, then check your work with a clear feature rubric.
Four original cases, with reference diagrams, practice sheets and worked answers. Everything is free; no signup required.
LETTER · Download PDF
A4 · Download PDF
LETTER · Download PDF
A4 · Download PDF
LETTER · Download PDF
A4 · Download PDF
Use A4 or US Letter to match your printer. Use the stated values and conditions to solve each exercise; diagrams are not physical measuring rulers.
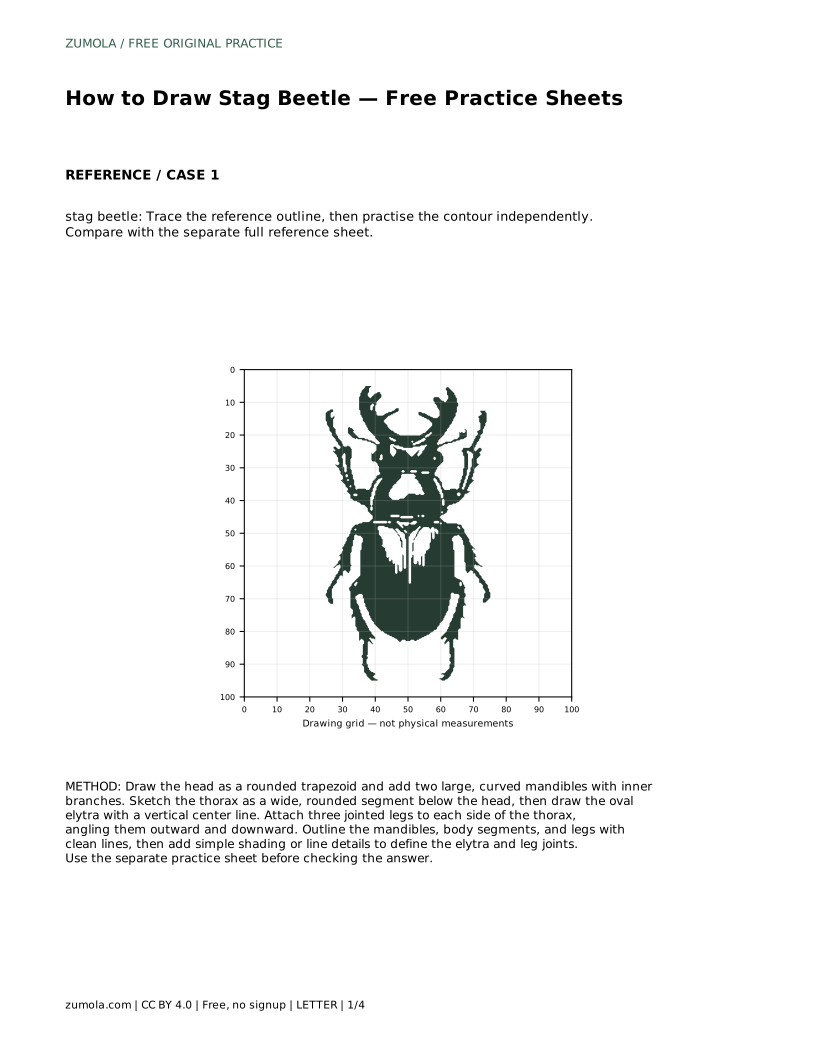
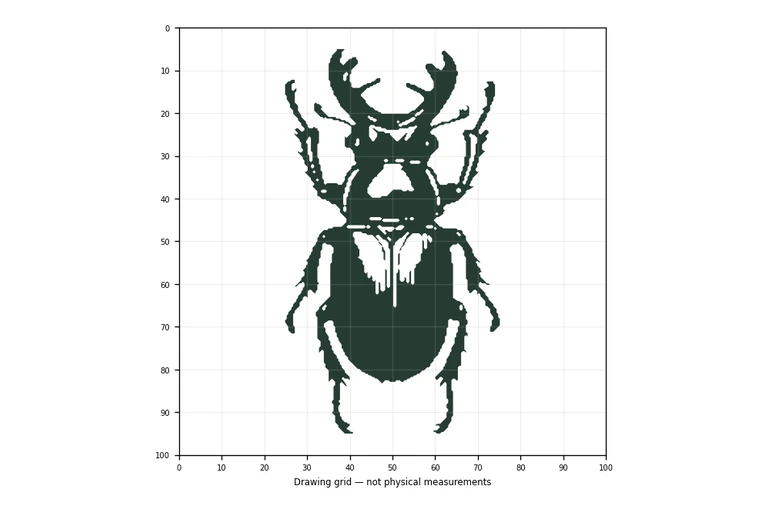
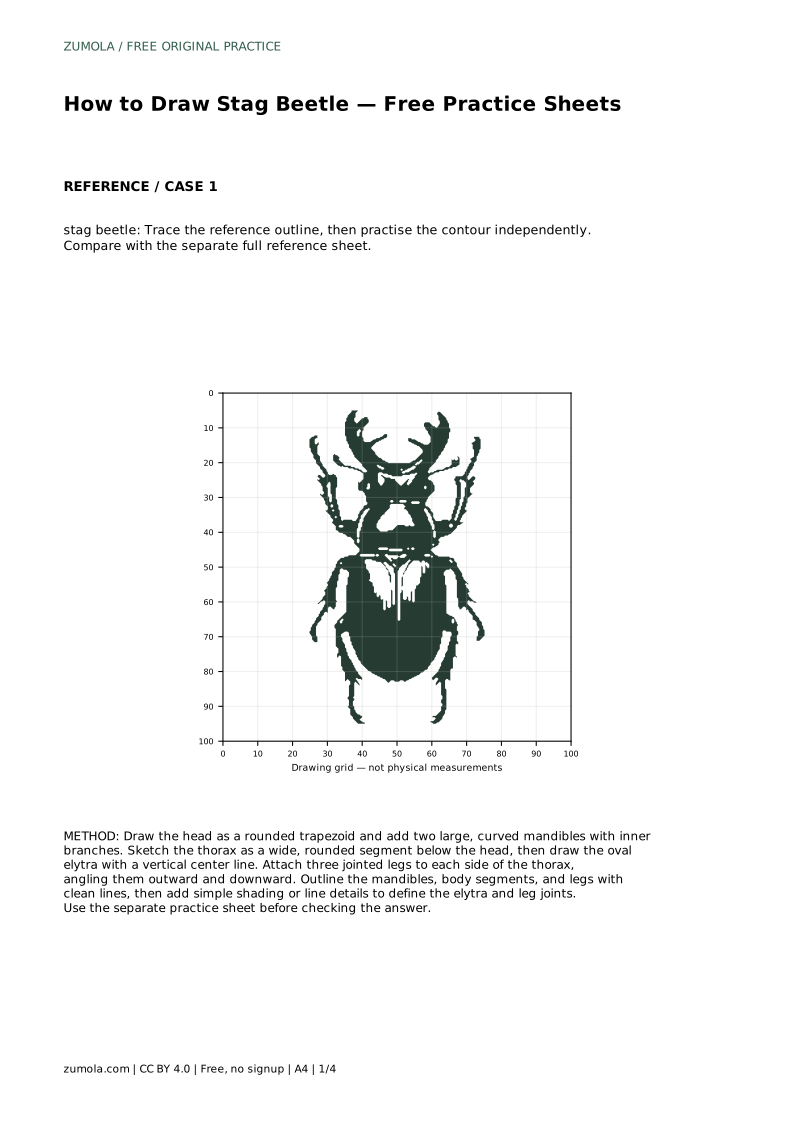
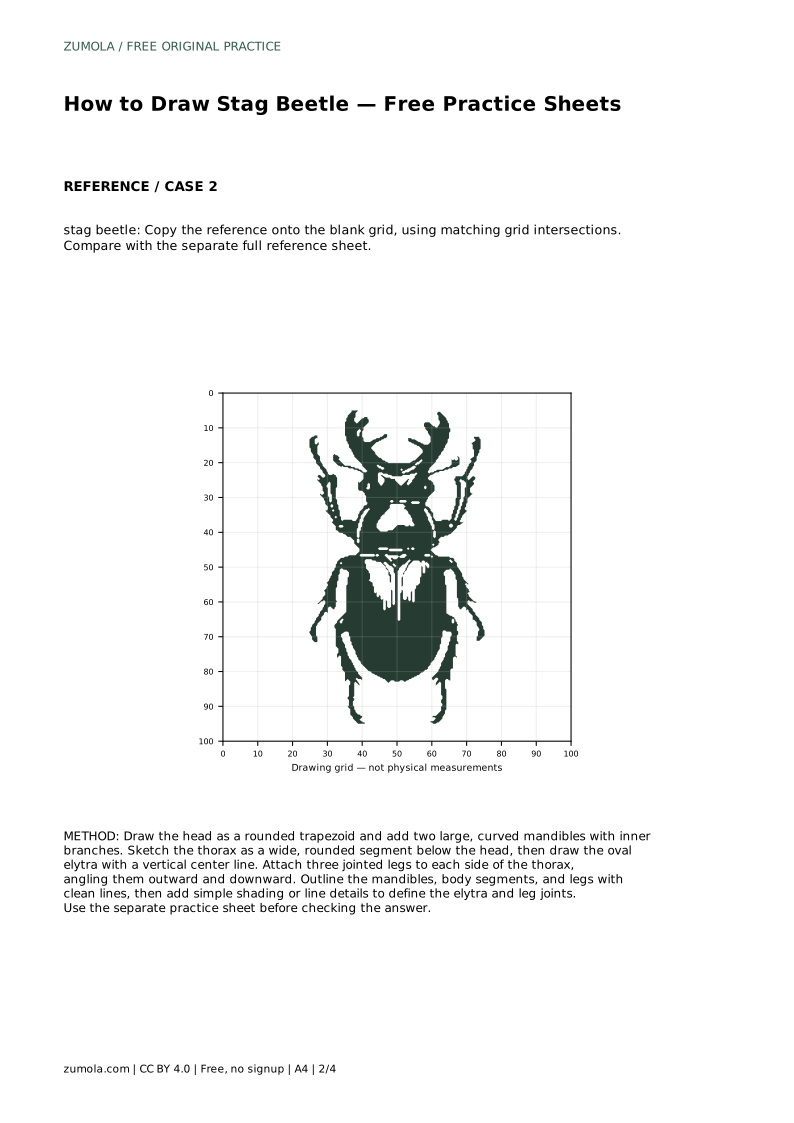
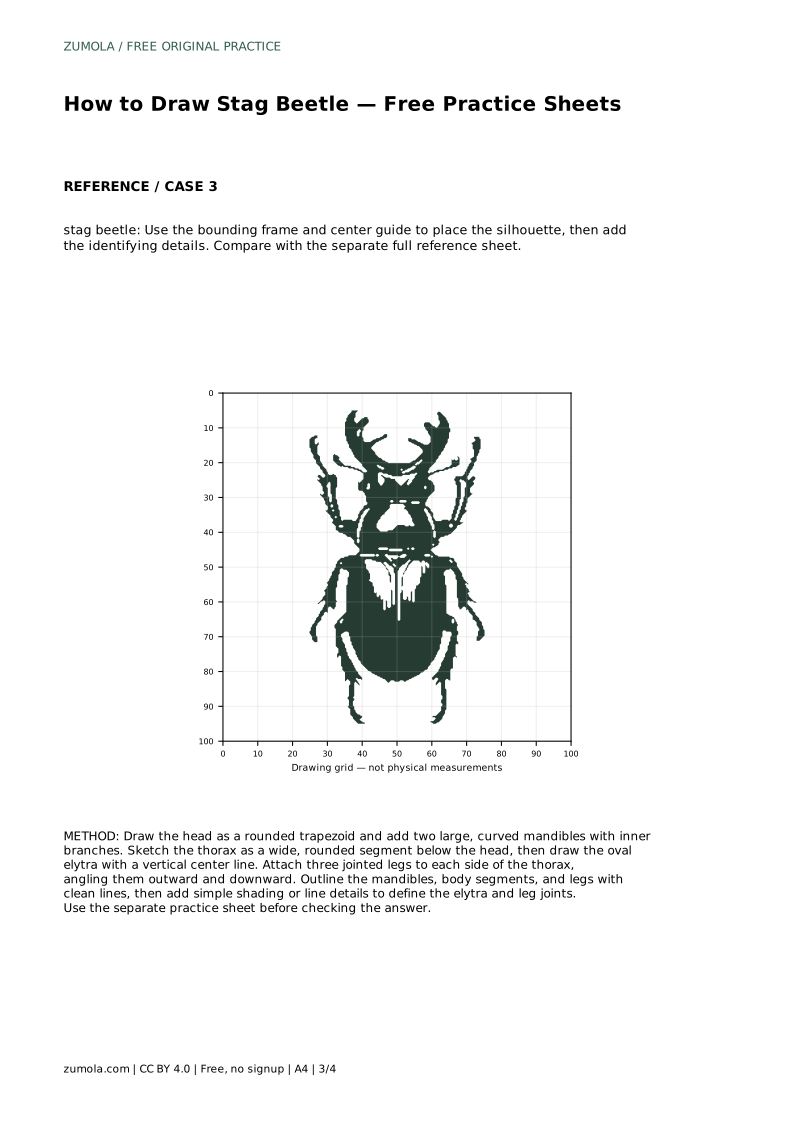
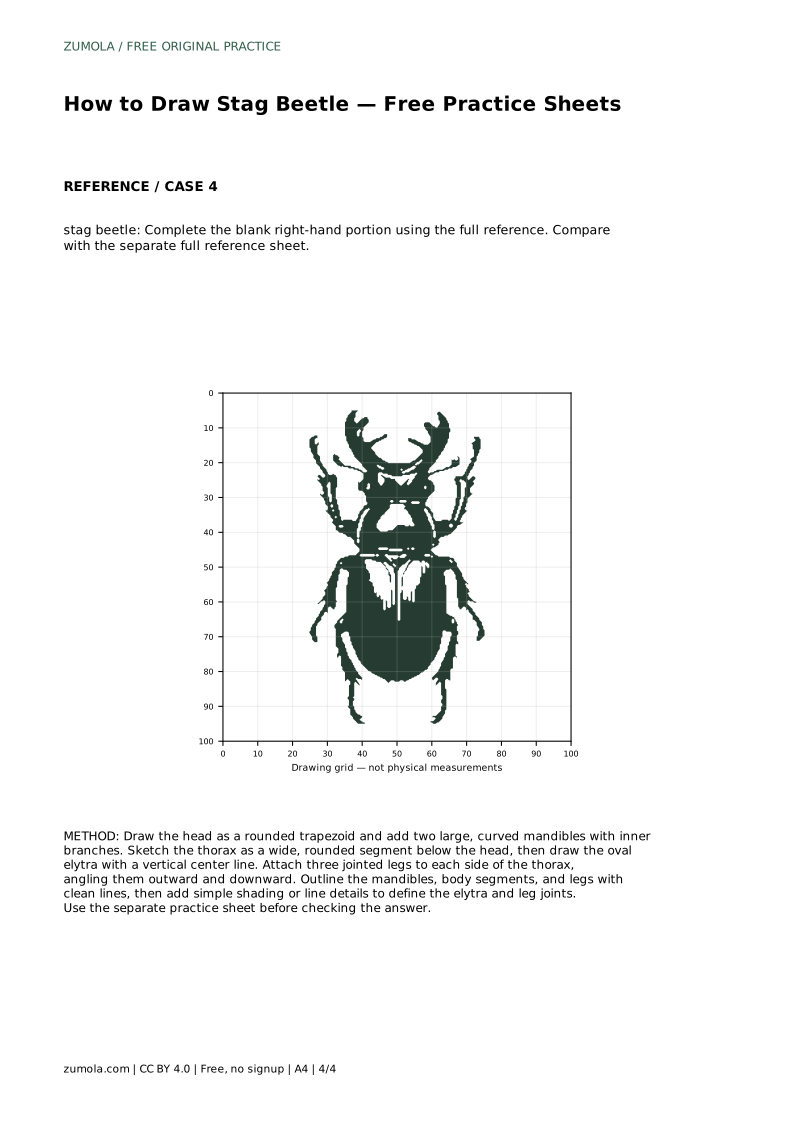
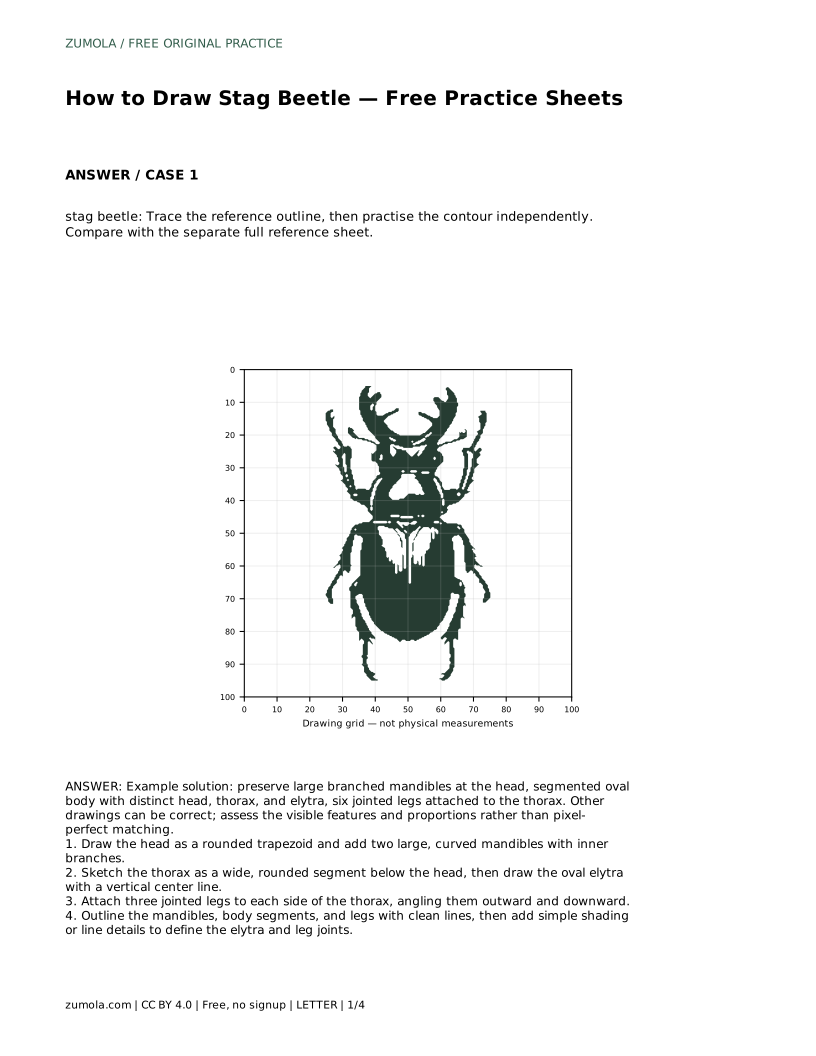
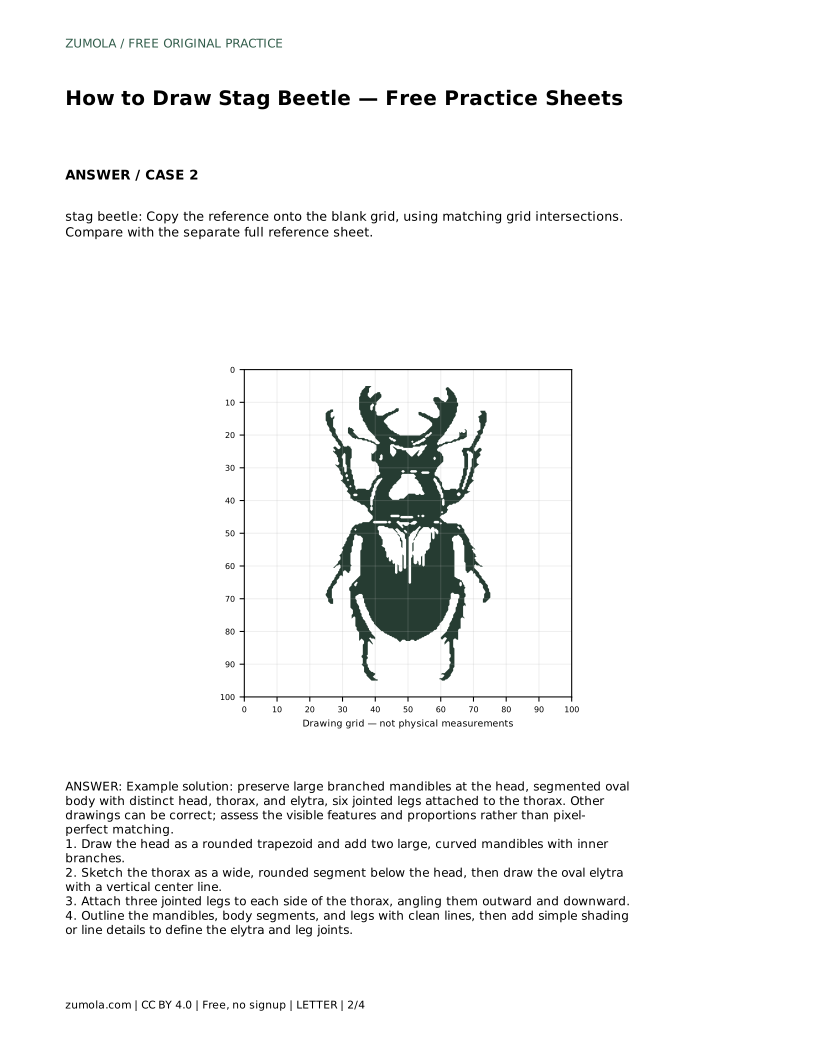
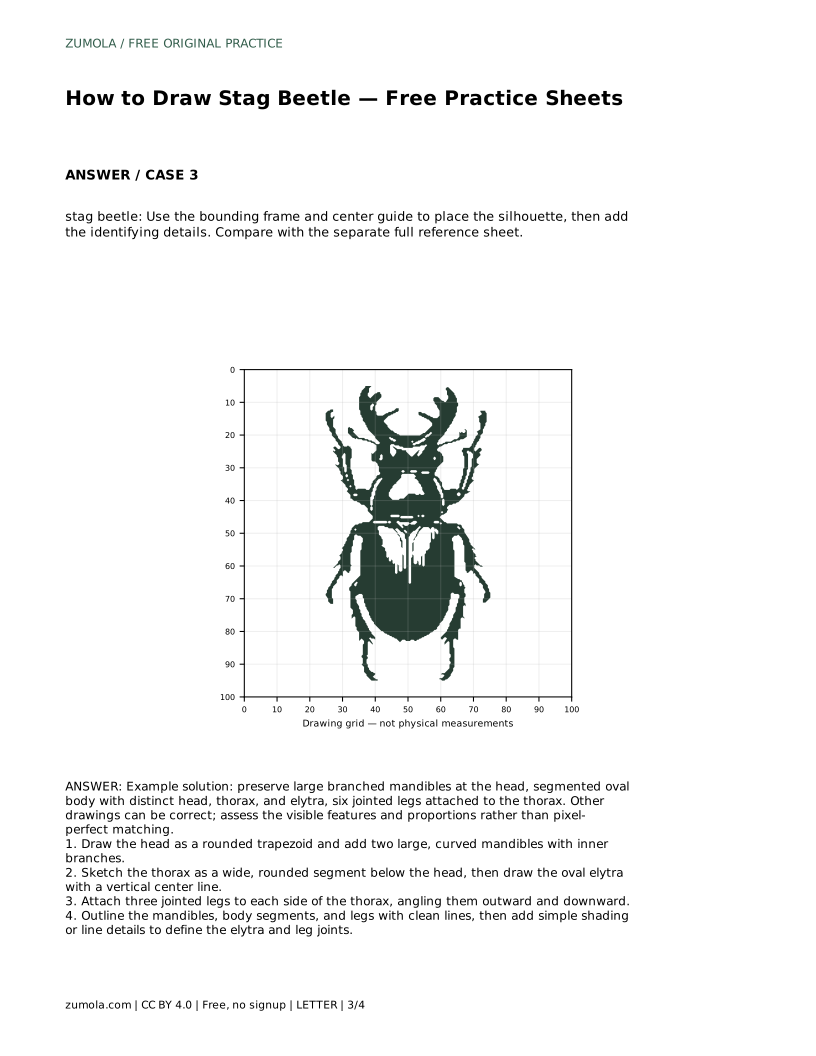
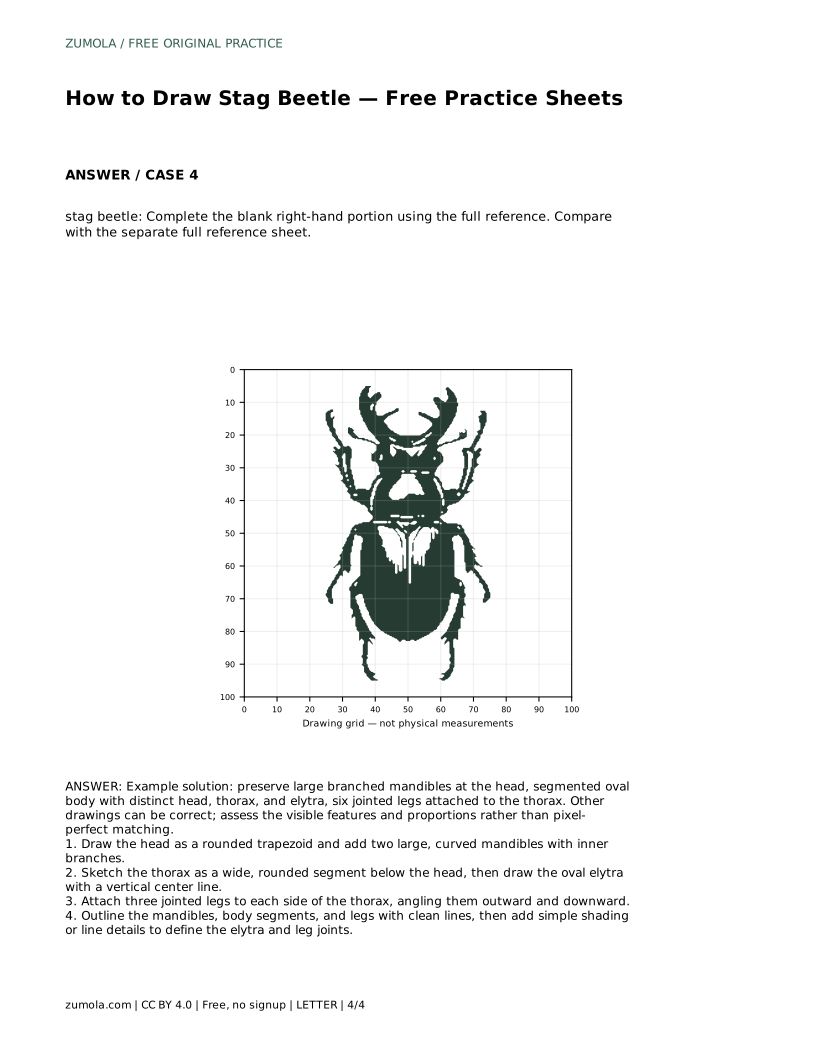
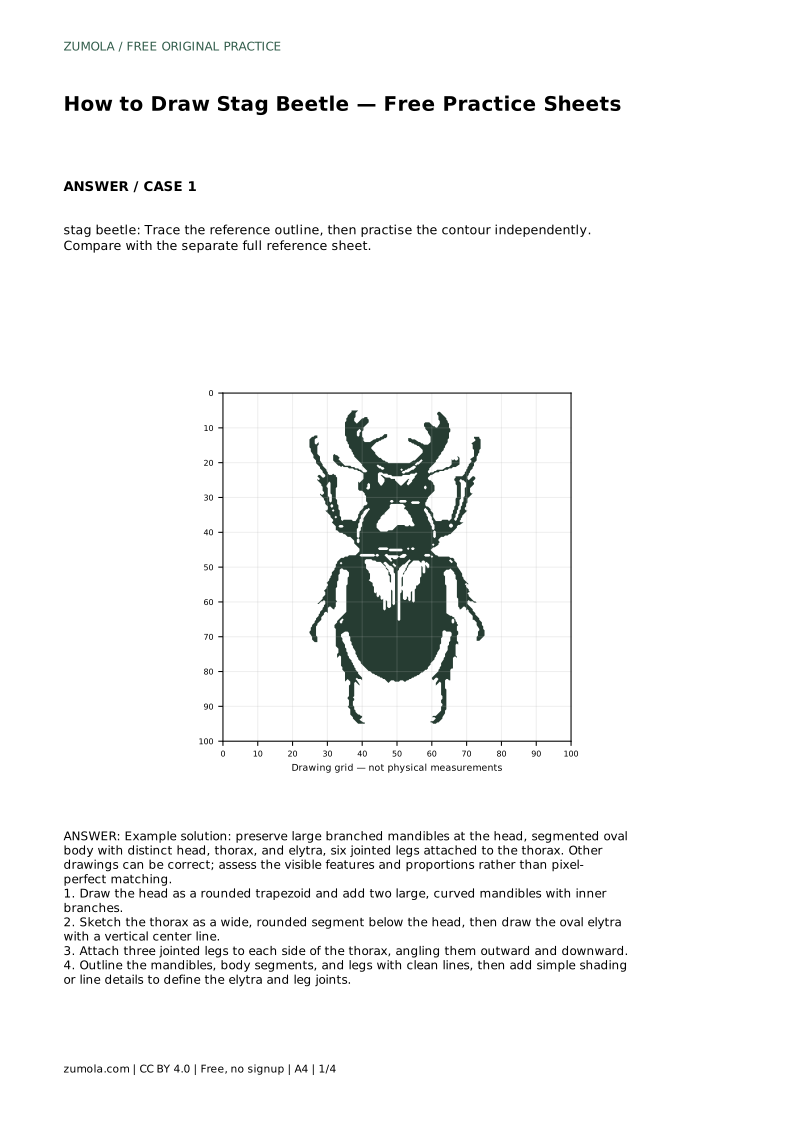
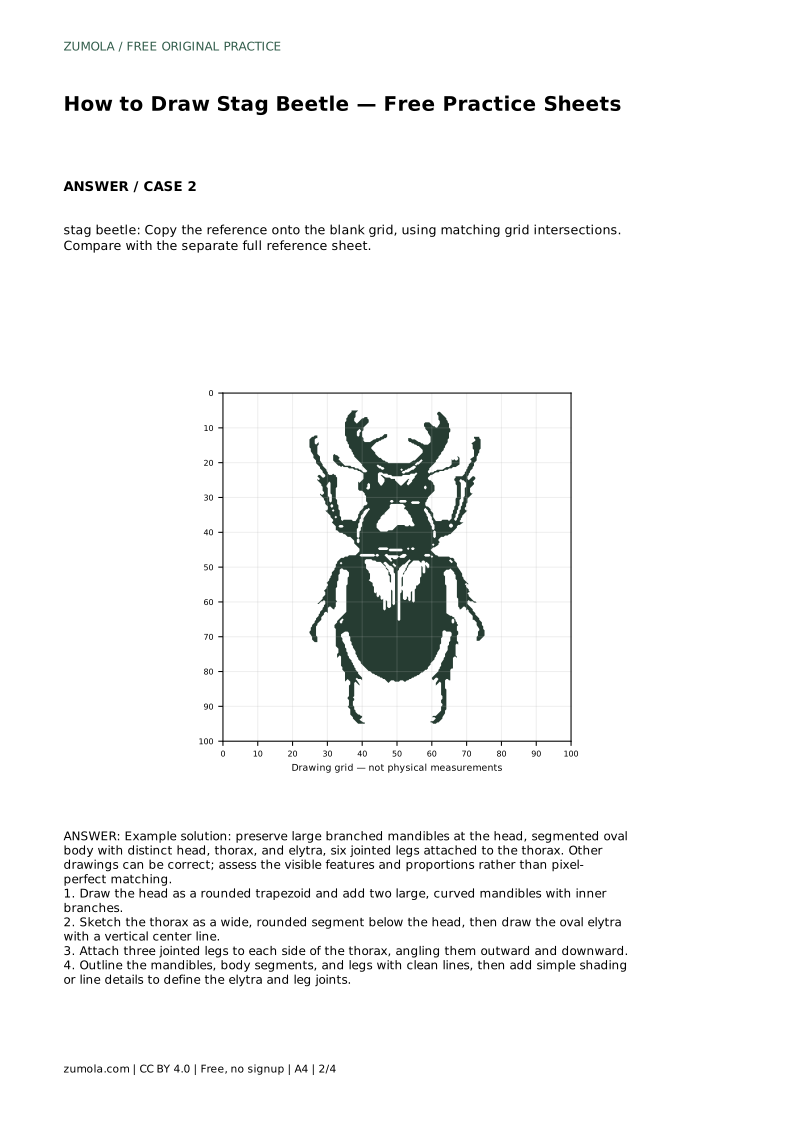
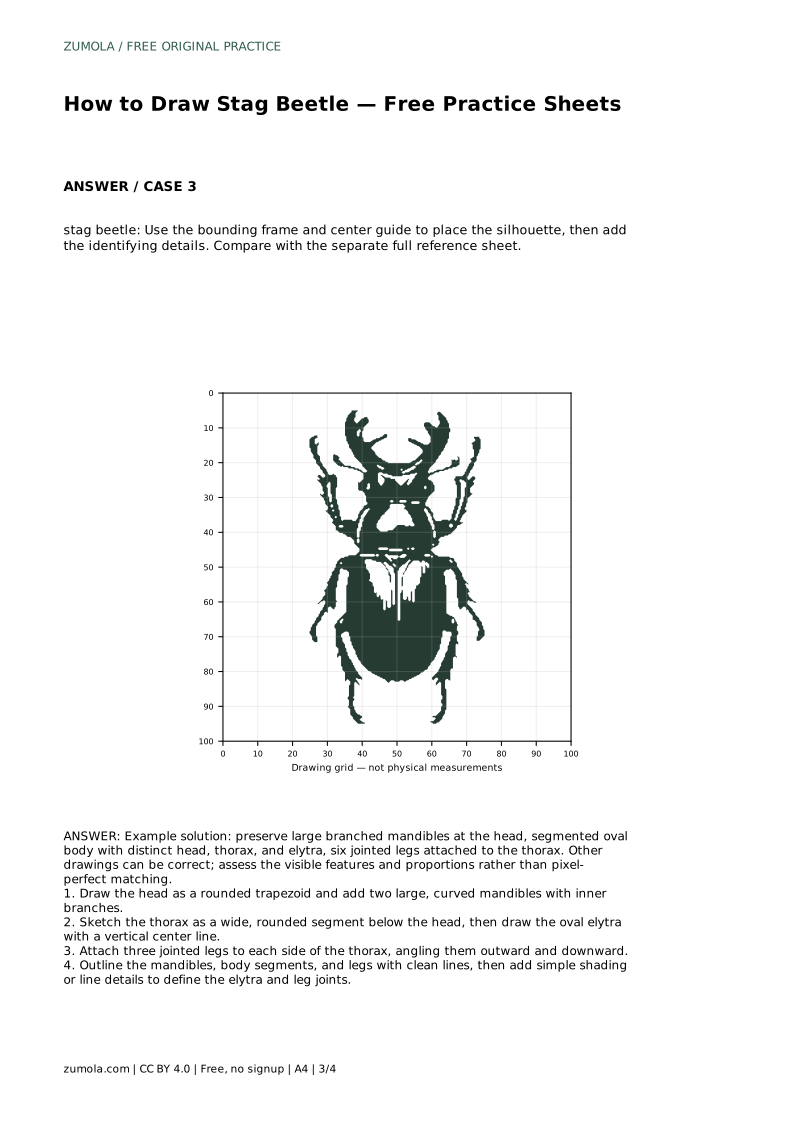
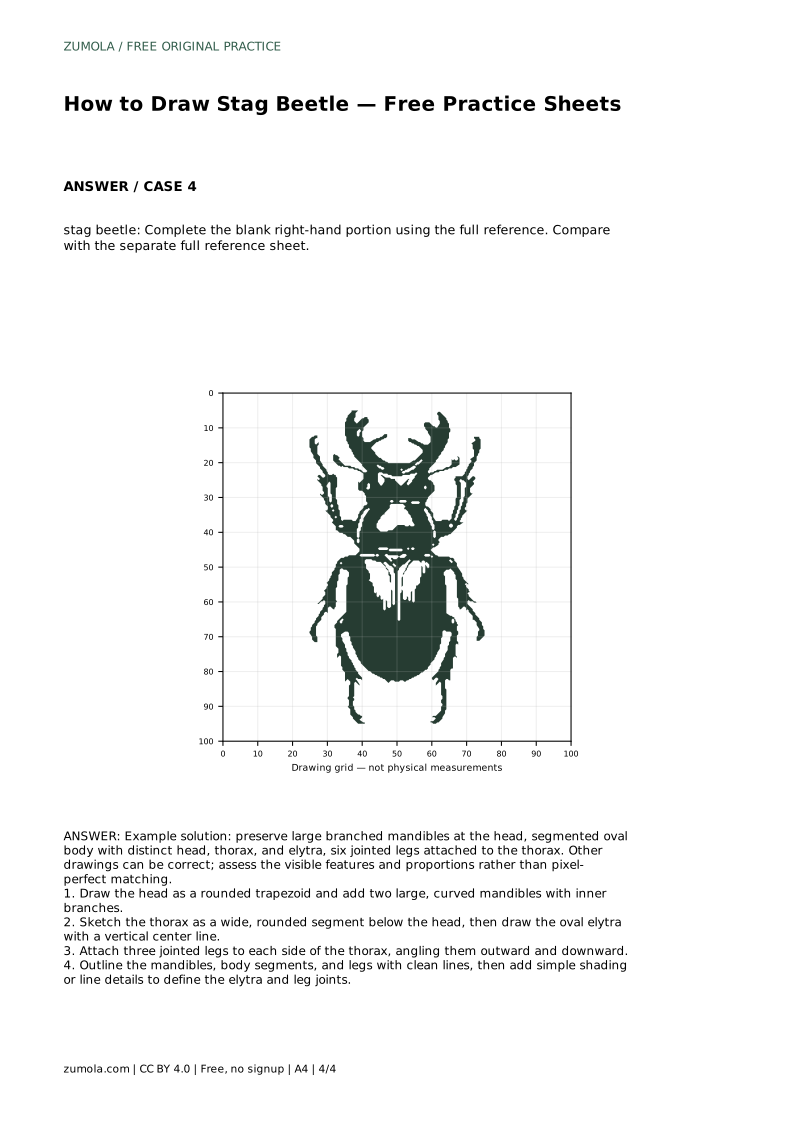
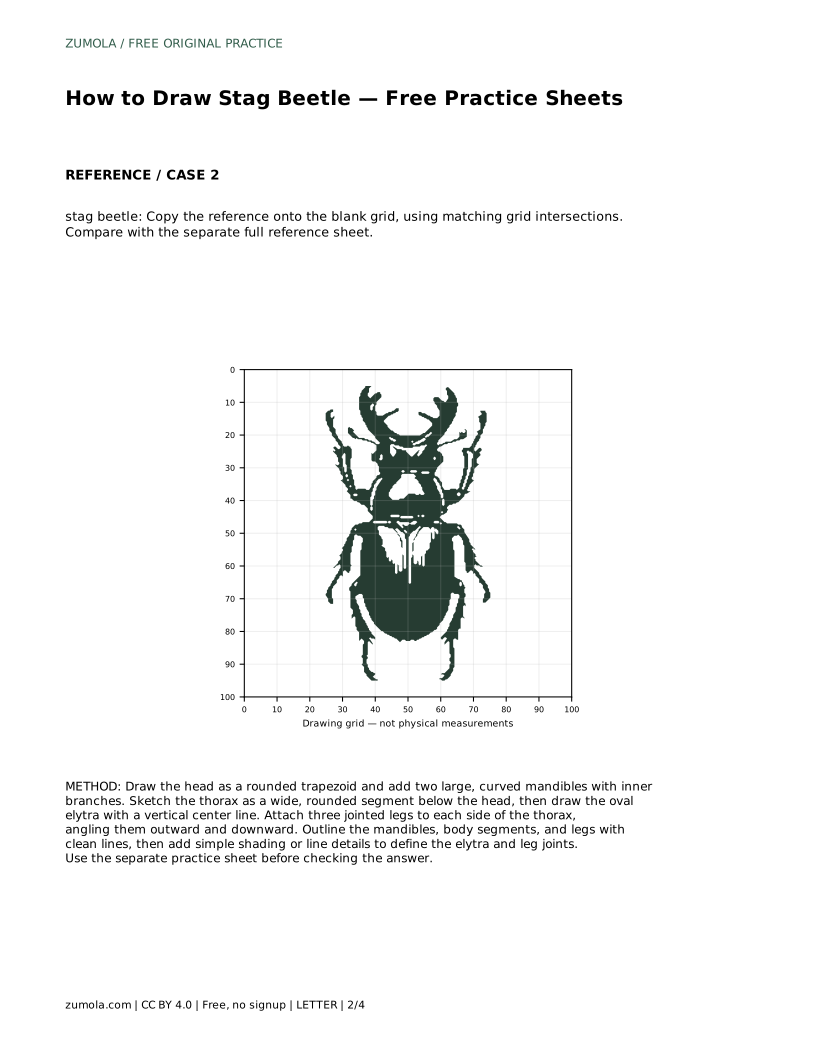
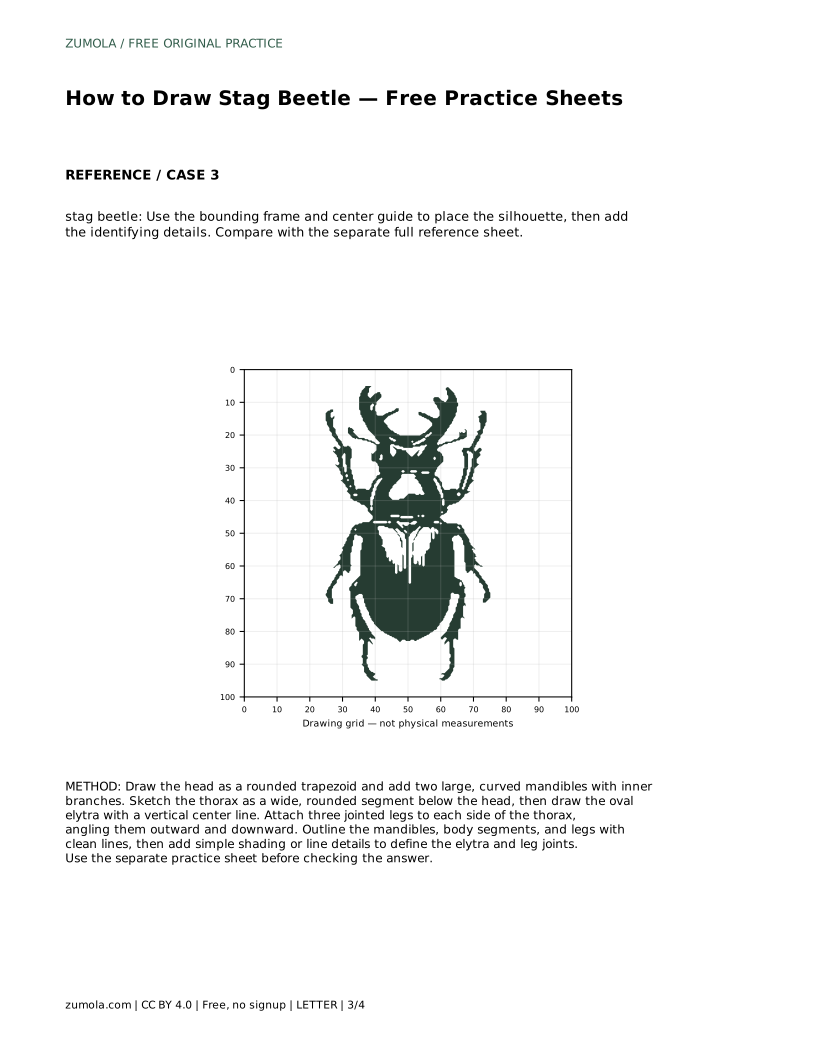
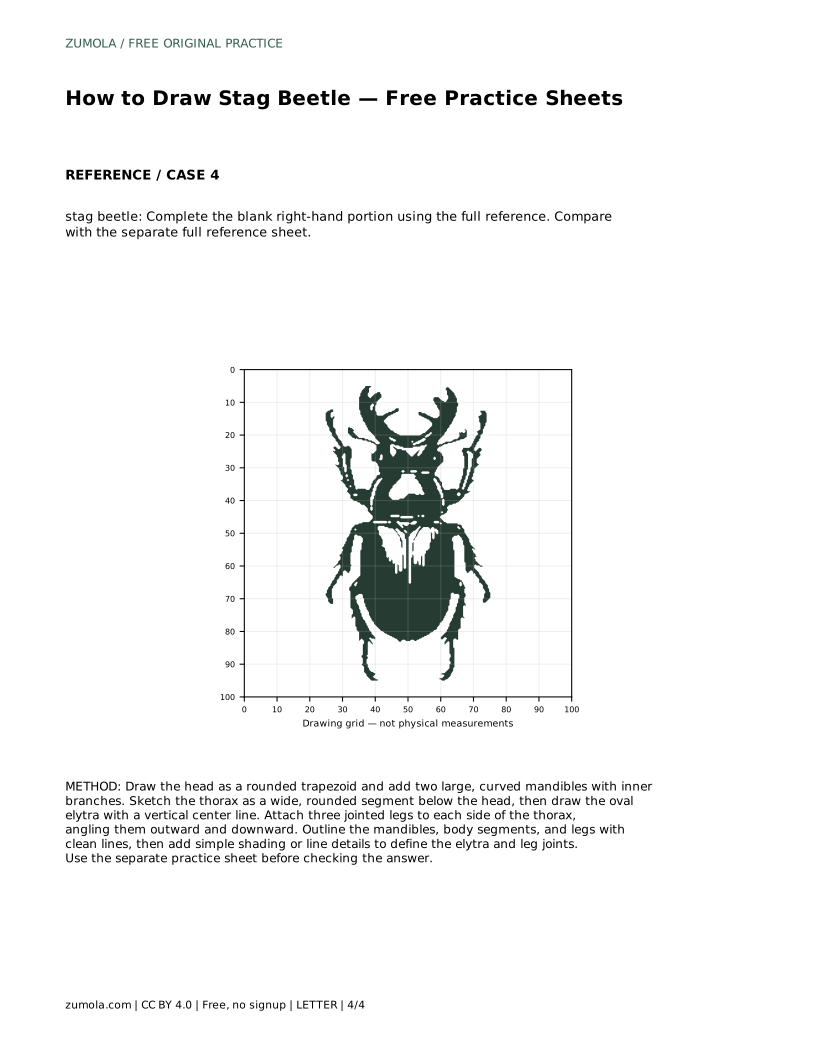
A stag beetle is recognizable by its large branched mandibles, a body divided into head, thorax, and elytra, and six jointed legs attached to the thorax. This page shows how to construct those features in order, so your drawing reads as a stag beetle rather than a generic insect. The practice sheets support tracing, grid copying, guide placement, and completing a partial drawing. Because drawings can vary, judge your result by visible features and proportions, not by an exact match.
Start with the head, drawn as a rounded trapezoid. Add two large, curved mandibles extending forward from the head, with inner branches that make the antler-like shape. Keep the mandibles prominent; they are the clearest identifying feature.
Below the head, sketch the thorax as a wide, rounded segment. Then draw the oval elytra, the wing covers, with a vertical center line dividing them. Attach three jointed legs to each side of the thorax, angling them outward and downward. Finish by outlining the mandibles, body segments, and legs with clean lines, then add simple shading or line details to define the elytra and leg joints.
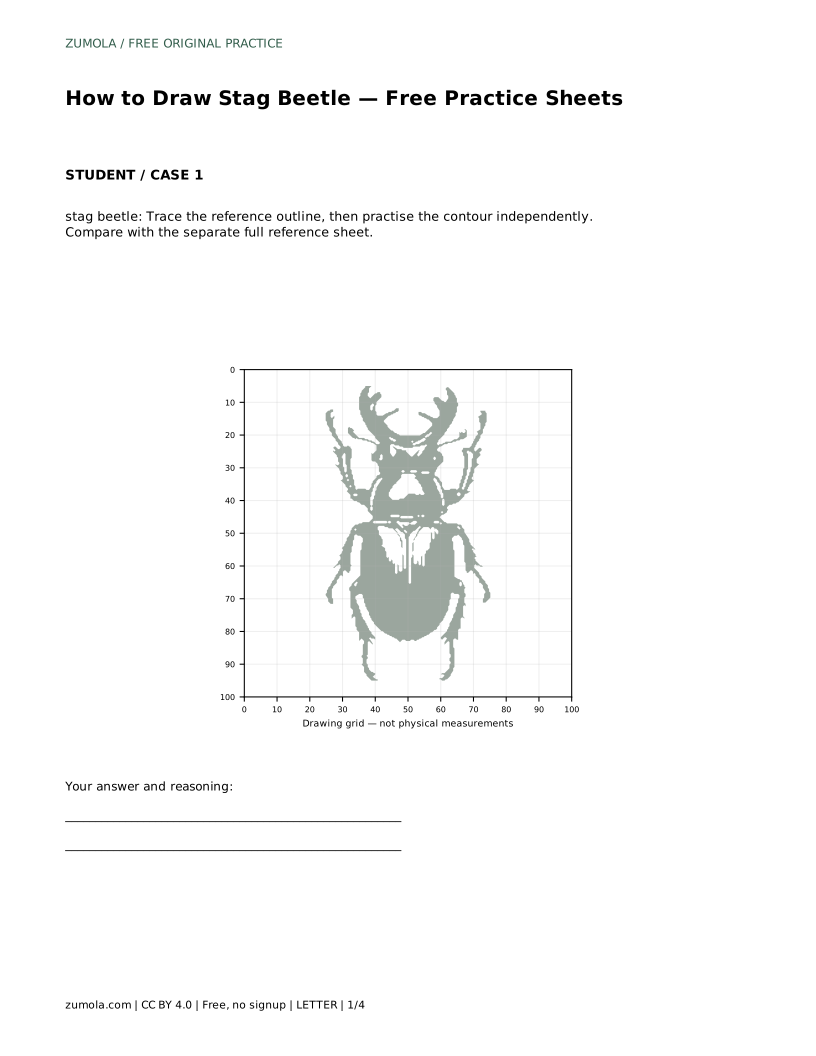
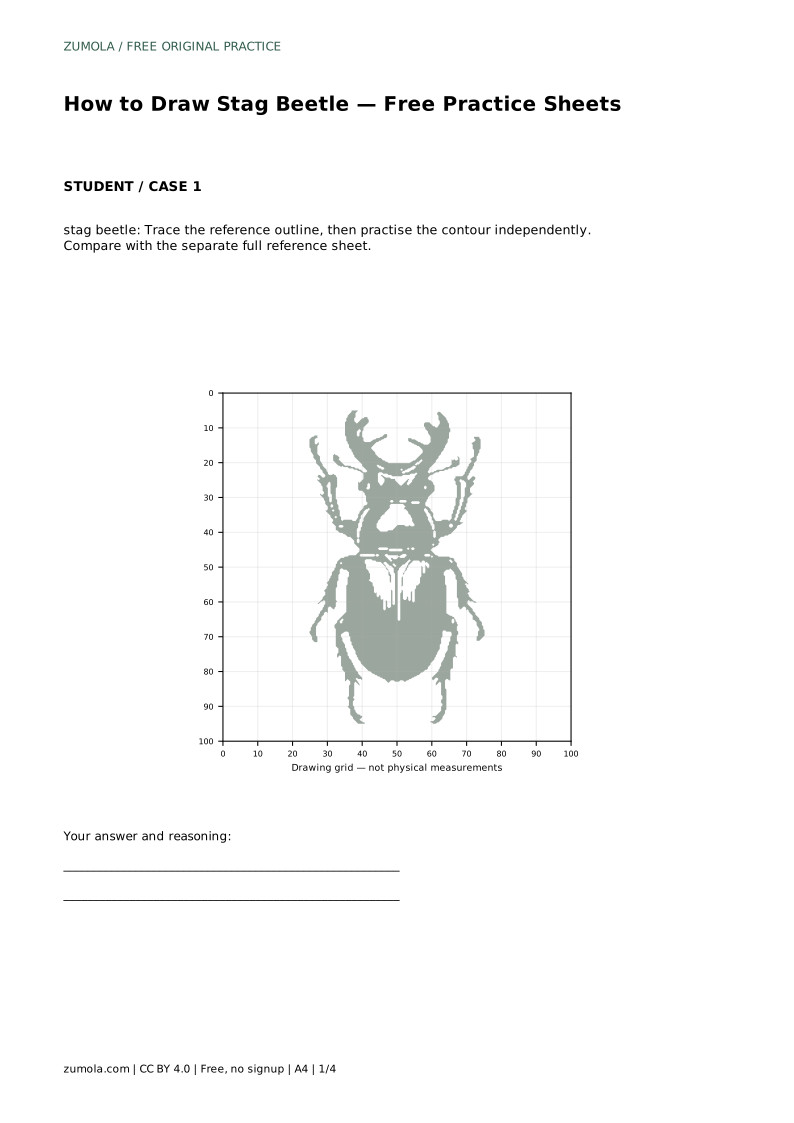
On the tracing sheet, follow the reference outline first, then practise the contour independently on blank space. On the grid sheet, copy the reference onto the blank grid, matching grid intersections so the proportions stay consistent.
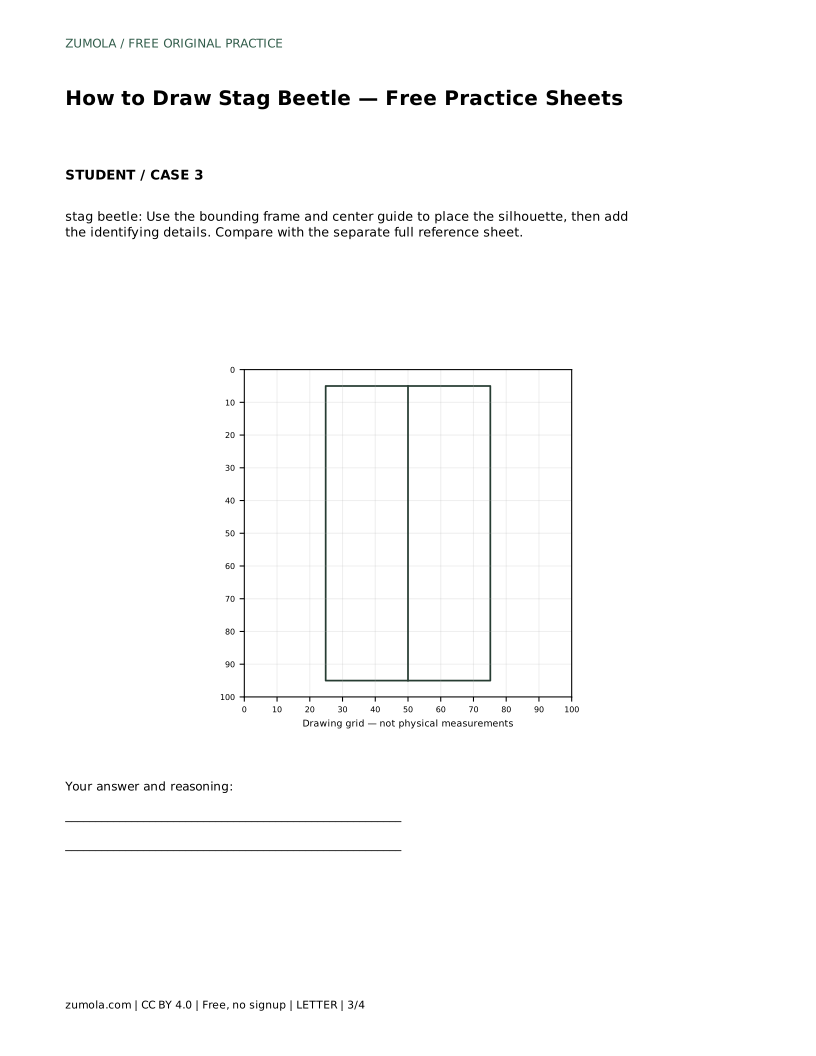
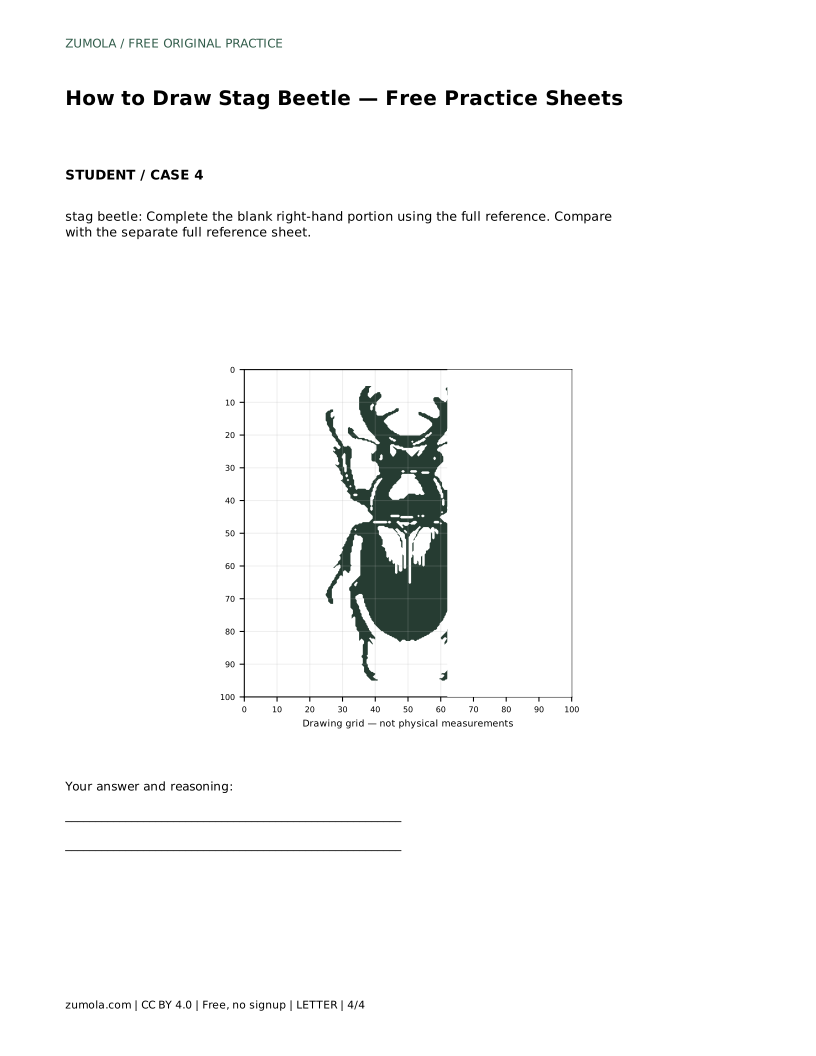
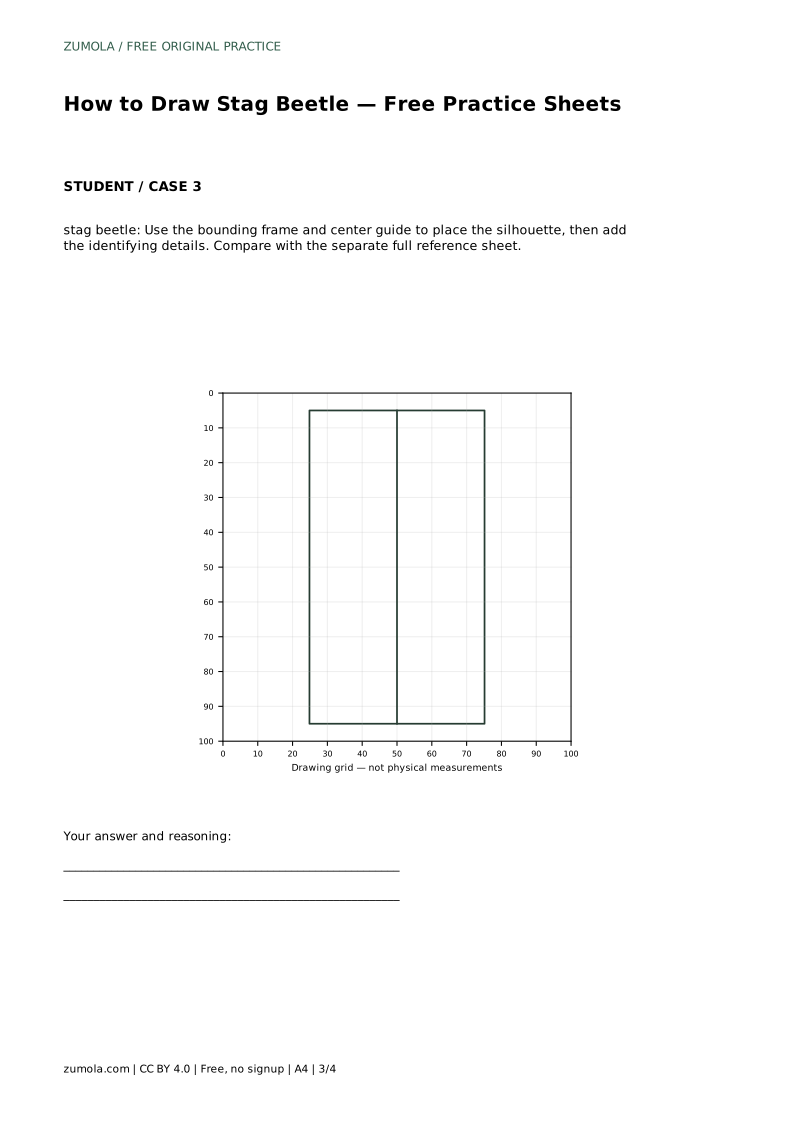
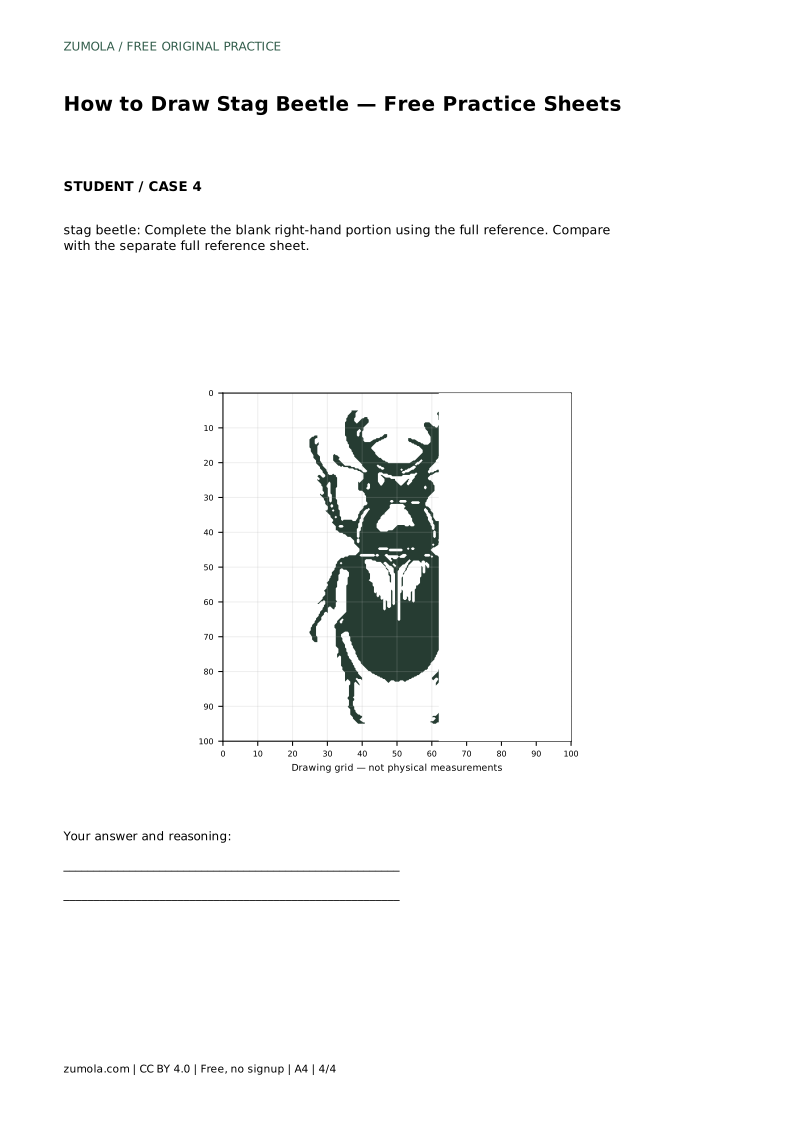
On the guide sheet, use the bounding frame and center guide to place the silhouette before adding identifying details. On the partial sheet, complete the blank right-hand portion using the full reference. In every case, compare your drawing with the separate full reference sheet and check the features listed in the rubric.
The head, thorax, and elytra should read as three distinct segments, with the elytra clearly the largest. The mandibles should be large relative to the head, and the six legs should meet the thorax rather than the elytra or head.
Legs are jointed, so show a bend rather than a single straight stroke. Keep left and right legs roughly balanced in length and angle. Small differences are fine; the goal is a believable beetle structure.
Add shading after the outline is settled. Use simple line details on the elytra and at leg joints to suggest form. Avoid heavy shading over the segment boundaries, since those lines carry the beetle's structure.
If a line looks wrong, redraw it lightly beside the old one and erase the weaker line. Keep the mandible branches clear and uncluttered so the silhouette stays readable.
stag beetle: Trace the reference outline, then practise the contour independently. Compare with the separate full reference sheet.
Example solution: preserve large branched mandibles at the head, segmented oval body with distinct head, thorax, and elytra, six jointed legs attached to the thorax. Other drawings can be correct; assess the visible features and proportions rather than pixel-perfect matching. Draw the head as a rounded trapezoid and add two large, curved mandibles with inner branches. Sketch the thorax as a wide, rounded segment below the head, then draw the oval elytra with a vertical center line. Attach three jointed legs to each side of the thorax, angling them outward and downward. Outline the mandibles, body segments, and legs with clean lines, then add simple shading or line details to define the elytra and leg joints.
No. Other drawings can be correct. Assess the visible features and proportions rather than pixel-perfect matching.
The large branched mandibles at the head, followed by the segmented body and six thorax-attached legs.
It is better to settle the outline first, then add simple shading or line details to define the elytra and leg joints.
All drawing practice · Free coordinate paper
Original resources · CC BY 4.0 · Free for personal and classroom use with attribution.