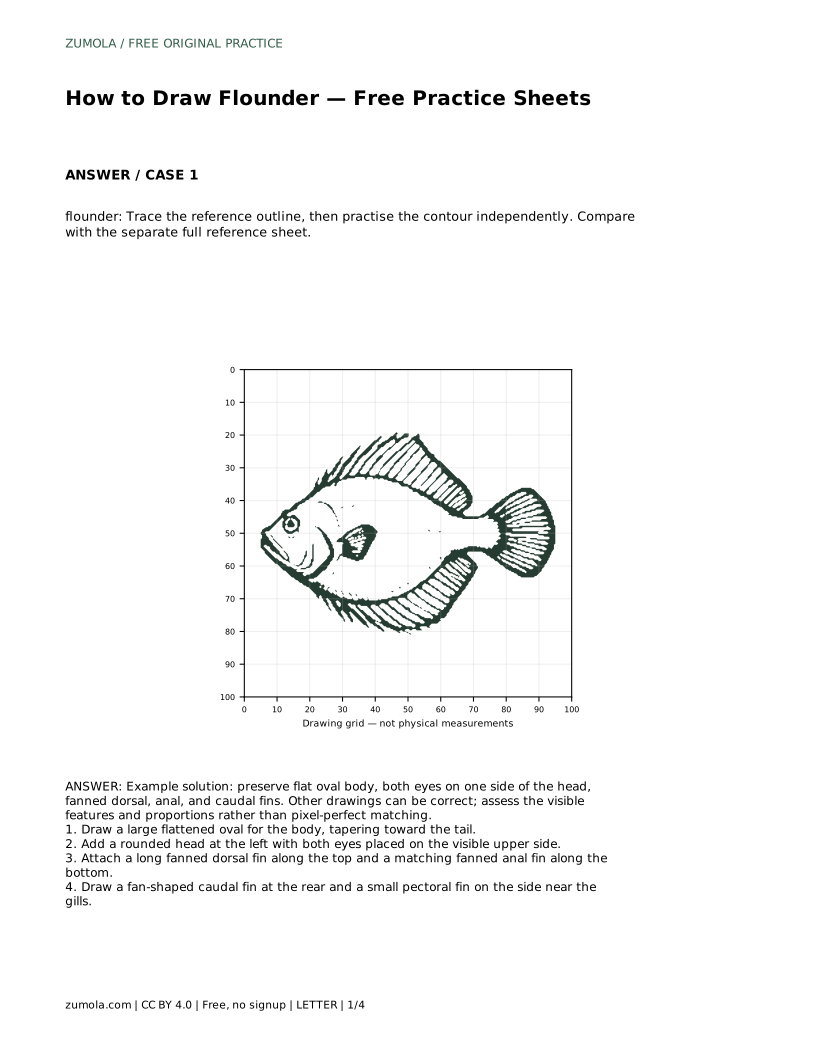
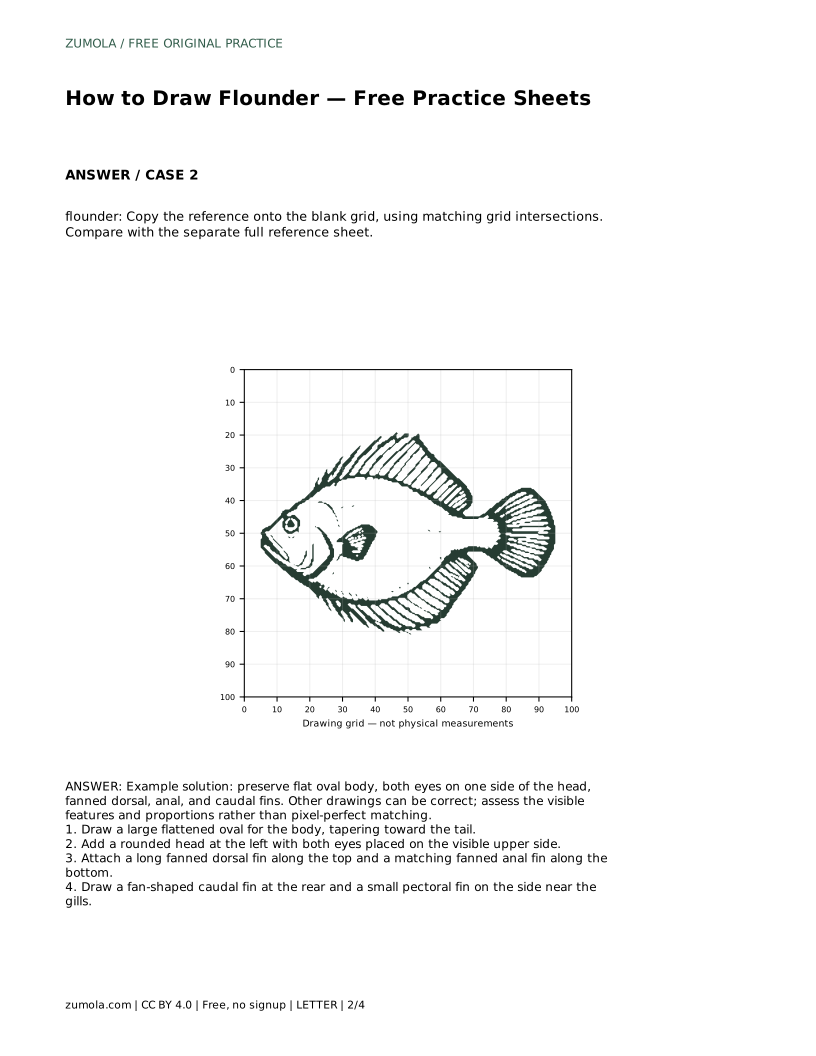
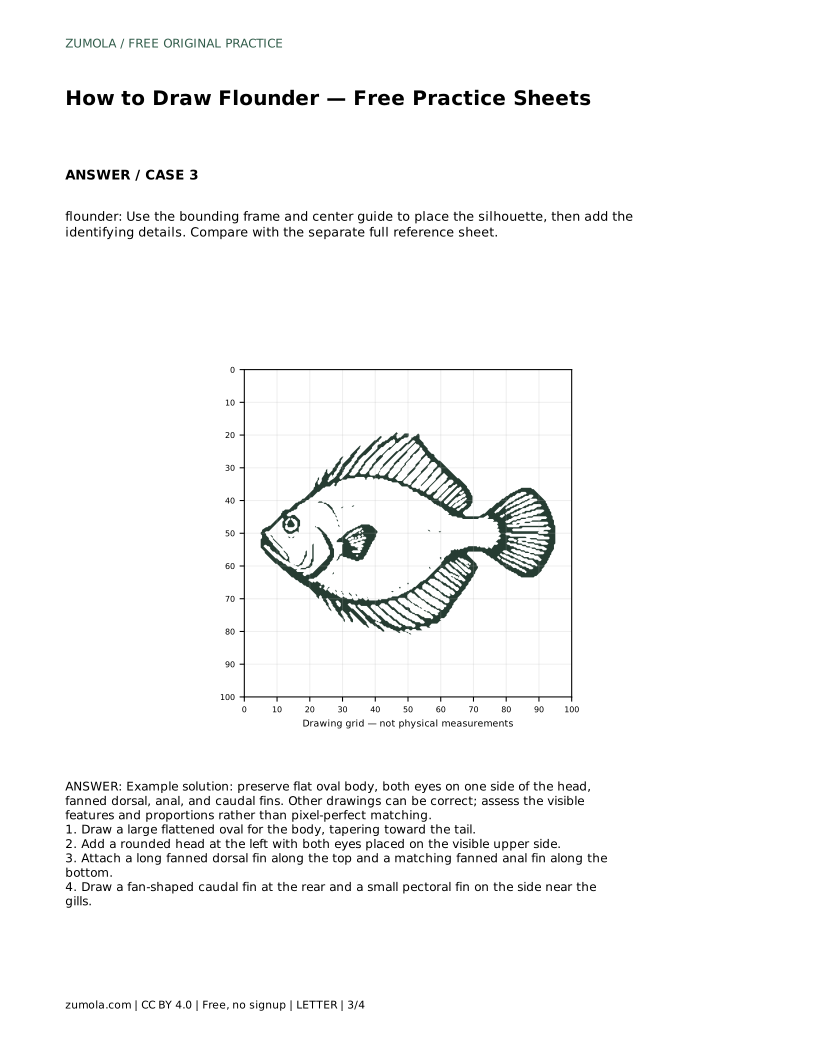
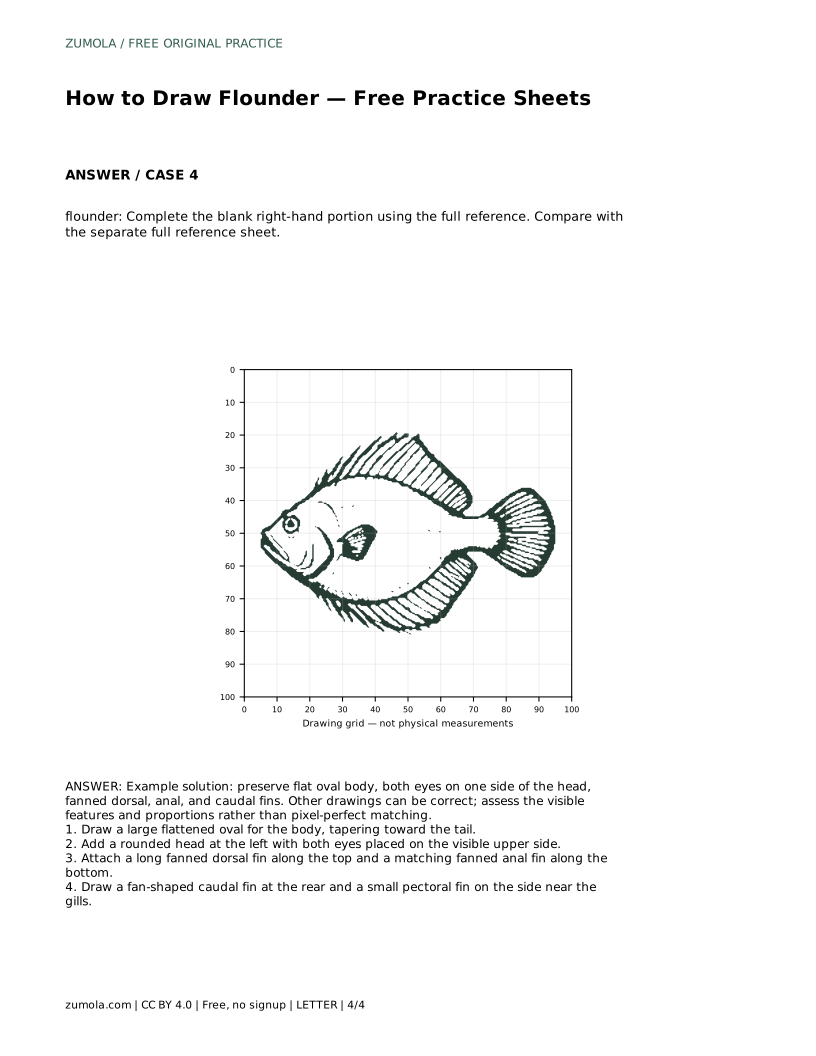
Reference diagrams
LETTER · Download PDF
A4 · Download PDF
Free original resources
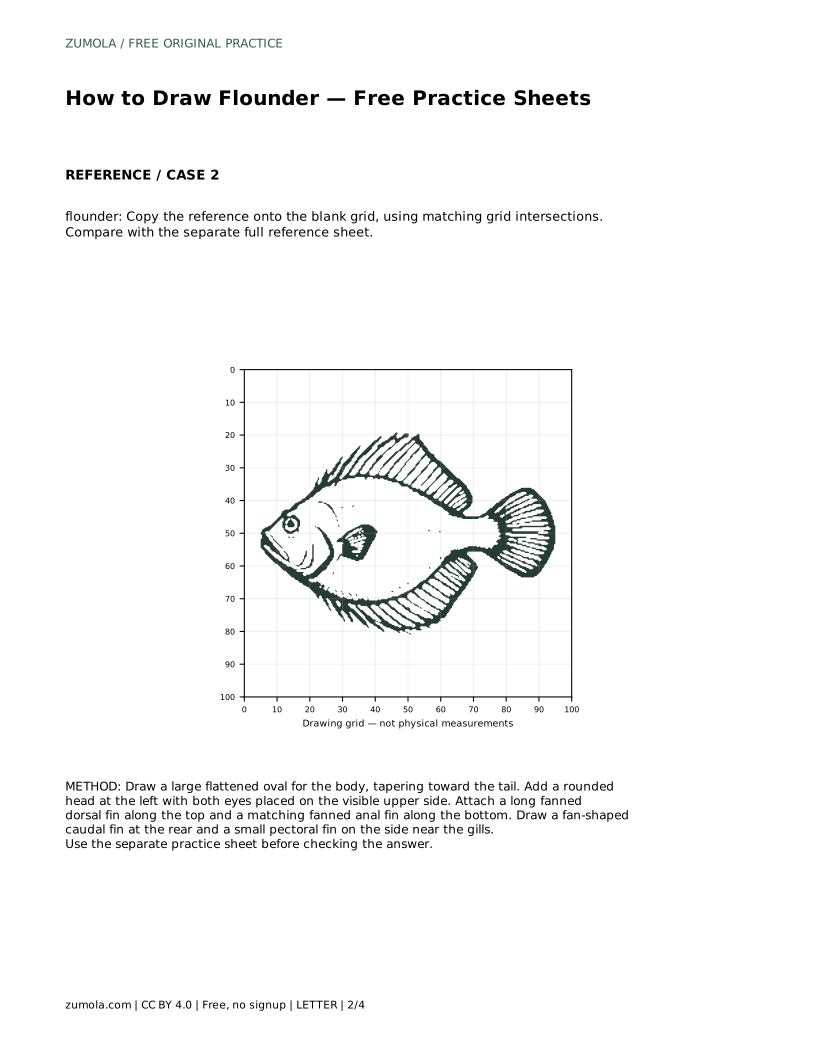
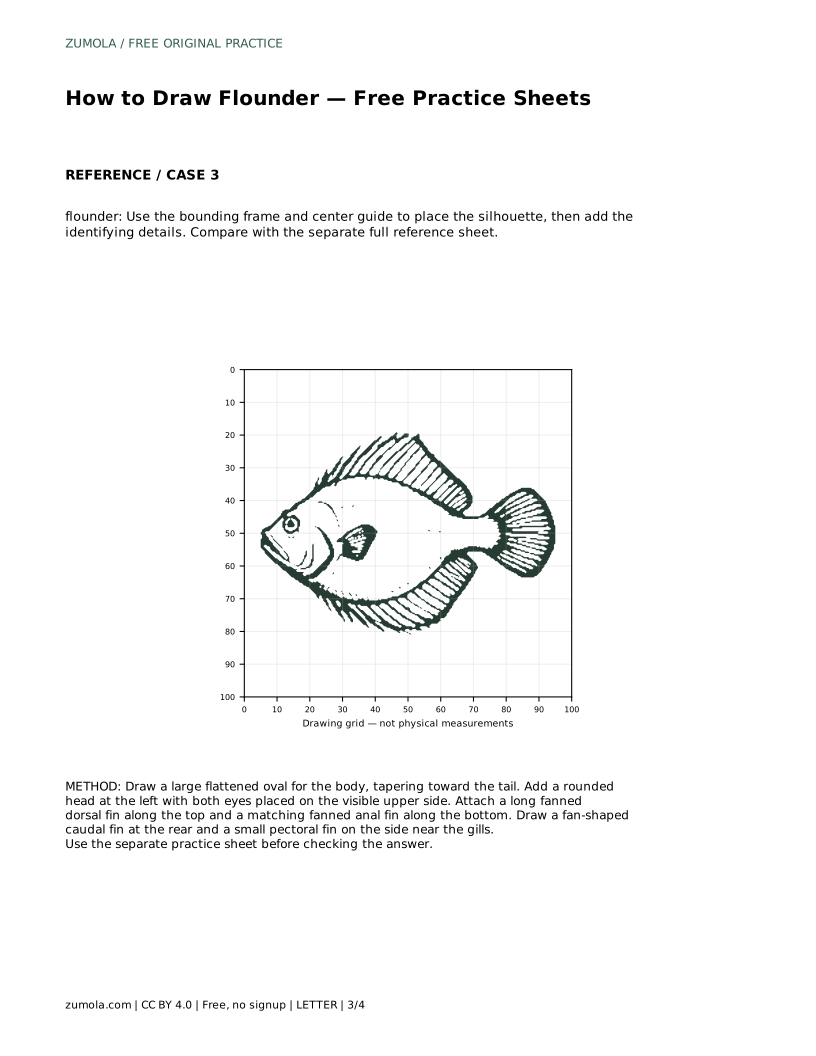
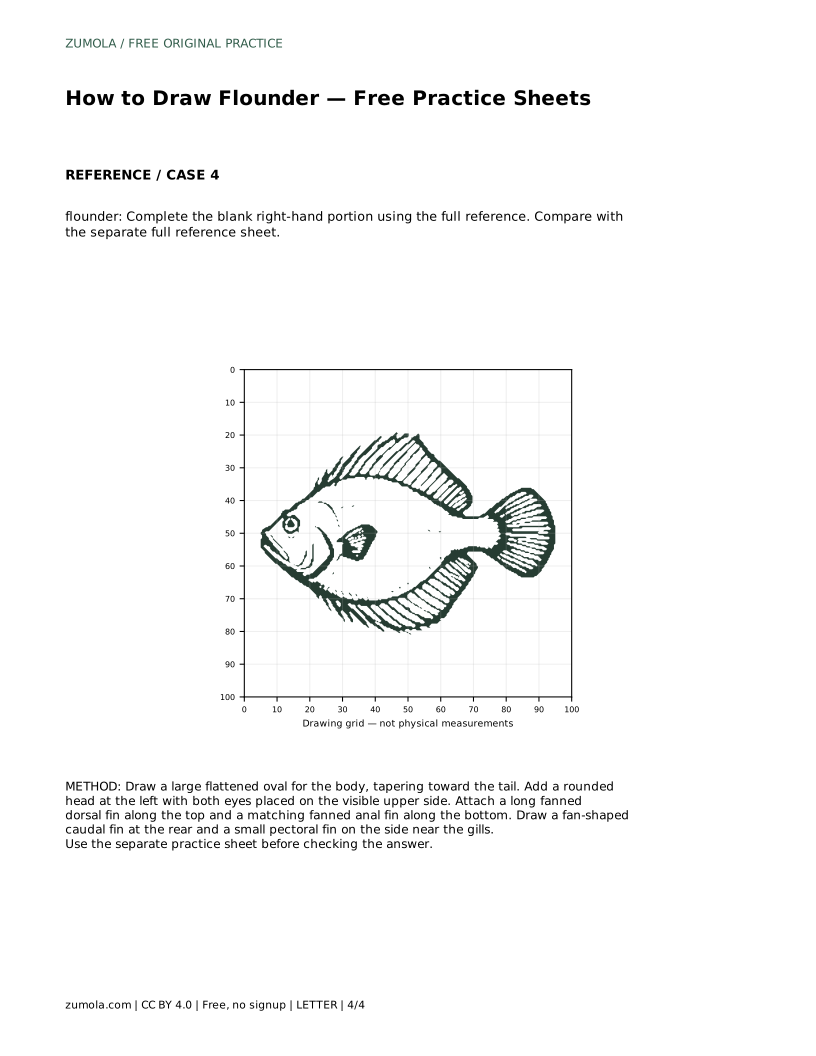
Learn to draw a flounder by building a flat oval body, placing both eyes on one side, and adding fanned fins. Free practice sheets support tracing, grids, and guided outlines.
Four original cases, with reference diagrams, practice sheets and worked answers. Everything is free; no signup required.
LETTER · Download PDF
A4 · Download PDF
LETTER · Download PDF
A4 · Download PDF
LETTER · Download PDF
A4 · Download PDF
Use A4 or US Letter to match your printer. Use the stated values and conditions to solve each exercise; diagrams are not physical measuring rulers.
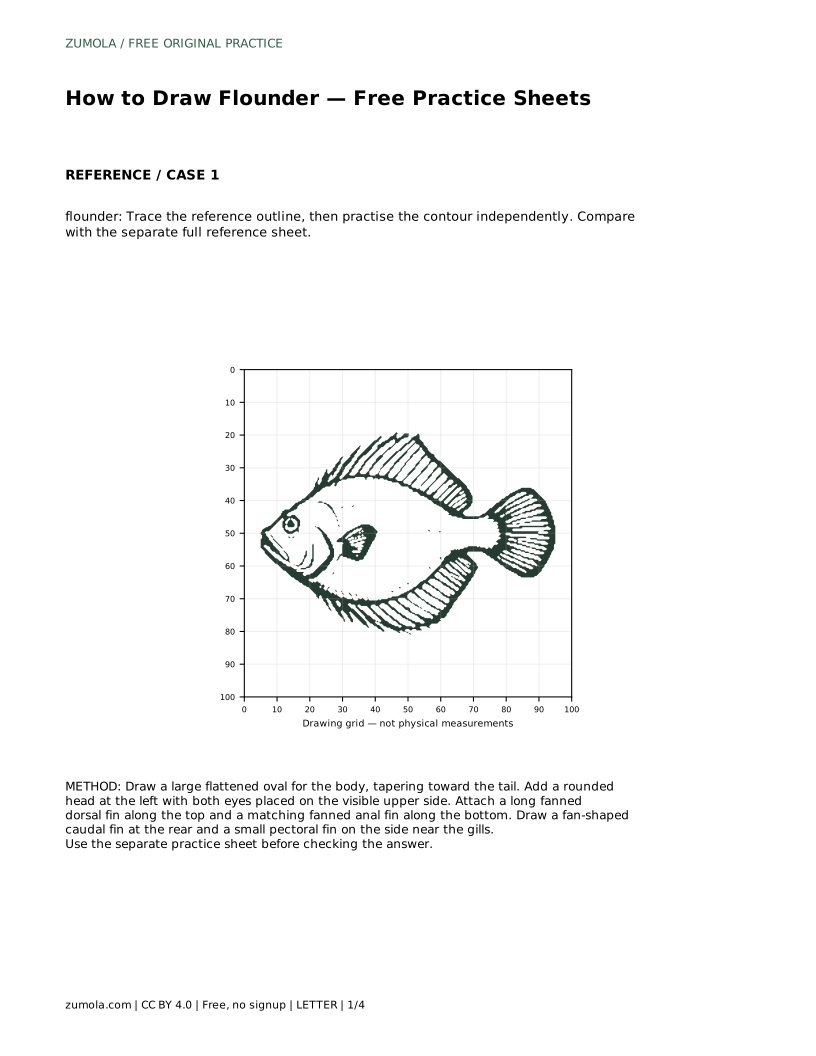
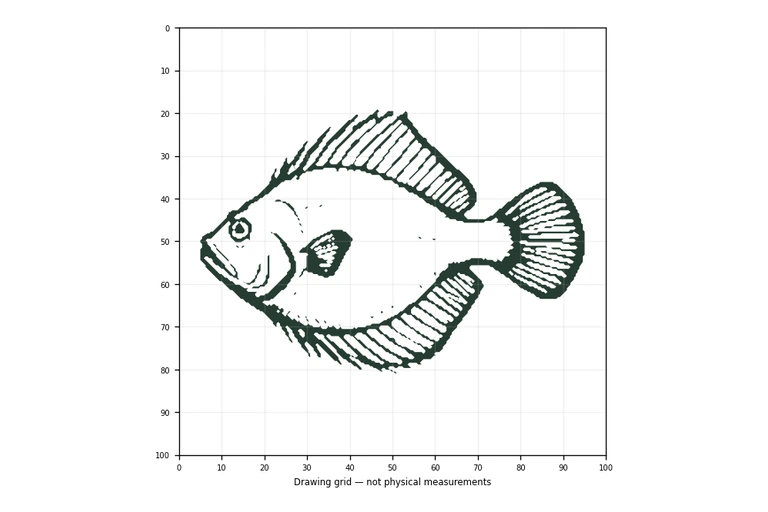
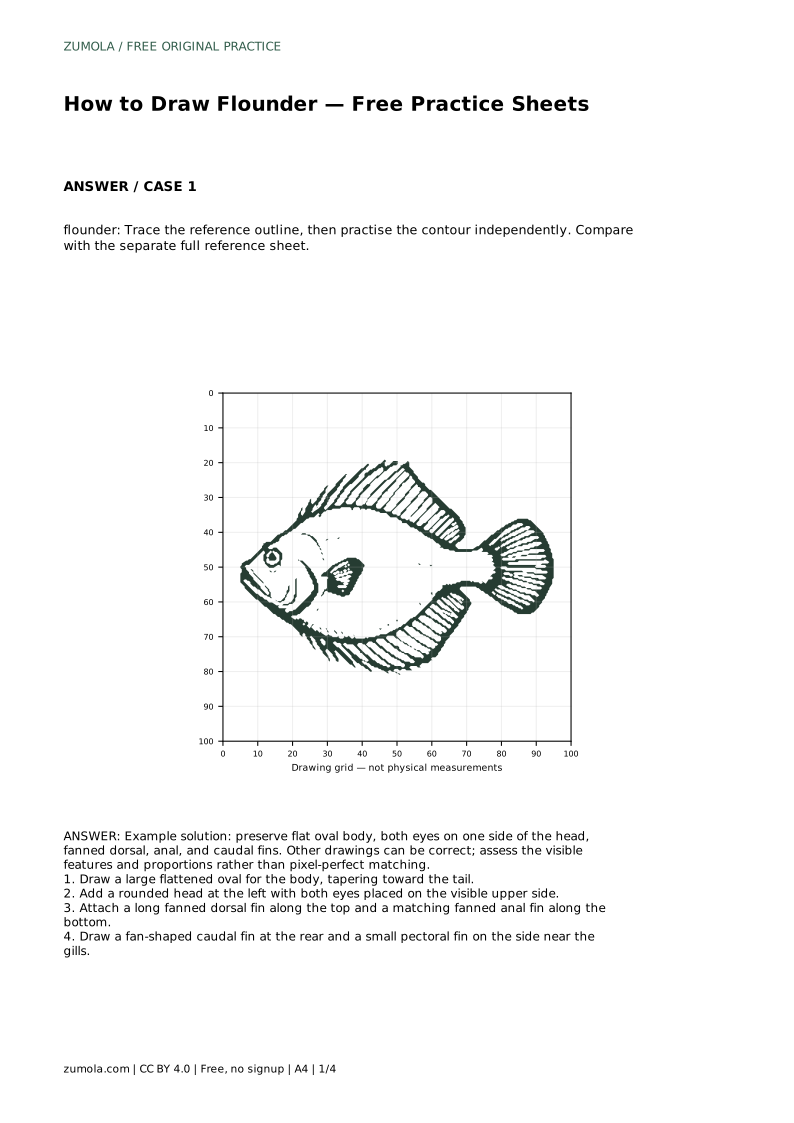
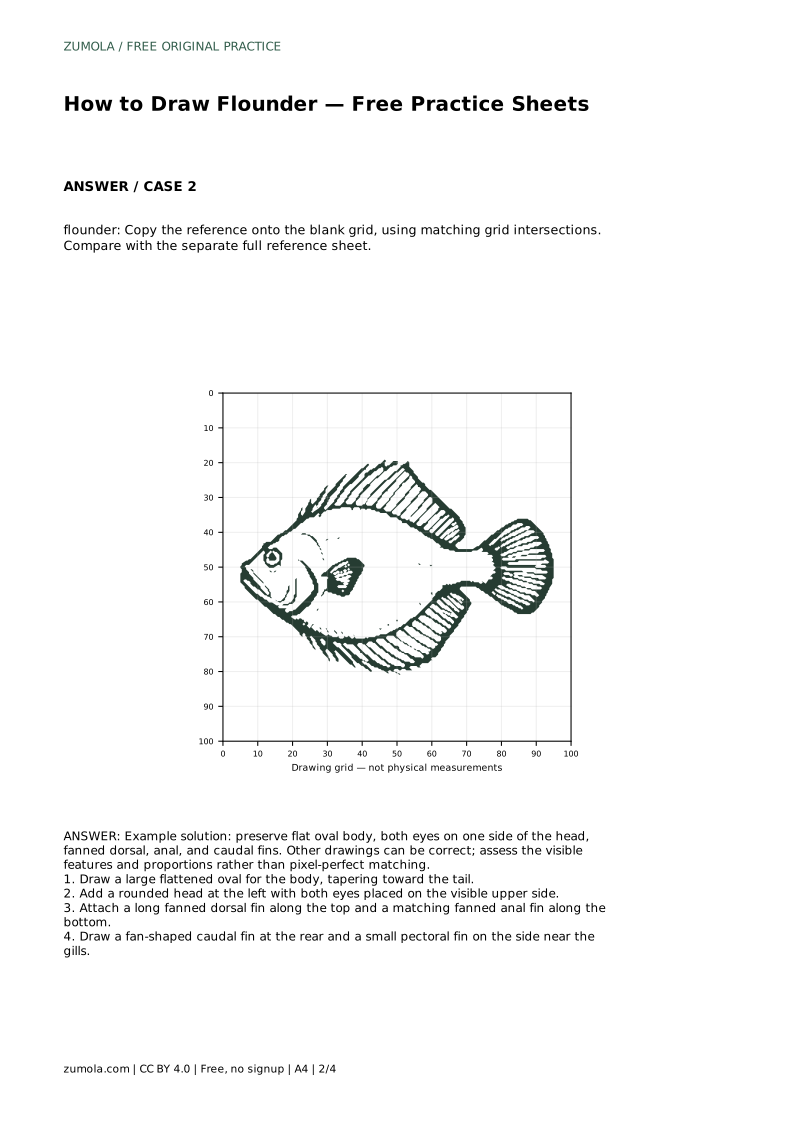
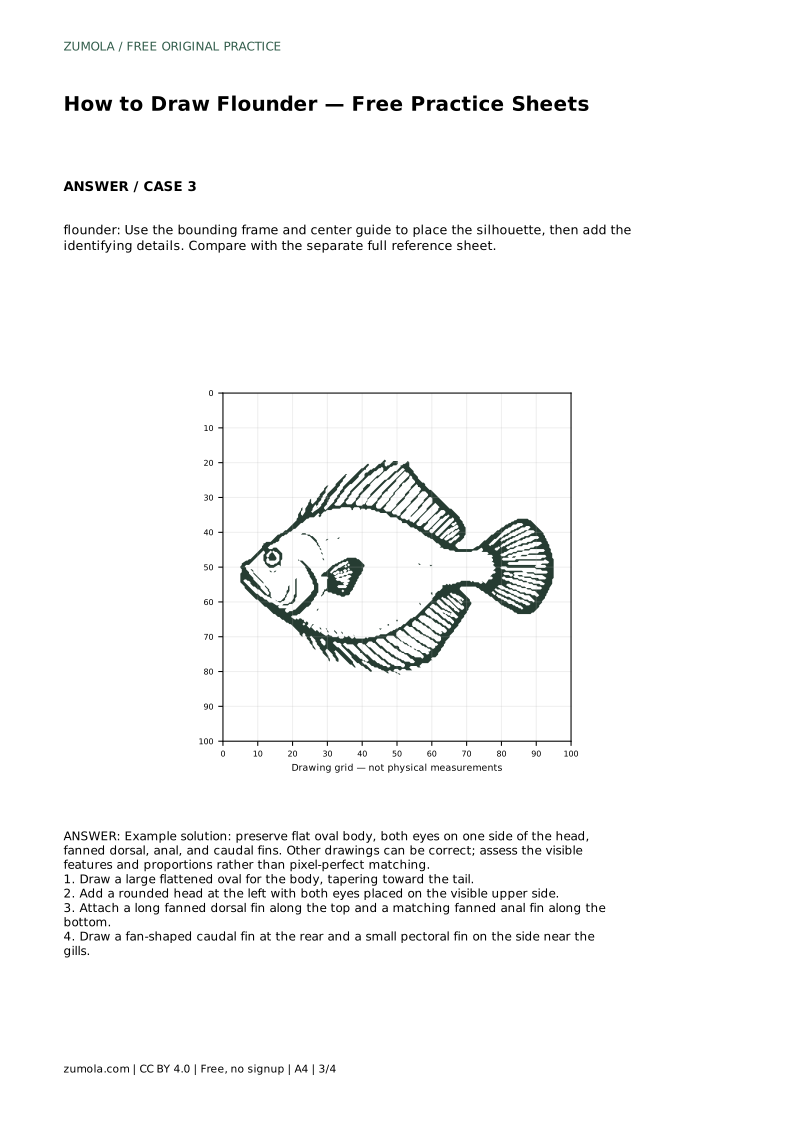
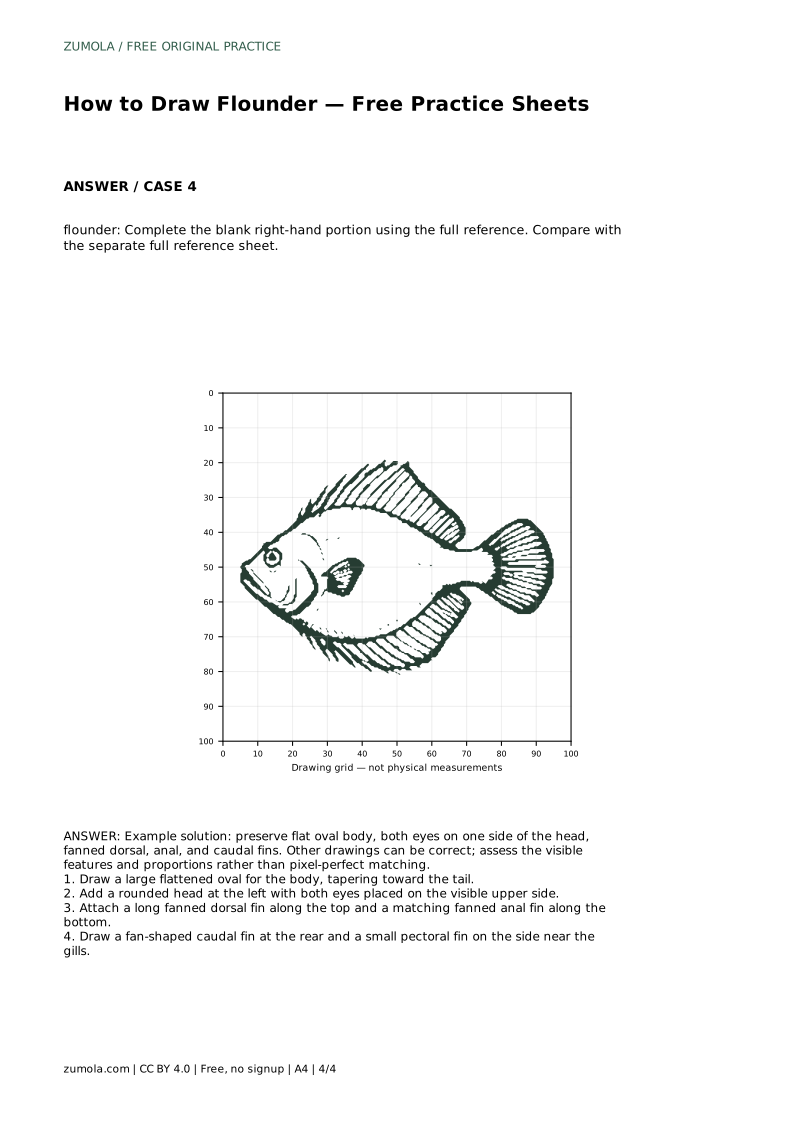
A flounder is easy to recognize once you know which features matter: a broad, flattened oval body, a rounded head, both eyes sitting on the same visible side, and long fanned fins along the top and bottom. This guide breaks the drawing into four clear stages so you can practise the contour with confidence. The free practice sheets let you trace, copy onto a grid, or complete a partial outline, then compare your work with the full reference.
Begin with the largest shape, because everything else hangs off it. Draw a wide, flattened oval that tapers gently toward the tail end. Keep the oval low and broad rather than tall; a flounder reads as a flat fish seen from above, not a round fish seen from the side.
Place the rounded head at the left of the oval. The head should blend into the body rather than sit as a separate circle. Lightly mark the tail end so you know where the body narrows before adding fins.
The eyes are the detail that makes a flounder unmistakable. Both eyes belong on the visible upper side of the head, close together but not touching. Draw them as two small circles with a dot or pupil inside each.
Avoid placing one eye on each side of the head as you would for most fish. That single choice changes the drawing from a flounder into a generic fish. Keep the eyes on the same surface you are showing the viewer.
Flounders have long, fanned fins running along the top and bottom edges of the body. Draw a dorsal fin along the top and a matching anal fin along the bottom, both following the curve of the oval. Show the fan structure with short lines radiating from the body edge to the fin rim.
Finish with a fan-shaped caudal fin at the rear and a small pectoral fin on the side near the gills. Keep the fin lines light so the body shape stays readable.
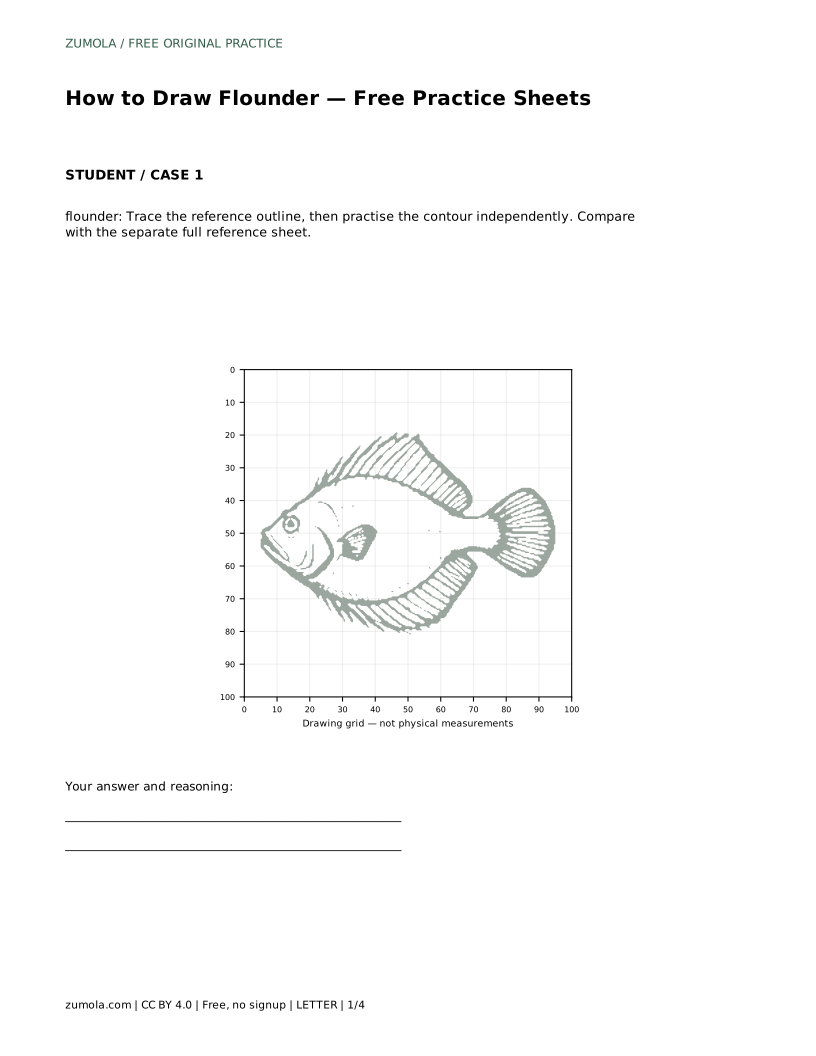
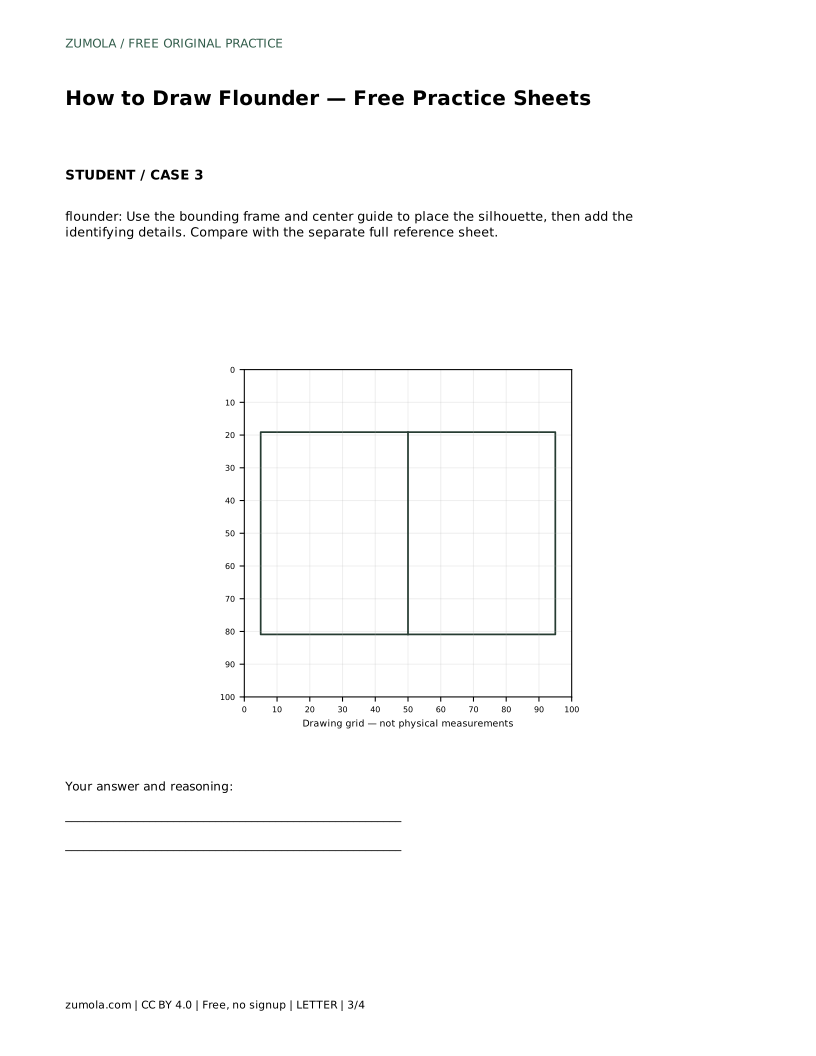
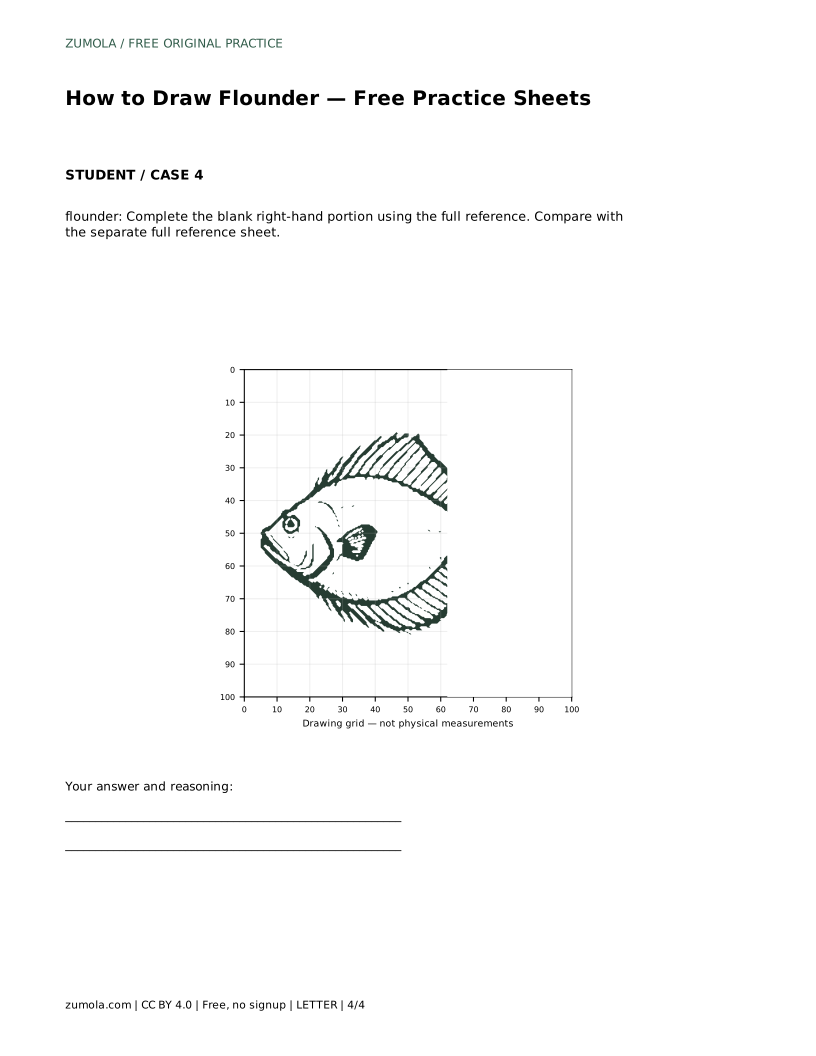
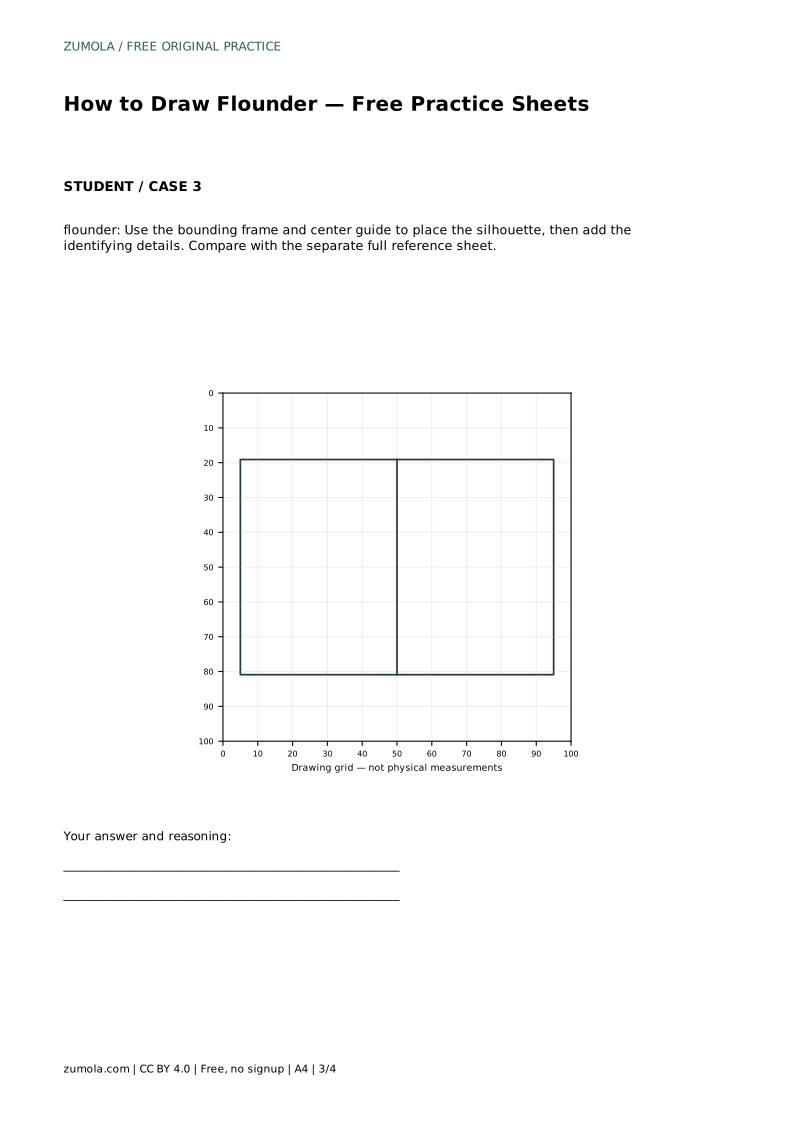
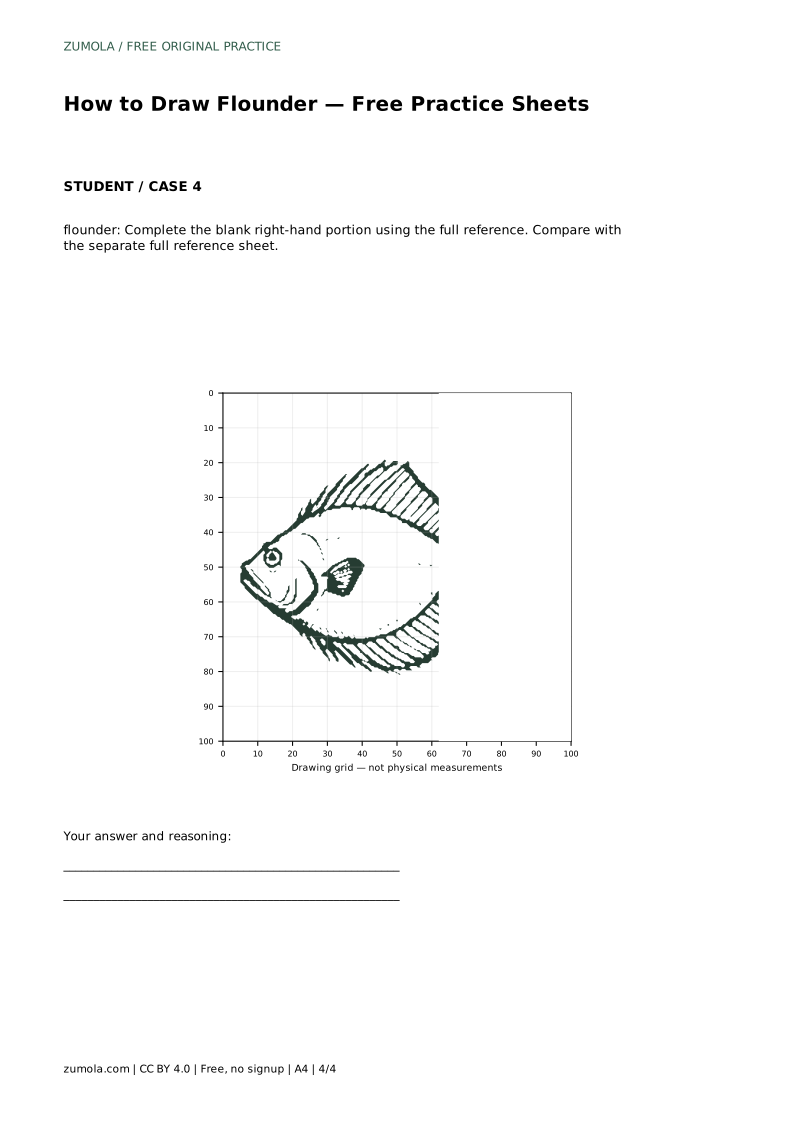
Use the practice sheets in the order that suits you. Tracing the reference outline helps you feel the contour. Copying onto the blank grid trains proportion and placement. The bounding frame and center guide help you position the silhouette before adding details, and the partial outline lets you complete the missing portion from the full reference.
After each attempt, compare your drawing with the separate full reference sheet. Check the four key features: flat oval body, both eyes on one side, fanned dorsal and anal fins, and a fan-shaped tail. Adjust the proportions rather than chasing a pixel-perfect match.
There are many valid ways to draw a flounder, so judge the visible features and proportions rather than exact line placement. A drawing can differ in fin length or eye spacing and still be correct.
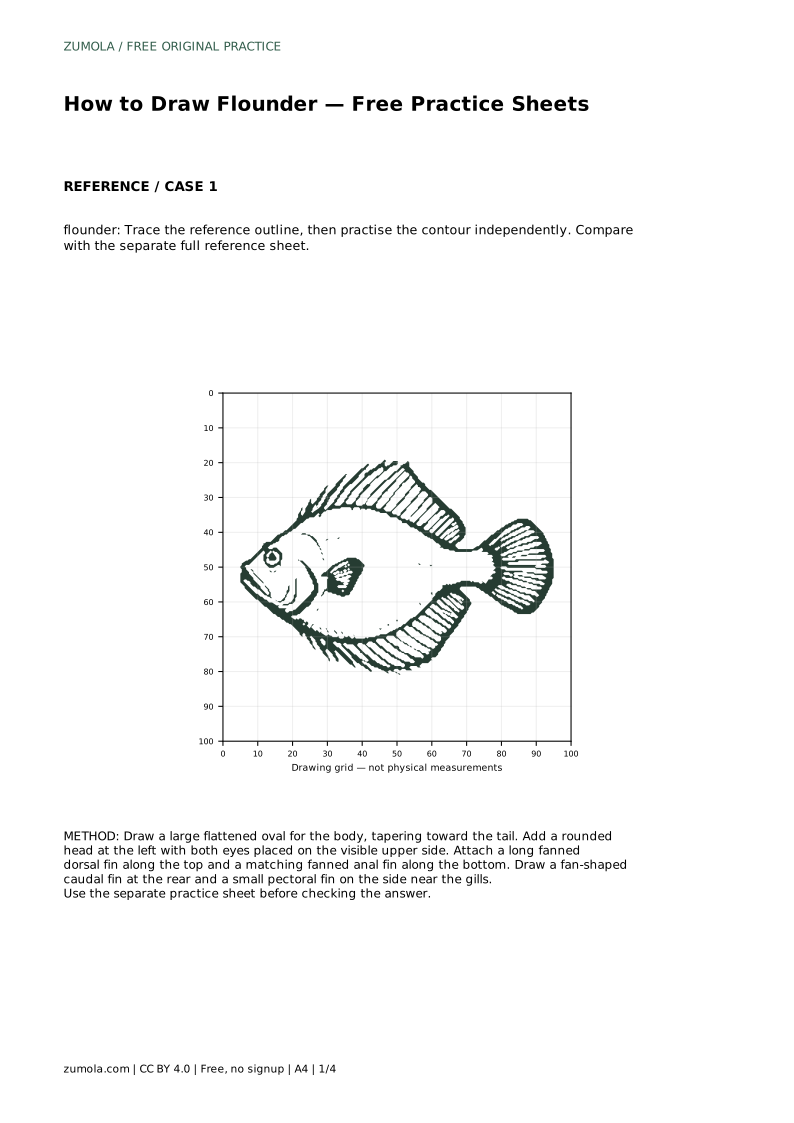
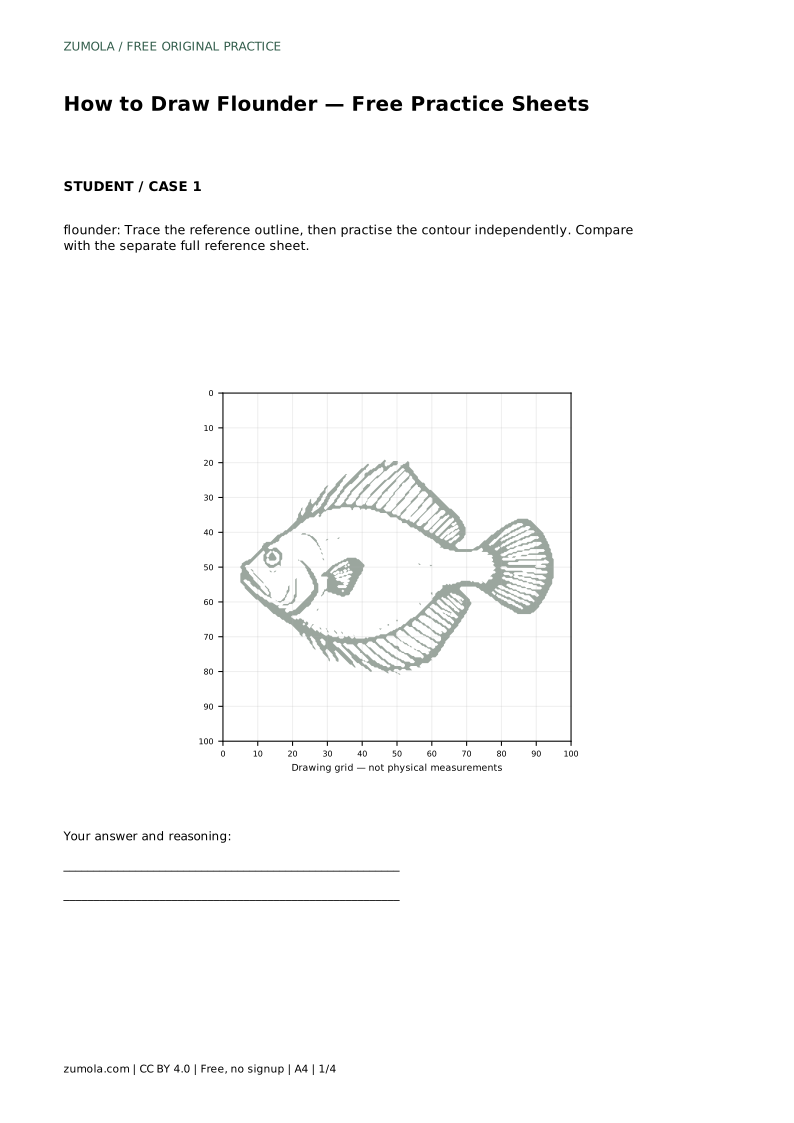
flounder: Trace the reference outline, then practise the contour independently. Compare with the separate full reference sheet.
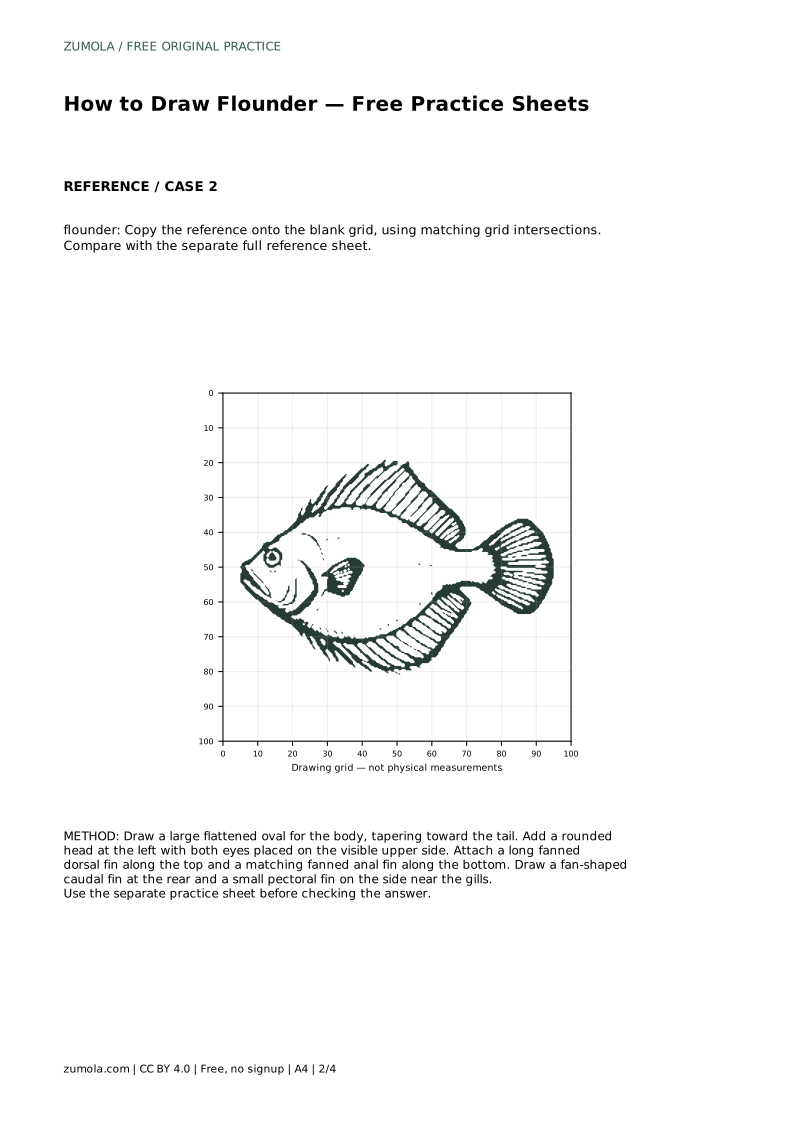
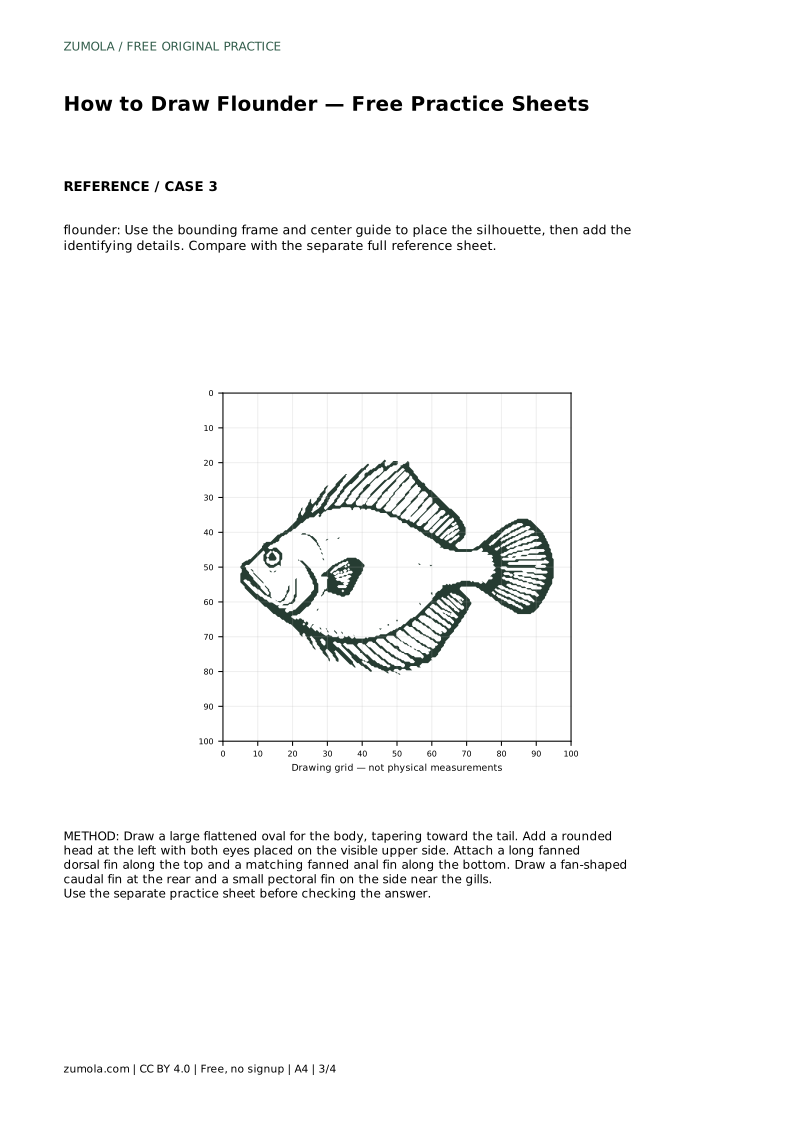
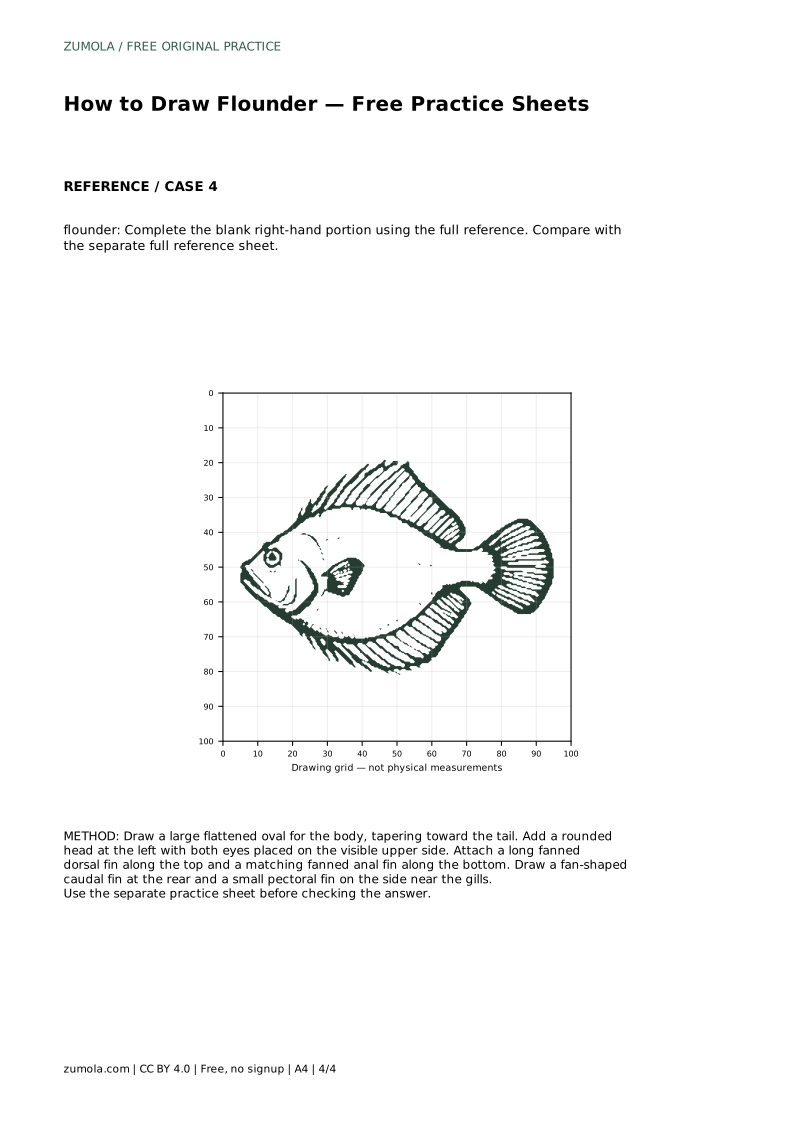
Example solution: preserve flat oval body, both eyes on one side of the head, fanned dorsal, anal, and caudal fins. Other drawings can be correct; assess the visible features and proportions rather than pixel-perfect matching. Draw a large flattened oval for the body, tapering toward the tail. Add a rounded head at the left with both eyes placed on the visible upper side. Attach a long fanned dorsal fin along the top and a matching fanned anal fin along the bottom. Draw a fan-shaped caudal fin at the rear and a small pectoral fin on the side near the gills.
That is the defining visible feature of a flounder. Keeping both eyes on the same side makes the drawing recognizable.
No. Use the reference to check the flat oval body, one-sided eyes, and fanned fins. Small differences in proportion are fine.
Start with tracing to learn the contour, then move to the grid or partial outline to practise placement independently.
All drawing practice · Free coordinate paper
Original resources · CC BY 4.0 · Free for personal and classroom use with attribution.