Reference diagrams
LETTER · Download PDF
A4 · Download PDF
Free original resources
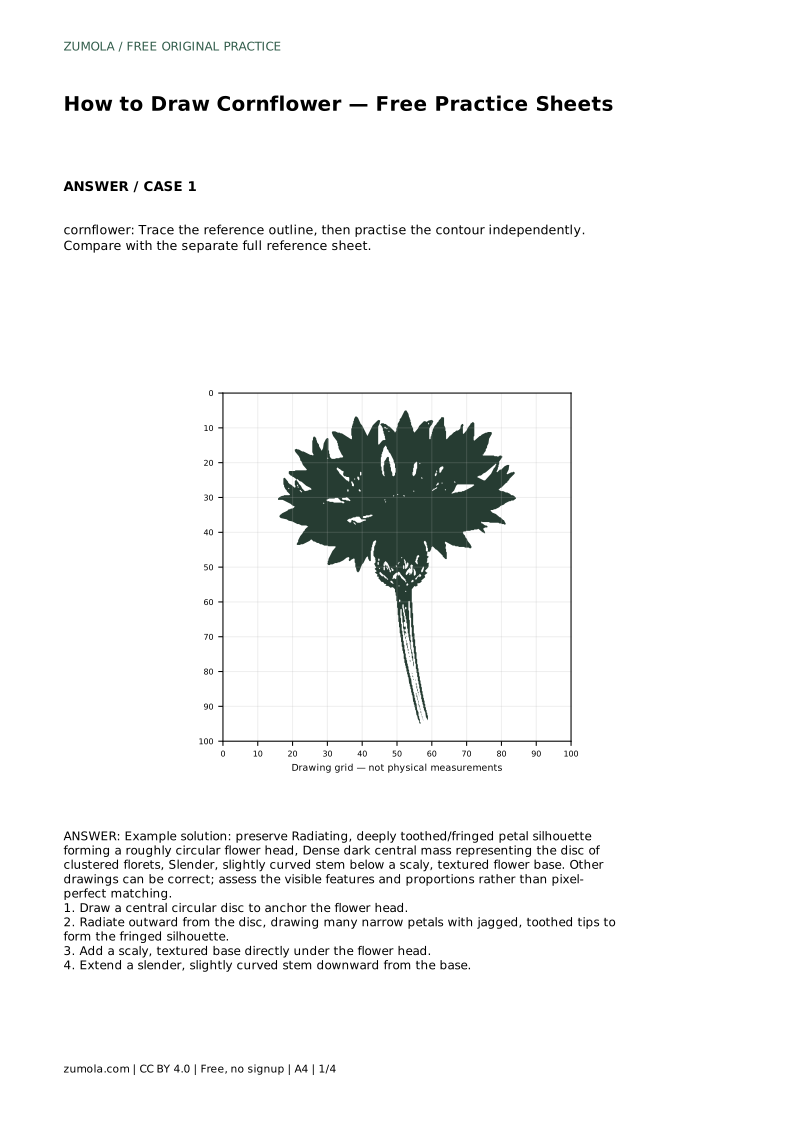
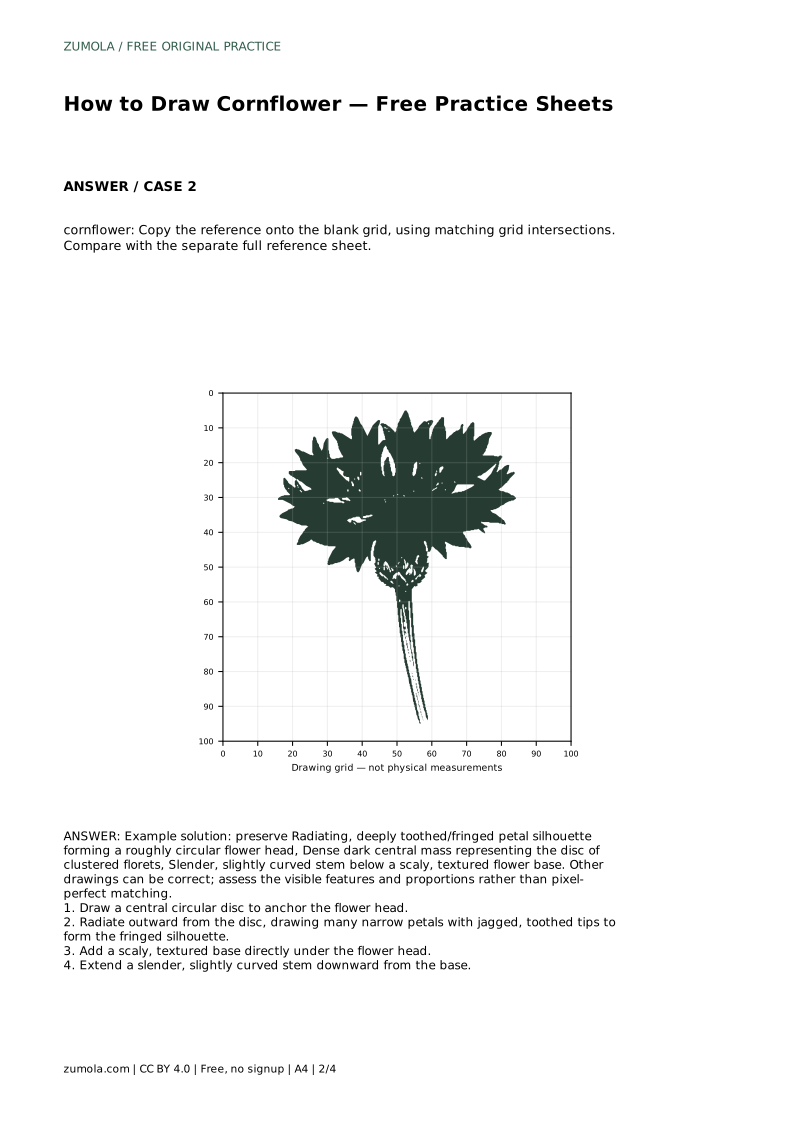
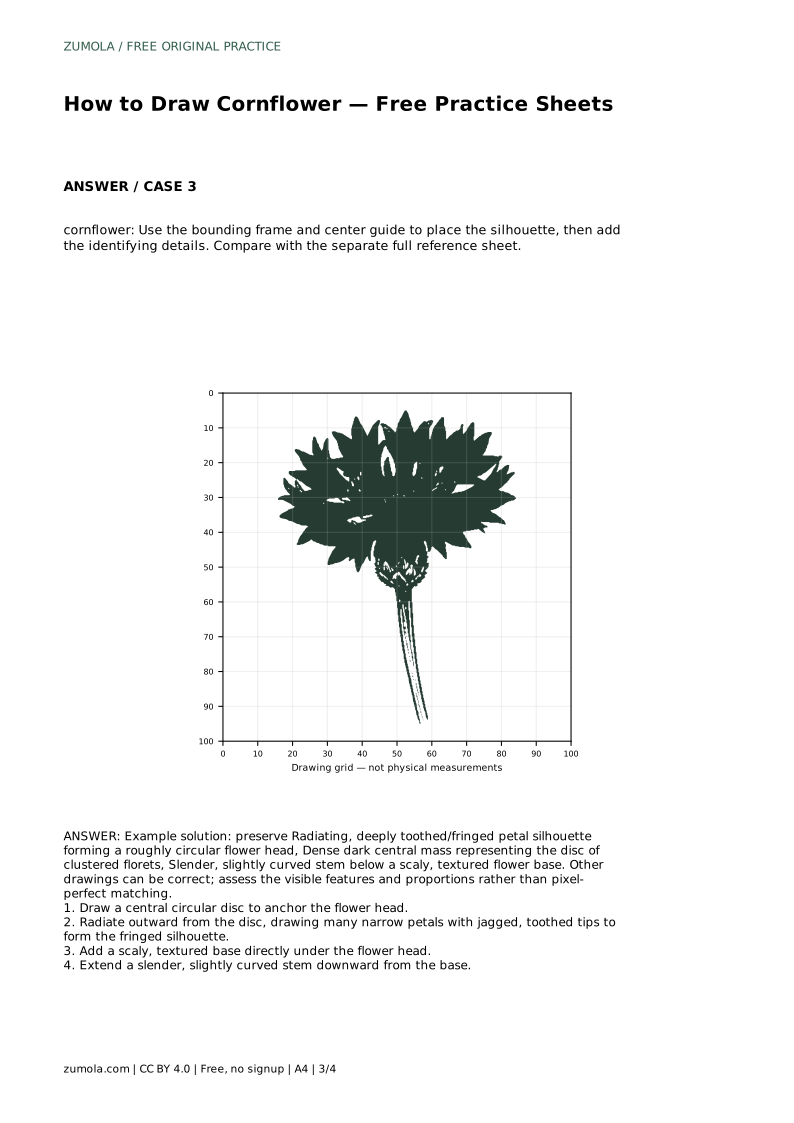
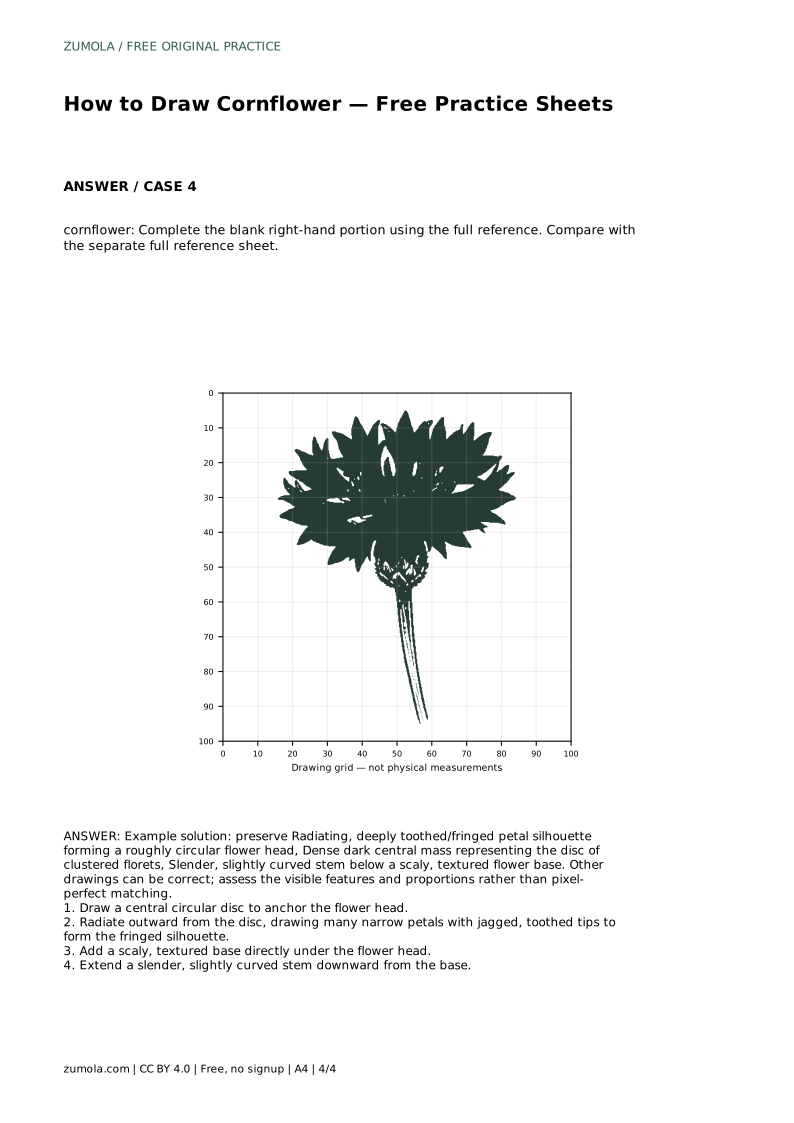
Learn to draw a cornflower by building a circular disc, radiating narrow toothed petals, a scaly flower base, and a slender curved stem.
Four original cases, with reference diagrams, practice sheets and worked answers. Everything is free; no signup required.
LETTER · Download PDF
A4 · Download PDF
LETTER · Download PDF
A4 · Download PDF
LETTER · Download PDF
A4 · Download PDF
Use A4 or US Letter to match your printer. Use the stated values and conditions to solve each exercise; diagrams are not physical measuring rulers.
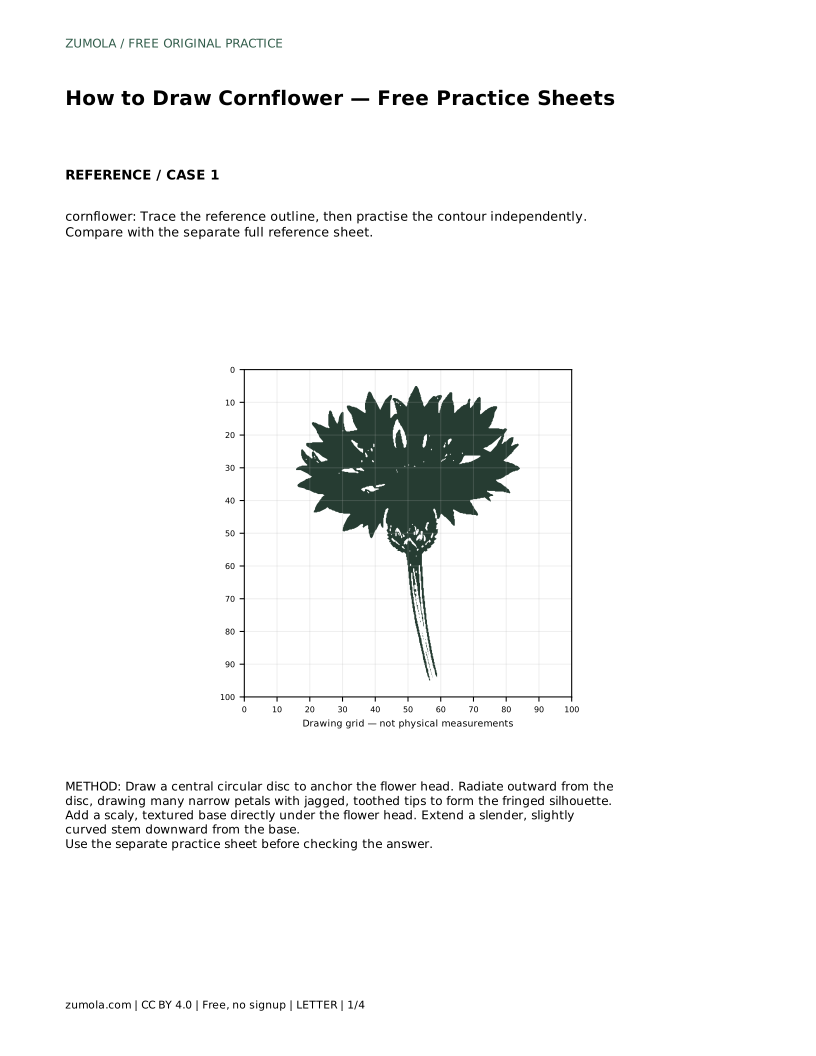
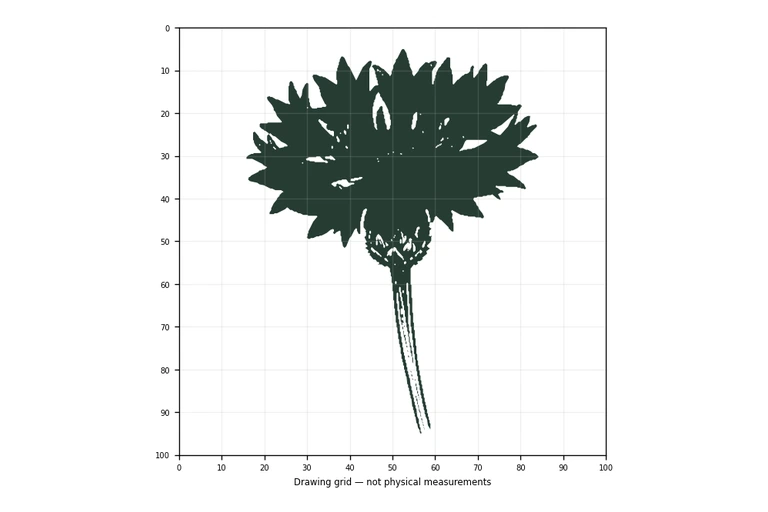
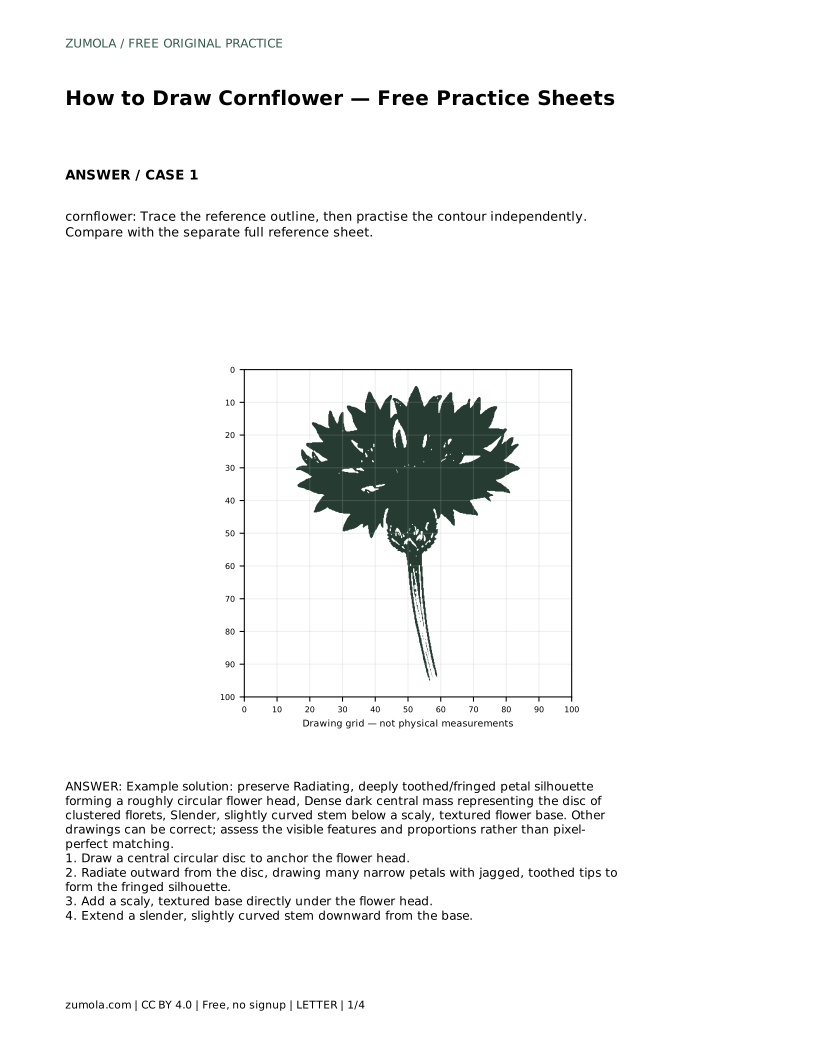
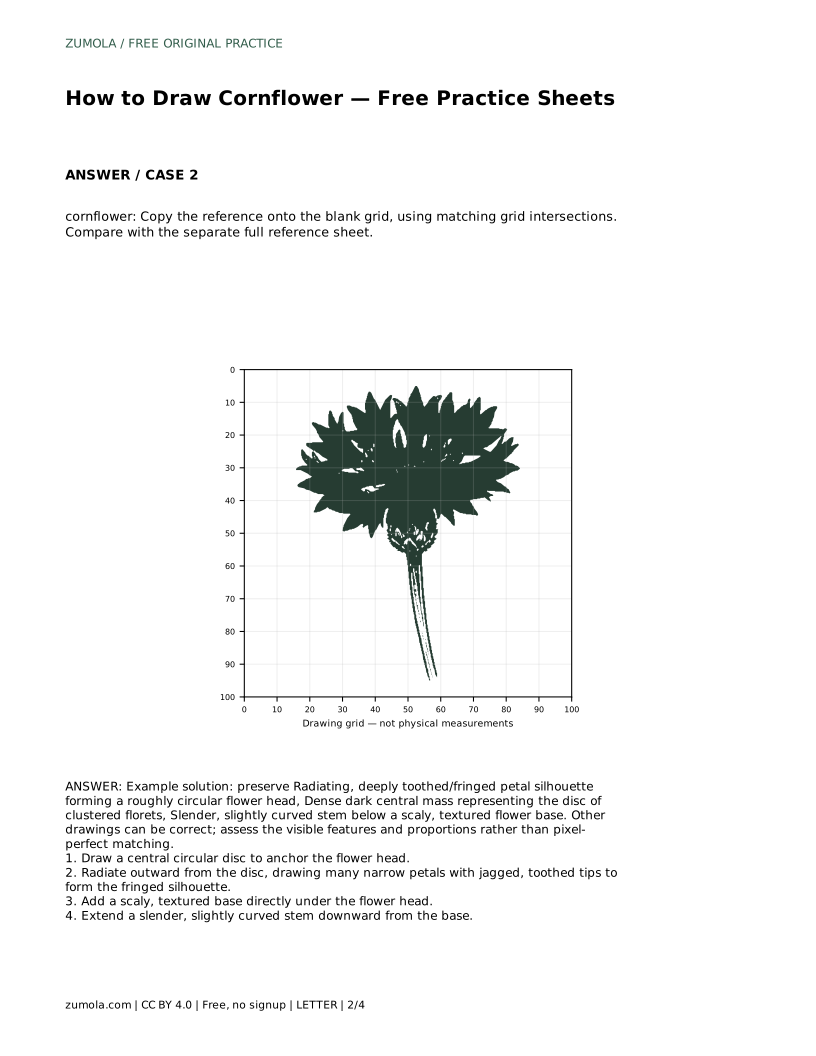
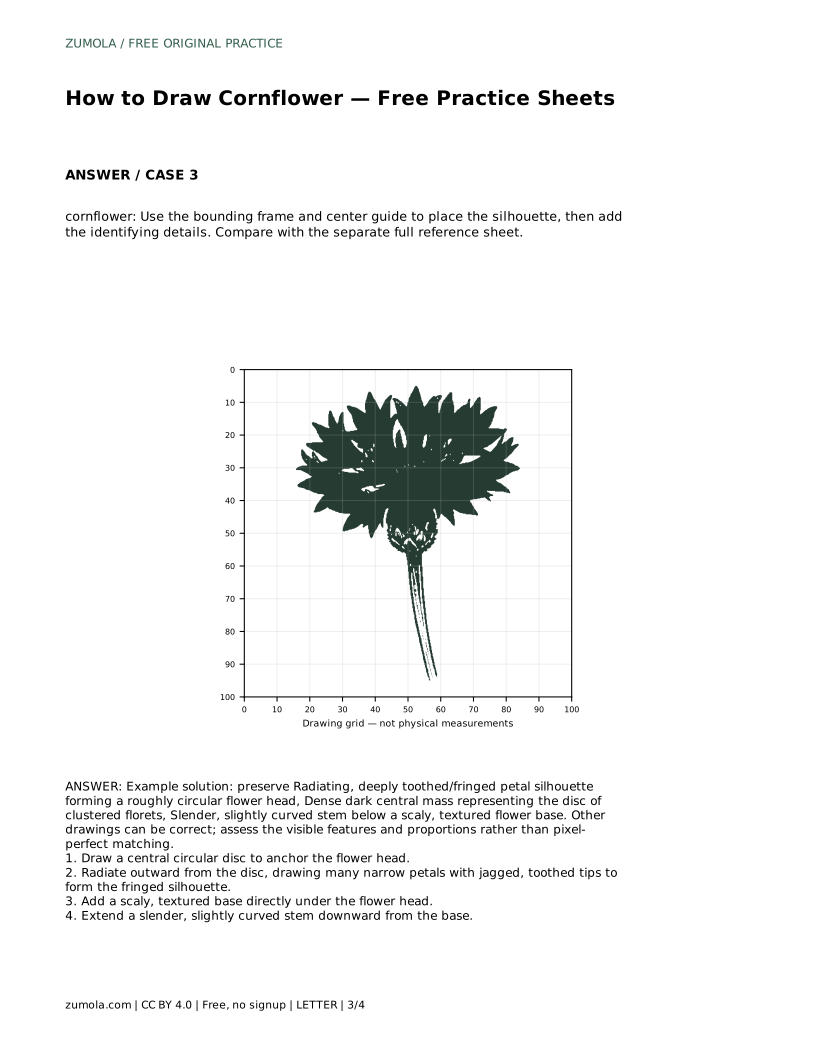
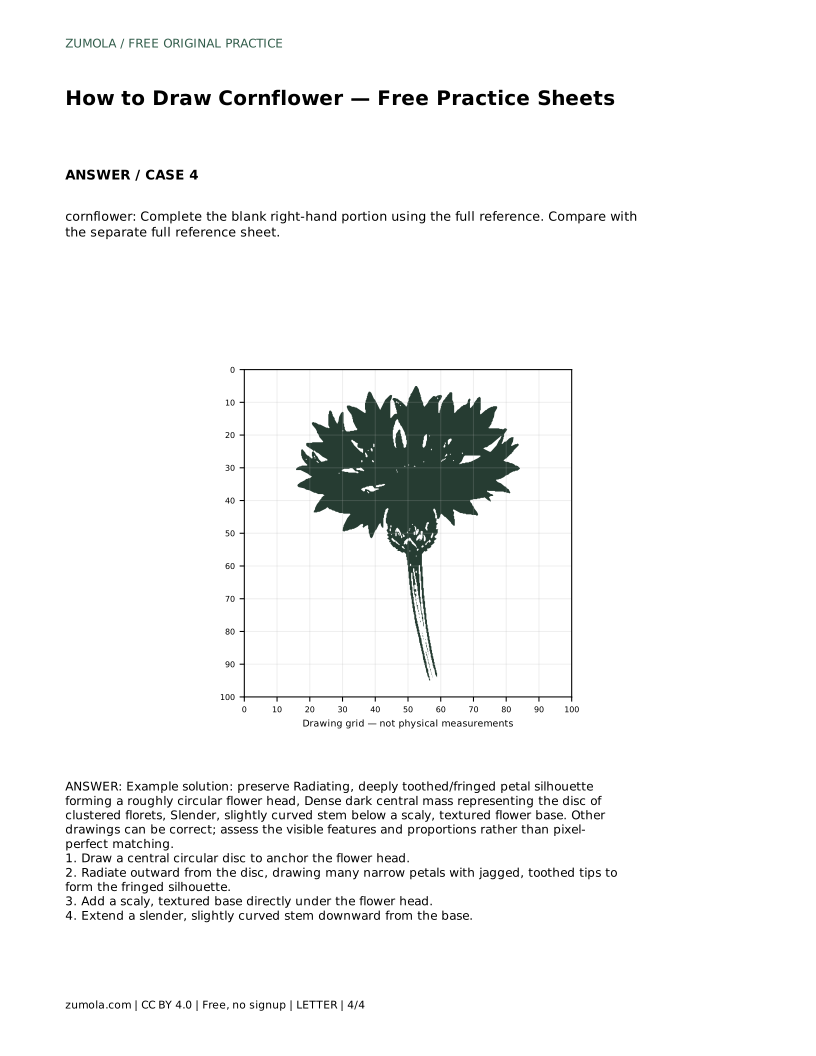
A cornflower is recognisable by its shape before its colour: a roughly circular head made of many narrow petals with jagged, toothed tips, a dense dark centre, and a slender stem beneath a scaly base. This page teaches a construction order that keeps those features clear. Start with the disc, radiate outward, then add the base and stem. Because drawings vary, judge the finished work by visible features and proportions rather than an exact match.
Begin with a central circular disc. This anchors the flower head and gives every petal a common origin, so the silhouette stays roughly circular instead of drifting into an oval. Keep the disc modest in size; the petals should dominate the outline.
From the disc, radiate outward in many directions. Draw narrow petals, each ending in a jagged or toothed tip. Vary petal length slightly so the fringe looks natural, but keep the overall spread even. The deeply toothed tips are the feature that separates a cornflower from a daisy or a simple round bloom.
Fill the central disc as a dense dark mass. This represents the cluster of tiny florets at the centre, so treat it as texture rather than a flat circle: short marks packed together read better than one solid blob.
Directly under the flower head, draw a scaly, textured base. Small overlapping shapes suggest the layered structure without turning the drawing into a botanical diagram. From that base, extend a slender stem downward, giving it a slight curve. Keep the stem narrow relative to the head so the flower does not look top-heavy.
Step back and compare the head to the stem. The flower head should read as roughly circular, with the fringe extending evenly around the disc. If one side has far longer petals, the silhouette will look lopsided.
Check that the toothed tips are visible rather than smoothed away, and that the dark centre is dense enough to contrast with the petals. Confirm the scaly base sits between the head and stem, not off to one side. These checks matter more than matching any single reference line.
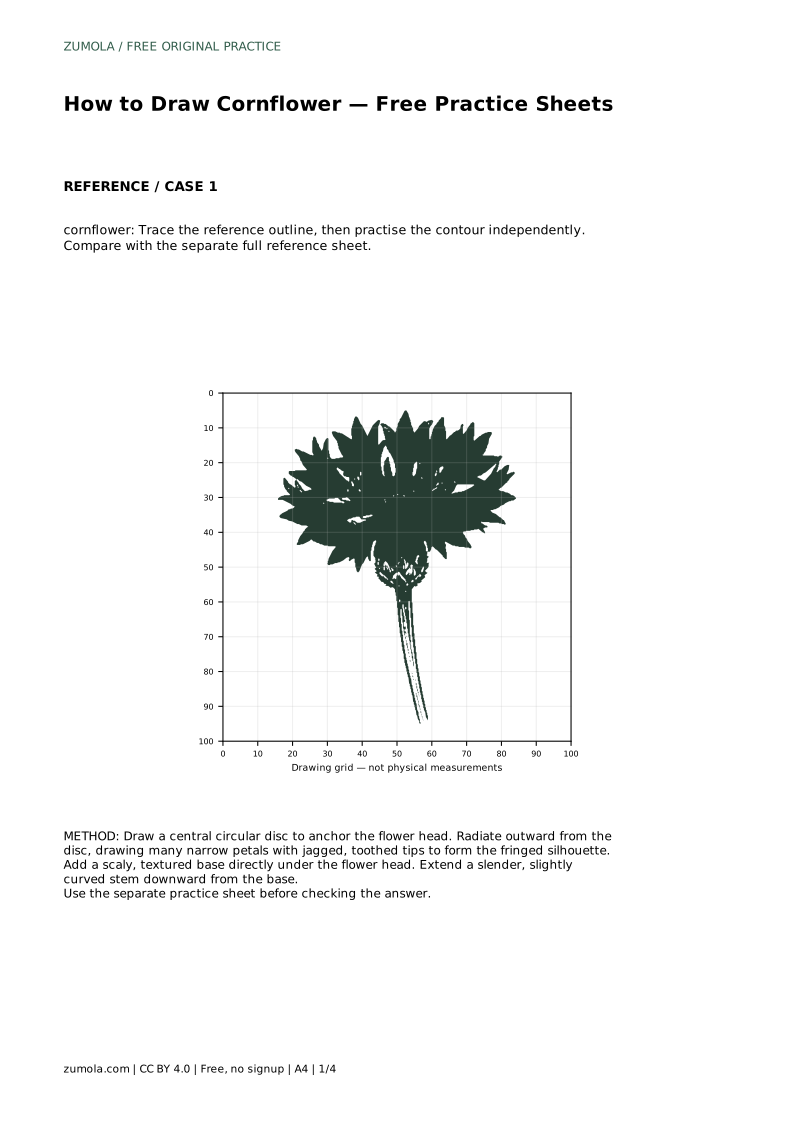
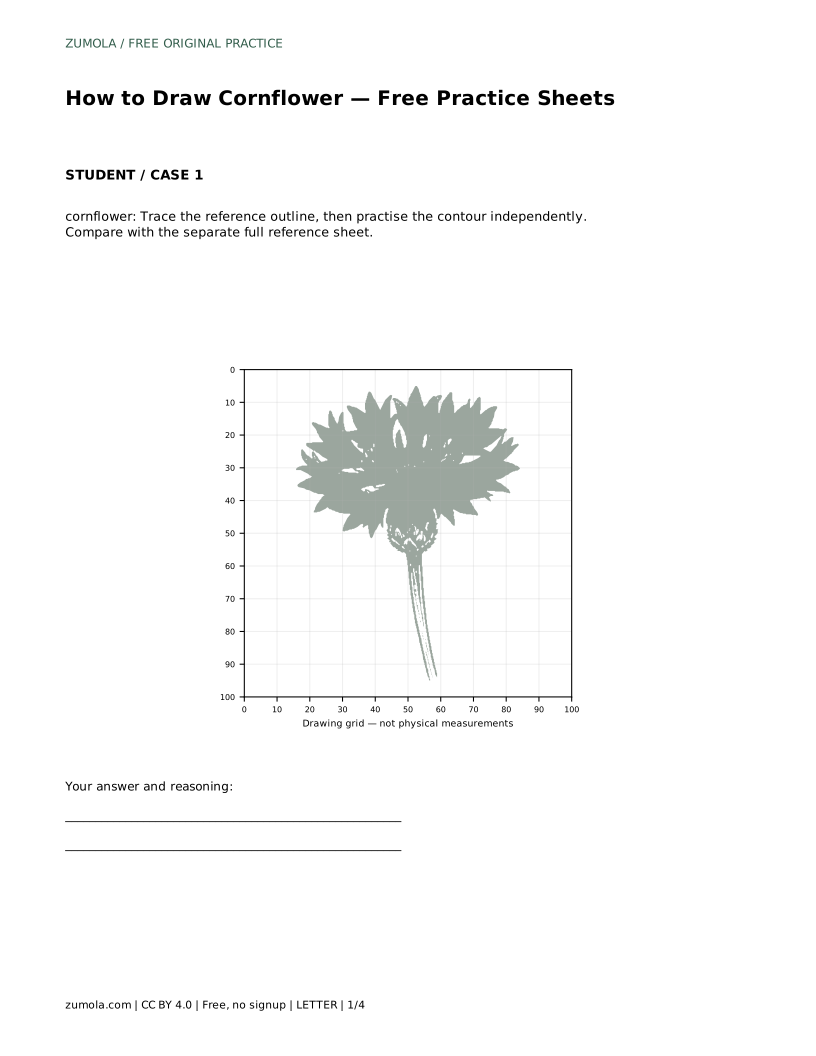
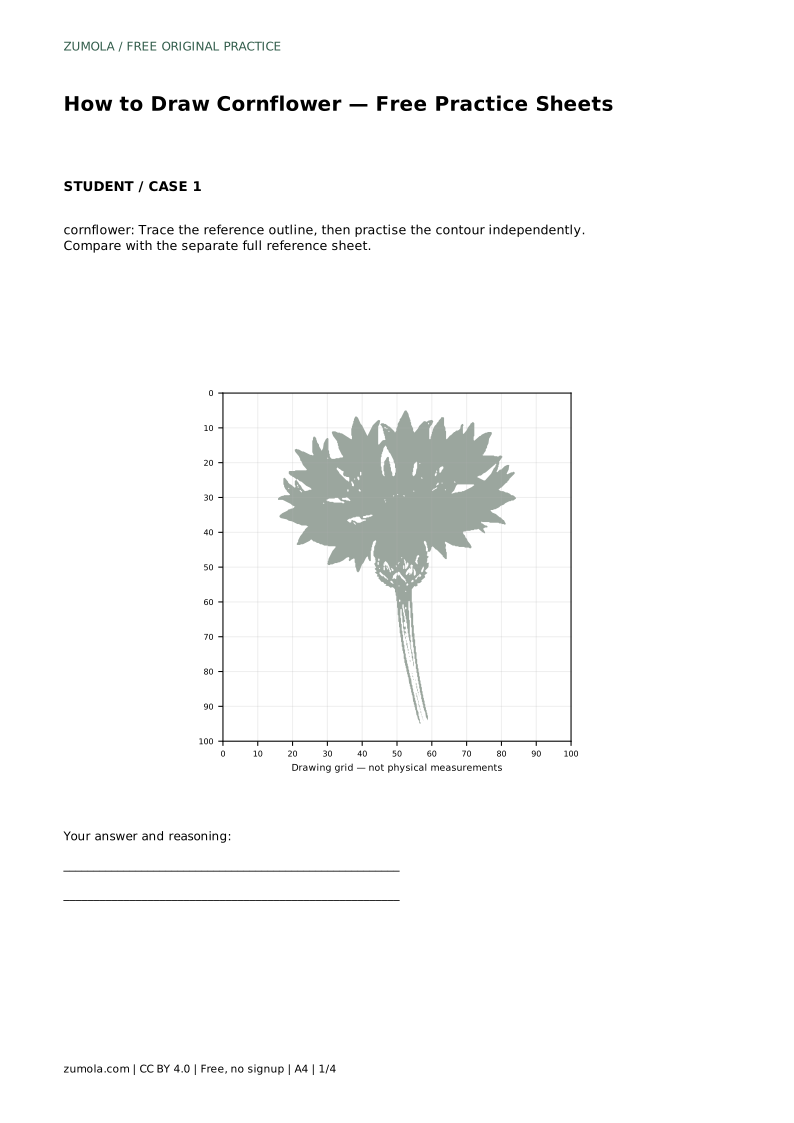
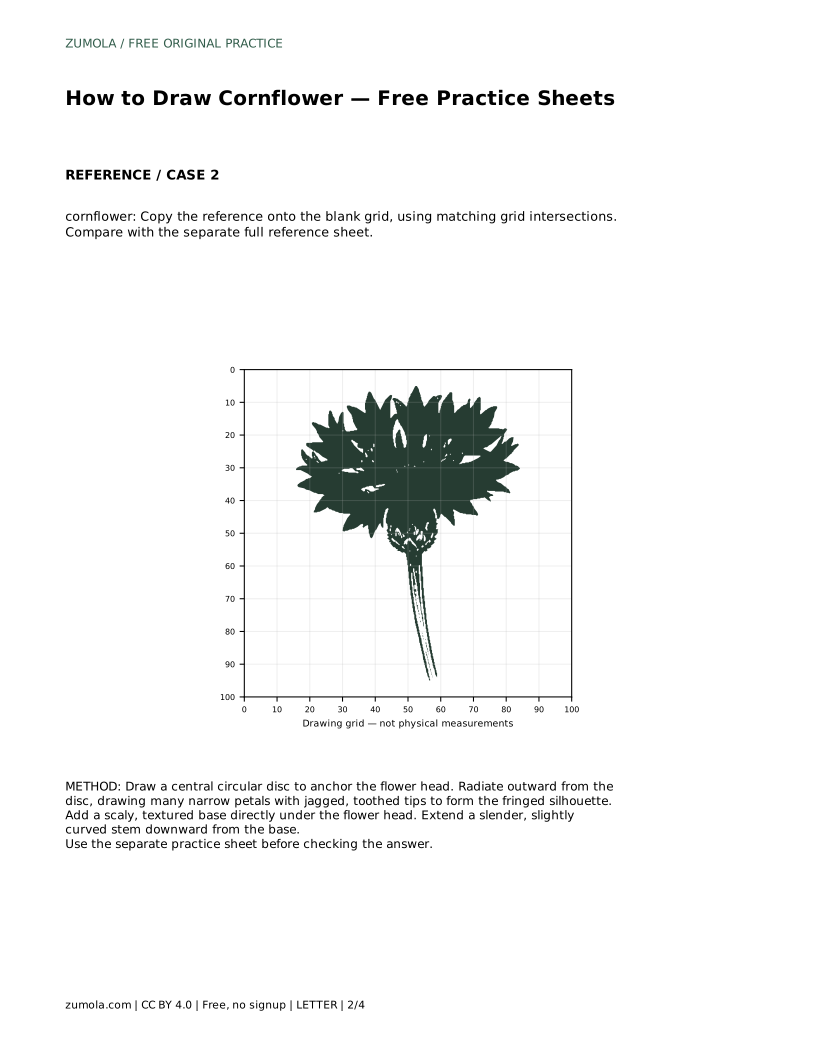
cornflower: Trace the reference outline, then practise the contour independently. Compare with the separate full reference sheet.
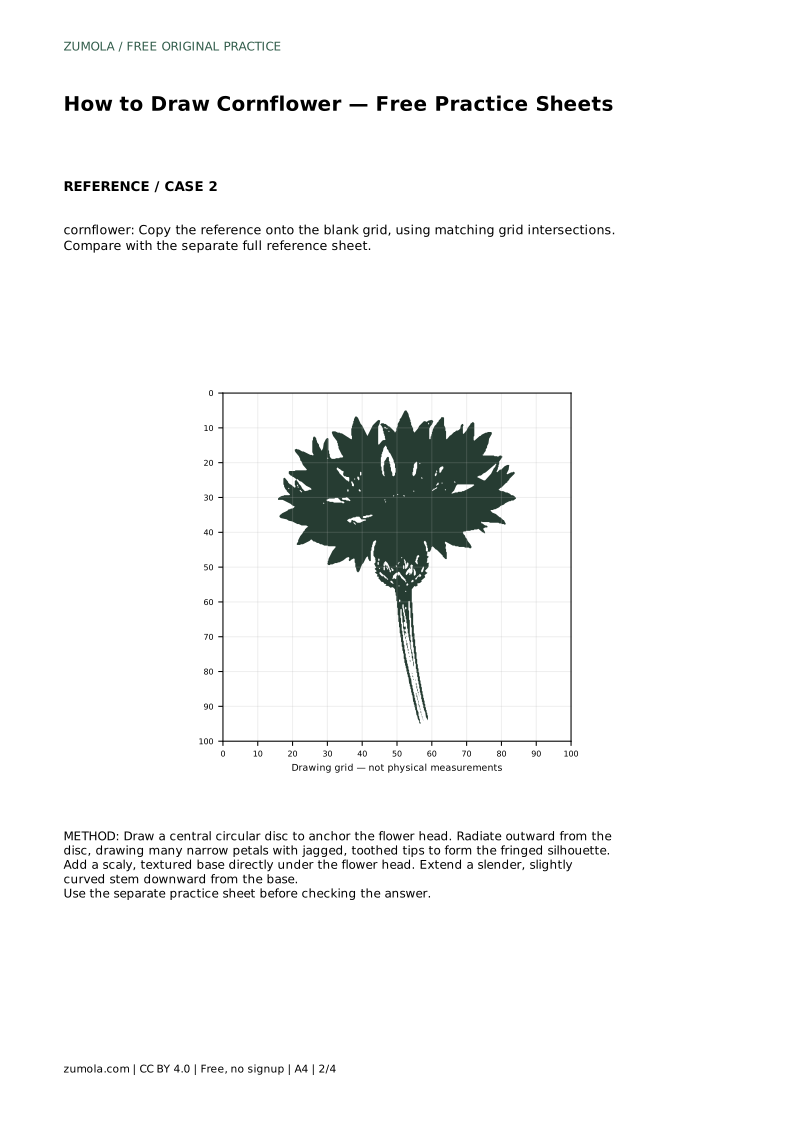
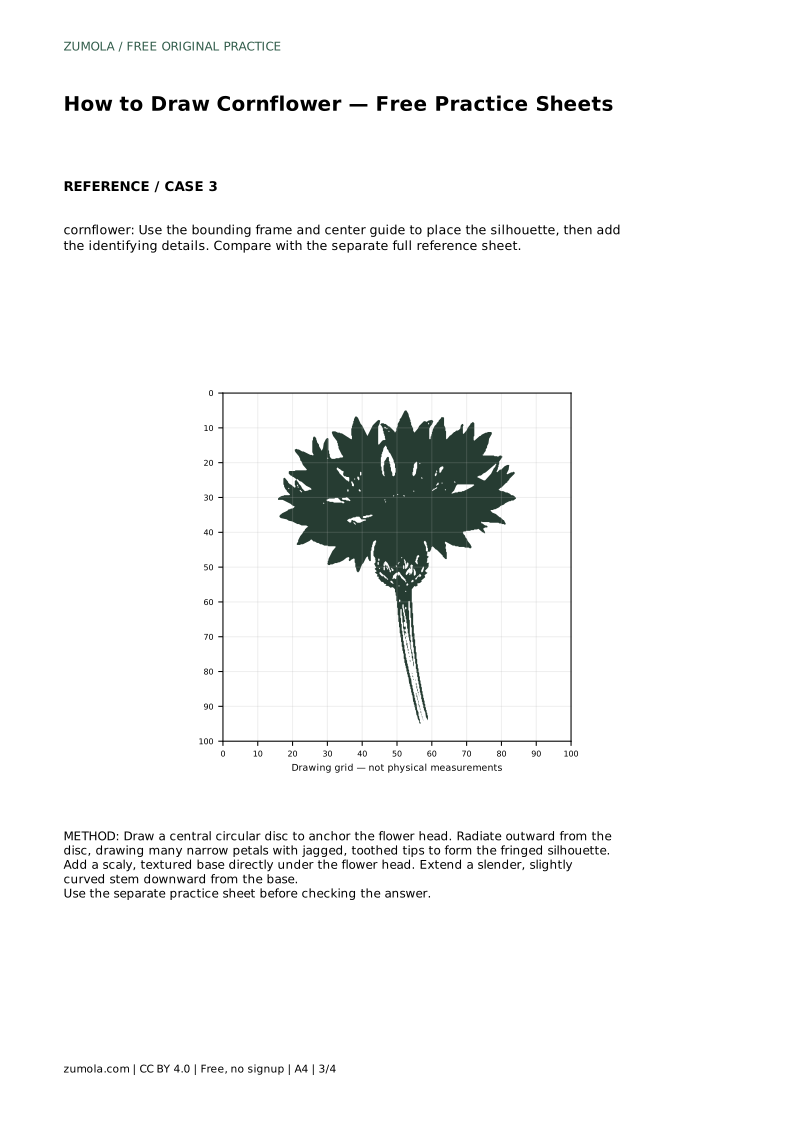
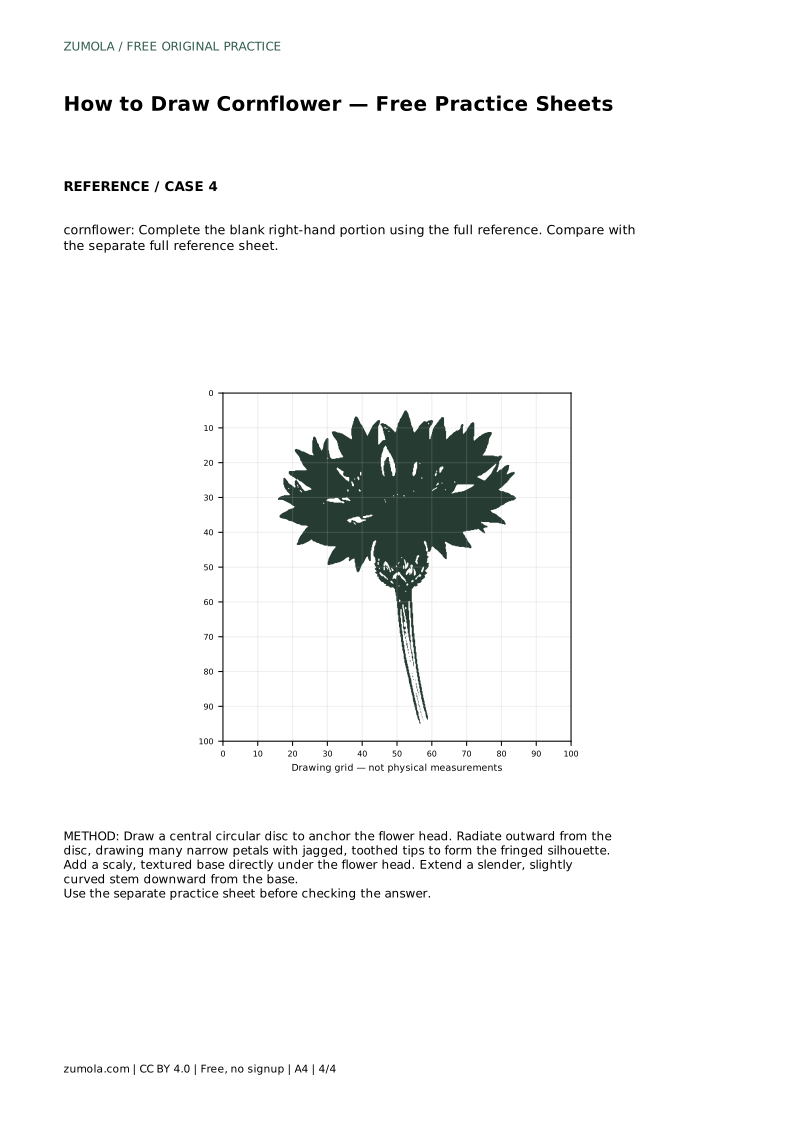
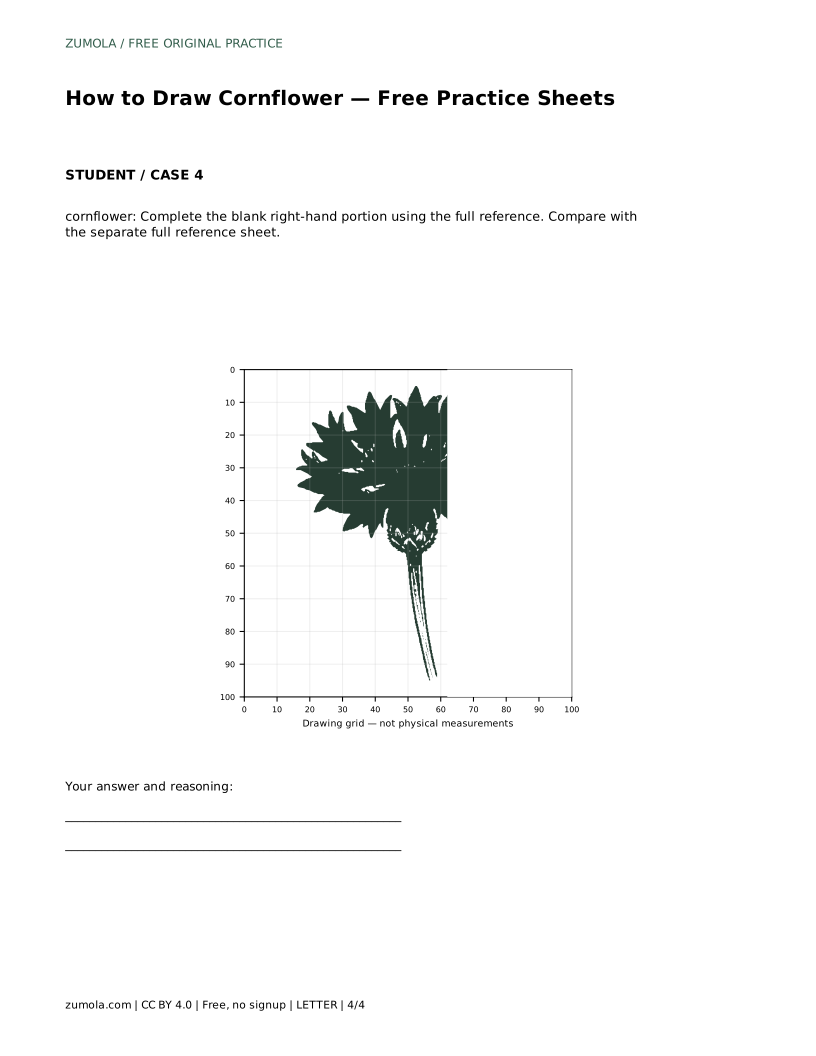
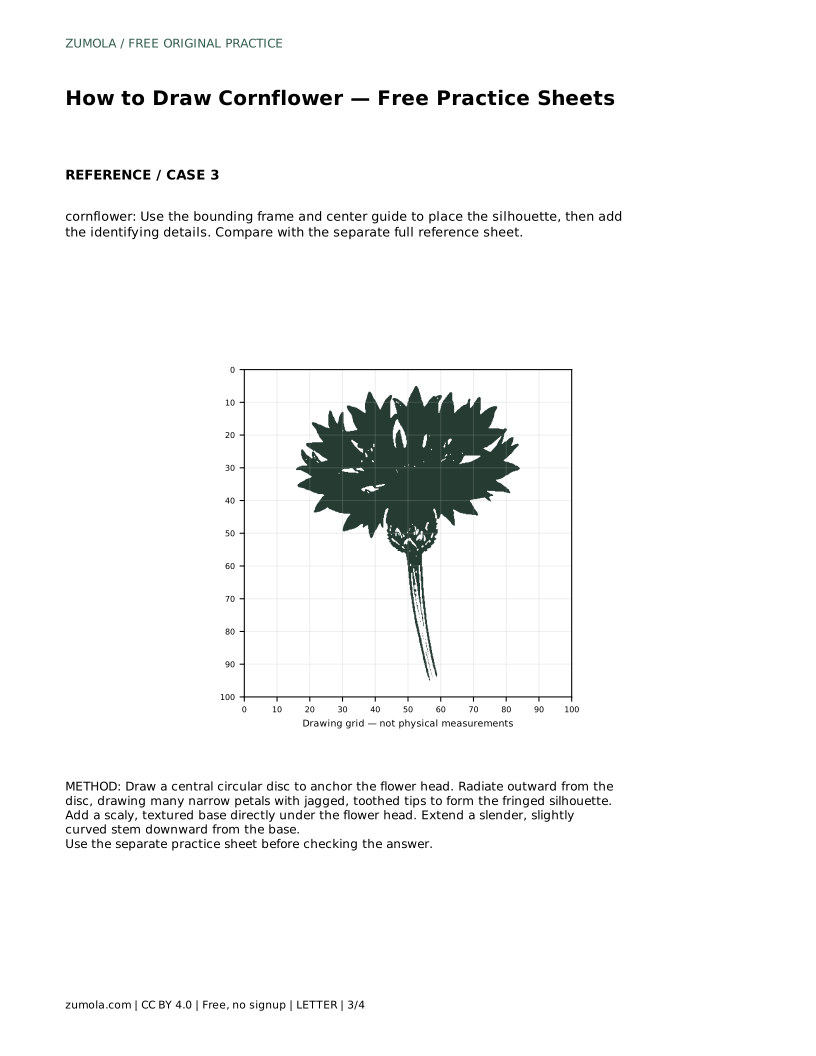
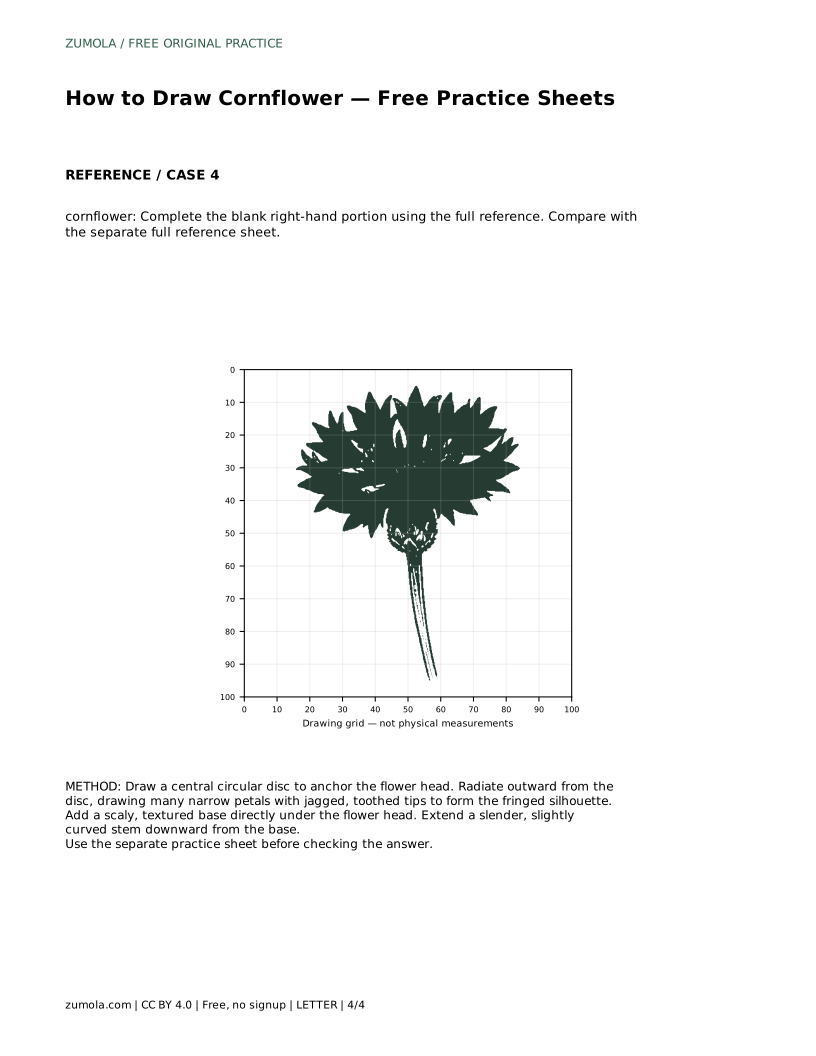
Example solution: preserve Radiating, deeply toothed/fringed petal silhouette forming a roughly circular flower head, Dense dark central mass representing the disc of clustered florets, Slender, slightly curved stem below a scaly, textured flower base. Other drawings can be correct; assess the visible features and proportions rather than pixel-perfect matching. Draw a central circular disc to anchor the flower head. Radiate outward from the disc, drawing many narrow petals with jagged, toothed tips to form the fringed silhouette. Add a scaly, textured base directly under the flower head. Extend a slender, slightly curved stem downward from the base.
There is no fixed count. Draw enough narrow petals to form an even, fringed circle around the disc; the silhouette matters more than the number.
A slight curve looks natural, but keep the stem slender and continuous from the scaly base downward.
Check for a roughly circular fringed head, a dense dark centre, a scaly base, and a slender curved stem. Different drawings can all be correct.
All drawing practice · Free coordinate paper
Original resources · CC BY 4.0 · Free for personal and classroom use with attribution.