Reference diagrams
LETTER · Download PDF
A4 · Download PDF
Free original resources
Learn to draw a mint sprig with a square stem, opposite leaf pairs, ovate serrated blades, and clear veins. Practice with tracing, grid, and frame sheets.
Four original cases, with reference diagrams, practice sheets and worked answers. Everything is free; no signup required.
LETTER · Download PDF
A4 · Download PDF
LETTER · Download PDF
A4 · Download PDF
LETTER · Download PDF
A4 · Download PDF
Use A4 or US Letter to match your printer. Use the stated values and conditions to solve each exercise; diagrams are not physical measuring rulers.
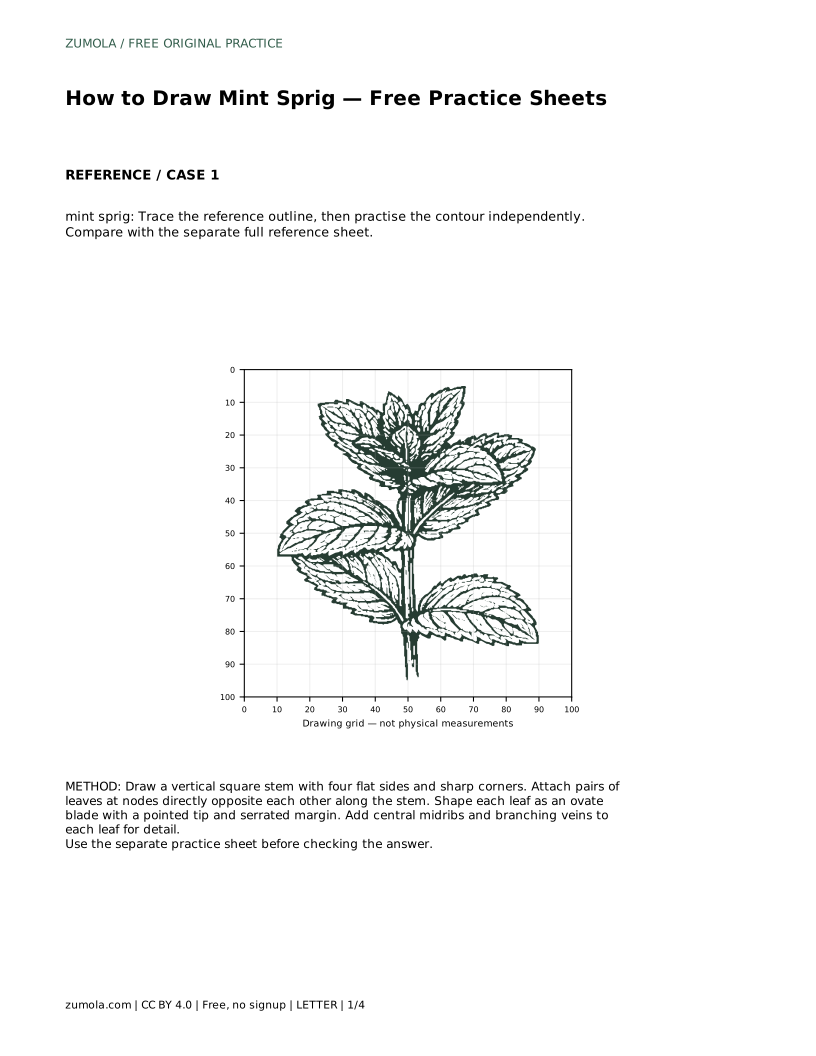
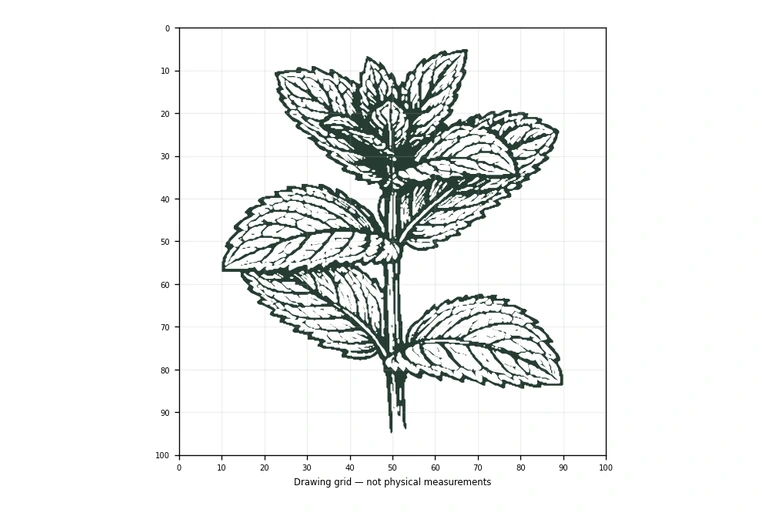
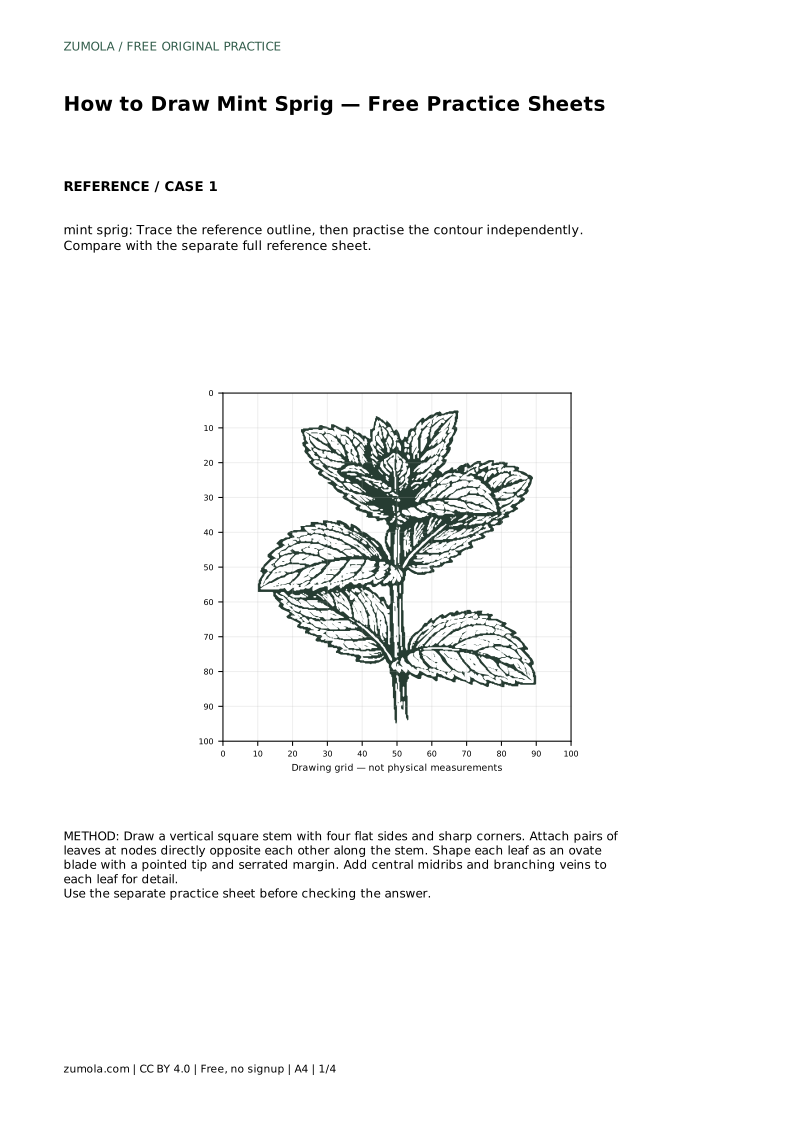
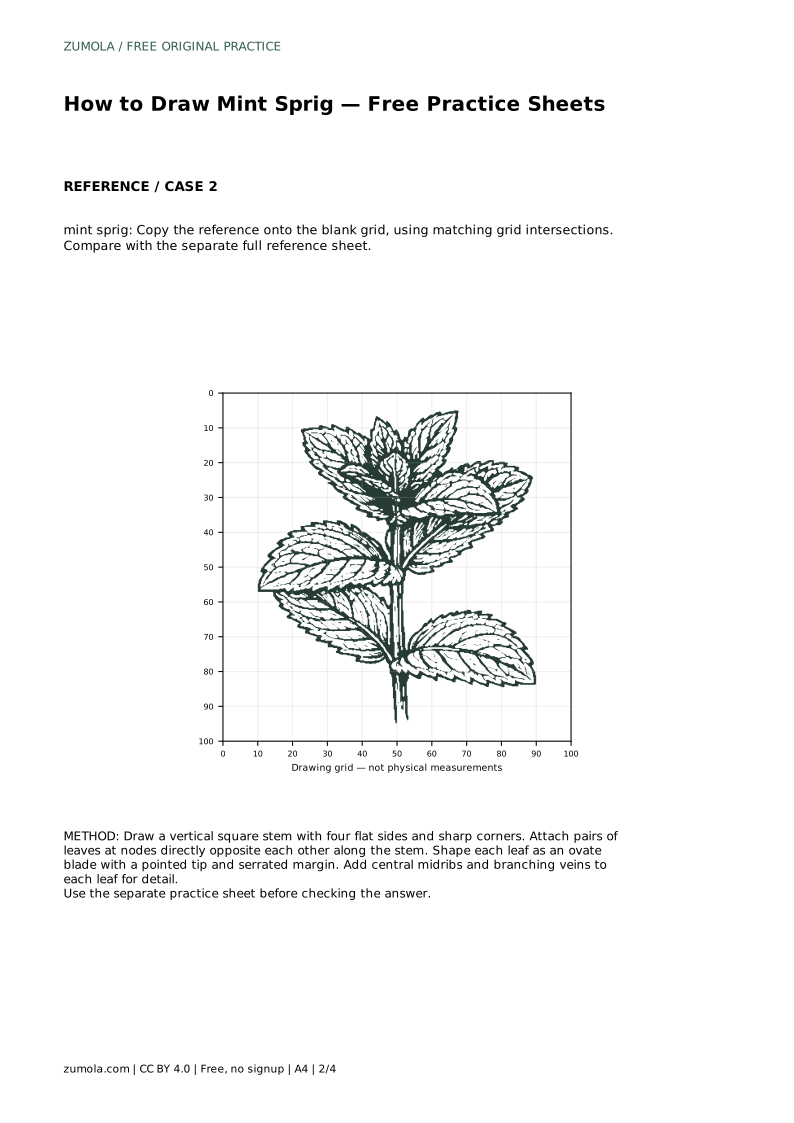
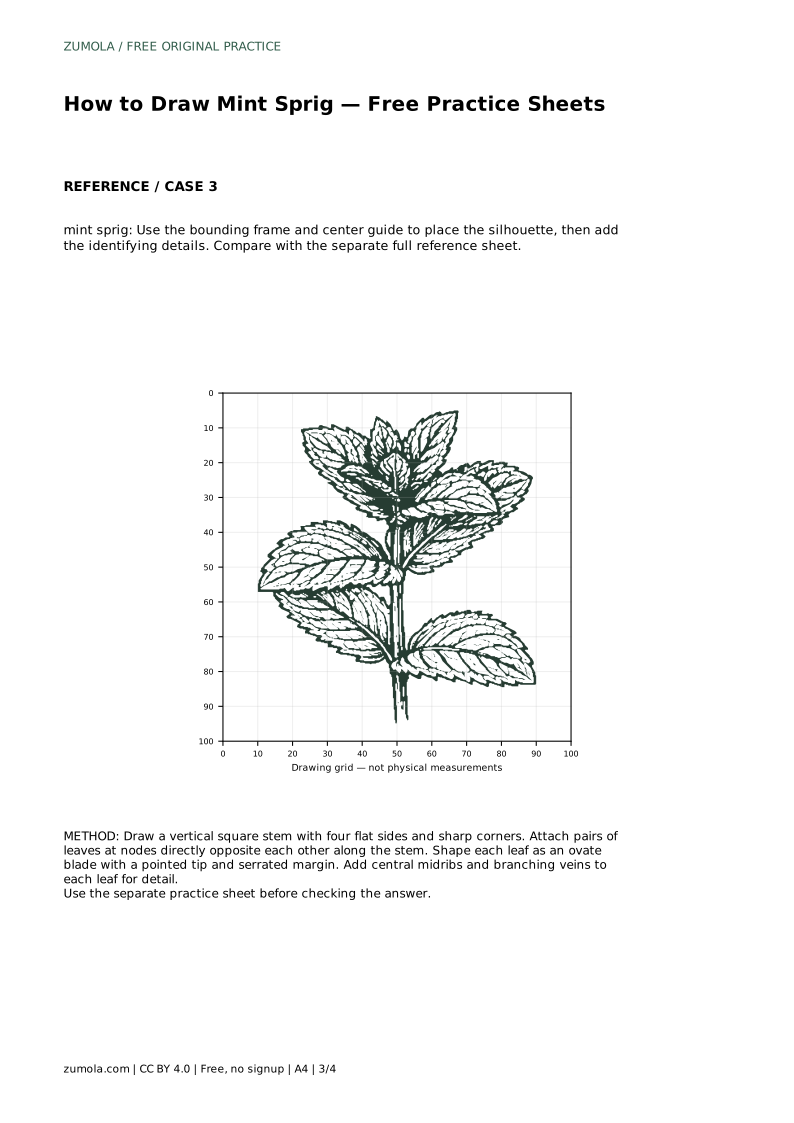
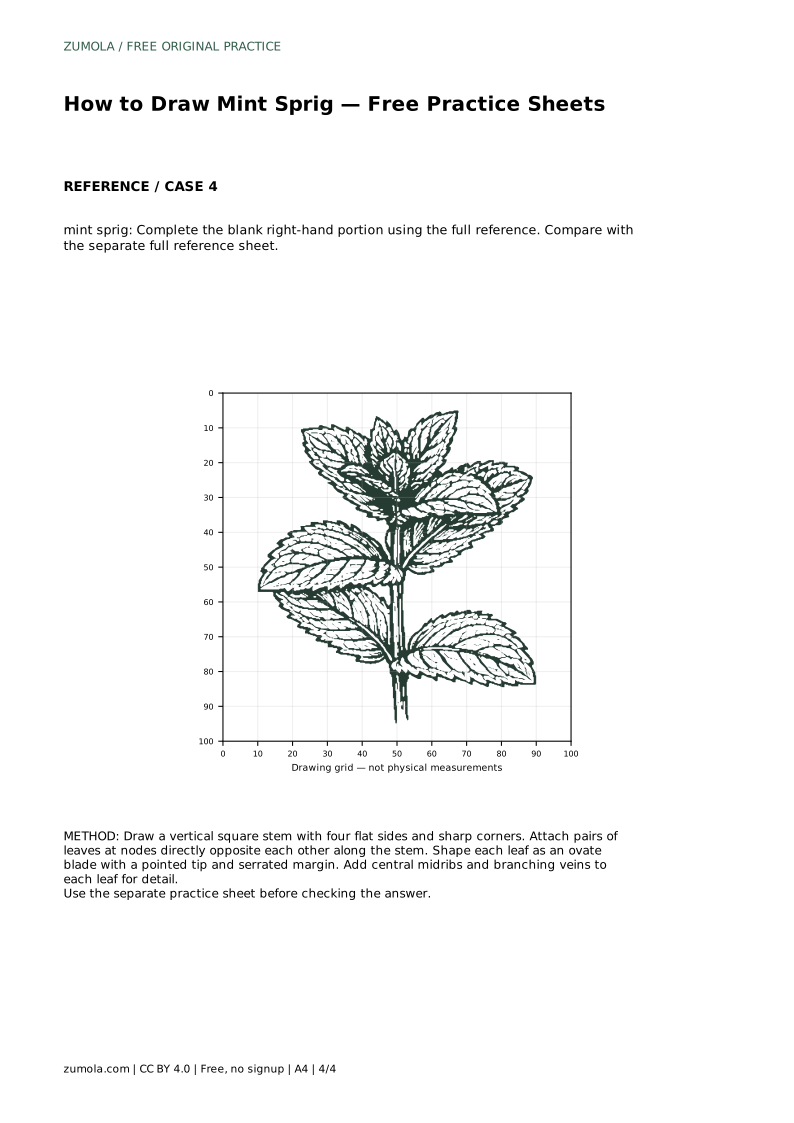
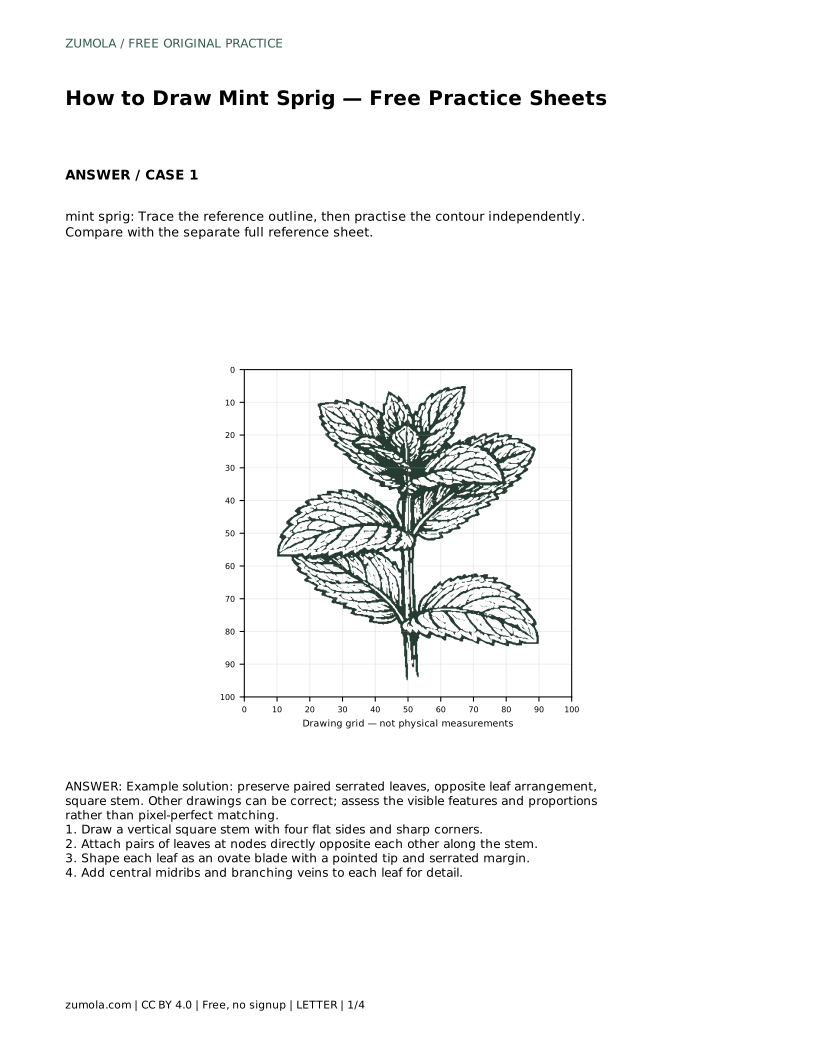
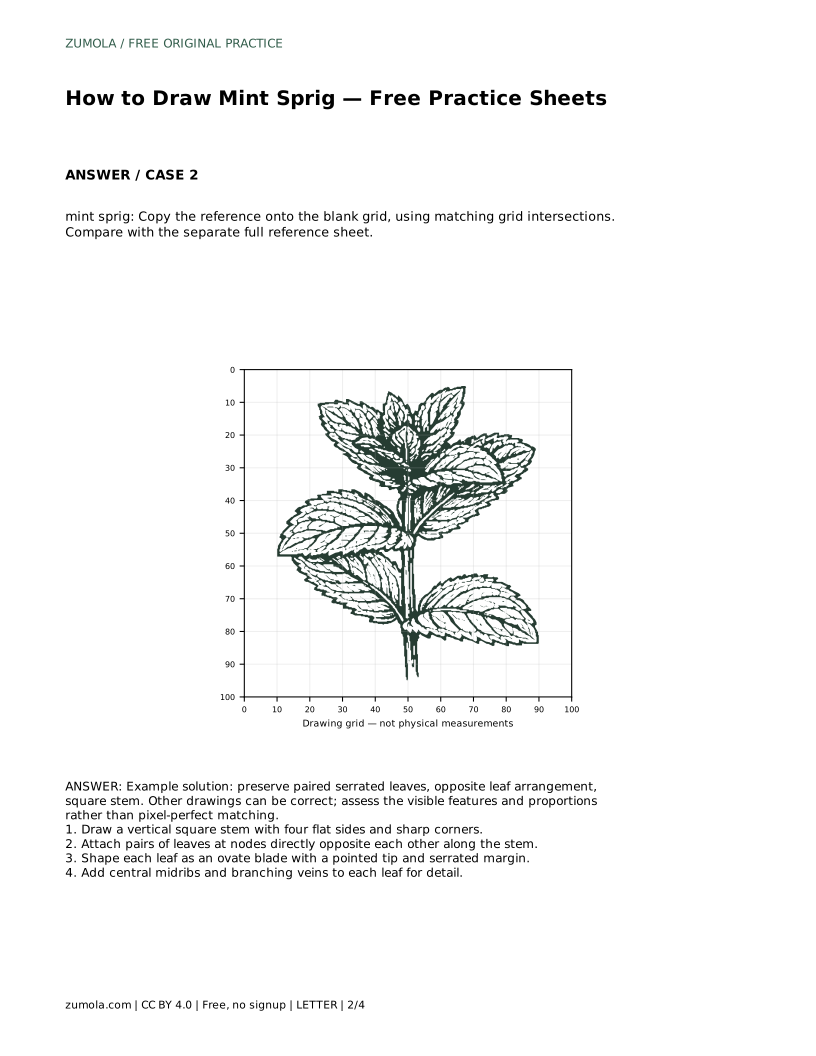
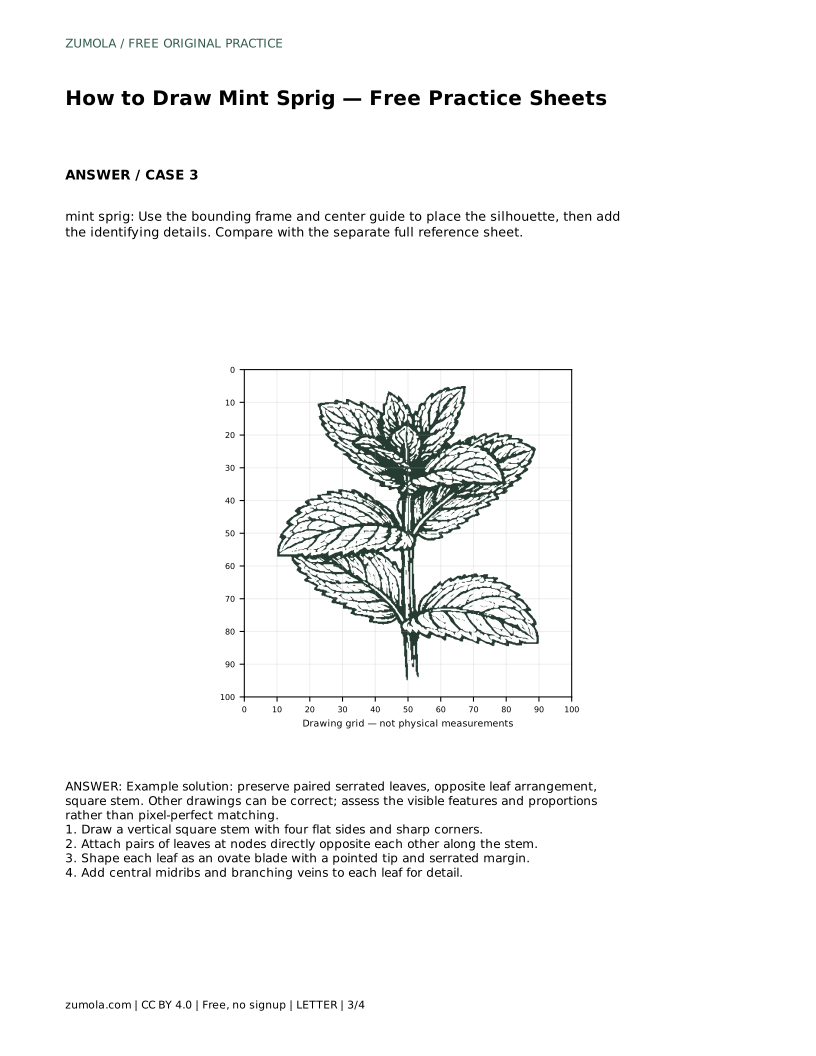
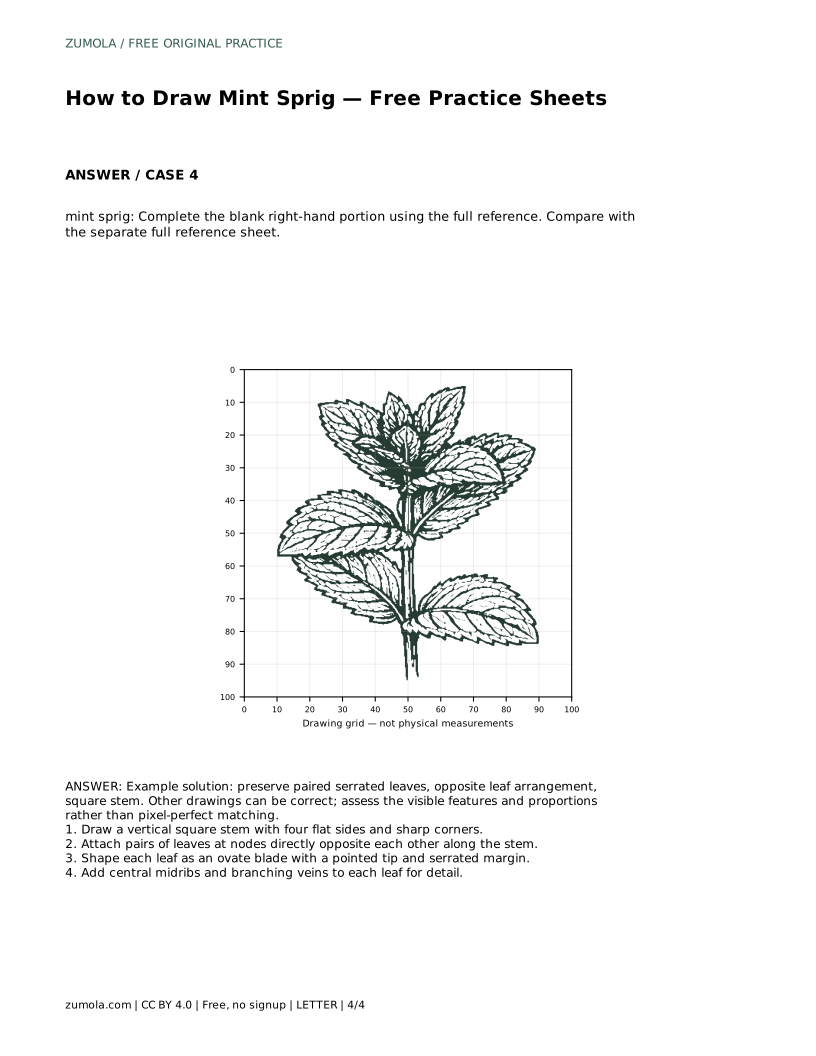
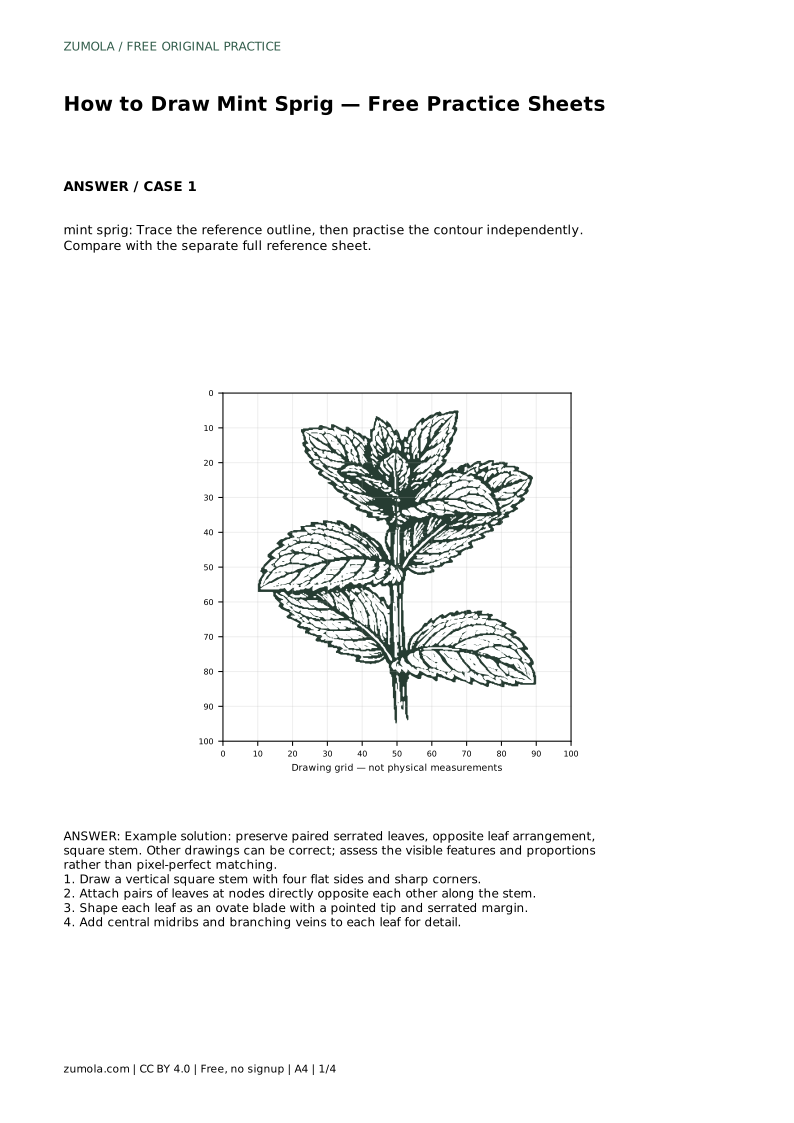
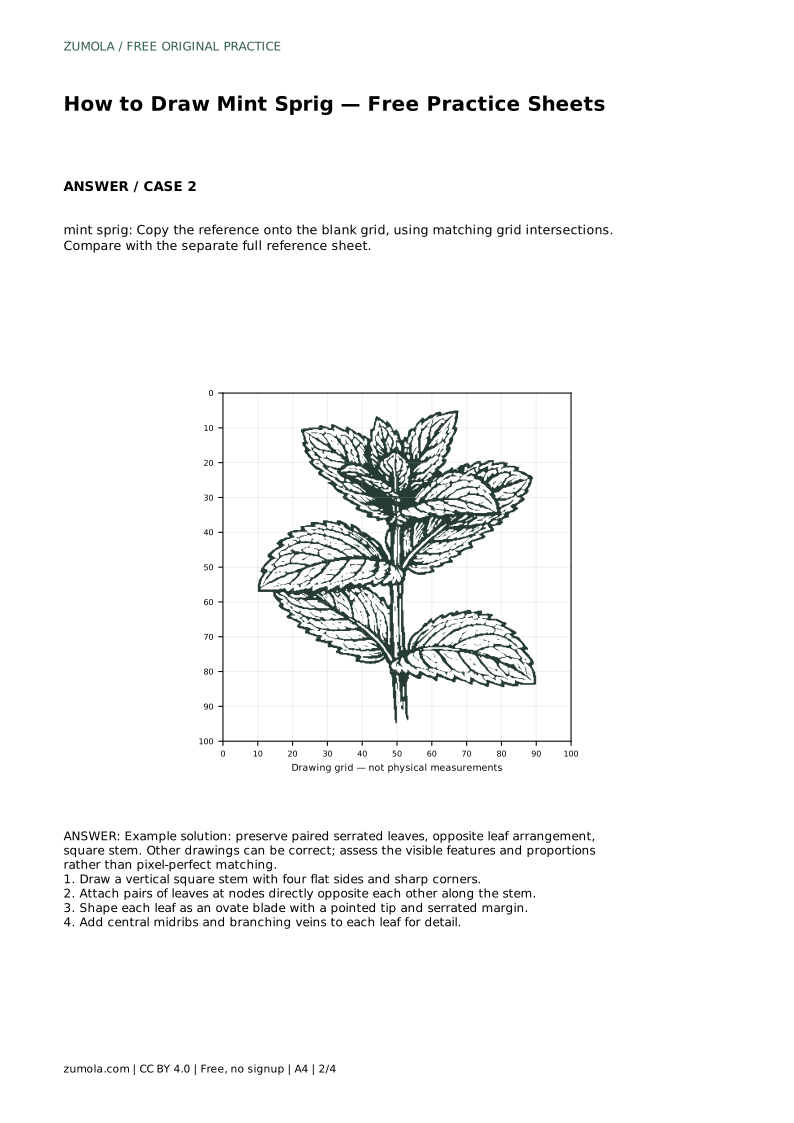
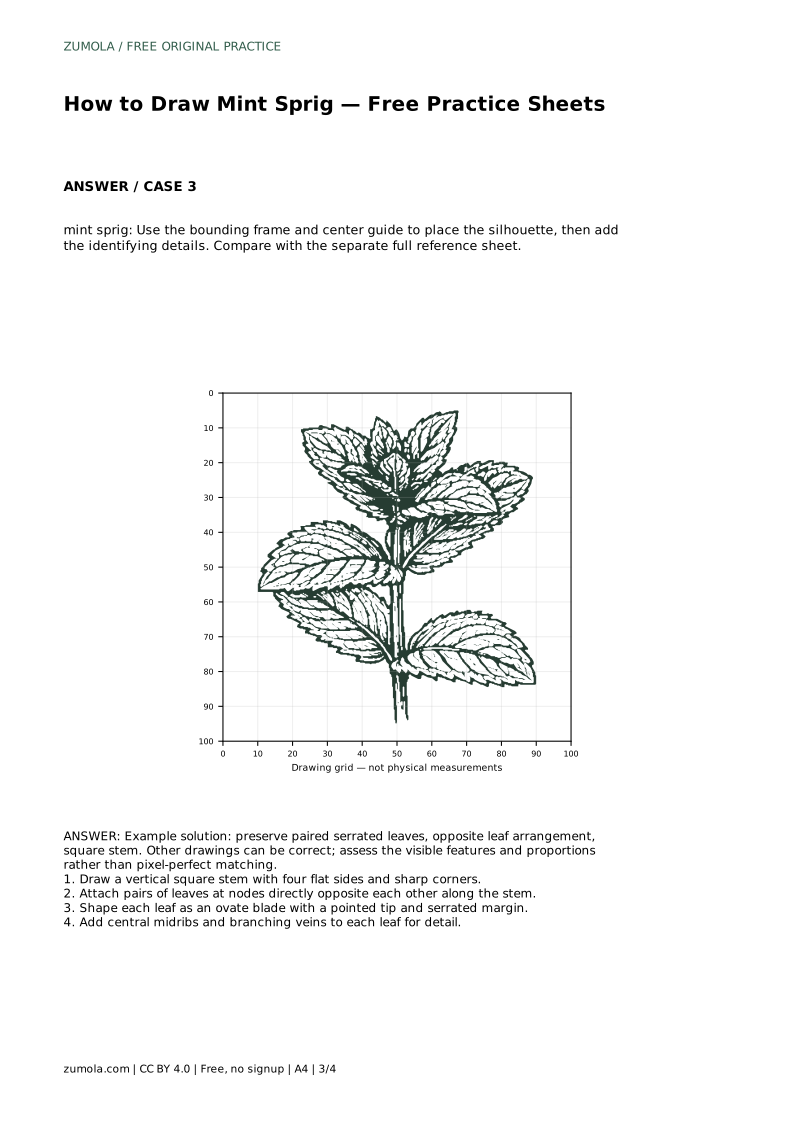
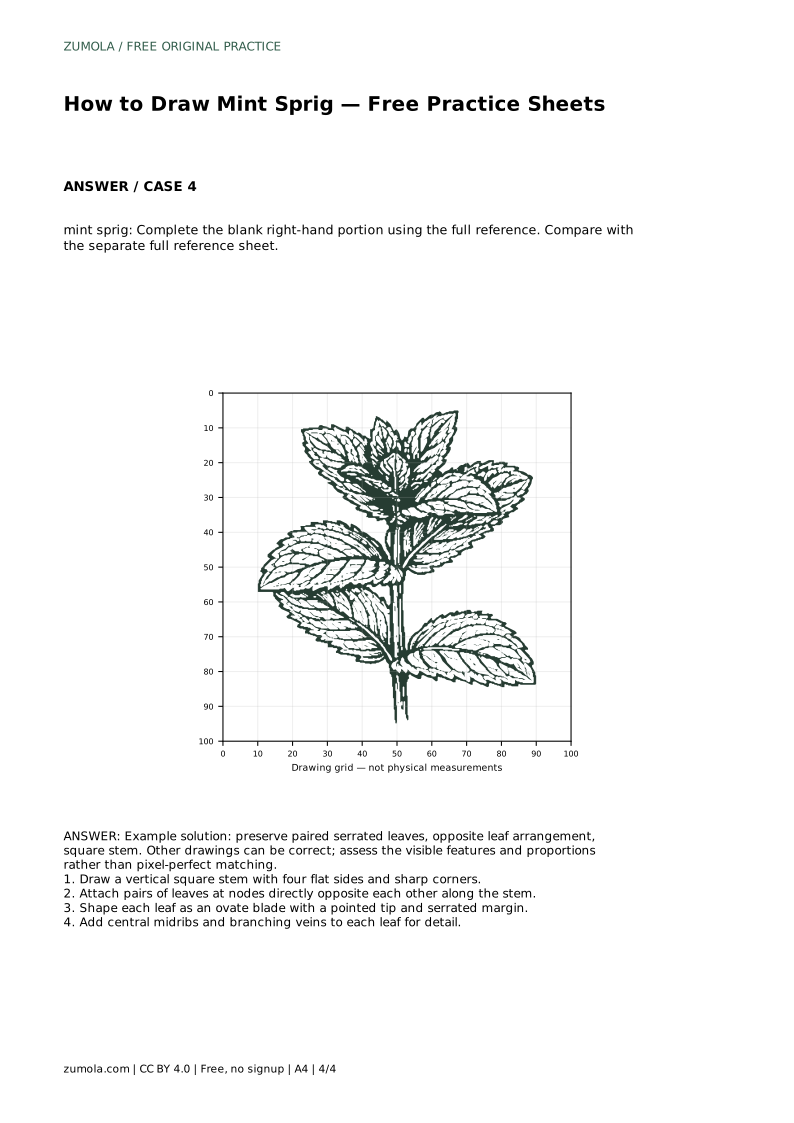
A mint sprig is a compact drawing exercise in observation: the stem is square rather than round, leaves sit in opposite pairs at each node, and every leaf is an ovate blade with a pointed tip and a serrated edge. This page explains those features in order, then shows how to use tracing, grid, and frame practice sheets to build the same structure independently. The goal is a recognizable sprig with sound proportions, not a pixel-perfect copy.
Mint belongs to a group of plants with noticeably square stems. In a drawing, show this as a narrow vertical column with four flat sides and sharp corners, not a smooth cylinder. Along the stem, leaves appear at nodes. At each node, two leaves attach on directly opposite sides, so the pairs alternate direction as you move up the stem. This opposite arrangement is the clearest identifying feature and should be visible even in a quick sketch.
Each leaf is ovate: widest near the base and tapering to a pointed tip. The margin is serrated, meaning small tooth-like notches run along the edge. A central midrib runs from base to tip, with thinner veins branching outward. Keep the teeth small and regular; oversized jagged edges make the leaf look like a different plant.
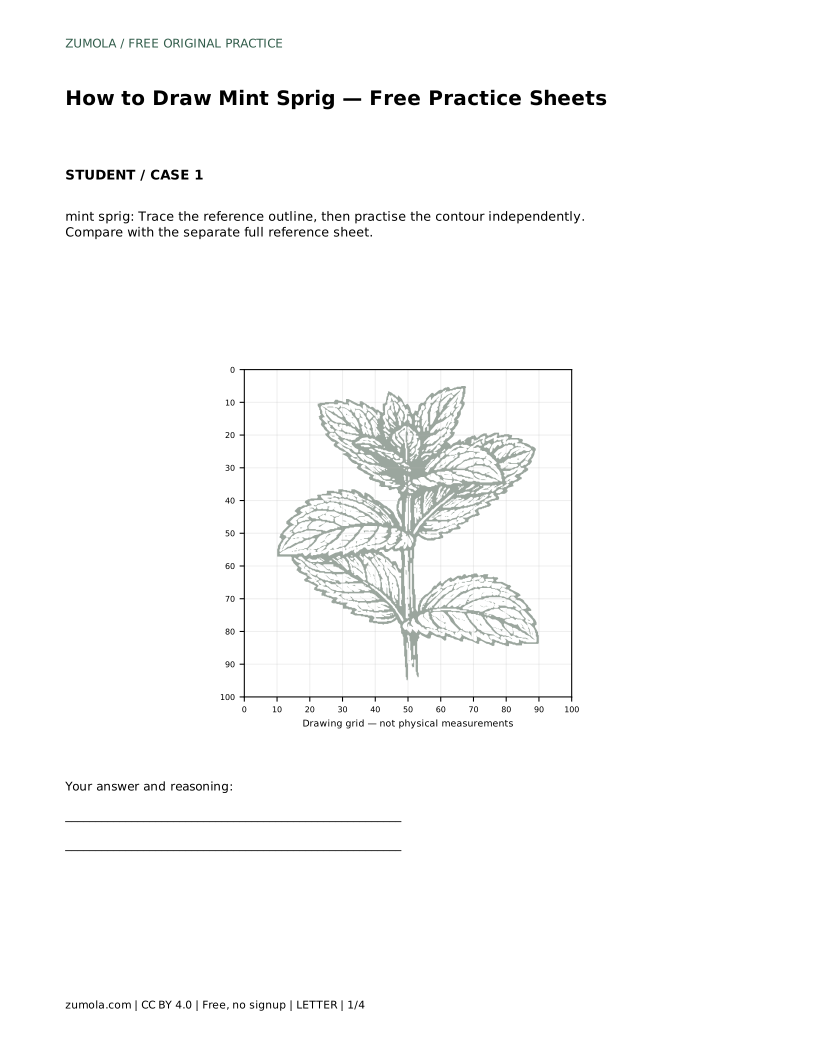
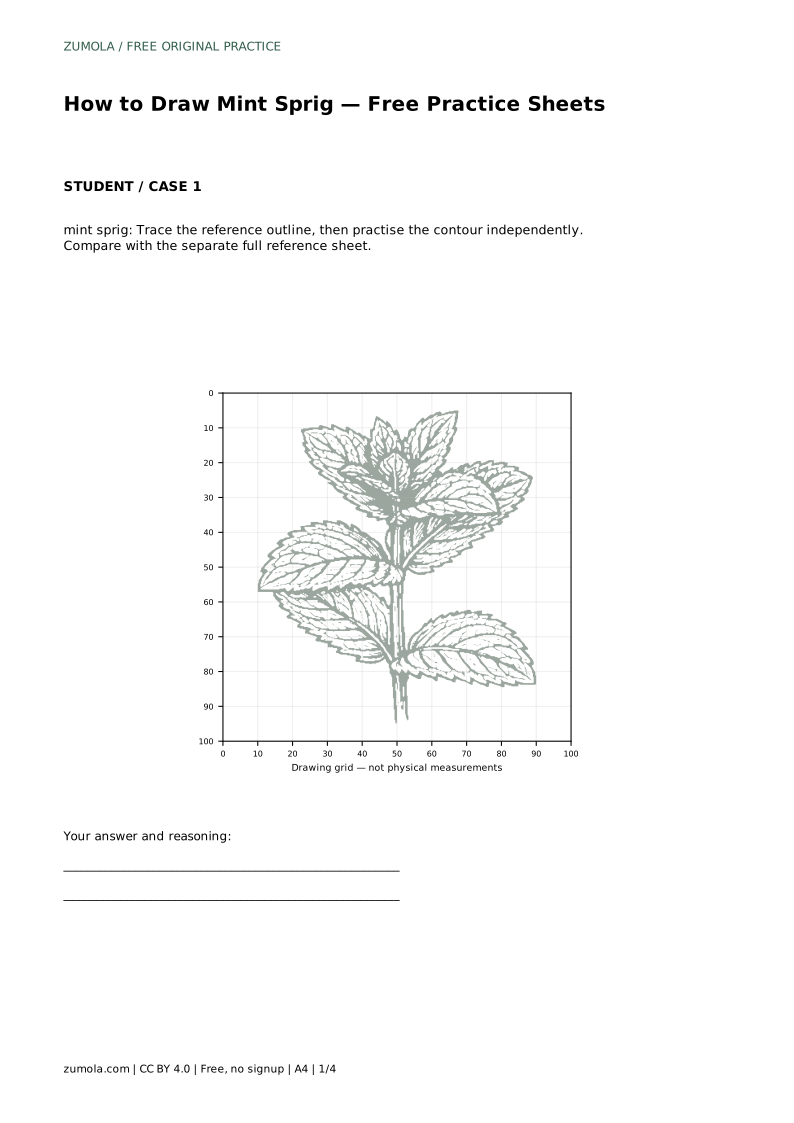
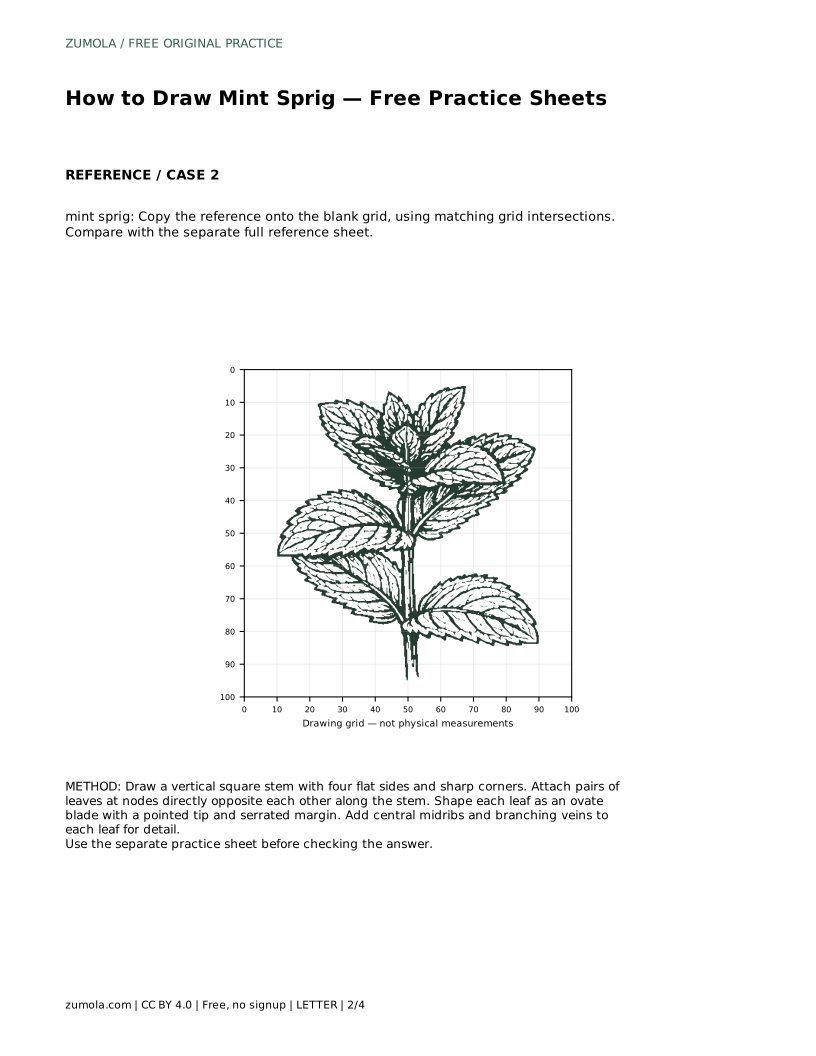
The tracing sheet asks you to follow the reference outline first, then repeat the contour on your own nearby. Tracing builds the hand motion; the independent repeat tests whether you retained the structure. Compare your result with the separate full reference sheet rather than with your traced line, so you judge the drawing itself.
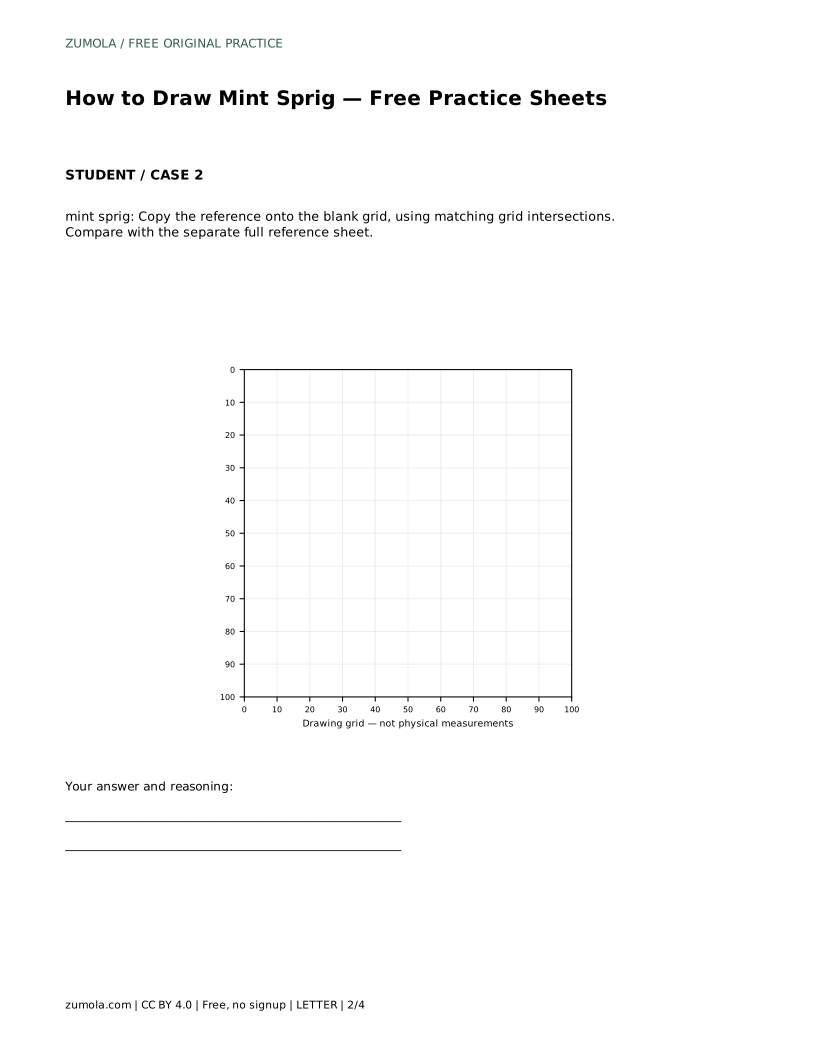
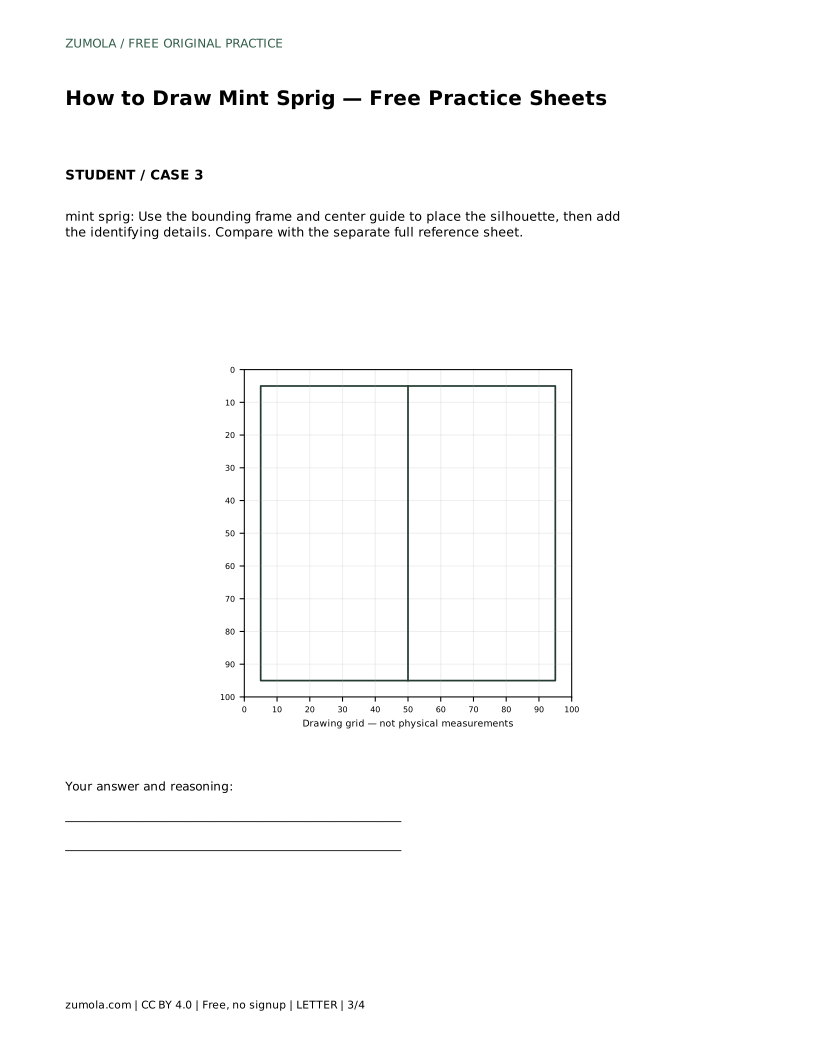
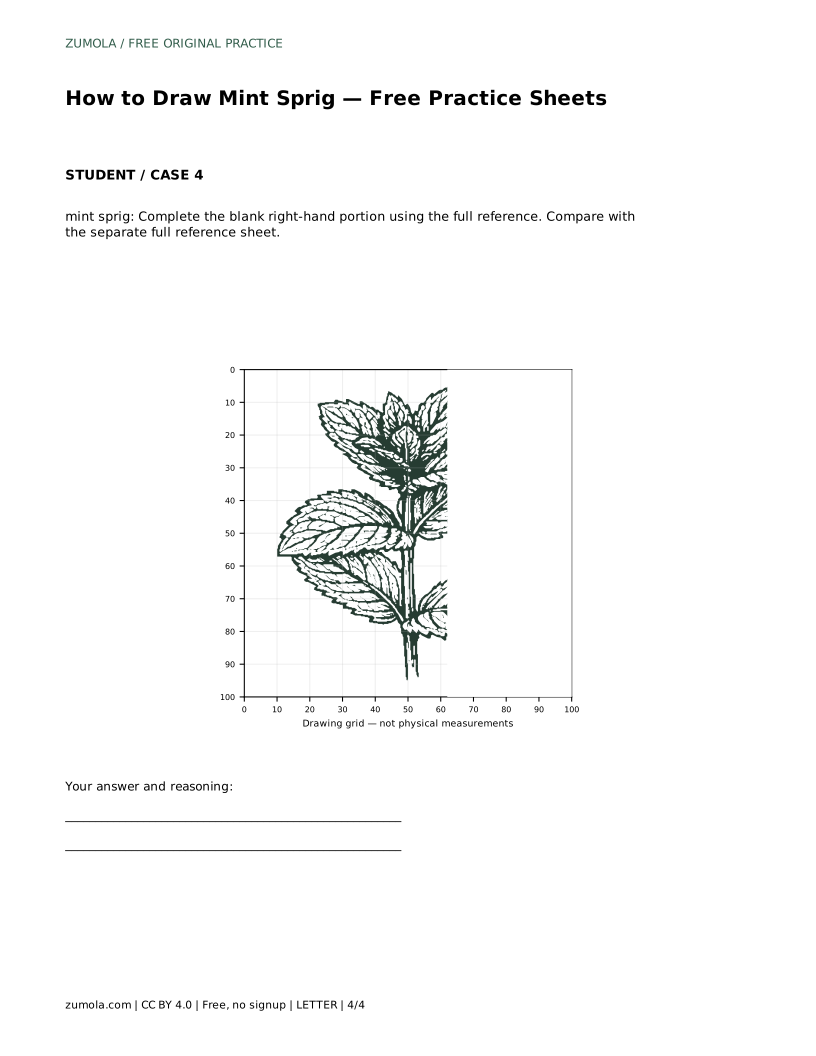
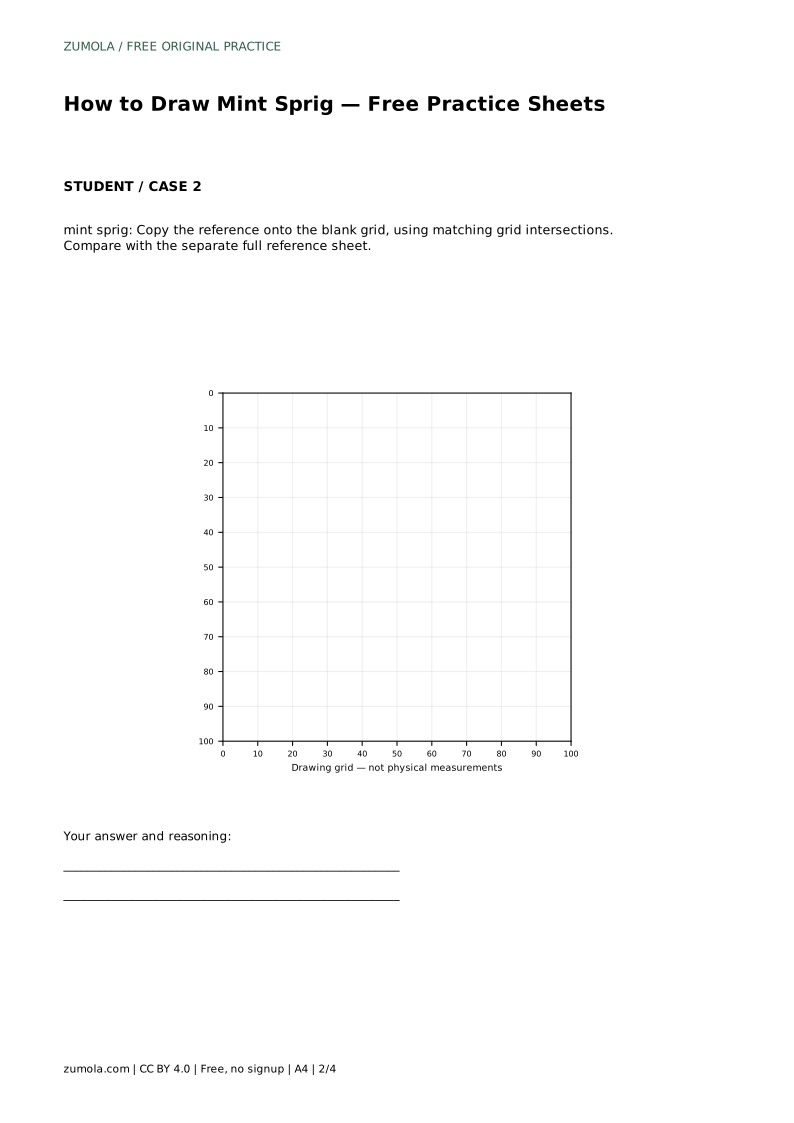
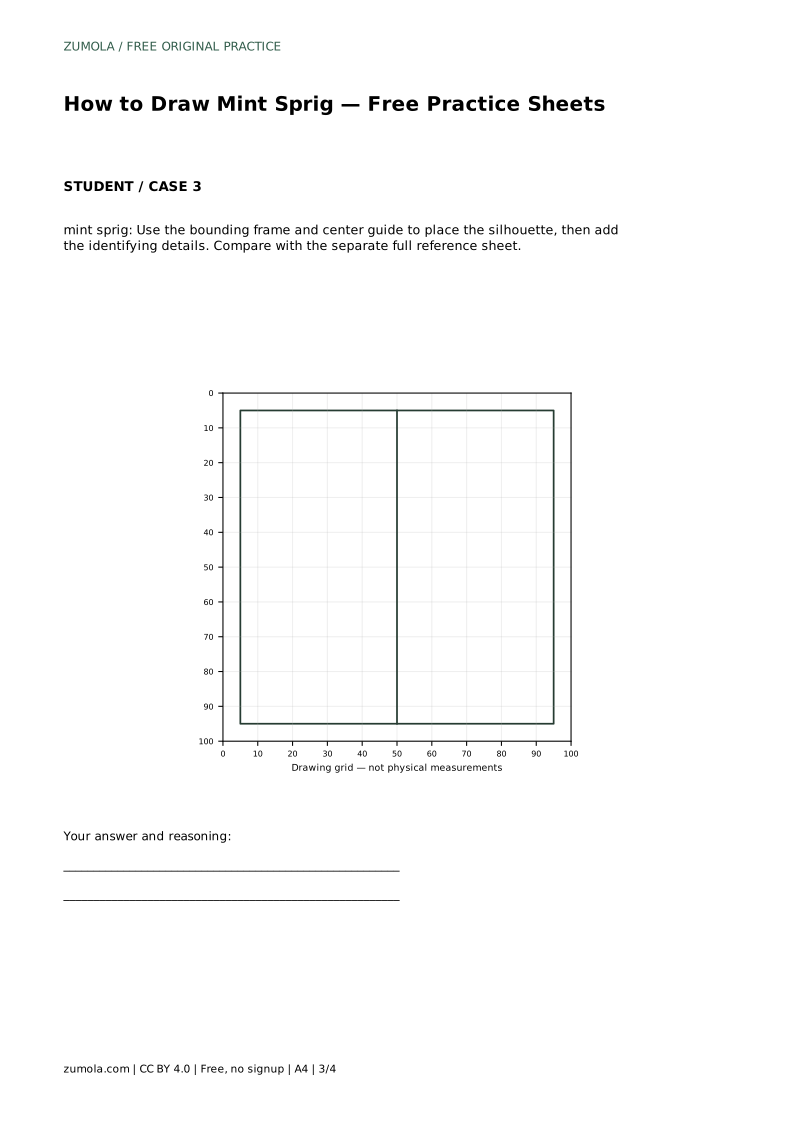
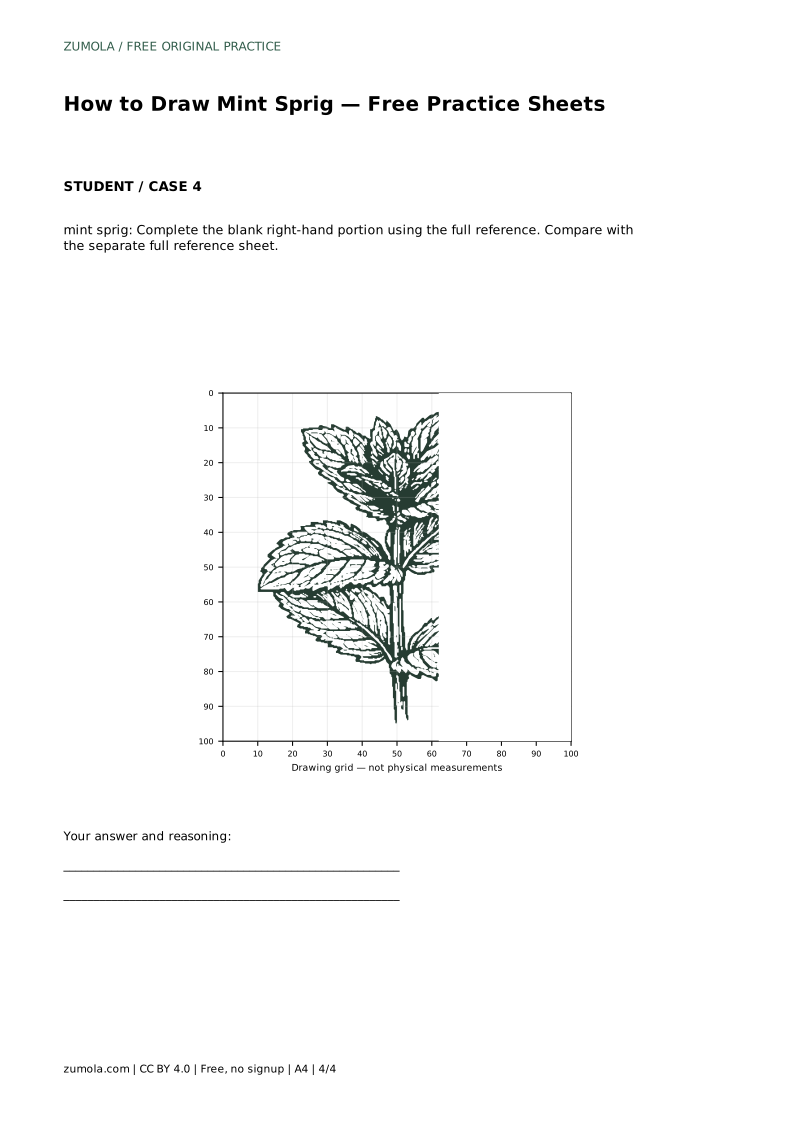
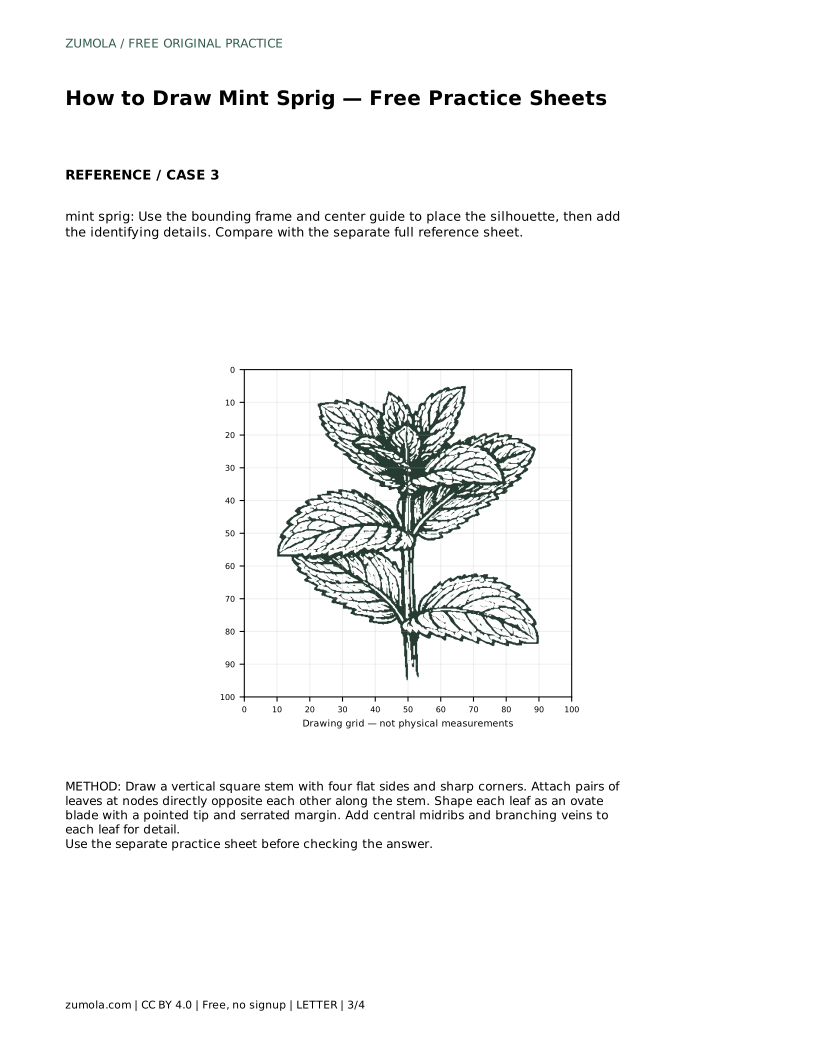
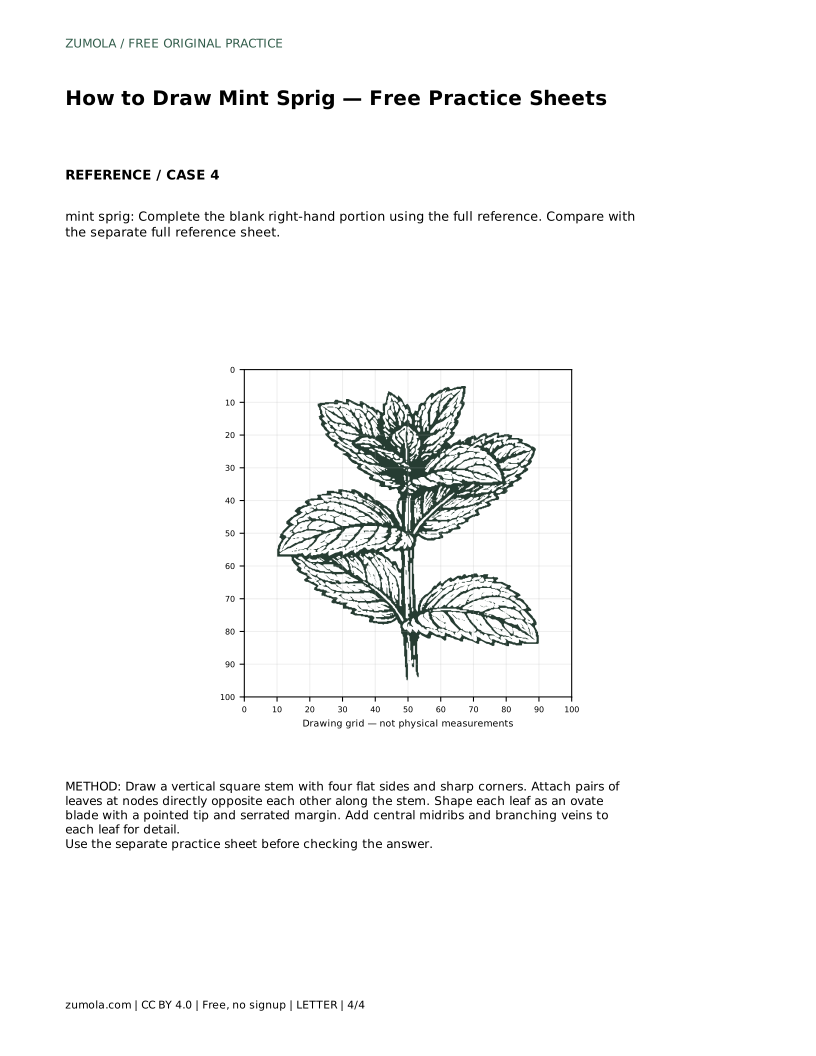
The grid sheet places the reference and a blank grid side by side. Copy the sprig by matching where the stem, nodes, and leaf tips fall on grid intersections. Work node by node from the bottom up. The frame sheet gives a bounding frame and center guide: place the overall silhouette inside the frame first, then add the identifying details. The partial sheet supplies the left portion and asks you to complete the right side from the full reference.
Compare leaf pairs for size balance: opposite leaves on a real sprig are similar but rarely identical, so slight variation looks natural. Check that the stem stays straight and that nodes are evenly spaced. Confirm every leaf has a pointed tip, a serrated margin, and a visible midrib. Erase construction marks only after the structure reads clearly.
mint sprig: Trace the reference outline, then practise the contour independently. Compare with the separate full reference sheet.
Example solution: preserve paired serrated leaves, opposite leaf arrangement, square stem. Other drawings can be correct; assess the visible features and proportions rather than pixel-perfect matching. Draw a vertical square stem with four flat sides and sharp corners. Attach pairs of leaves at nodes directly opposite each other along the stem. Shape each leaf as an ovate blade with a pointed tip and serrated margin. Add central midribs and branching veins to each leaf for detail.
No. Preserve the paired serrated leaves, opposite leaf arrangement, and square stem. Other drawings can be correct; assess the visible features and proportions rather than pixel-perfect matching.
Start with the tracing sheet to learn the contour, then move to the grid or frame sheet to draw the structure without tracing.
Follow the reference sheet you are using; the number of nodes varies, but each node should show an opposite pair.
All drawing practice · Free coordinate paper
Original resources · CC BY 4.0 · Free for personal and classroom use with attribution.