Reference diagrams
LETTER · Download PDF
A4 · Download PDF
Free original resources
Learn to draw a thistle by building a thorny stem, a dense spiky flower head, and jagged leaves. Use the trace, grid, frame, and half-sheet practice pages.
Four original cases, with reference diagrams, practice sheets and worked answers. Everything is free; no signup required.
LETTER · Download PDF
A4 · Download PDF
LETTER · Download PDF
A4 · Download PDF
LETTER · Download PDF
A4 · Download PDF
Use A4 or US Letter to match your printer. Use the stated values and conditions to solve each exercise; diagrams are not physical measuring rulers.
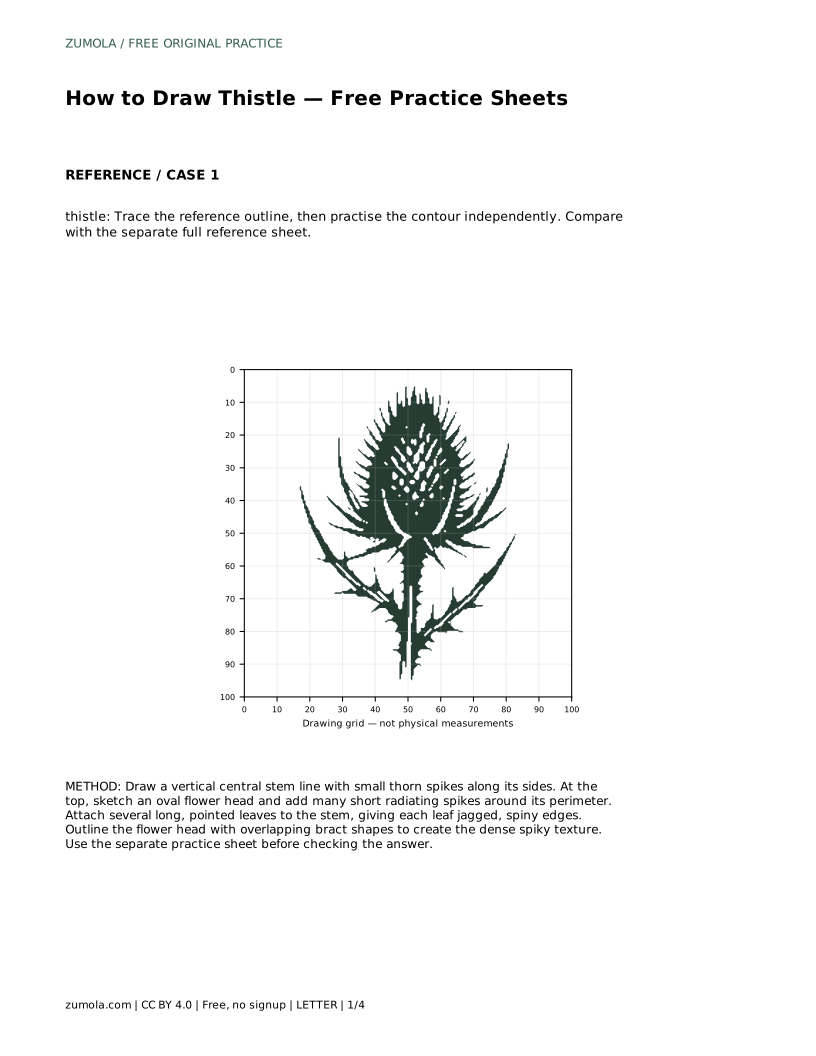
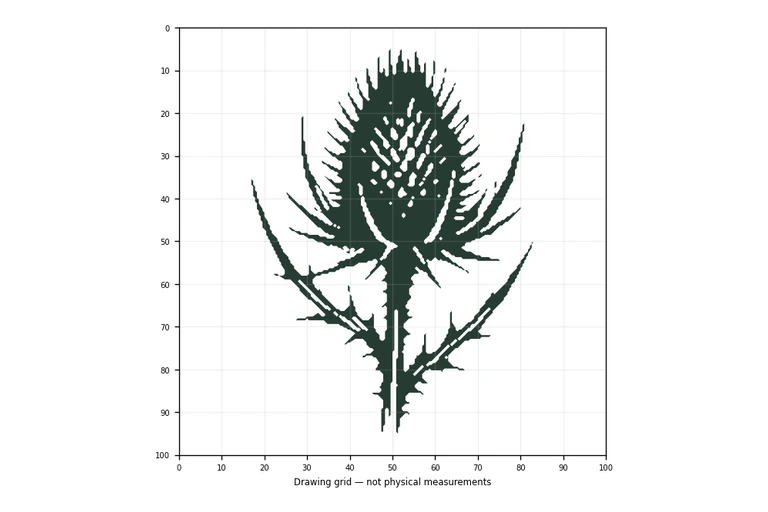
A thistle is recognizable by three features: a tall stem with small thorny projections, a dense flower head packed with pointed bracts, and long leaves with sharp serrated edges. This page teaches a simple construction order so those features stay clear and proportionate. Start with the stem, place the flower head, attach the leaves, then build texture. The practice sheets offer different levels of support, from tracing to completing a blank half.
Work from the largest structure to the smallest detail. The vertical stem sets the plant's height and keeps the flower head centered above the leaves. The oval flower head establishes the top mass. Leaves attach along the stem and spread outward. Only after these shapes are placed should you add the small spikes, bracts, and serrations that give the thistle its prickly character.
Keep the flower head compact rather than round and smooth. A thistle head reads as a tight cluster of overlapping pointed bracts, so short radiating spikes around the perimeter matter more than any single perfect spike. Leaves should taper to a point and carry repeated jagged notches along both edges.
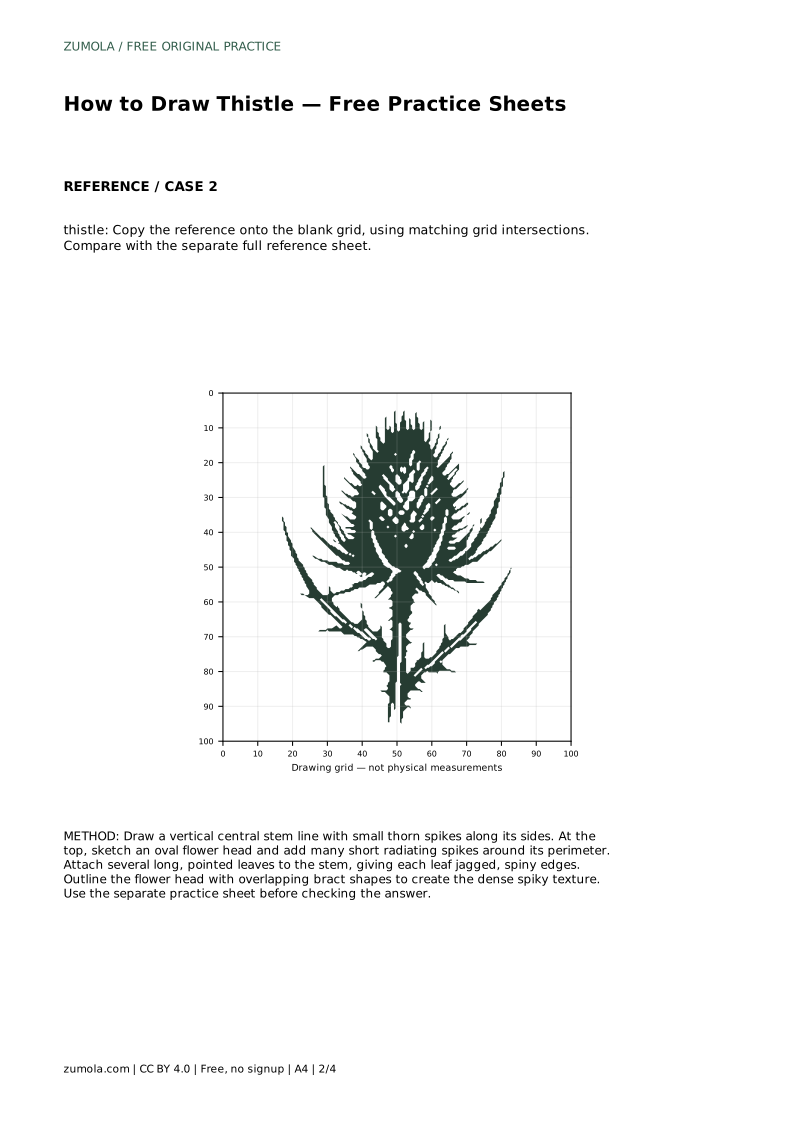
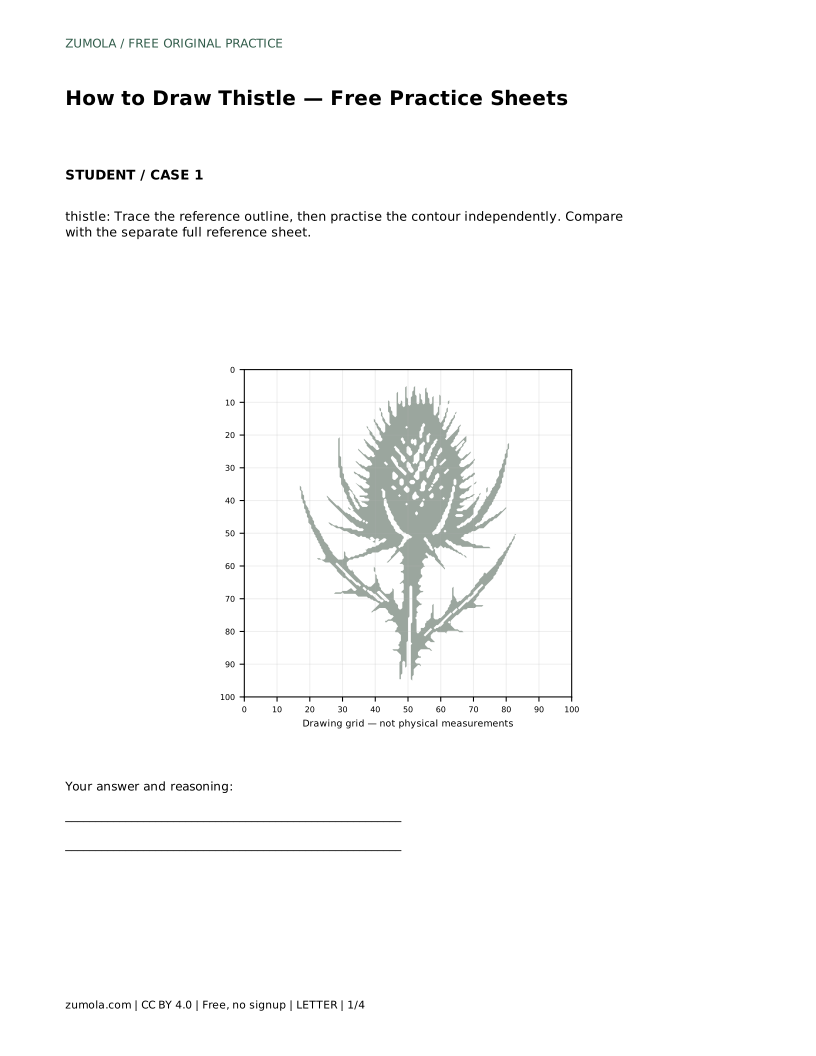
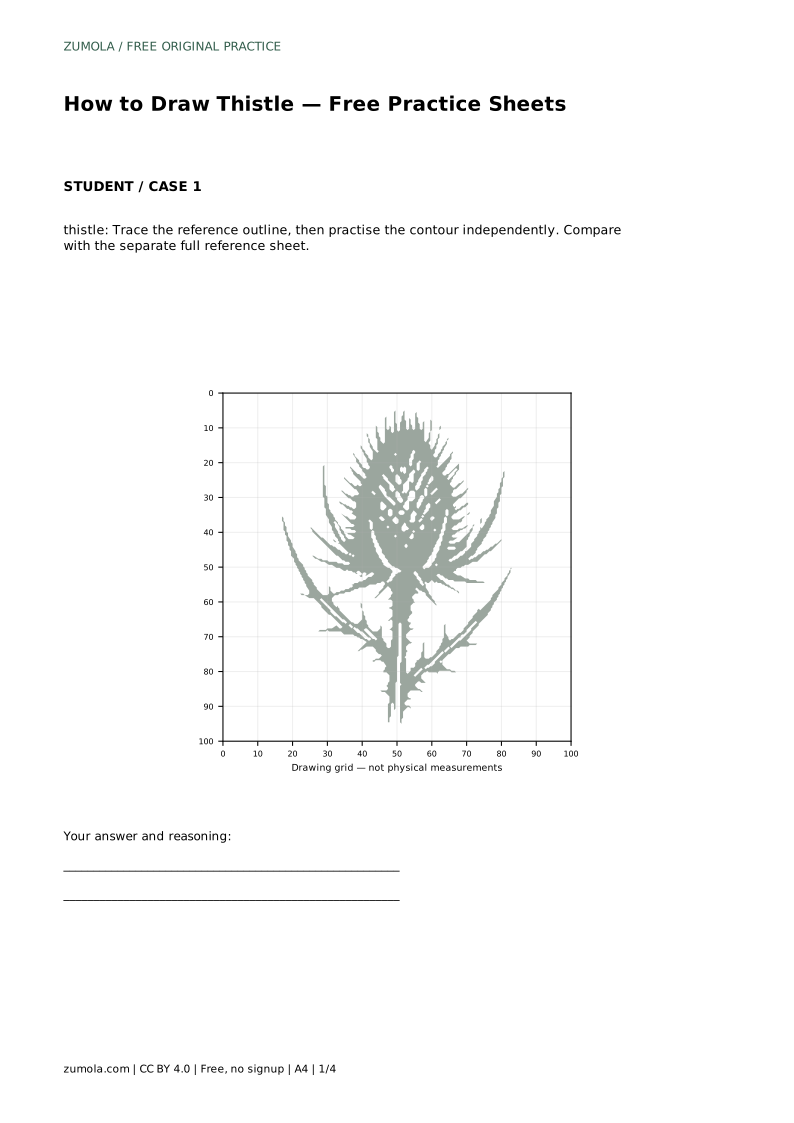
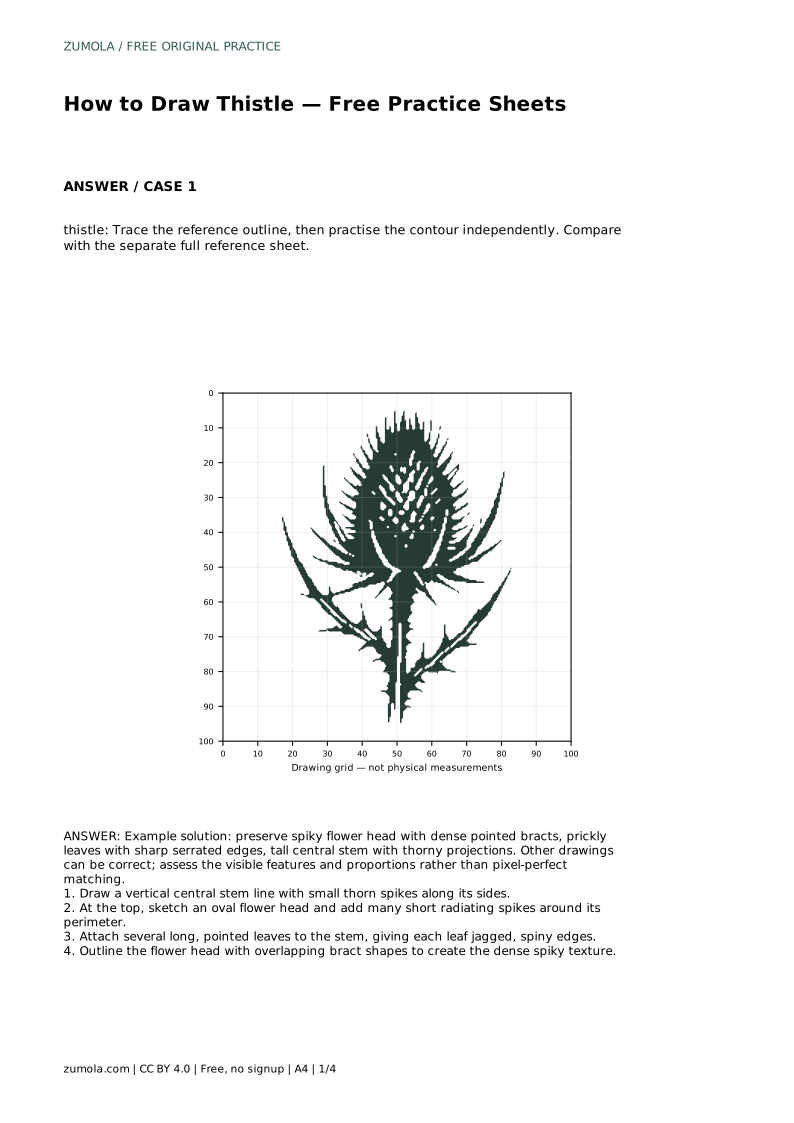
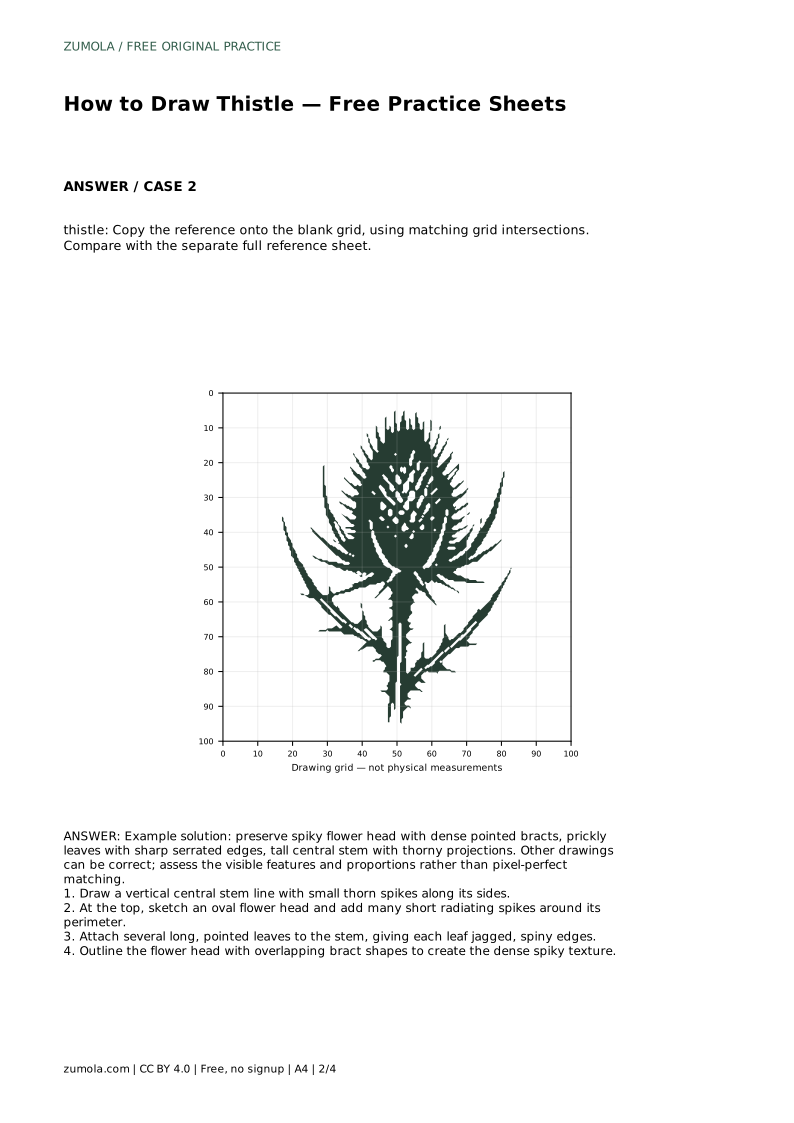
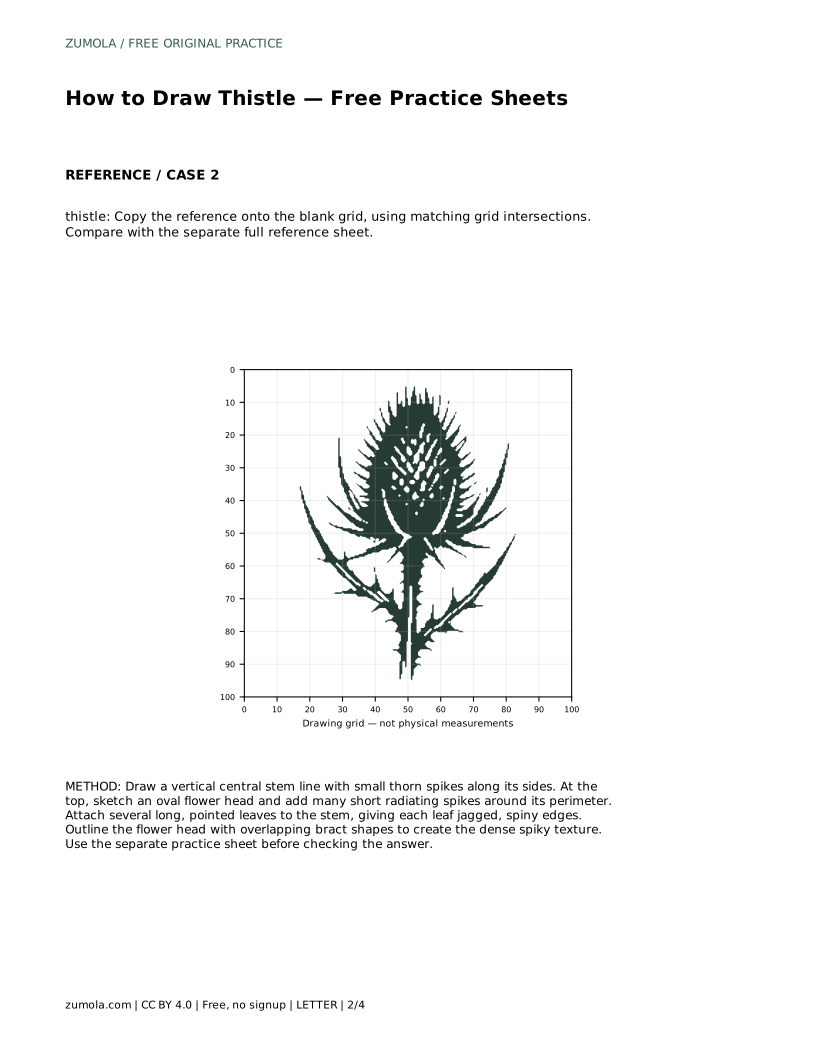
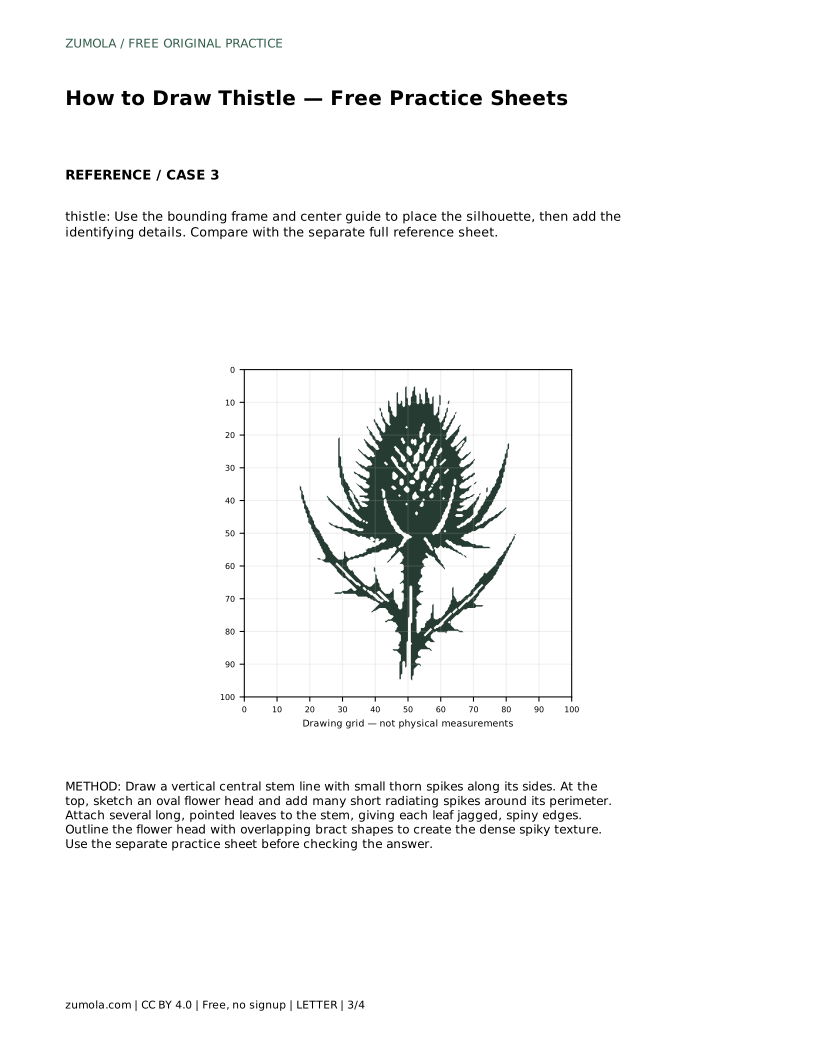
Each sheet supports a different part of the same skill. The trace sheet lets you follow the reference outline first, then repeat the contour independently on the open space. The grid sheet asks you to copy the reference onto a blank grid, matching where lines cross grid intersections so proportions stay consistent.
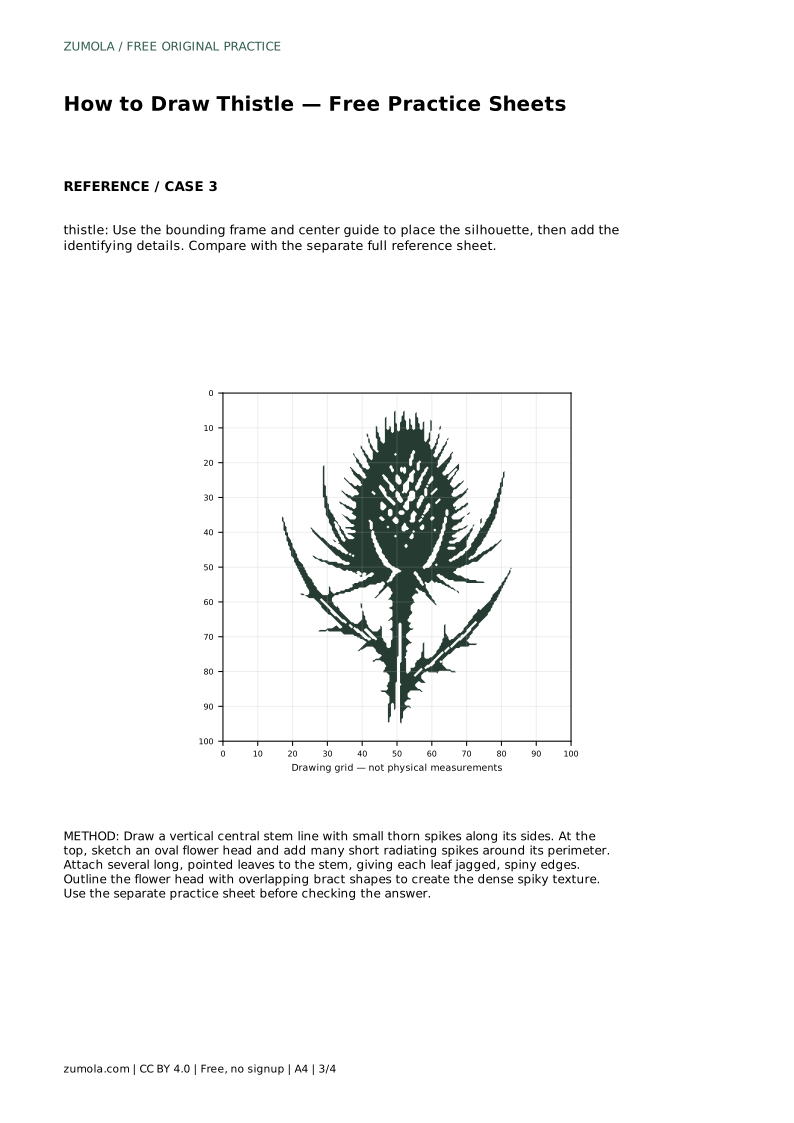
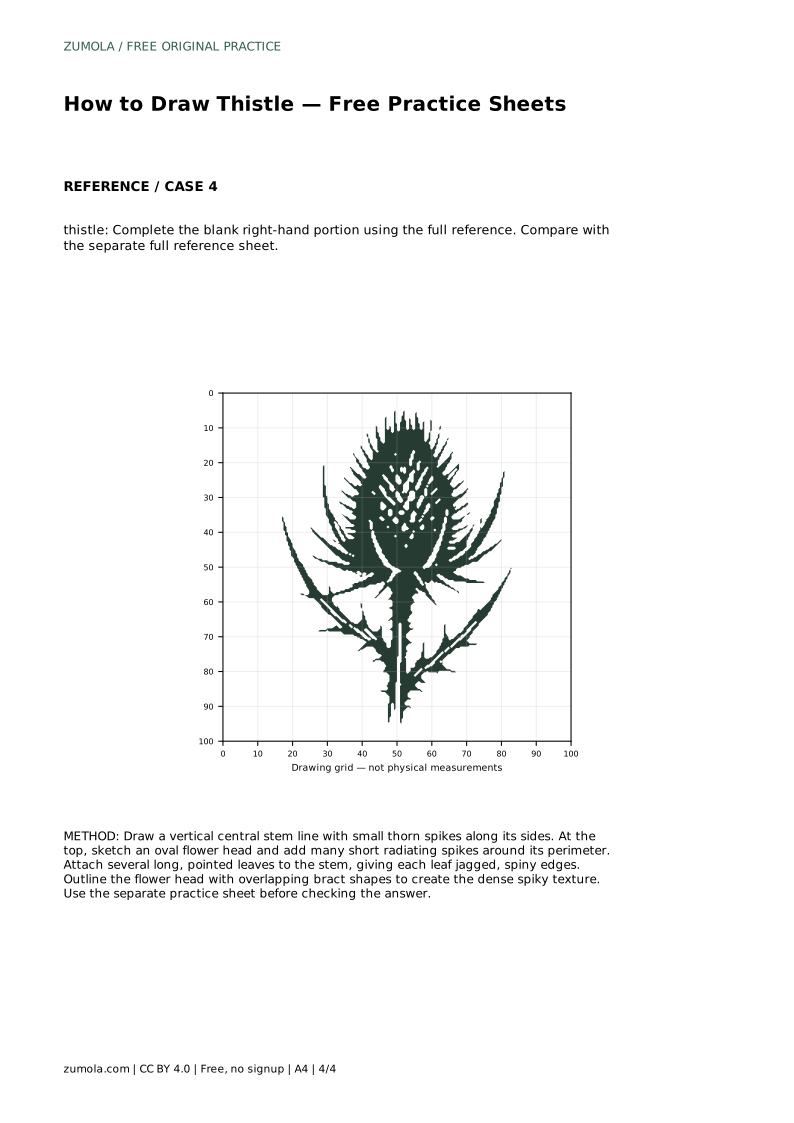
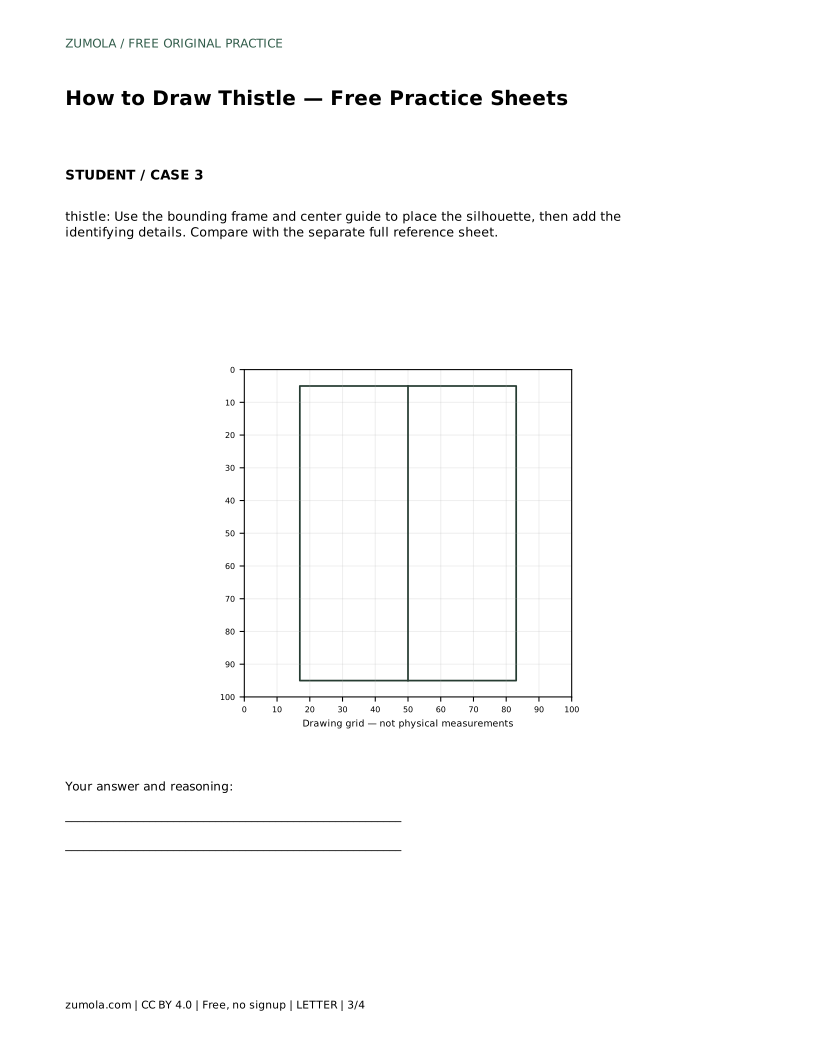
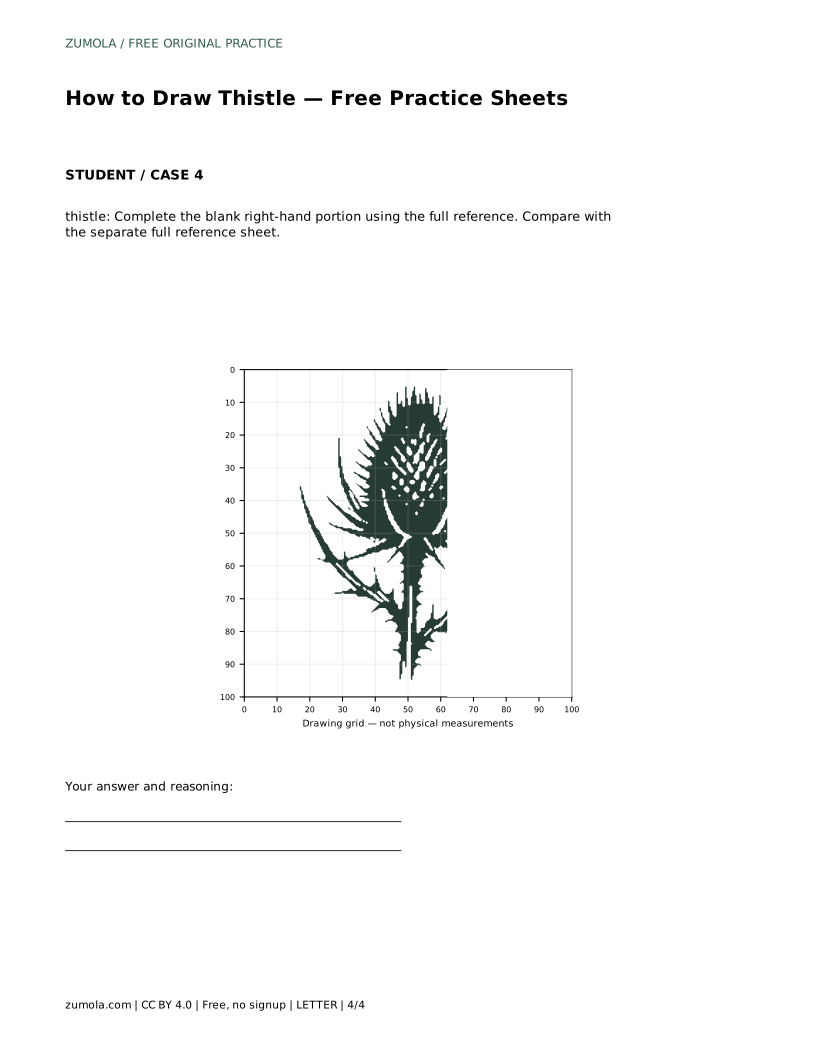
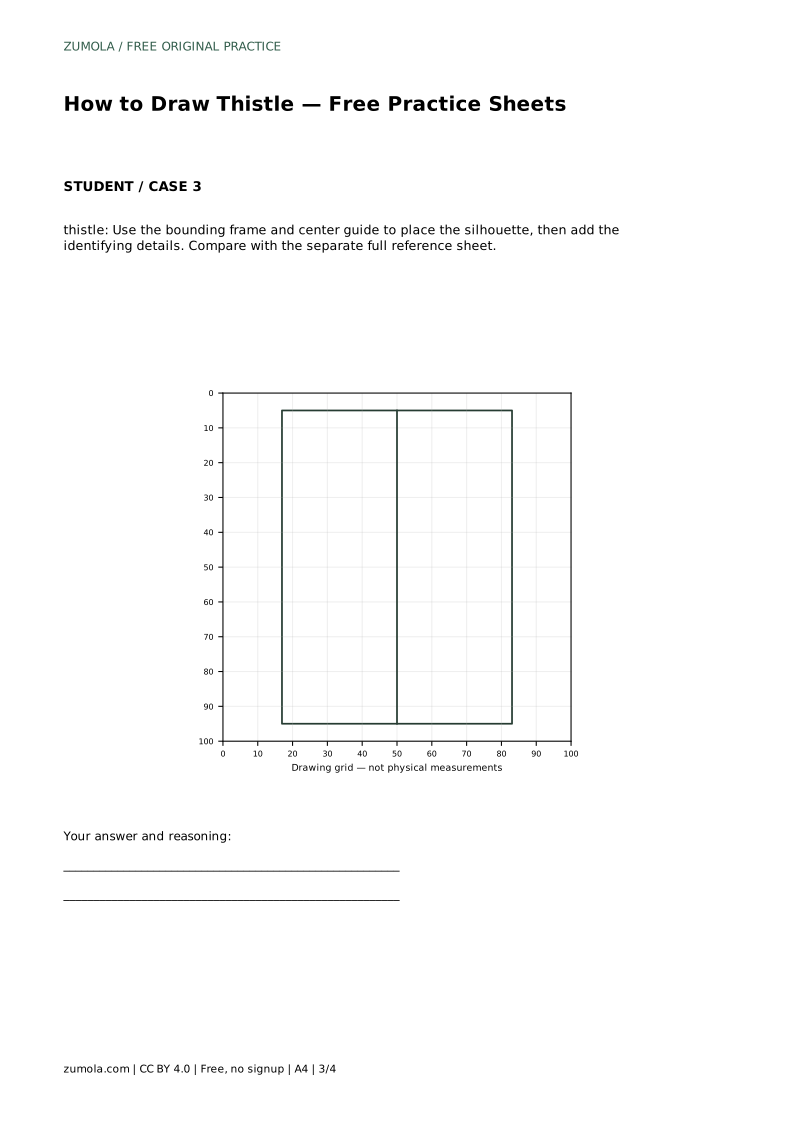
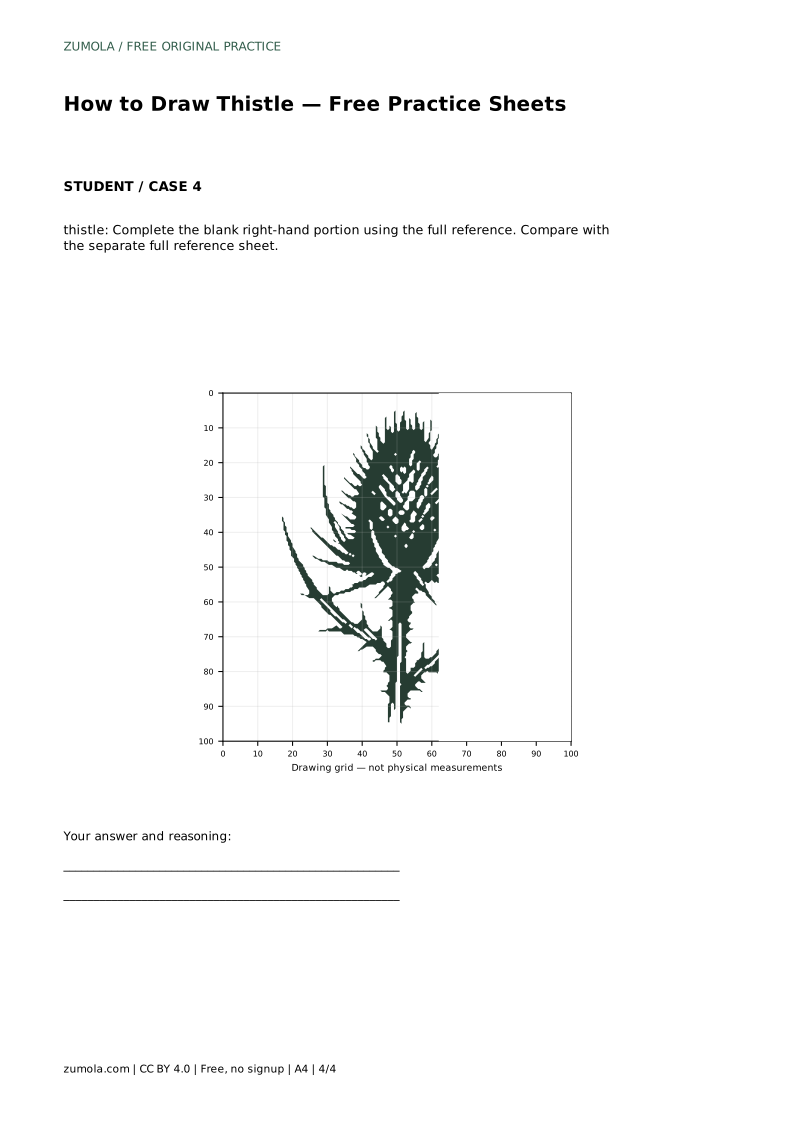
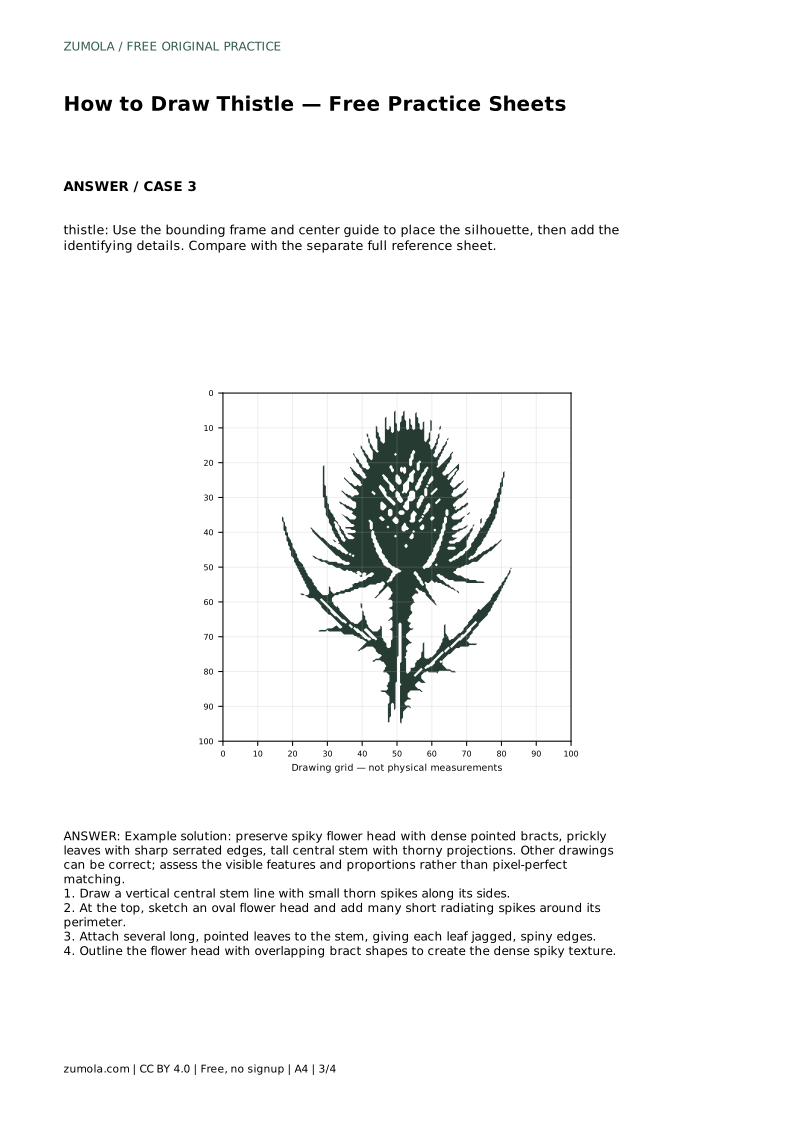
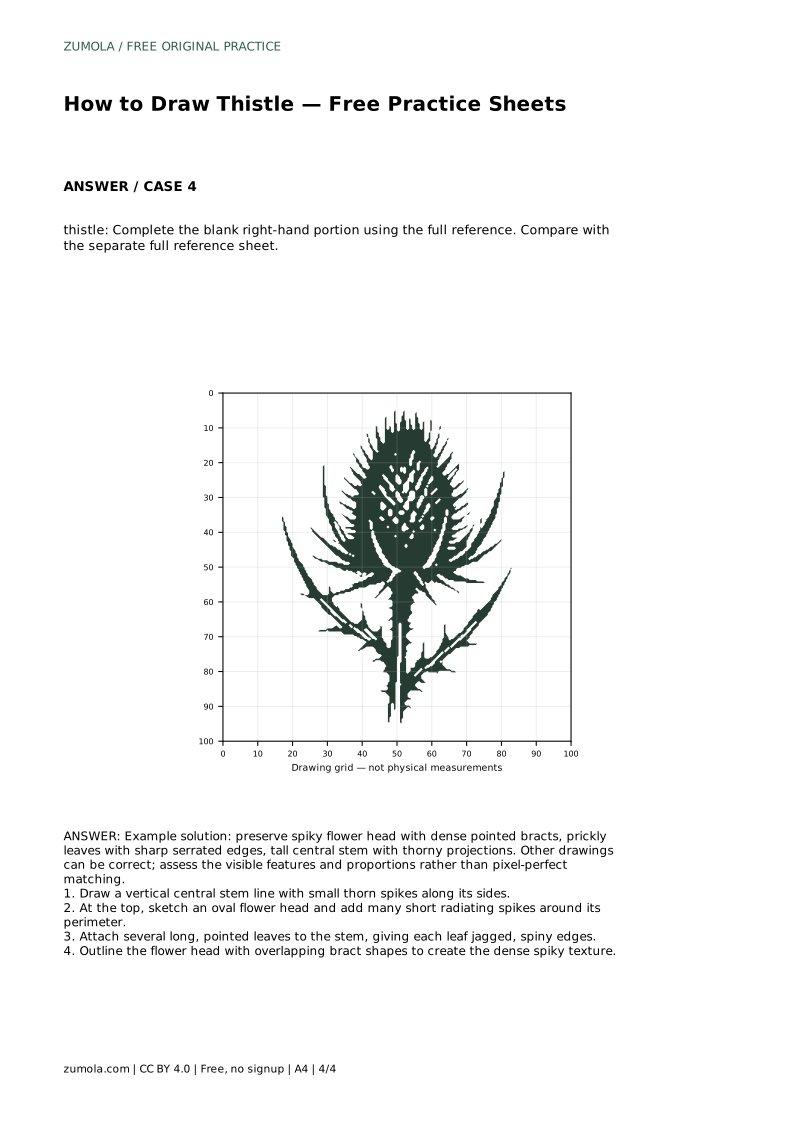
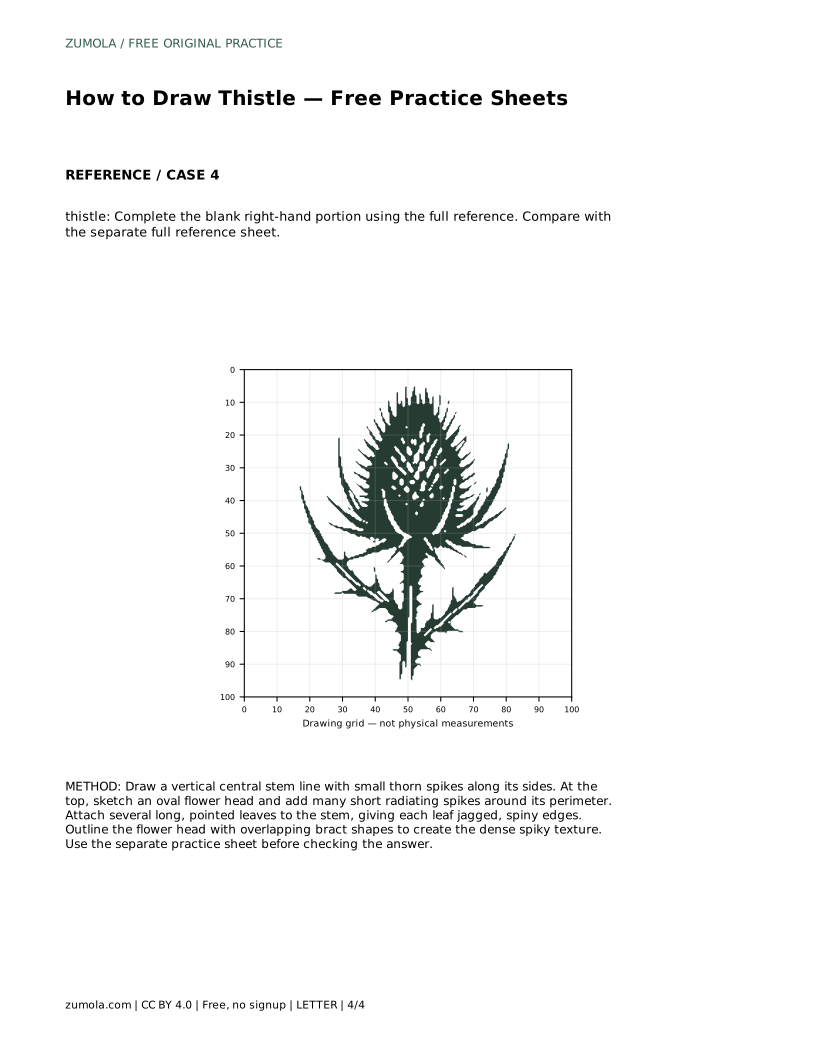
The frame sheet gives a bounding frame and center guide. Use them to place the overall silhouette before adding identifying details. The half sheet shows one side of the drawing and leaves the other blank; complete the missing portion using the full reference. In every case, compare your finished drawing with the separate full reference sheet rather than expecting a pixel-perfect match.
Thistle drawings have many valid outcomes. Two drawings can look quite different and both be correct if the identifying features are present and the proportions hold together. Assess the visible features: a spiky flower head with dense pointed bracts, prickly leaves with sharp serrated edges, and a tall central stem with thorny projections.
Check relationships rather than exact line positions. Is the flower head sitting at the top of the stem? Do the leaves attach along the stem rather than floating? Are the spikes distributed around the head rather than clustered on one side? These questions catch most construction problems.
Most thistle drawings go wrong in the texture stage. Spikes drawn too long turn the flower head into a sunburst; spikes drawn too few leave it looking like a smooth bud. Leaves drawn with rounded edges lose the prickly character entirely. Keep spikes short and numerous, and make leaf notches angular.
Proportion problems usually start with the stem. If the stem is too short, the leaves crowd the flower head. If it leans, the flower head drifts off center. Draw the stem first and keep it close to vertical unless you deliberately want a bent plant.
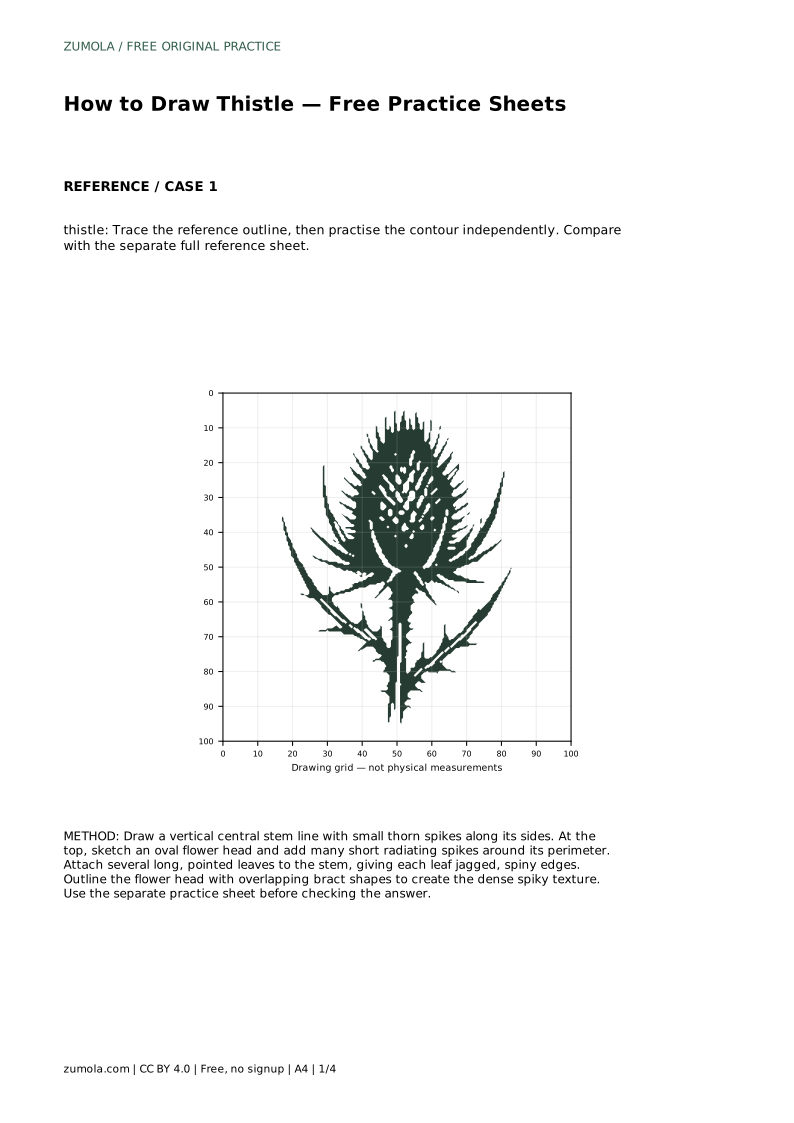
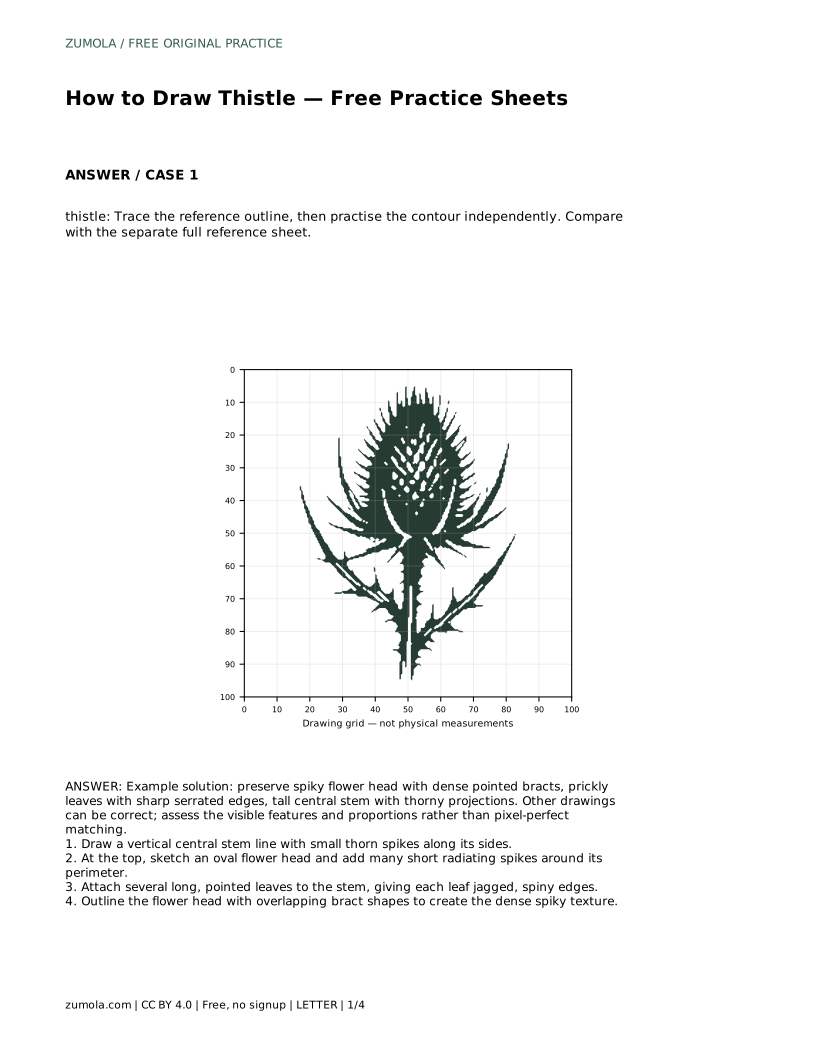
thistle: Trace the reference outline, then practise the contour independently. Compare with the separate full reference sheet.
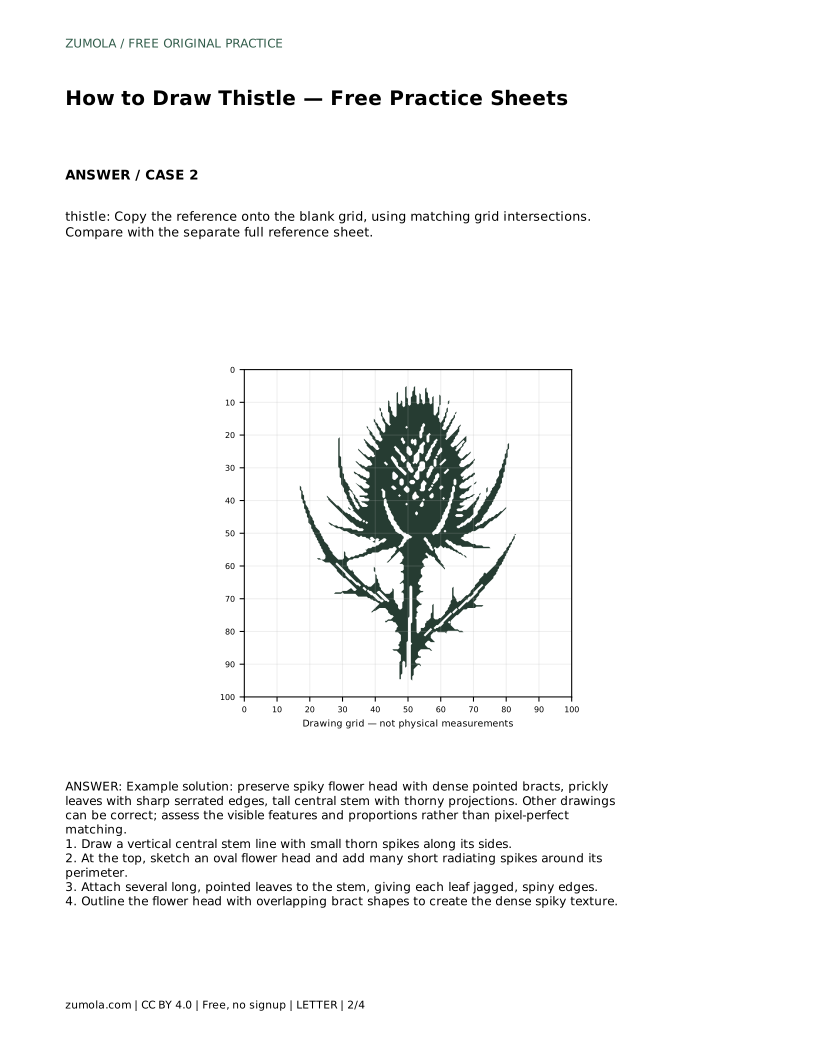
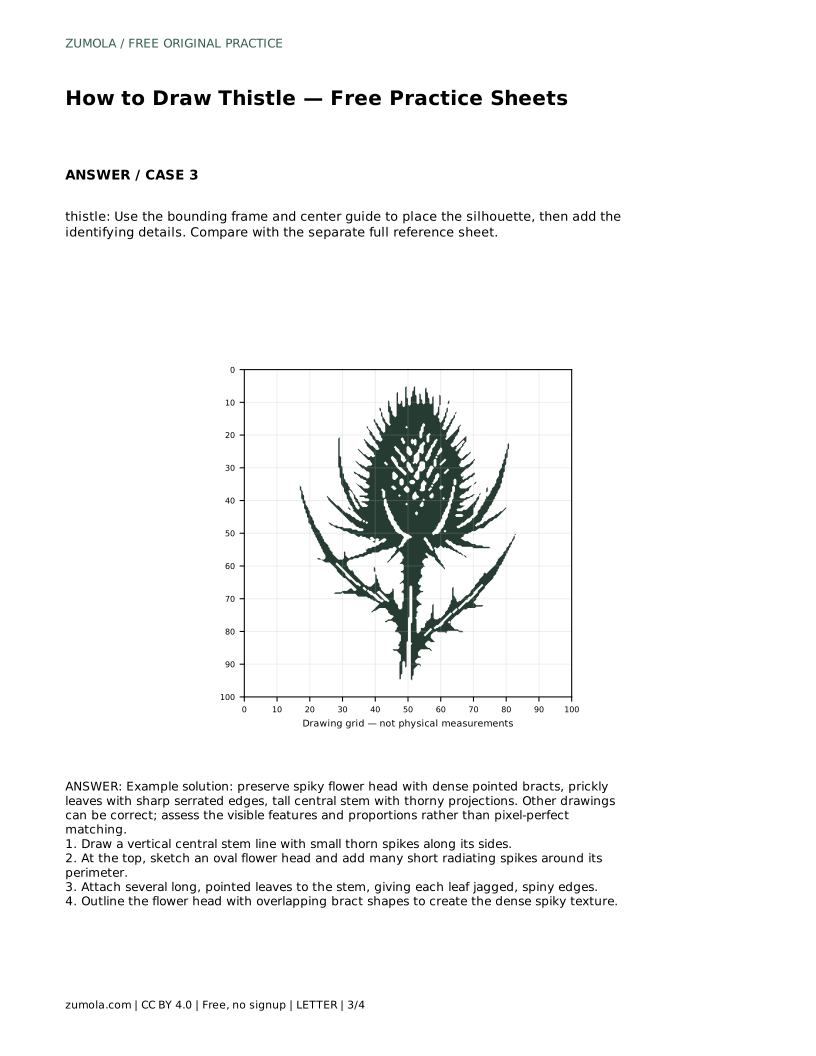
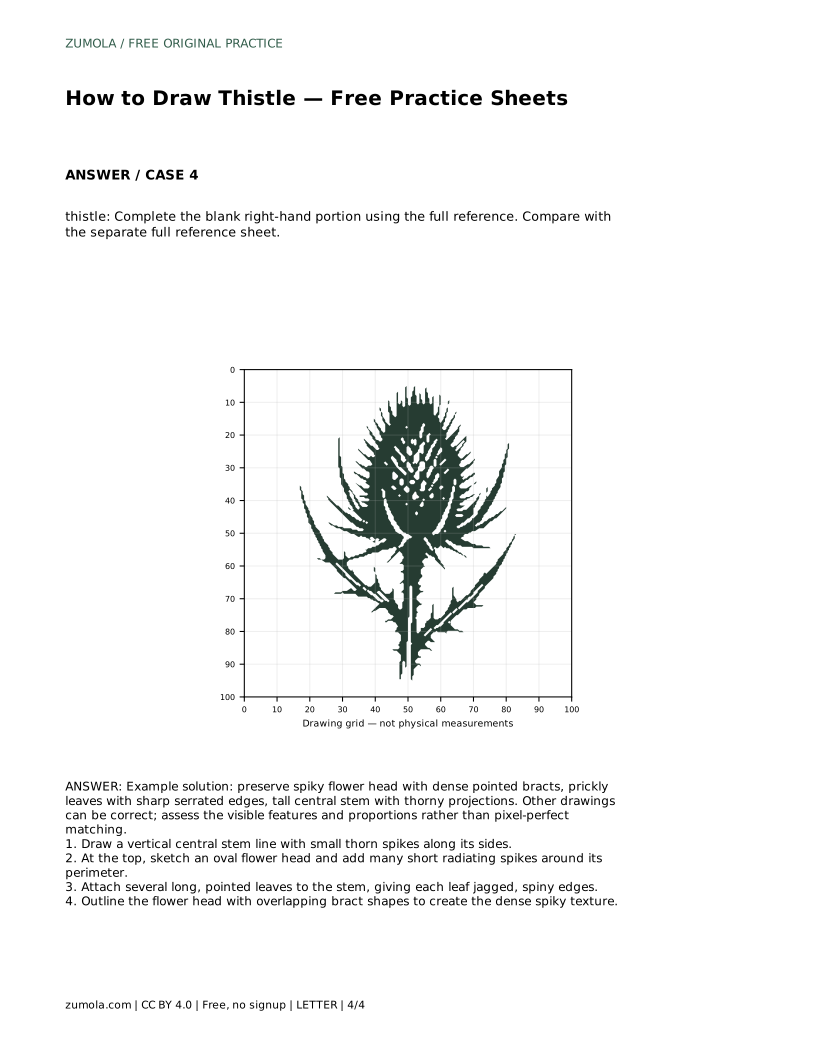
Example solution: preserve spiky flower head with dense pointed bracts, prickly leaves with sharp serrated edges, tall central stem with thorny projections. Other drawings can be correct; assess the visible features and proportions rather than pixel-perfect matching. Draw a vertical central stem line with small thorn spikes along its sides. At the top, sketch an oval flower head and add many short radiating spikes around its perimeter. Attach several long, pointed leaves to the stem, giving each leaf jagged, spiny edges. Outline the flower head with overlapping bract shapes to create the dense spiky texture.
No. Other drawings can be correct. Assess the visible features and proportions rather than pixel-perfect matching.
Start with the trace sheet to learn the contour, then move to the grid or frame sheet for independent placement, and finish with the half sheet.
There is no fixed count. Use enough short spikes that the head reads as dense and prickly rather than smooth.
All drawing practice · Free coordinate paper
Original resources · CC BY 4.0 · Free for personal and classroom use with attribution.