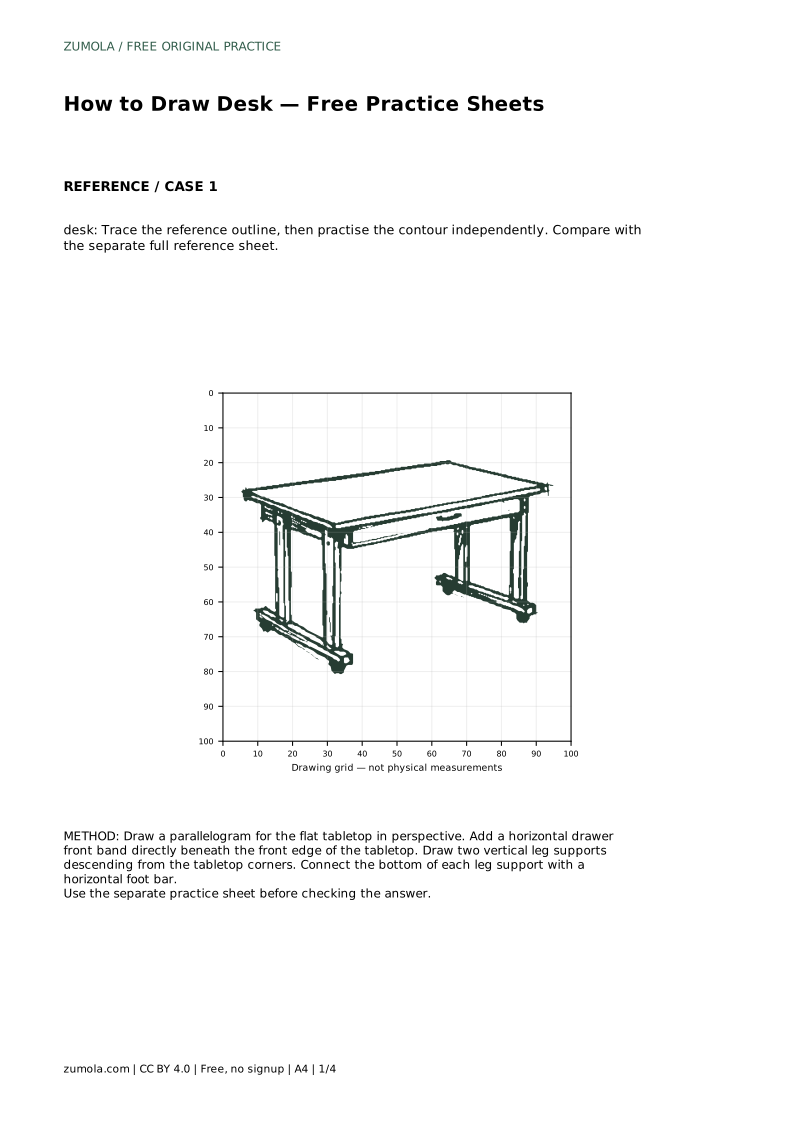
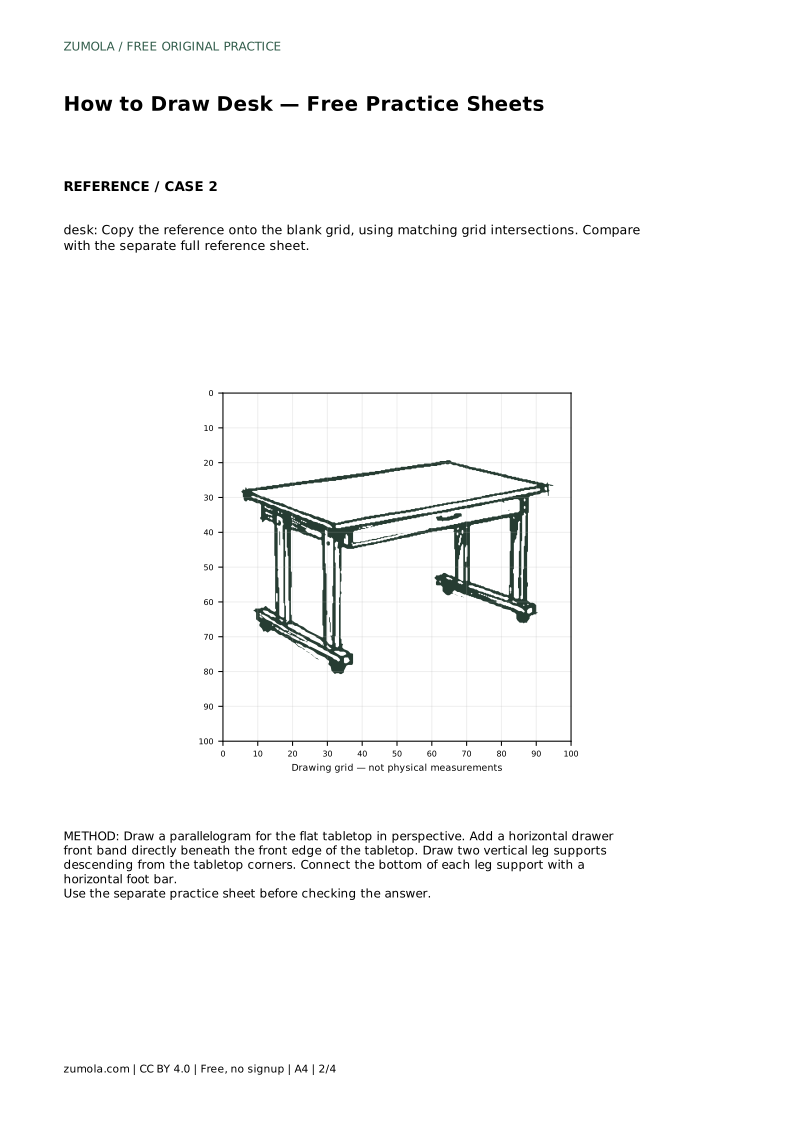
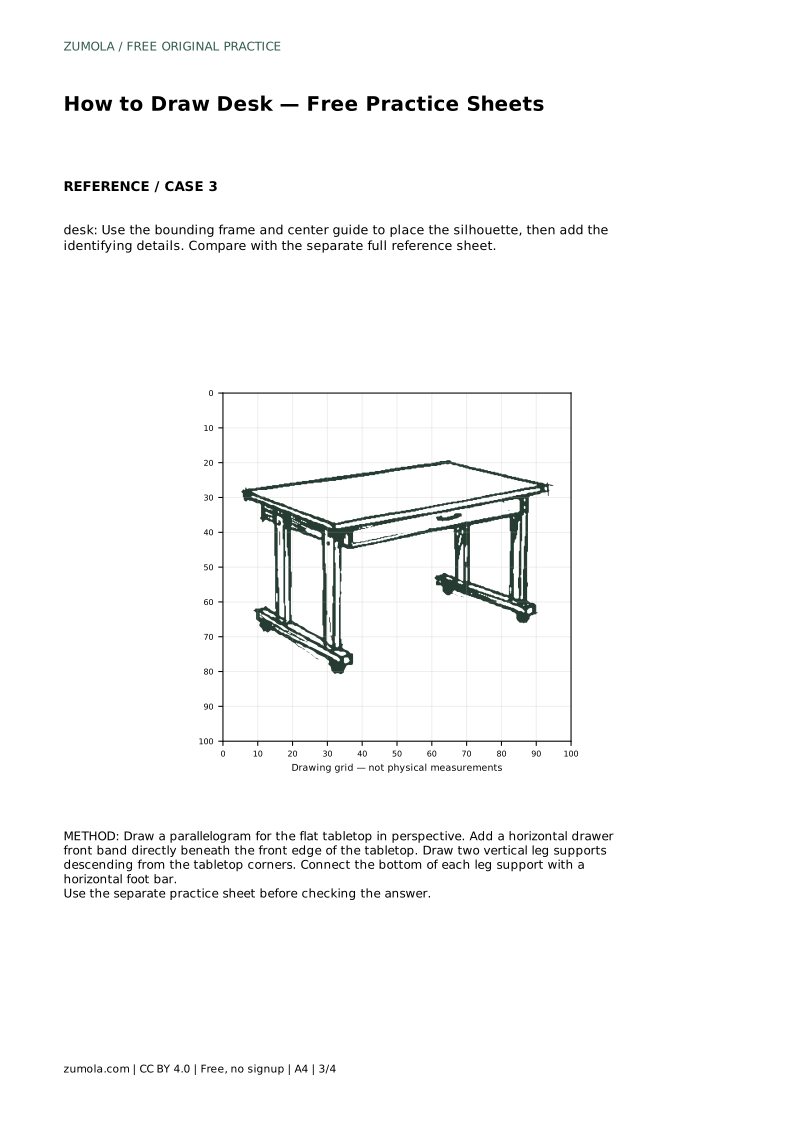
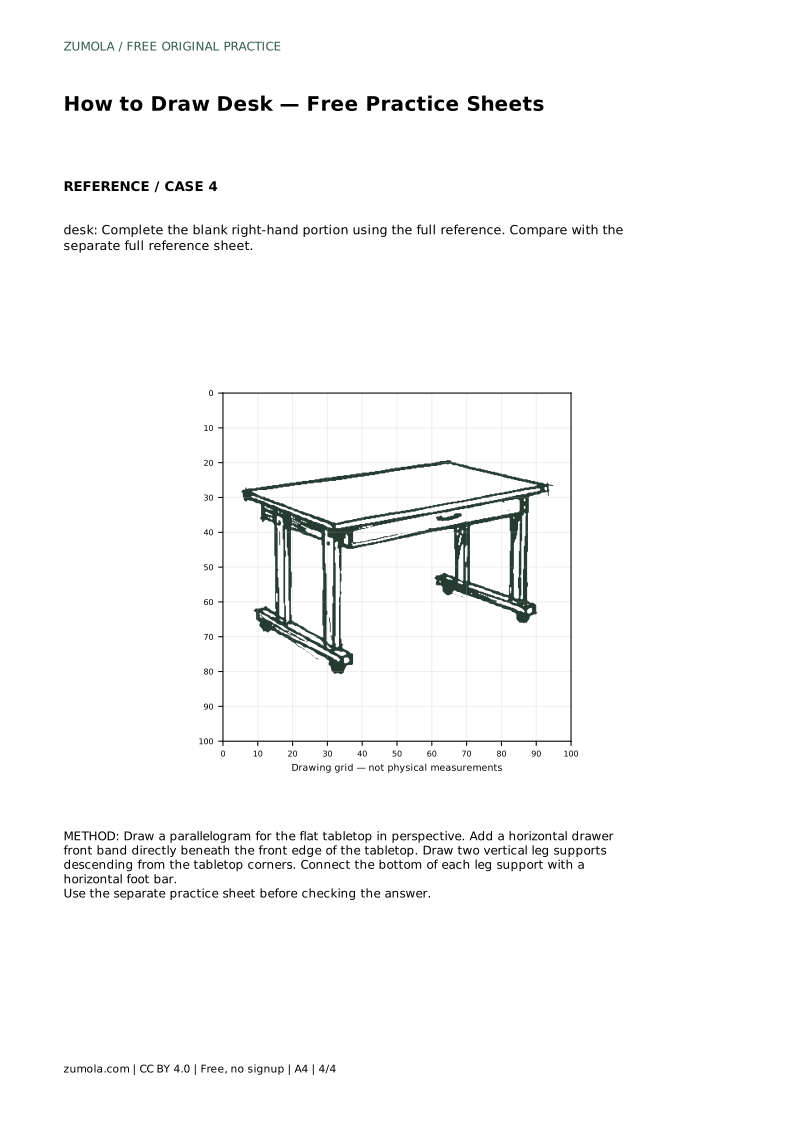
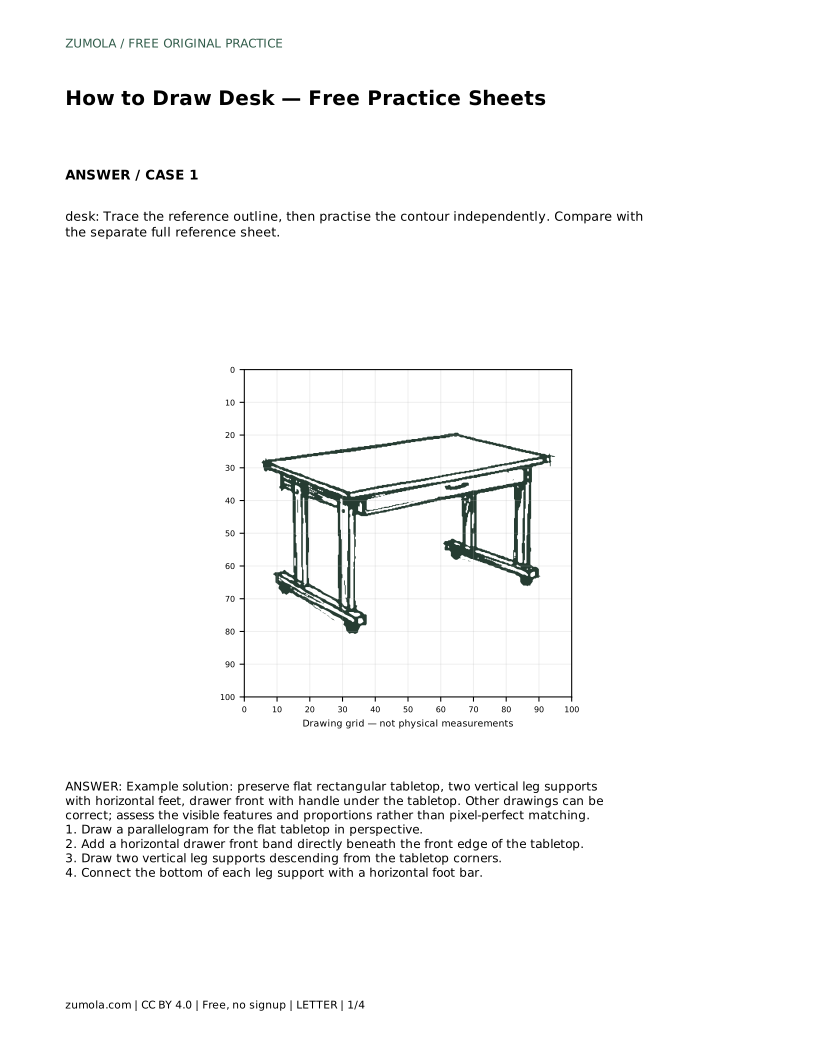
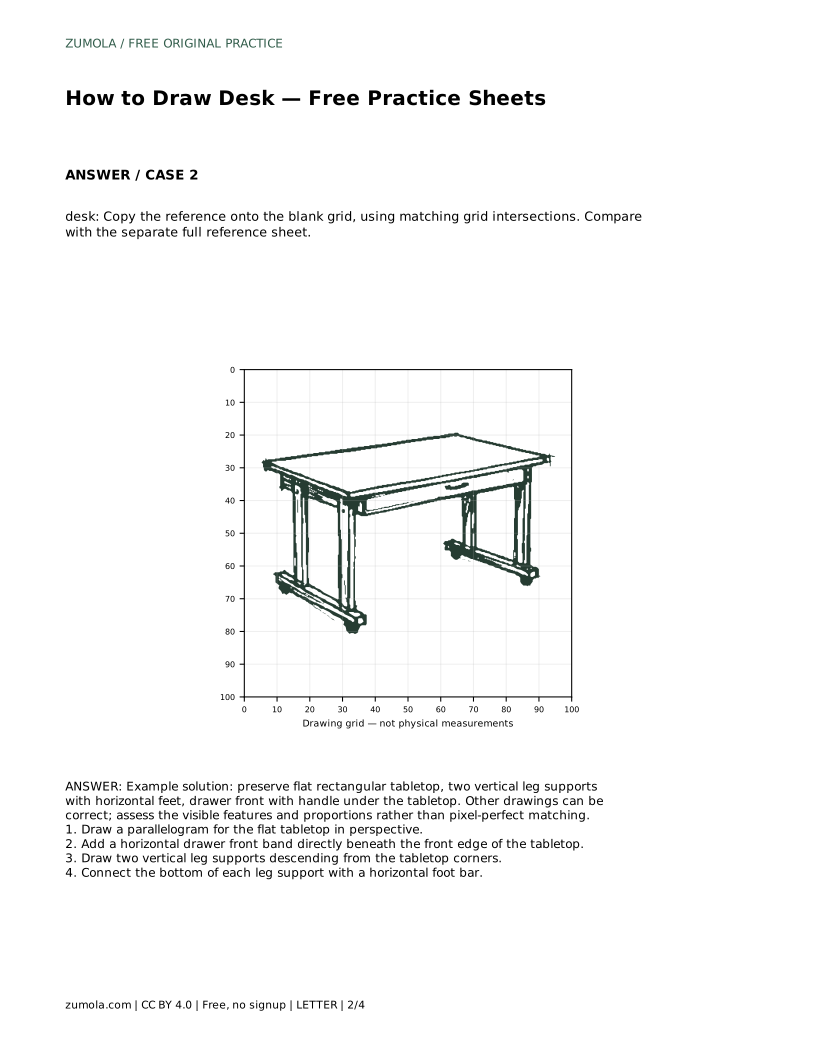
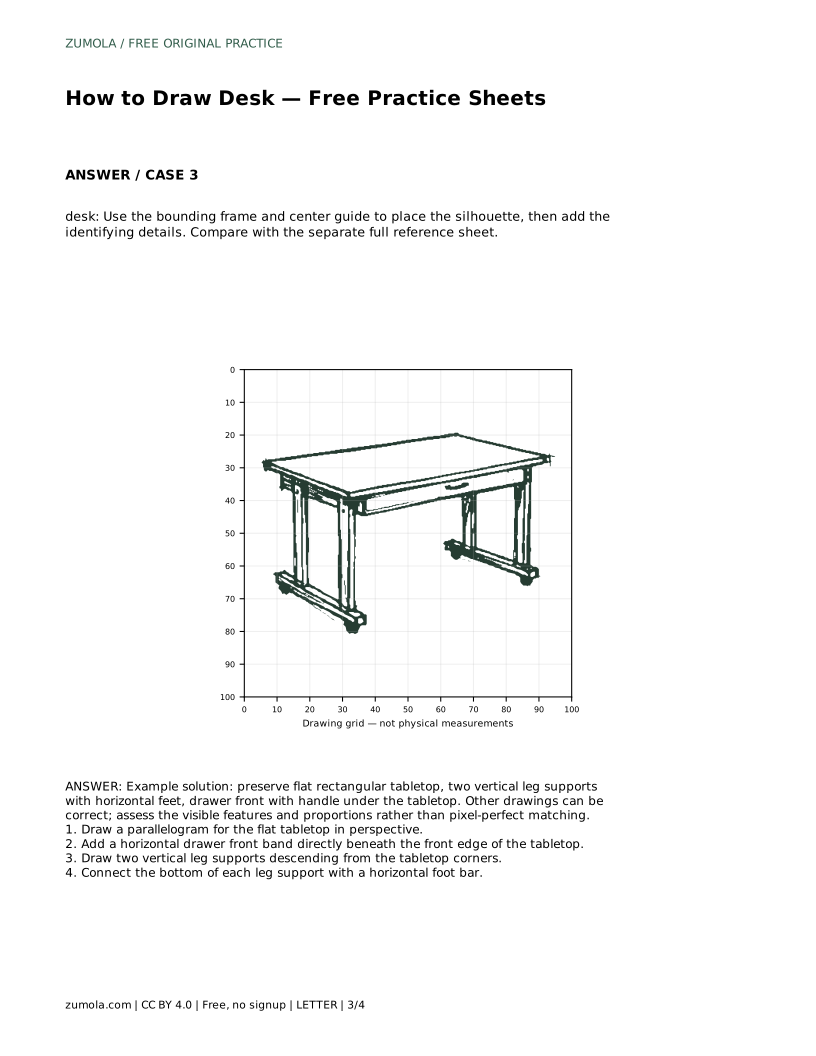
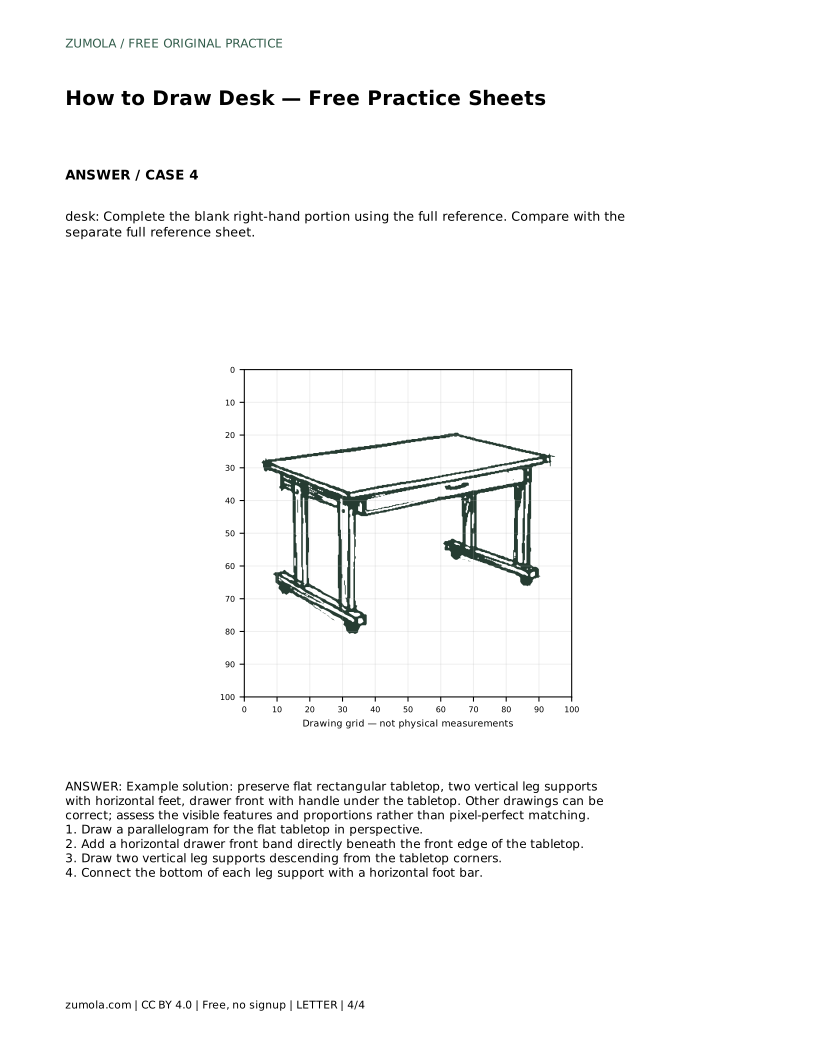
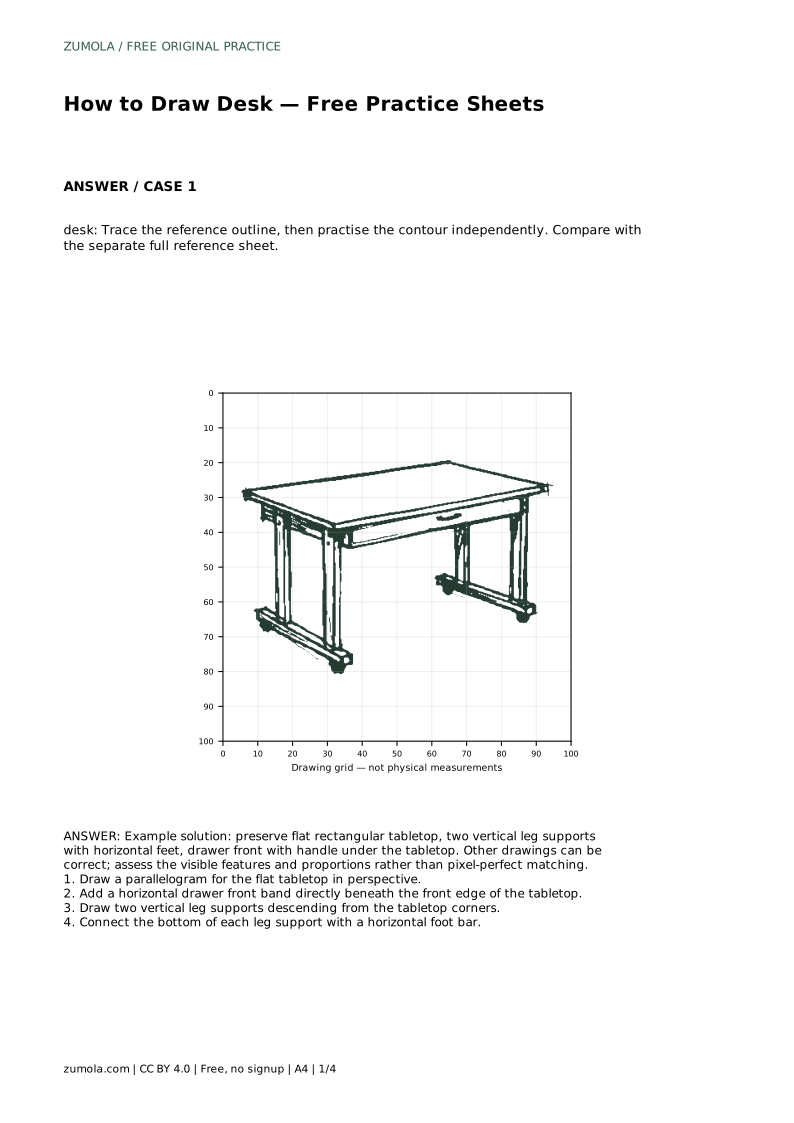
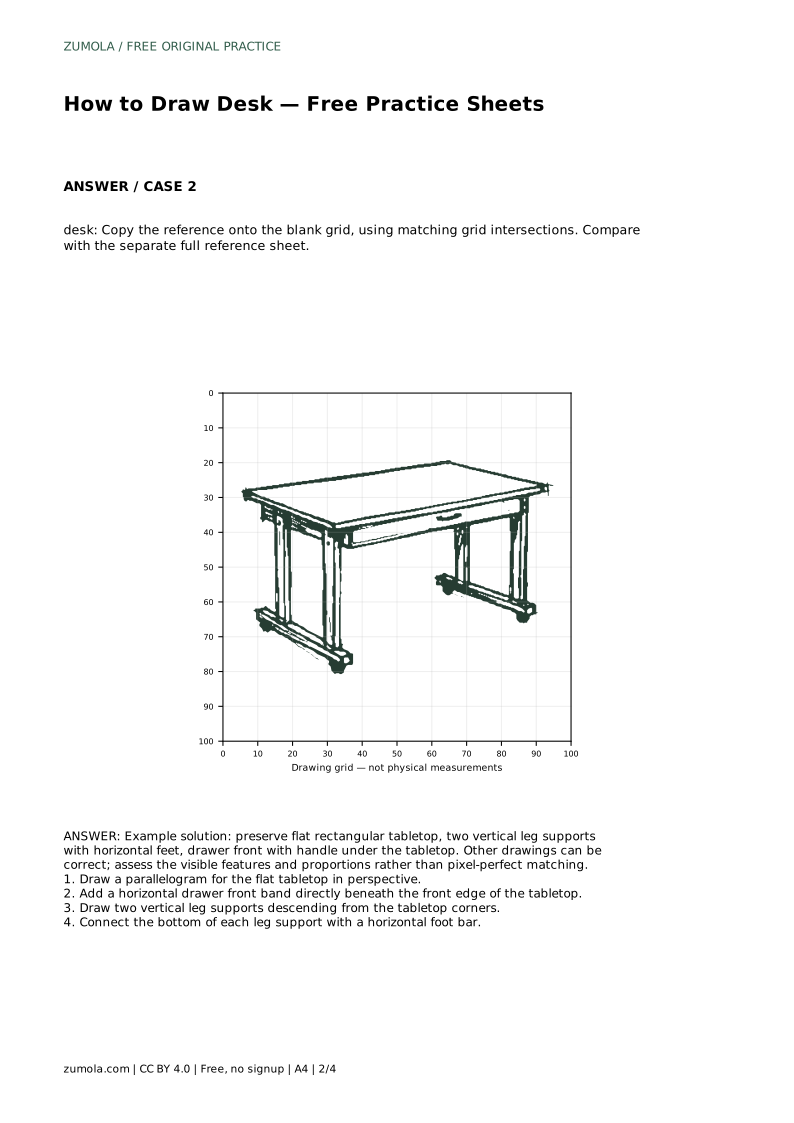
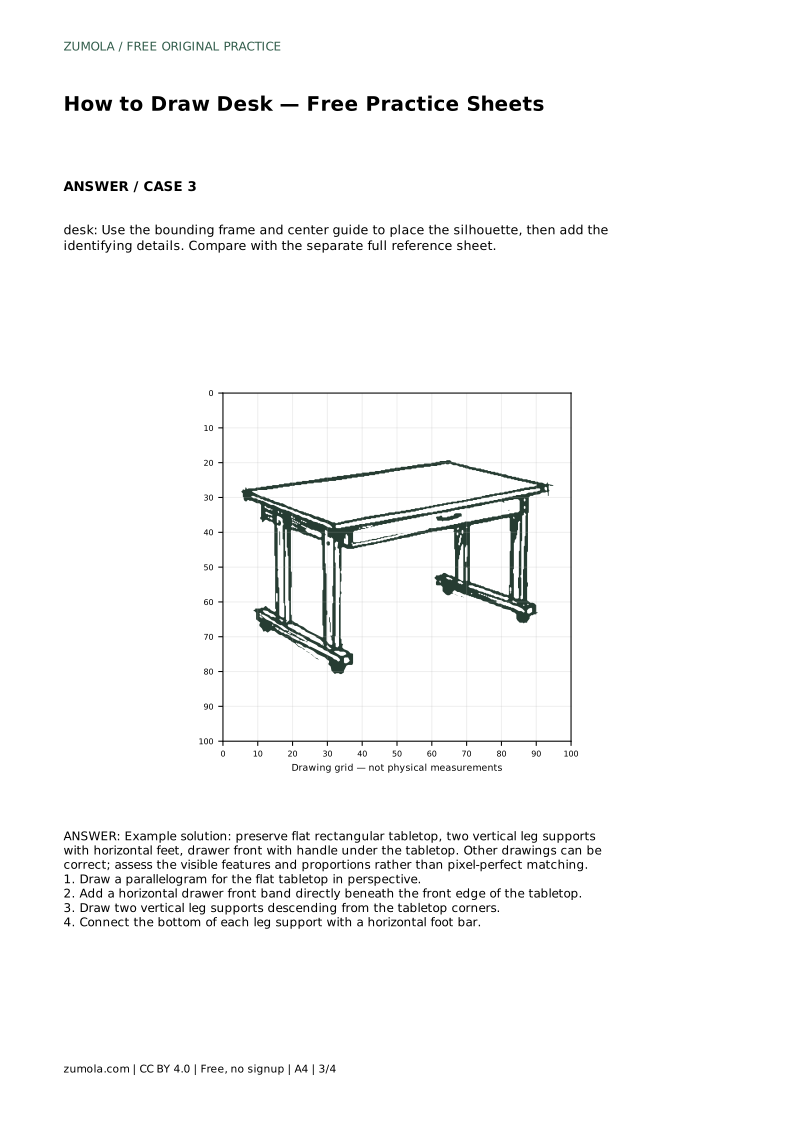
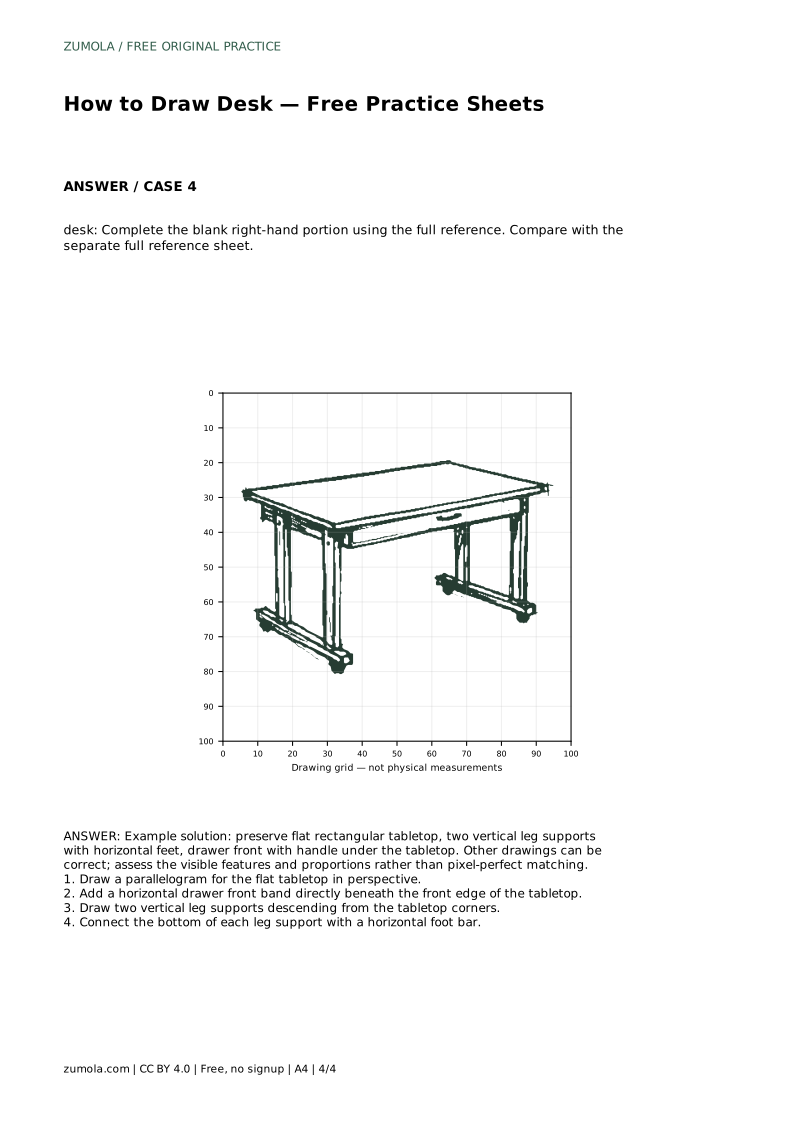
Reference diagrams
LETTER · Download PDF
A4 · Download PDF
Free original resources
Learn to draw a desk by building a flat tabletop in perspective, a drawer front, and two leg supports with feet. Practice sheets support tracing, grids, and completion.
Four original cases, with reference diagrams, practice sheets and worked answers. Everything is free; no signup required.
LETTER · Download PDF
A4 · Download PDF
LETTER · Download PDF
A4 · Download PDF
LETTER · Download PDF
A4 · Download PDF
Use A4 or US Letter to match your printer. Use the stated values and conditions to solve each exercise; diagrams are not physical measuring rulers.
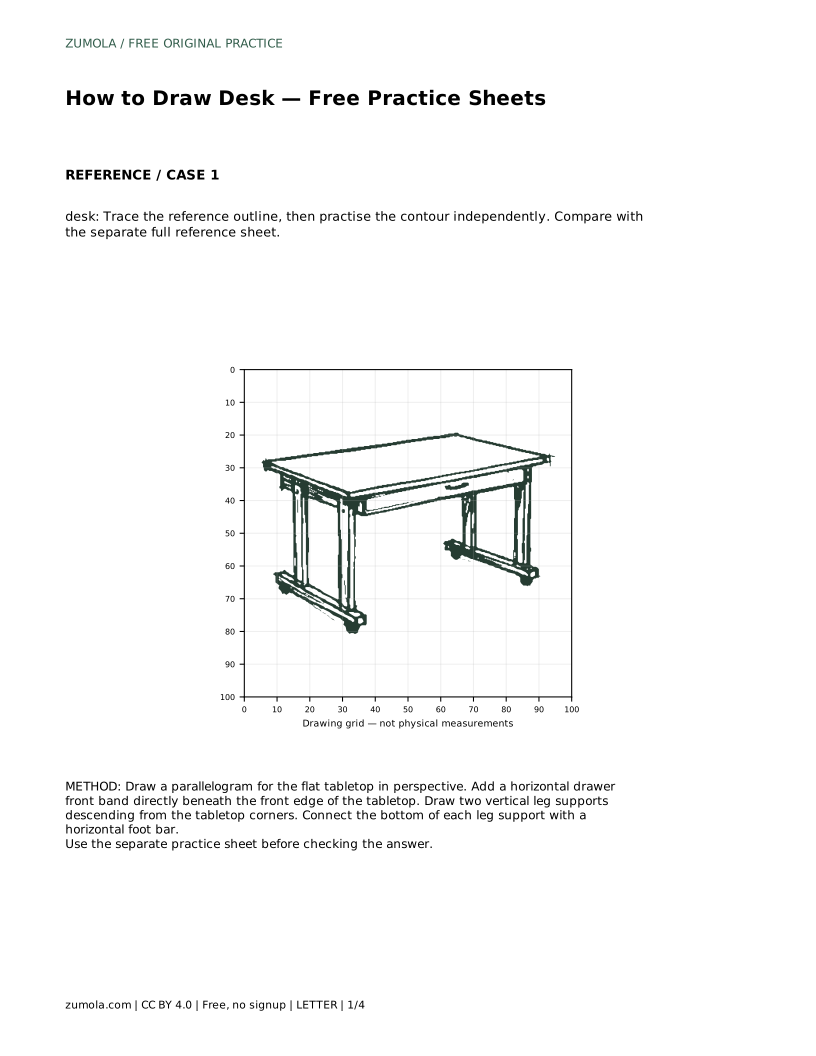
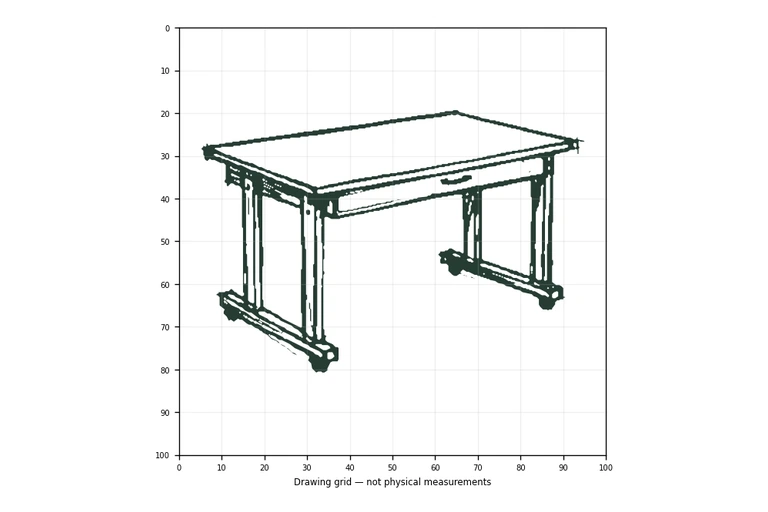
Drawing a desk is mostly a lesson in straight lines and sensible proportions. A desk reads clearly when the tabletop looks flat, the drawer band sits directly under the front edge, and the legs descend vertically to horizontal feet. This page explains that construction step by step, then shows how to use tracing, grid, guide, and completion practice sheets to build the same skill with less support each time.
Begin by deciding which surface you see. In a simple three-quarter view, the tabletop appears as a parallelogram: two long edges run roughly parallel, and two shorter edges run roughly parallel in a different direction. Keep opposite edges parallel so the surface reads as flat rather than twisted. The front edge is the one closest to the viewer and will anchor the drawer band below it.
Avoid drawing the tabletop as a plain rectangle if you want a sense of depth. A rectangle suggests a view from directly above or straight on, which makes the legs and drawer harder to place convincingly. A parallelogram gives you a front edge, a back edge, and two side edges to attach the rest of the desk to.
Directly beneath the front edge of the tabletop, draw a horizontal band for the drawer front. Its top should follow the tabletop's front edge, and its bottom should be parallel to it. Add a small handle centered on the band. The band should not extend beyond the tabletop's front width.
From the tabletop corners, draw two vertical leg supports downward. Vertical means straight down the page, not slanted to match the tabletop's perspective edges. Finish each leg with a short horizontal foot bar. The feet should sit at the same level so the desk appears to stand on a flat floor.
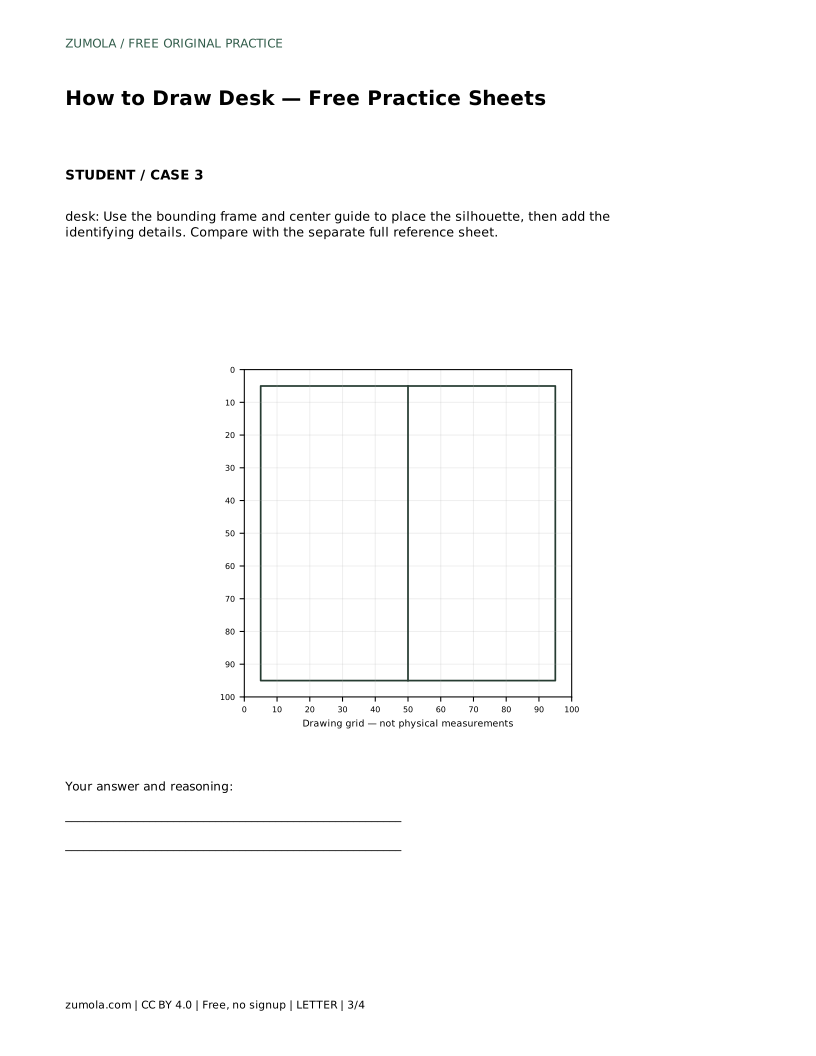
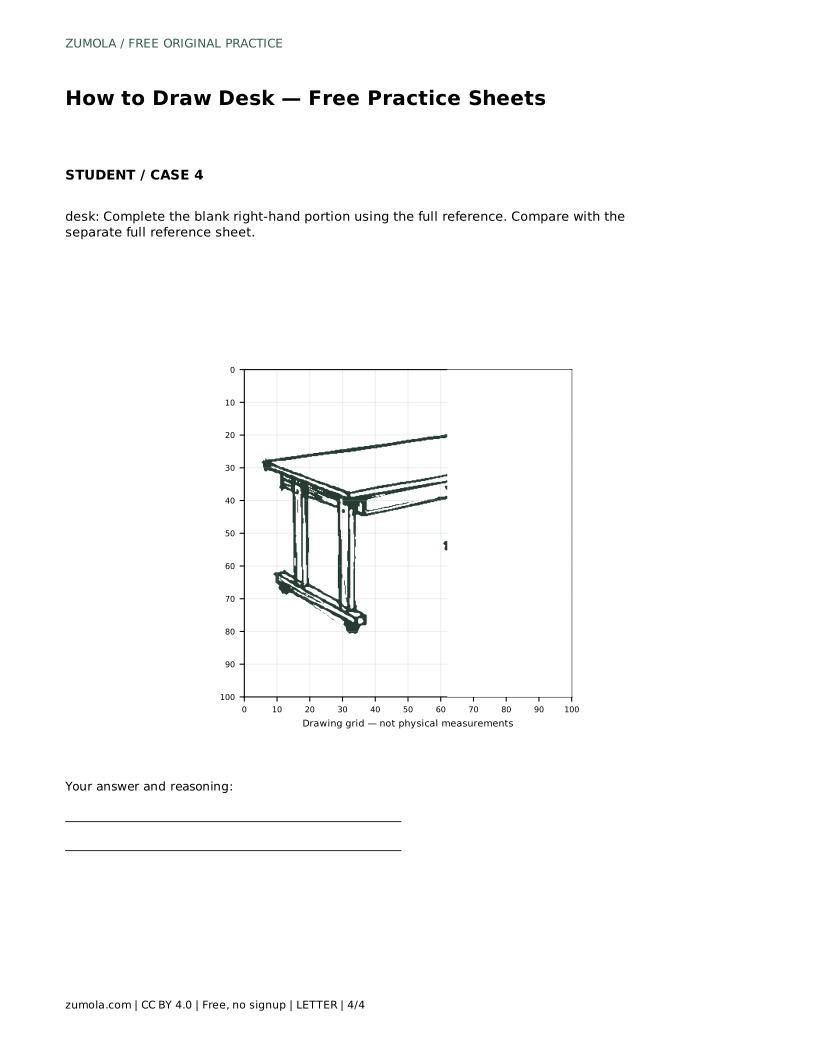
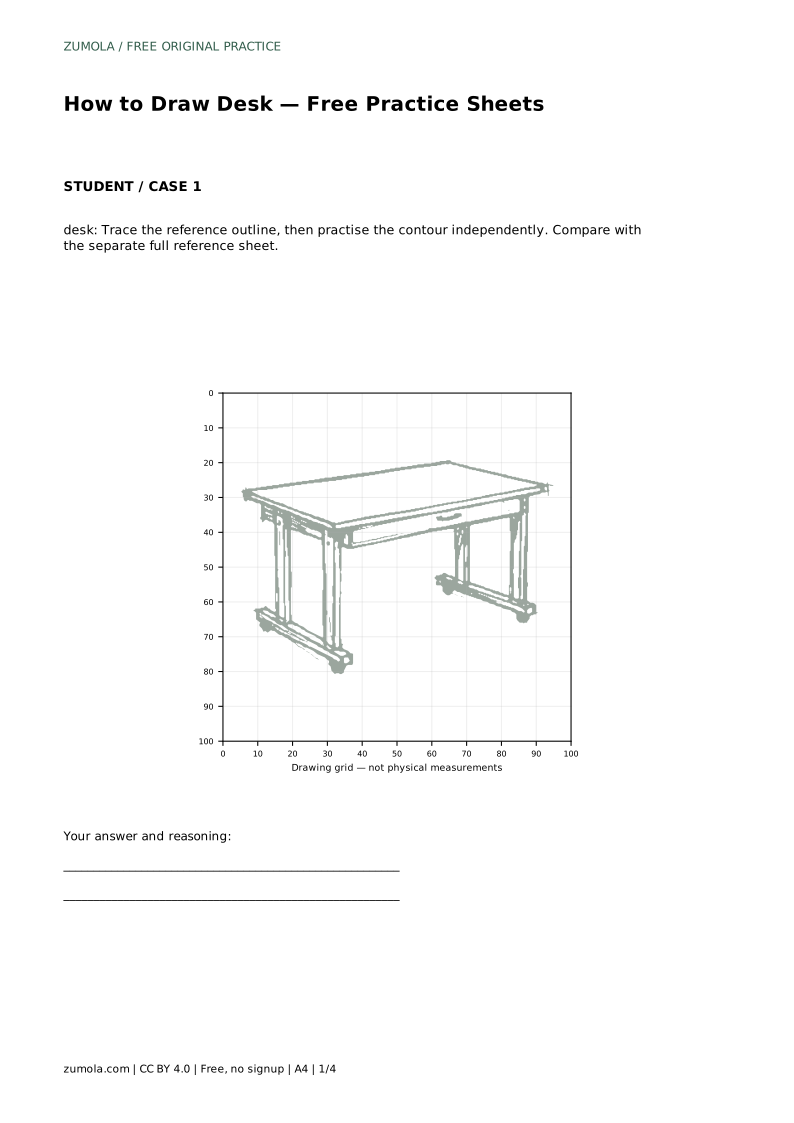
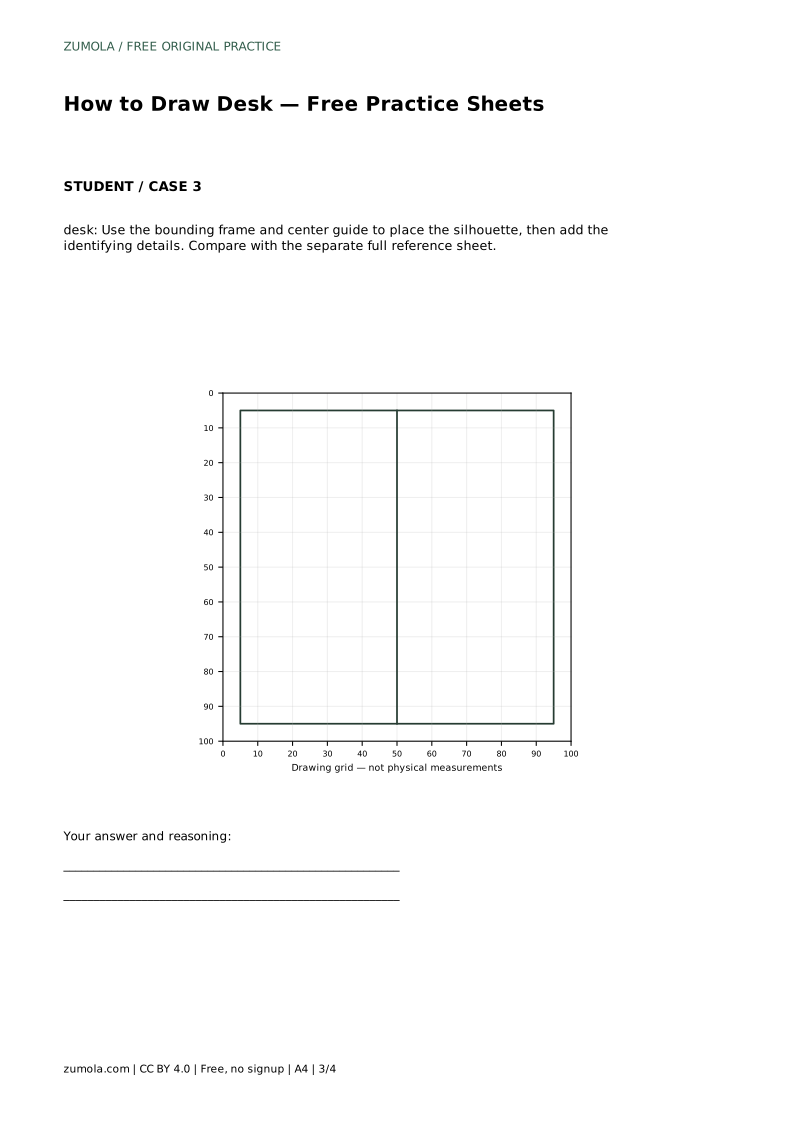
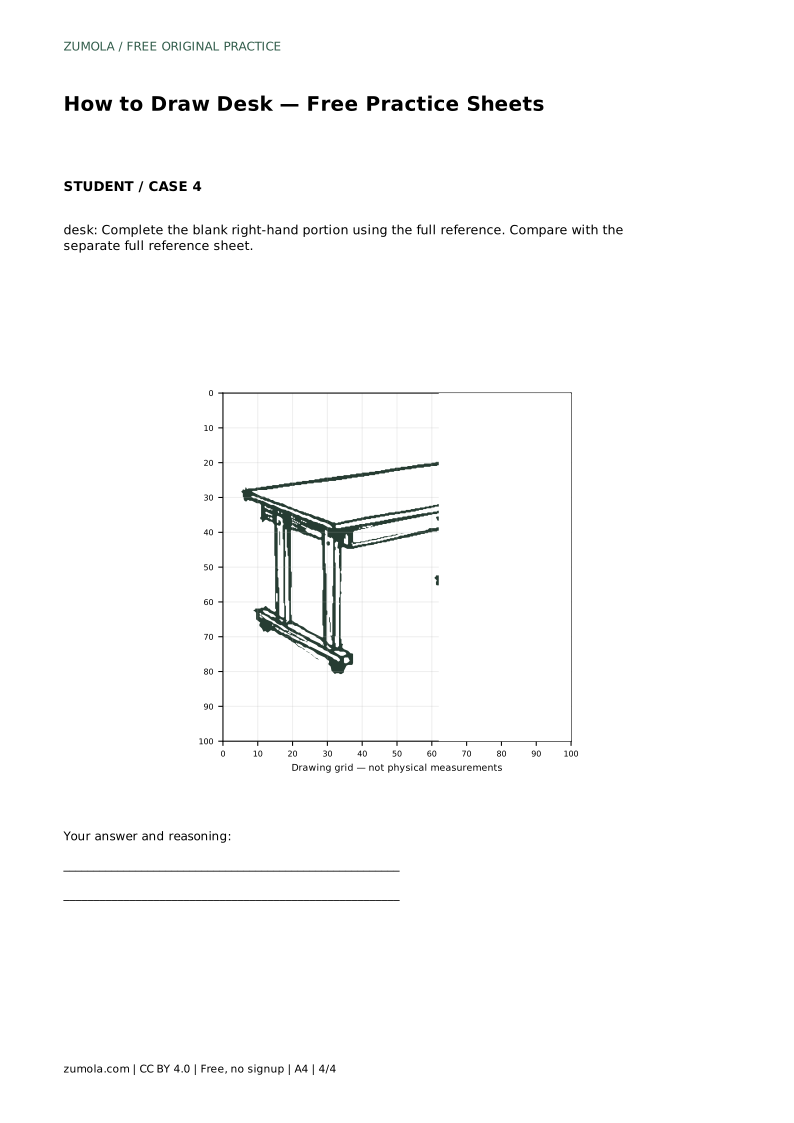
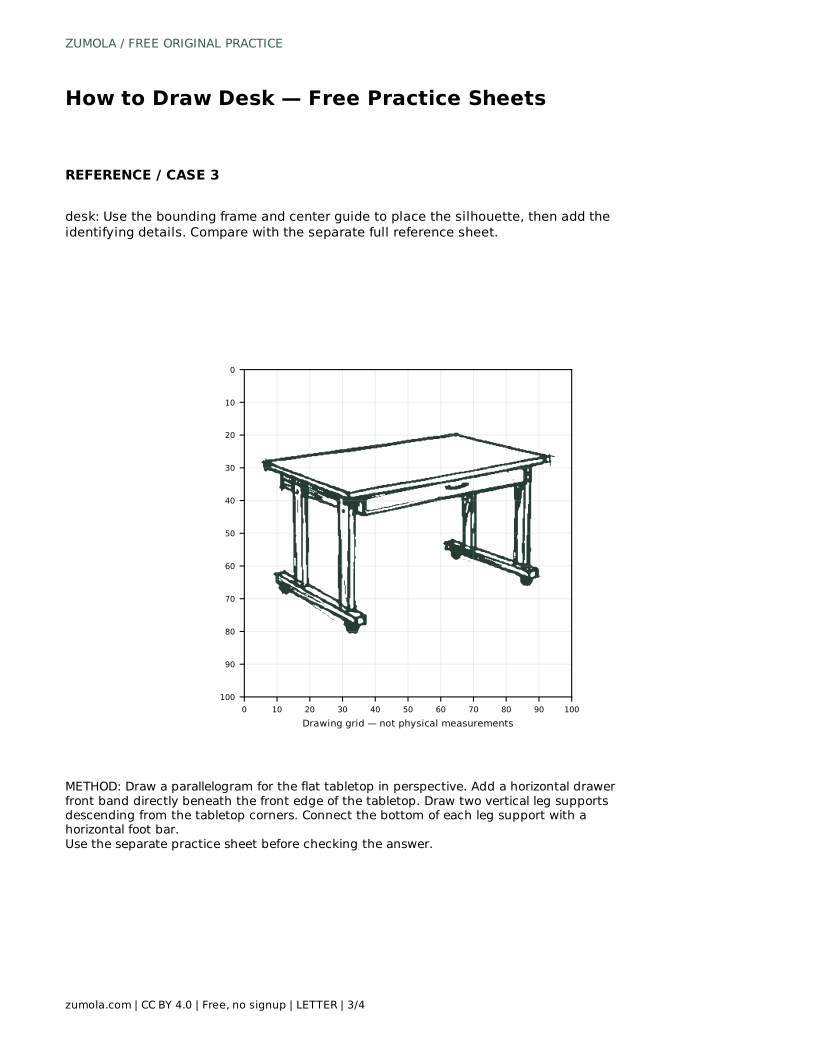
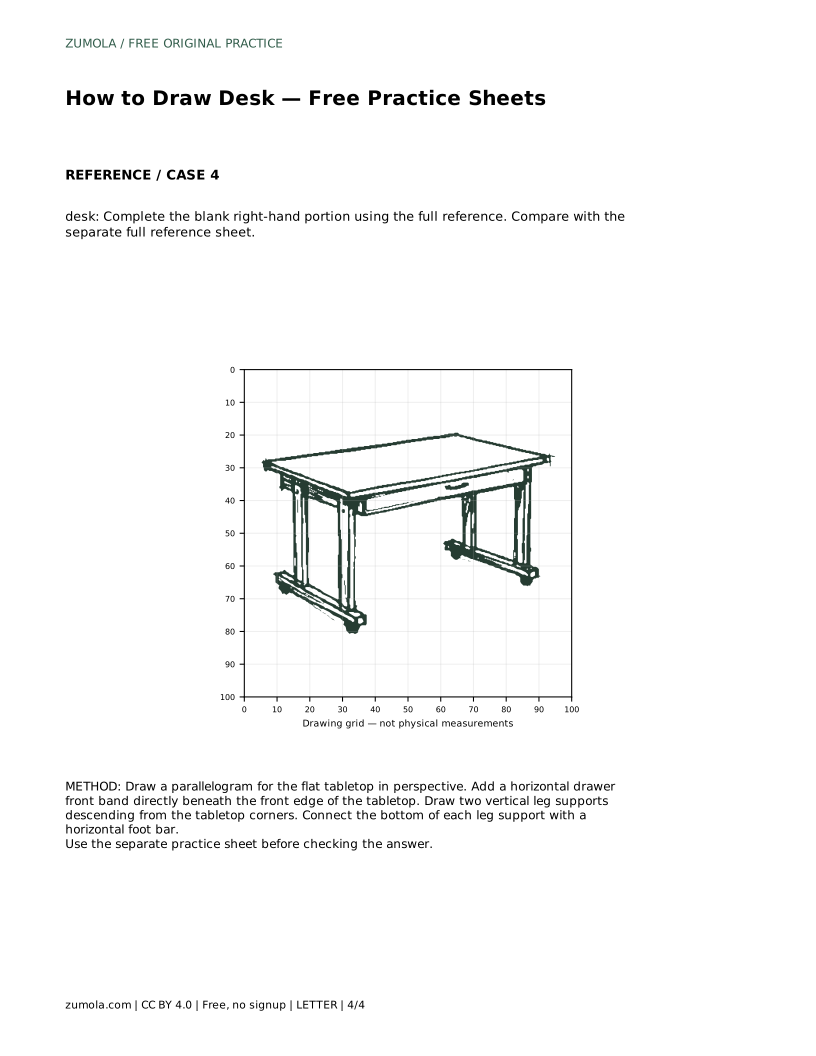
Tracing sheets let you follow the reference outline first, then repeat the contour on your own. Grid sheets ask you to copy the reference onto a blank grid by matching intersections, which trains placement and proportion. Bounding-frame sheets give a center guide so you can position the silhouette before adding details. Completion sheets show part of the desk and leave the right-hand portion blank for you to finish from the full reference.
Each sheet type removes a different kind of help. Tracing supports line control; grids support spacing; frames support overall placement; completion supports recall. Compare your result with the separate full reference sheet rather than expecting a pixel-perfect match.
A correct desk drawing does not need to match the reference exactly. Check instead that the tabletop is flat and rectangular in perspective, the drawer front sits under the front edge with a handle, two vertical leg supports descend from the tabletop, and horizontal feet connect at the bottom. If one of these features is missing or misplaced, adjust that part rather than redrawing everything.
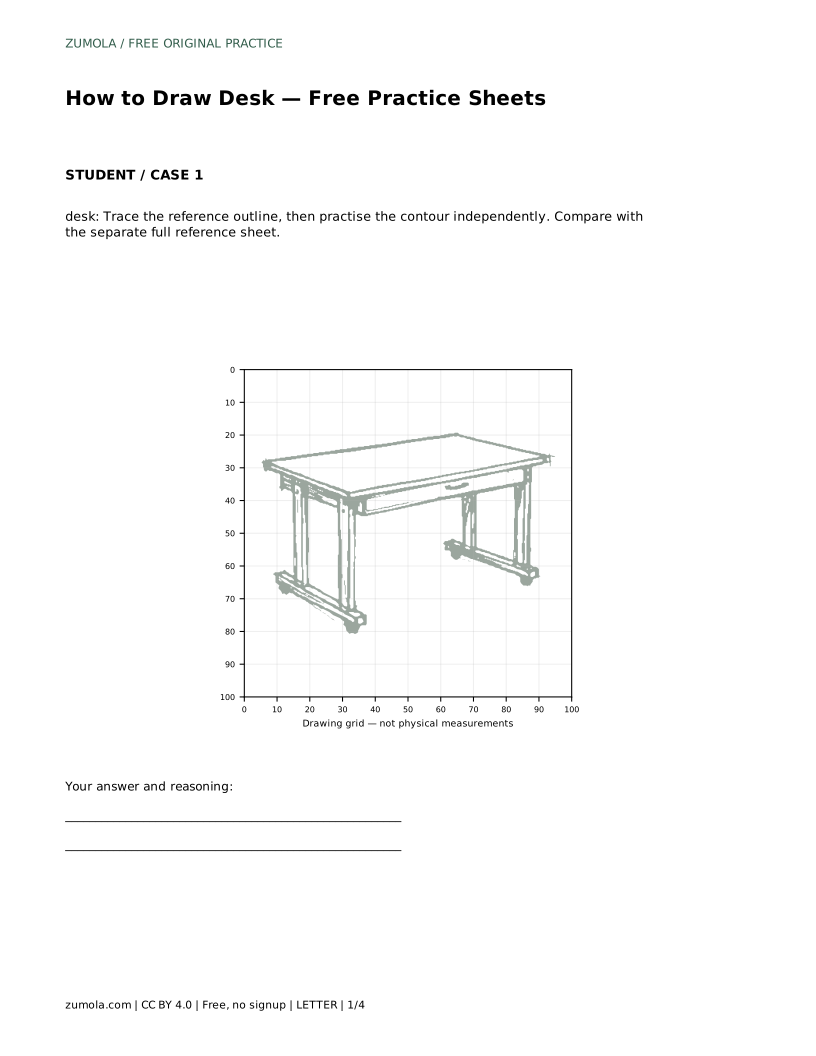
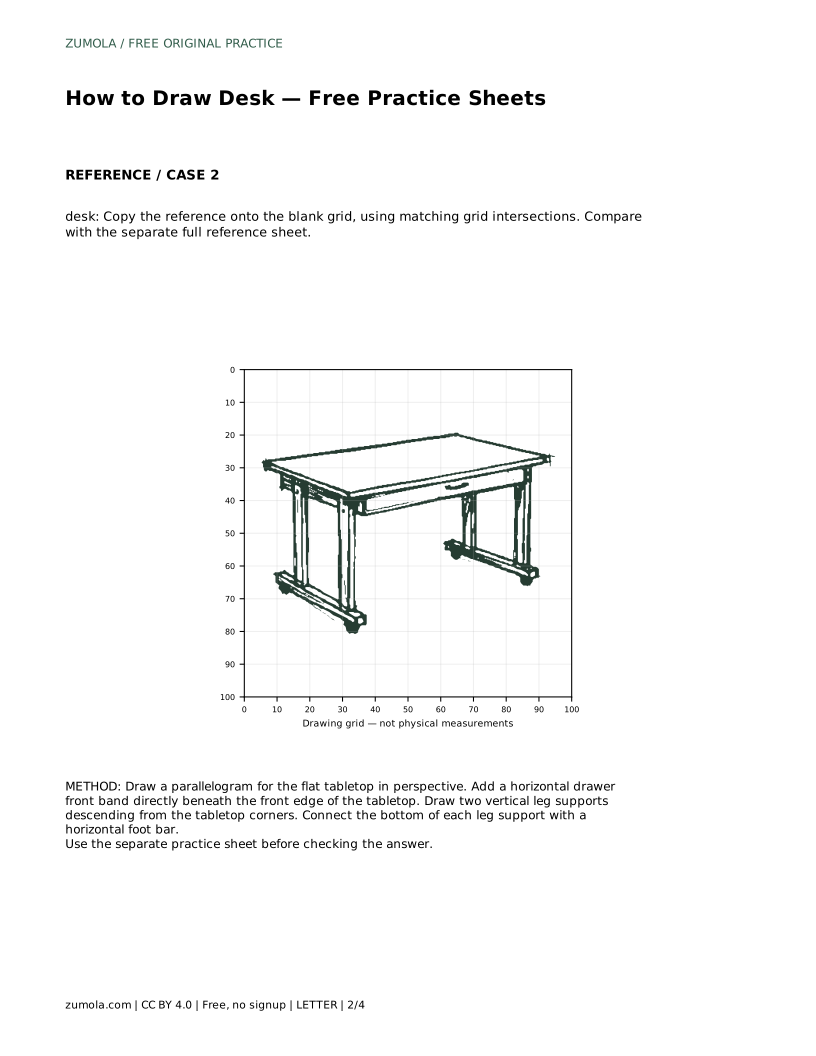
desk: Trace the reference outline, then practise the contour independently. Compare with the separate full reference sheet.
Example solution: preserve flat rectangular tabletop, two vertical leg supports with horizontal feet, drawer front with handle under the tabletop. Other drawings can be correct; assess the visible features and proportions rather than pixel-perfect matching. Draw a parallelogram for the flat tabletop in perspective. Add a horizontal drawer front band directly beneath the front edge of the tabletop. Draw two vertical leg supports descending from the tabletop corners. Connect the bottom of each leg support with a horizontal foot bar.
A simple three-quarter view with a parallelogram tabletop is enough. It gives the desk depth while keeping the construction easy to check.
Yes. Other drawings can be correct. Assess the visible features and proportions rather than pixel-perfect matching.
Start with tracing if you are new to the shape, then move to grid, frame, and completion sheets as your placement and recall improve.
All drawing practice · Free coordinate paper
Original resources · CC BY 4.0 · Free for personal and classroom use with attribution.