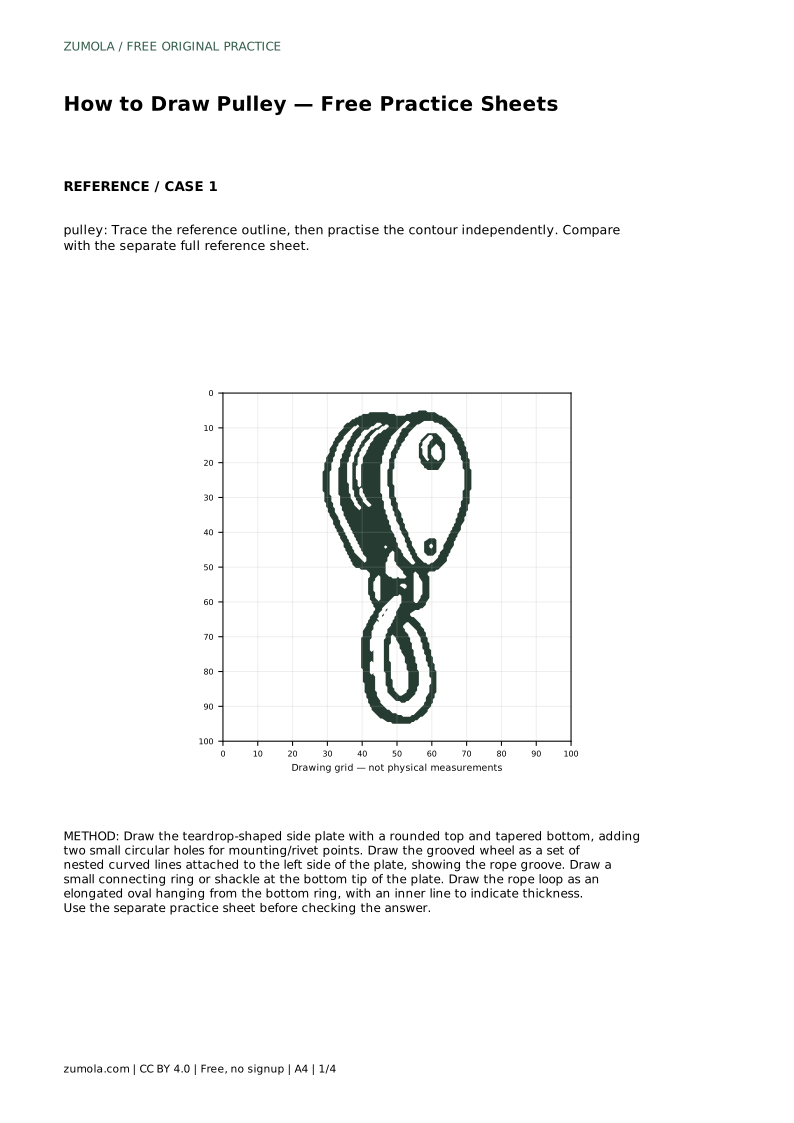
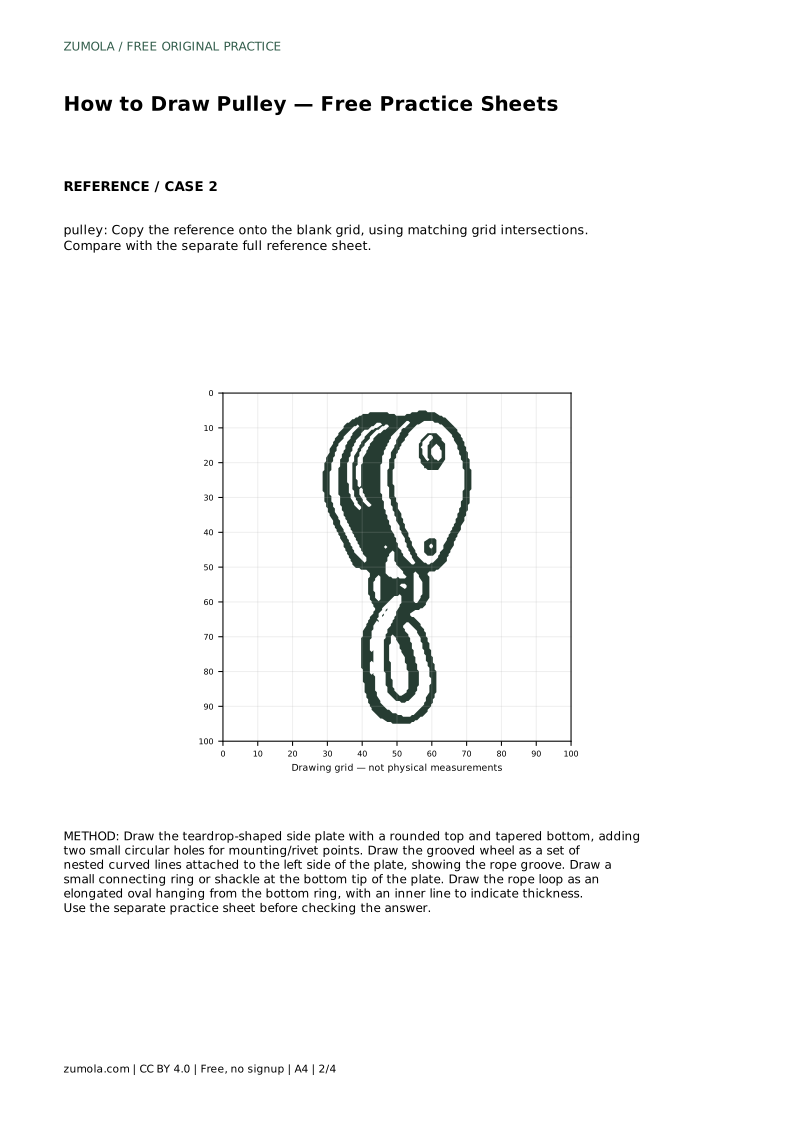
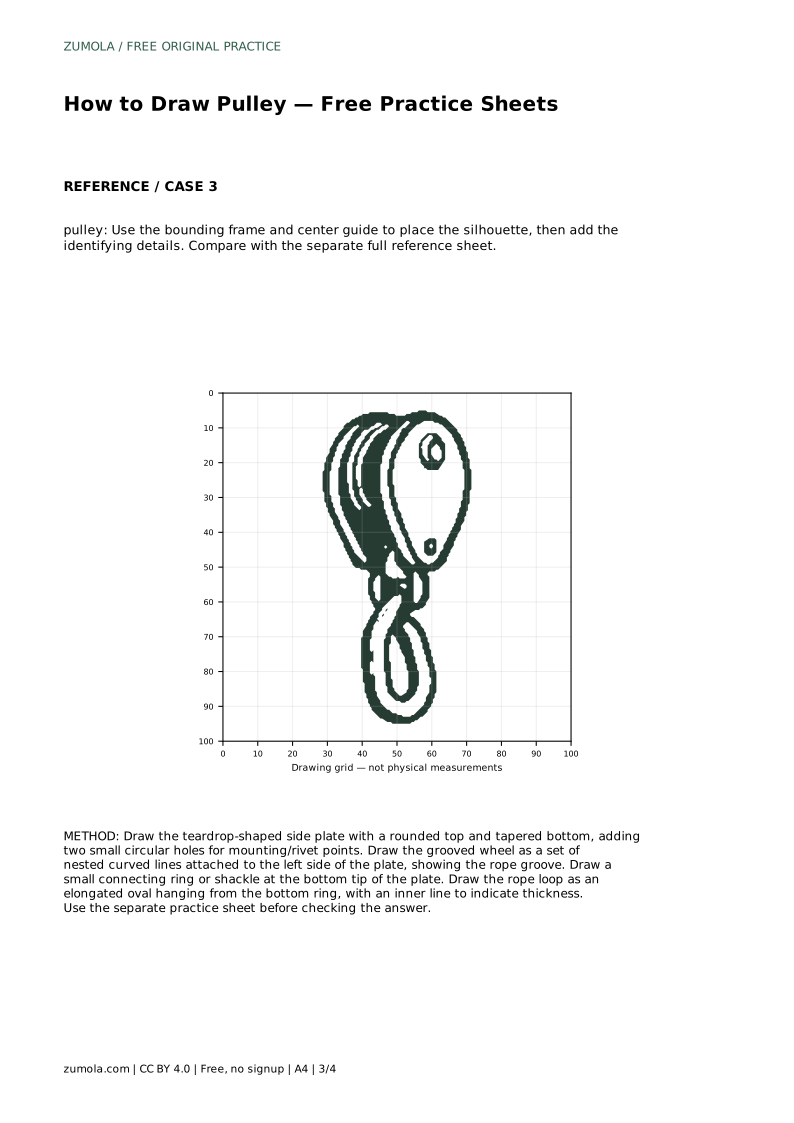
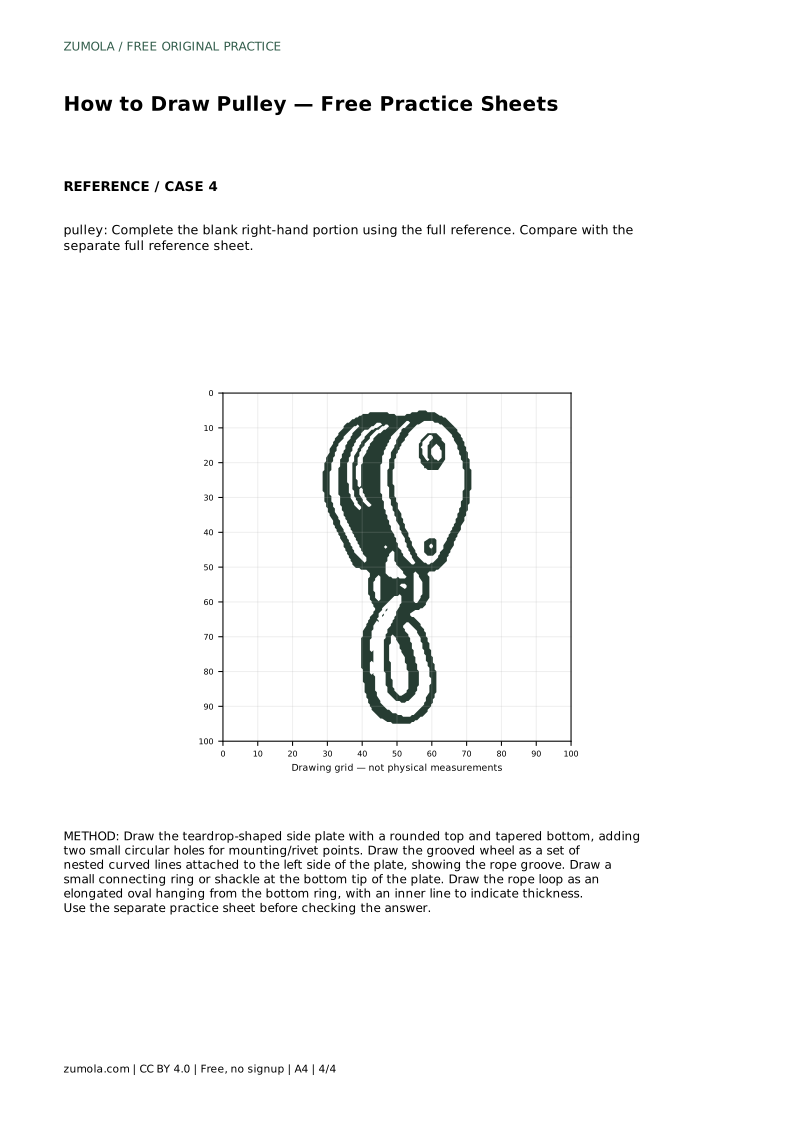
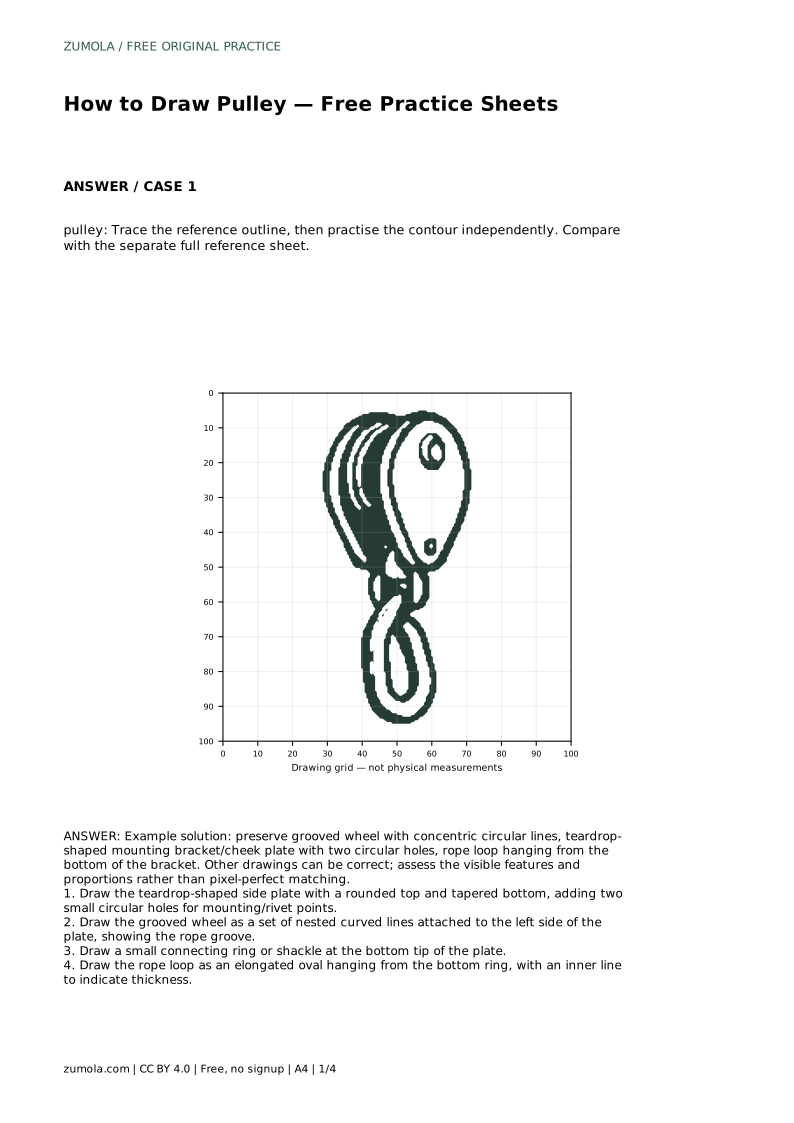
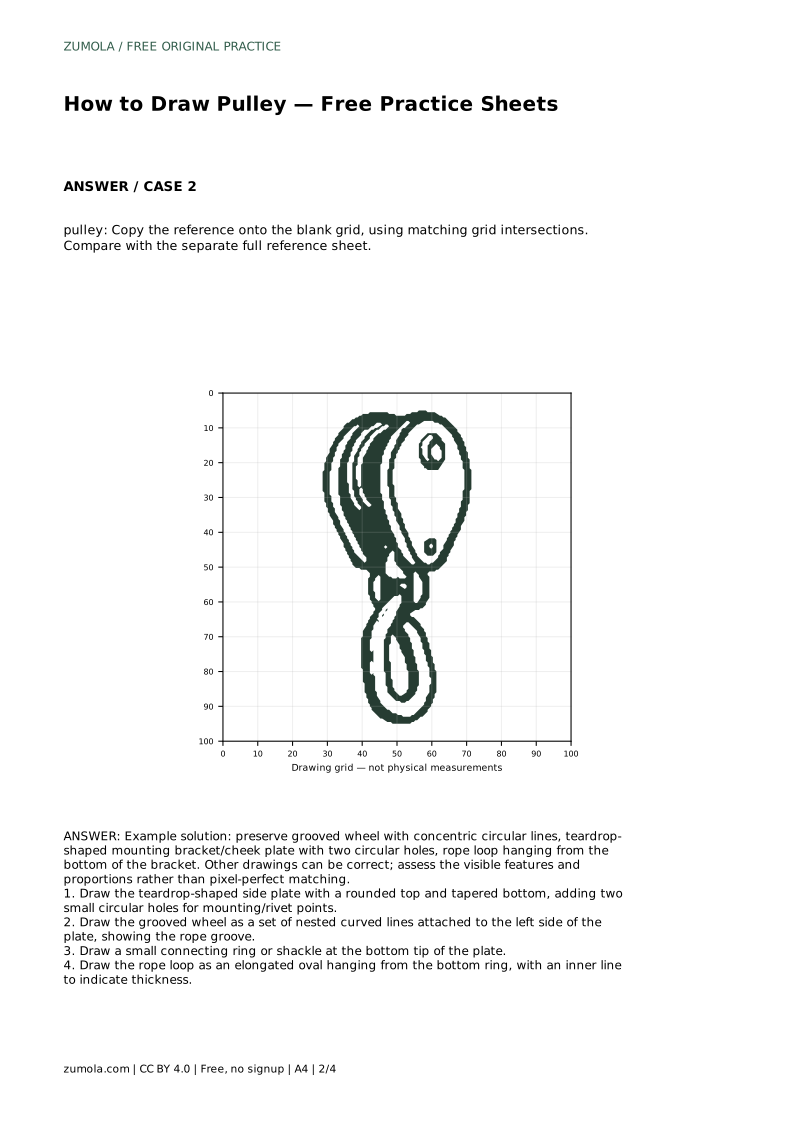
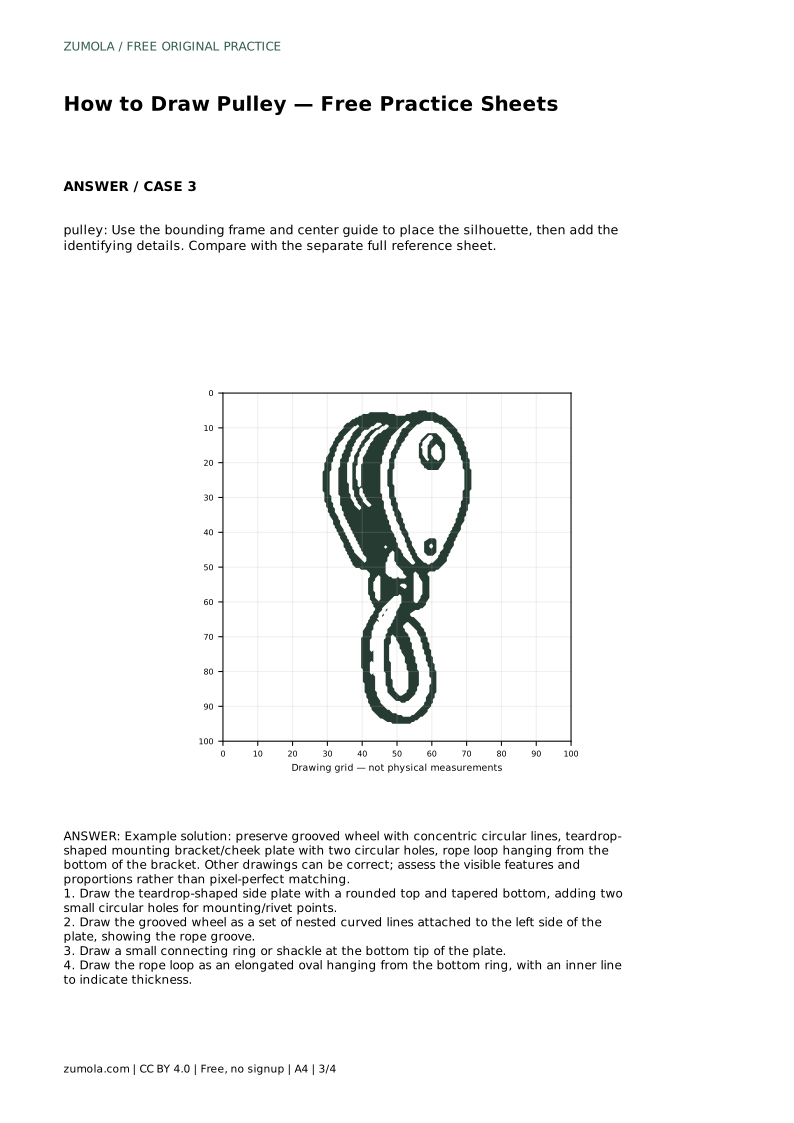
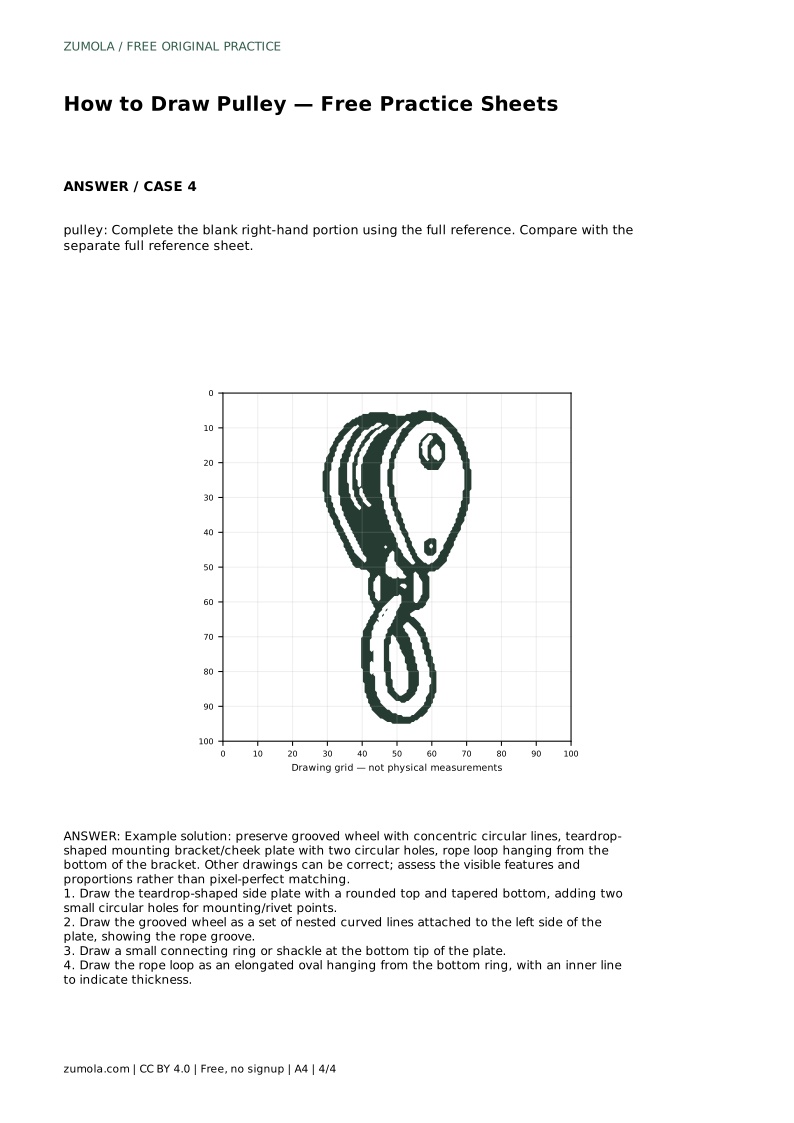
Reference diagrams
LETTER · Download PDF
A4 · Download PDF
Free original resources
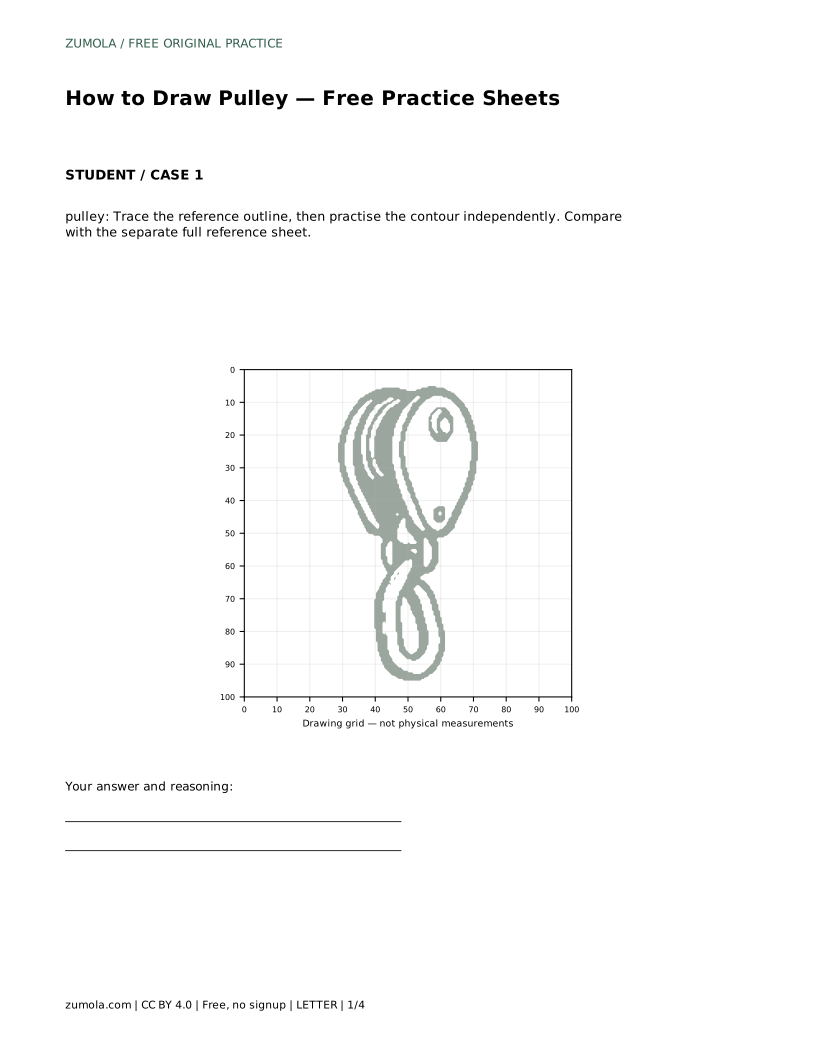
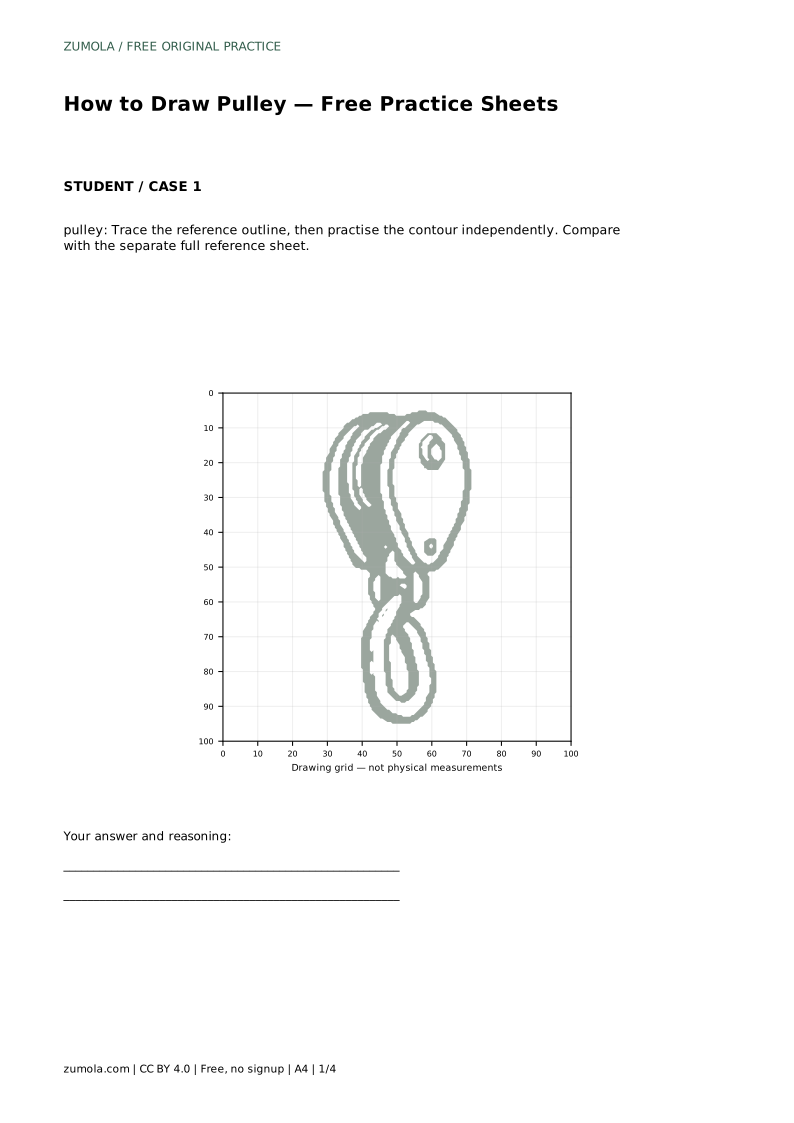
Learn to draw a pulley by tracing its outline, then working independently. Focus on the grooved wheel, teardrop bracket, mounting holes, and hanging rope loop.
Four original cases, with reference diagrams, practice sheets and worked answers. Everything is free; no signup required.
LETTER · Download PDF
A4 · Download PDF
LETTER · Download PDF
A4 · Download PDF
LETTER · Download PDF
A4 · Download PDF
Use A4 or US Letter to match your printer. Use the stated values and conditions to solve each exercise; diagrams are not physical measuring rulers.
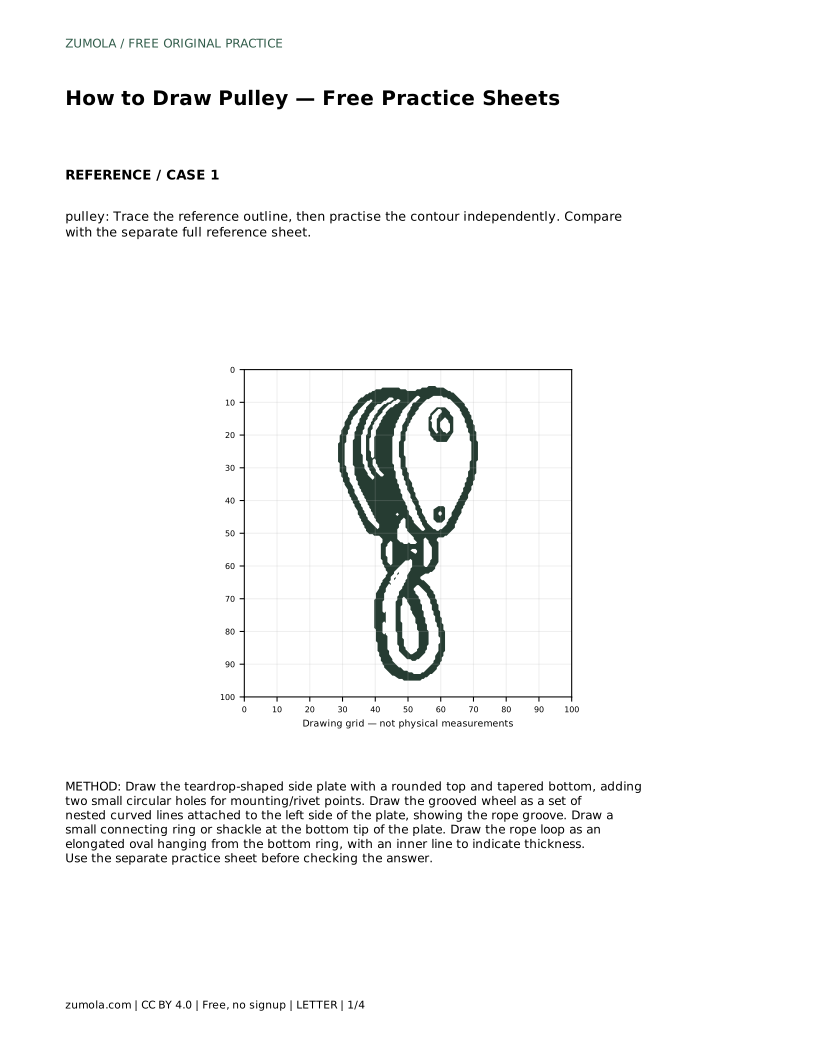
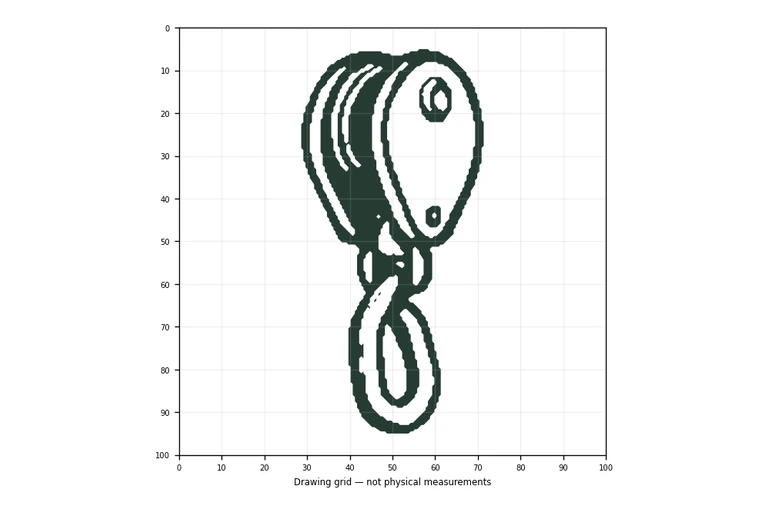
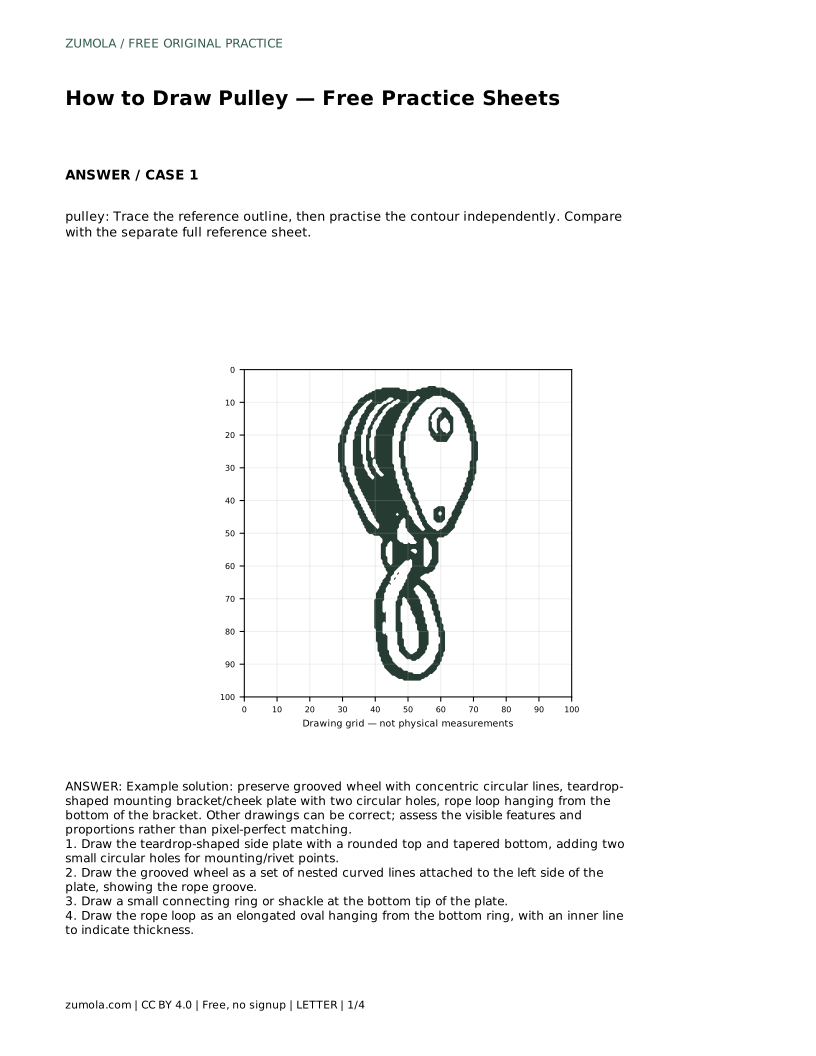
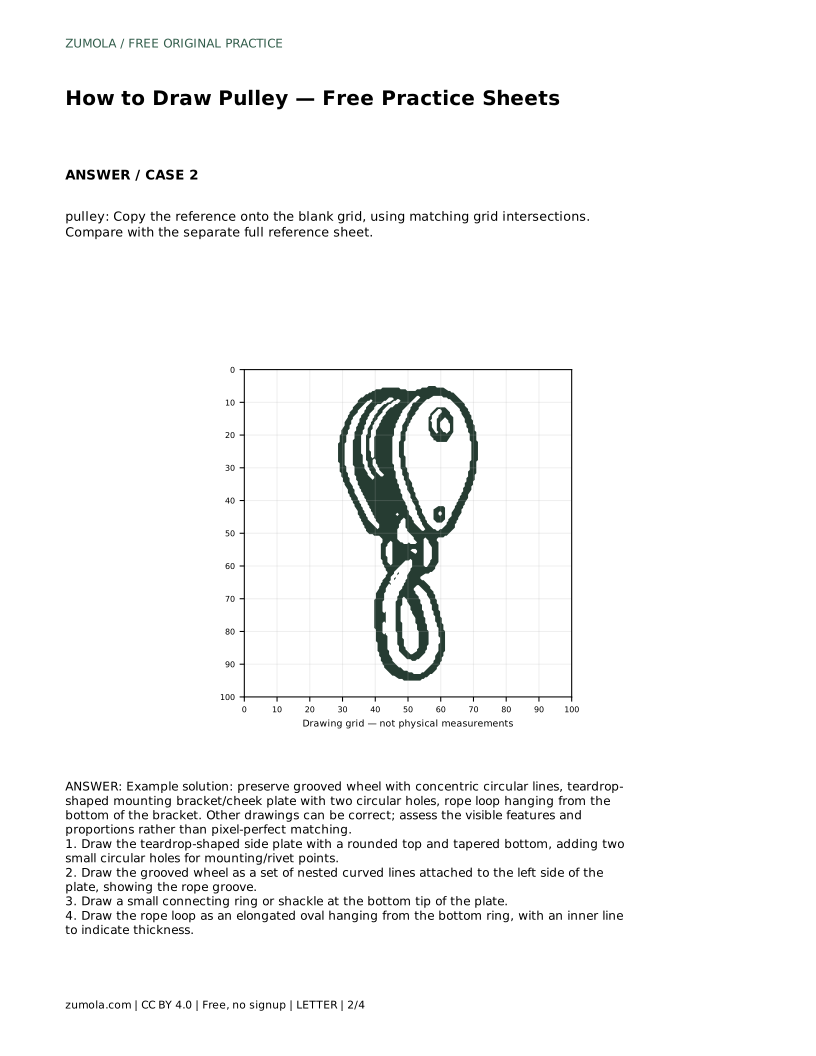
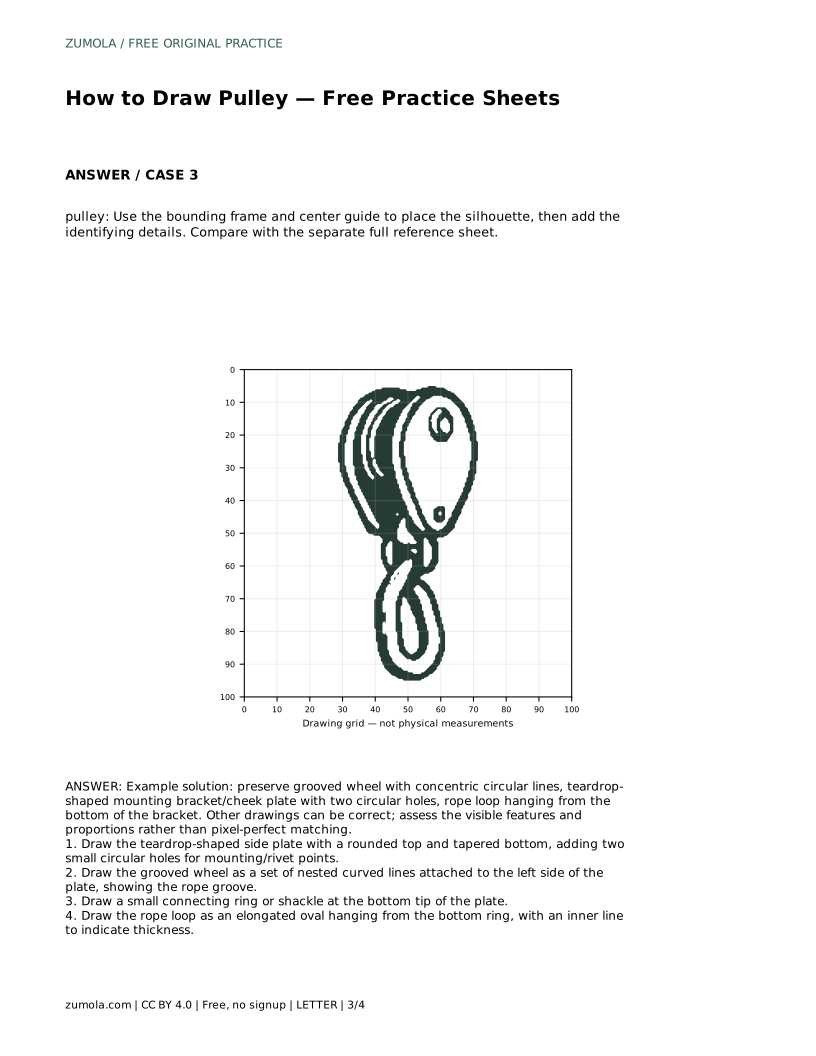
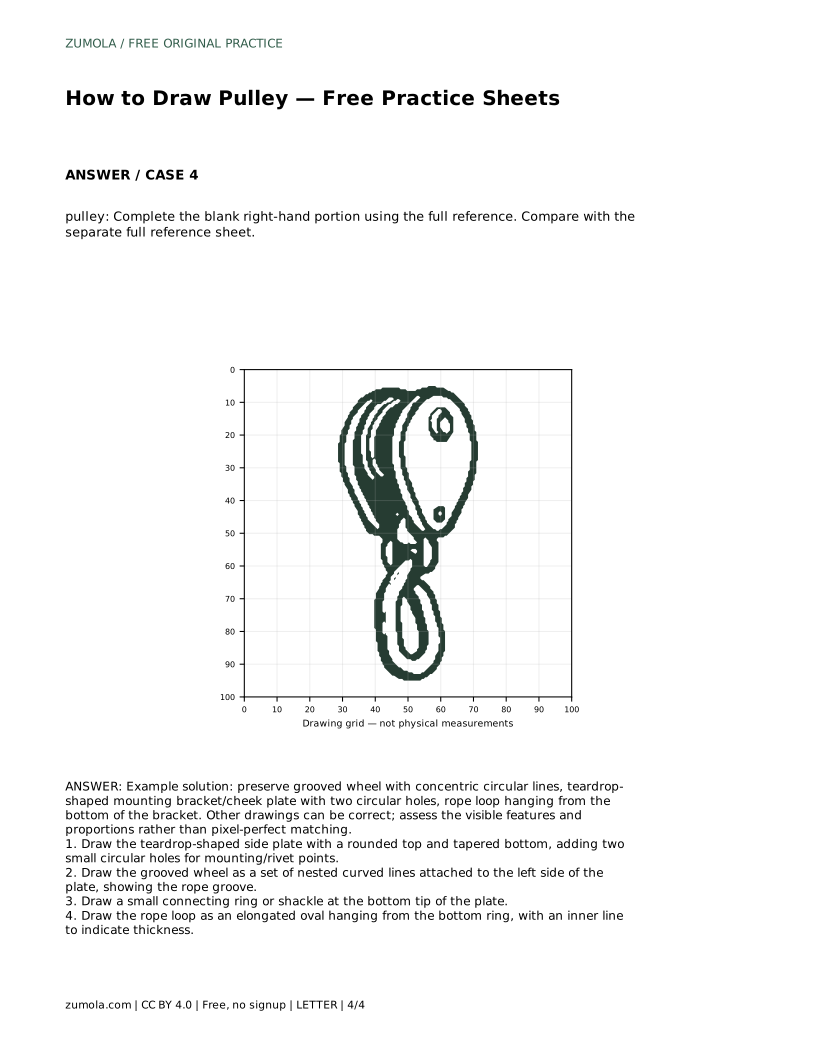
Drawing a pulley is a useful exercise in combining curved mechanical shapes with clear structural details. This page guides you through the key features: a grooved wheel with concentric lines, a teardrop-shaped side plate with two small holes, a connecting ring at the bottom, and a rope loop hanging below. You will trace a reference outline first, then practise the contour on your own. Because drawings can vary, you will assess your work by visible features and proportions rather than exact matching.
The pulley's main body is a teardrop-shaped side plate. Begin by drawing a rounded top that tapers to a narrower bottom. This shape gives the pulley its characteristic profile. Inside the plate, add two small circular holes. These represent mounting or rivet points and help anchor the drawing's structure. Keep the holes roughly equal in size and place them where the plate is widest, usually near the top and middle. The tapered bottom should remain clear for the connecting ring.
Attach the grooved wheel to the left side of the side plate. The wheel is shown as a set of nested curved lines, not a single circle. These concentric curves indicate the rope groove and the wheel's thickness. Start with the outermost curve, then add one or two inner curves that follow the same shape. The curves should meet the plate cleanly, as if the wheel is mounted on an axle. Keep the spacing between curves even to suggest a consistent groove.
At the bottom tip of the teardrop plate, draw a small connecting ring or shackle. This links the pulley body to the rope. Then draw the rope loop as an elongated oval hanging from the ring. Add an inner line inside the oval to show the rope's thickness. The loop should hang straight down and remain proportional to the pulley. Avoid making the loop too wide or too narrow; it should look like a continuous rope passing through the ring.
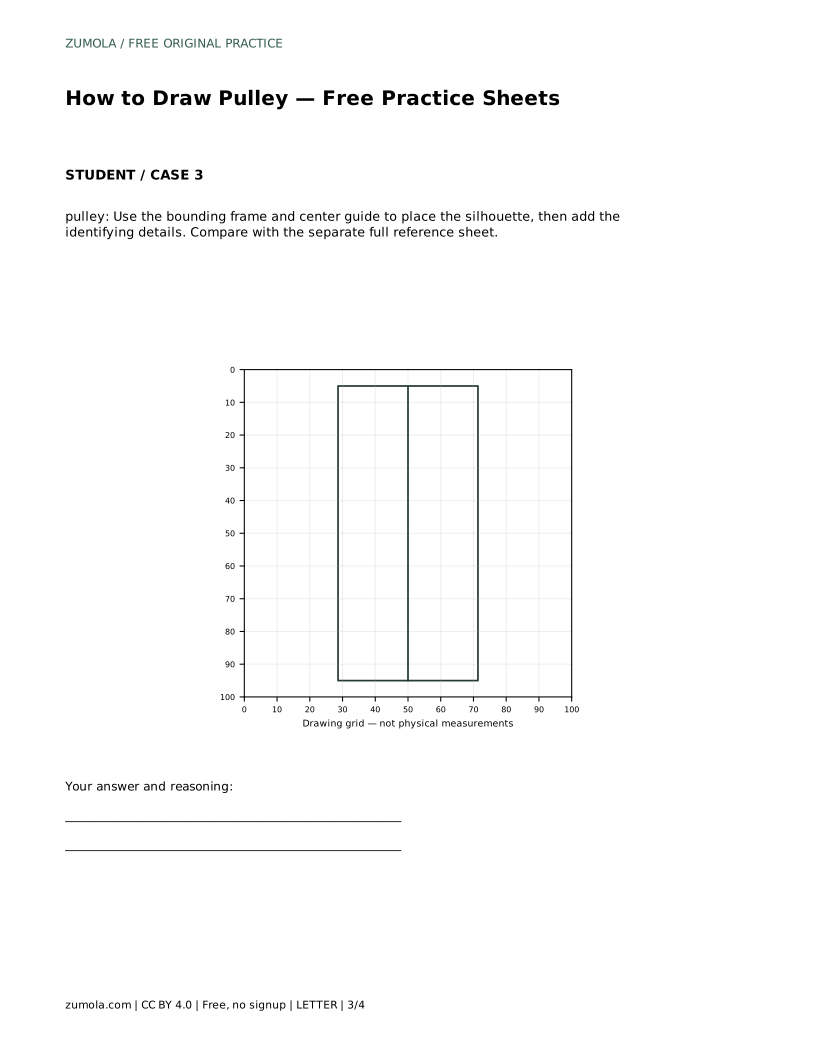
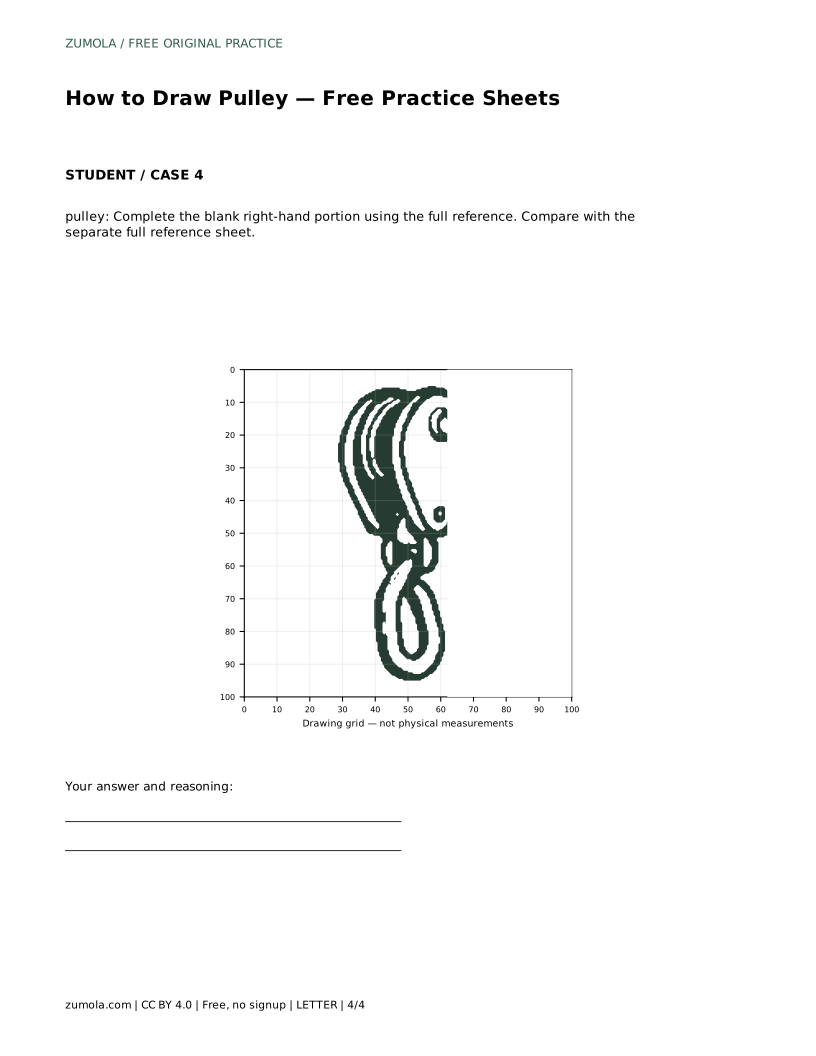
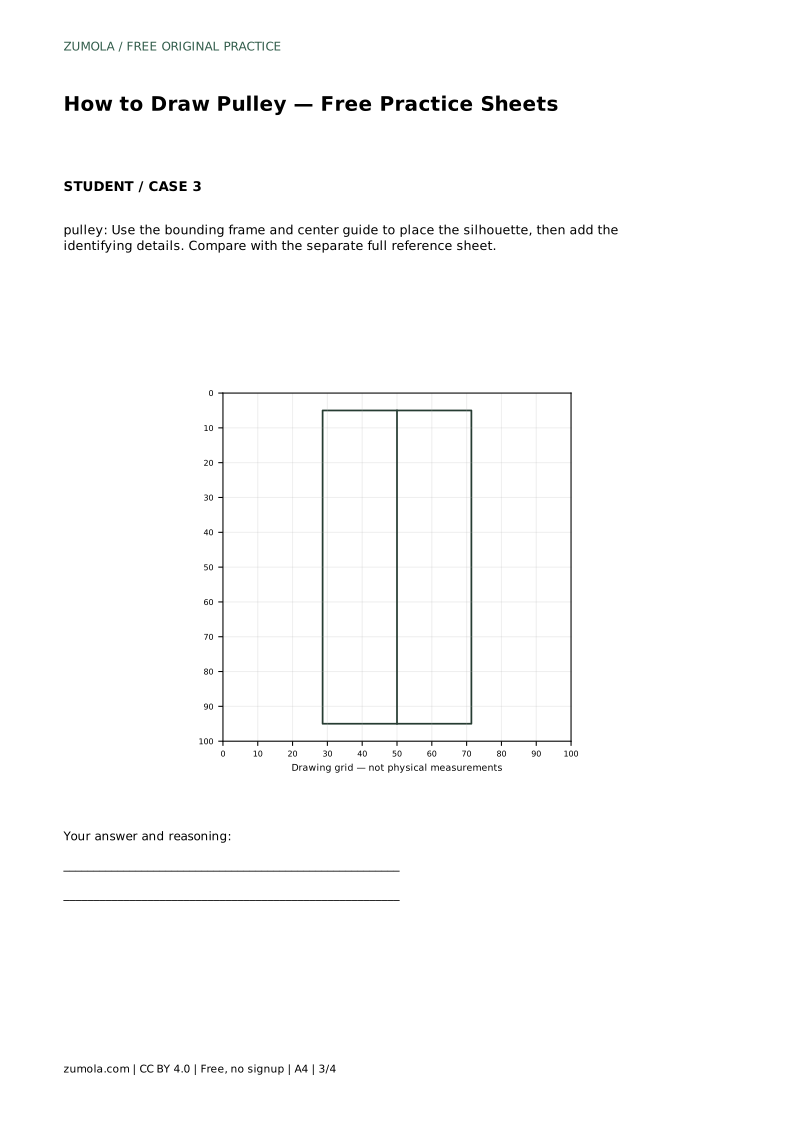
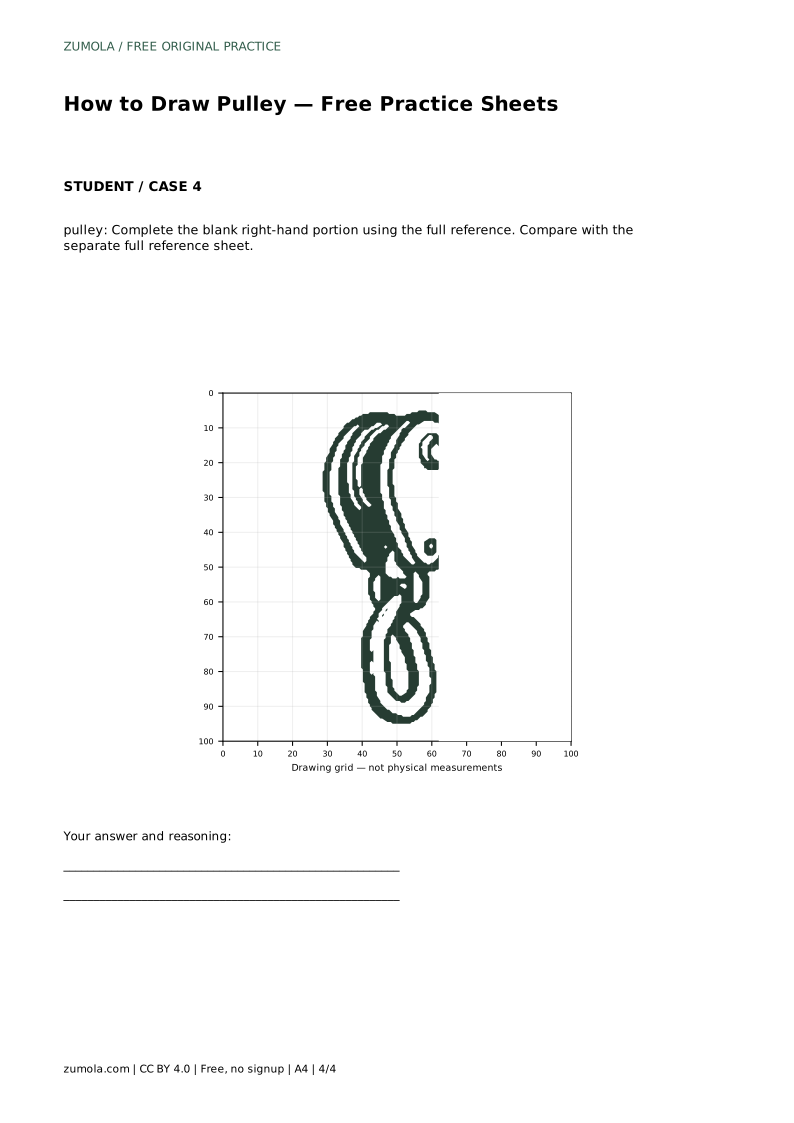
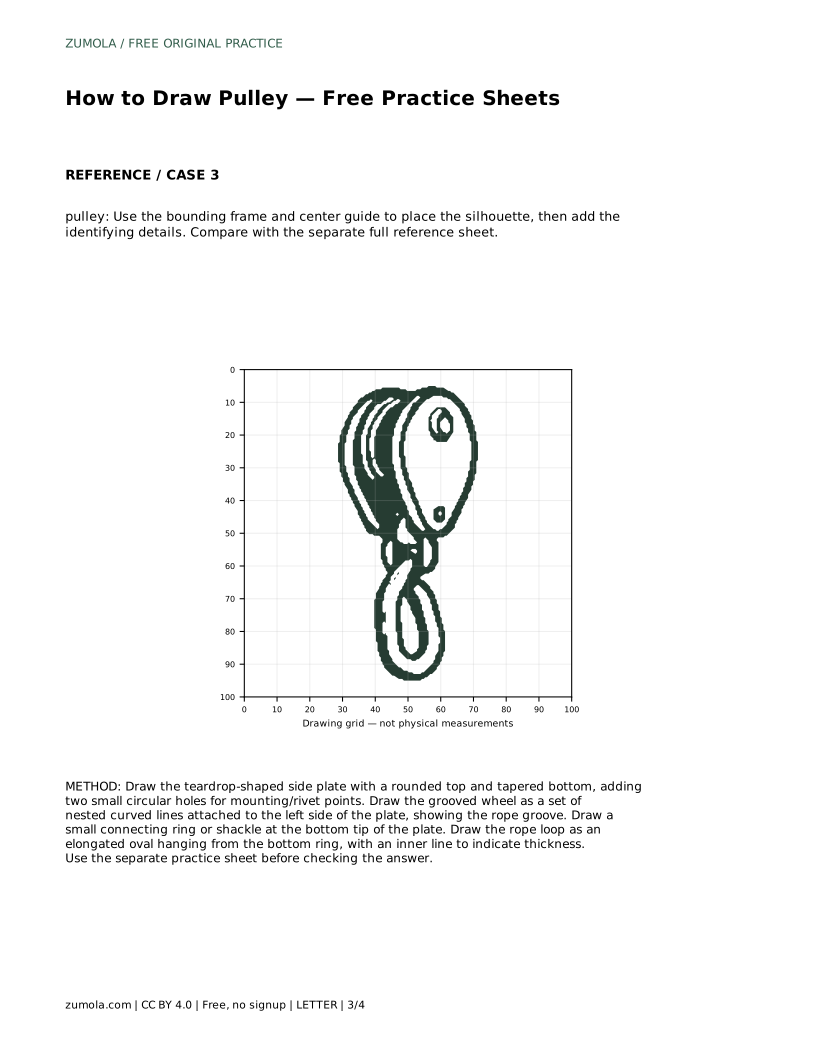
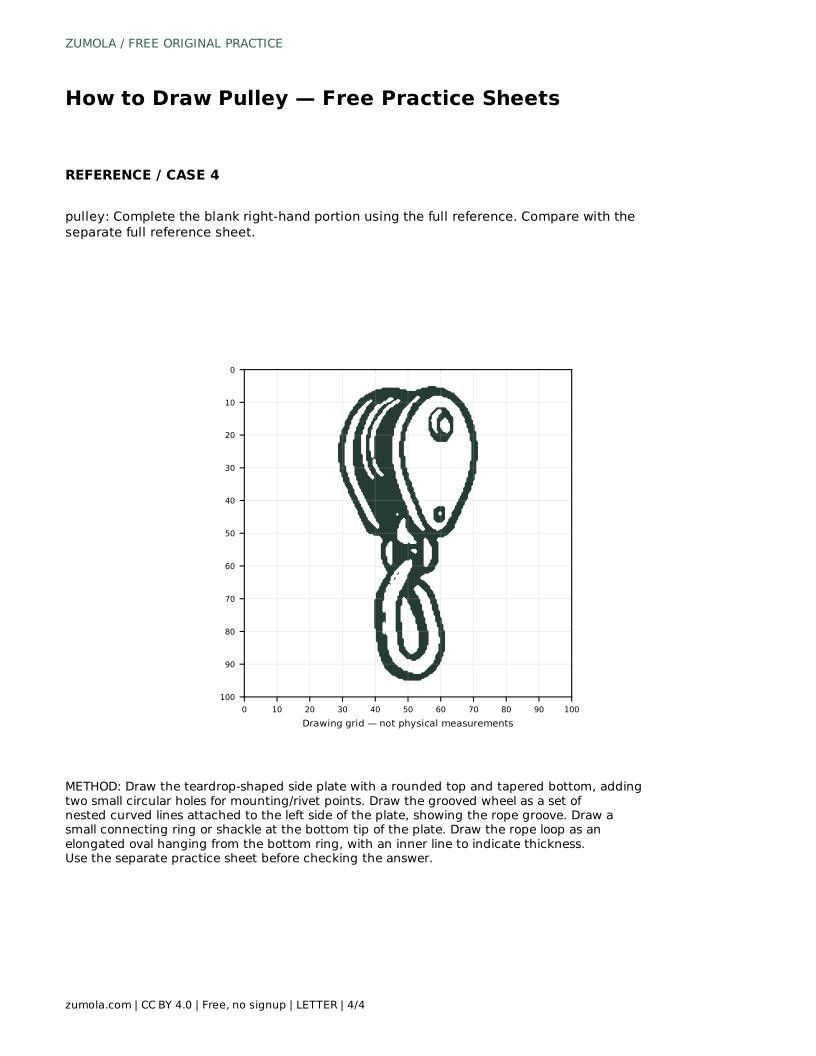
Use the practice sheets to build accuracy. First, trace the reference outline to learn the contour. Then, try drawing the pulley independently and compare your result with the separate full reference sheet. Other sheets offer a blank grid for copying by matching intersections, a bounding frame with a center guide for placing the silhouette, and a partial outline where you complete the missing right-hand portion. Each method targets a different skill: contour memory, proportional placement, and completing a structure from partial information.
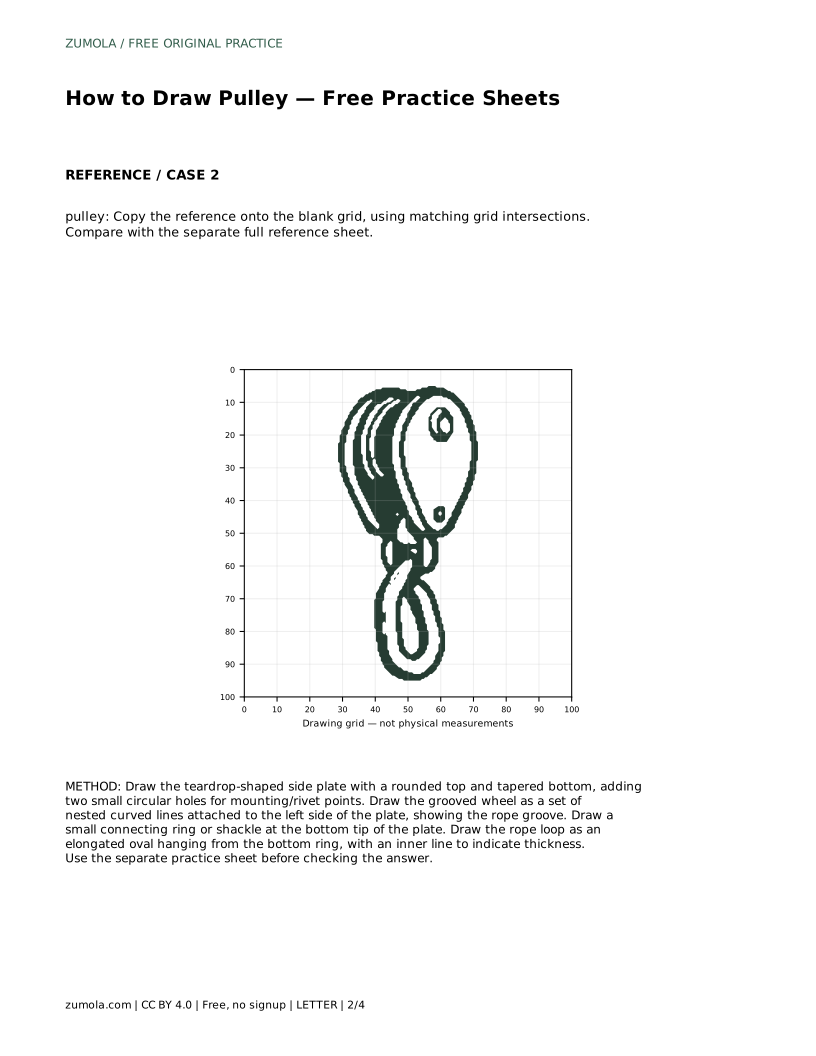
pulley: Trace the reference outline, then practise the contour independently. Compare with the separate full reference sheet.
Example solution: preserve grooved wheel with concentric circular lines, teardrop-shaped mounting bracket/cheek plate with two circular holes, rope loop hanging from the bottom of the bracket. Other drawings can be correct; assess the visible features and proportions rather than pixel-perfect matching. Draw the teardrop-shaped side plate with a rounded top and tapered bottom, adding two small circular holes for mounting/rivet points. Draw the grooved wheel as a set of nested curved lines attached to the left side of the plate, showing the rope groove. Draw a small connecting ring or shackle at the bottom tip of the plate. Draw the rope loop as an elongated oval hanging from the bottom ring, with an inner line to indicate thickness.
No. Drawings can vary. Assess your work by checking that the key features are present: grooved wheel with concentric lines, teardrop plate with two holes, connecting ring, and hanging rope loop. Proportions should be plausible, but pixel-perfect matching is not required.
Start with the teardrop side plate and its two holes, then add the grooved wheel on the left, followed by the connecting ring at the bottom, and finally the rope loop. This order builds the structure from the main body outward.
Compare the relative sizes: the wheel should be roughly as tall as the upper half of the plate, the two holes should be similar in size, and the rope loop should hang below the plate without being wider than the plate's widest point. Use the grid or bounding frame sheets to guide placement.
All drawing practice · Free coordinate paper
Original resources · CC BY 4.0 · Free for personal and classroom use with attribution.