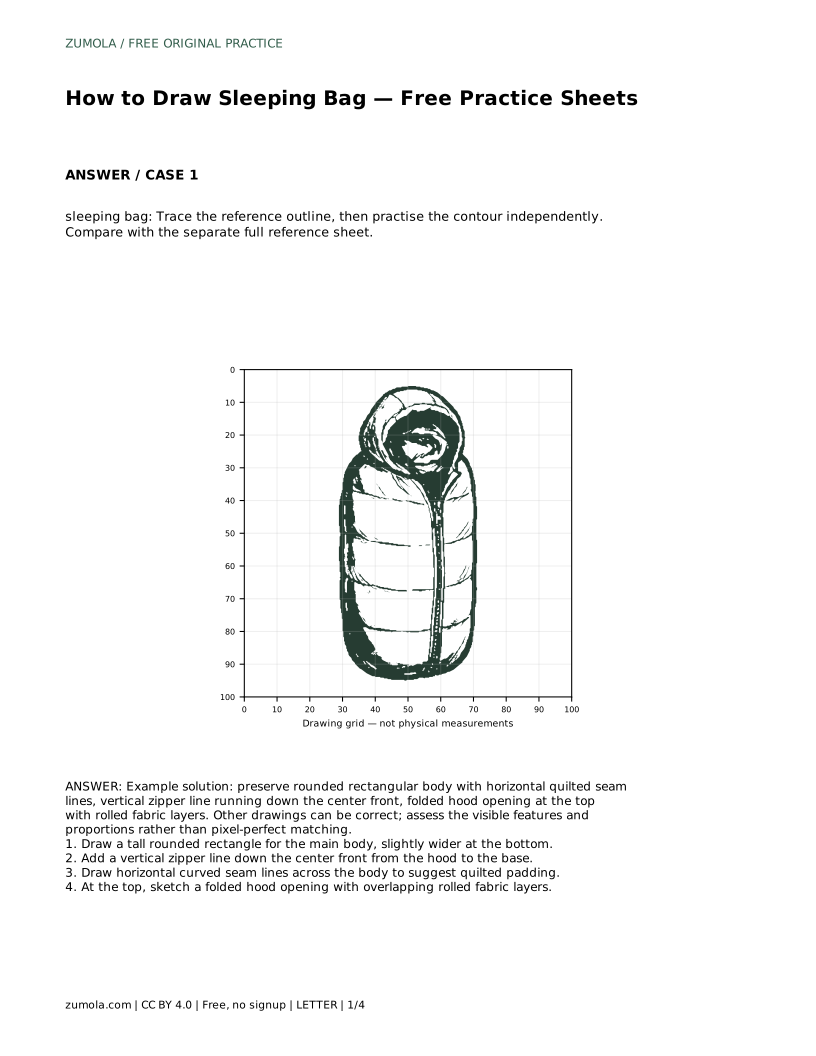
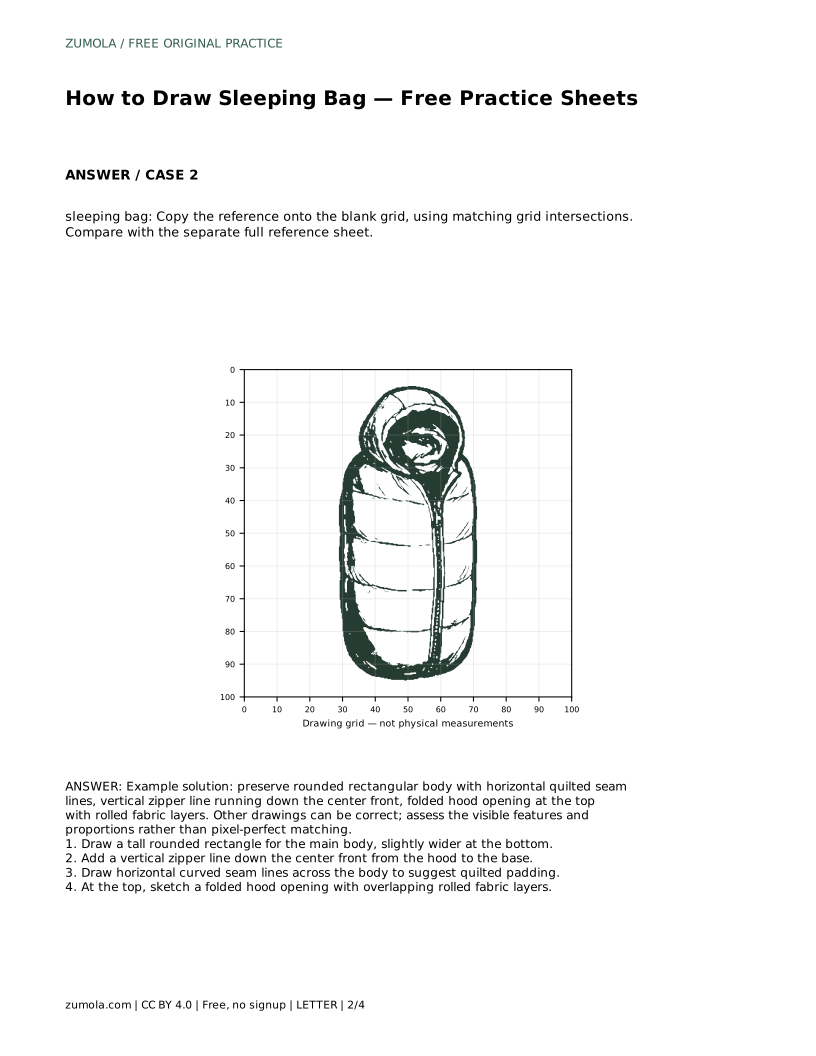
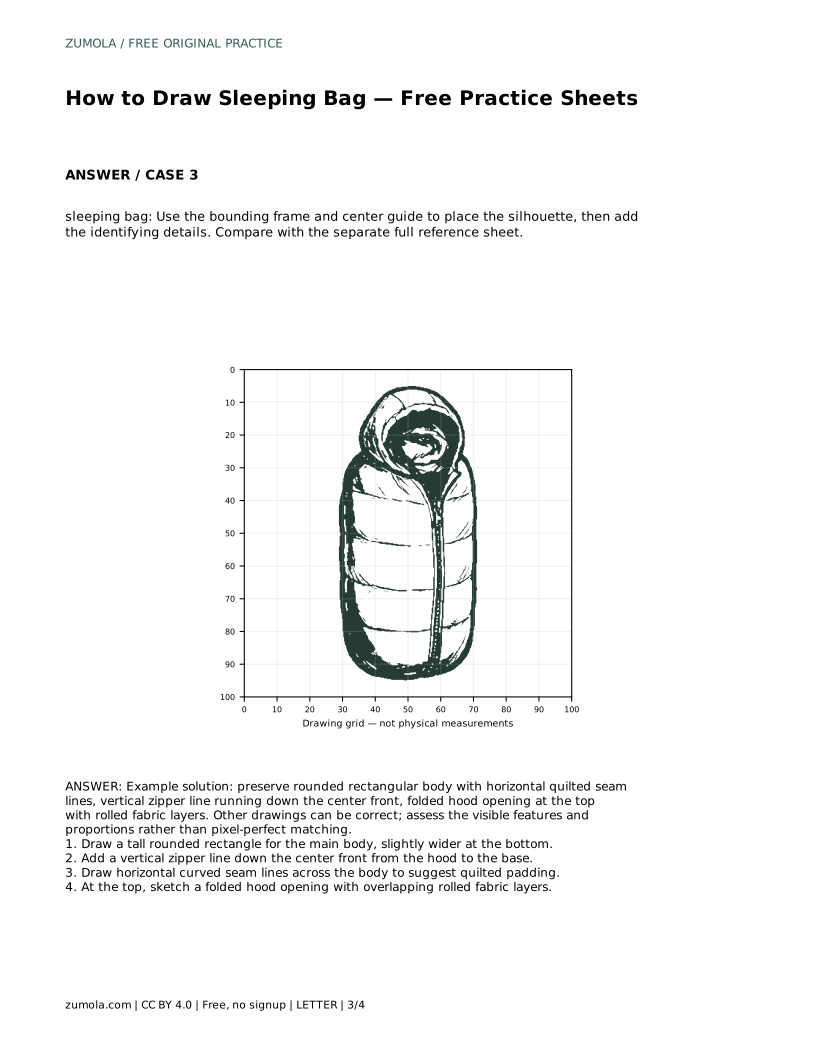
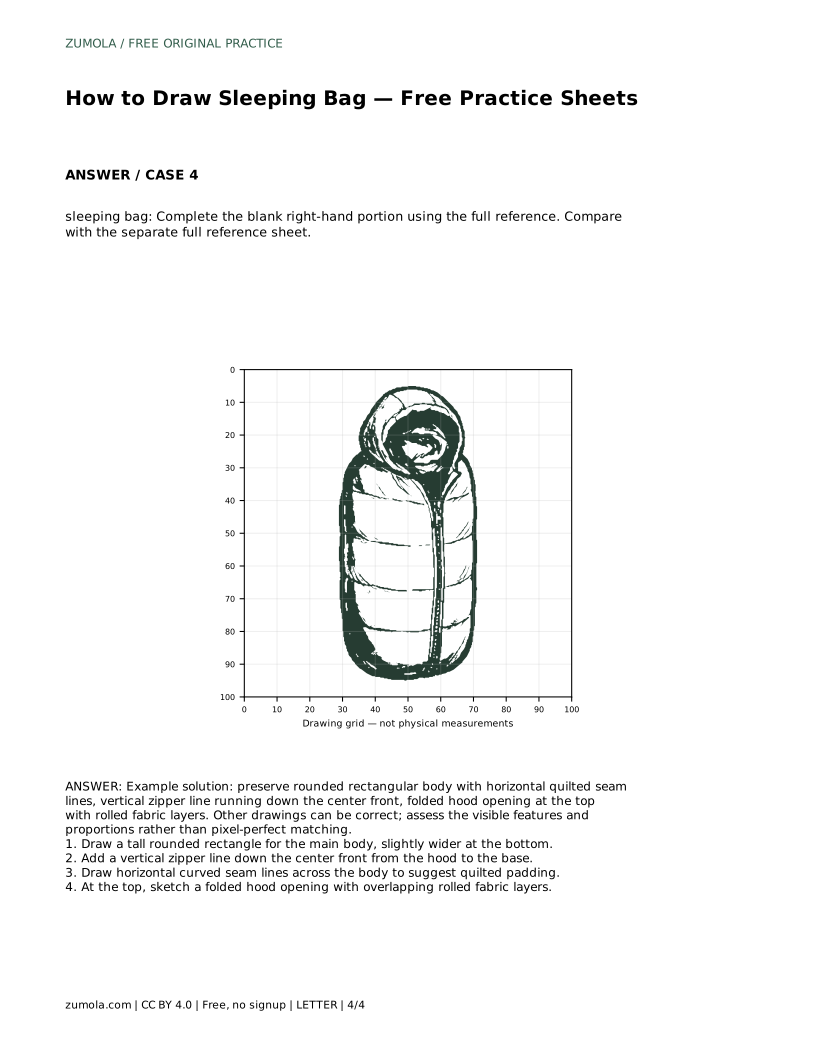
Reference diagrams
LETTER · Download PDF
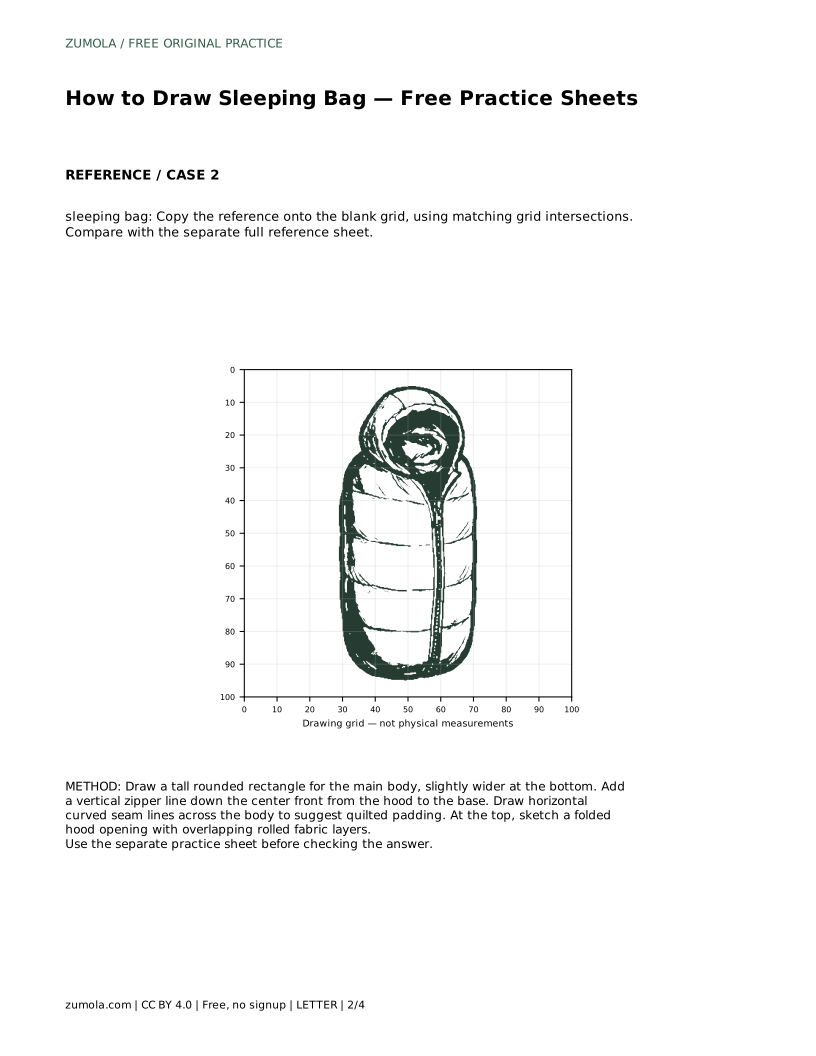
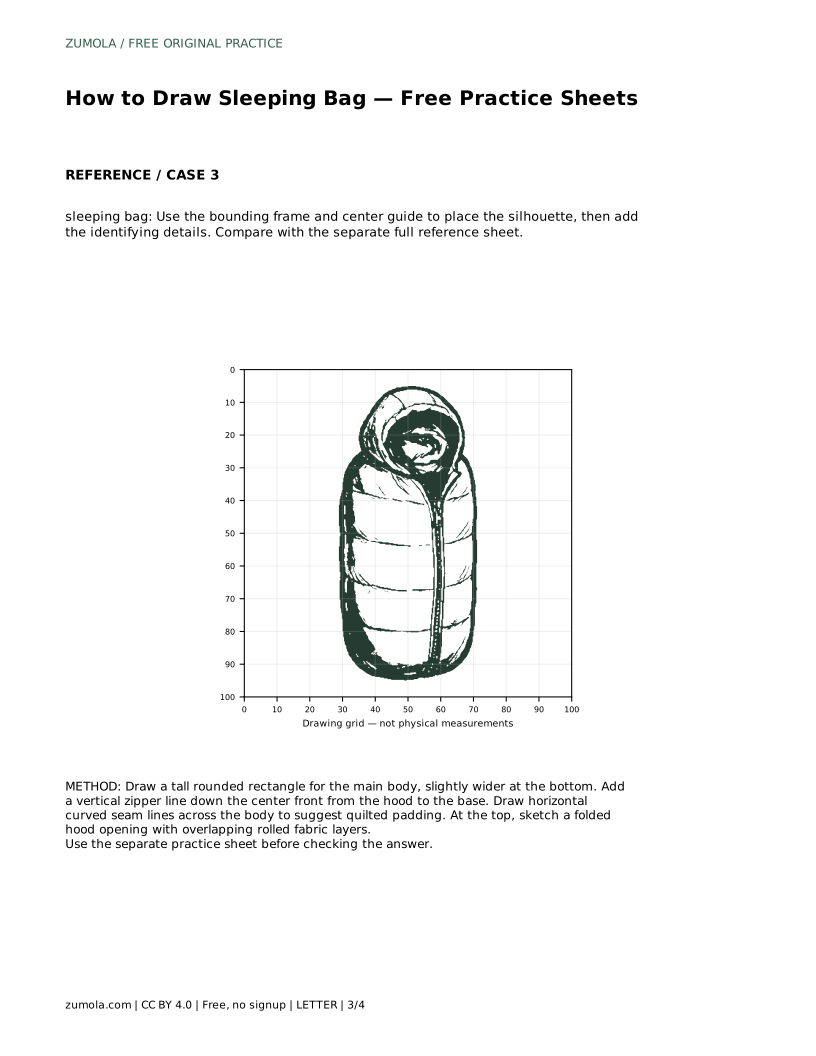
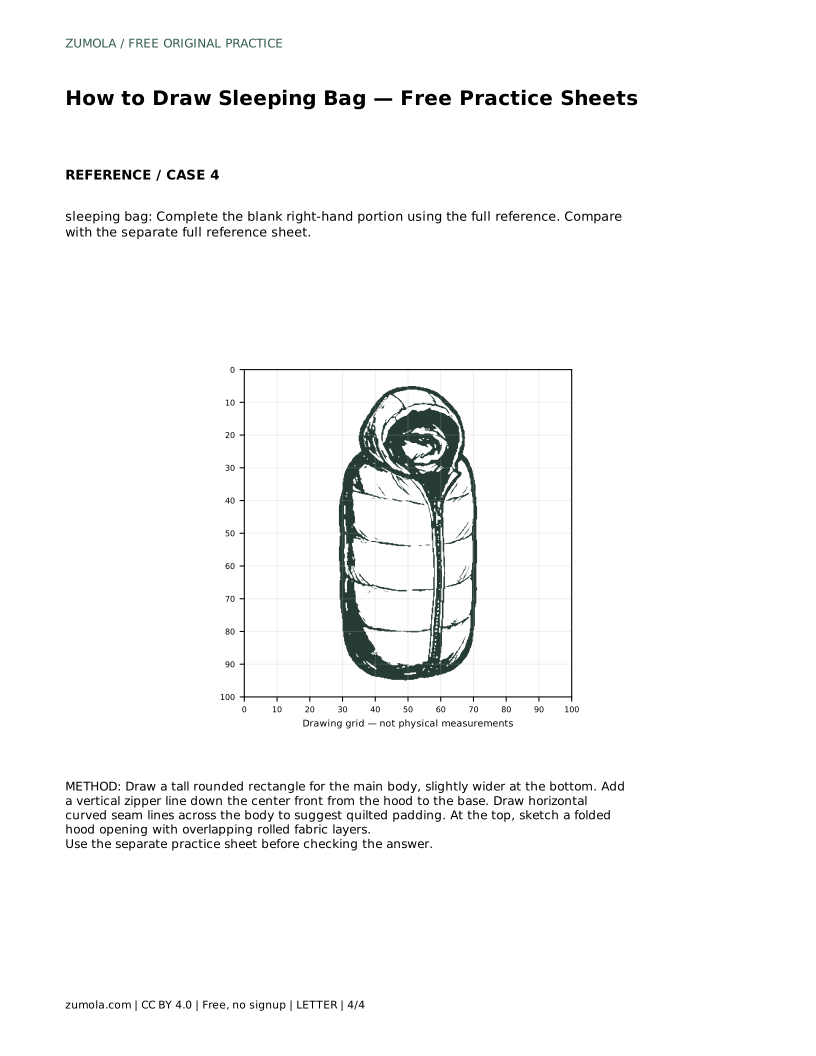
A4 · Download PDF
Free original resources
Learn to draw a sleeping bag with a rounded rectangular body, center zipper, quilted seams, and a folded hood. Practice with tracing, grid, and blank-space sheets.
Four original cases, with reference diagrams, practice sheets and worked answers. Everything is free; no signup required.
LETTER · Download PDF
A4 · Download PDF
LETTER · Download PDF
A4 · Download PDF
LETTER · Download PDF
A4 · Download PDF
Use A4 or US Letter to match your printer. Use the stated values and conditions to solve each exercise; diagrams are not physical measuring rulers.
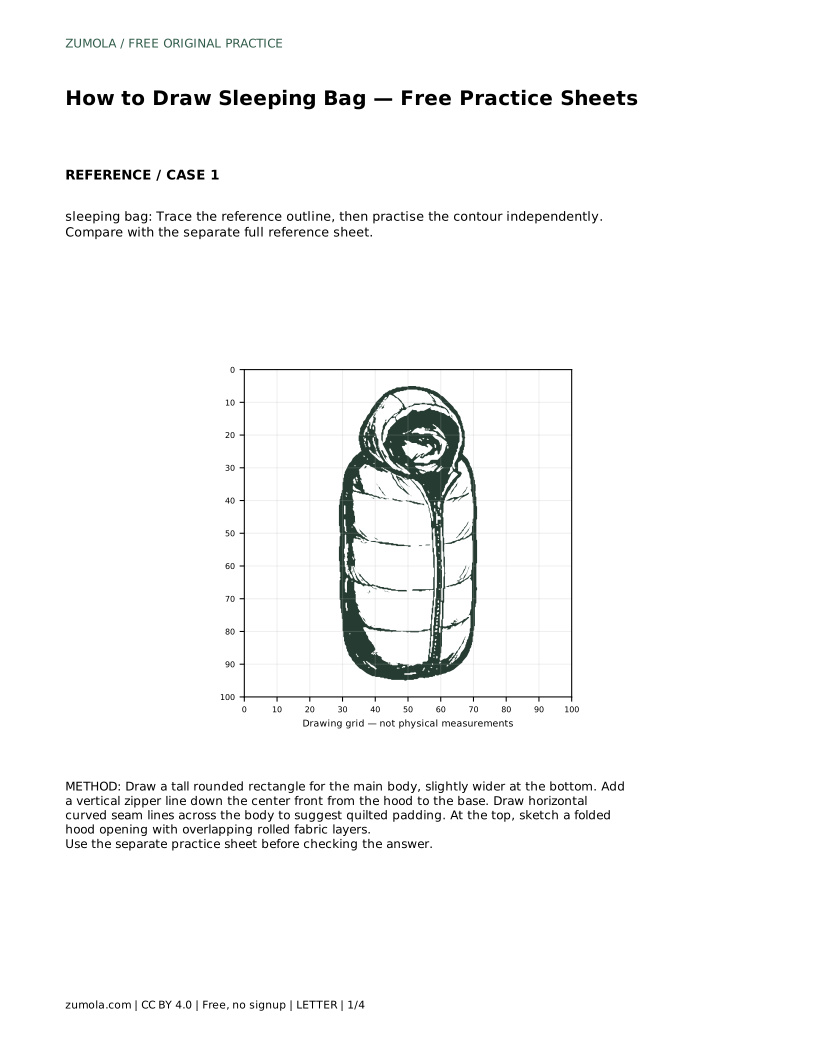
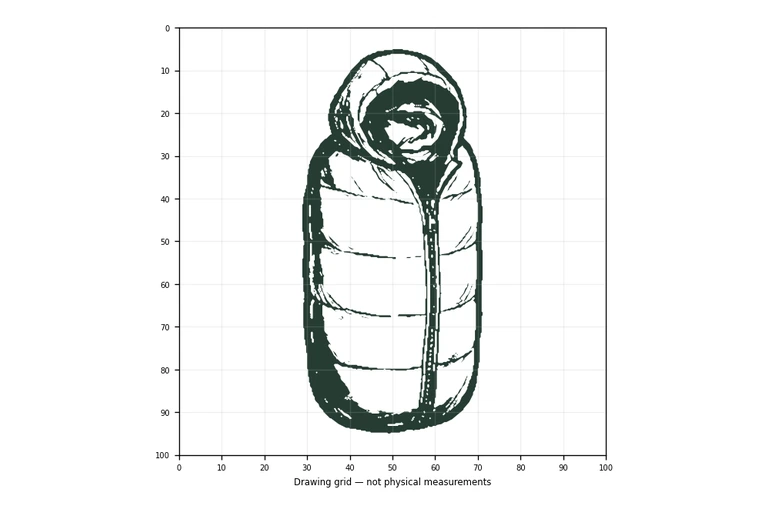
A sleeping bag drawing is mostly a study in soft structure: a padded body that holds a simple rounded shape, a zipper line that runs from hood to base, and curved seam lines that show quilting. This page explains how to build that shape step by step, then how to use tracing, grid, and partial-reference practice sheets to strengthen your control. The goal is recognizable features and believable proportions, not a pixel-perfect copy.
Start with the largest shape and leave details until the silhouette reads clearly. A sleeping bag is usually drawn as a tall rounded rectangle, slightly wider near the bottom where the bag opens out. Keep the sides gently curved rather than rigid, because padding softens every edge. Check that the top is narrower than the base before adding anything inside the outline.
Once the body is placed, decide where the front faces. The zipper and quilted seams belong on that front surface, so their curves should follow the same direction as the body's sides. Light construction lines help you keep those curves consistent.
The zipper is the strongest vertical cue, so run it down the center front from the hood opening to the base. A slight curve makes it look like it sits on a padded surface rather than a flat panel. Add small tick marks along the line if you want to suggest zipper teeth, but keep them even and light.
Quilted seams are horizontal curves crossing the body. Space them roughly evenly, and let each one bow gently in the same direction so the padding appears to wrap around the form. Avoid straight ruled lines here; soft curves sell the fabric.
At the top, the hood opening is a folded edge with rolled fabric layers. Draw an opening that follows the width of the body, then add two or three overlapping curves to suggest the roll of the fabric. The layers should nest inside one another rather than float apart.
Compare your drawing with the full reference sheet after each stage. If the hood looks too wide or the body too narrow, adjust the outline before refining details.
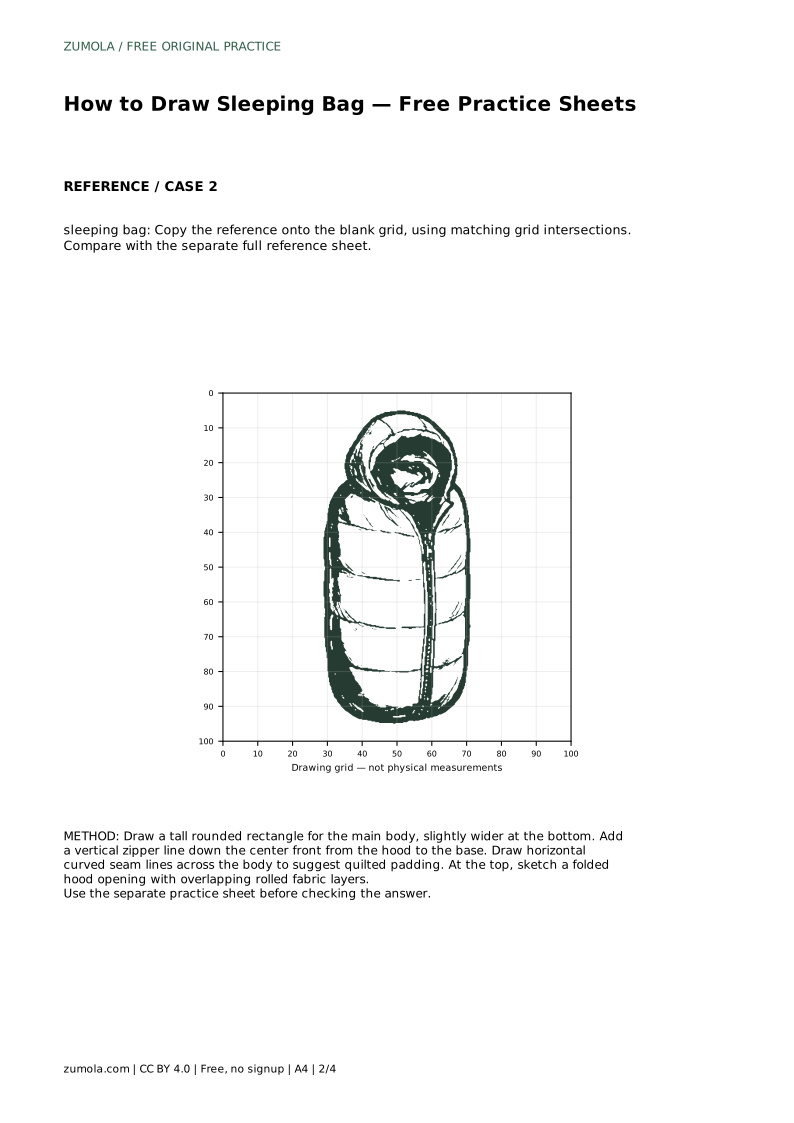
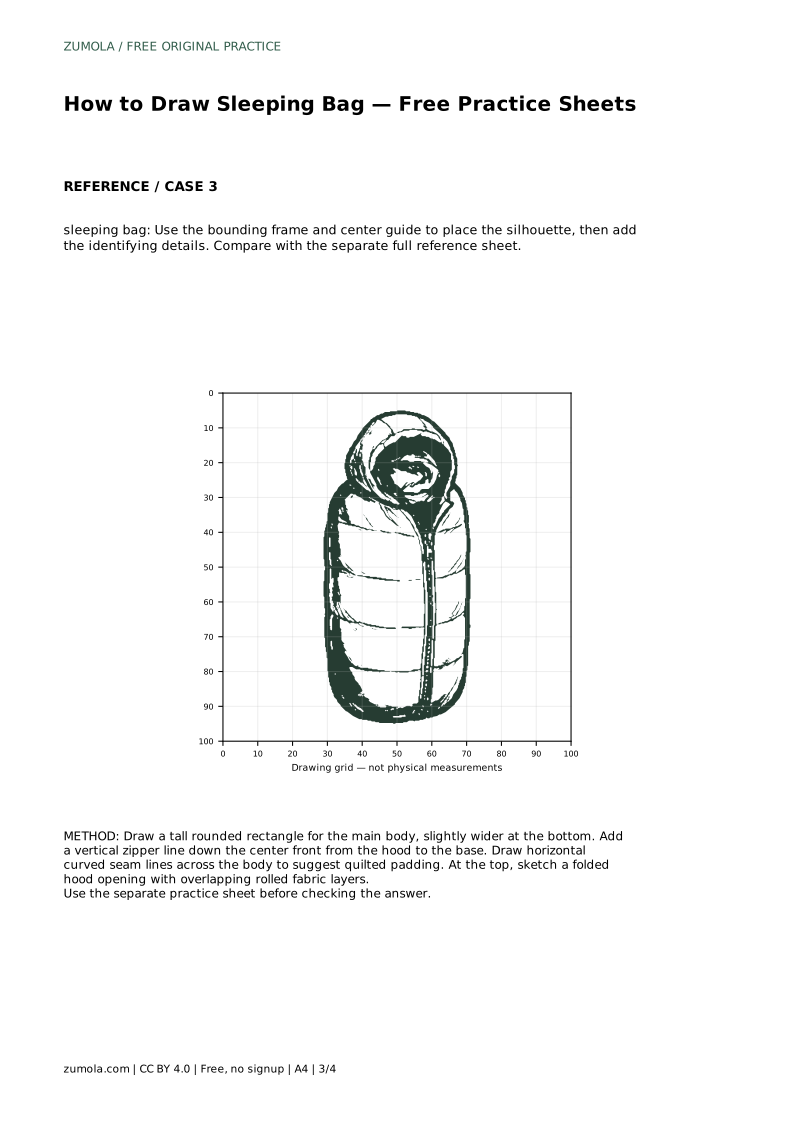
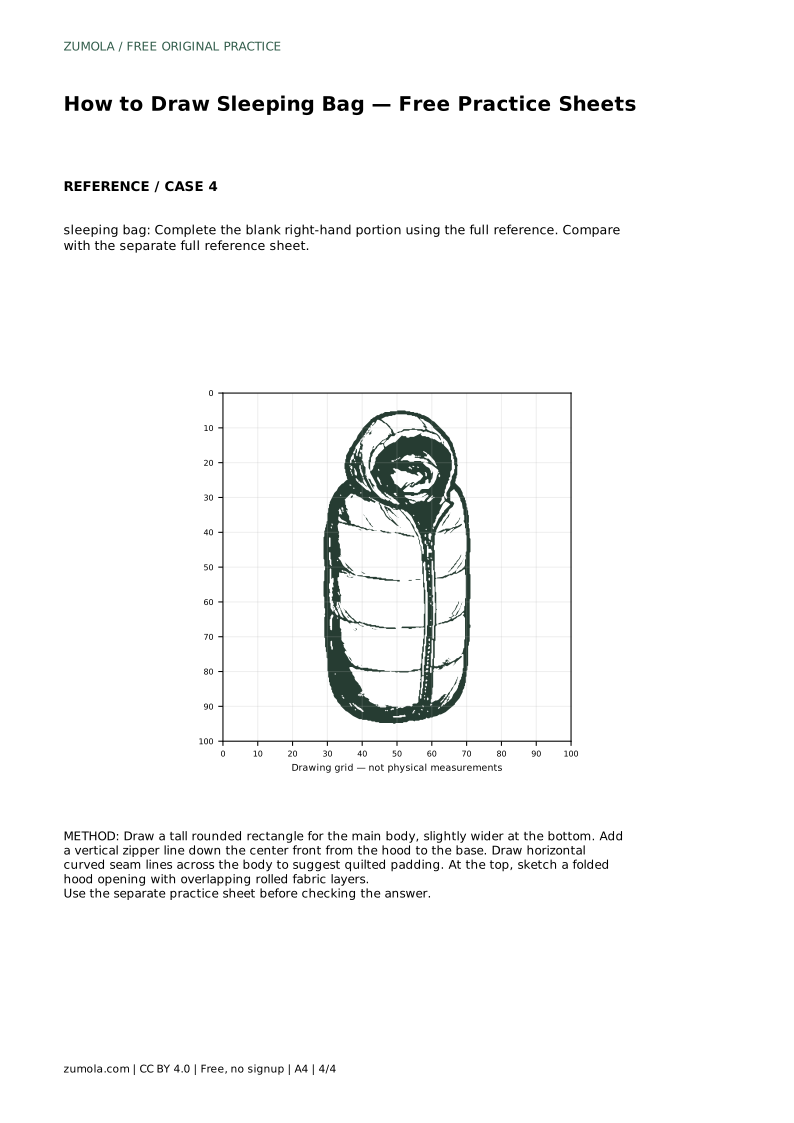
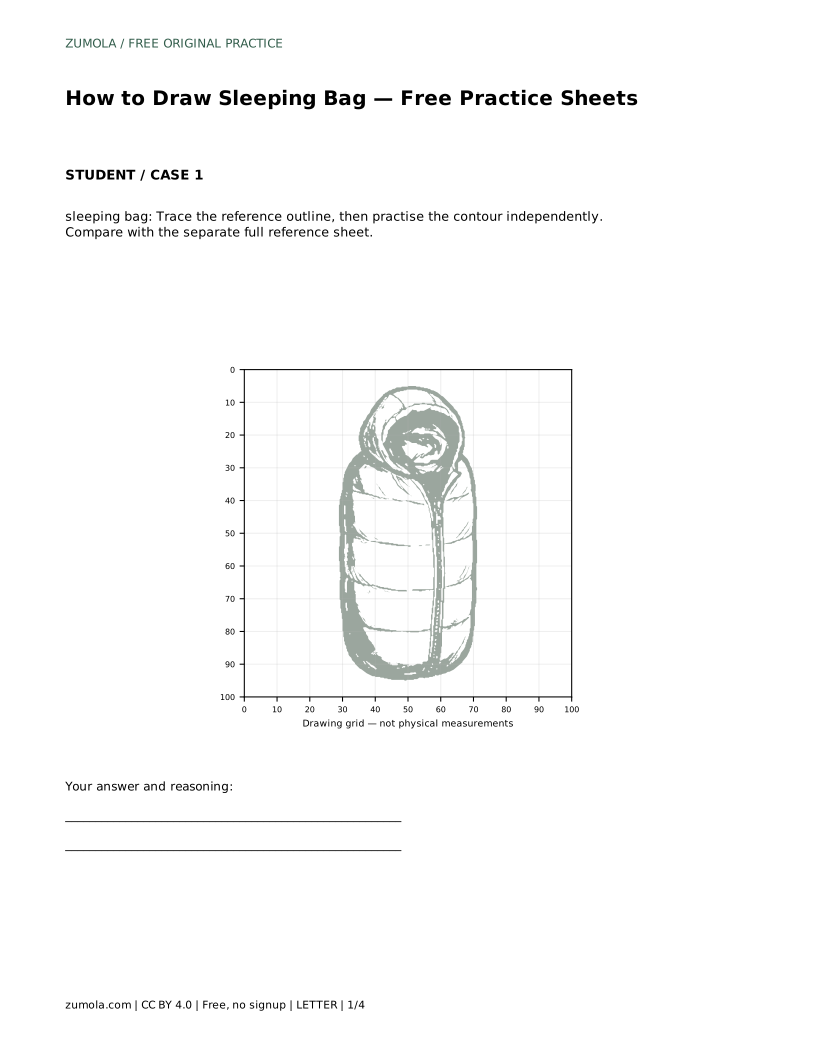
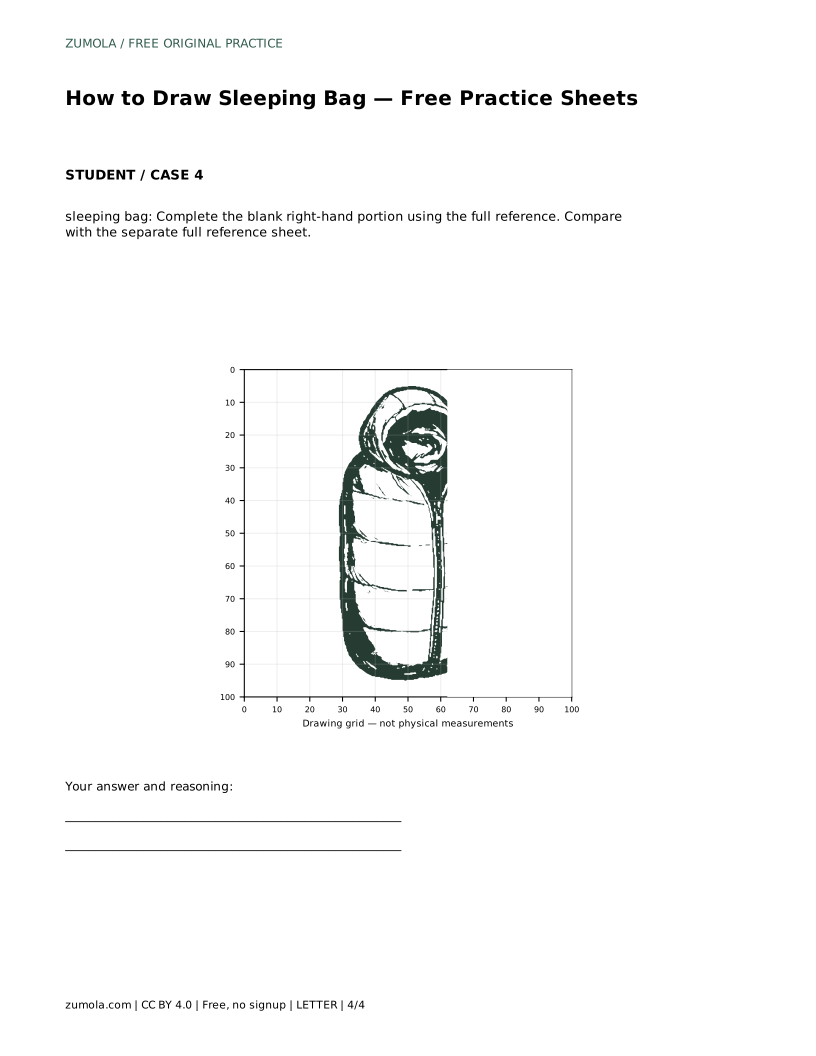
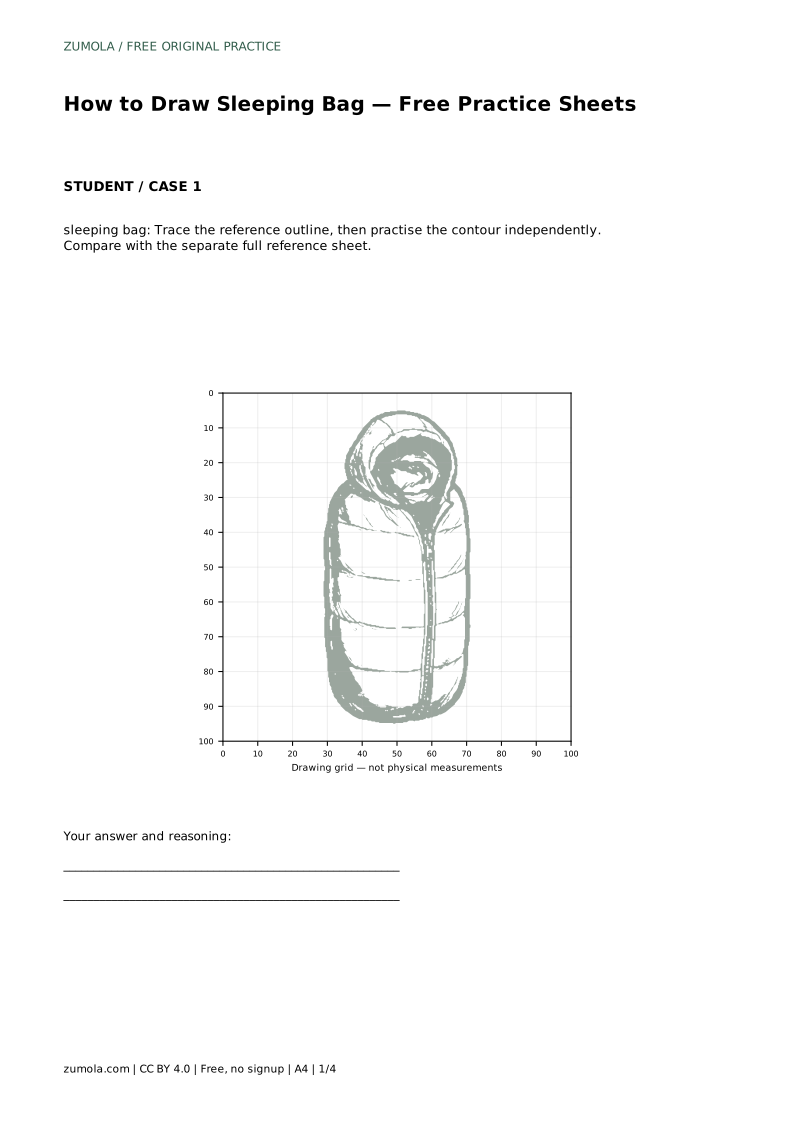
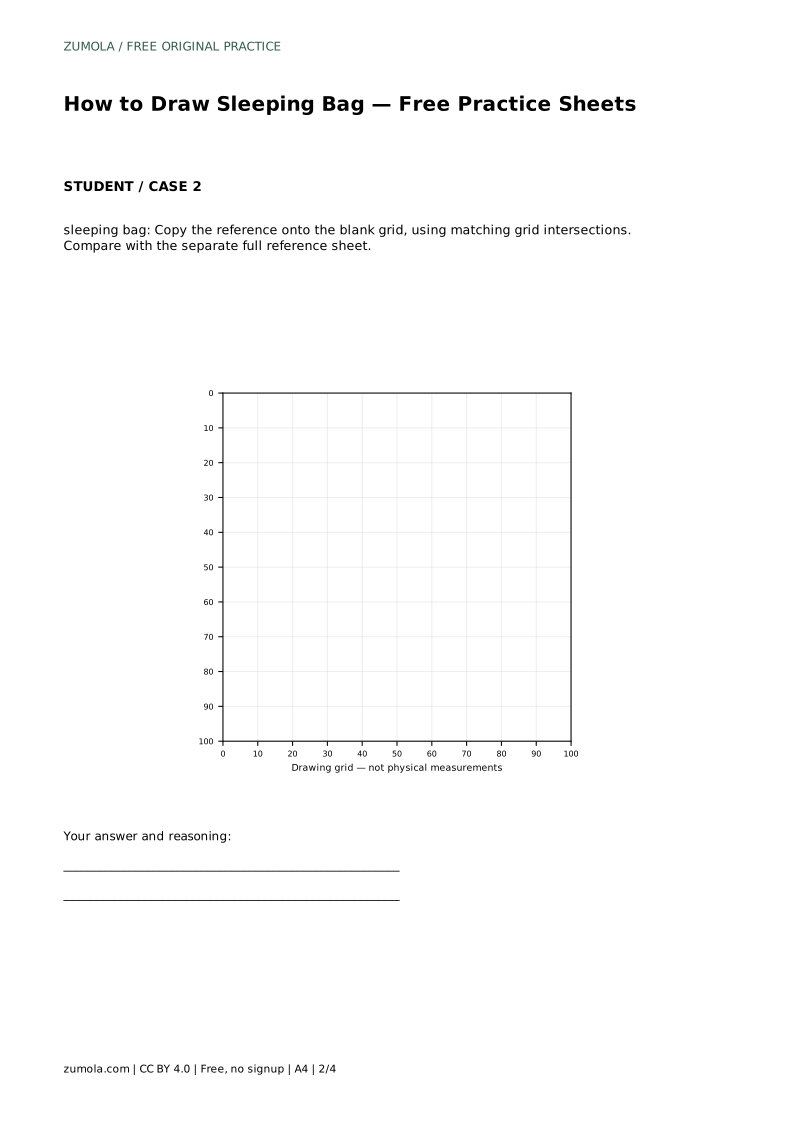
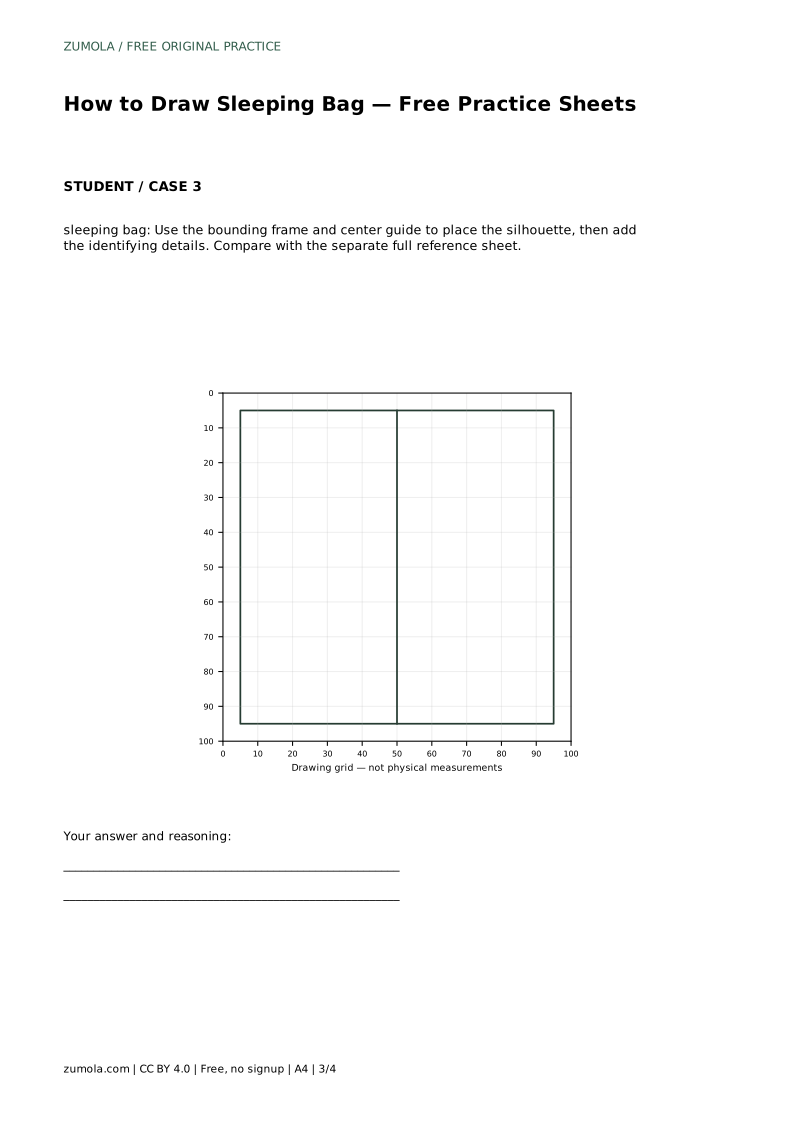
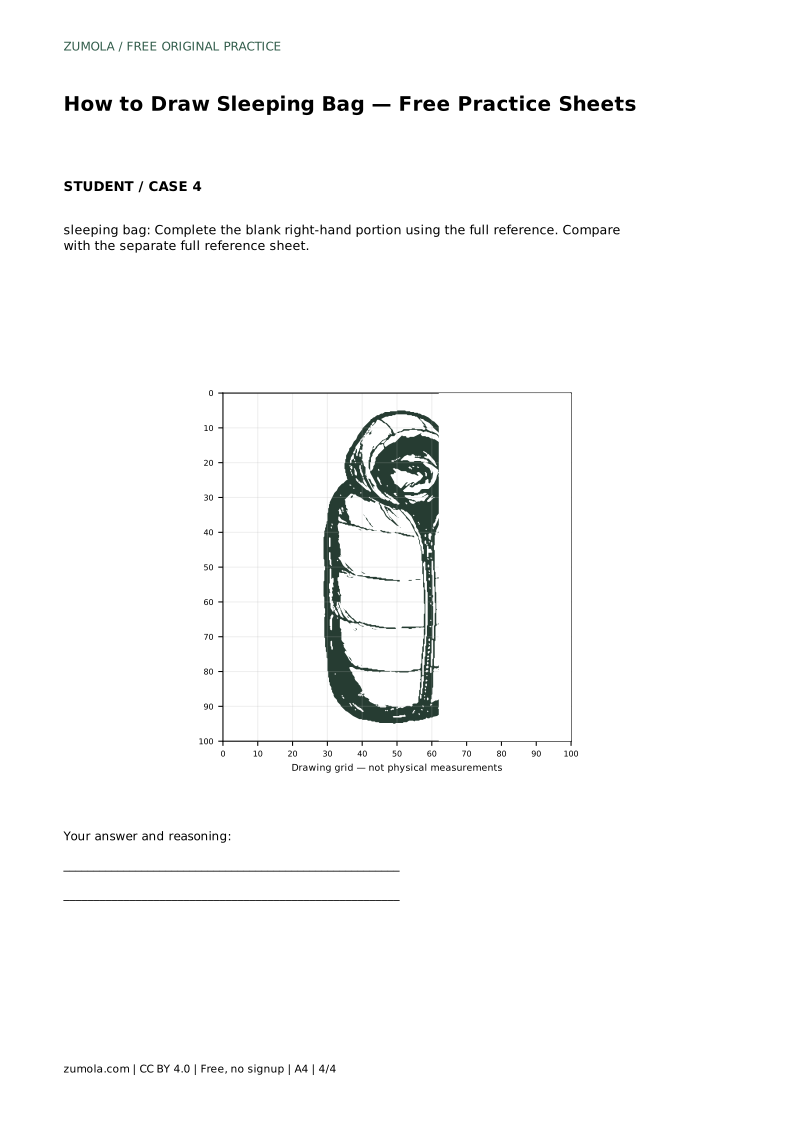
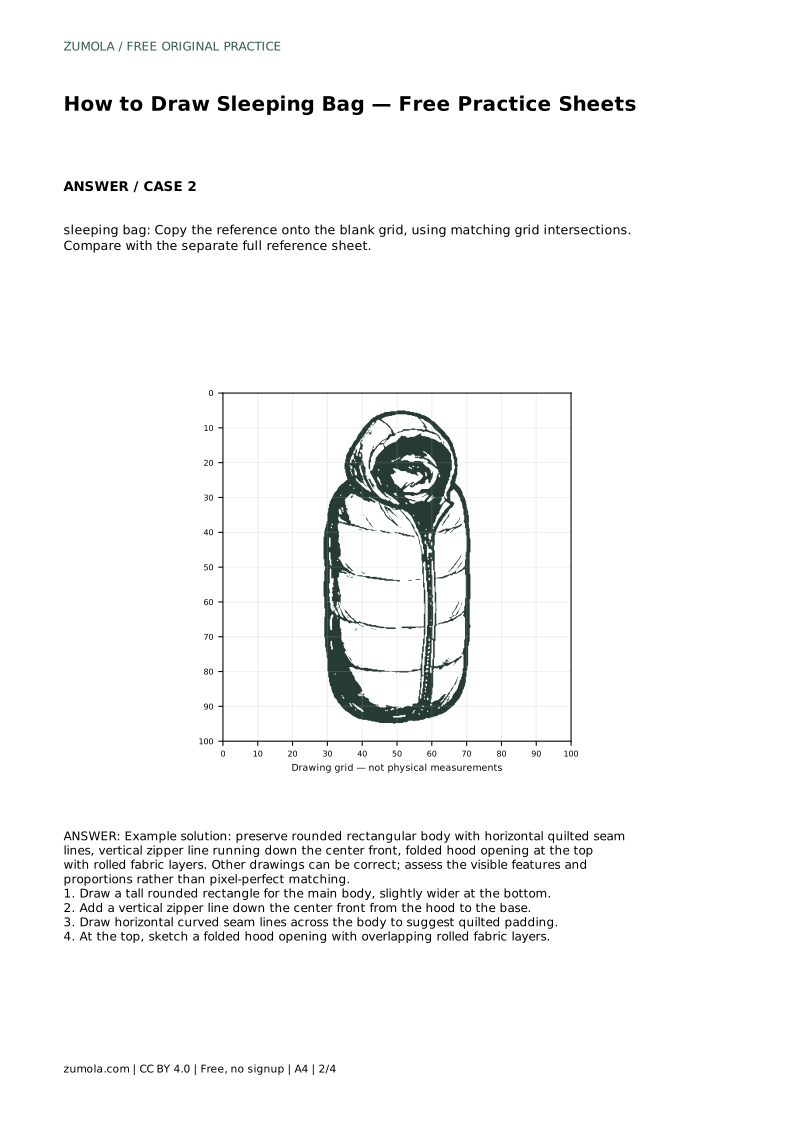
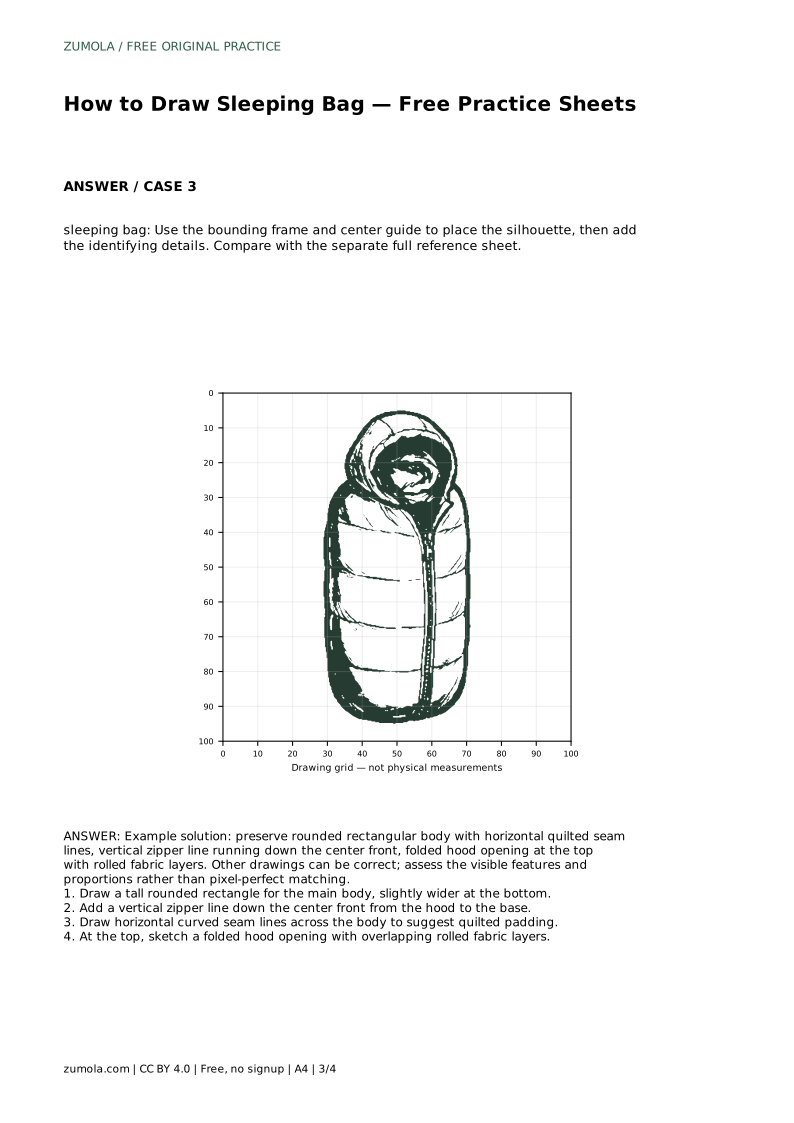
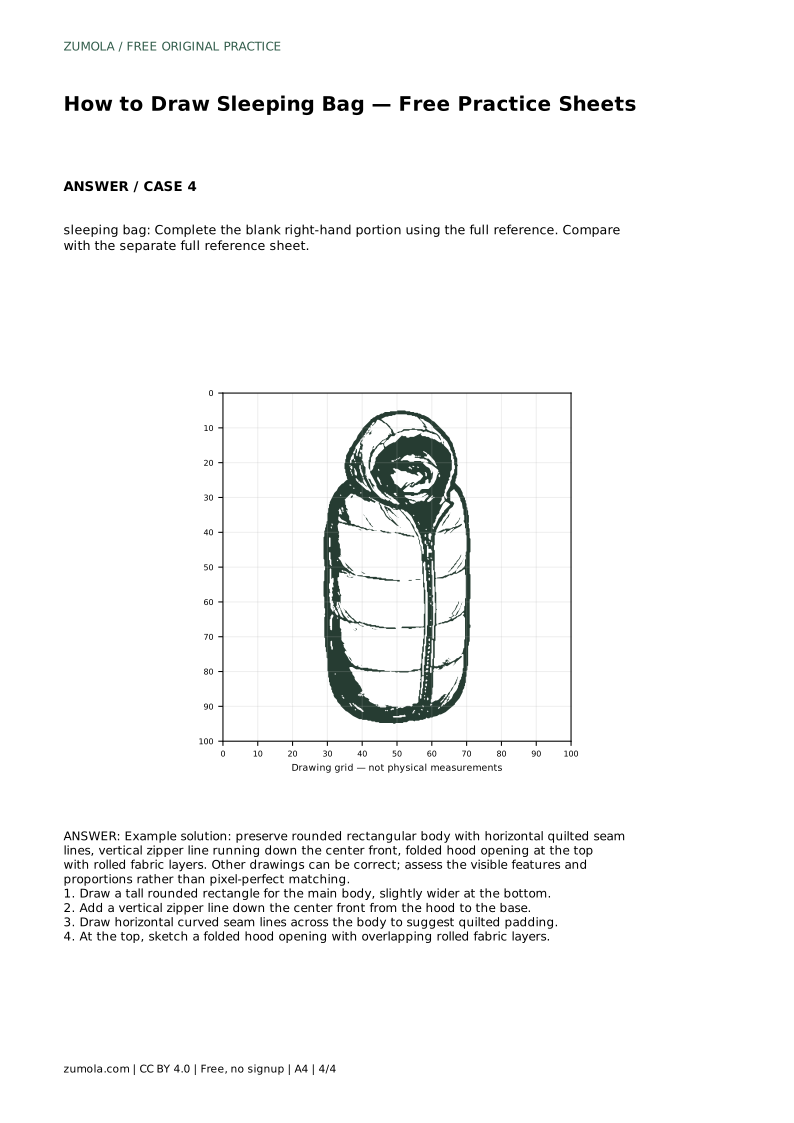
The tracing sheet asks you to follow the reference outline, then repeat the contour independently on blank space. The grid sheet asks you to copy the reference onto matching grid intersections, which trains placement and proportion. The bounding-frame sheet gives a center guide for positioning the silhouette before details. The partial sheet leaves the right-hand portion blank so you complete it from the full reference.
Each sheet targets a different skill, so compare your result with the separate full reference sheet rather than expecting an exact match. Multiple drawings can be correct if the rounded body, center zipper, quilted seams, and folded hood are all present and proportionate.
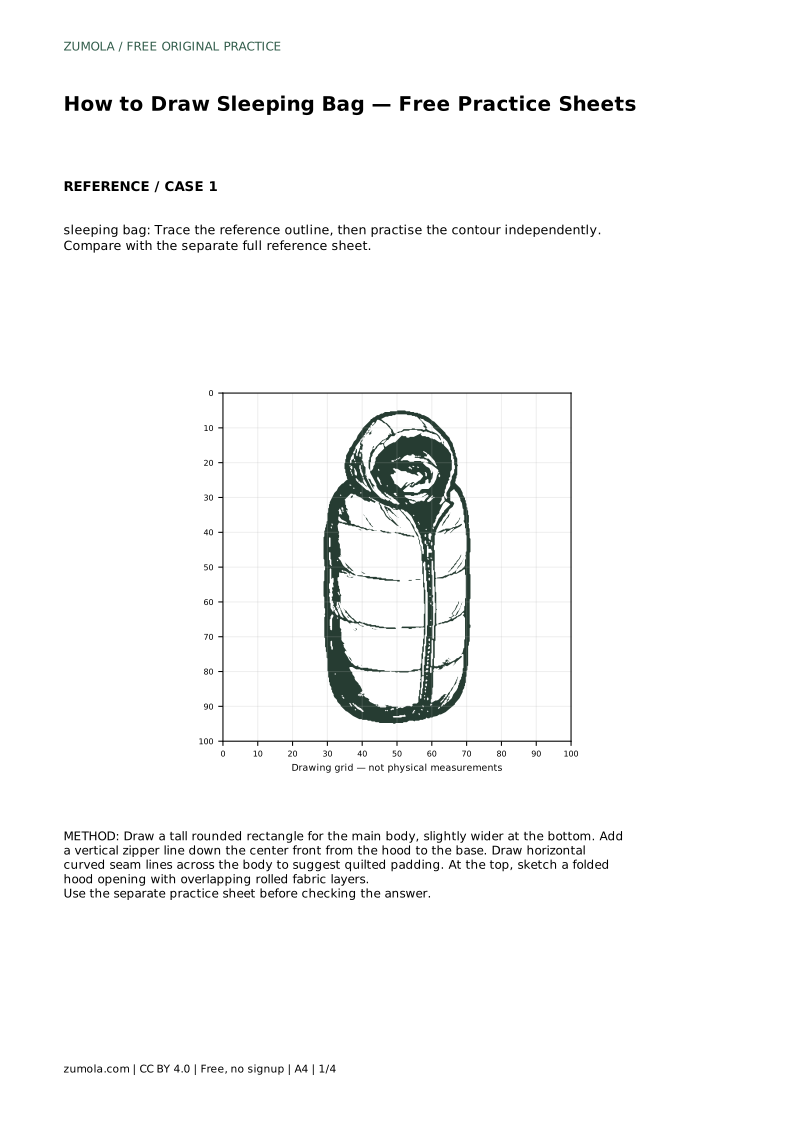
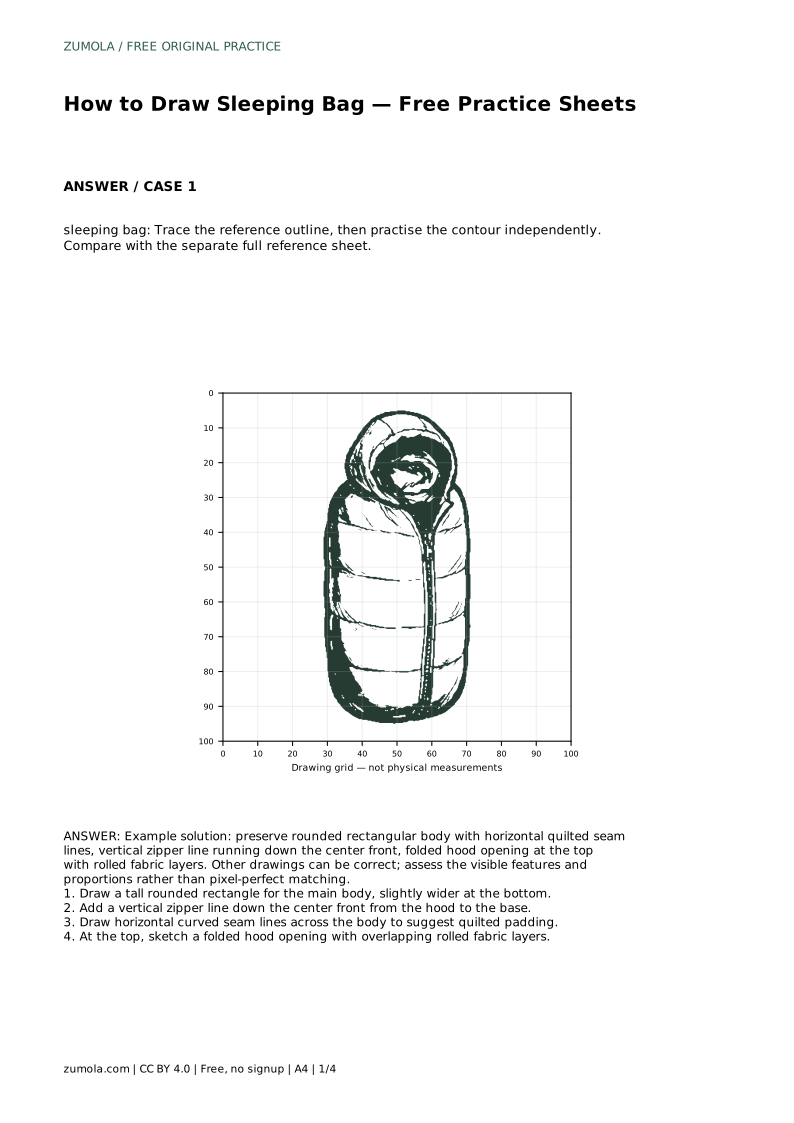
sleeping bag: Trace the reference outline, then practise the contour independently. Compare with the separate full reference sheet.
Example solution: preserve rounded rectangular body with horizontal quilted seam lines, vertical zipper line running down the center front, folded hood opening at the top with rolled fabric layers. Other drawings can be correct; assess the visible features and proportions rather than pixel-perfect matching. Draw a tall rounded rectangle for the main body, slightly wider at the bottom. Add a vertical zipper line down the center front from the hood to the base. Draw horizontal curved seam lines across the body to suggest quilted padding. At the top, sketch a folded hood opening with overlapping rolled fabric layers.
No. Assess the visible features and proportions instead: a rounded rectangular body, a center zipper, horizontal quilted seams, and a folded hood with rolled layers. Other drawings can be correct.
Start with the tracing sheet to learn the contour, then move to the grid or bounding-frame sheet to practice placement without tracing.
There is no fixed count. Use enough evenly spaced curves to suggest padding without crowding the body; three to five usually reads clearly.
All drawing practice · Free coordinate paper
Original resources · CC BY 4.0 · Free for personal and classroom use with attribution.