Reference diagrams
LETTER · Download PDF
A4 · Download PDF
Free original resources
Learn to draw a domino with a rounded rectangular face, a parallel edge for thickness, a clear dividing line, and accurate dot patterns in each half.
Four original cases, with reference diagrams, practice sheets and worked answers. Everything is free; no signup required.
LETTER · Download PDF
A4 · Download PDF
LETTER · Download PDF
A4 · Download PDF
LETTER · Download PDF
A4 · Download PDF
Use A4 or US Letter to match your printer. Use the stated values and conditions to solve each exercise; diagrams are not physical measuring rulers.
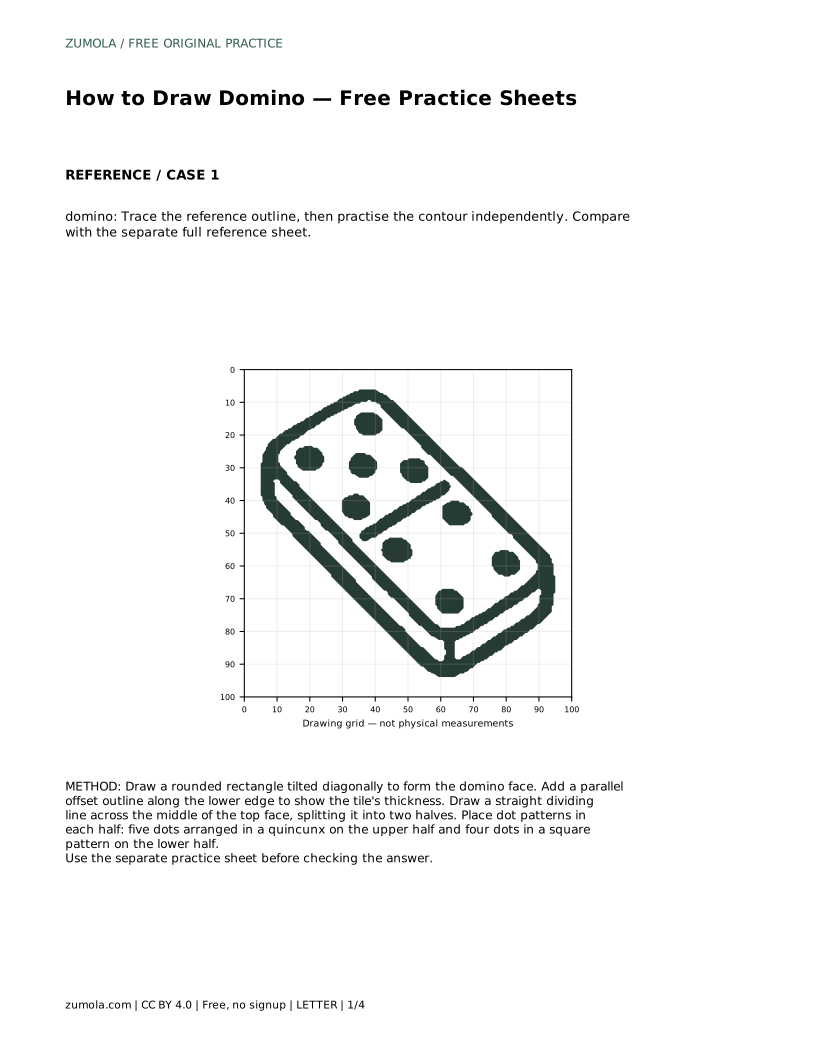
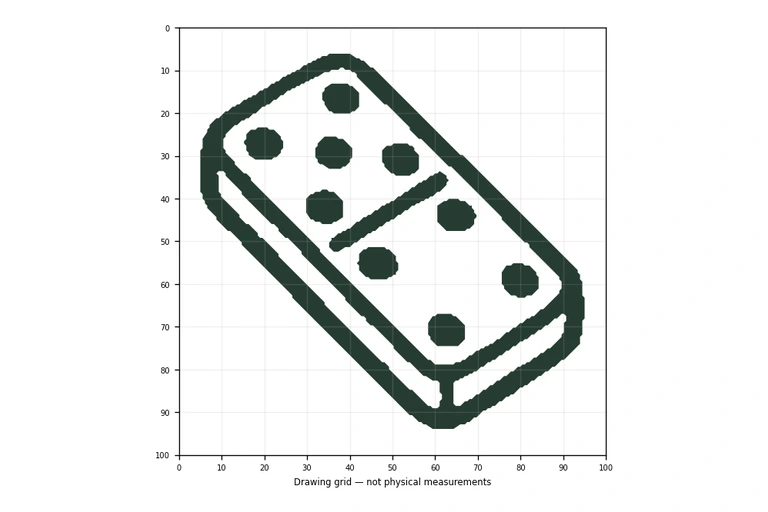
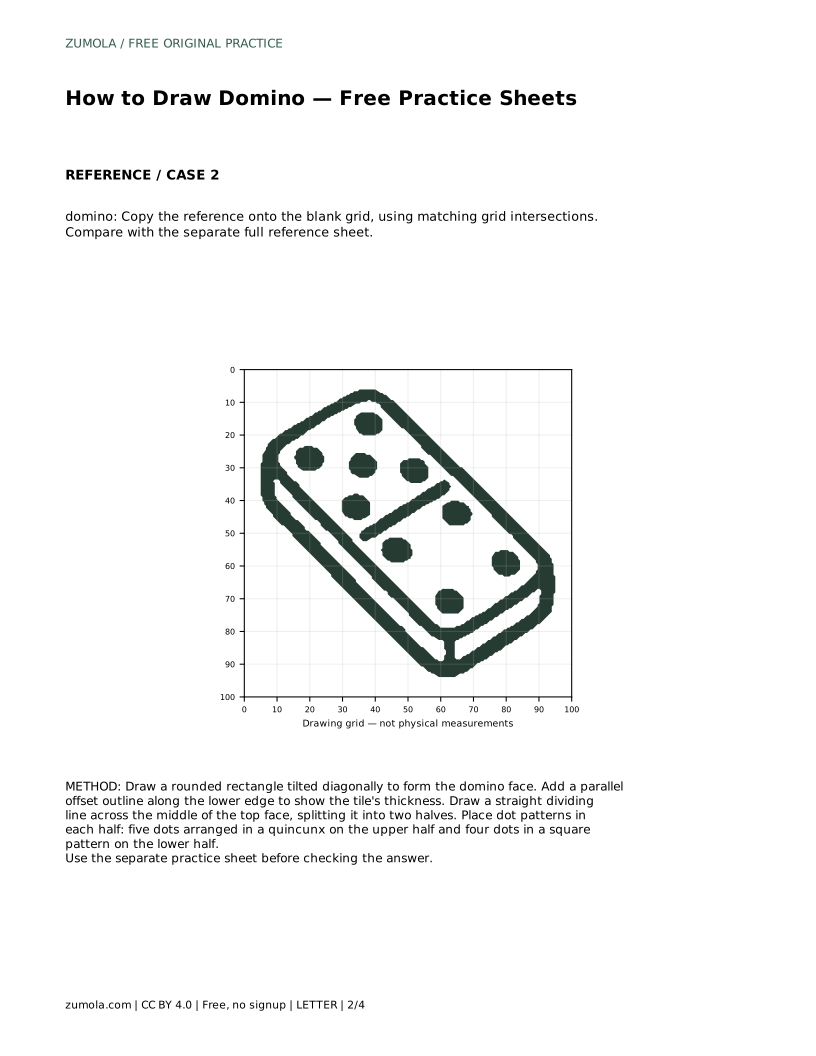
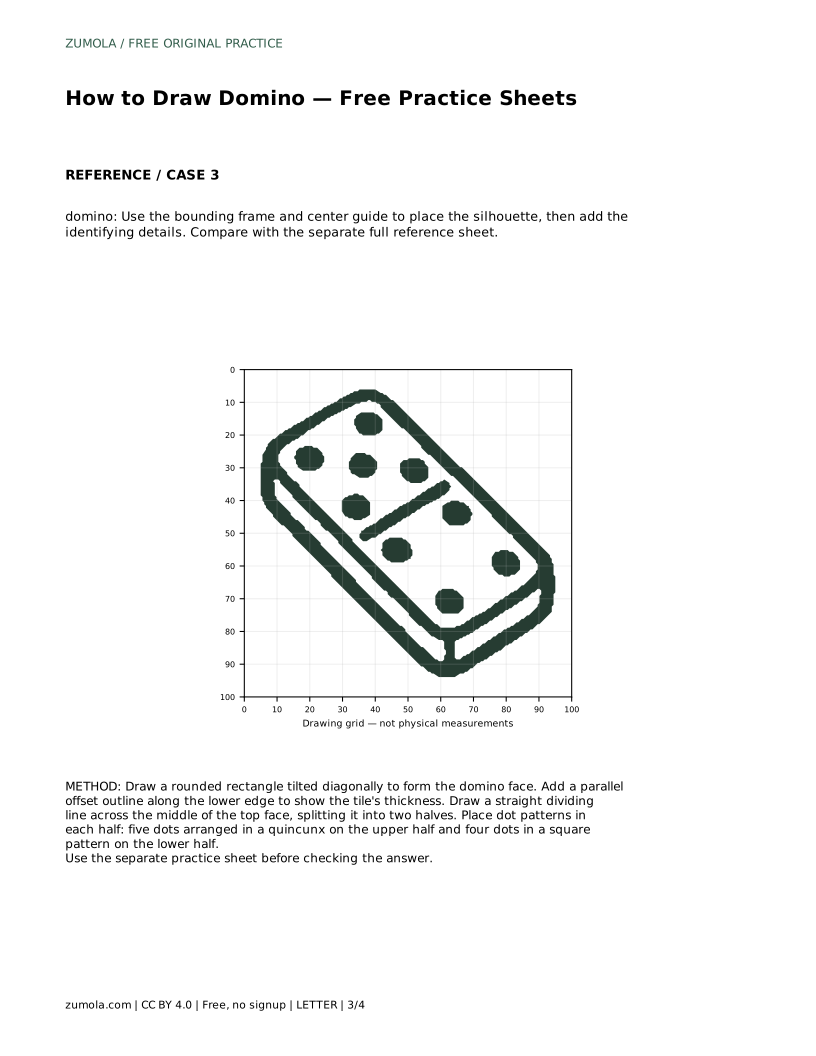
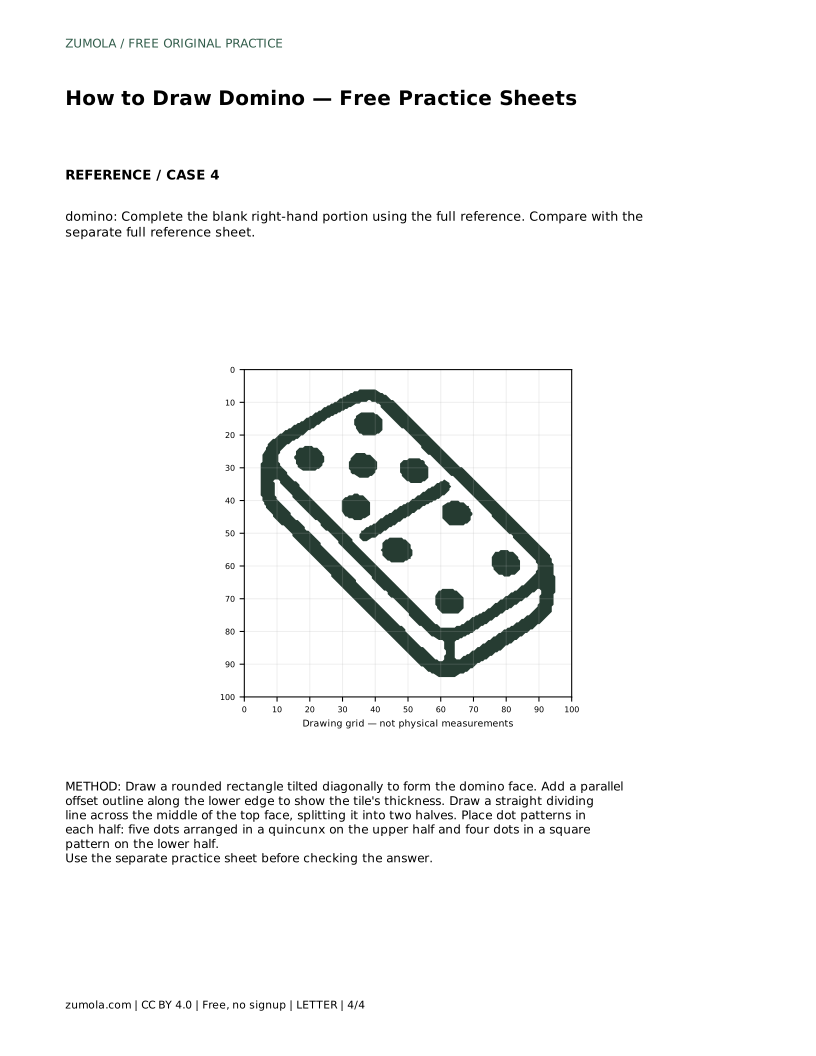
A domino drawing is mostly a test of proportion and placement. The tile is a rounded rectangle, the dividing line splits the face into two equal halves, and the dots must sit in recognizable patterns rather than scattered at random. This page walks through building the shape in layers, from the outer contour to the final dot arrangement, so you can practise the same structure on blank paper or a printed sheet.
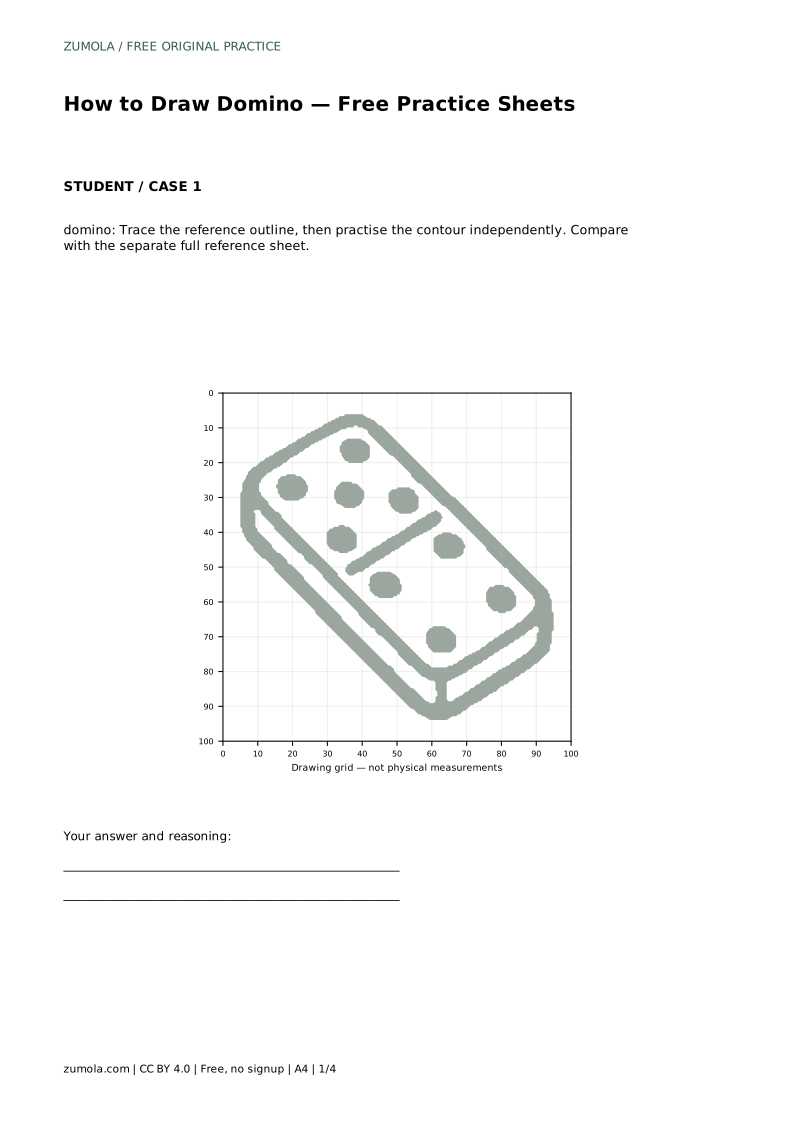
Start with the face of the domino rather than the dots. Draw a rectangle with rounded corners, tilted diagonally so the tile reads as an object sitting at an angle. Keep the long sides parallel and the short sides parallel; the rounding should be consistent at all four corners so the tile looks manufactured rather than hand-torn.
Next, add thickness. Draw a second outline offset below the lower edge of the face, following the same curve and angle. This offset line represents the side of the tile and gives the drawing depth. Keep the gap between the face edge and the offset edge even along its length, because an uneven gap makes the tile look warped.
Draw a straight line across the middle of the top face, running from one long edge to the other. This line splits the face into two halves of equal size. If the halves look unequal, adjust the line before adding dots, since the dot patterns depend on having room to sit evenly.
Place the dot patterns deliberately. A five-dot half uses a quincunx: one dot in each corner of an imaginary square plus one in the center. A four-dot half uses a square pattern: one dot at each corner of an imaginary square, with no center dot. Keep dot sizes equal and spacing even within each half. The two halves can carry different numbers, and that difference is part of what makes the drawing read as a domino.
Different practice sheets ask for different kinds of copying. Tracing a reference outline builds familiarity with the contour, but follow it with an independent attempt so the shape is not merely copied. Copying onto a blank grid works best when you match grid intersections to the reference, which keeps the tilt and proportions consistent.
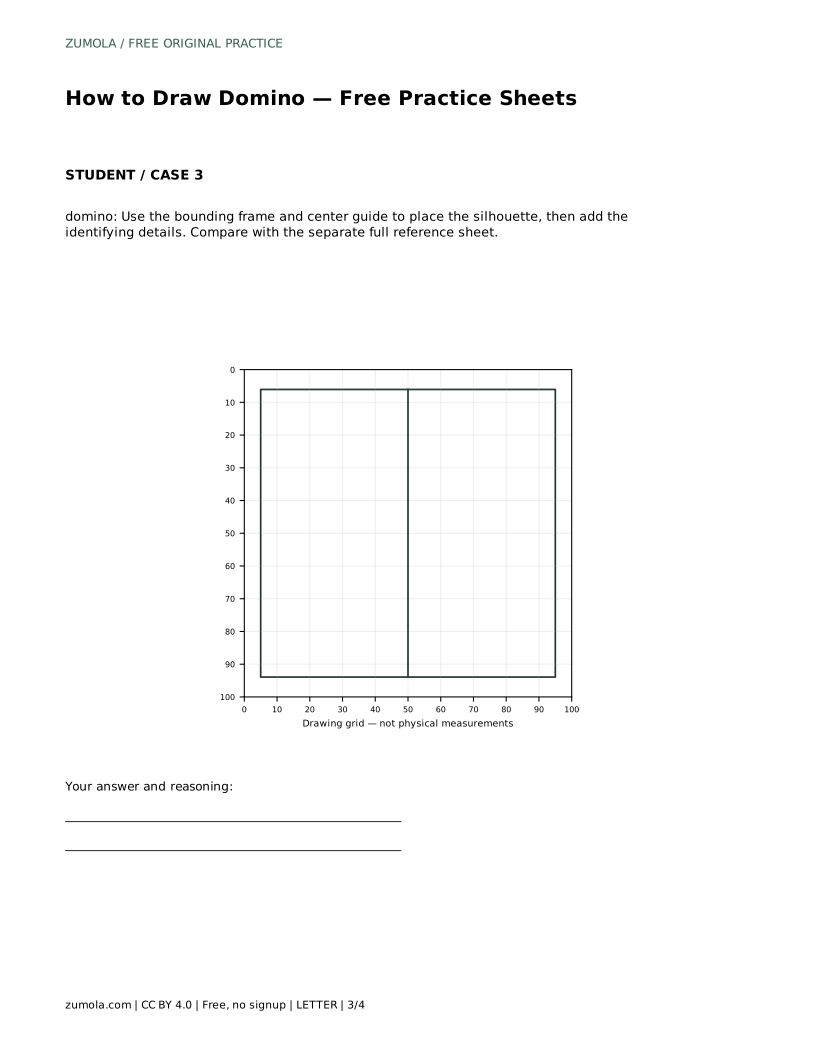
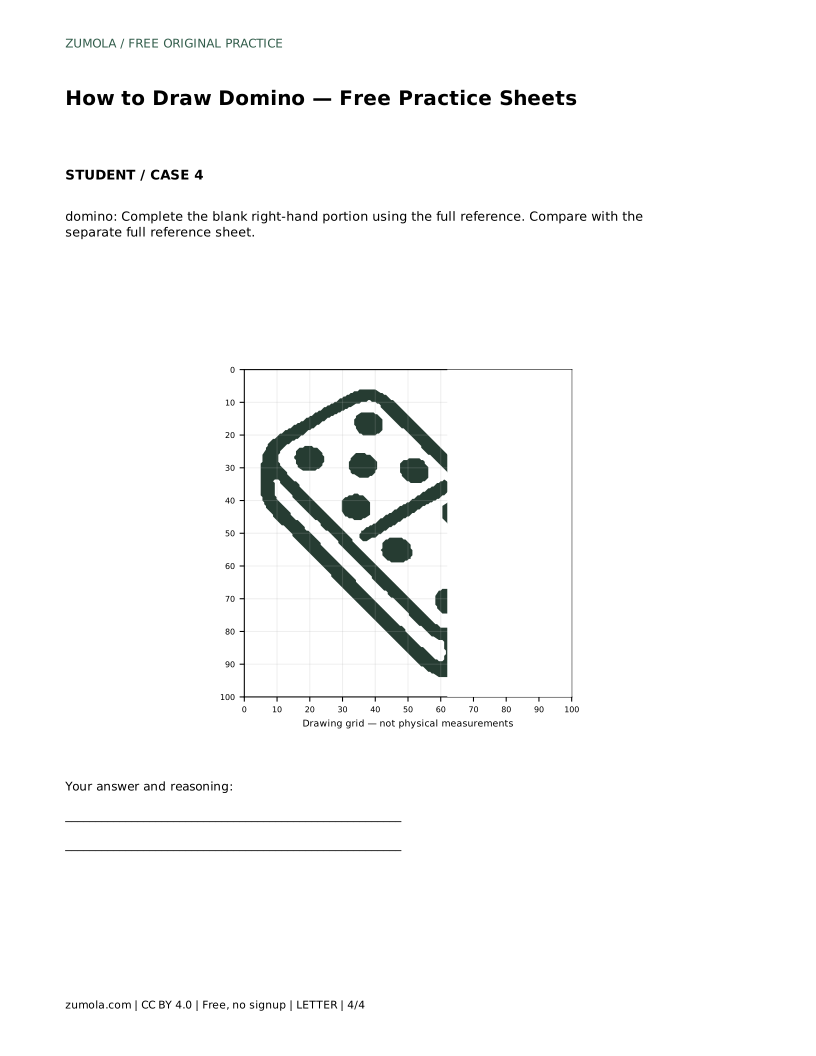
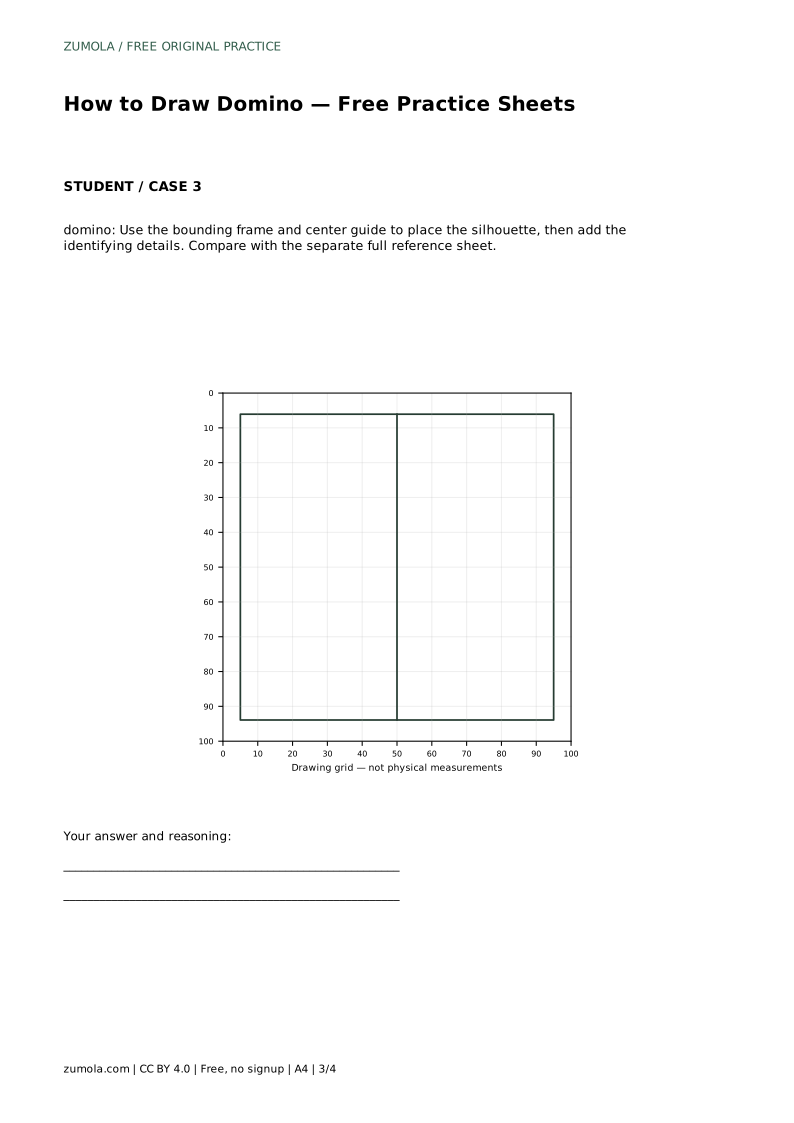
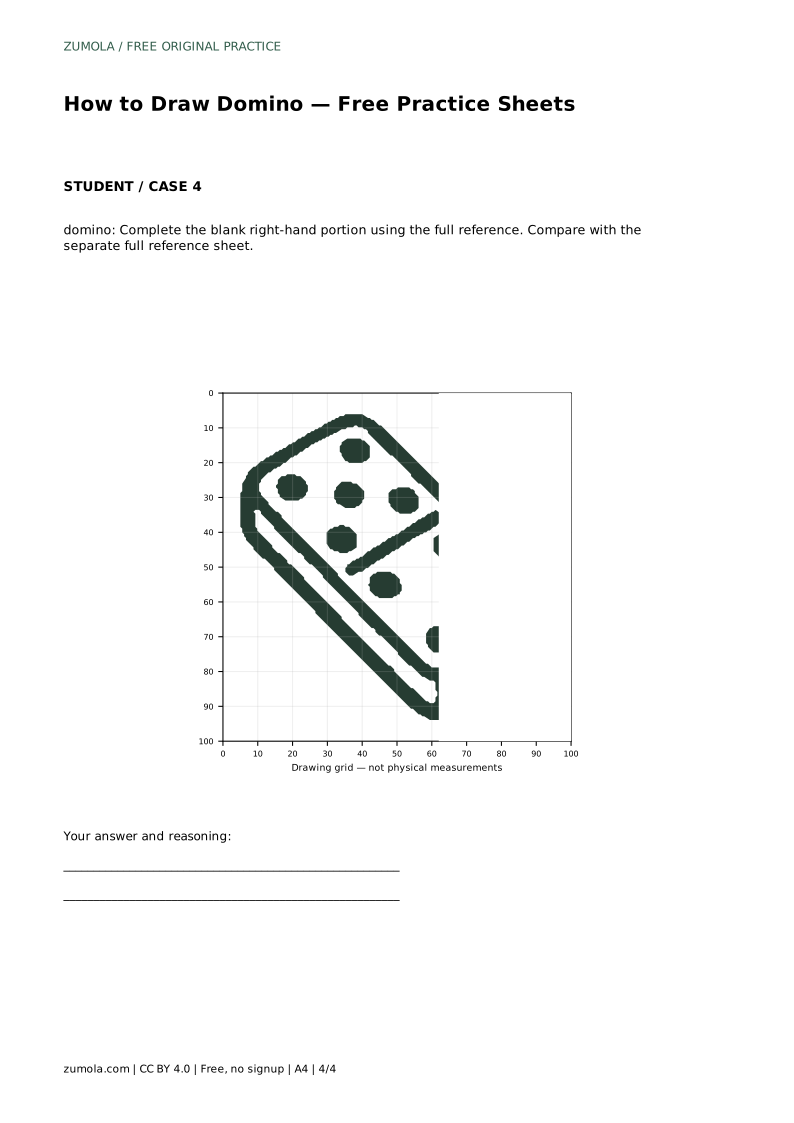
A bounding frame and center guide help you position the silhouette before details go in. Use the frame to set the outer limits of the tile and the center guide to judge where the dividing line falls. A partial reference, where the right-hand portion is blank, asks you to complete the missing side using the full reference as a check. In every case, compare your finished drawing with the separate full reference sheet and assess visible features and proportions rather than pixel-perfect matching.
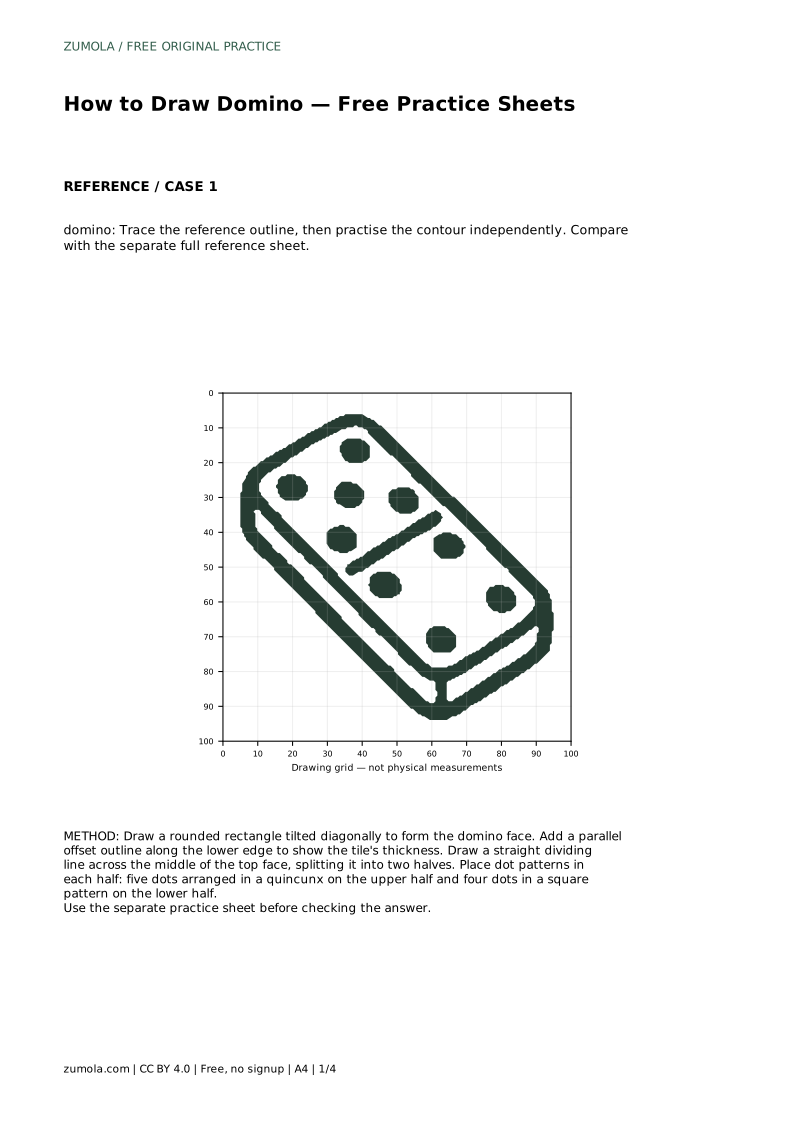
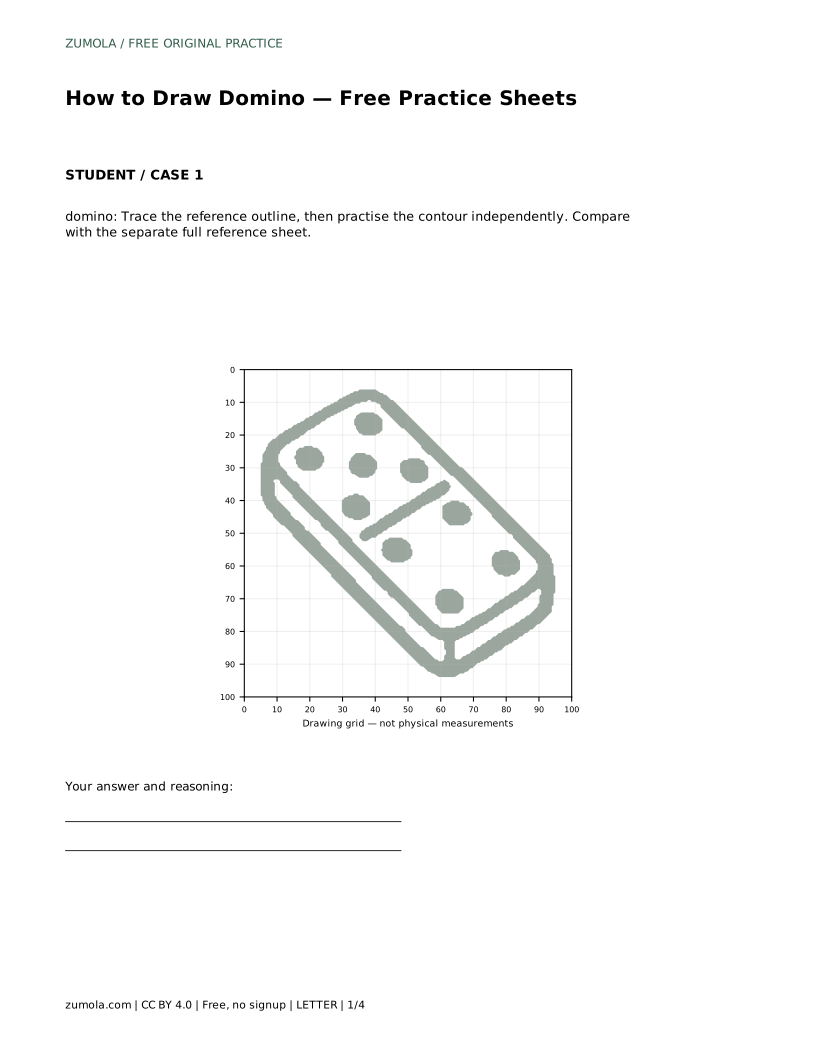
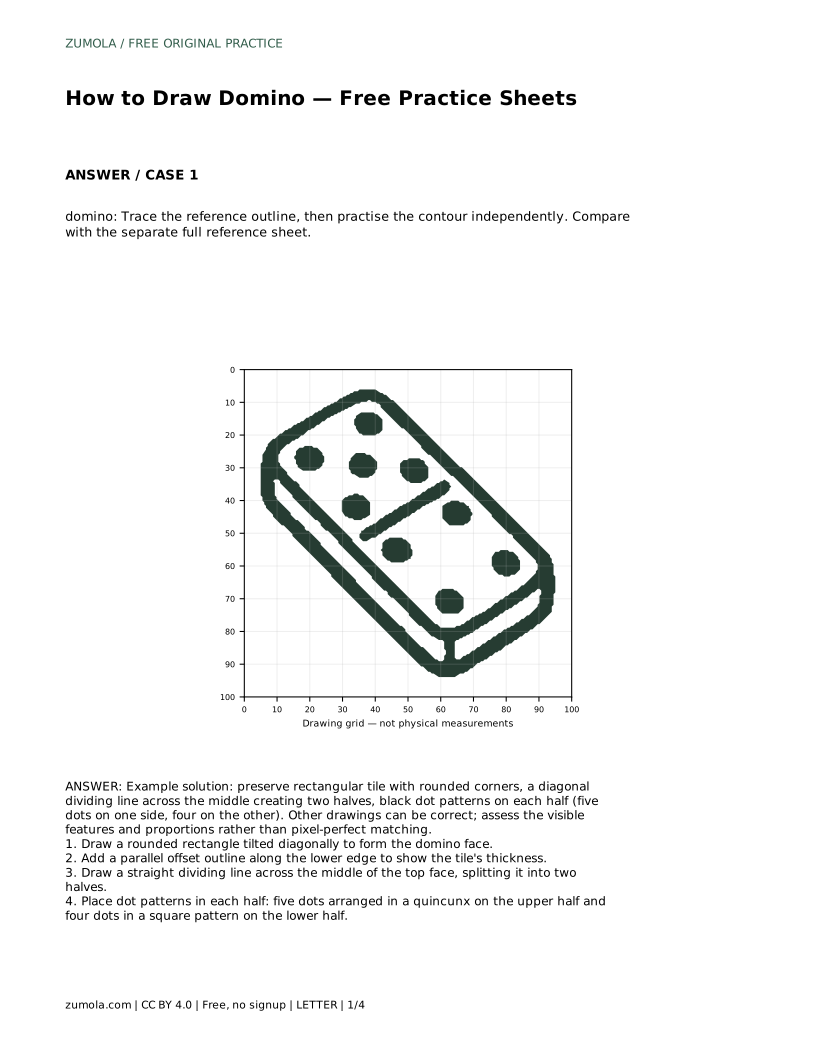
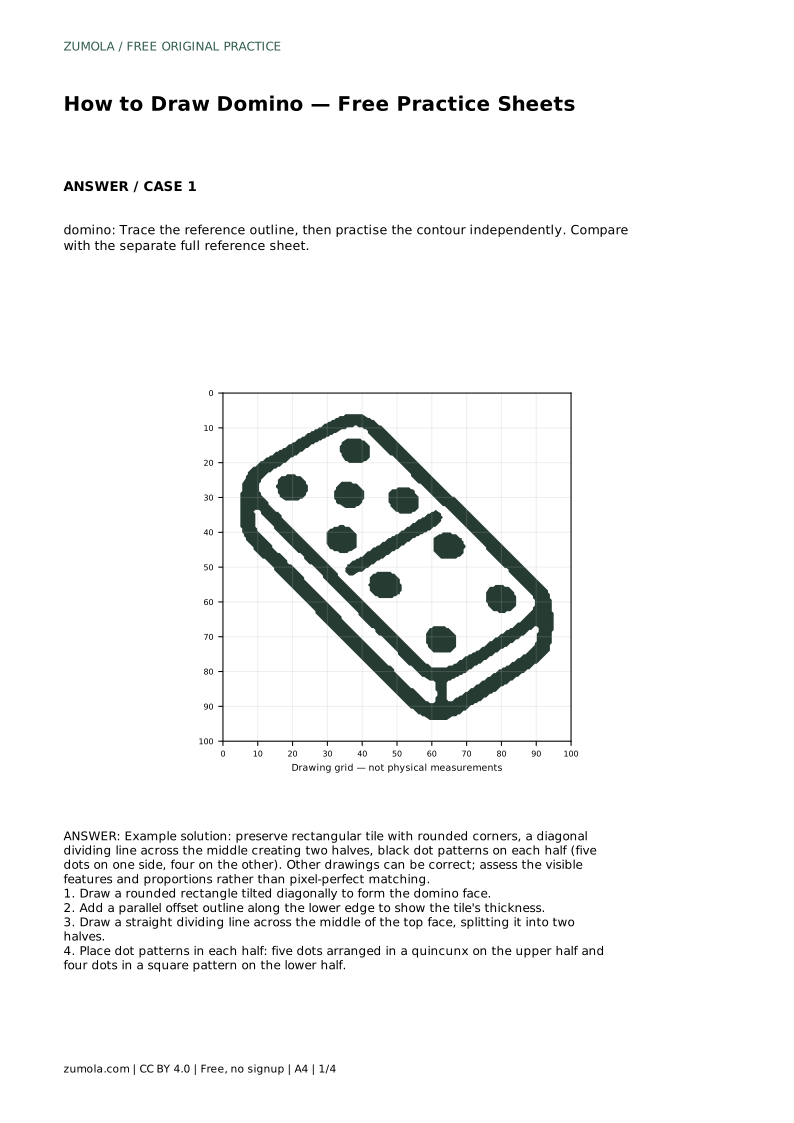
domino: Trace the reference outline, then practise the contour independently. Compare with the separate full reference sheet.
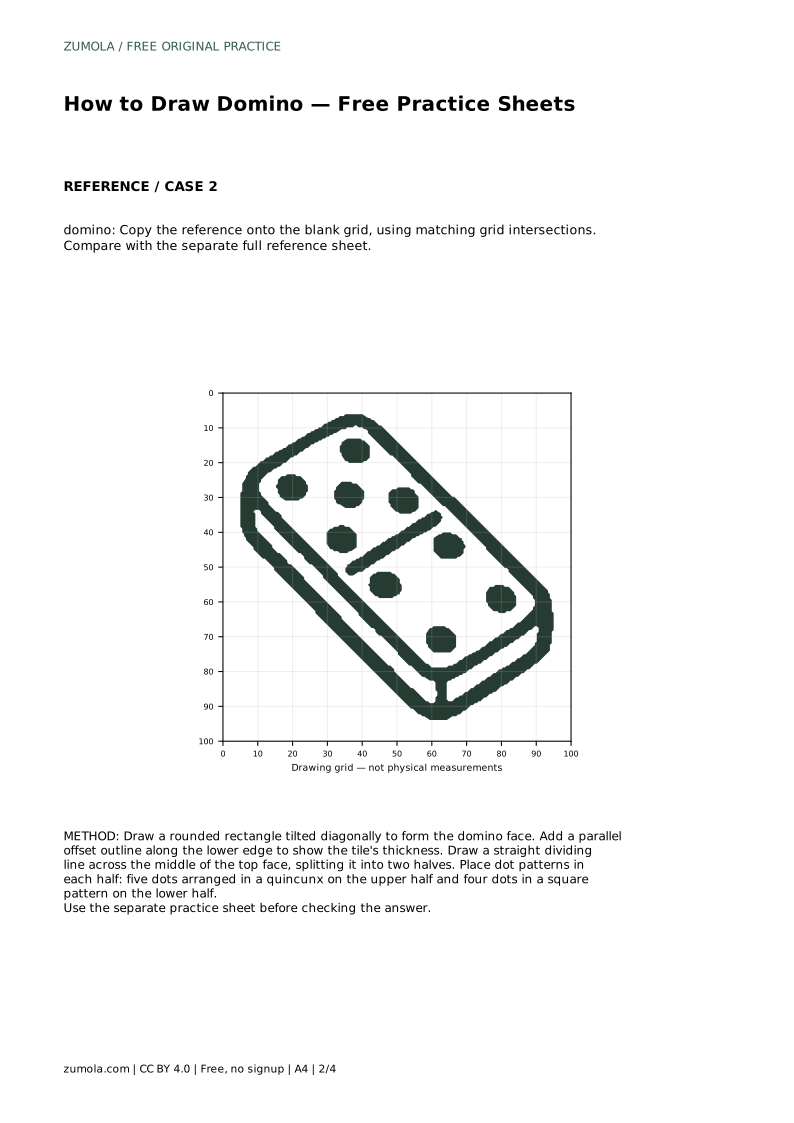
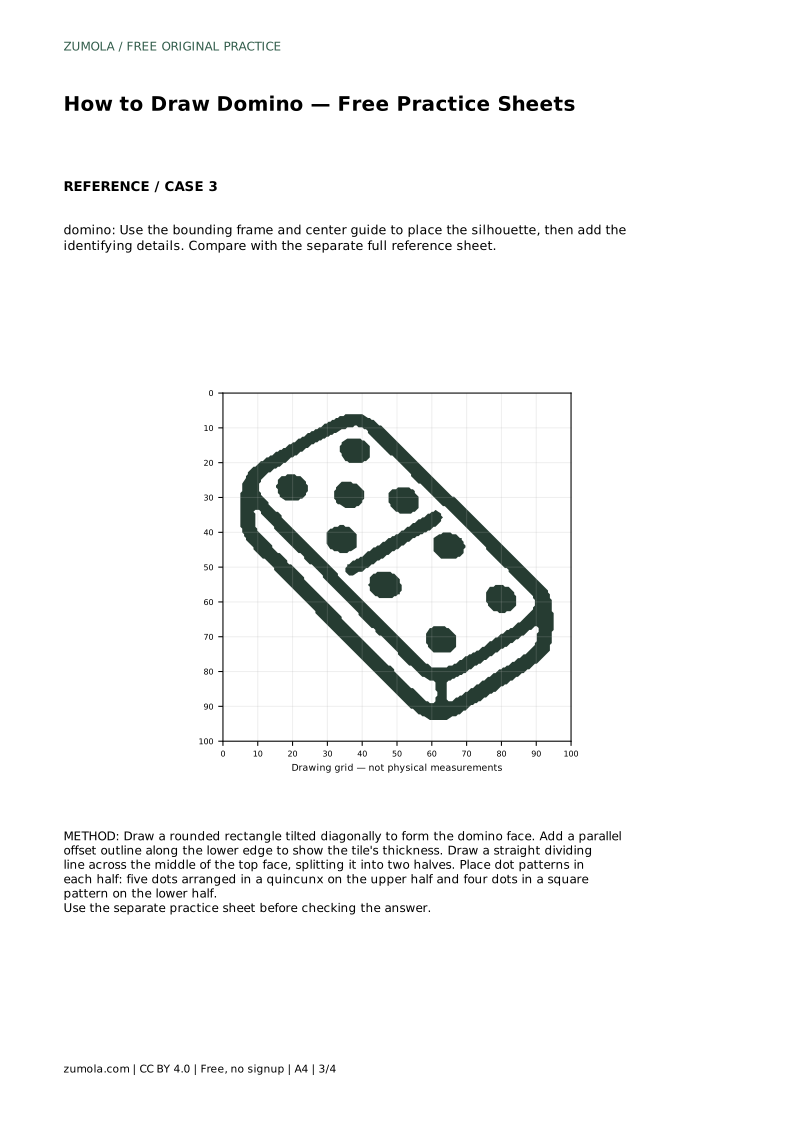
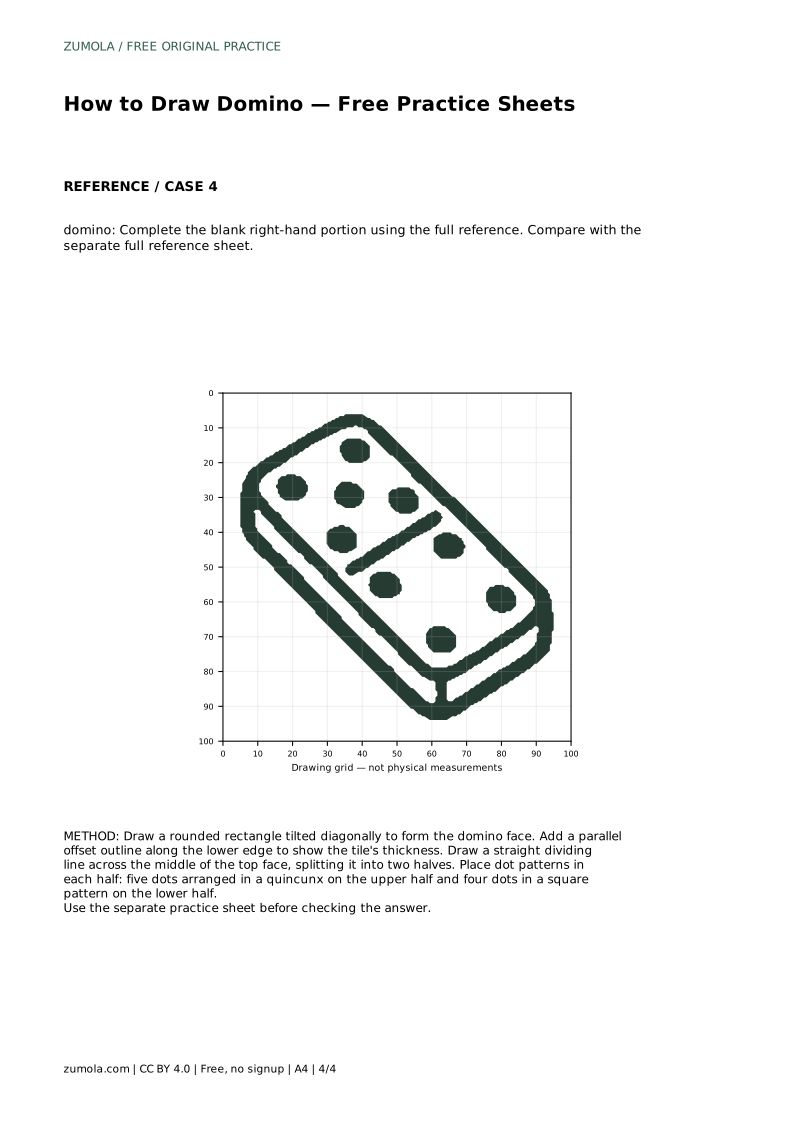
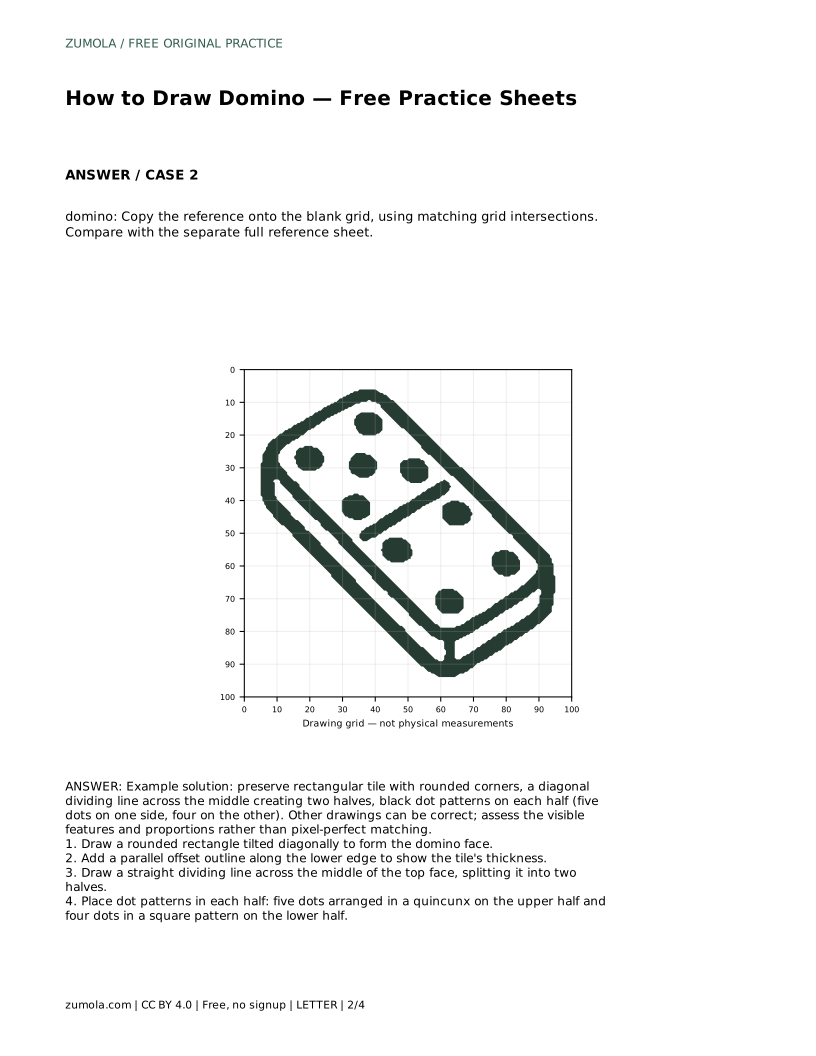
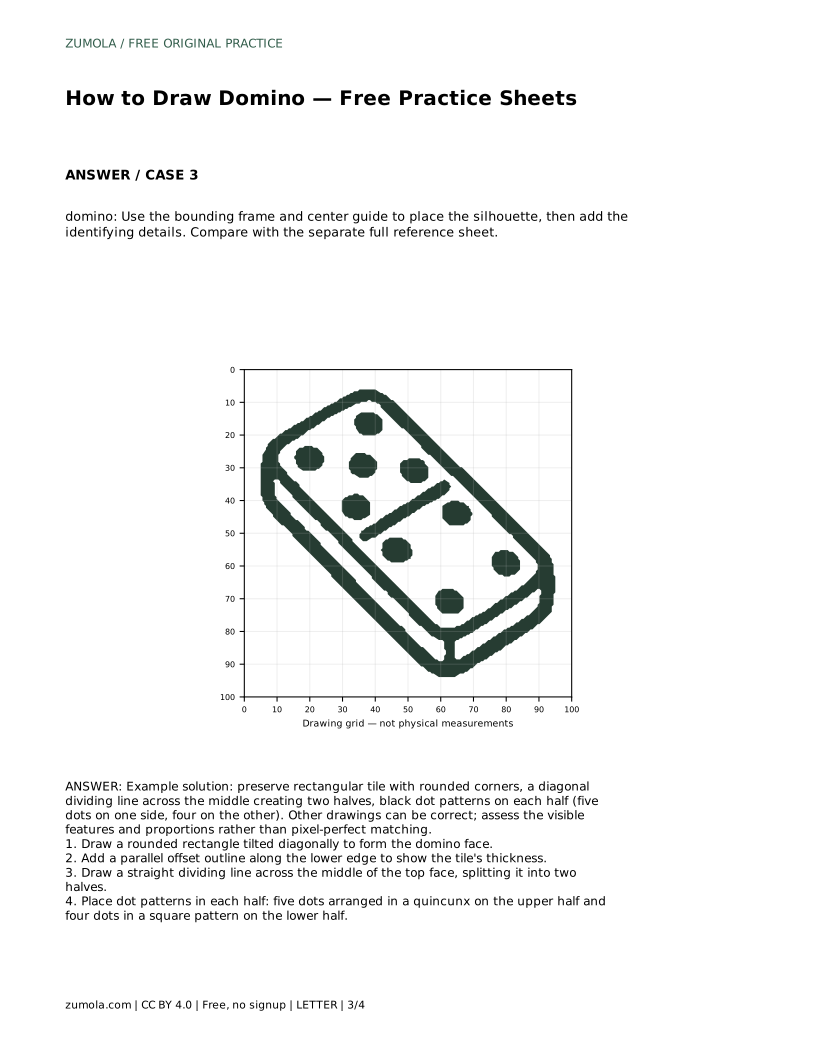
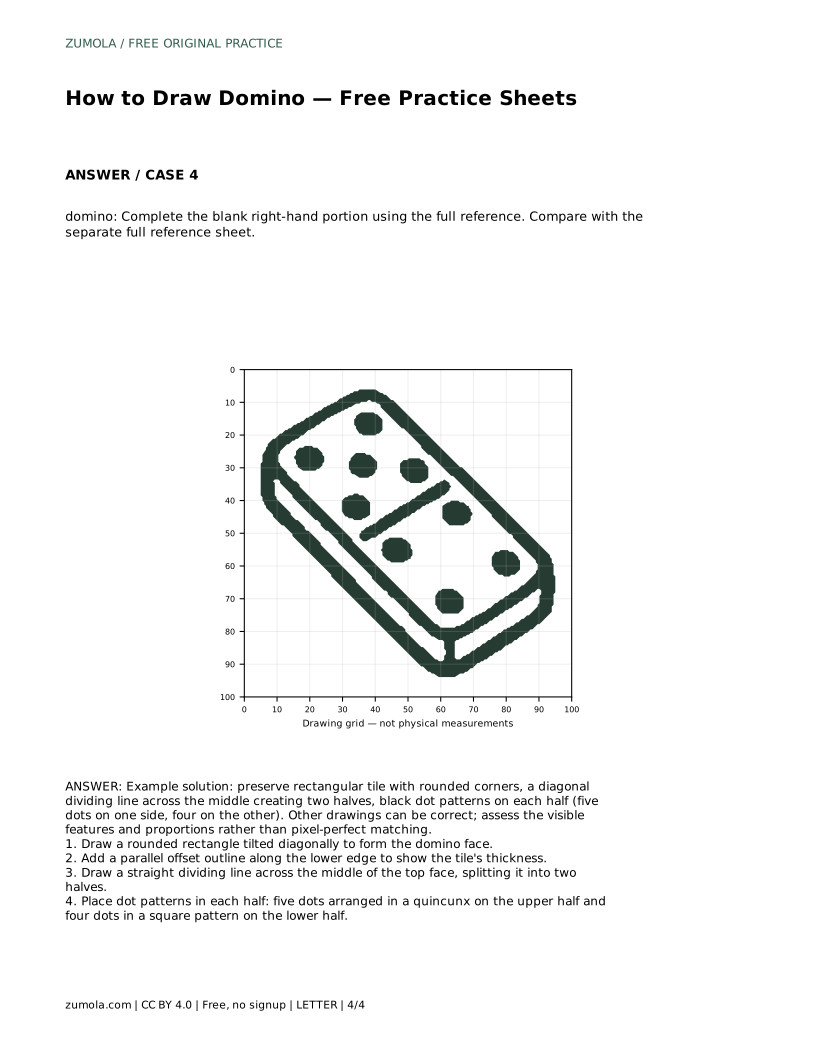
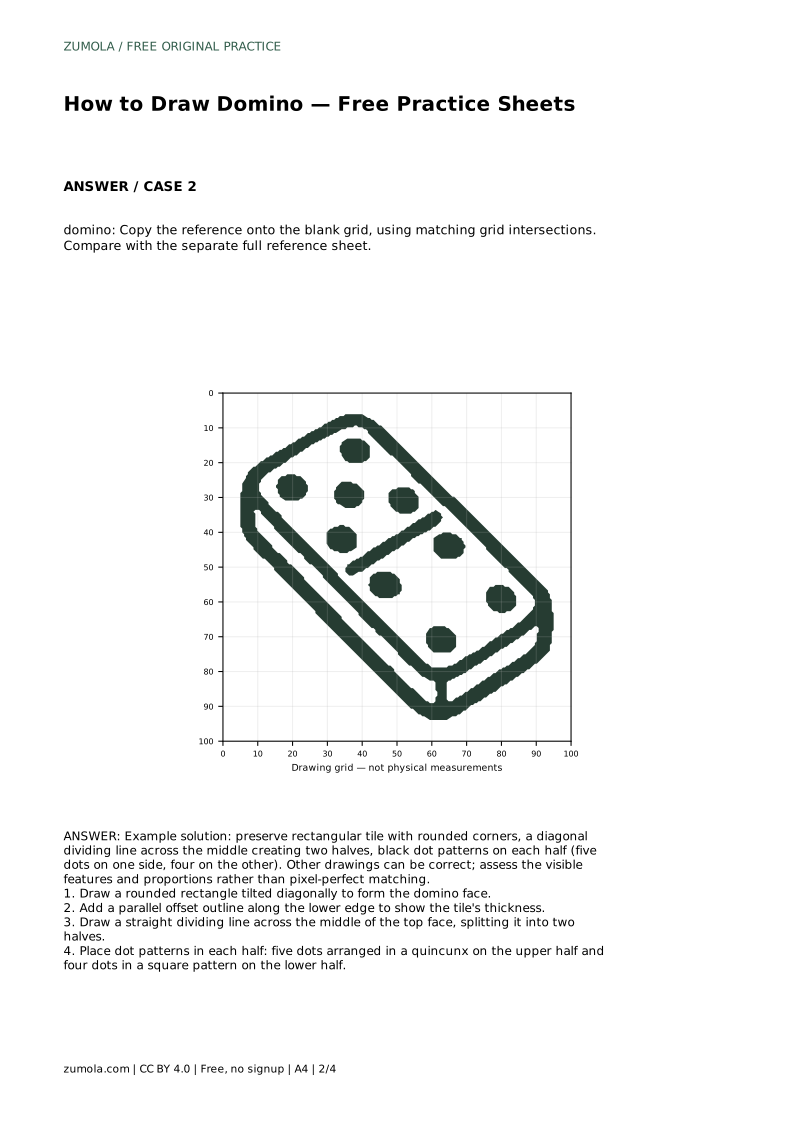
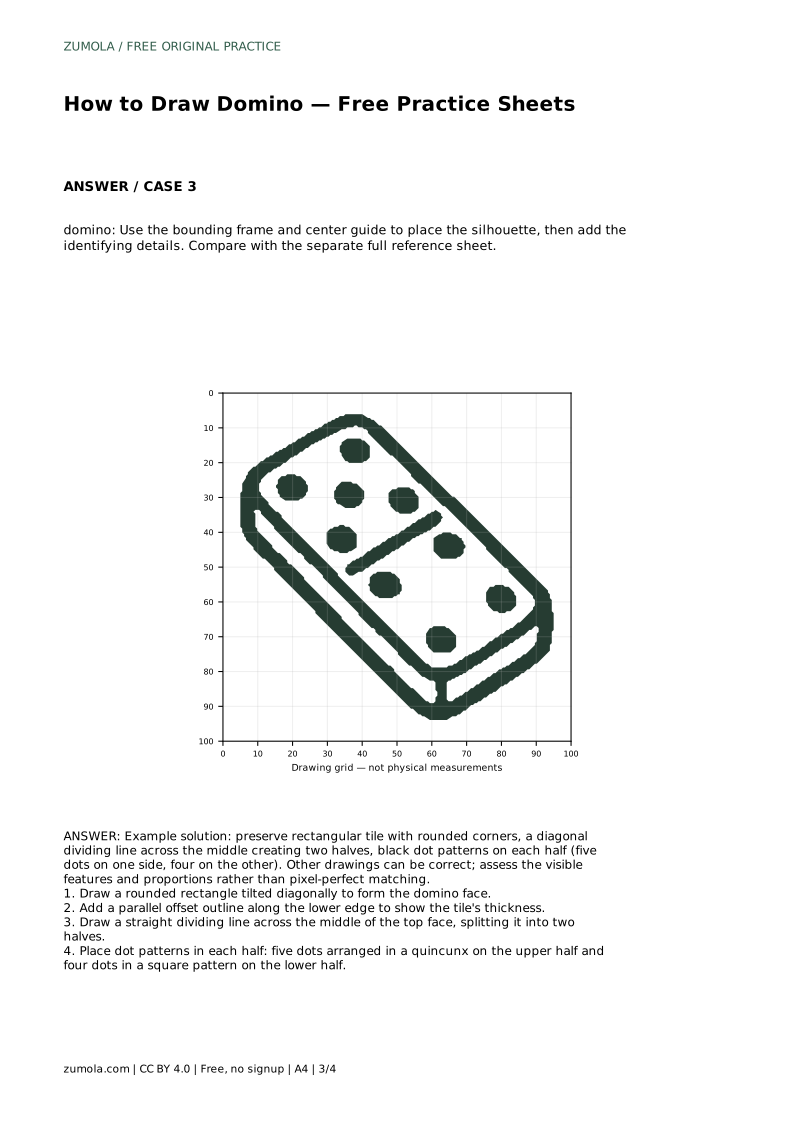
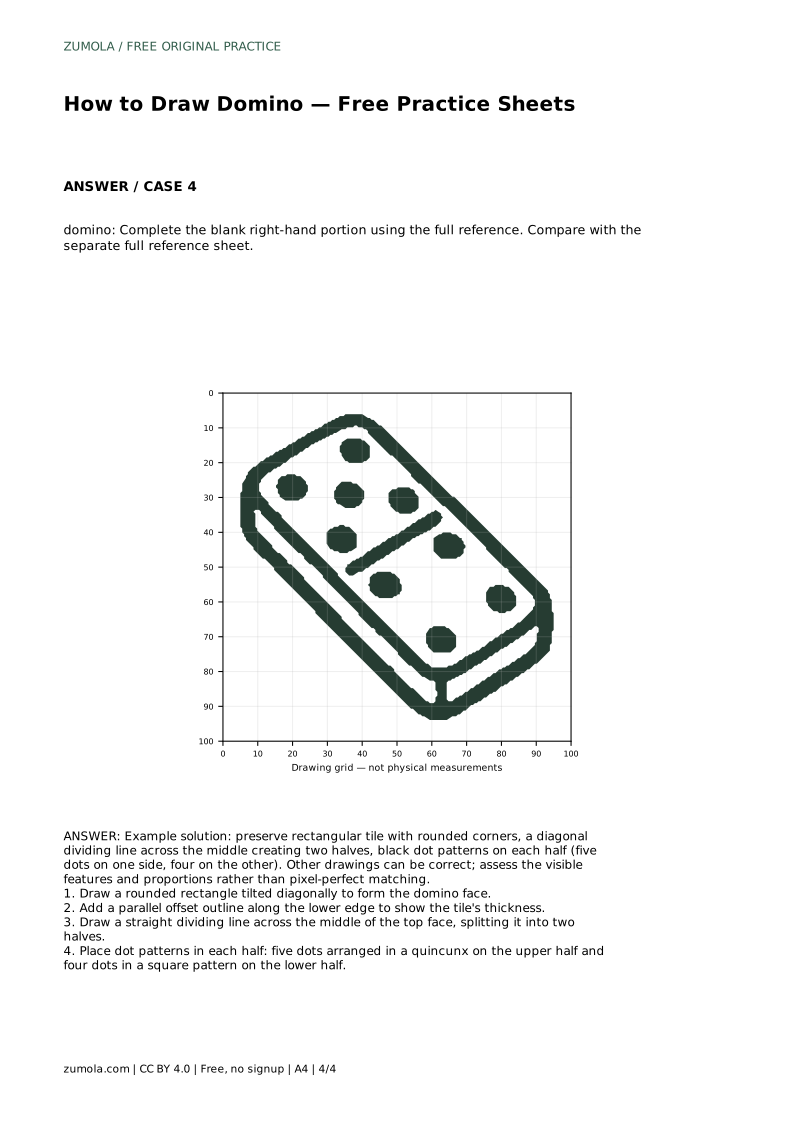
Example solution: preserve rectangular tile with rounded corners, a diagonal dividing line across the middle creating two halves, black dot patterns on each half (five dots on one side, four on the other). Other drawings can be correct; assess the visible features and proportions rather than pixel-perfect matching. Draw a rounded rectangle tilted diagonally to form the domino face. Add a parallel offset outline along the lower edge to show the tile's thickness. Draw a straight dividing line across the middle of the top face, splitting it into two halves. Place dot patterns in each half: five dots arranged in a quincunx on the upper half and four dots in a square pattern on the lower half.
No. A straight-on tile is also valid. The diagonal tilt is one common presentation, and the key features are the rounded rectangle, the dividing line, and the dot patterns.
Yes. Real dominoes include doubles. The example here uses five and four, but matching halves are a legitimate choice.
Compare visible features: rounded corners, parallel sides, an even thickness offset, a centered dividing line, and clearly patterned dots. Use the rubric criteria rather than expecting a single correct image.
All drawing practice · Free coordinate paper
Original resources · CC BY 4.0 · Free for personal and classroom use with attribution.