Reference diagrams
LETTER · Download PDF
A4 · Download PDF
Free original resources
Learn to draw a high heel by building the pointed toe, curved arch, heel counter, and thin heel in order, then check proportions with a clear rubric.
Four original cases, with reference diagrams, practice sheets and worked answers. Everything is free; no signup required.
LETTER · Download PDF
A4 · Download PDF
LETTER · Download PDF
A4 · Download PDF
LETTER · Download PDF
A4 · Download PDF
Use A4 or US Letter to match your printer. Use the stated values and conditions to solve each exercise; diagrams are not physical measuring rulers.
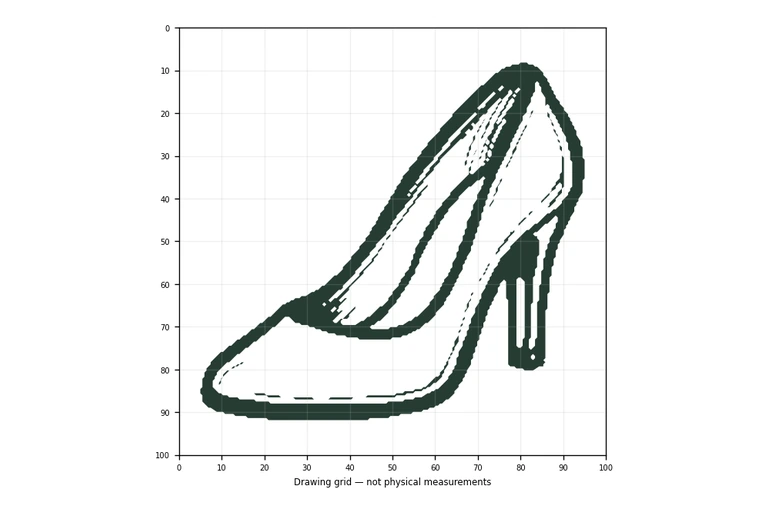
A drawing of a high heel depends on a few connected shapes: a pointed toe, a sole line that rises into a curved arch, a heel counter at the back, and a thin heel descending to the ground. This guide teaches a reliable order for constructing those parts and explains how to use trace, grid, frame, and partial-reference practice sheets. Because shoes can be drawn in many valid styles, you will judge your work by visible features and proportions rather than exact matching.
Start with the lowest line of the shoe, because the sole and heel tip establish how the shoe sits on an imaginary ground line. Draw a pointed toe first, then continue the sole line backward. Let that line rise into the arch instead of running flat; the arch is the upward curve under the middle of the shoe. At the back, close the upper with a heel counter, the curved cup that holds the heel of the foot. Finally, draw the thin heel downward from the back of the shoe to the ground.
Keep the heel and the toe related. A very long pointed toe usually needs a slender heel to look balanced, while a shorter toe can carry a slightly thicker heel. These are drawing choices, not rules about real footwear. The important thing is that the sole, arch, and heel read as one continuous support structure.
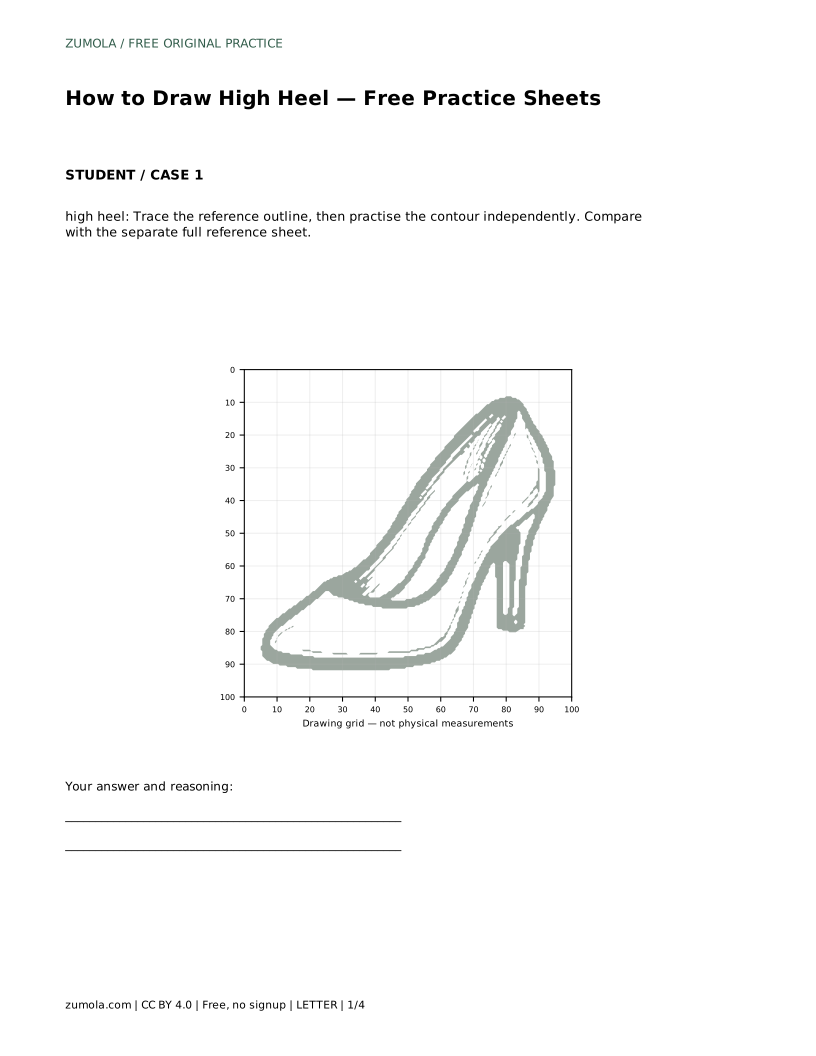
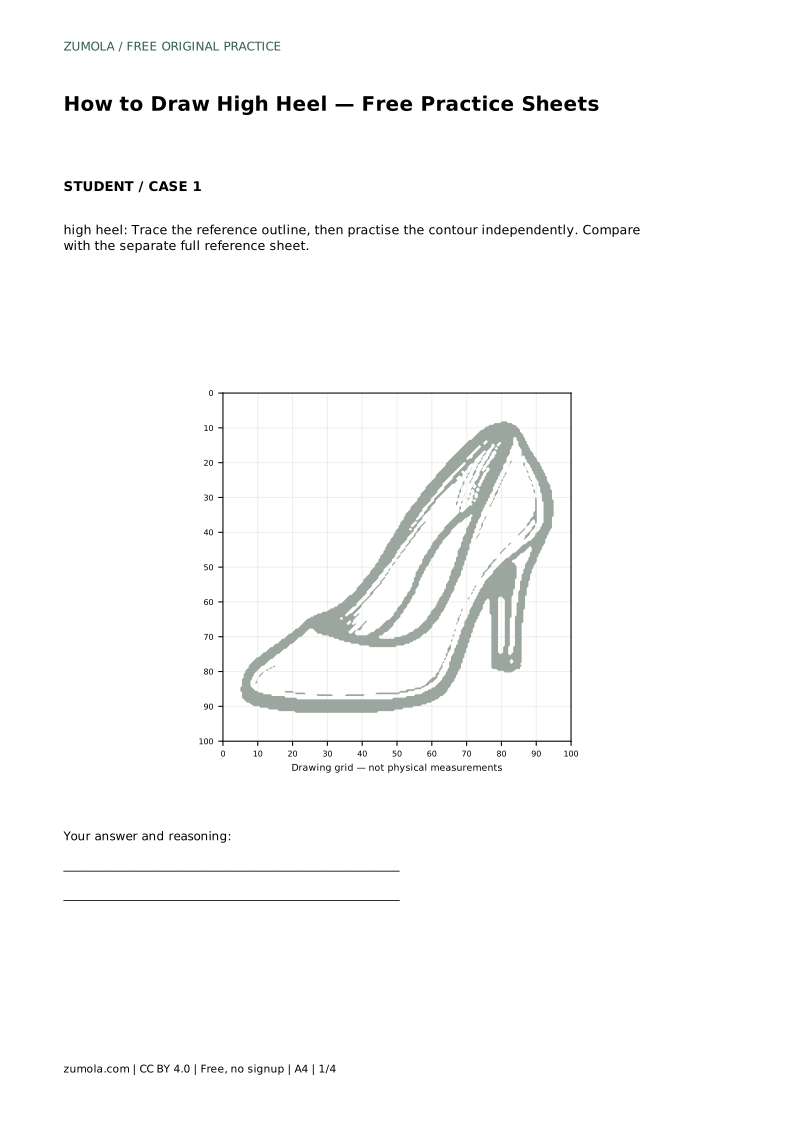
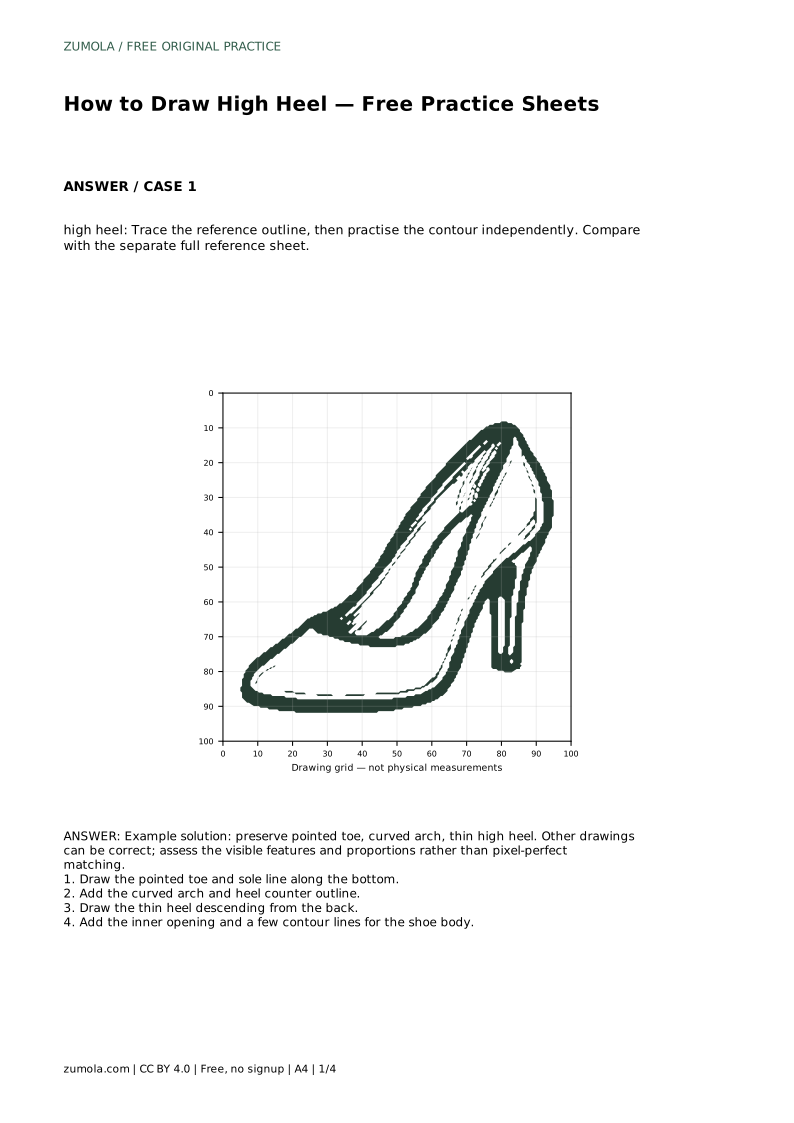
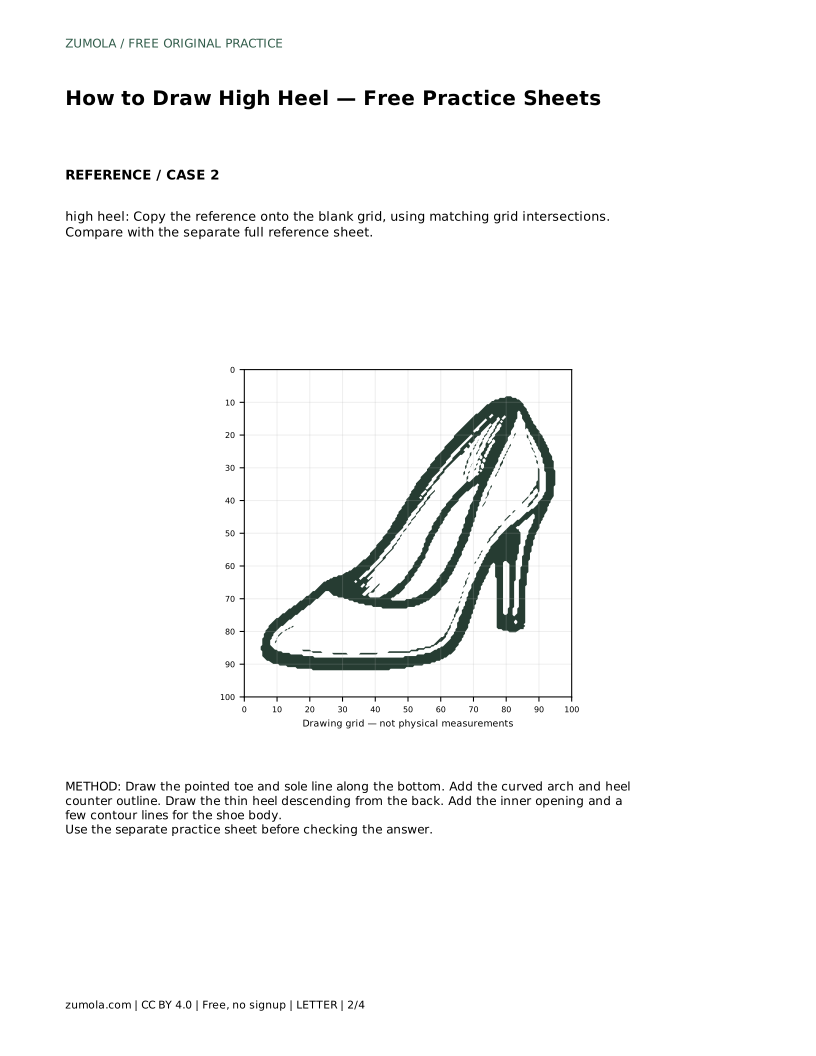
The trace sheet asks you to follow the reference outline first, then repeat the contour independently on the same page. Tracing teaches the sequence of the shape; the independent repeat shows whether you can reproduce it without guidance. Compare your free drawing with the separate full reference sheet, not with your traced line, so you notice where your hand changed the proportions.
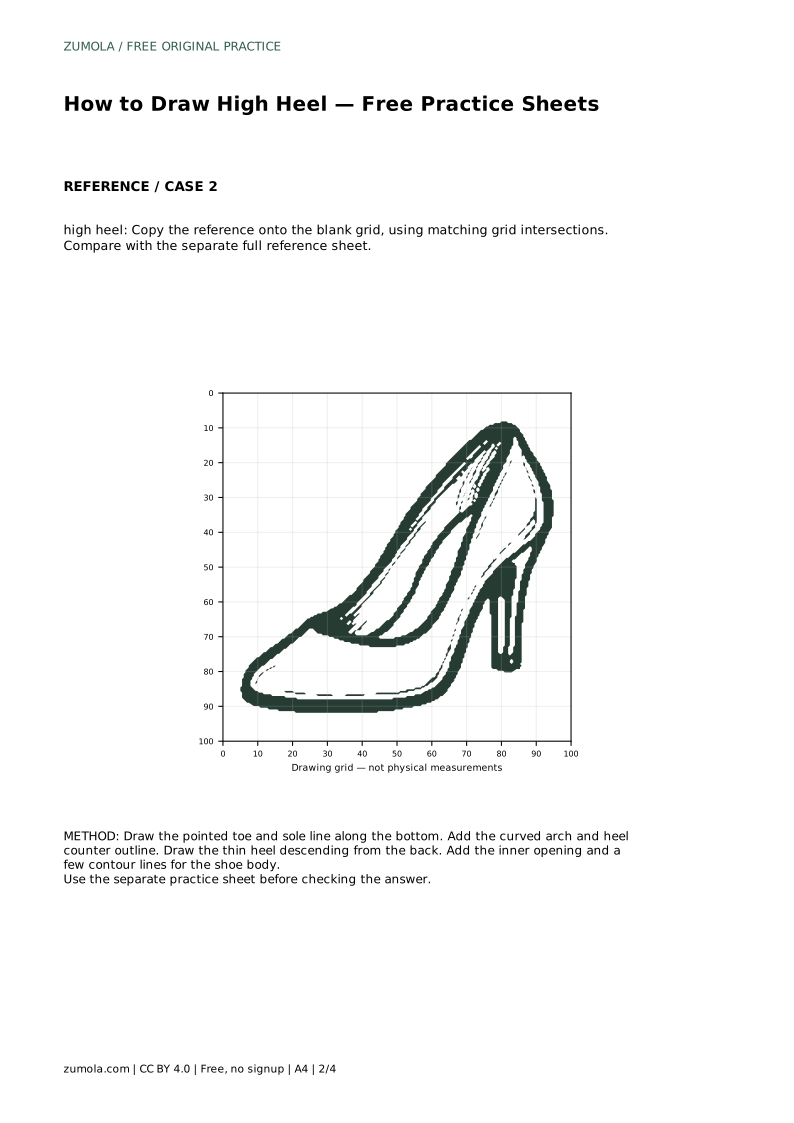
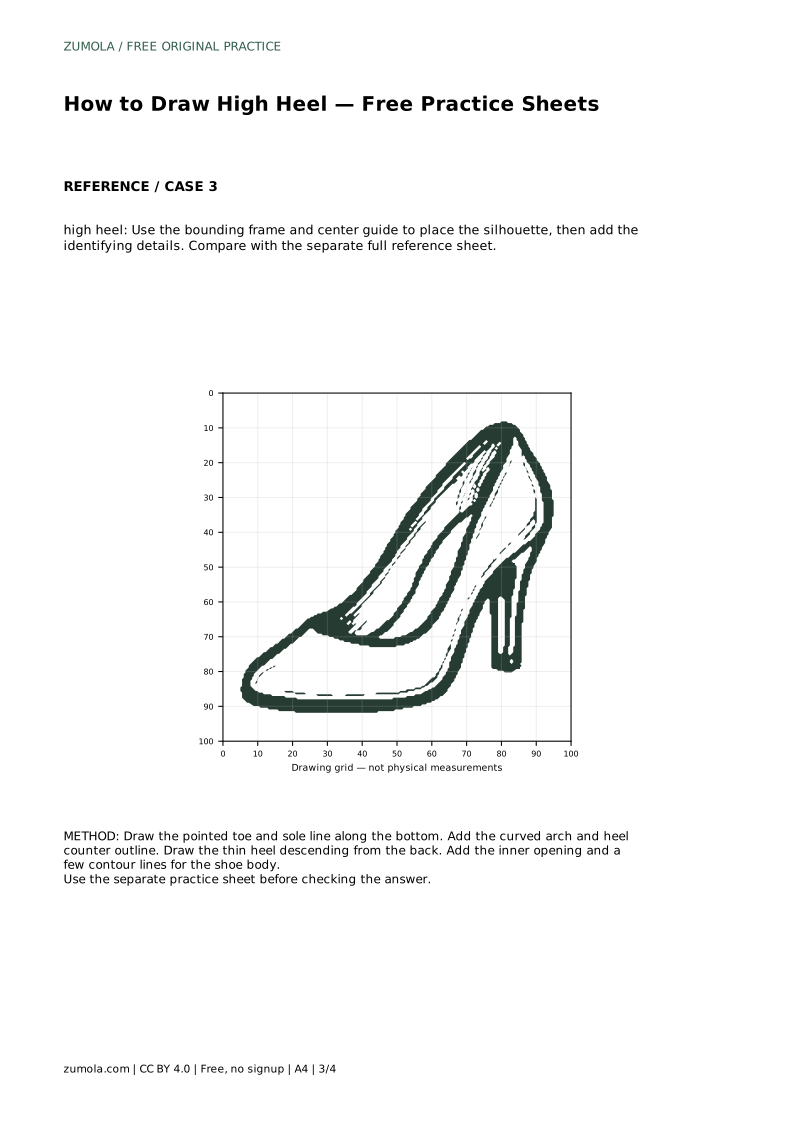
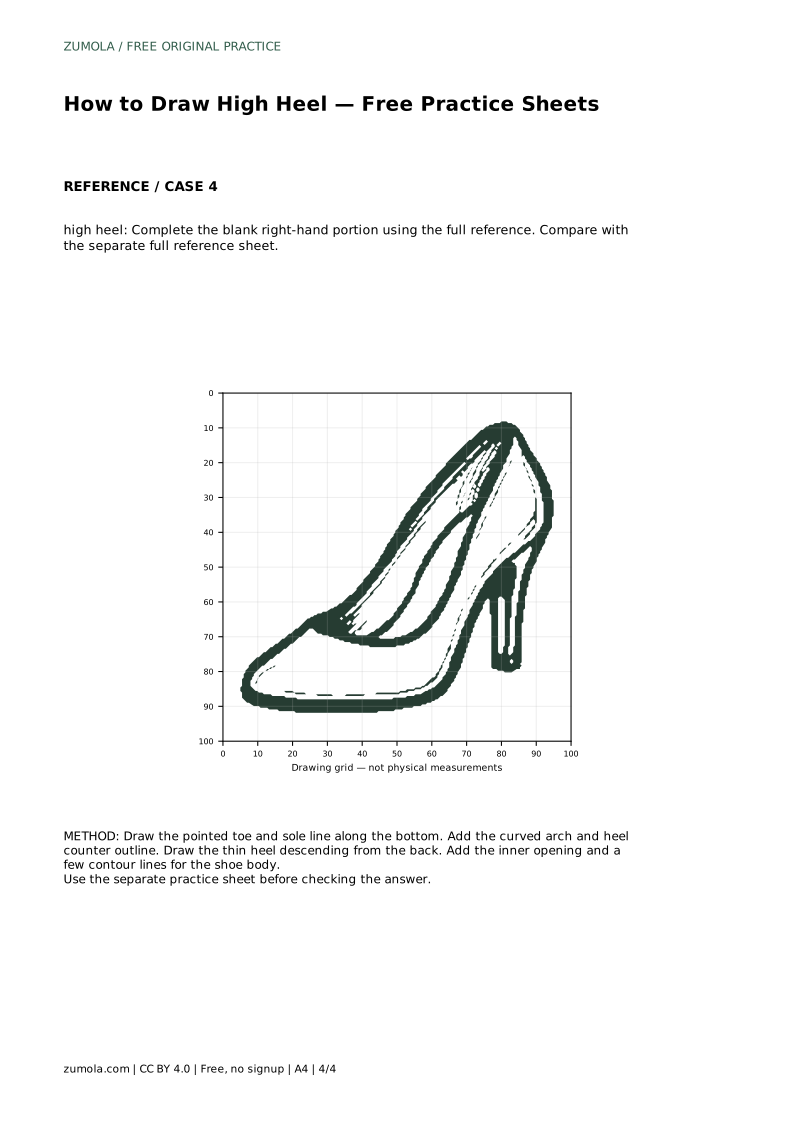
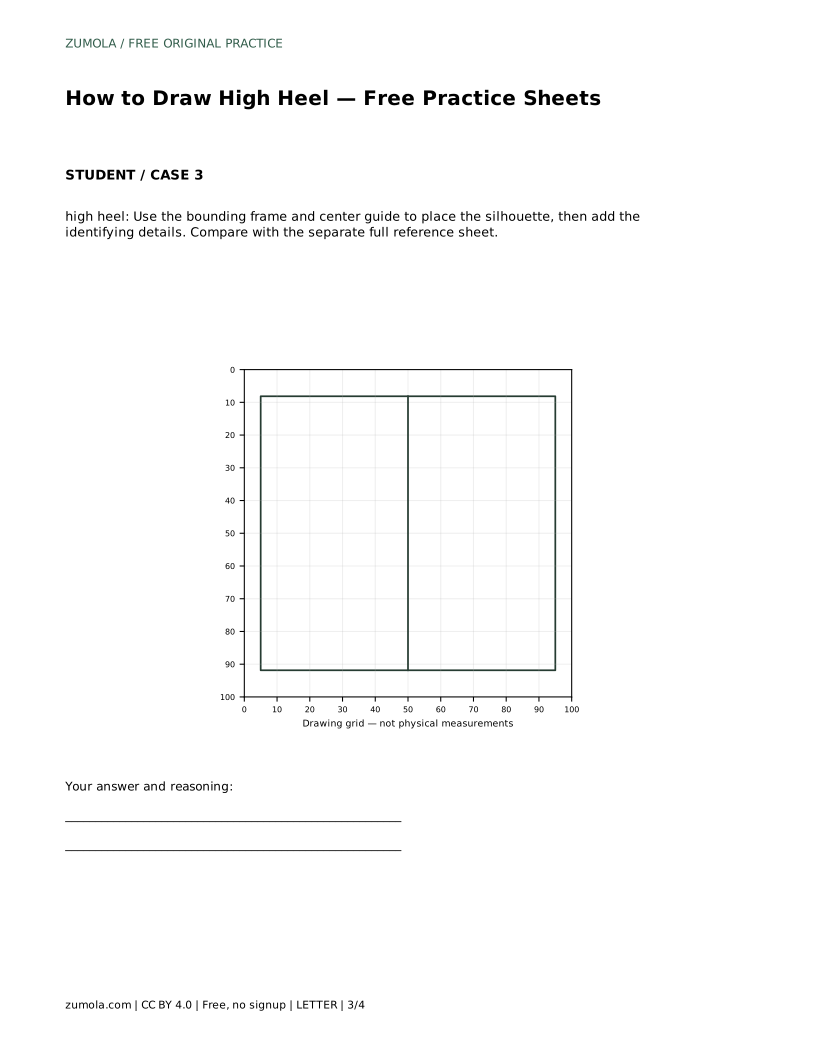
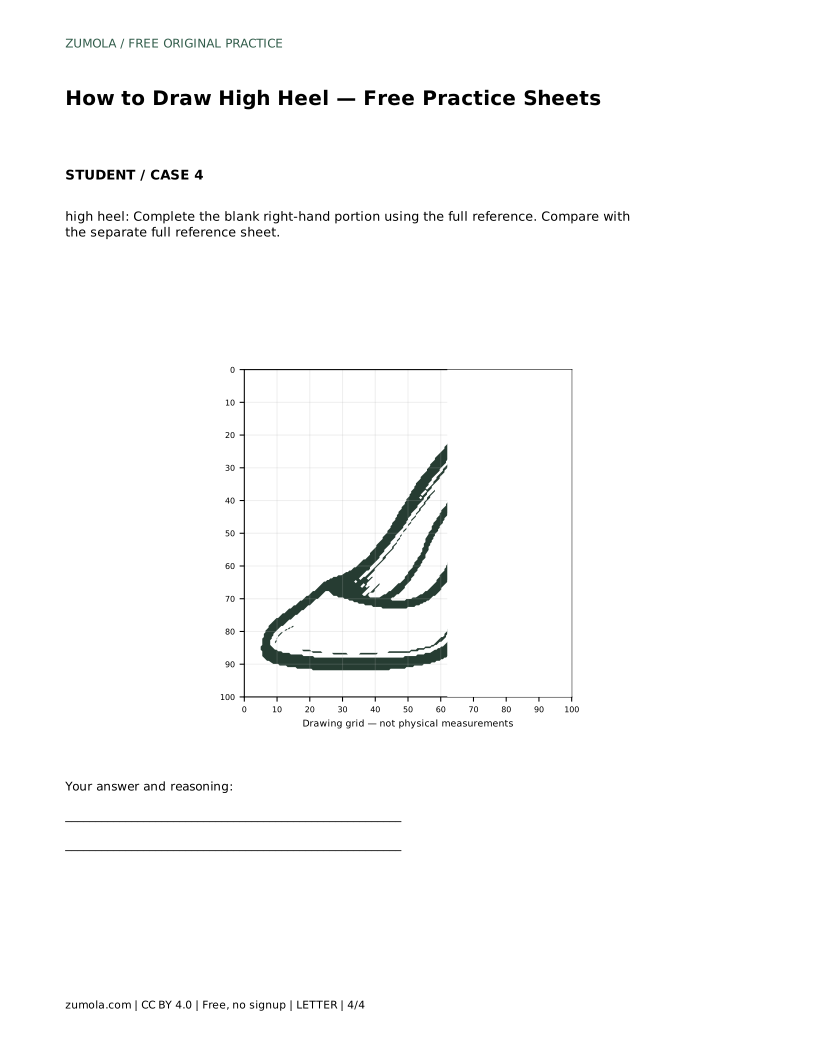
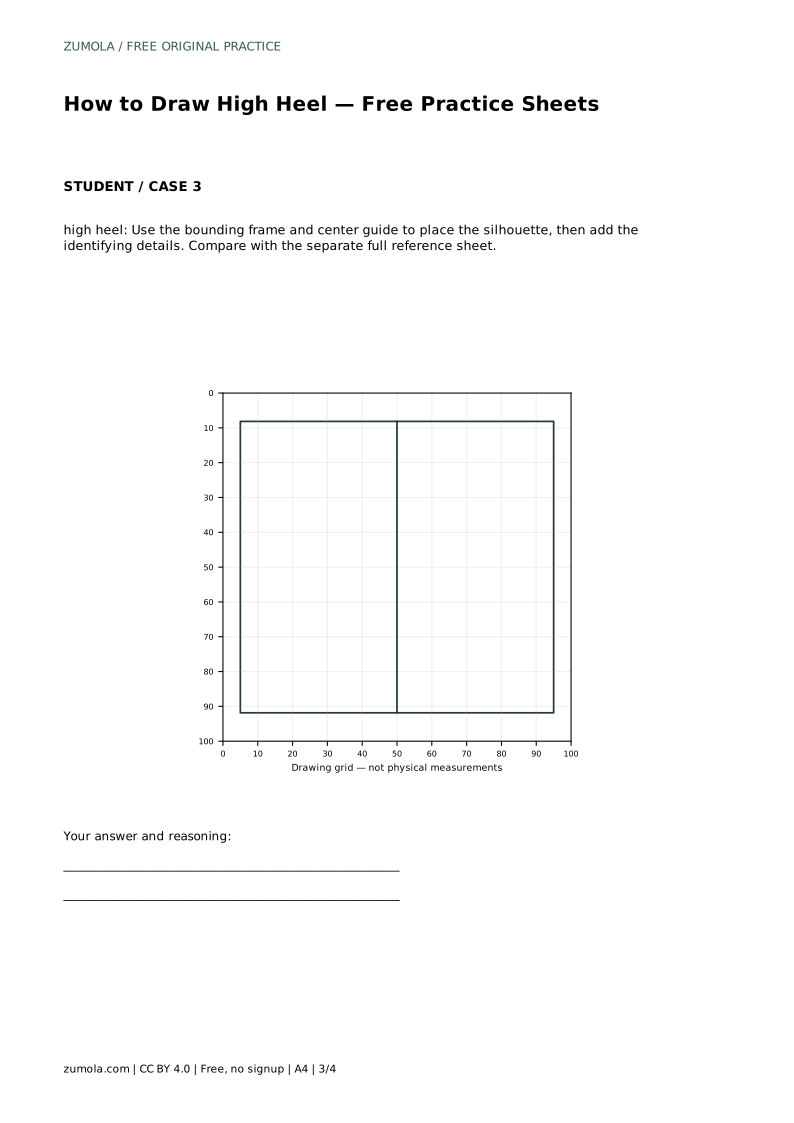
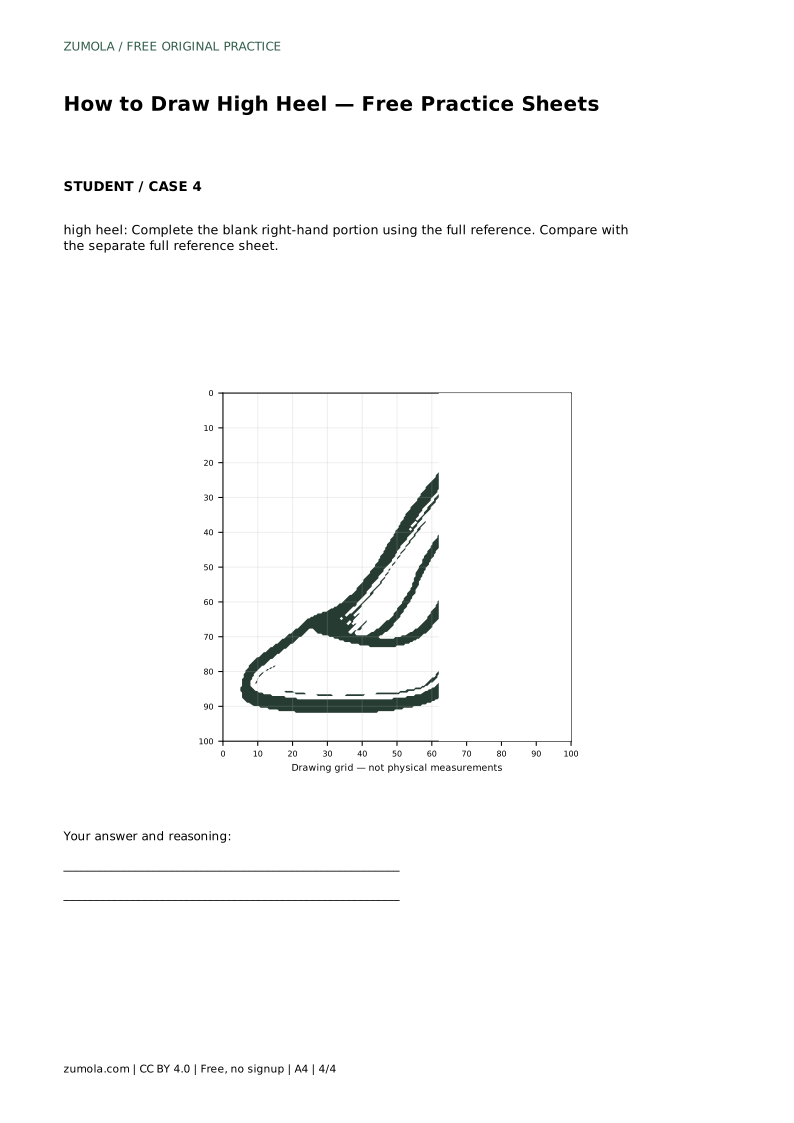
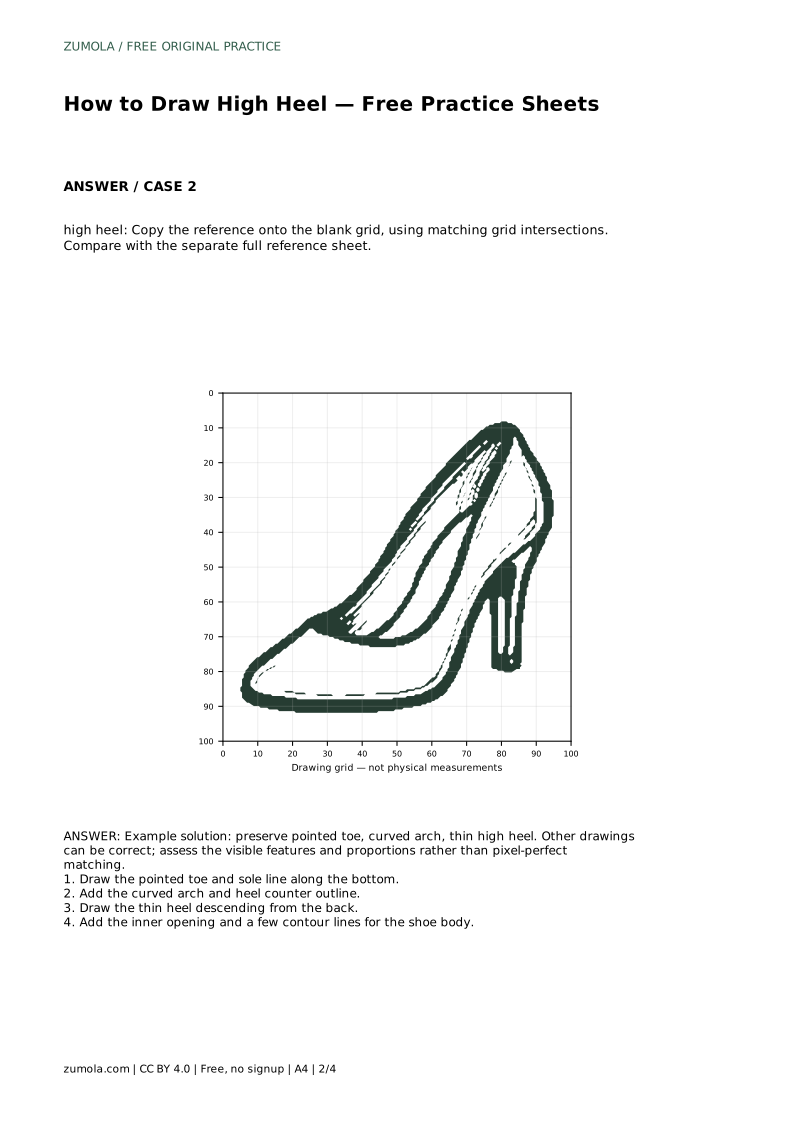
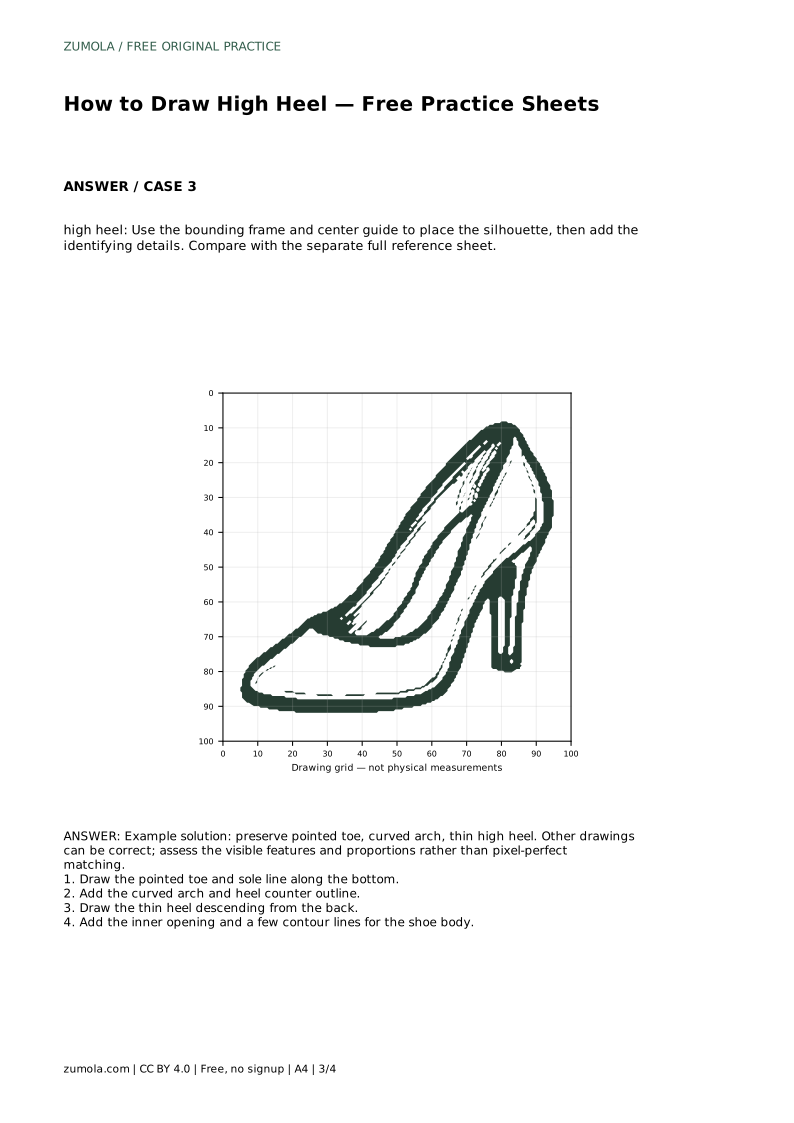
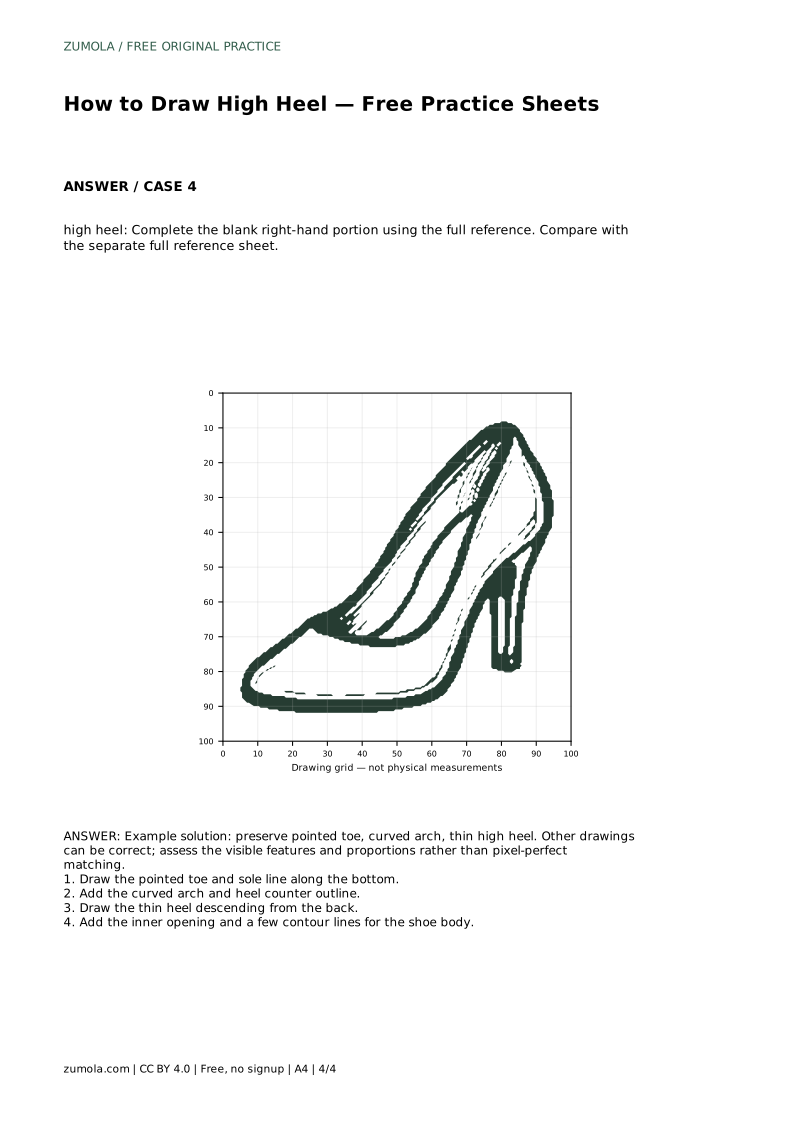
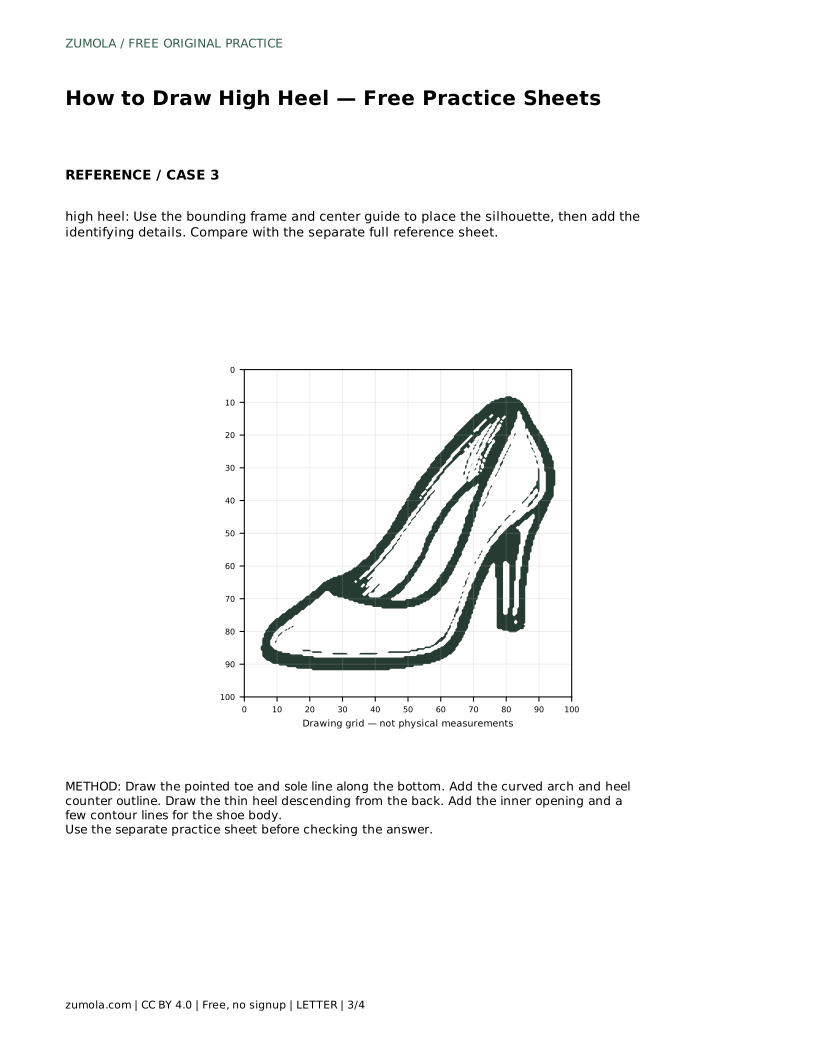
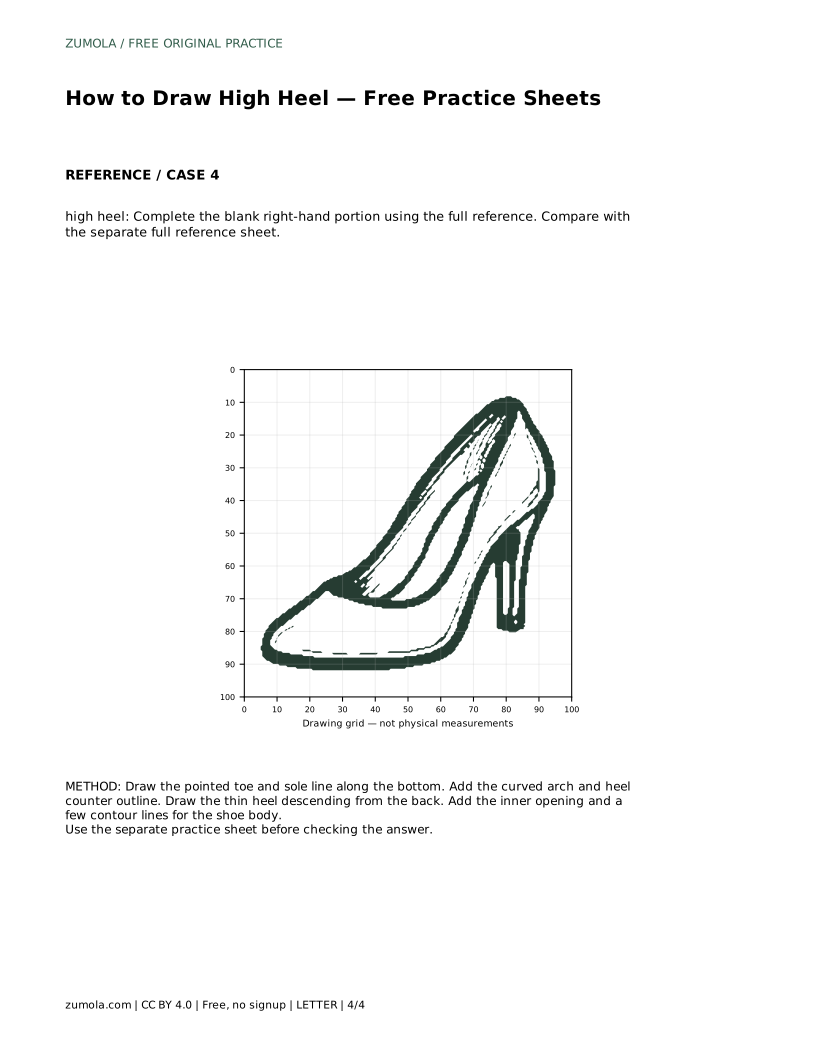
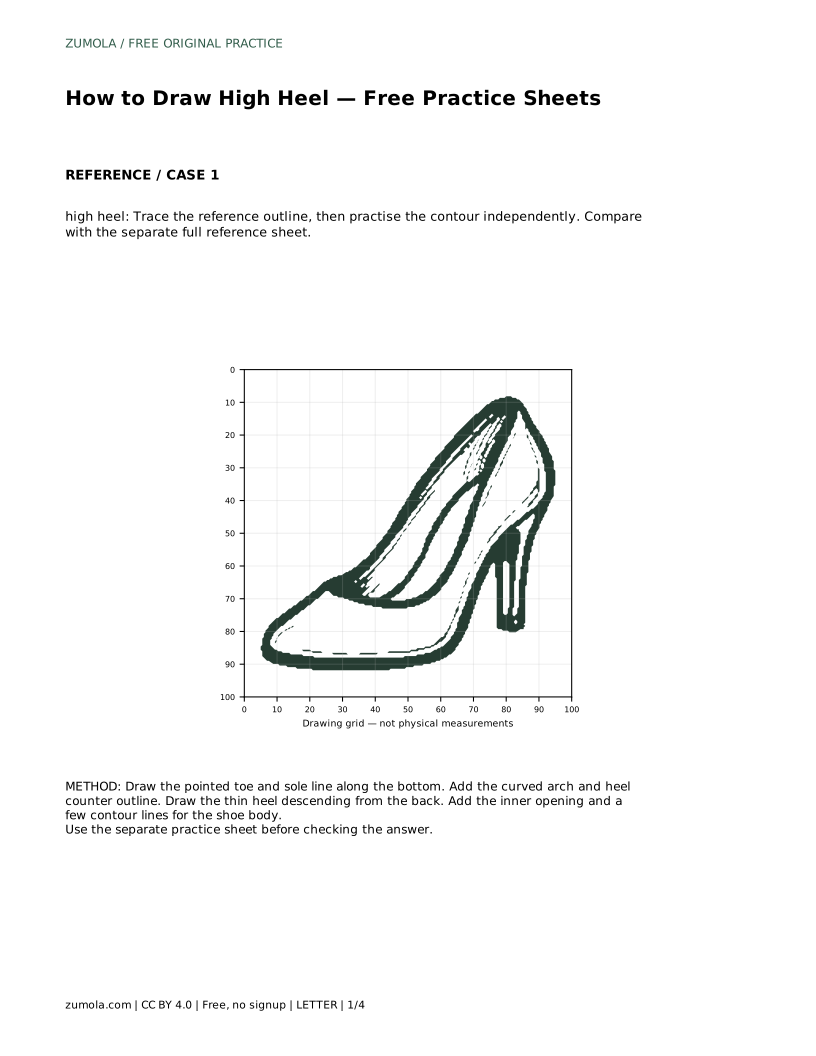
The grid sheet works differently. Copy the reference onto the blank grid by matching where the outline crosses grid intersections. Treat each intersection as a checkpoint: the toe tip, the highest point of the arch, the top of the heel counter, and the heel tip should land in corresponding places. The bounding-frame sheet gives you an outer box and a center guide, so place the silhouette inside that frame before adding details. The partial-reference sheet supplies one side of the drawing and asks you to complete the blank portion using the full reference.
A high heel drawing is not a single correct answer. Two drawings can both be successful with different toe lengths, arch heights, or heel thicknesses. What matters is whether the identifying features are present and whether the parts relate sensibly. Use the rubric below to assess your own sheet, and write one specific note about the part that changed most between your traced and independent attempts.
Most problems come from drawing the heel before the sole, which makes the heel look attached to nothing. Draw the sole and arch first, then hang the heel from the back. If the shoe looks unstable, check that the heel tip and the front of the sole share a believable ground line. If the arch looks flat, redraw the underside as a curve that lifts between the toe and the heel.
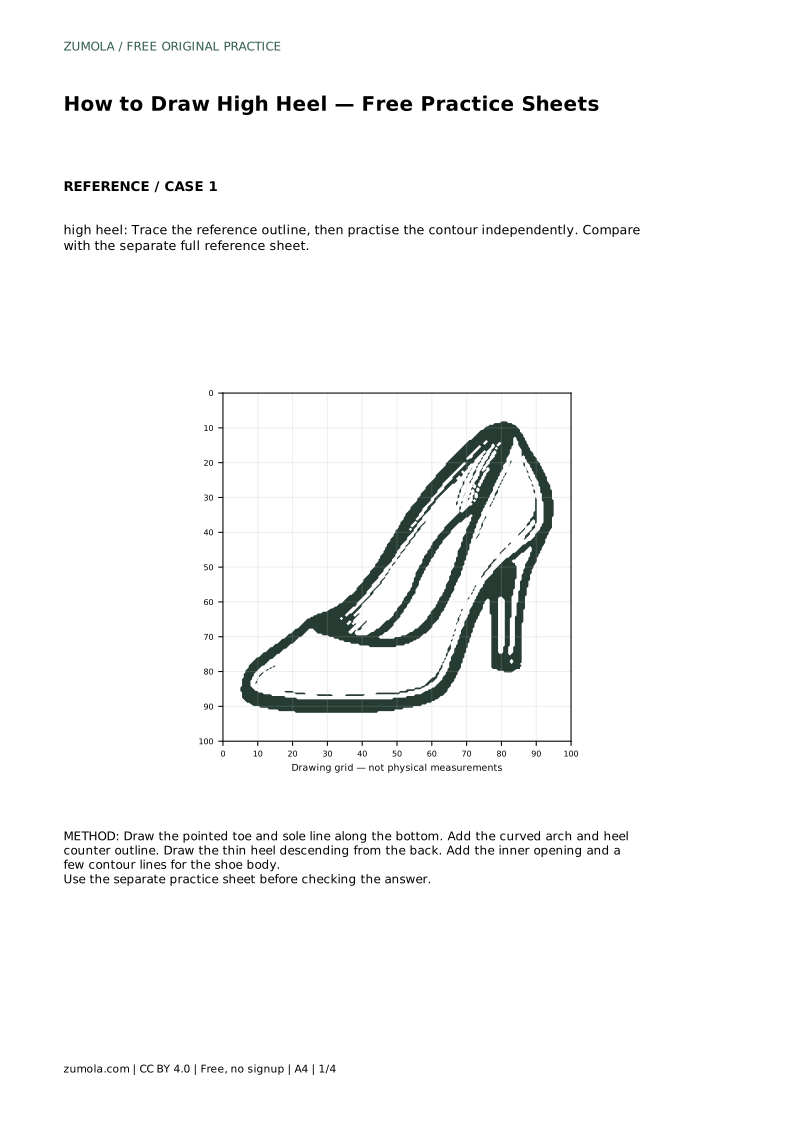
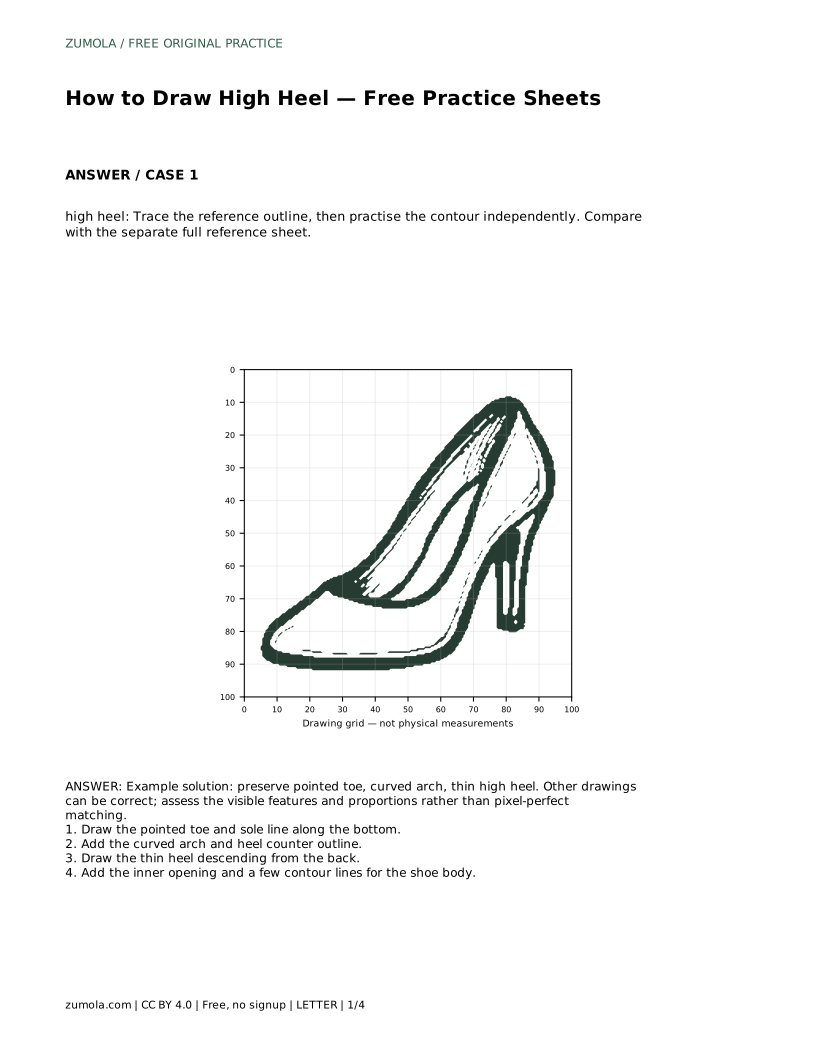
high heel: Trace the reference outline, then practise the contour independently. Compare with the separate full reference sheet.
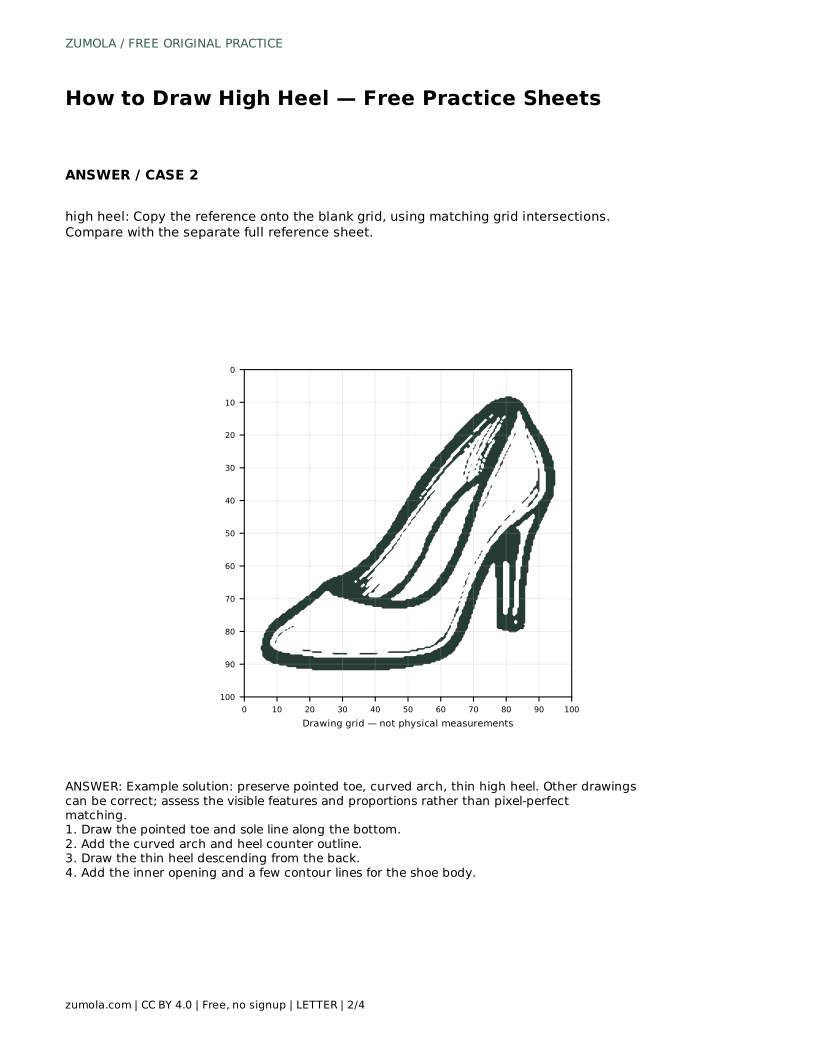
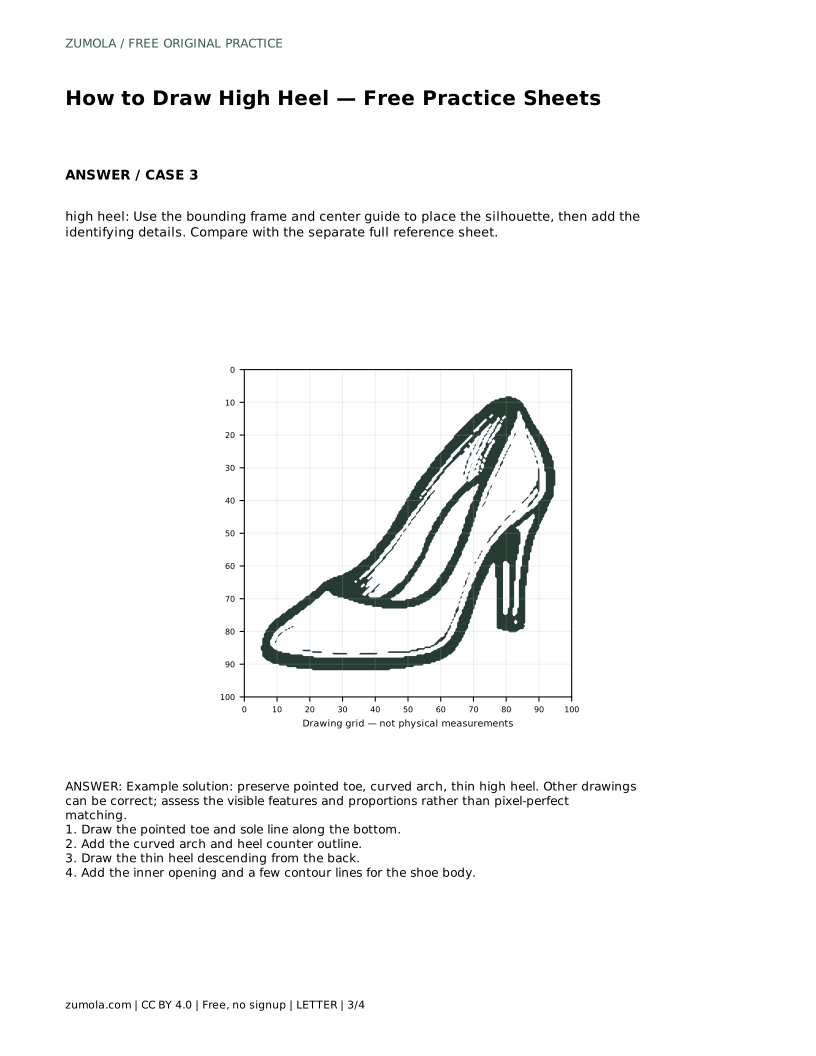
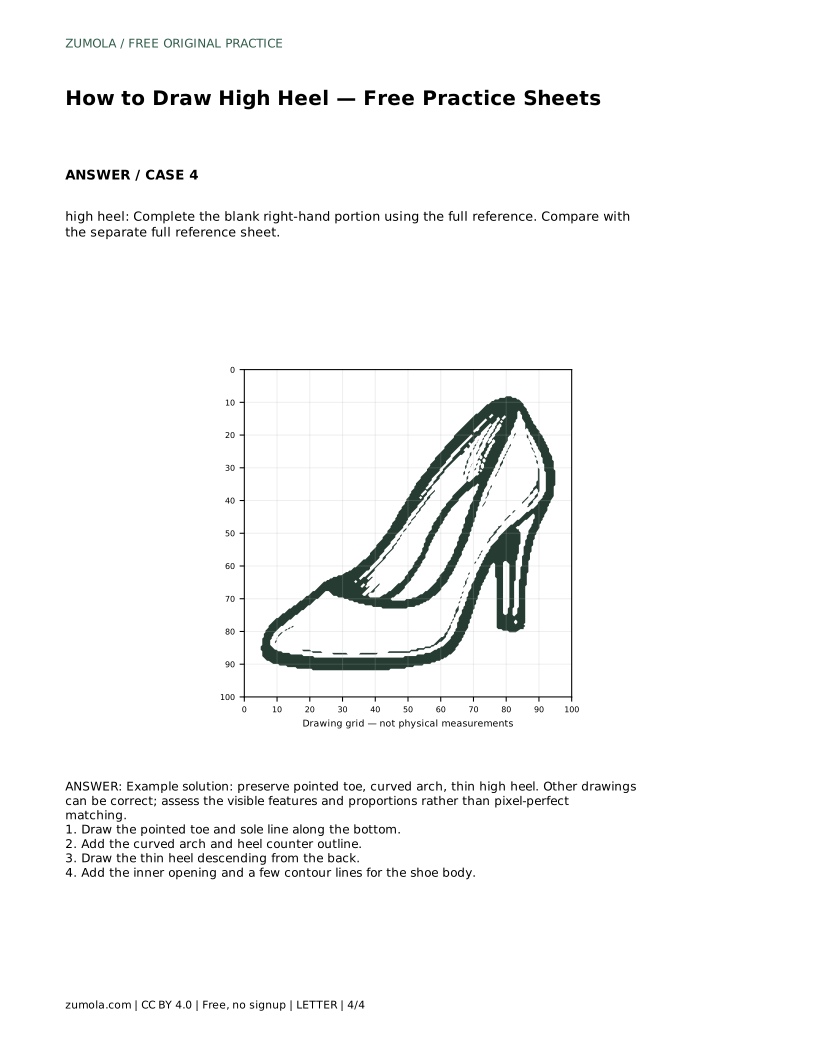
Example solution: preserve pointed toe, curved arch, thin high heel. Other drawings can be correct; assess the visible features and proportions rather than pixel-perfect matching. Draw the pointed toe and sole line along the bottom. Add the curved arch and heel counter outline. Draw the thin heel descending from the back. Add the inner opening and a few contour lines for the shoe body.
Tracing is a starting step on the trace sheet. Follow the outline once to learn the order of the shapes, then draw the contour again without tracing and compare that attempt with the full reference.
Mark only the key crossings: the toe tip, the arch peak, the top of the heel counter, and the heel tip. Connect those checkpoints with smooth lines rather than filling in every grid square.
Compare it with the toe length and the arch height. Adjust the heel width gradually and keep its top attached to the back of the shoe and its tip on the ground line.
All drawing practice · Free coordinate paper
Original resources · CC BY 4.0 · Free for personal and classroom use with attribution.