Reference diagrams
LETTER · Download PDF
A4 · Download PDF
Free original resources
Learn to draw a measuring spoon with a rounded bowl, tapered handle, graduation marks, and hanging hole. Practice with tracing, grid, and frame sheets.
Four original cases, with reference diagrams, practice sheets and worked answers. Everything is free; no signup required.
LETTER · Download PDF
A4 · Download PDF
LETTER · Download PDF
A4 · Download PDF
LETTER · Download PDF
A4 · Download PDF
Use A4 or US Letter to match your printer. Use the stated values and conditions to solve each exercise; diagrams are not physical measuring rulers.
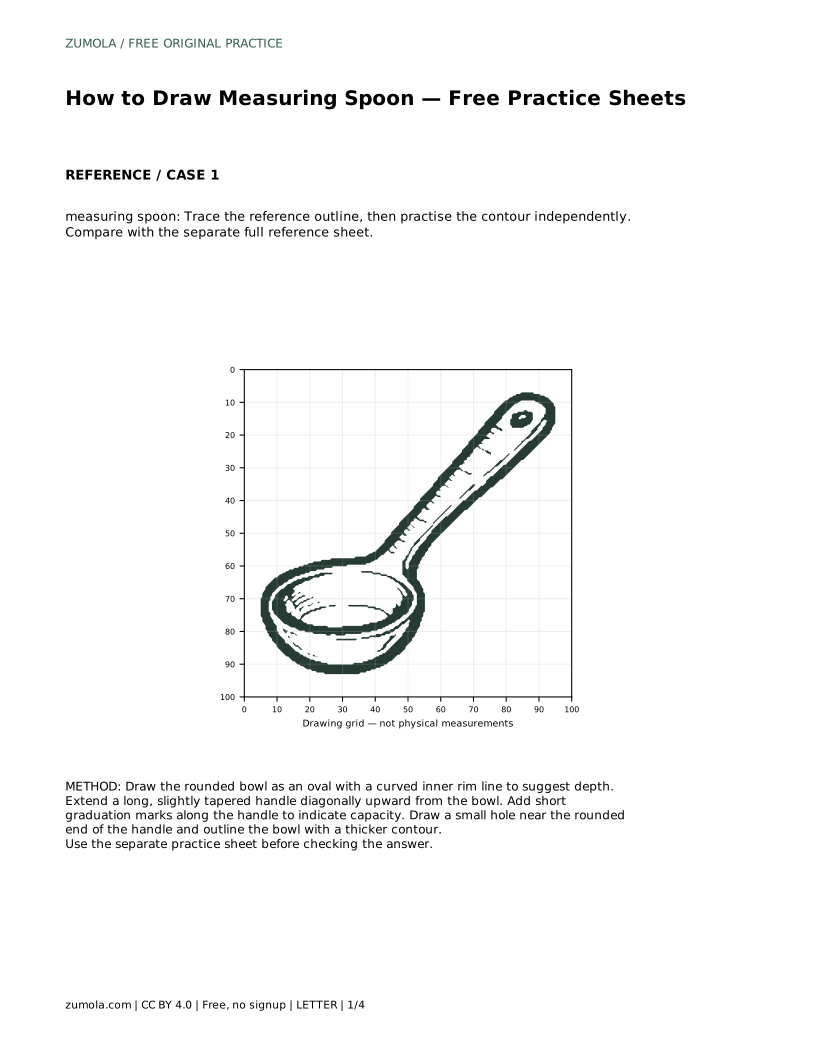
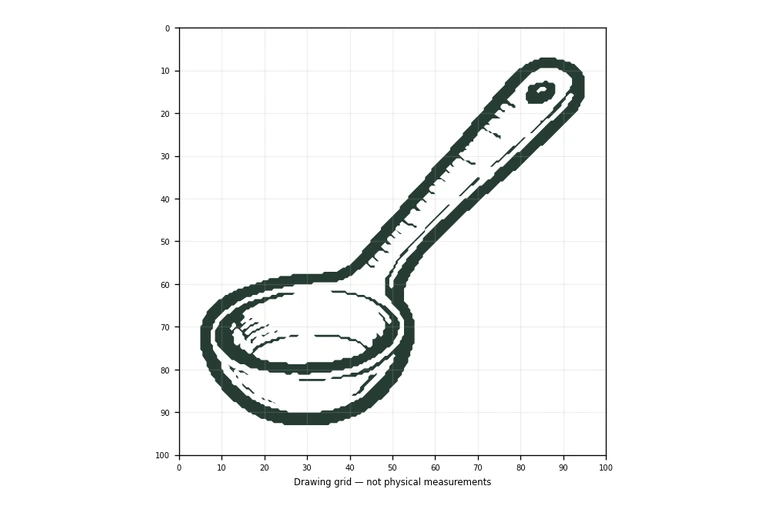
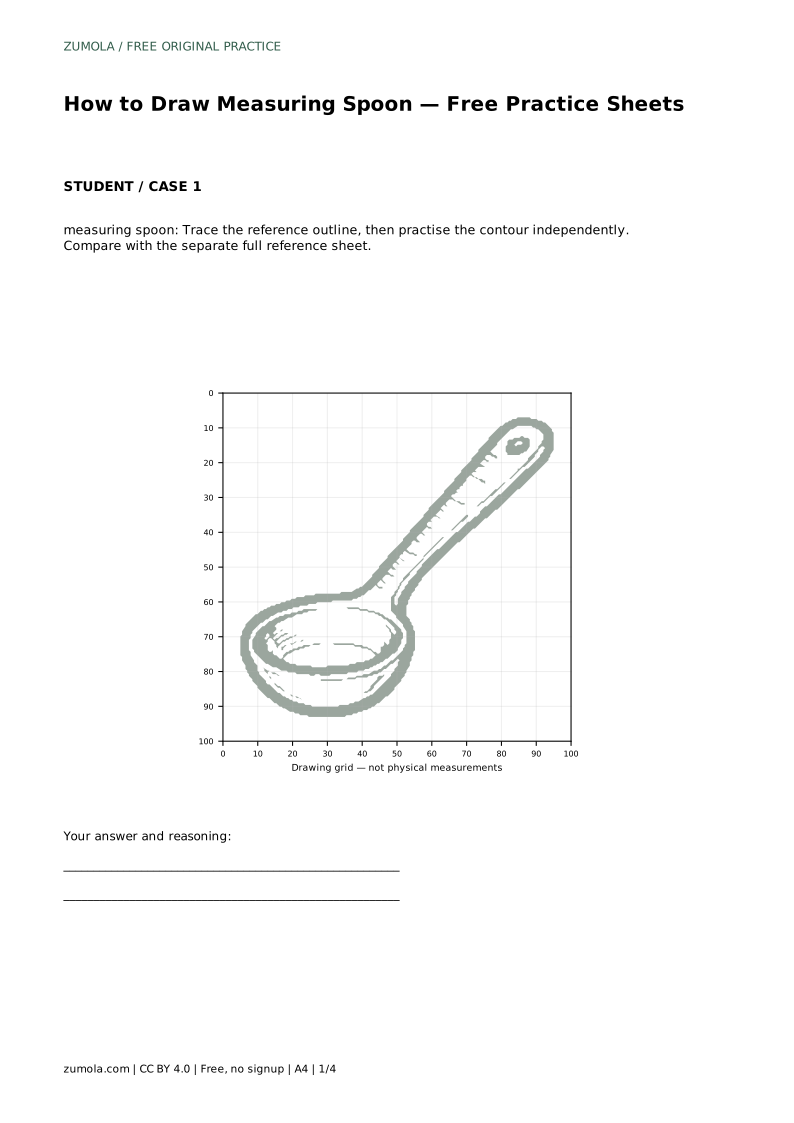
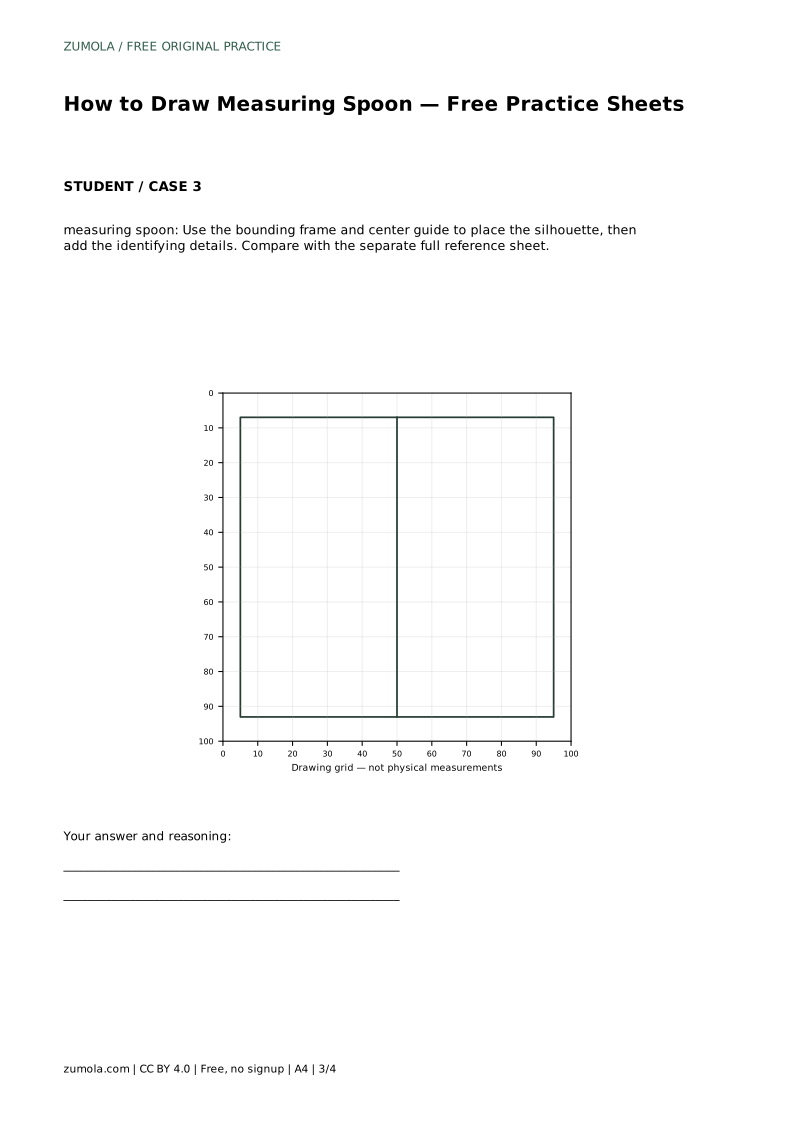
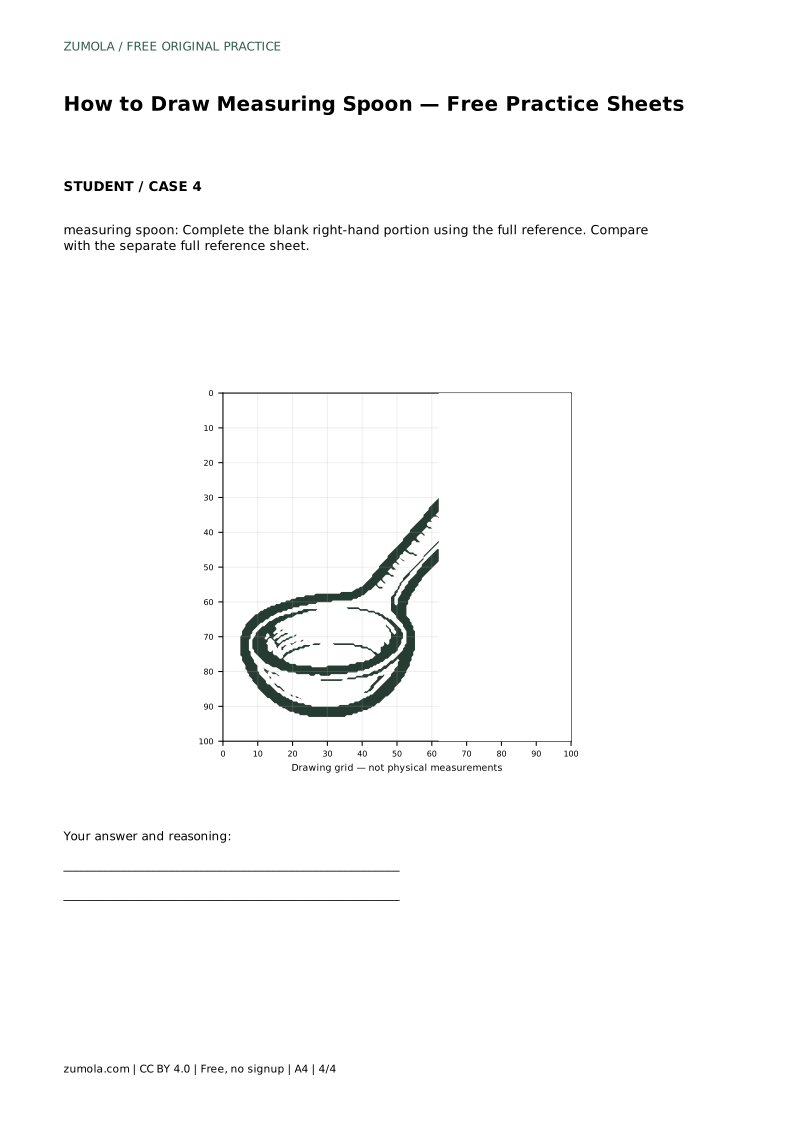
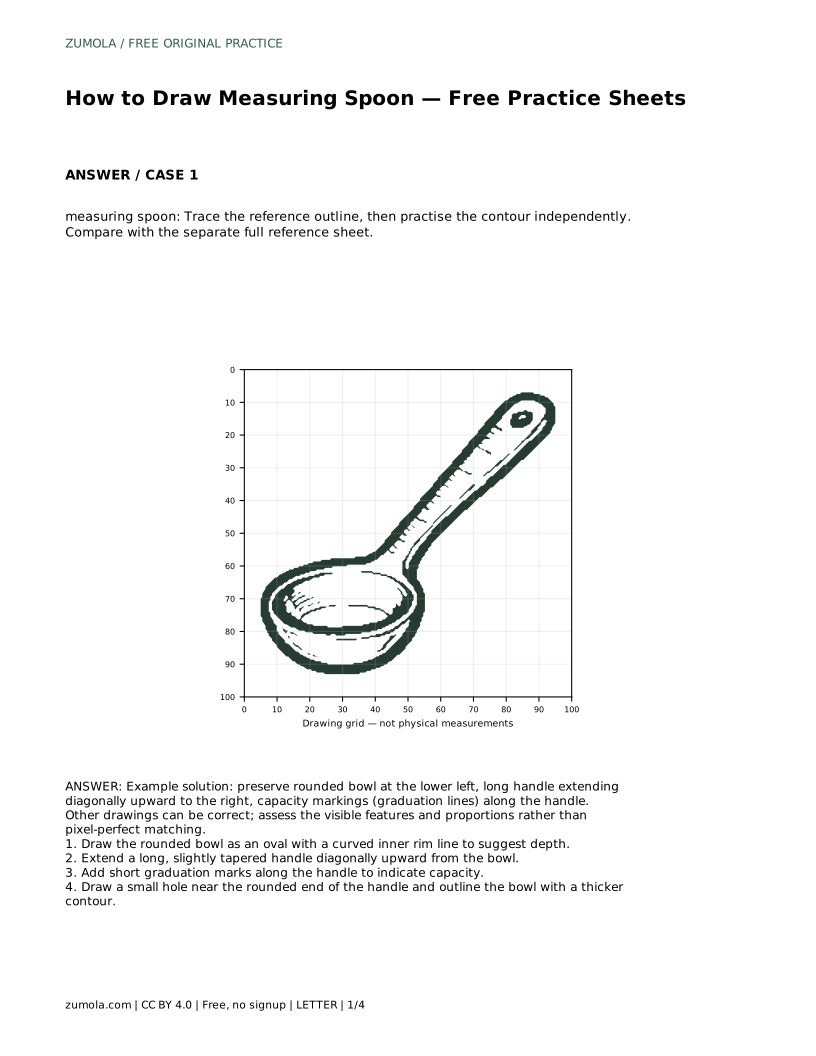
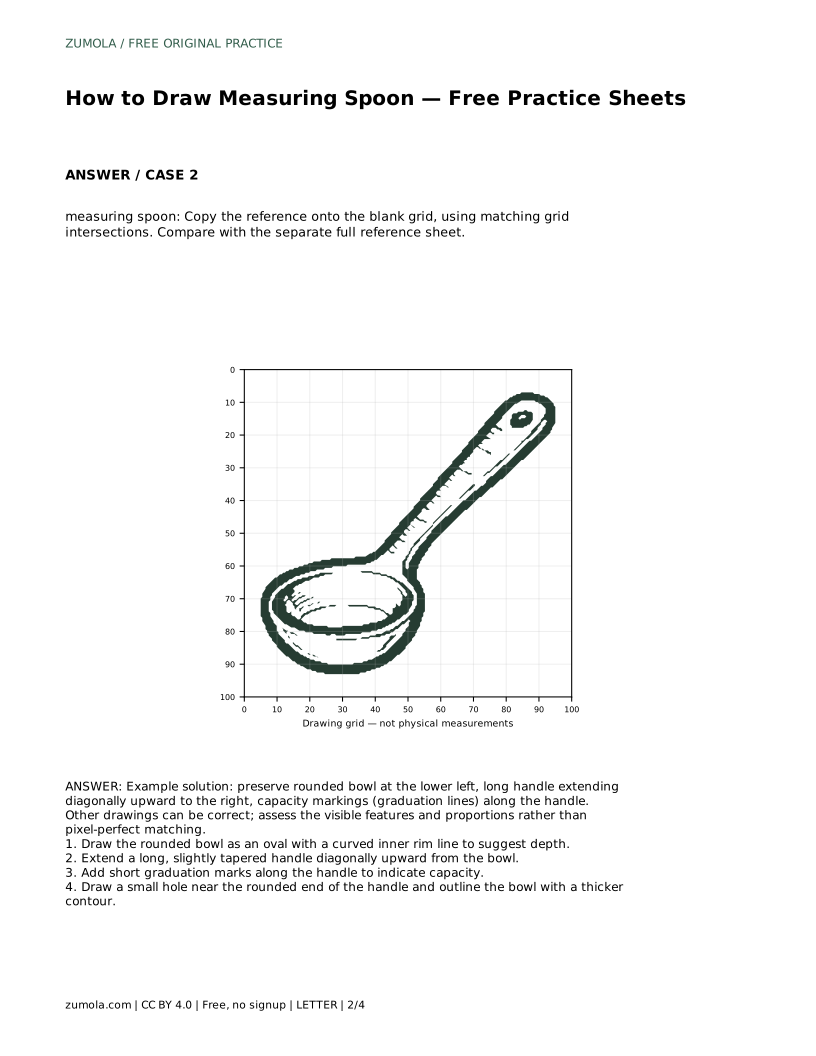
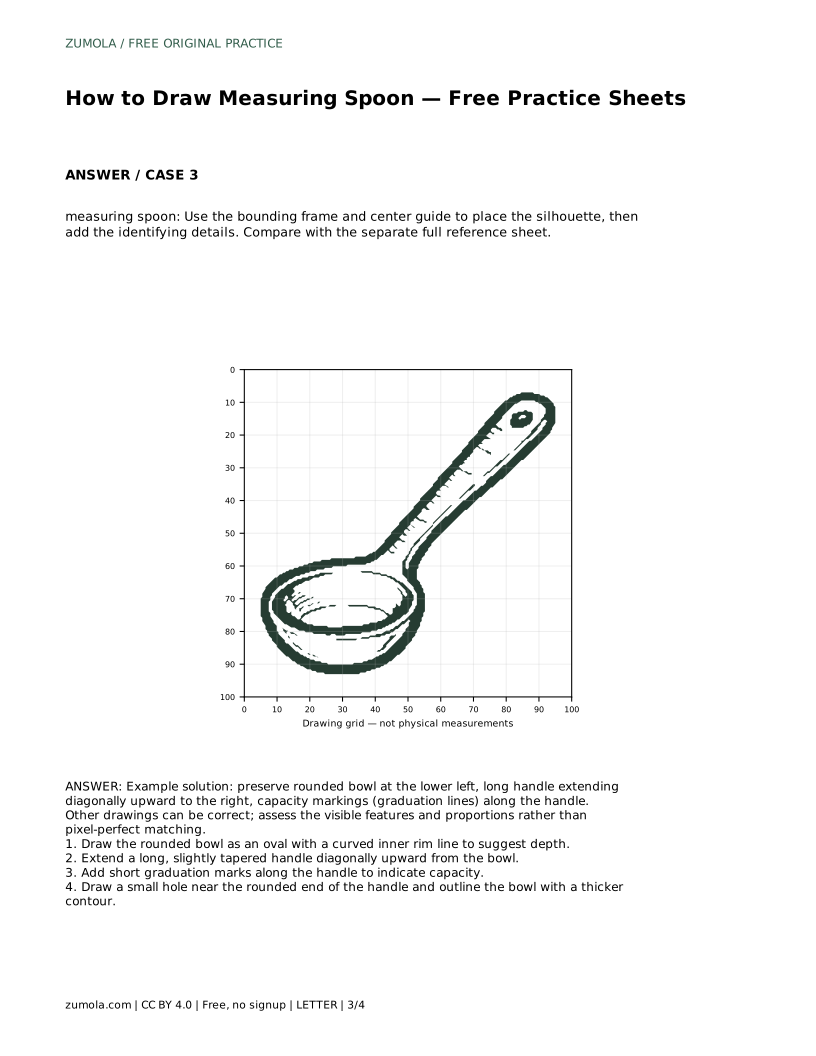
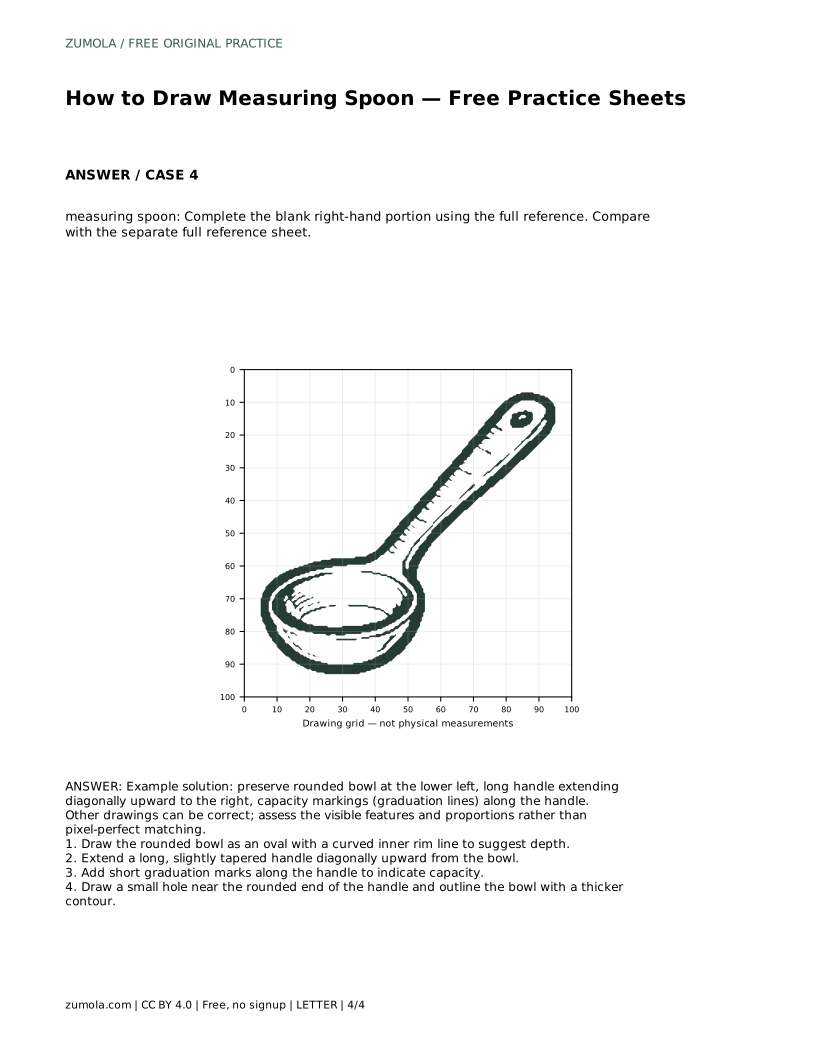
Drawing a measuring spoon is a focused exercise in proportion and contour. The object has a clear structure: a rounded bowl at one end, a long handle that tapers as it rises, small graduation marks along the handle, and often a hole near the rounded tip. This page explains how to observe those features, place them accurately, and judge your drawing by visible structure rather than pixel-perfect matching. The practice sheets support tracing, grid copying, frame placement, and completing a partial drawing.
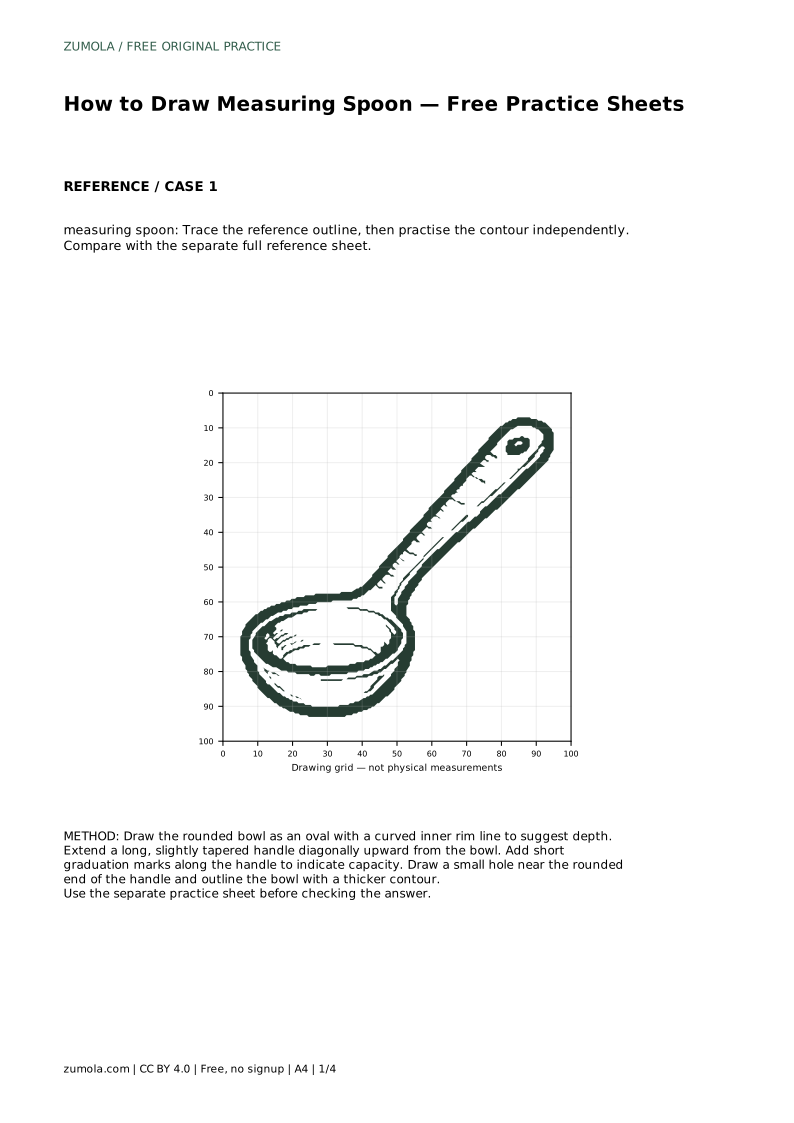
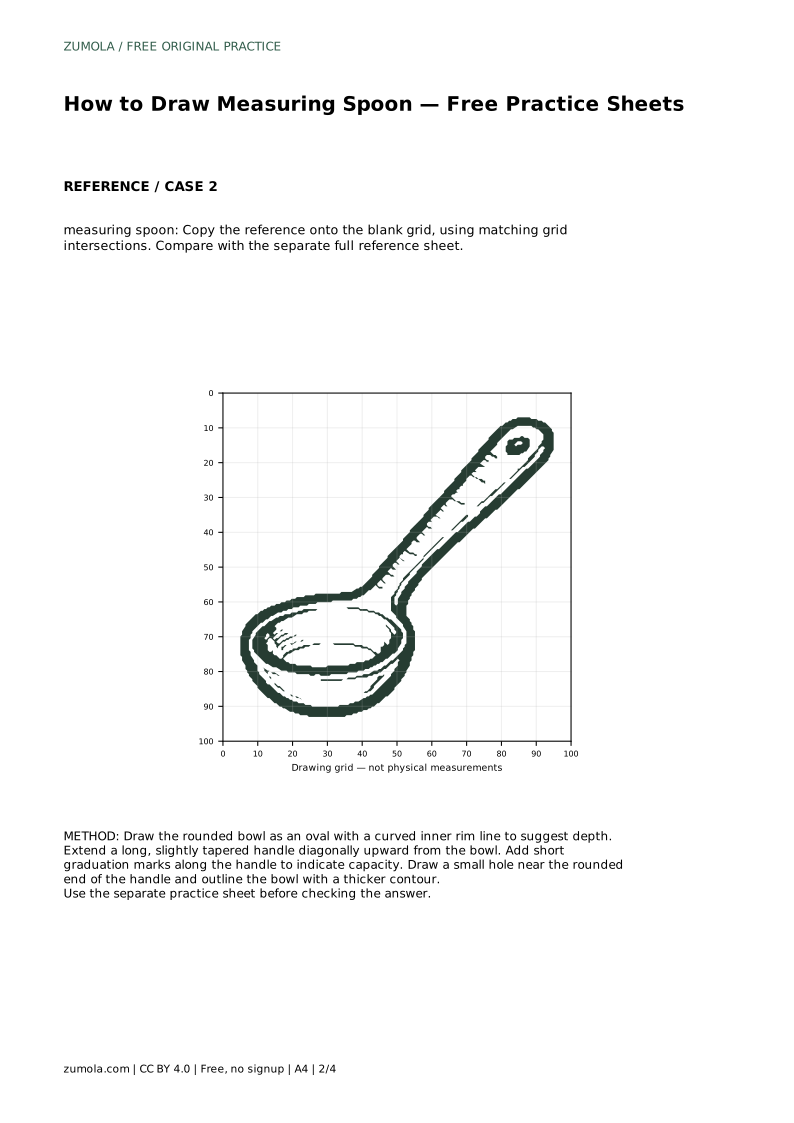
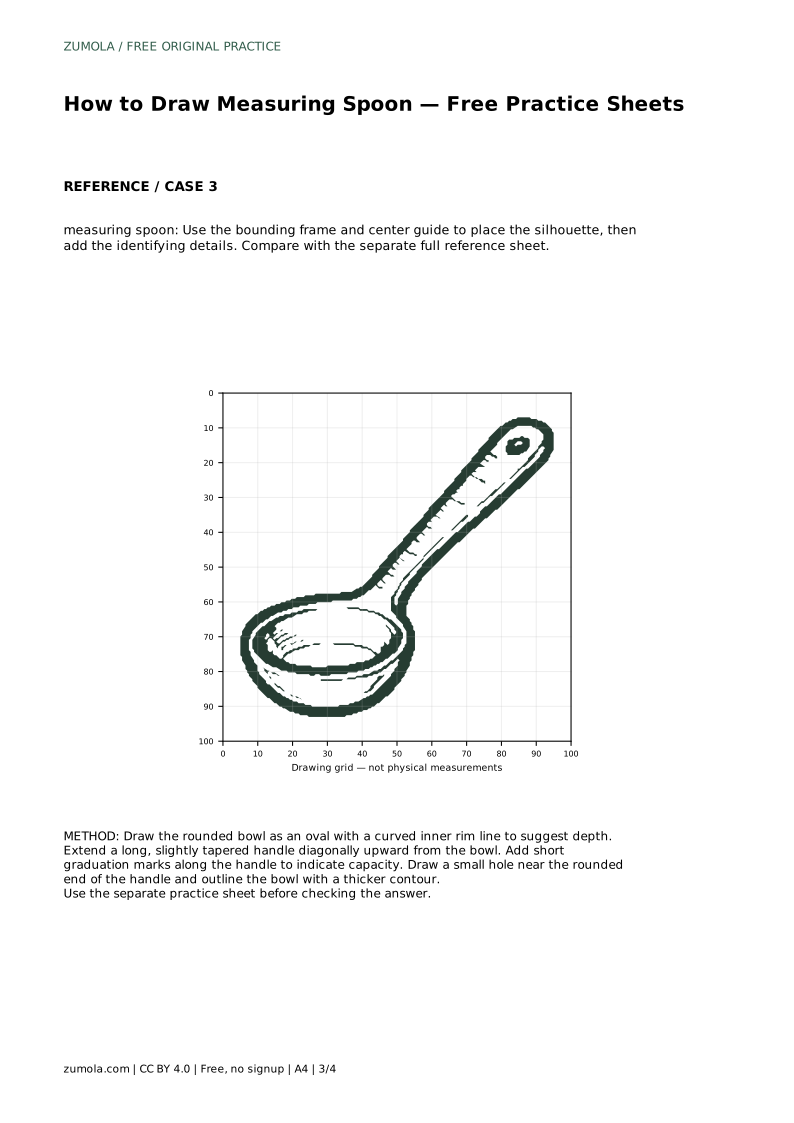
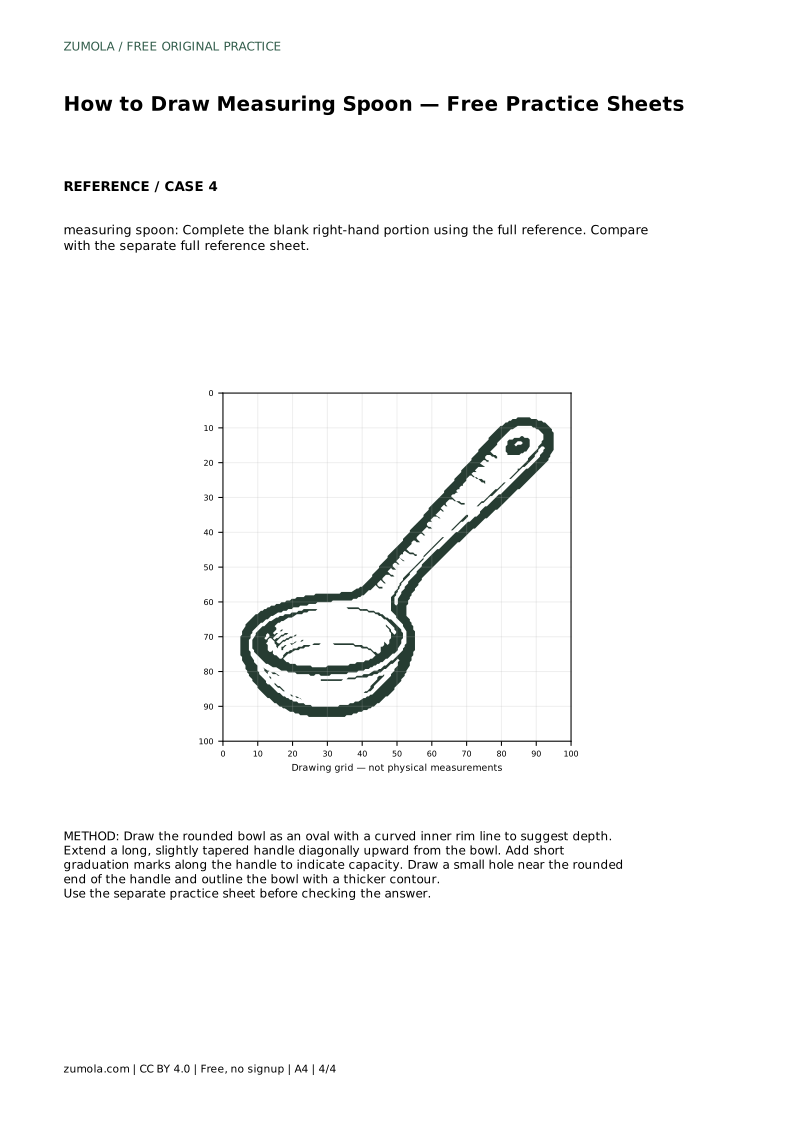
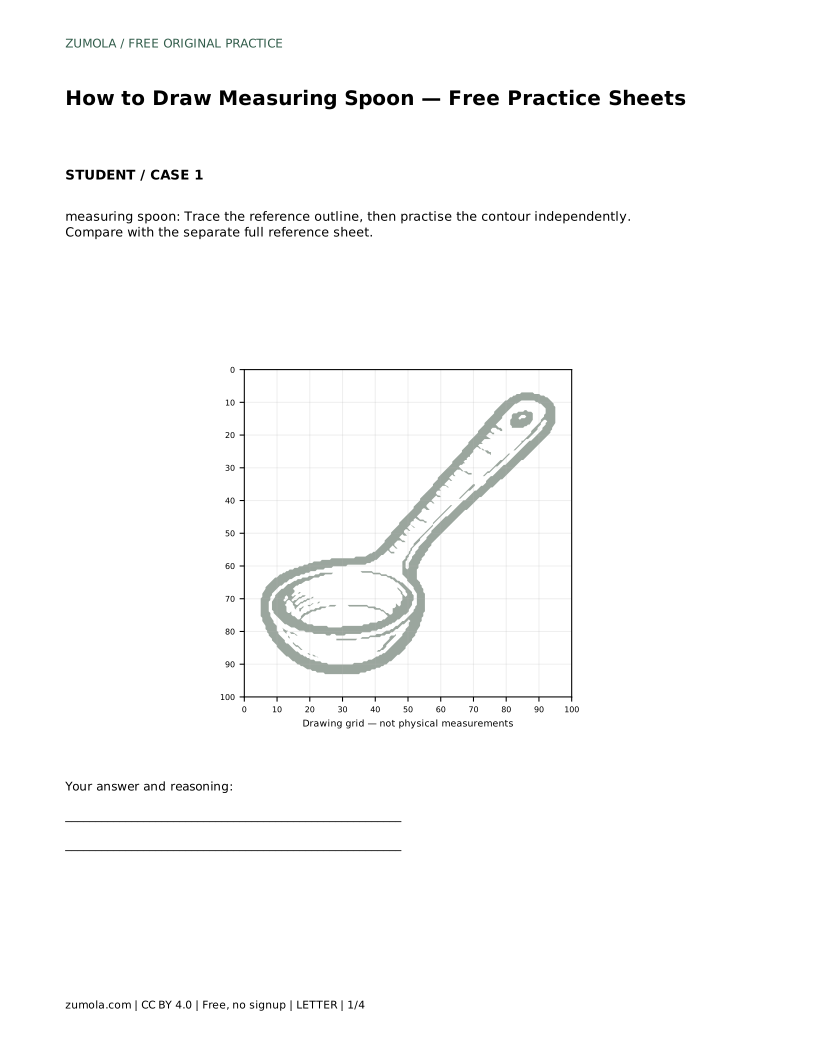
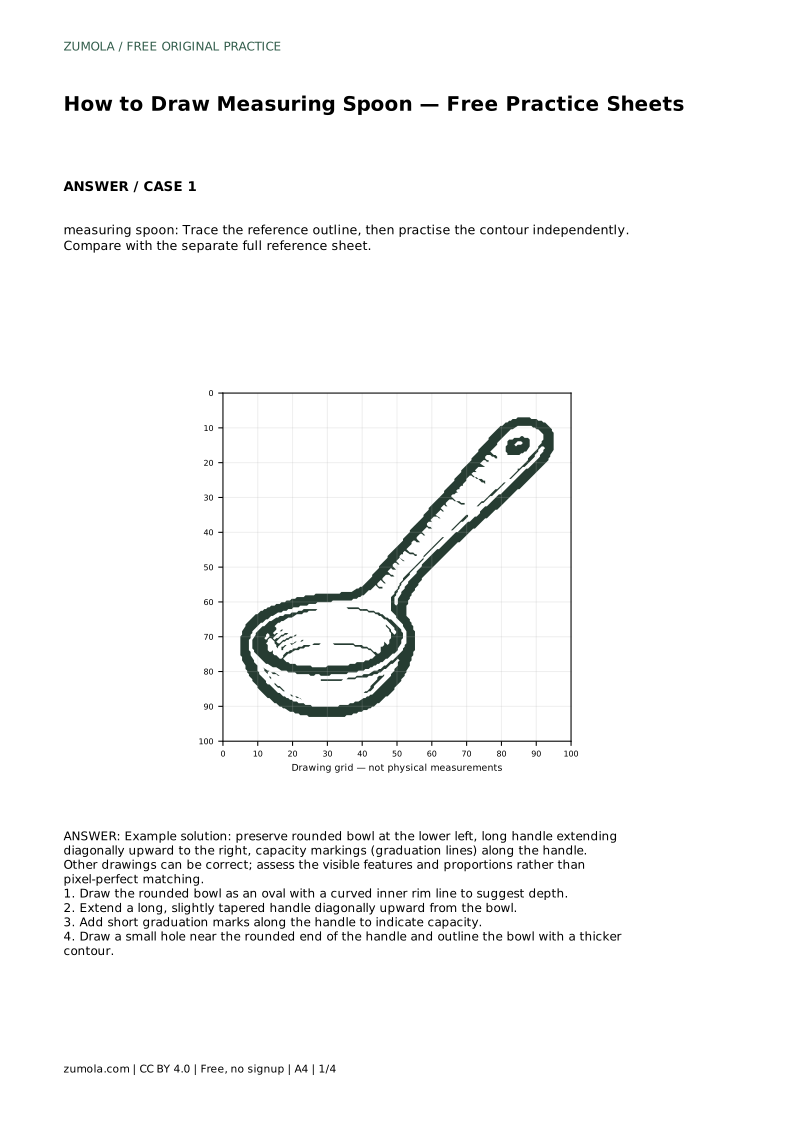
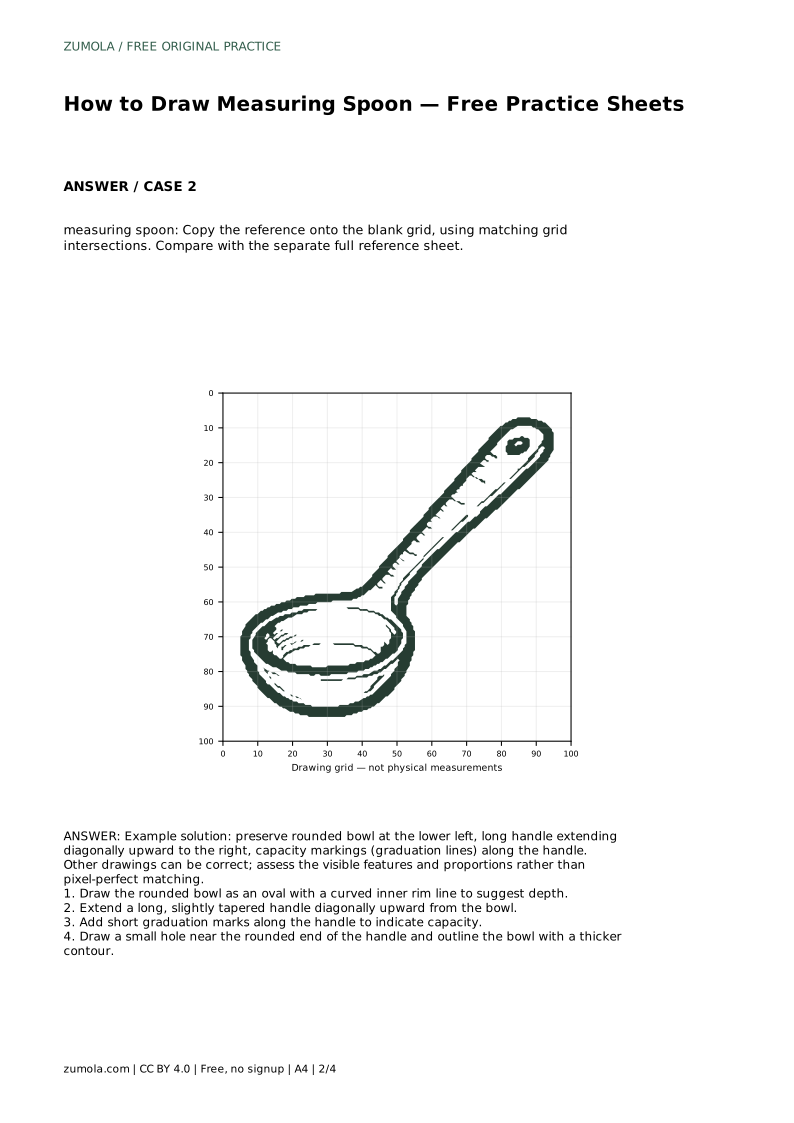
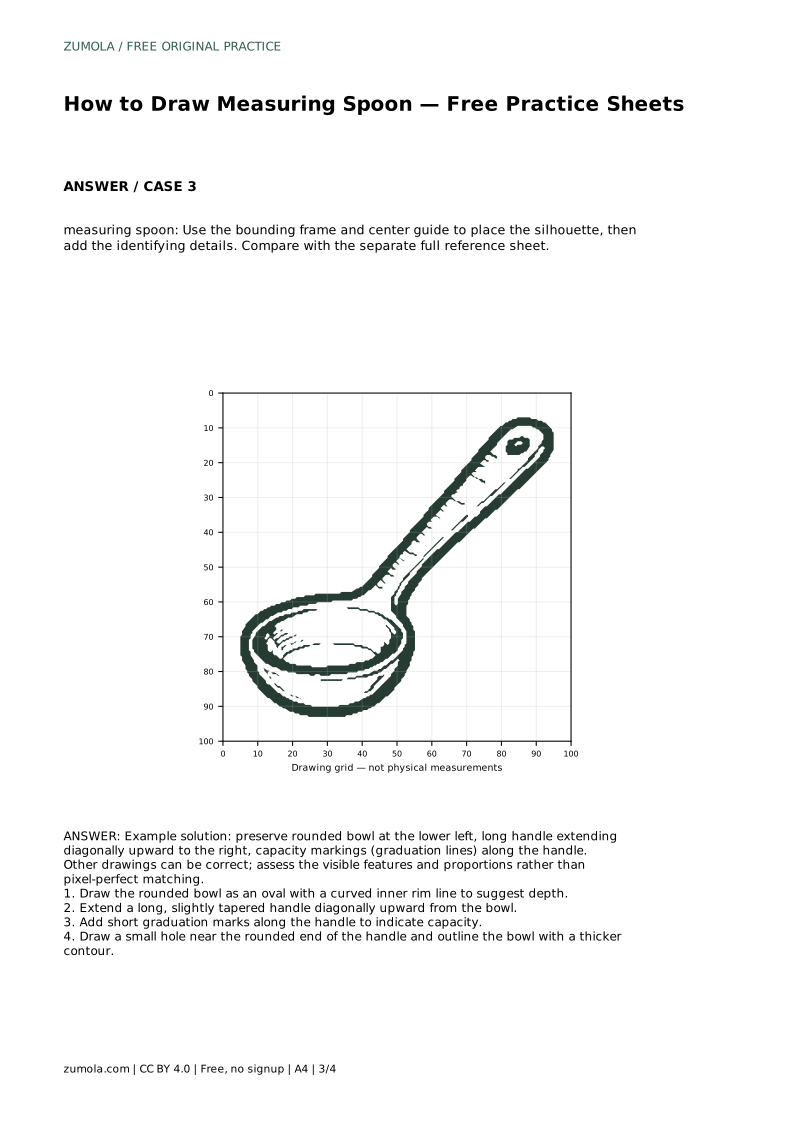
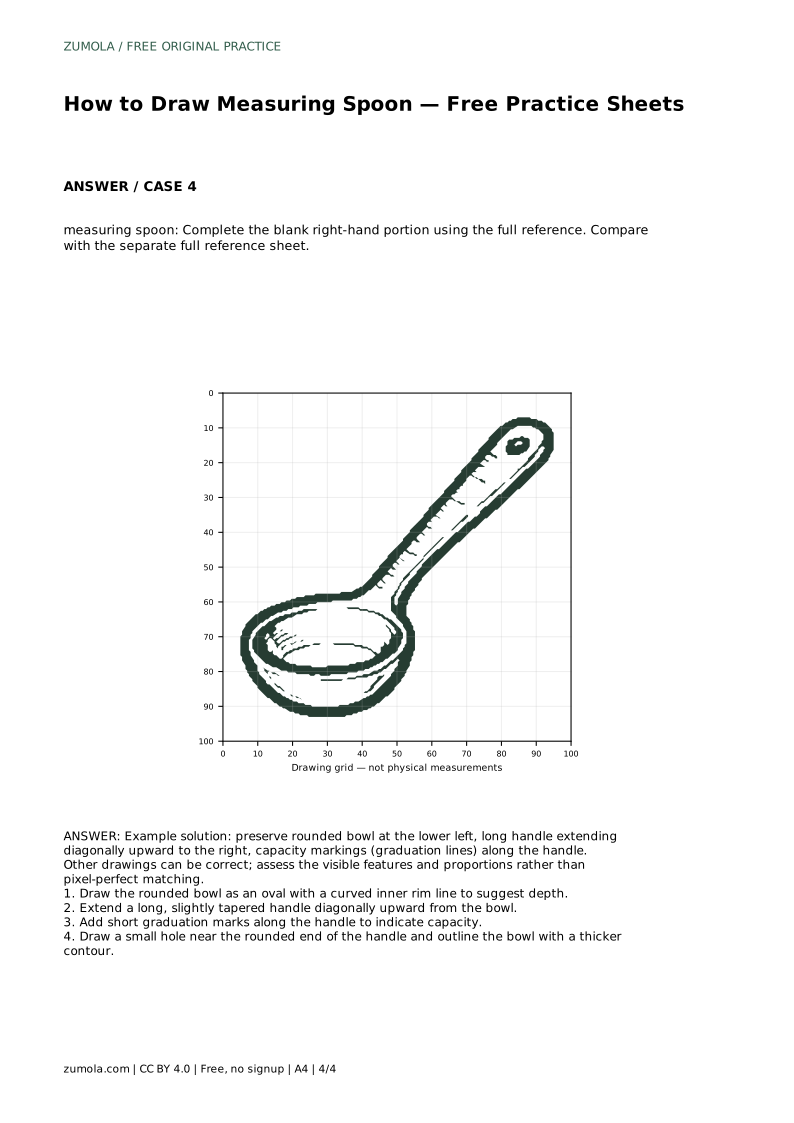
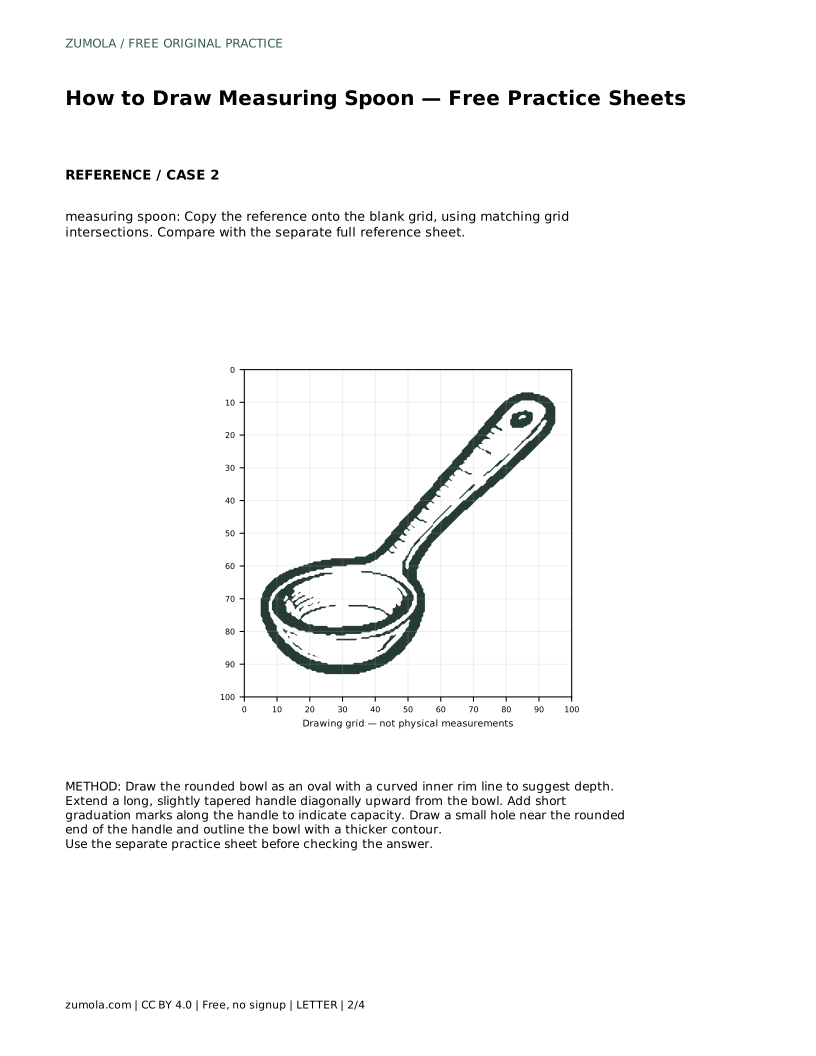
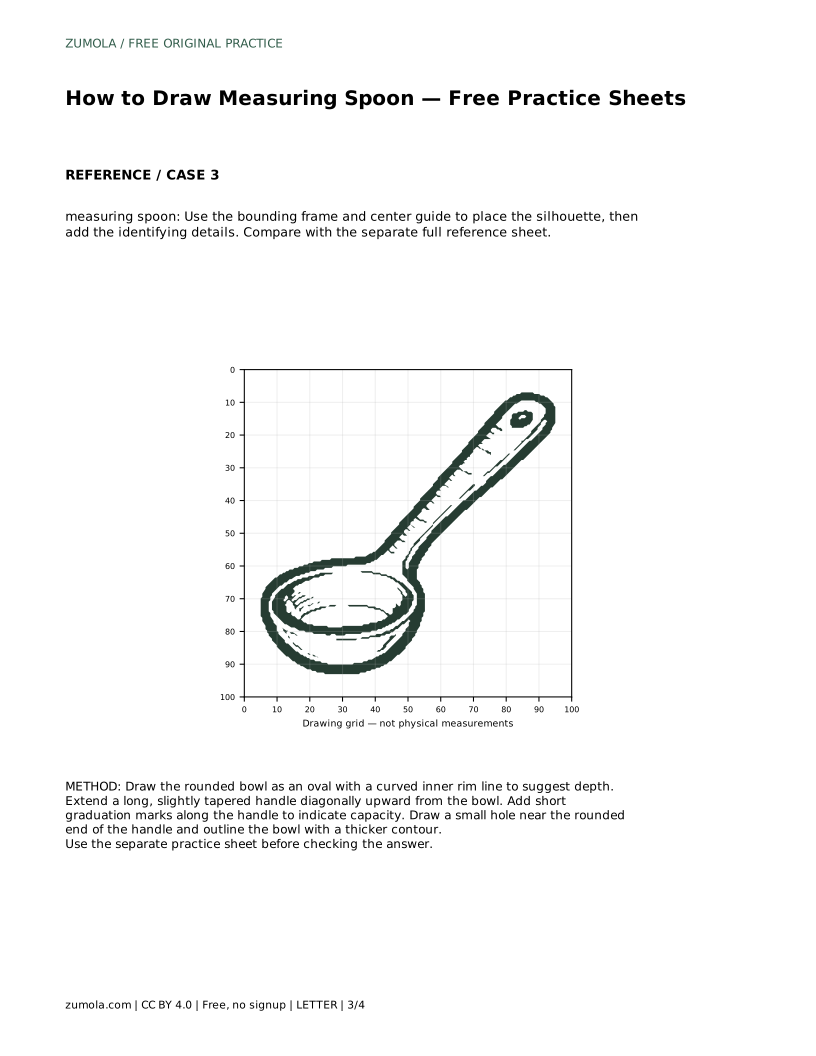
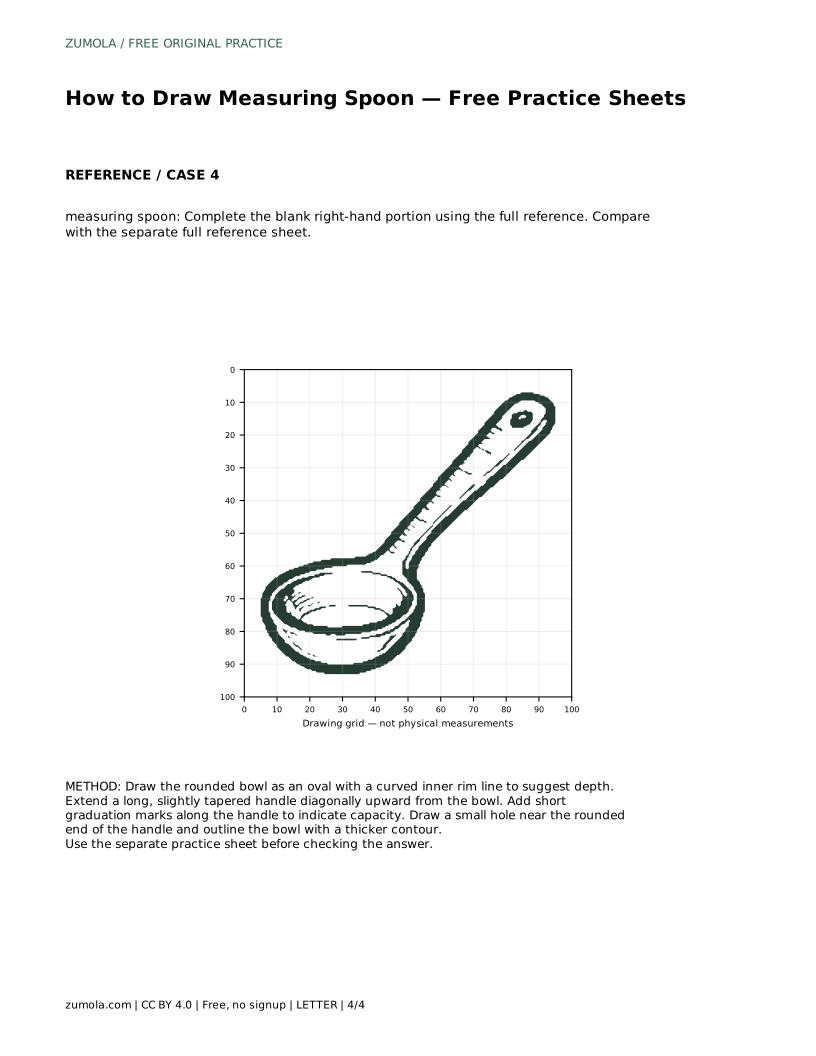
Begin by locating the bowl. In the reference used here, the bowl sits at the lower left and reads as a rounded oval rather than a flat circle. Add a curved inner rim line just inside the outer edge to suggest depth; this line should follow the bowl's curve without touching the outer contour.
Next, establish the handle direction. The handle extends diagonally upward to the right and becomes slightly narrower toward its rounded end. Draw a light center line from the bowl through the handle before committing to the outer edges. This keeps the bowl and handle aligned and prevents the handle from looking bent or detached.
Graduation marks are short lines across the handle that indicate capacity. Keep them evenly spaced and perpendicular to the handle's long axis, not to the page edge. Their number and spacing should follow the reference; do not invent extra marks or spread them unevenly.
The hanging hole sits near the rounded end of the handle. Draw it as a small closed shape centered on the handle's width, leaving a clear margin of handle on both sides. A hole that touches the outer edge or drifts off-center changes the object's identity.
Once the structure is placed, thicken the outer contour of the bowl and handle while keeping the inner rim line lighter. This separates the object's silhouette from its surface detail. Check the bowl-to-handle transition: it should look continuous, with no sudden step or pinch.
Compare your drawing with the separate full reference sheet. Look for the rounded bowl at the lower left, the long handle rising diagonally to the right, graduation marks along the handle, and the small hole near the rounded end. Other drawings can be correct; assess visible features and proportions rather than exact matching.
measuring spoon: Trace the reference outline, then practise the contour independently. Compare with the separate full reference sheet.
Example solution: preserve rounded bowl at the lower left, long handle extending diagonally upward to the right, capacity markings (graduation lines) along the handle. Other drawings can be correct; assess the visible features and proportions rather than pixel-perfect matching. Draw the rounded bowl as an oval with a curved inner rim line to suggest depth. Extend a long, slightly tapered handle diagonally upward from the bowl. Add short graduation marks along the handle to indicate capacity. Draw a small hole near the rounded end of the handle and outline the bowl with a thicker contour.
No. Preserve the visible features and proportions: rounded bowl at the lower left, long handle rising diagonally to the right, graduation marks along the handle, and a small hole near the rounded end. Other drawings can be correct.
Along the handle, evenly spaced and perpendicular to the handle's long axis. Follow the reference for their number and position rather than adding extra marks.
Draw a light center line from the bowl through the handle first, then build the outer edges around that axis with a slight taper toward the rounded end.
All drawing practice · Free coordinate paper
Original resources · CC BY 4.0 · Free for personal and classroom use with attribution.