Reference diagrams
LETTER · Download PDF
A4 · Download PDF
Free original resources
Learn a reliable pencil method for drawing a frog: build the tilted body, place the bulging eye, then add folded hind legs and splayed toes. Includes practice-sheet guidance.
Four original cases, with reference diagrams, practice sheets and worked answers. Everything is free; no signup required.
LETTER · Download PDF
A4 · Download PDF
LETTER · Download PDF
A4 · Download PDF
LETTER · Download PDF
A4 · Download PDF
Use A4 or US Letter to match your printer. Use the stated values and conditions to solve each exercise; diagrams are not physical measuring rulers.
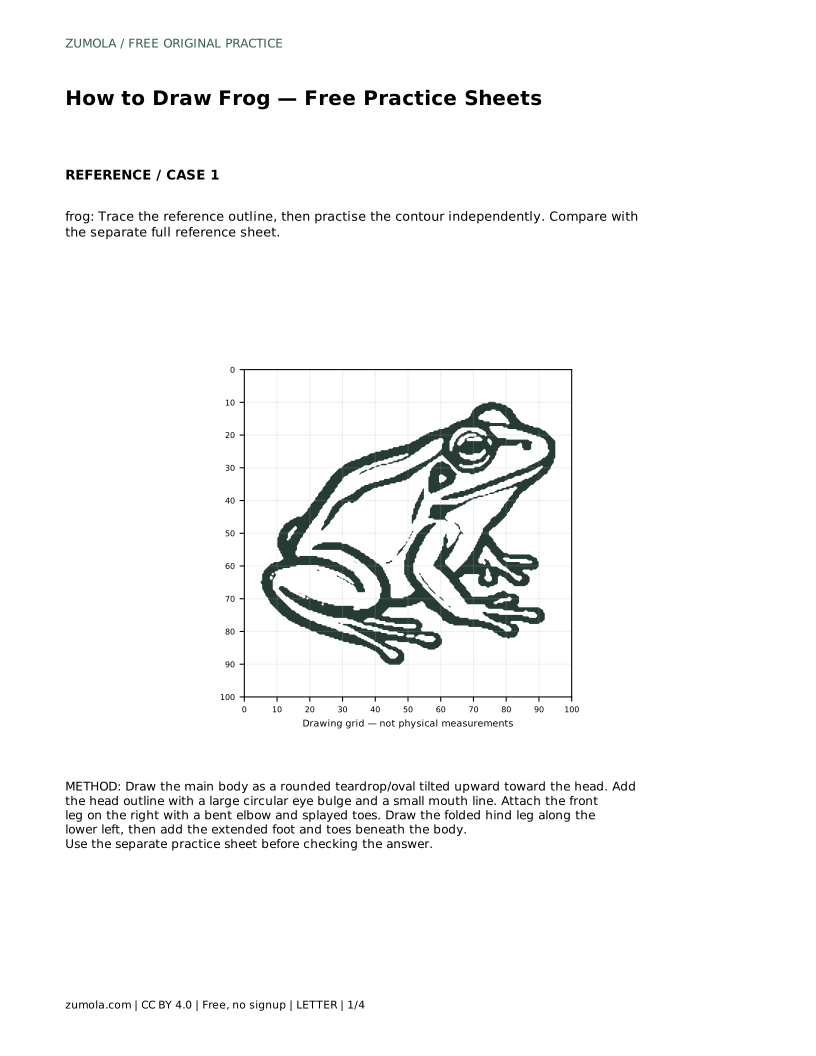
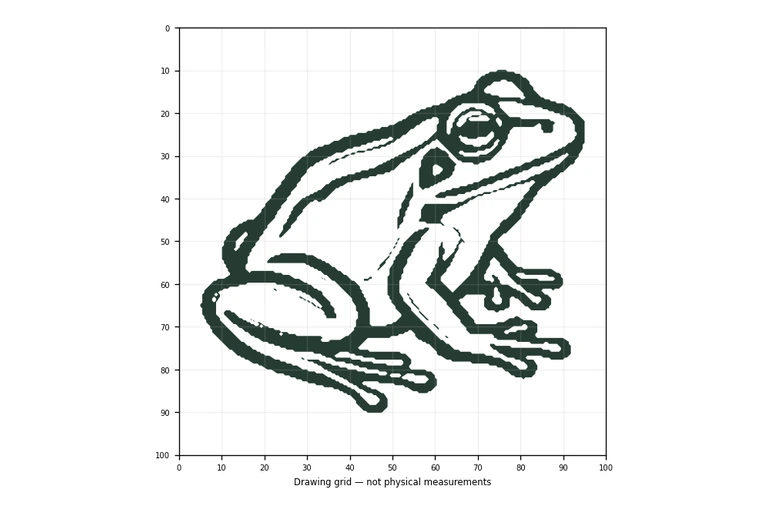
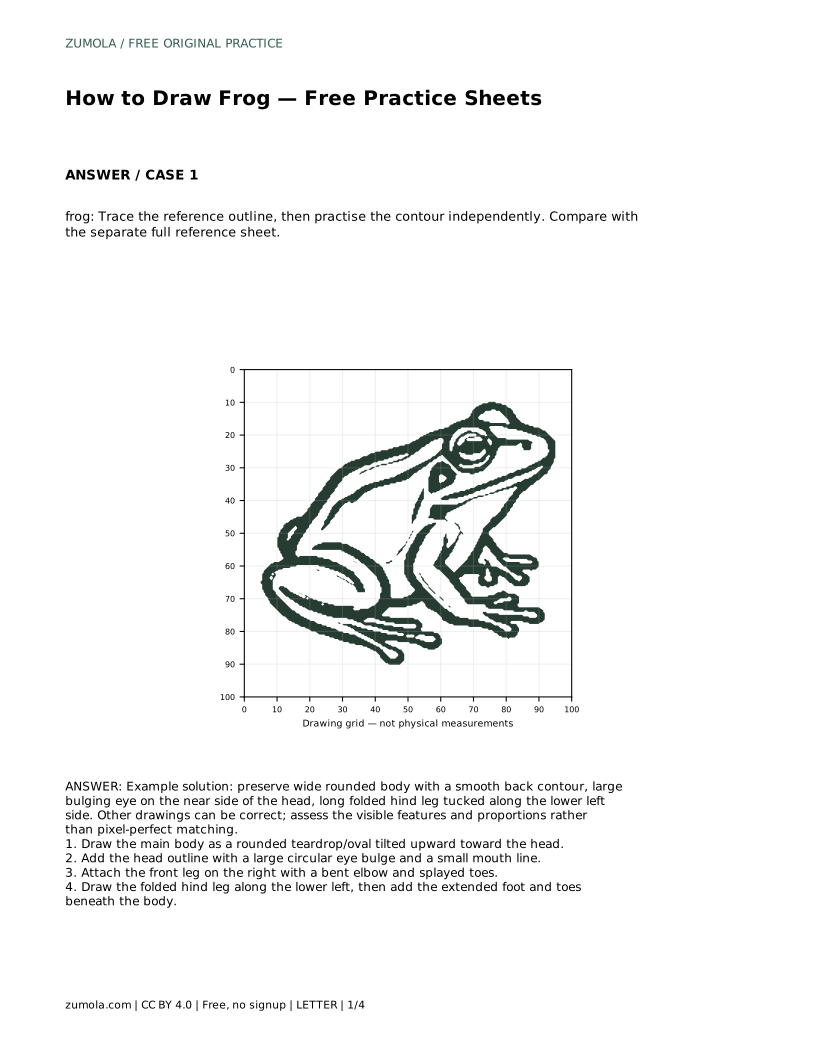
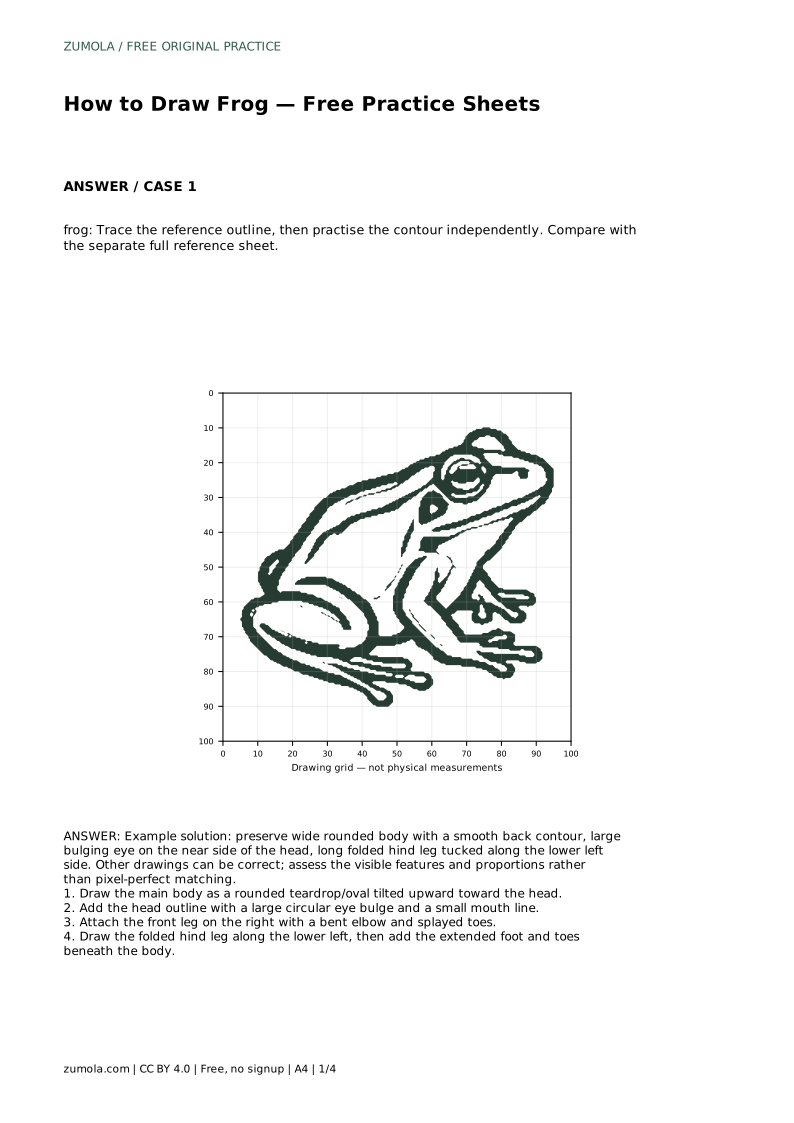
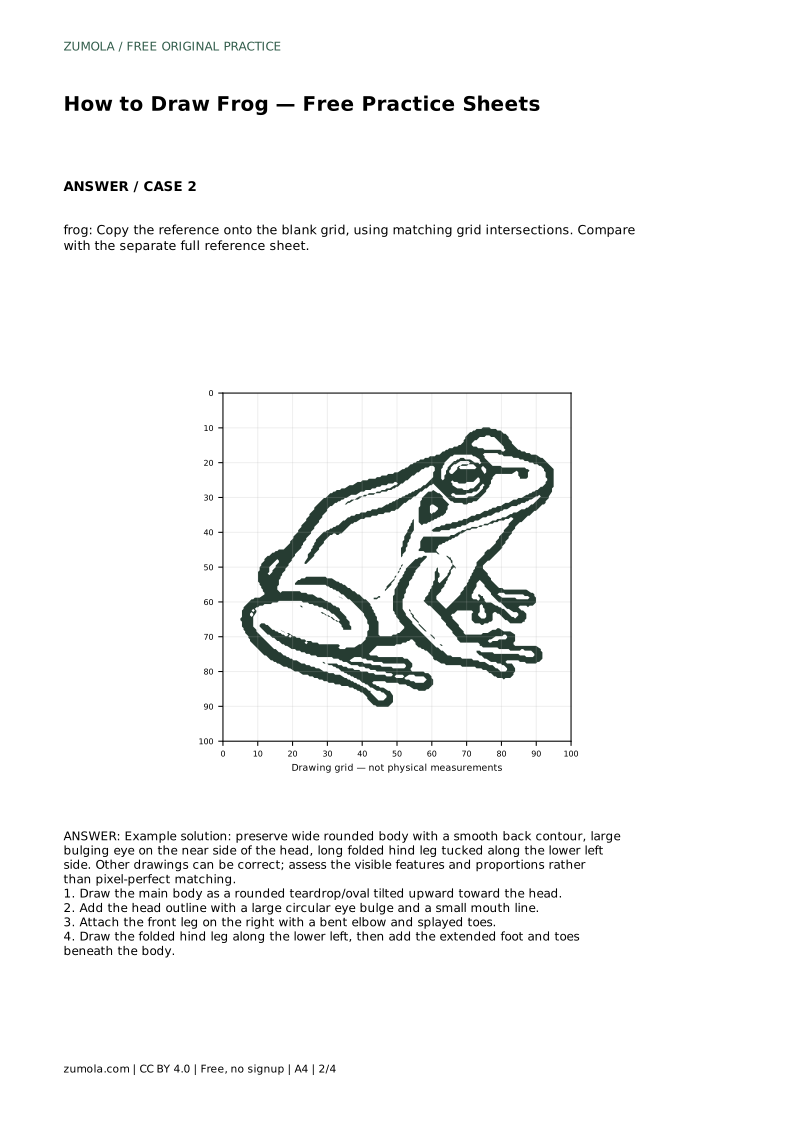
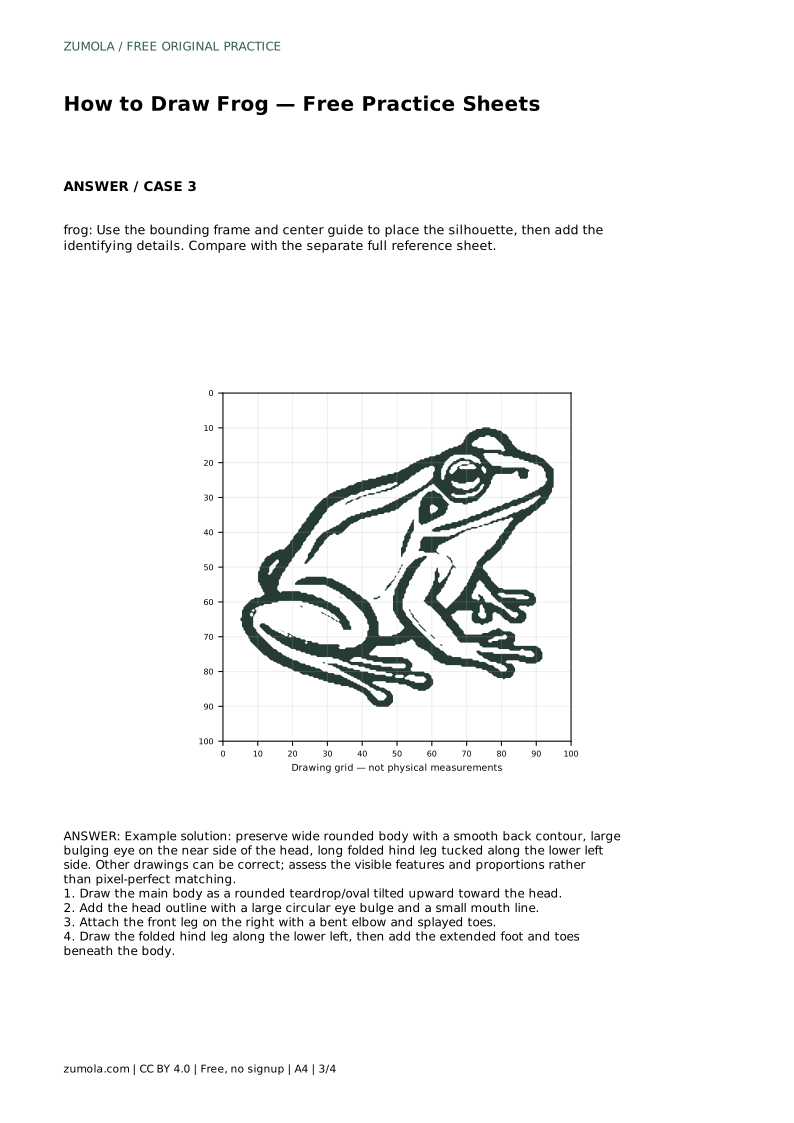
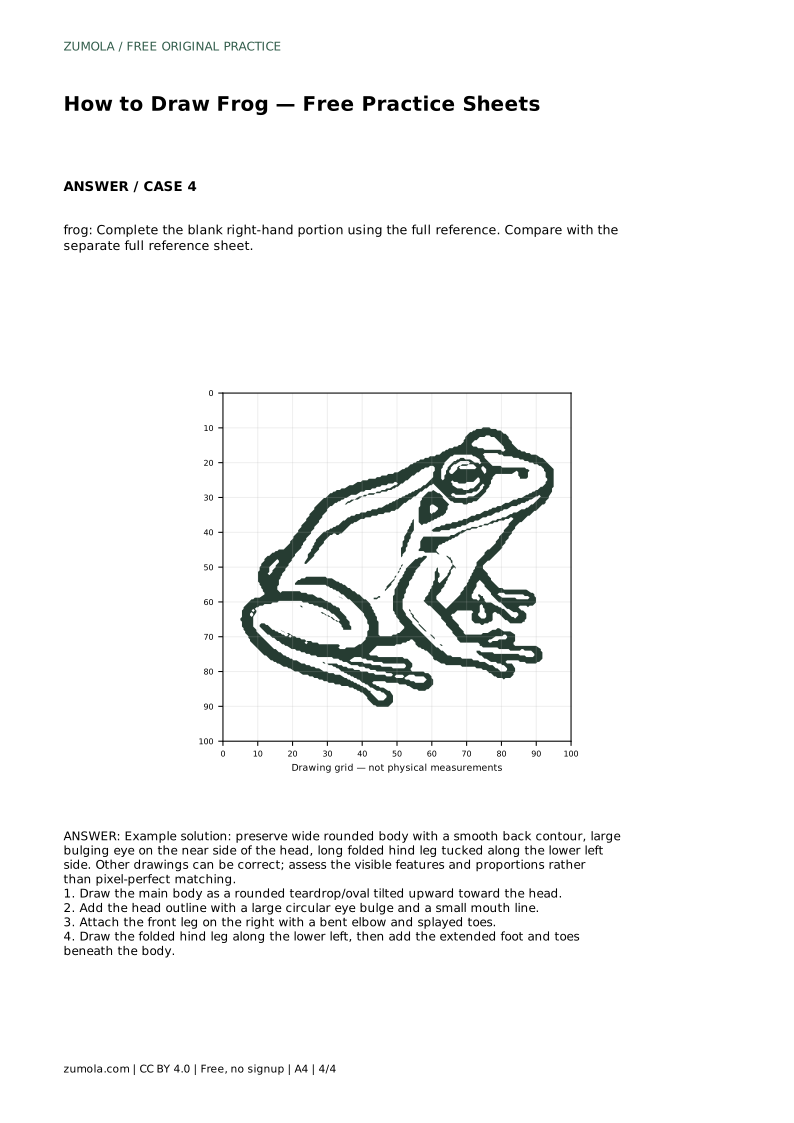
Drawing a frog in pencil is mostly a problem of proportion and placement. The body is wide and rounded, tilted upward toward the head; one large eye bulges above the near side of the head; a long hind leg folds along the lower body. This page explains how to build that shape step by step, how to use trace, grid, frame and partial-reference practice sheets, and how to judge your own drawing fairly when several outcomes can be correct.
Begin by placing the main body as a rounded teardrop or oval, tilted upward toward the head. Keep the back contour smooth and wide; a frog's silhouette reads as heavy and low rather than tall. Light pencil pressure matters here, because the body outline will be adjusted once the head and legs are placed.
Next, add the head outline with a large circular eye bulge on the near side and a small mouth line. The eye sits high and forward, so check that it does not drift toward the middle of the back. Only after the body, head and eye agree should you attach limbs.
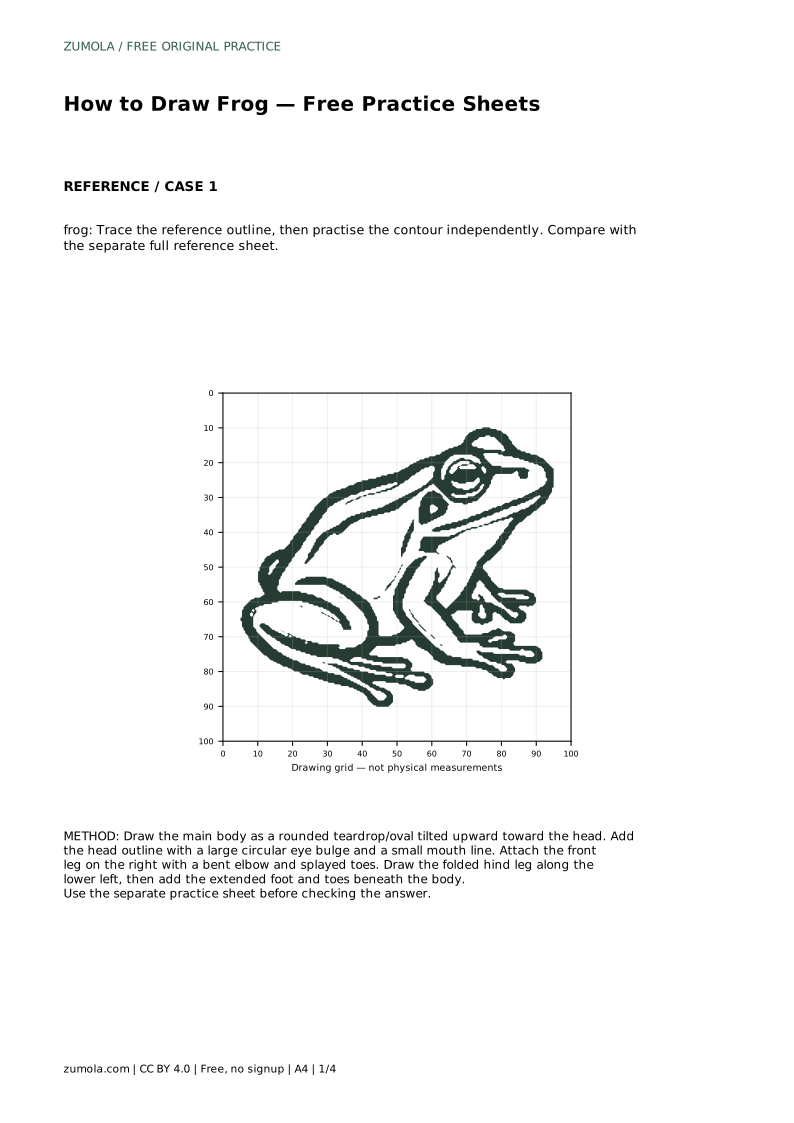
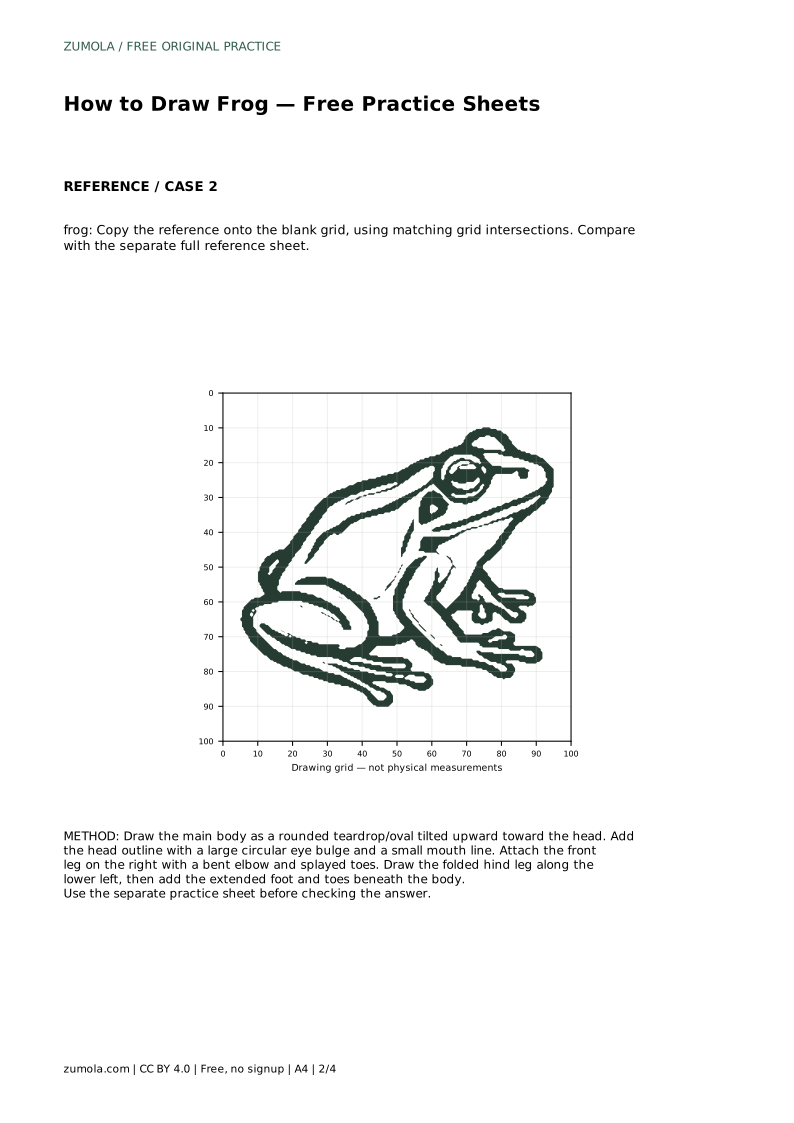
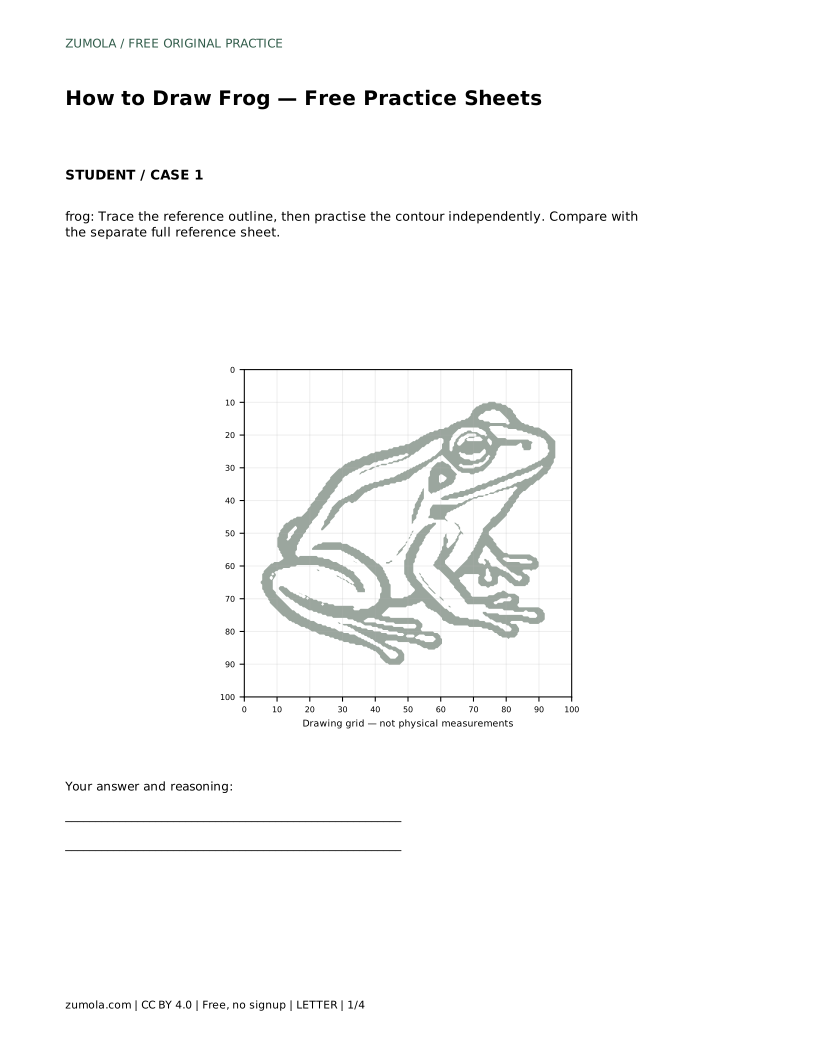
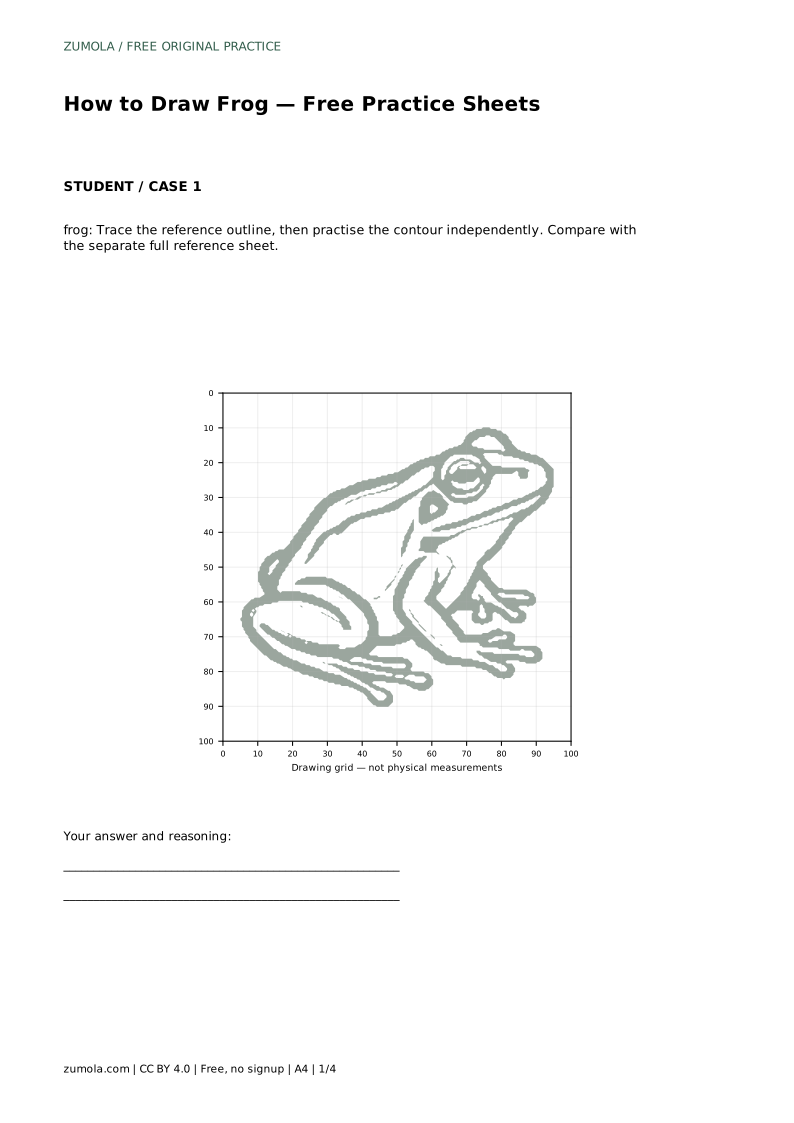
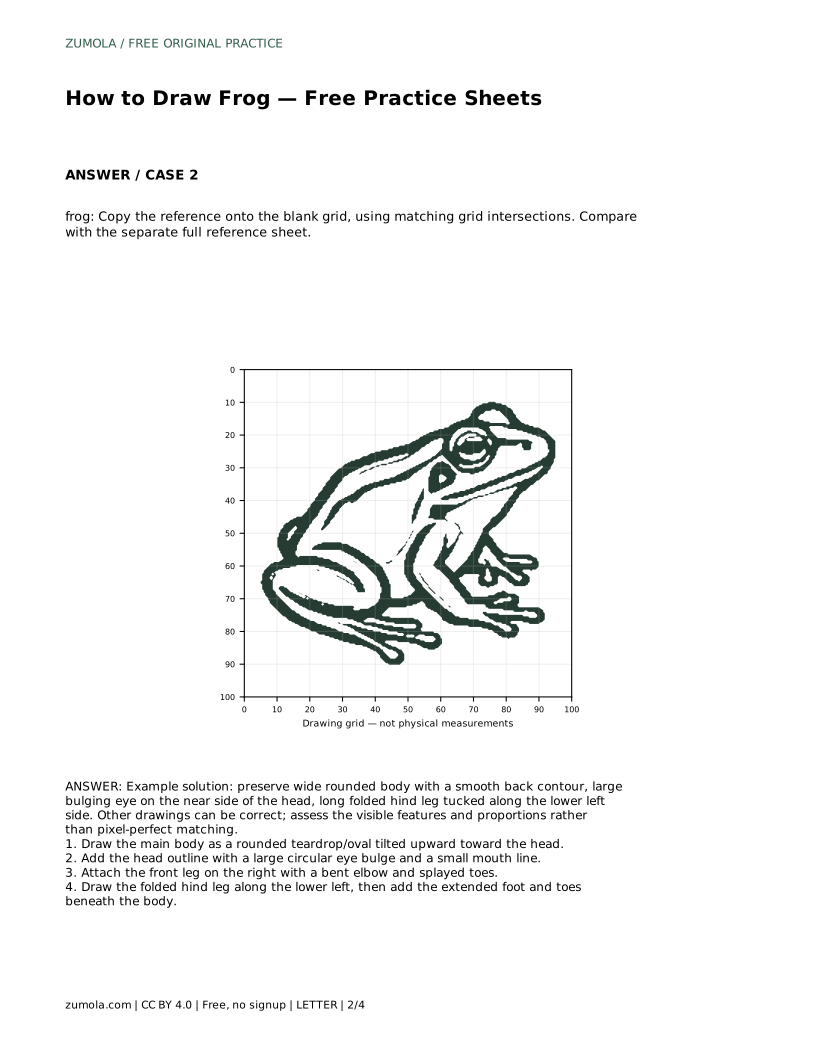
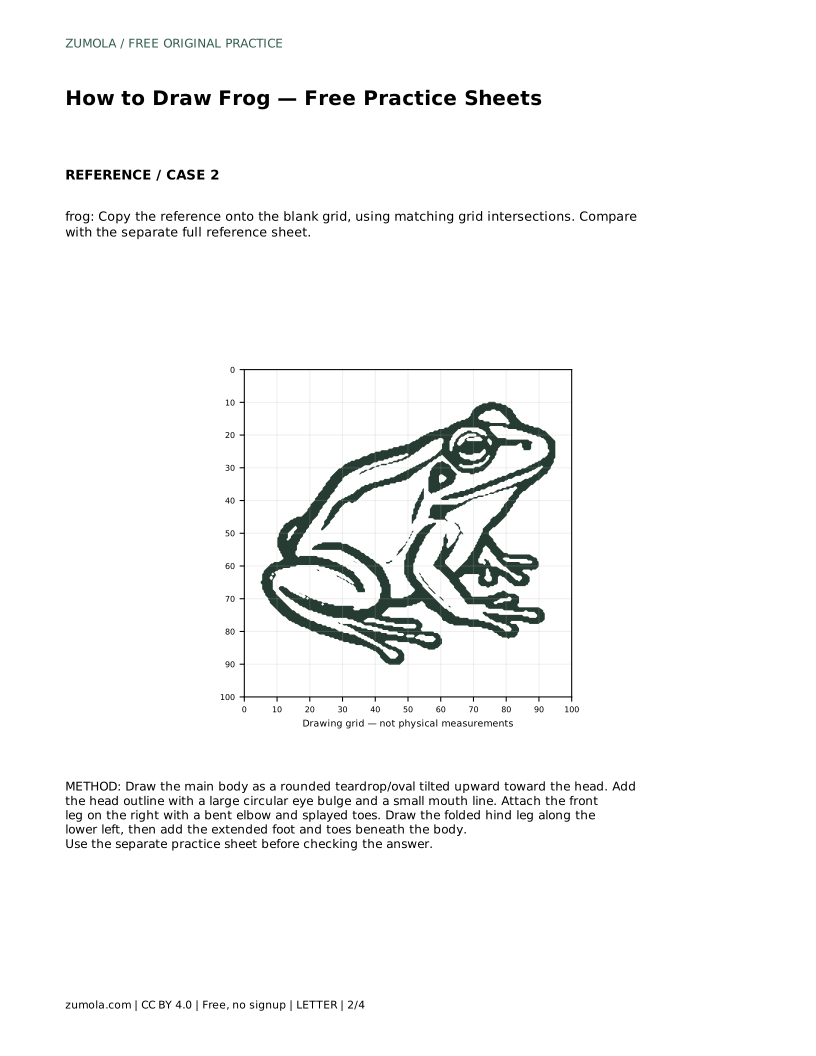
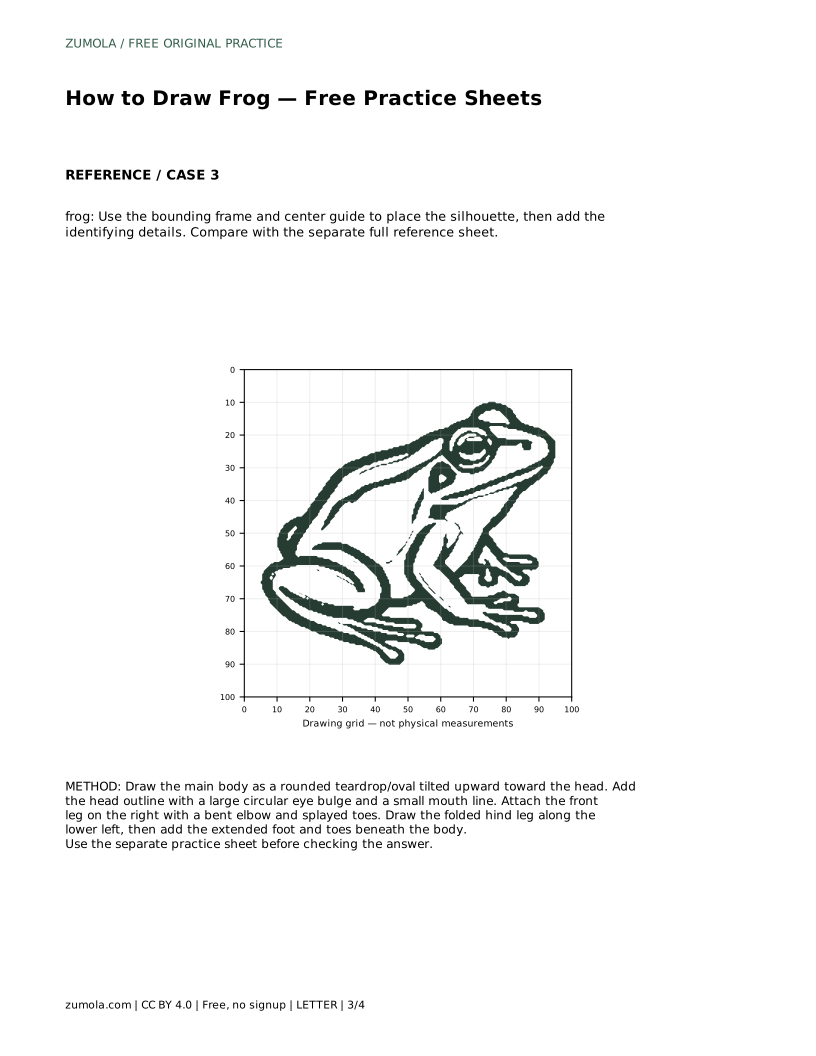
Each sheet isolates one skill. On the trace sheet, follow the reference outline first, then practise the contour independently on blank space and compare with the separate full reference sheet. On the grid sheet, copy the reference onto the blank grid using matching grid intersections; this trains you to judge where a curve sits relative to fixed points rather than guessing.
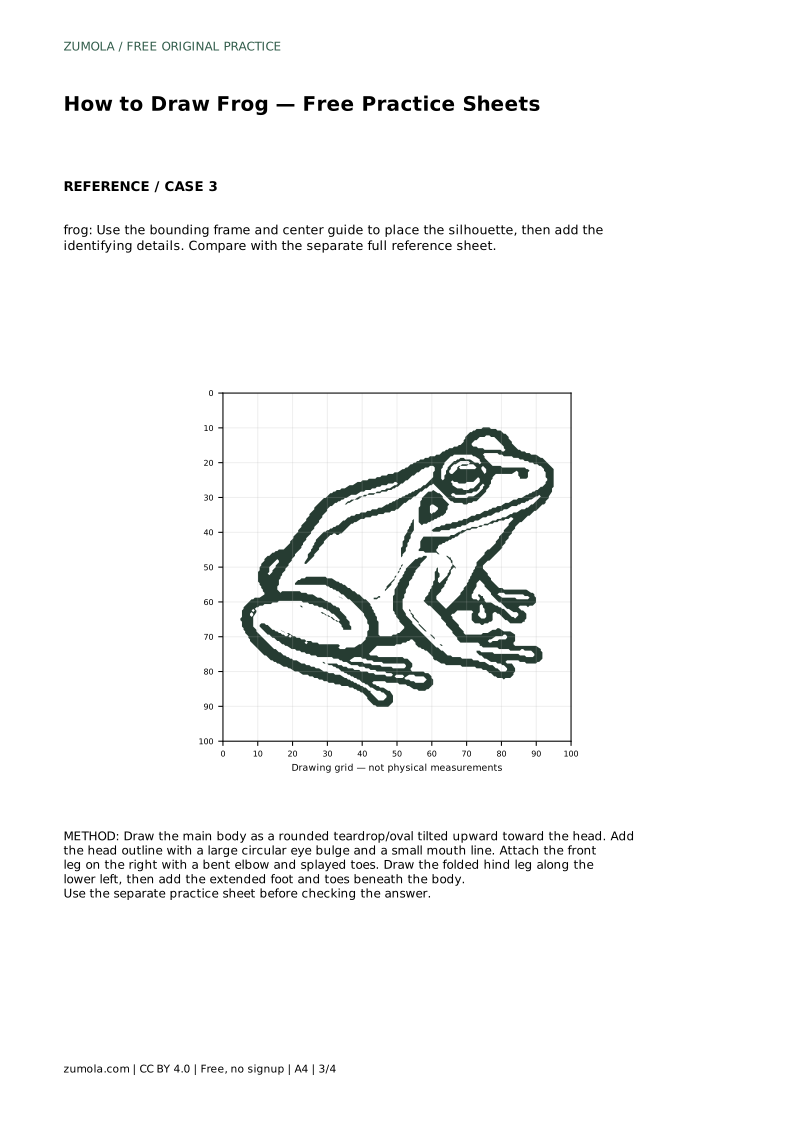
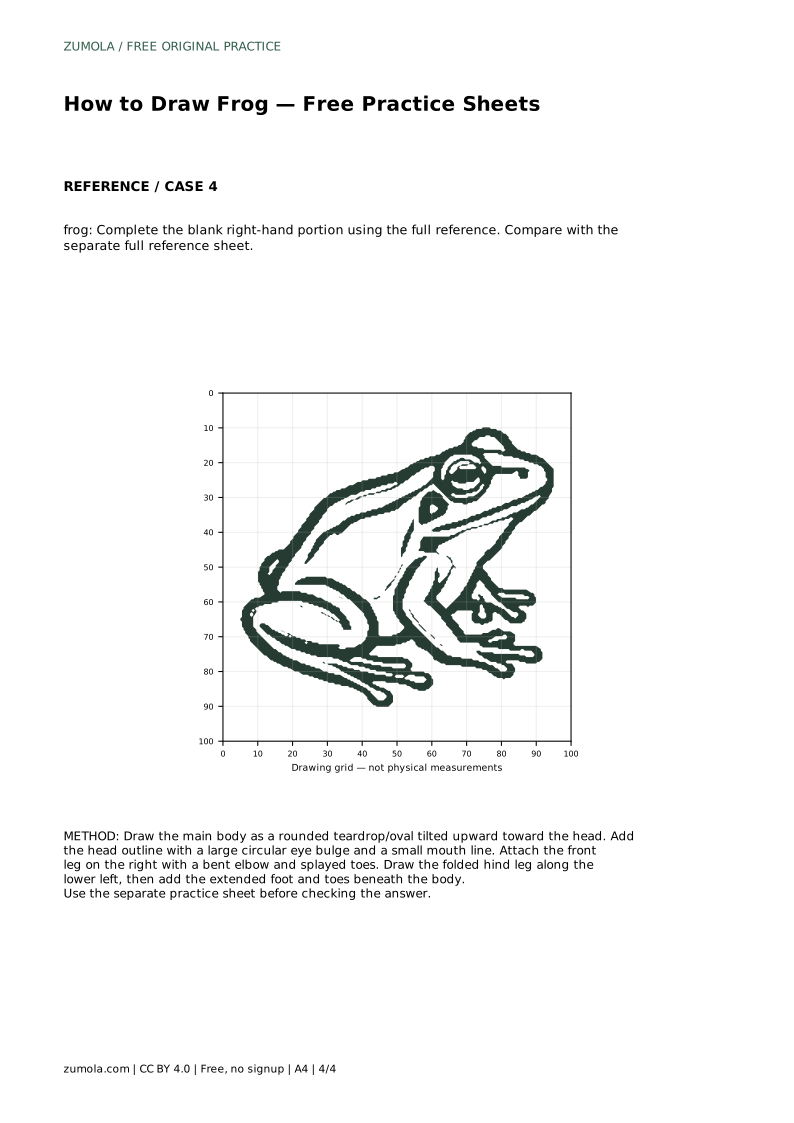
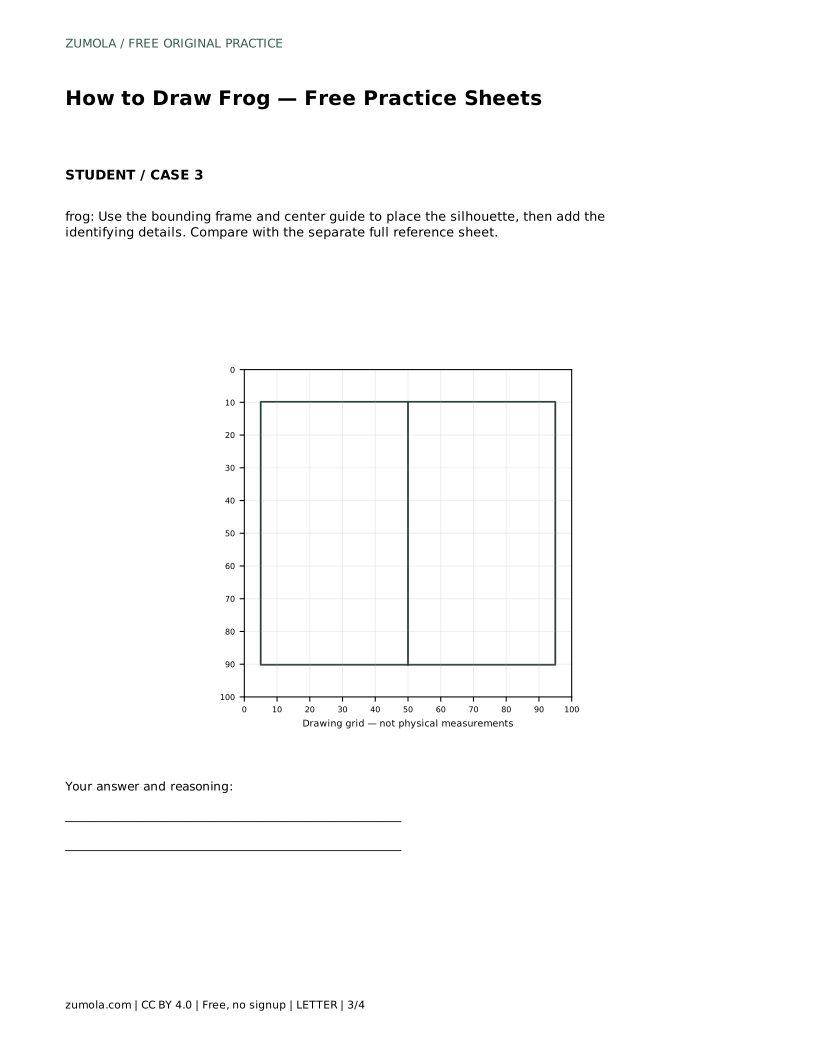
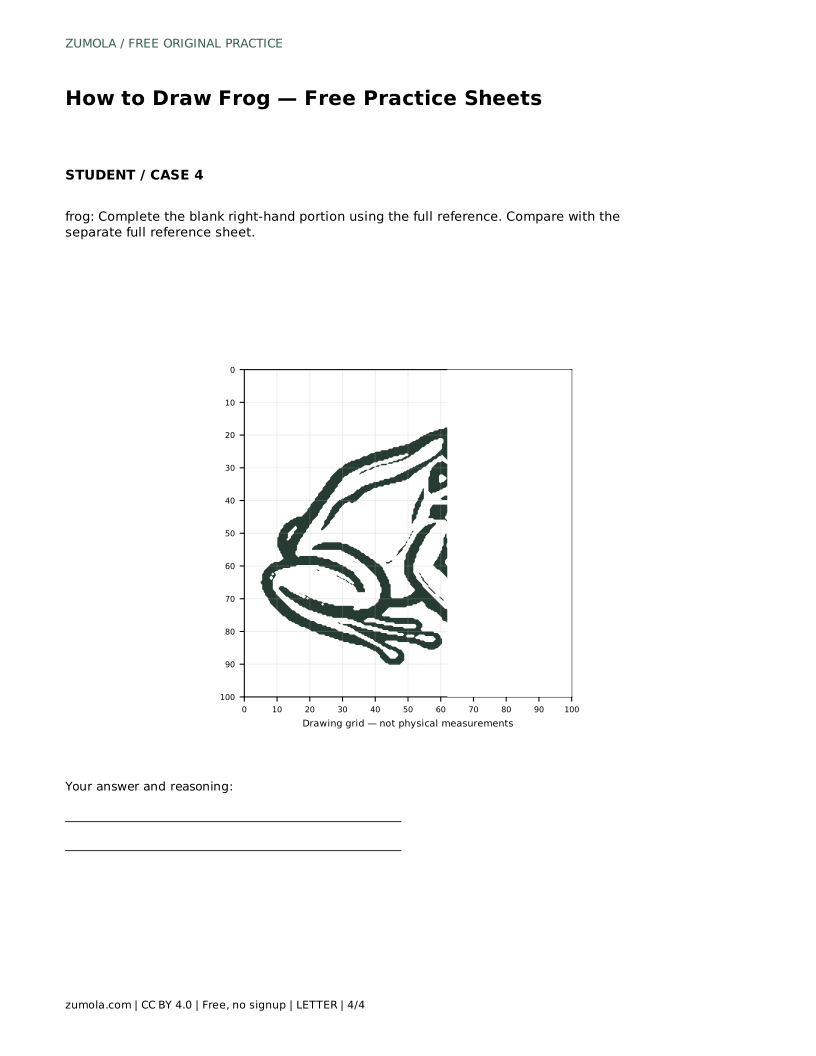
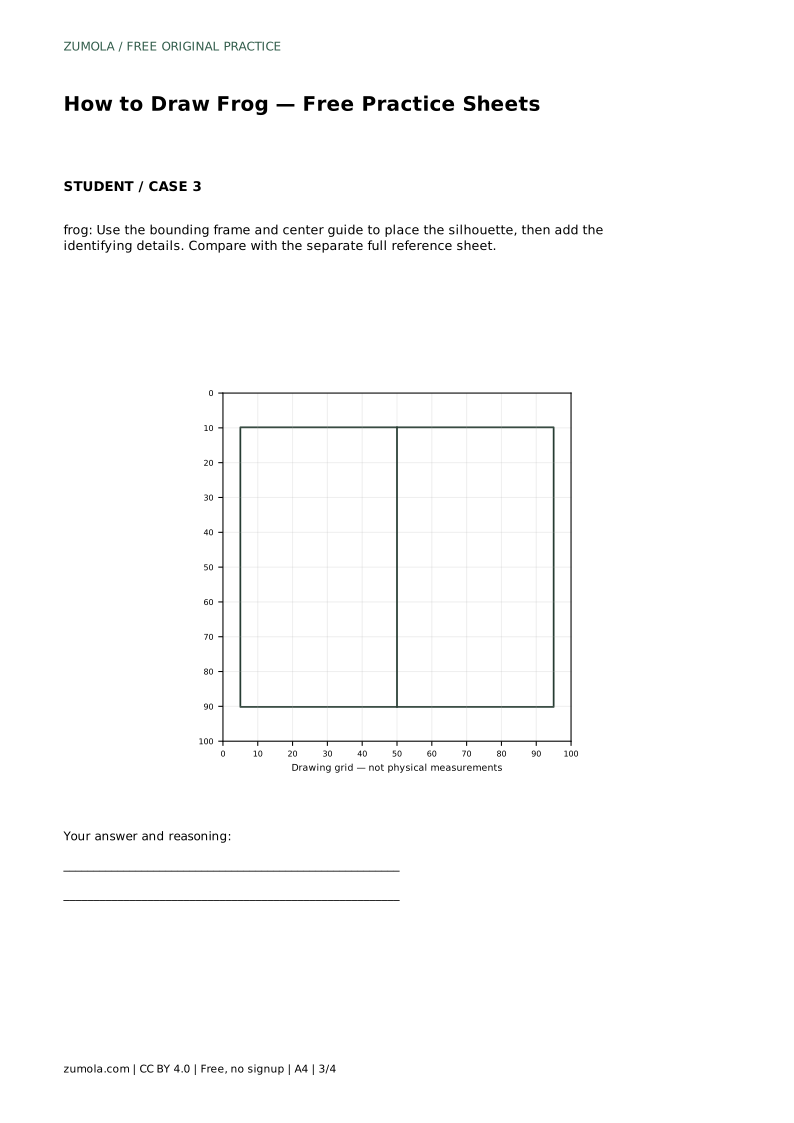
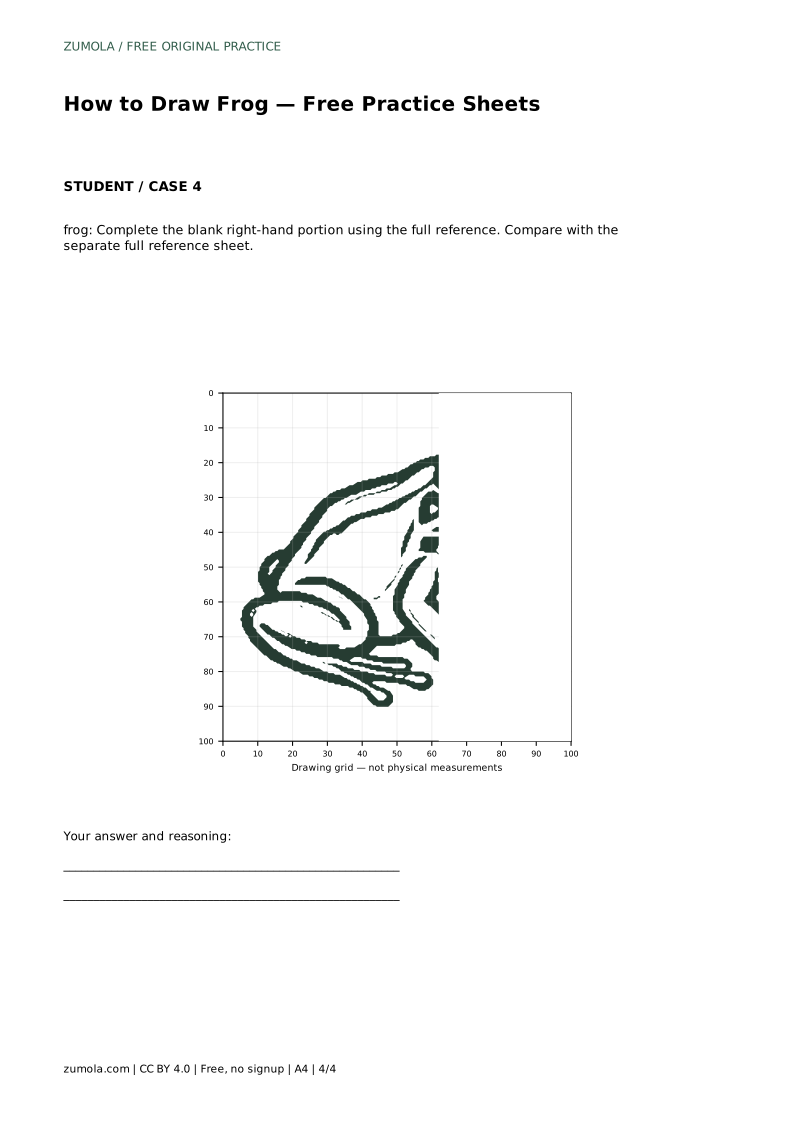
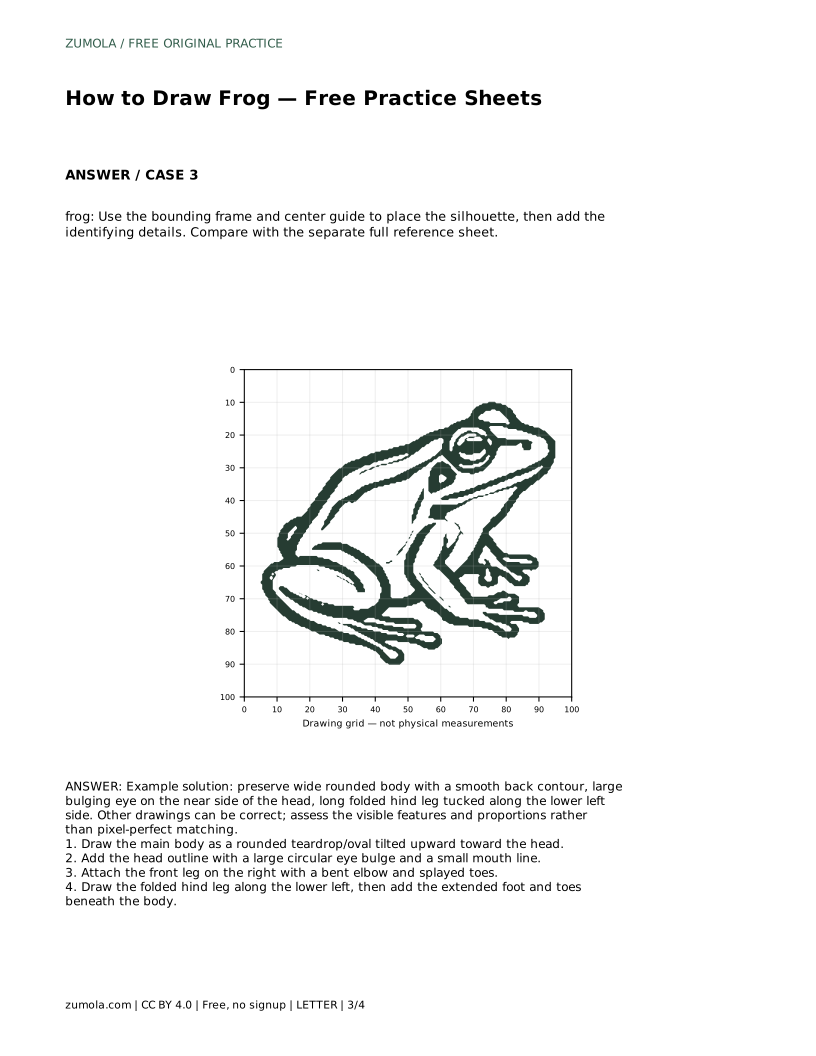
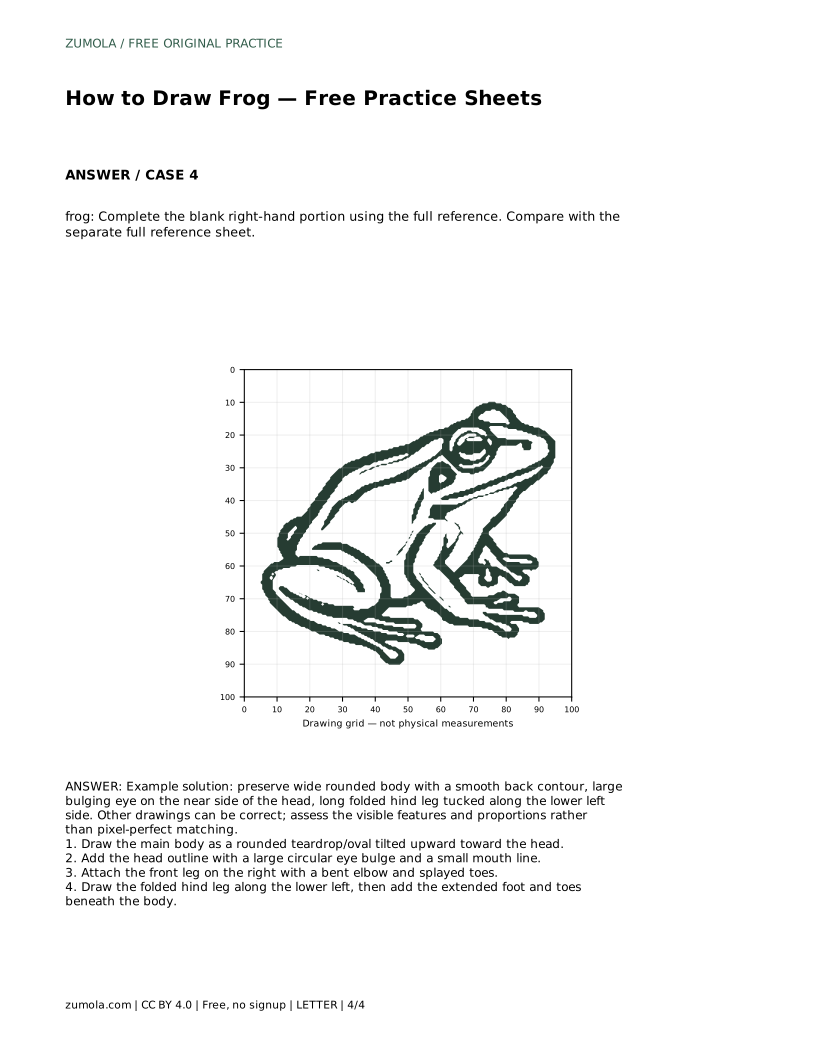
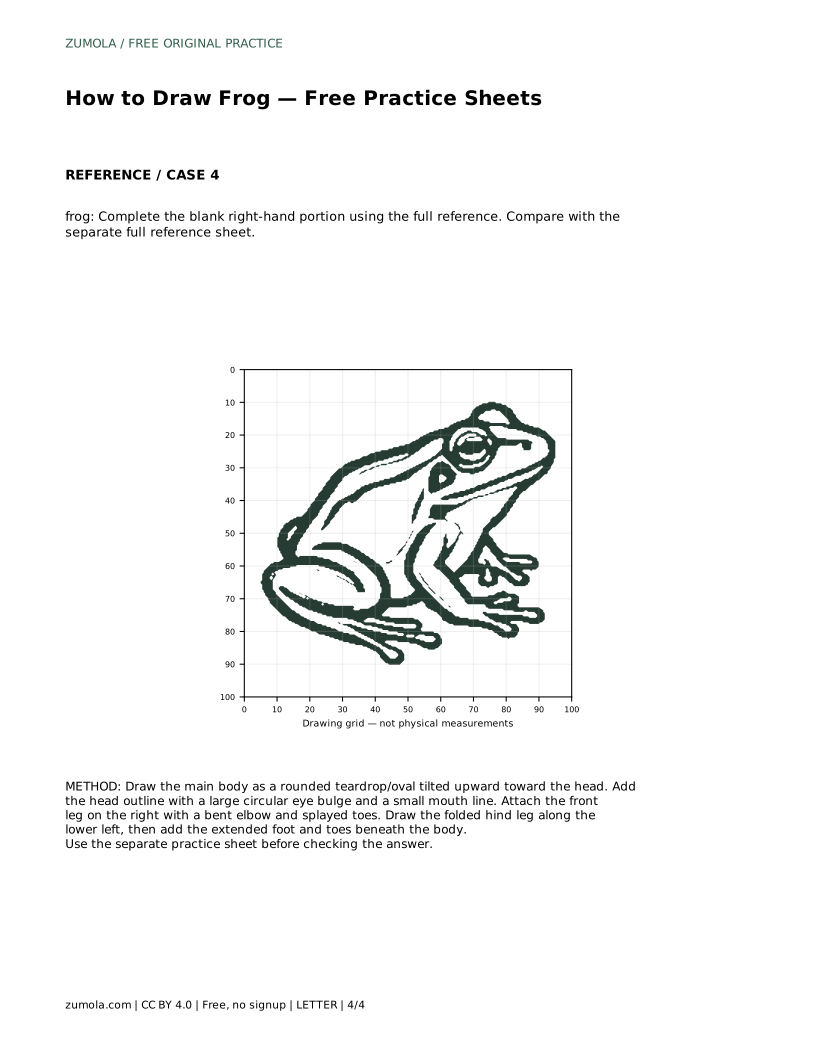
The bounding-frame sheet gives you a center guide for placing the silhouette before adding identifying details. The partial-reference sheet asks you to complete the blank right-hand portion using the full reference, which tests whether you can carry proportions across a gap. In every case, compare your finished drawing with the separate full reference sheet rather than with your memory of it.
Art has multiple valid outcomes, so do not expect a pixel-perfect match. Instead, check visible features and proportions: a wide rounded body, a smooth back contour, a large bulging eye on the near side of the head, a long folded hind leg tucked along the lower left side, and splayed toes. A drawing can differ in line quality or toe count and still be correct.
Use a short rubric to review your work honestly. Note which features are clear and which are ambiguous, then redraw only the weakest area rather than starting over.
frog: Trace the reference outline, then practise the contour independently. Compare with the separate full reference sheet.
Example solution: preserve wide rounded body with a smooth back contour, large bulging eye on the near side of the head, long folded hind leg tucked along the lower left side. Other drawings can be correct; assess the visible features and proportions rather than pixel-perfect matching. Draw the main body as a rounded teardrop/oval tilted upward toward the head. Add the head outline with a large circular eye bulge and a small mouth line. Attach the front leg on the right with a bent elbow and splayed toes. Draw the folded hind leg along the lower left, then add the extended foot and toes beneath the body.
No. Several drawings can be correct. Assess visible features and proportions, such as the wide body, bulging eye and folded hind leg, rather than pixel-perfect matching.
Start with the trace sheet to learn the contour, then move to the grid or frame sheet to practise placing the shape without tracing.
Keep the separate full reference sheet nearby and compare feature by feature: body width and tilt, eye size and position, hind-leg fold, and toe placement.
All drawing practice · Free coordinate paper
Original resources · CC BY 4.0 · Free for personal and classroom use with attribution.