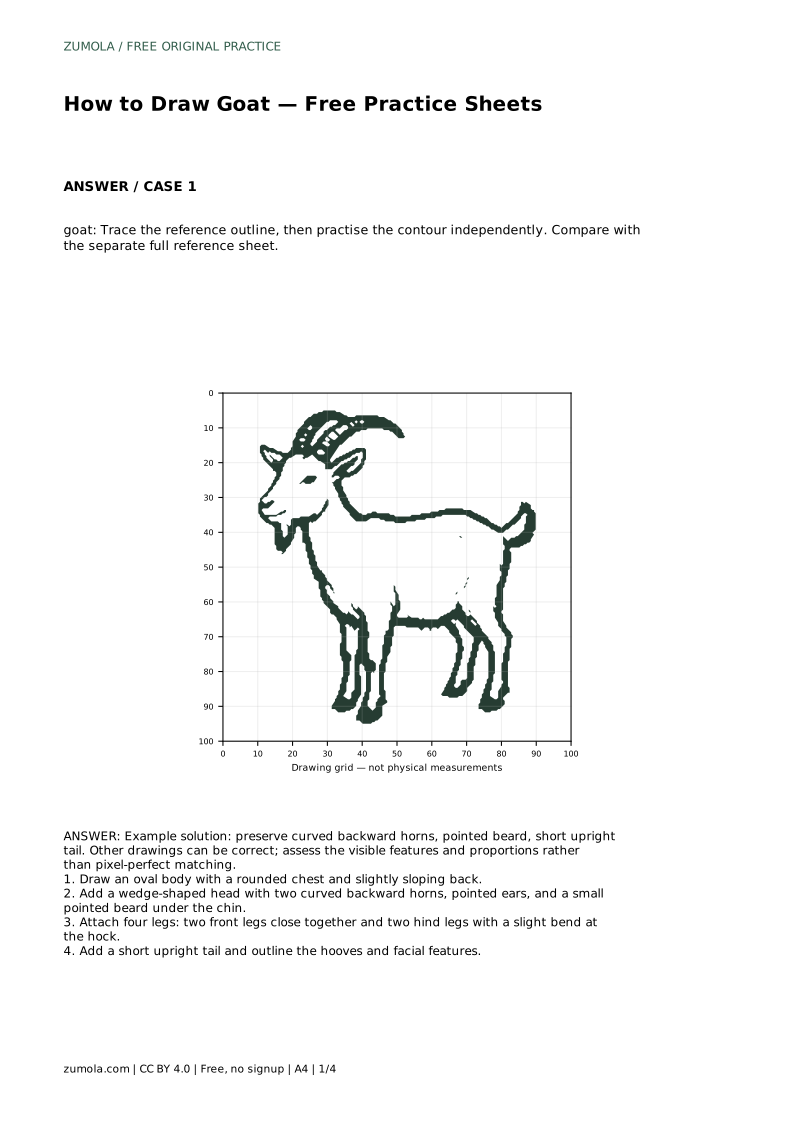
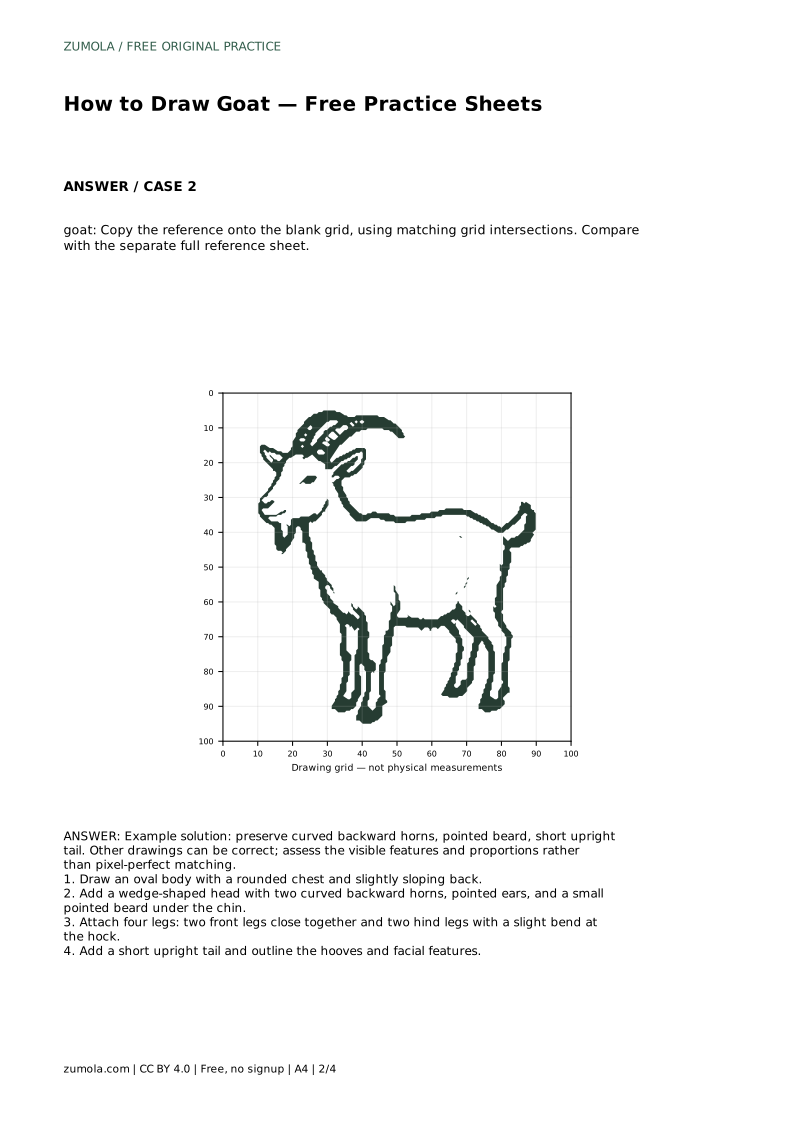
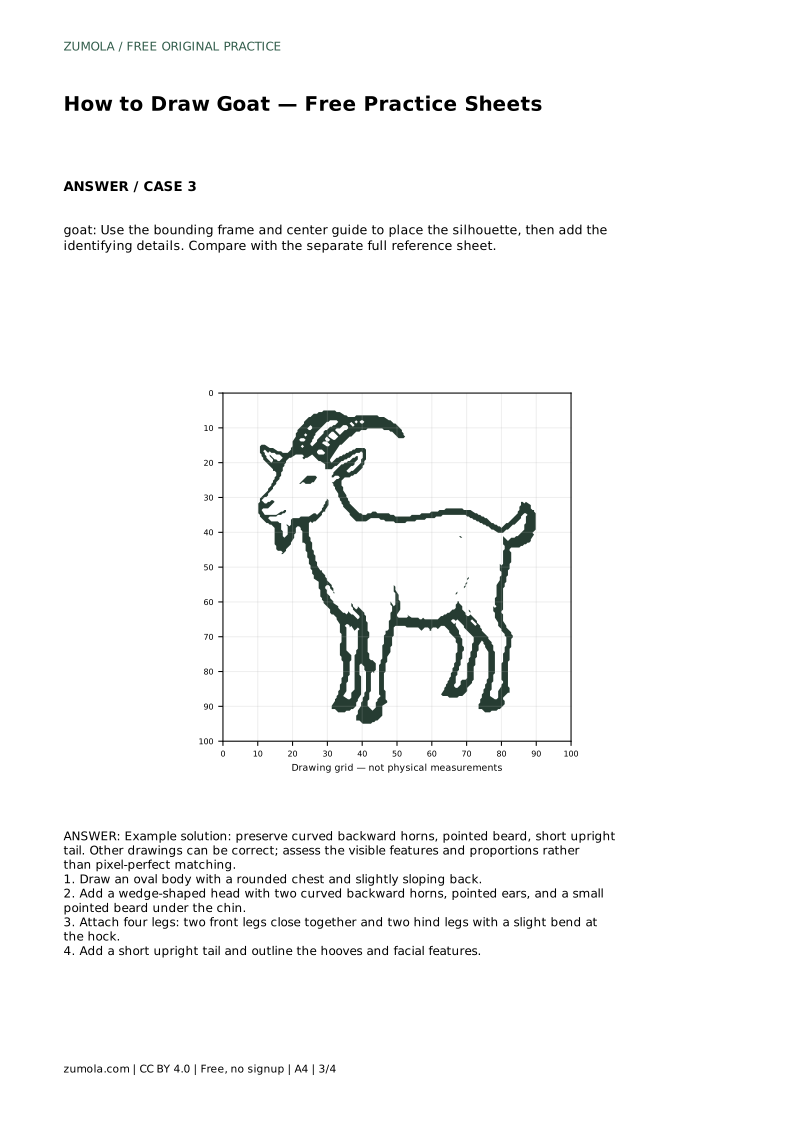
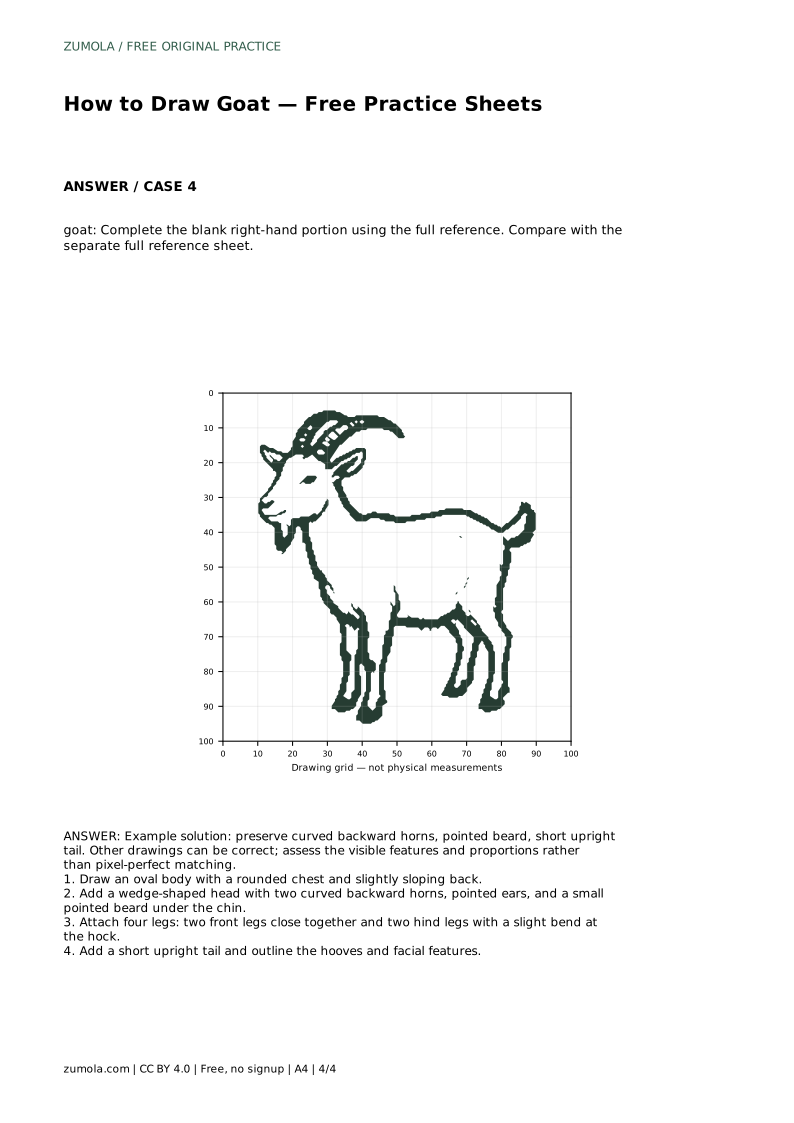
Reference diagrams
LETTER · Download PDF
A4 · Download PDF
Free original resources
Learn to draw a goat by building the body, head, horns, beard, legs, and tail in order. Use the practice sheet variants to check shape and proportion.
Four original cases, with reference diagrams, practice sheets and worked answers. Everything is free; no signup required.
LETTER · Download PDF
A4 · Download PDF
LETTER · Download PDF
A4 · Download PDF
LETTER · Download PDF
A4 · Download PDF
Use A4 or US Letter to match your printer. Use the stated values and conditions to solve each exercise; diagrams are not physical measuring rulers.
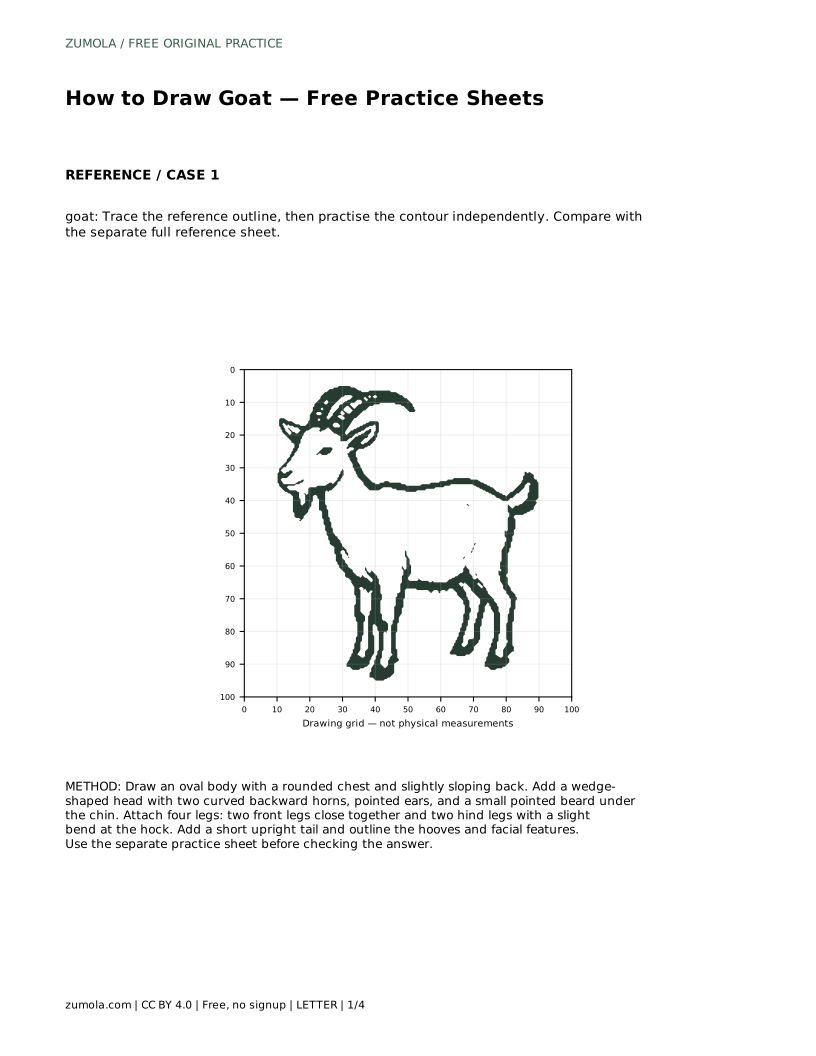
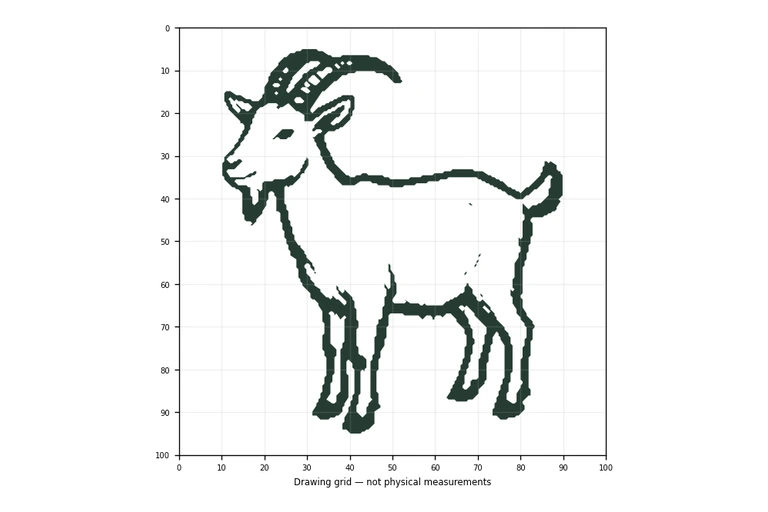
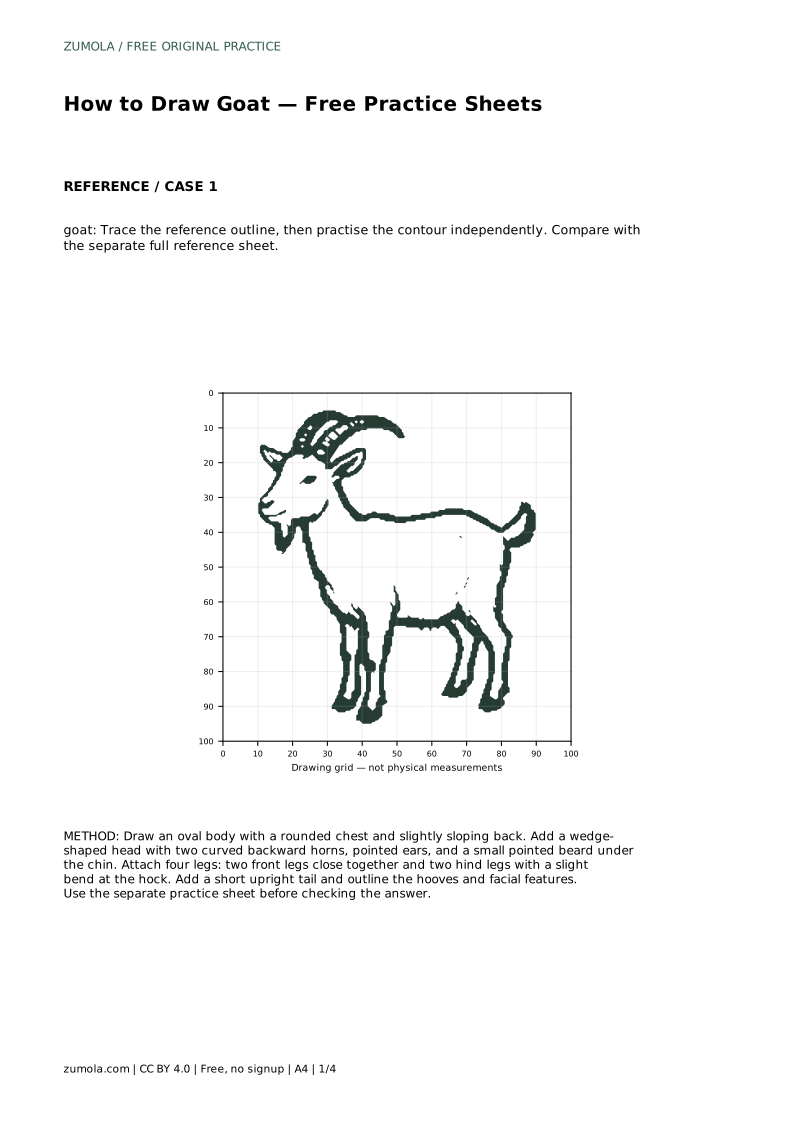
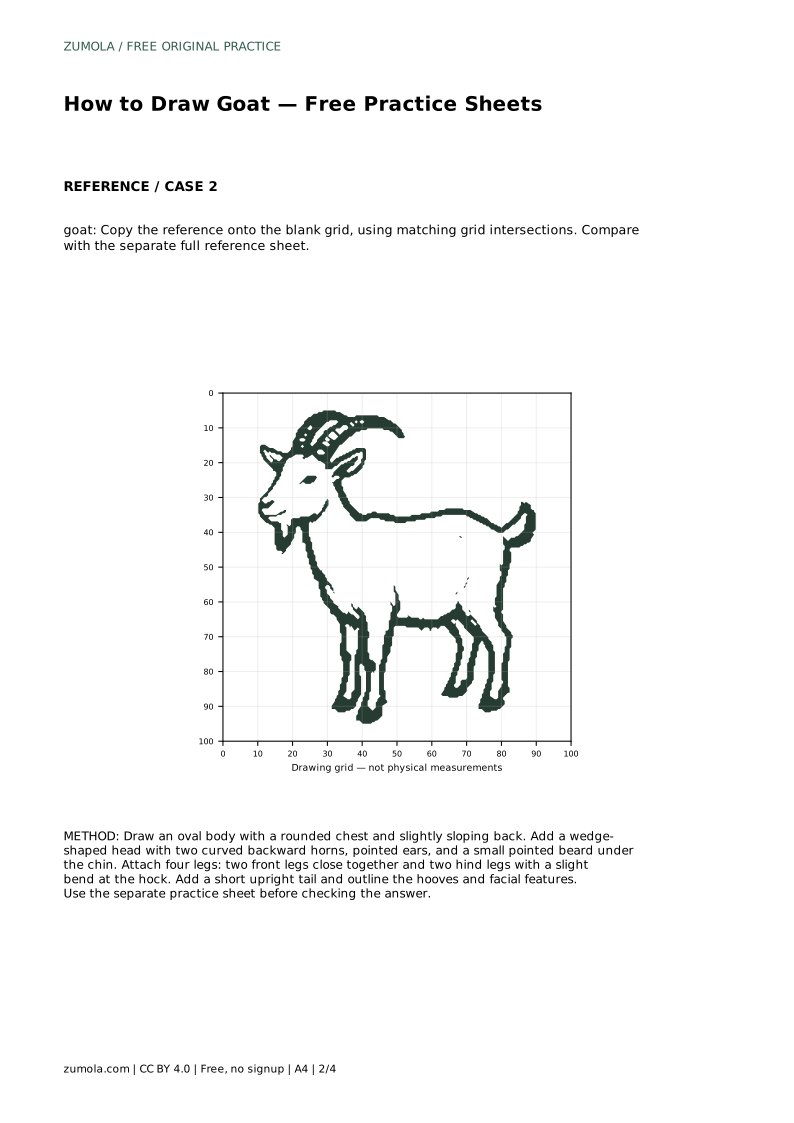
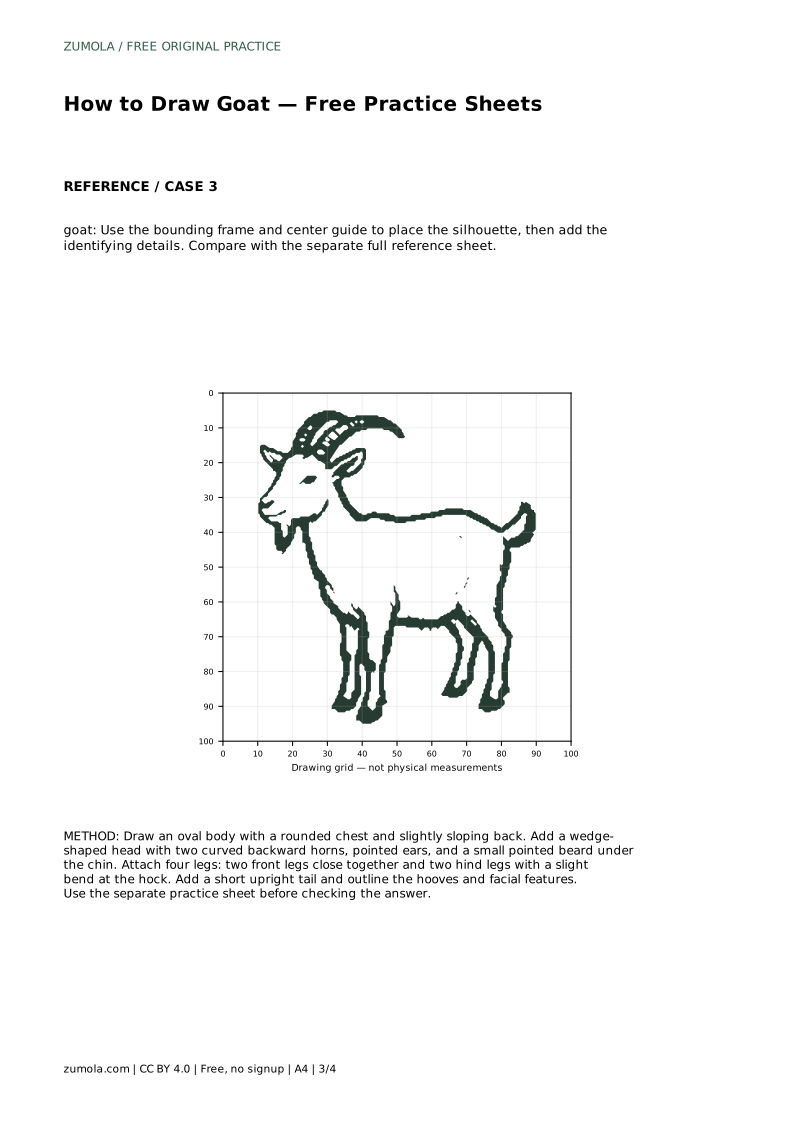
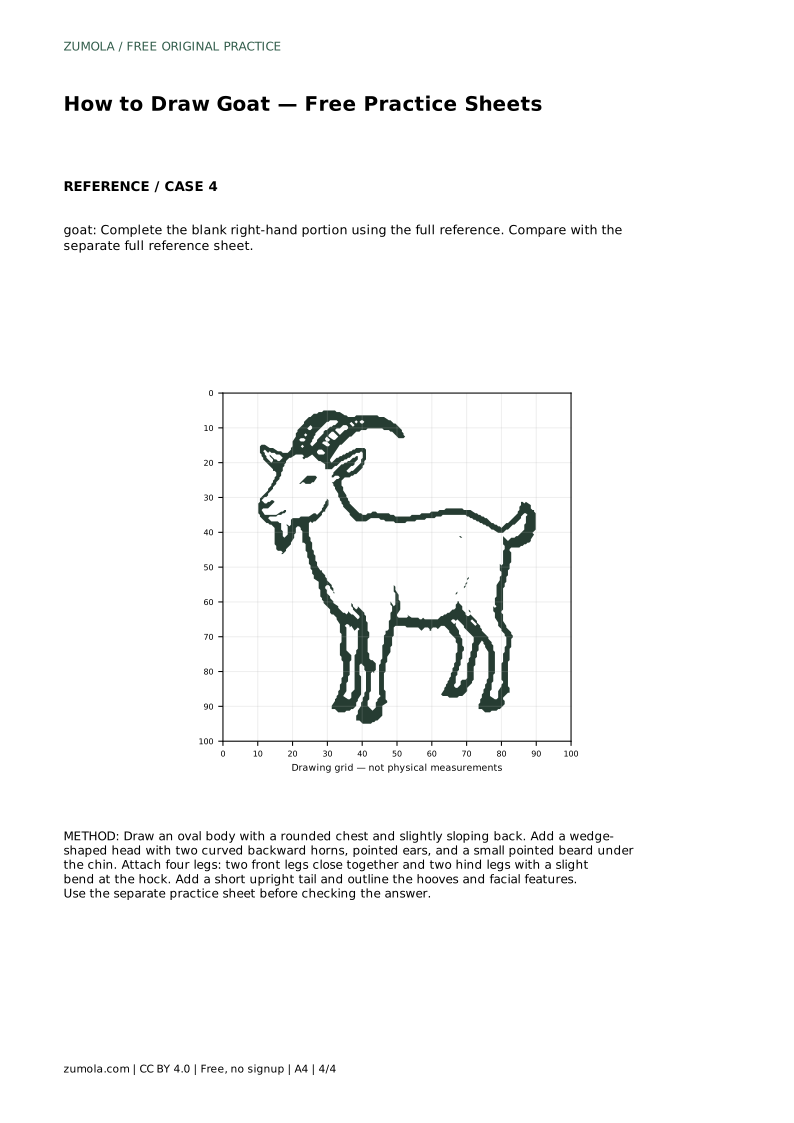
Drawing a goat is mostly a problem of arranging a few clear shapes in the right order. The body is a rounded oval, the head is wedge-shaped, and the horns curve backward above pointed ears. A small pointed beard and a short upright tail finish the silhouette. This page explains a reliable sequence you can repeat on tracing, grid, frame, and partial-reference practice sheets, then judge with a feature-based rubric rather than an exact match.
Start with the largest shape so the page does not fill up with disconnected parts. Place a horizontal oval for the body, giving the chest a rounded front and letting the back slope gently downward toward the hindquarters. Keep the oval wide enough that four legs can attach beneath it without crowding.
Next, attach a wedge-shaped head at the front, angled slightly forward. Add two horns that curve backward, pointed ears below or beside the horns, and a small pointed beard under the chin. Then attach the legs: two front legs close together and two hind legs with a slight bend at the hock, which is the joint above the hoof. Finish with a short upright tail, hoof outlines, and simple facial features.
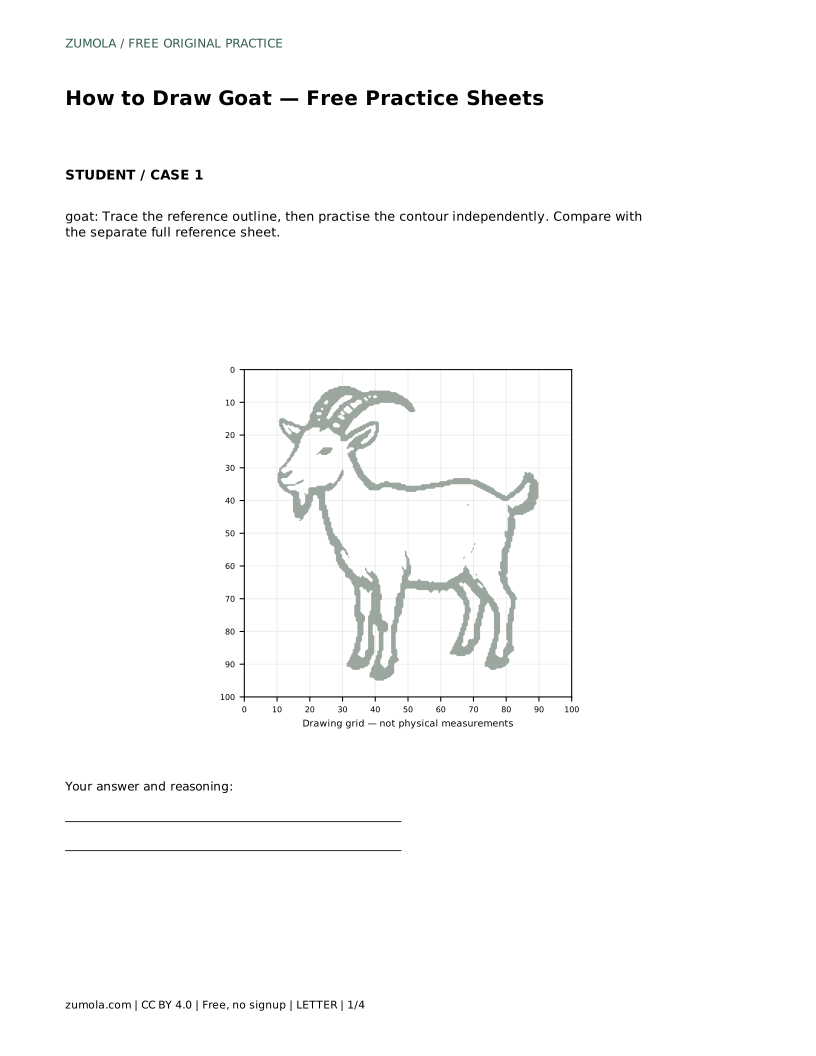
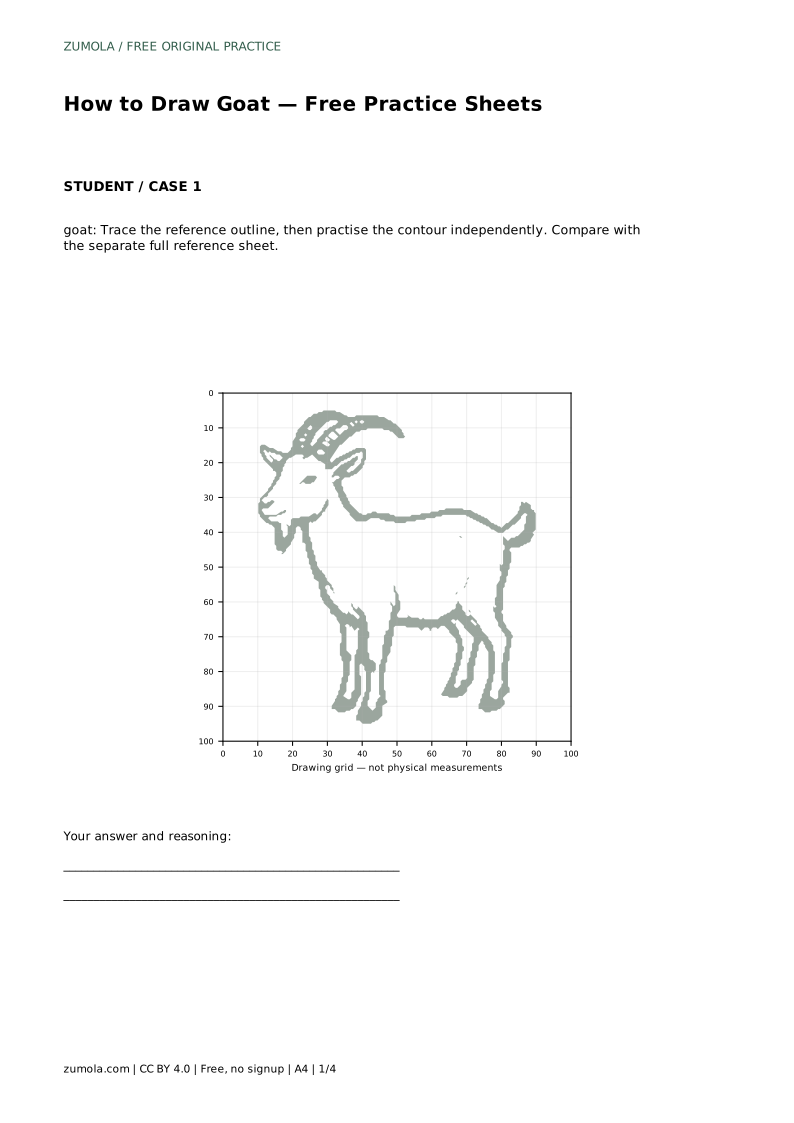
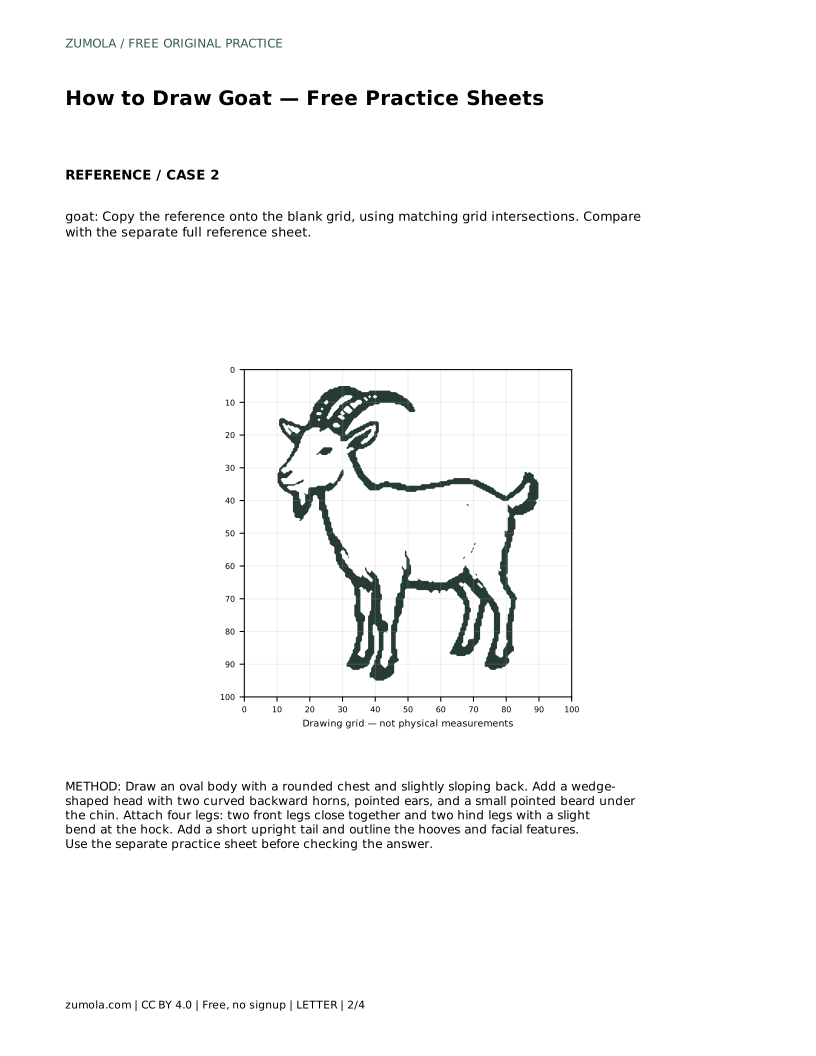
The tracing sheet asks you to follow the reference outline first, then repeat the contour without tracing. That second pass is where the learning happens, because you must recall the order of shapes rather than follow a line.
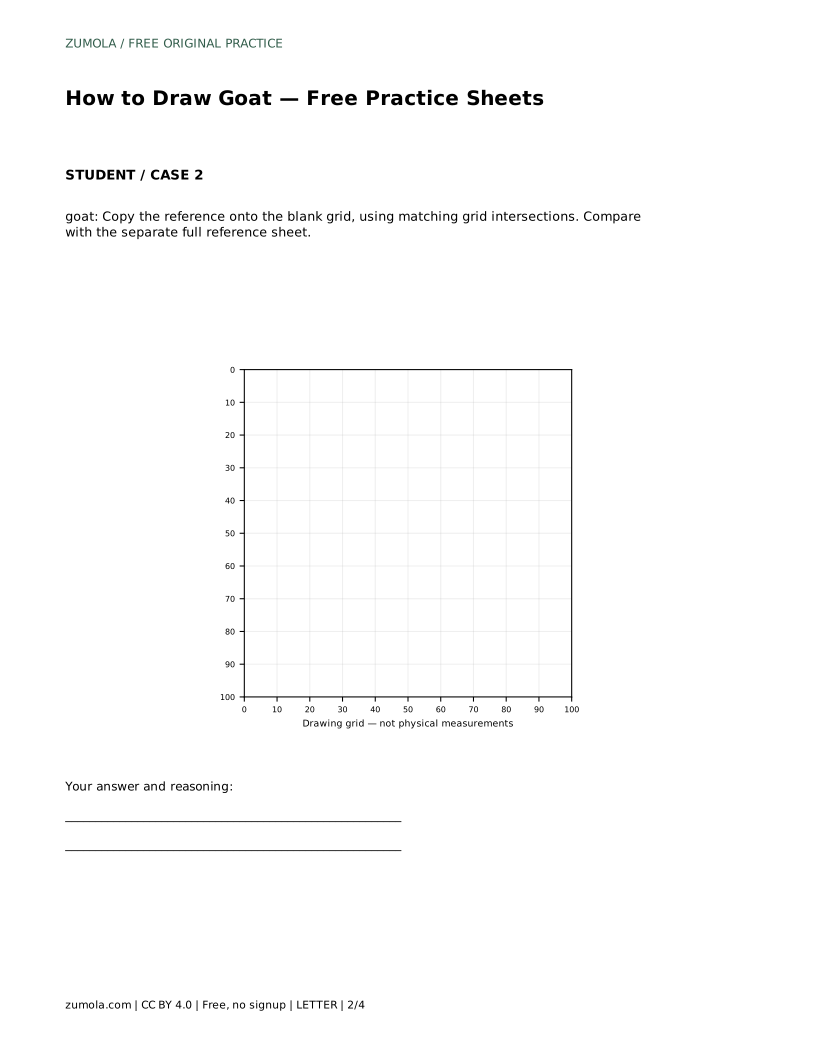
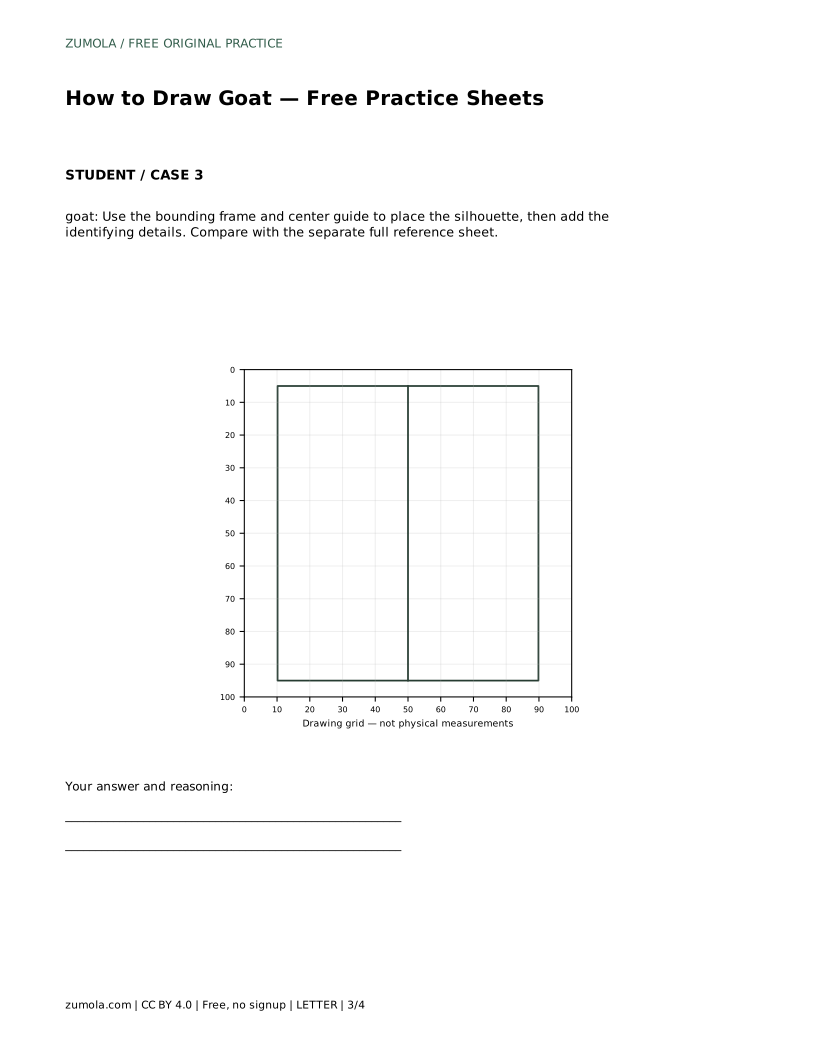
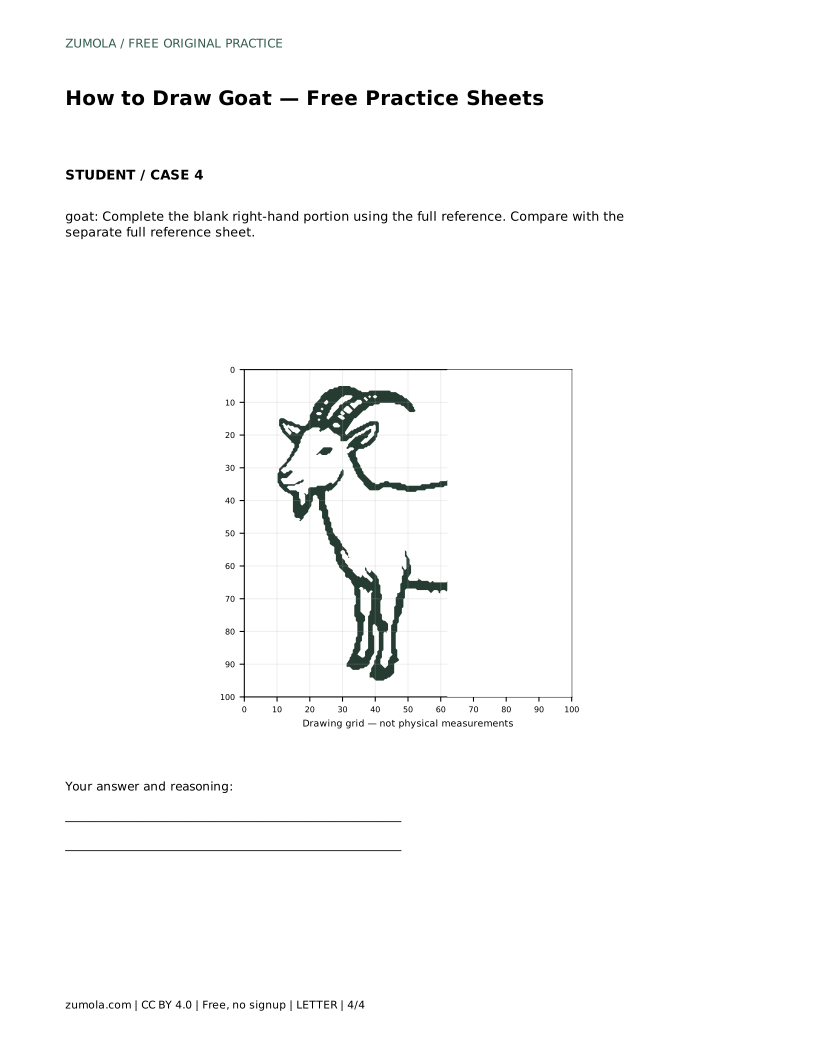
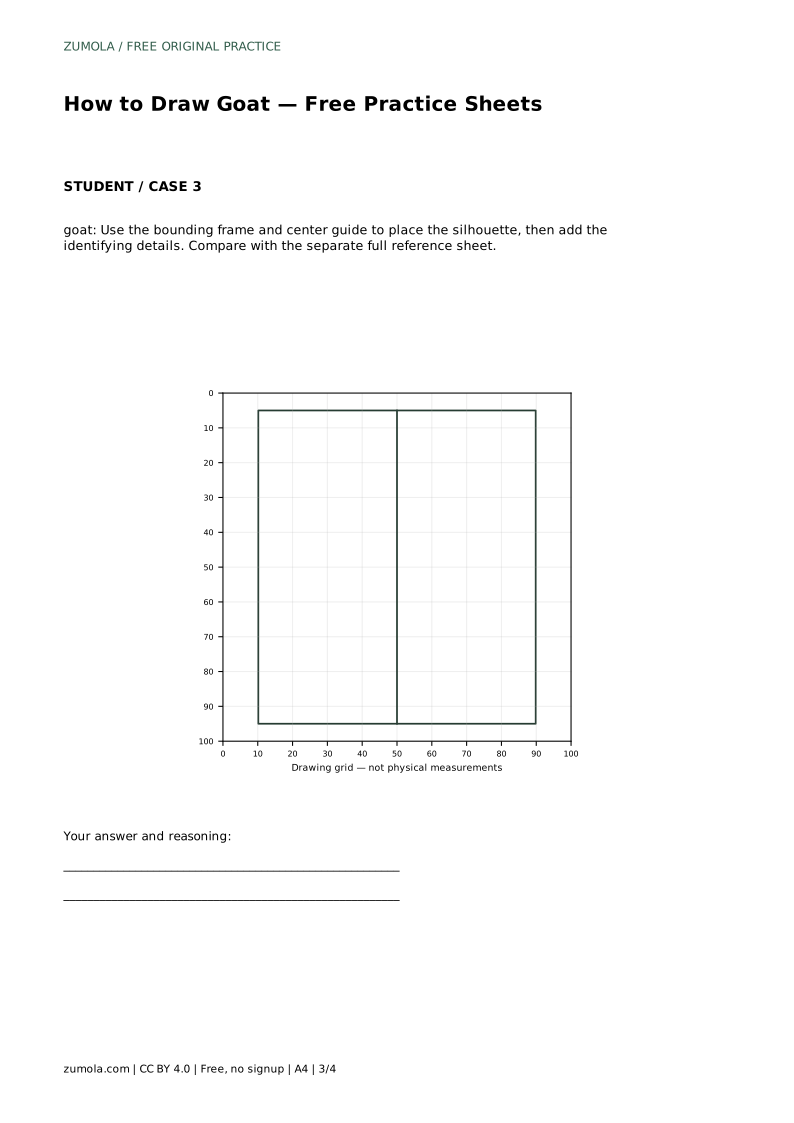
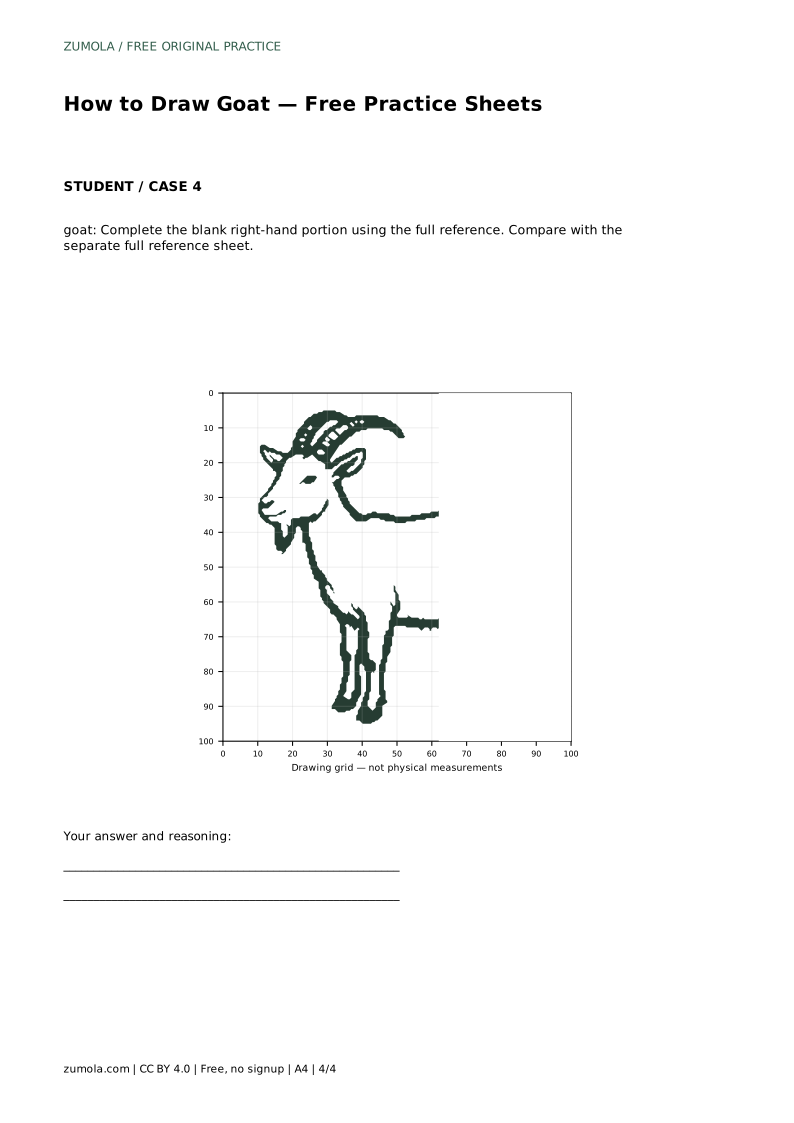
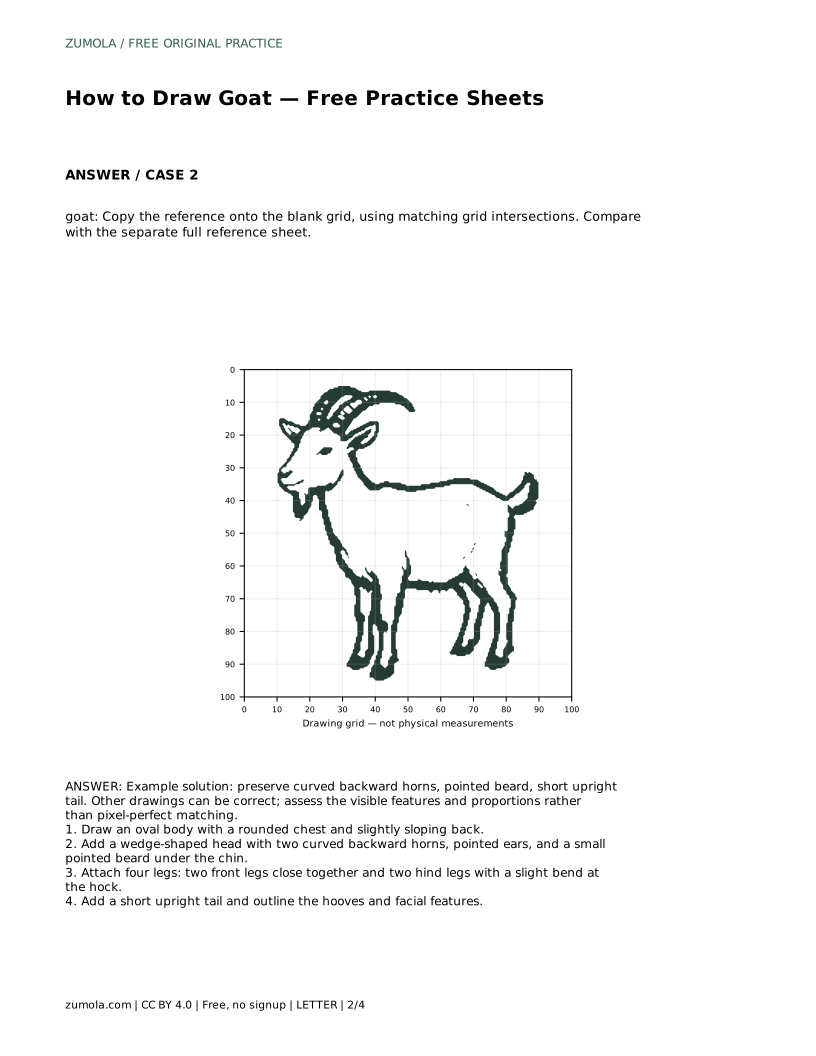
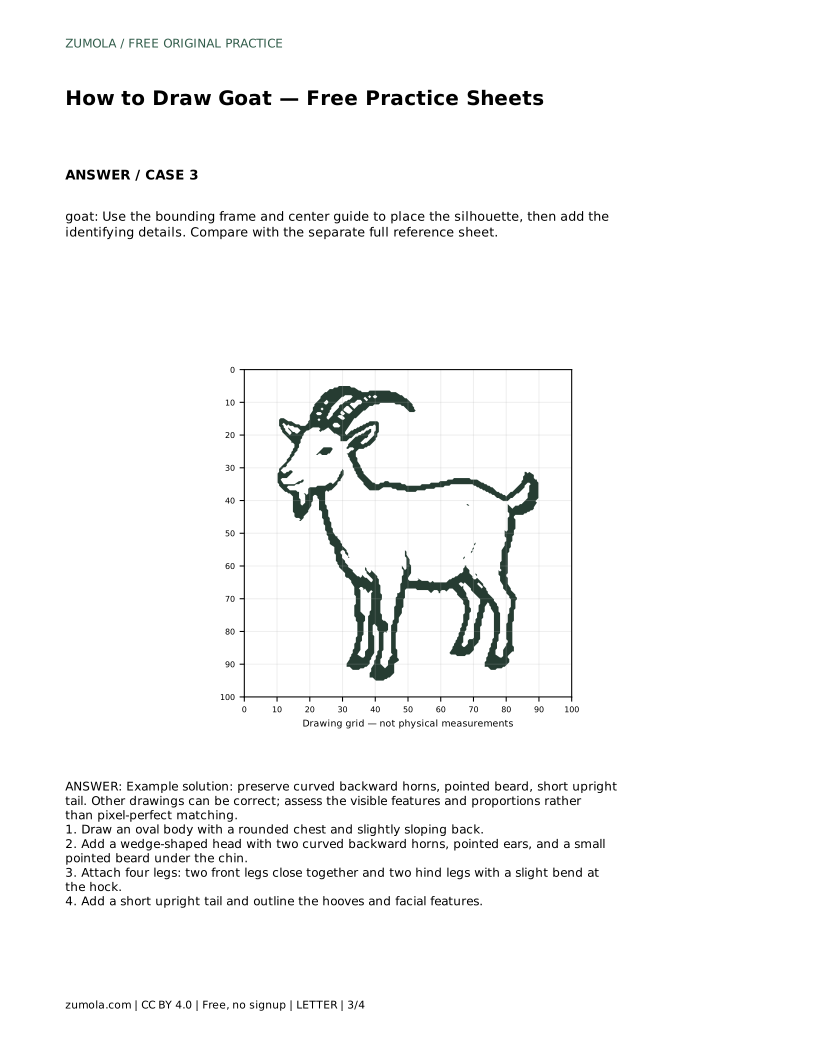
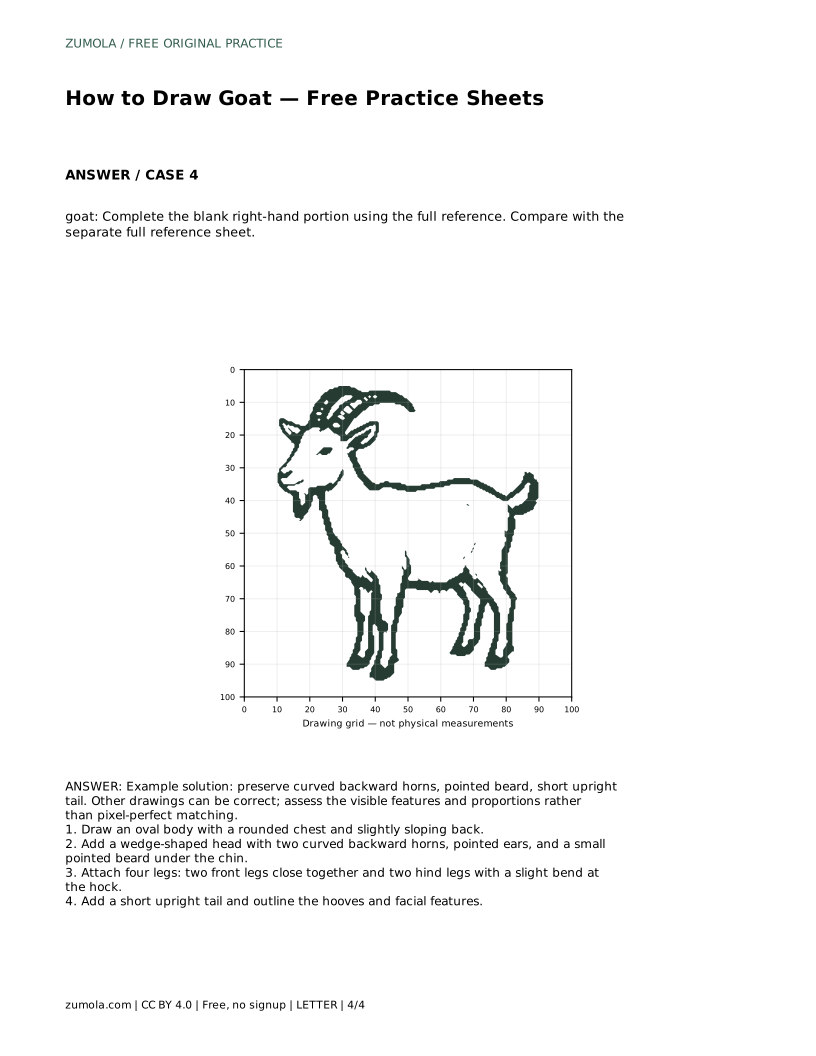
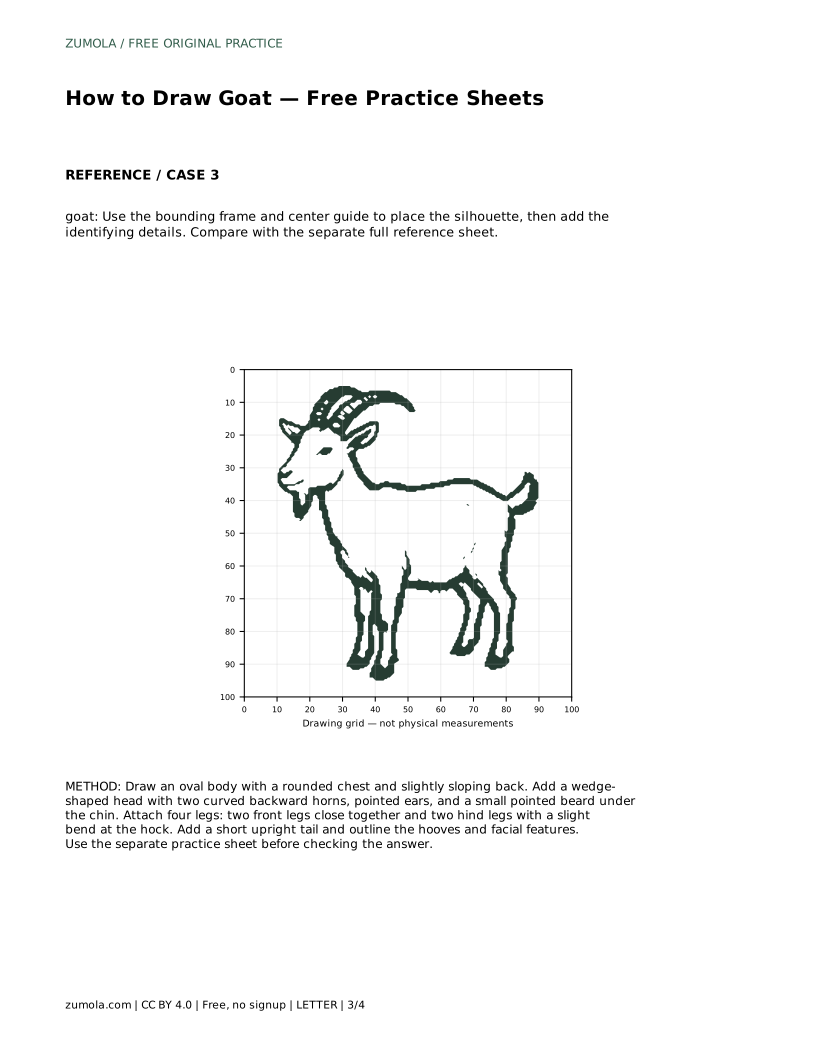
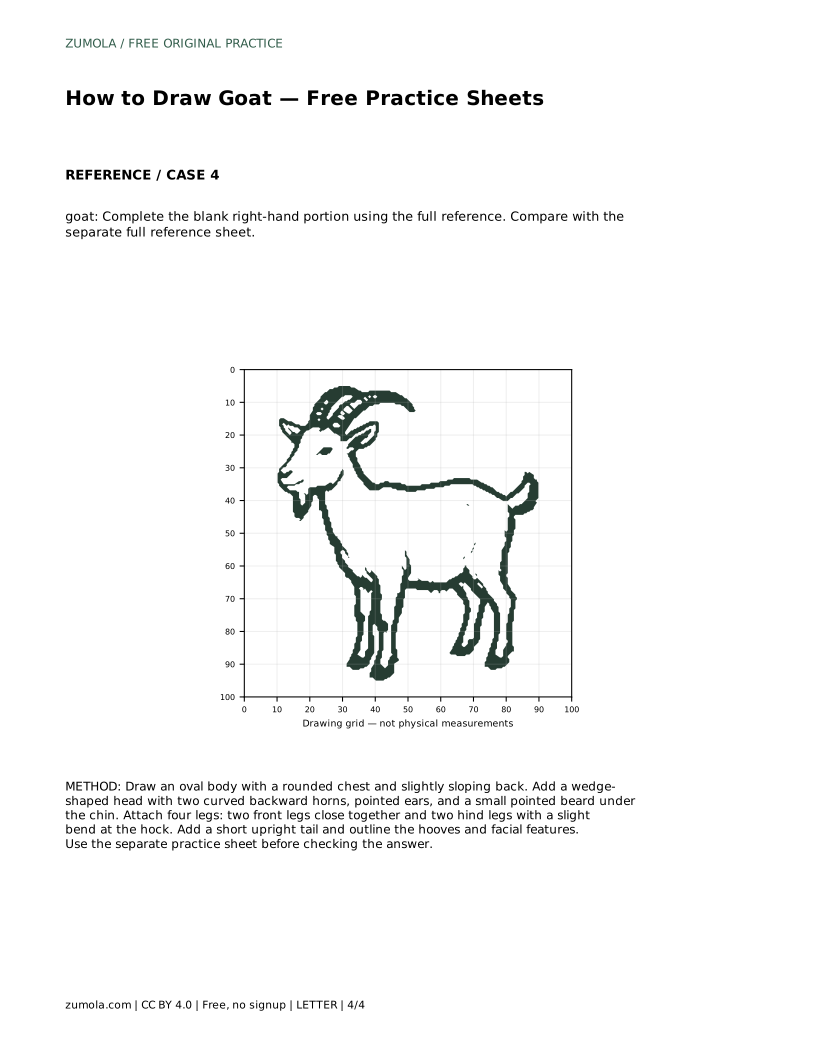
The grid sheet asks you to copy the reference onto blank squares by matching grid intersections. Use the grid to compare where the head sits relative to the body and where the legs meet the ground, not to count squares perfectly. The bounding-frame sheet asks you to place the silhouette inside a frame and center guide before adding details, which trains overall placement. The partial-reference sheet gives you the full reference while you complete the blank right-hand portion, so check the missing side against the visible side for balance.
A goat drawing can be correct in many different ways. Two students may place the horns at different angles or make the body slightly longer, and both results can still read clearly as a goat. What matters is whether the identifying features are present and whether the proportions hold together.
Check the curved backward horns, the pointed beard, the short upright tail, and the four legs with a bend at the hock. Then check that the head is not larger than the body and that the legs are long enough to support it. Use the rubric below to assess visible features and proportions rather than pixel-perfect matching.
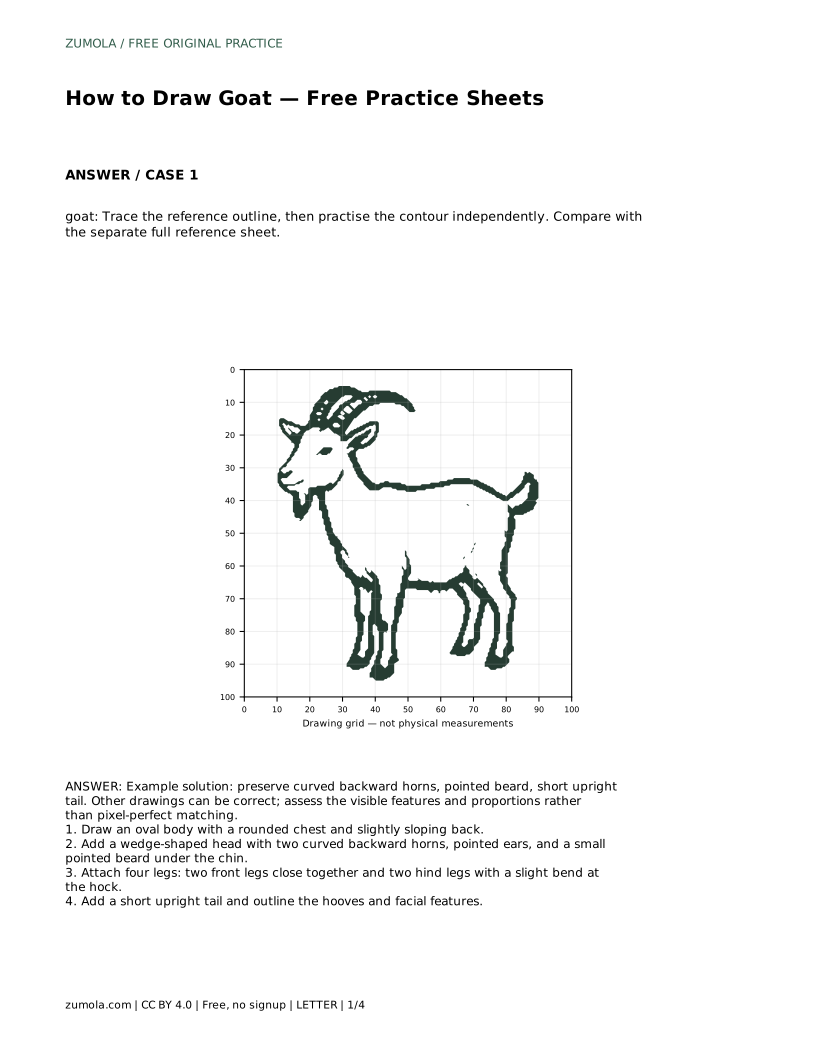
Prompt: Trace the reference outline, then practise the contour independently. Compare with the separate full reference sheet.
Example solution: preserve curved backward horns, pointed beard, short upright tail. Other drawings can be correct; assess the visible features and proportions rather than pixel-perfect matching.
goat: Trace the reference outline, then practise the contour independently. Compare with the separate full reference sheet.
Example solution: preserve curved backward horns, pointed beard, short upright tail. Other drawings can be correct; assess the visible features and proportions rather than pixel-perfect matching. Draw an oval body with a rounded chest and slightly sloping back. Add a wedge-shaped head with two curved backward horns, pointed ears, and a small pointed beard under the chin. Attach four legs: two front legs close together and two hind legs with a slight bend at the hock. Add a short upright tail and outline the hooves and facial features.
No. Preserve the identifying features and sensible proportions. Different horn angles, body lengths, and leg positions can all be correct goat drawings.
Start with the tracing sheet to learn the order of shapes, then move to the grid or frame sheet to practise placement without tracing.
Check the curved backward horns, pointed beard, short upright tail, and four legs with a bend at the hock, then compare the head size to the body.
All drawing practice · Free coordinate paper
Original resources · CC BY 4.0 · Free for personal and classroom use with attribution.