Reference diagrams
LETTER · Download PDF
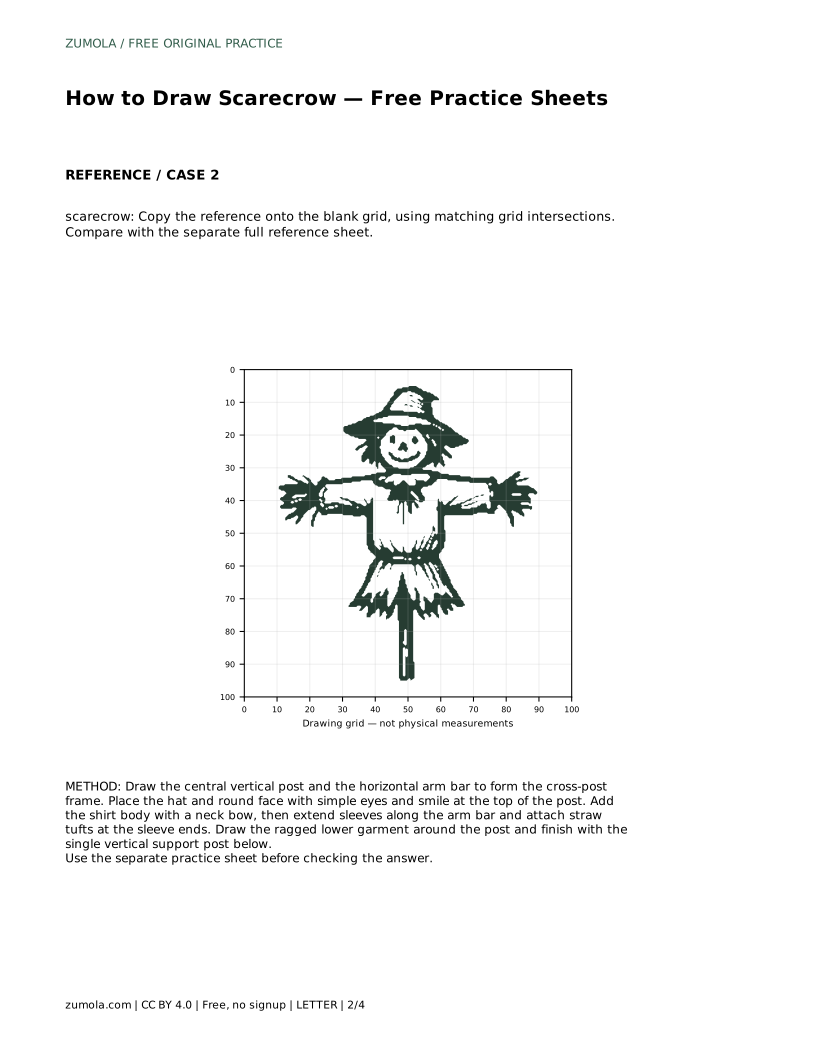
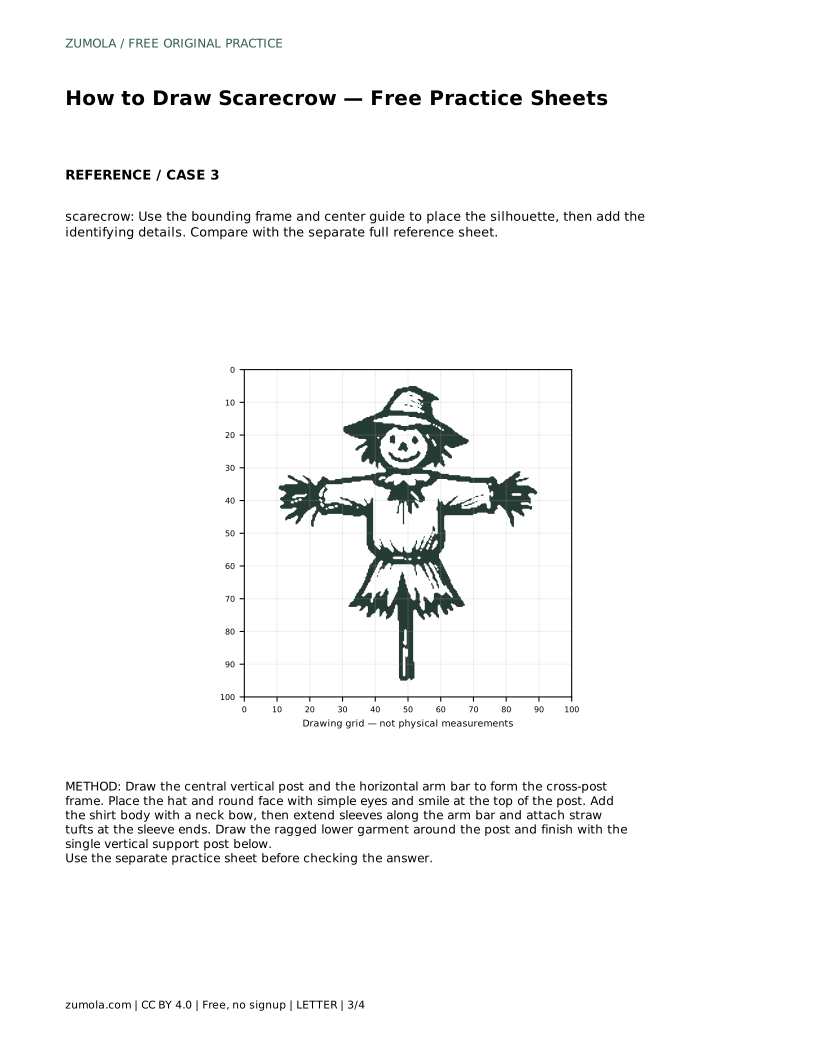
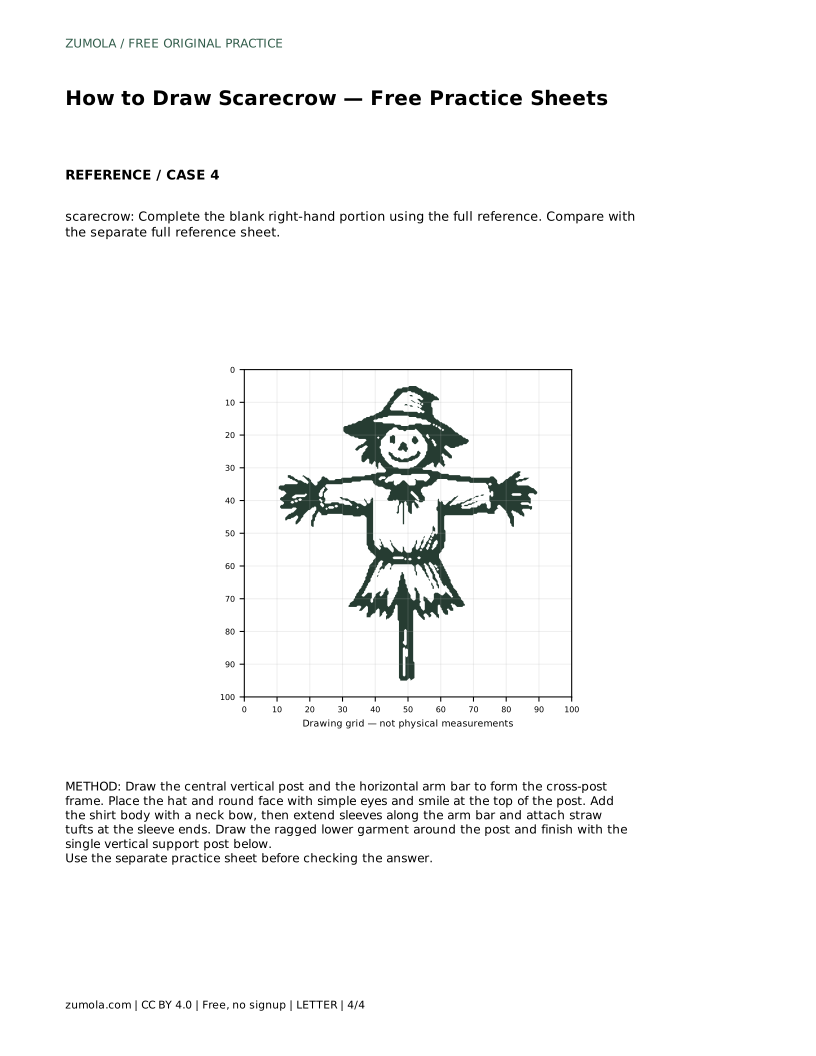
A4 · Download PDF
Free original resources
Learn to draw a scarecrow by building the cross-post frame first, then adding the hat, face, patched shirt, straw tufts, and ragged lower garment.
Four original cases, with reference diagrams, practice sheets and worked answers. Everything is free; no signup required.
LETTER · Download PDF
A4 · Download PDF
LETTER · Download PDF
A4 · Download PDF
LETTER · Download PDF
A4 · Download PDF
Use A4 or US Letter to match your printer. Use the stated values and conditions to solve each exercise; diagrams are not physical measuring rulers.
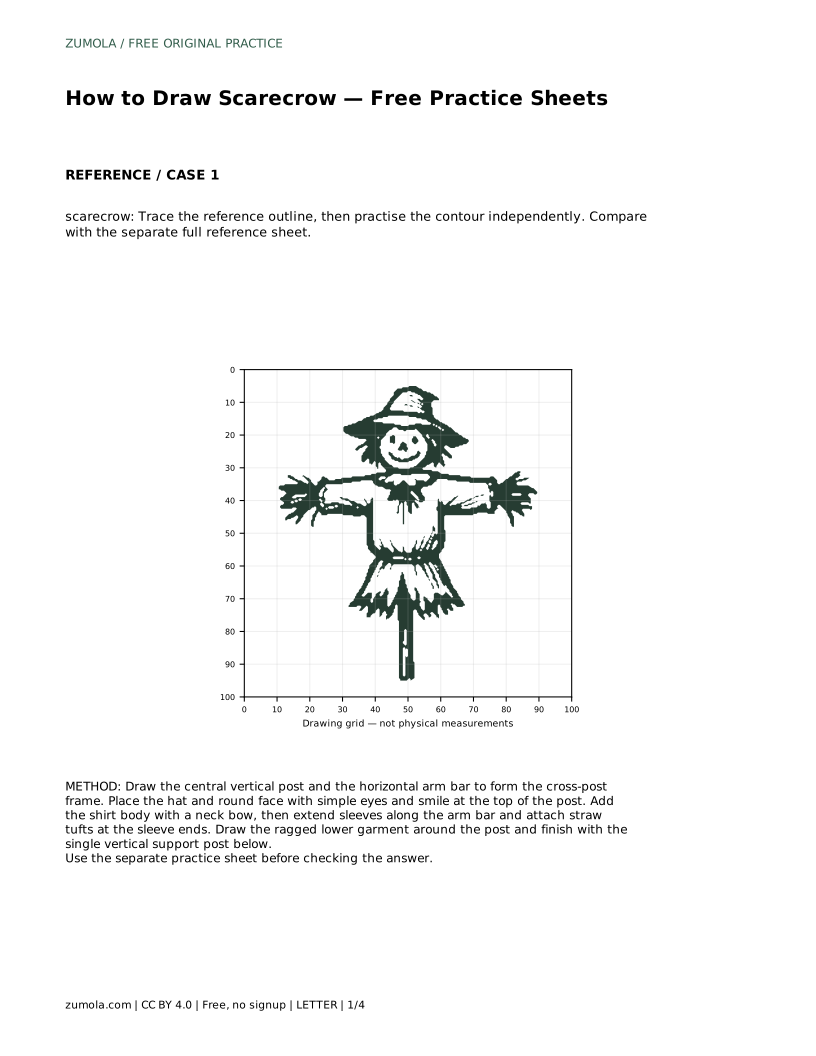
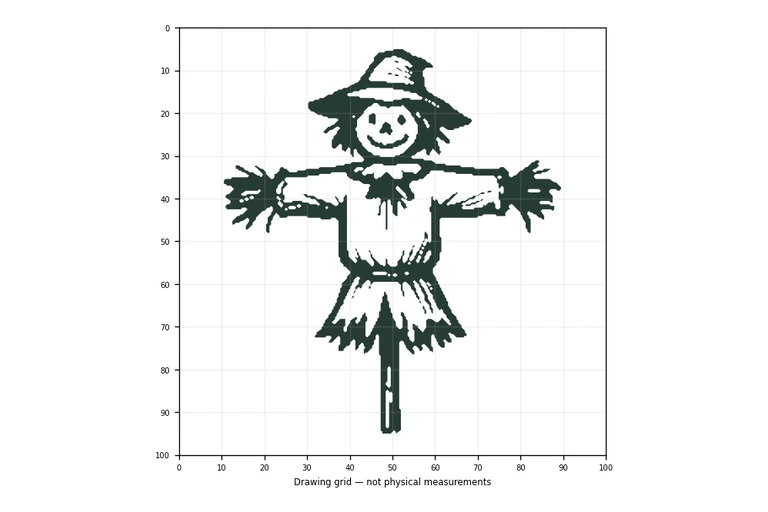
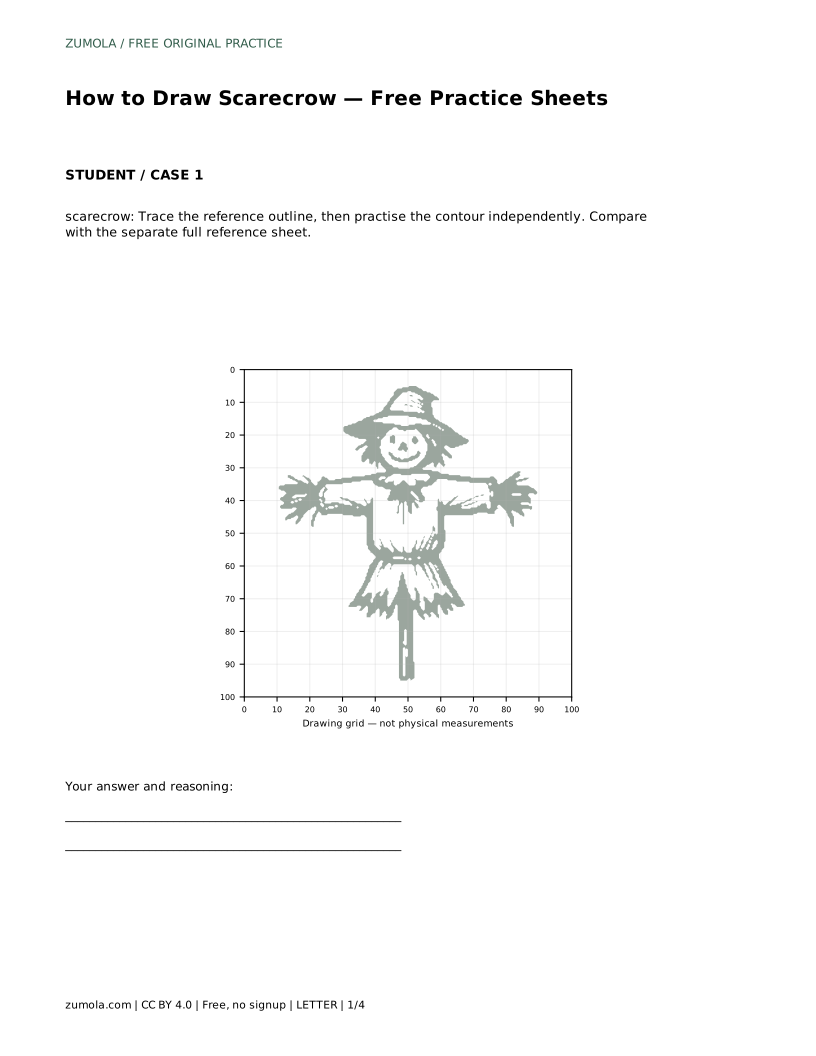
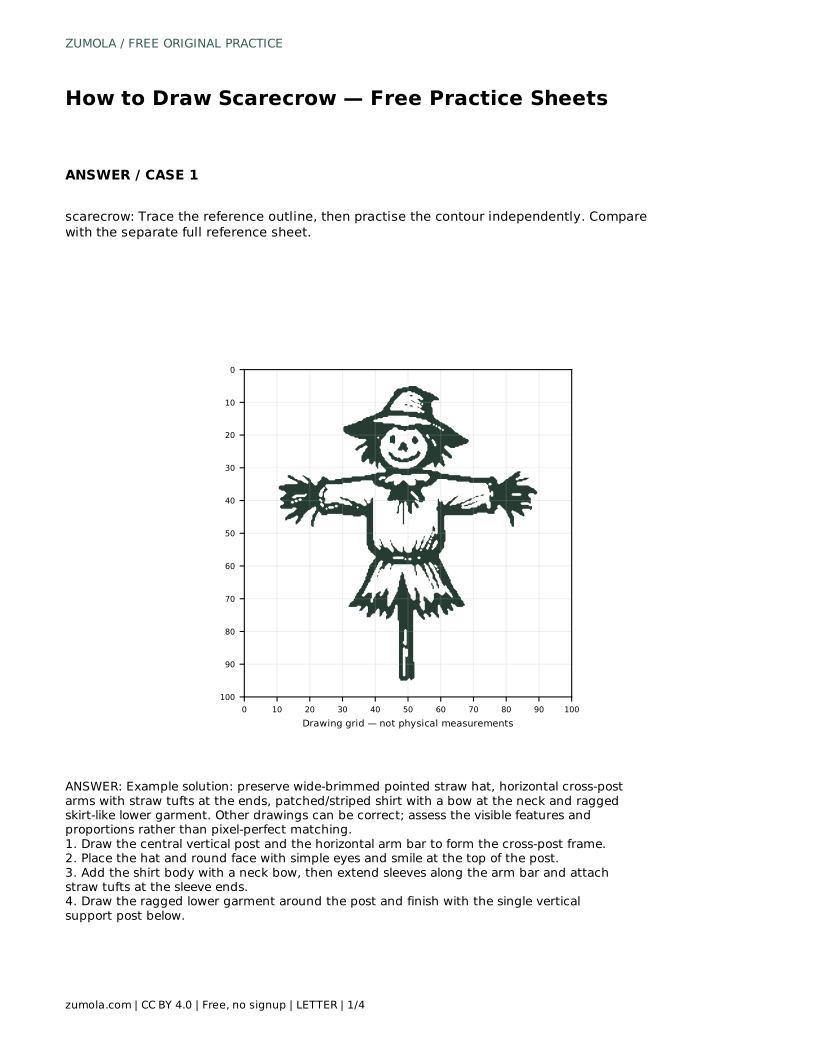
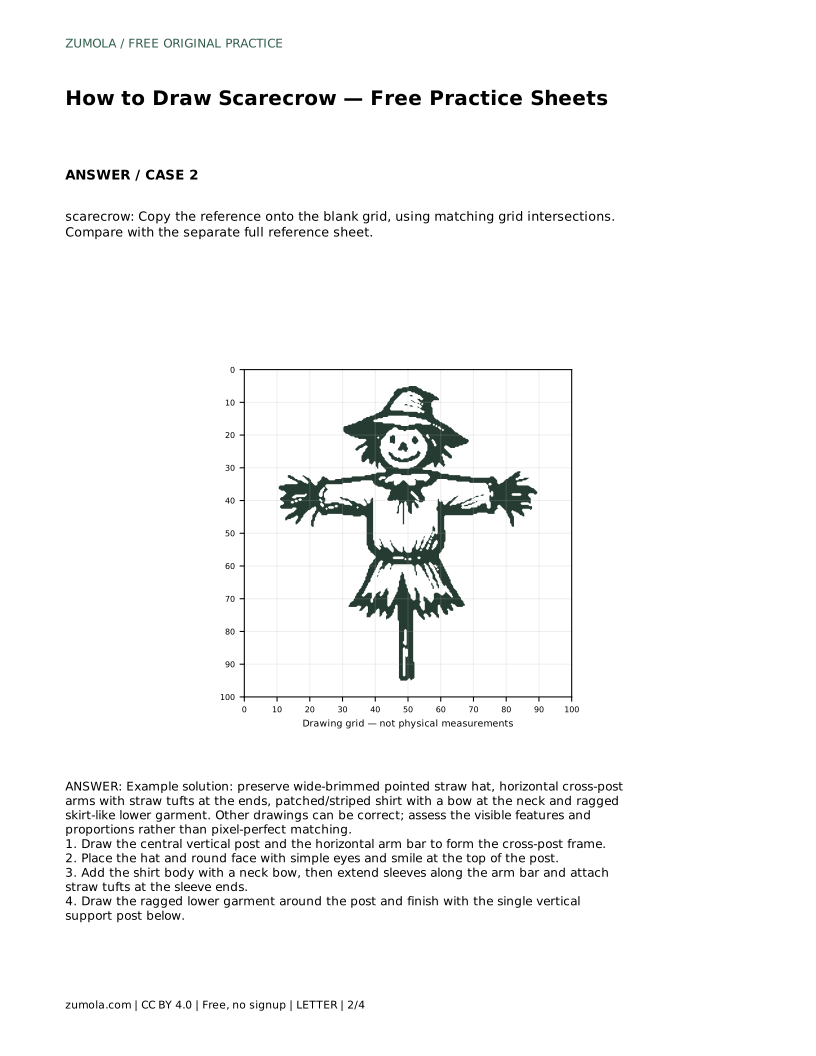
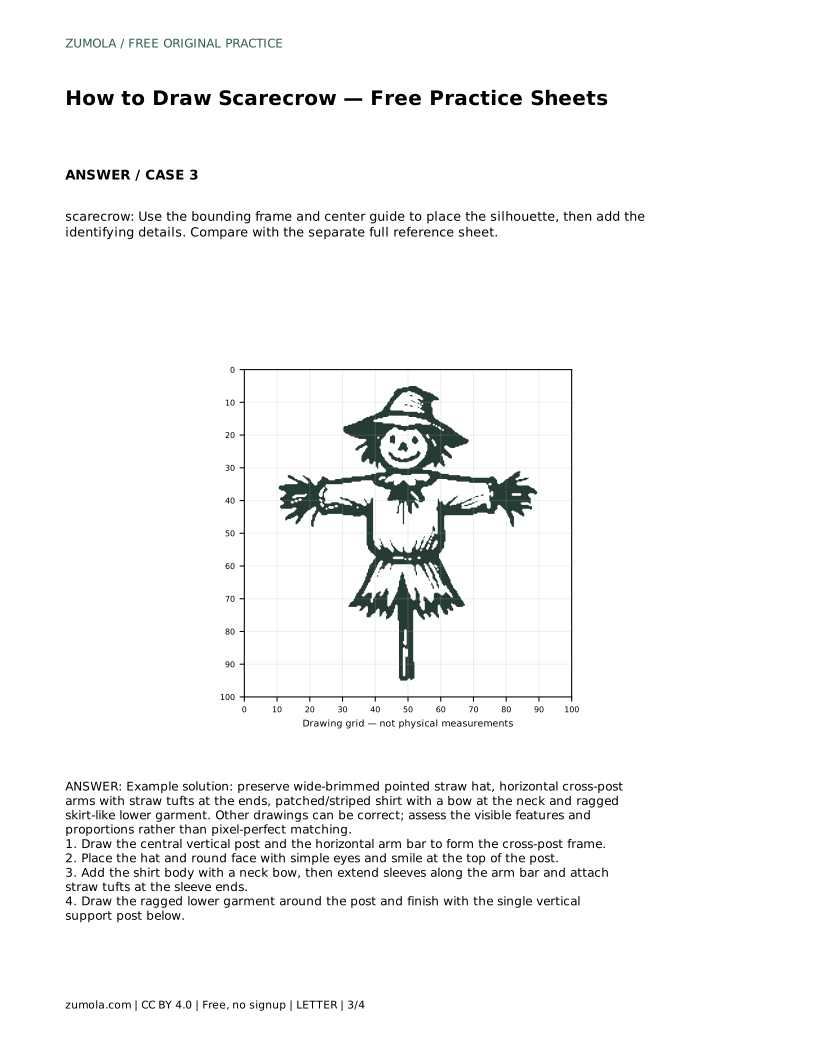
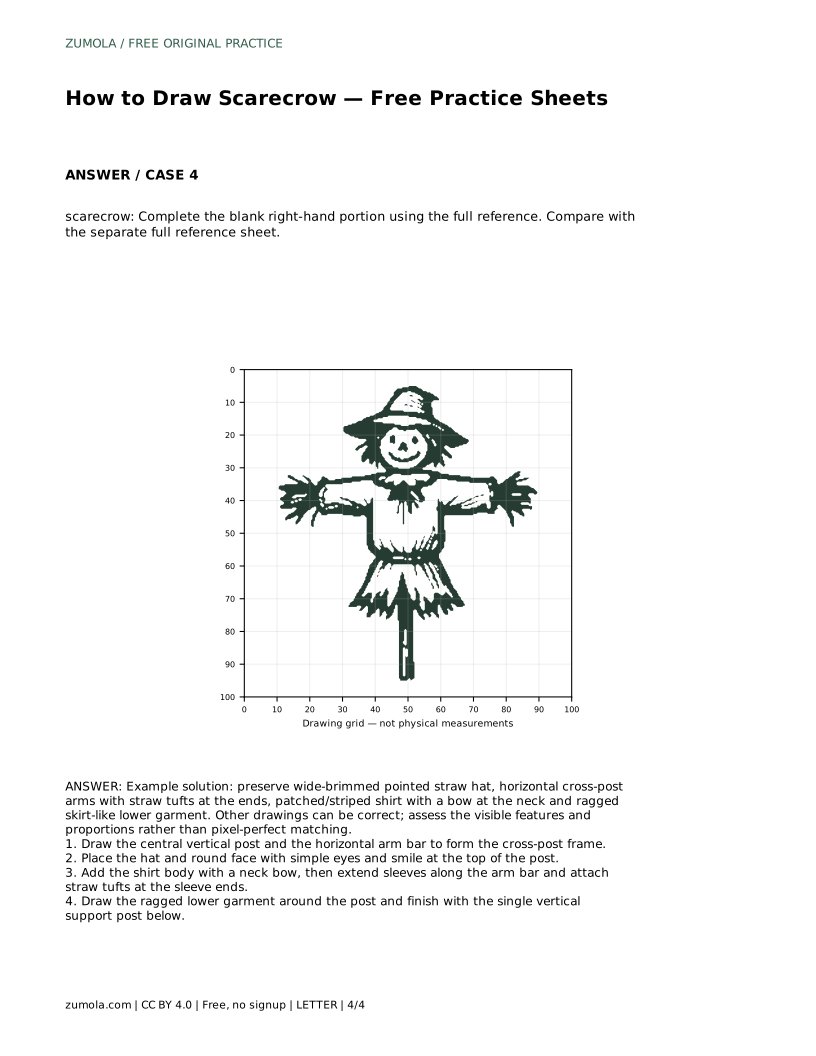
A scarecrow drawing becomes clear when you build it in the right order. Start with the cross-post frame: one vertical post and one horizontal arm bar. Everything else hangs from that structure. Then place the hat and face, add the shirt and sleeves, attach straw tufts at the sleeve ends, and finish the ragged lower garment. This page explains the method and the features that make the drawing read as a scarecrow, whether you trace, copy onto a grid, or complete a partial sheet.
The scarecrow's structure is a cross: a central vertical post with a horizontal arm bar crossing near the top. Draw the vertical post first, then the arm bar so it crosses the post at a consistent height on both sides. Keep the arm bar level unless you deliberately want a tilted, windblown look. This frame controls where the shirt, sleeves, and lower garment will sit, so fix it before adding detail.
Treat the post as the spine of the drawing. The face sits above the arm bar, the shirt body covers the crossing point, and the lower garment hangs around the post below the arms. If the frame is uneven, later details will drift.
Place a wide-brimmed pointed straw hat at the top of the post. The brim should extend beyond the face on both sides, and the point should rise above the brim. Under the brim, draw a round face with simple eyes and a smile. Keep the features small and centered so the hat remains the dominant shape.
Next, draw the shirt body around the post, starting at the neck below the face. Add a bow at the neck as a clear identifying detail. Extend sleeves along the arm bar so the fabric follows the horizontal line, then attach straw tufts at the sleeve ends. The tufts should look like short, uneven spikes rather than neat bundles.
Below the shirt, draw a ragged skirt-like lower garment around the post. Make the hem uneven with short jagged points so it reads as worn fabric. Leave the single vertical support post visible below the garment, continuing to the bottom of the drawing. This visible post is what separates a scarecrow from a dressed figure.
Patches and stripes on the shirt are optional but useful: a few simple rectangles or lines suggest repairs and fabric without cluttering the silhouette. Keep them inside the shirt outline.
Because art has multiple valid outcomes, compare your drawing by checking visible features rather than matching every line. Confirm the wide-brimmed pointed hat, the horizontal arm bar with straw tufts at the sleeve ends, the patched or striped shirt with a neck bow, and the ragged lower garment around a visible post. Proportions can vary, but each feature should be recognizable.
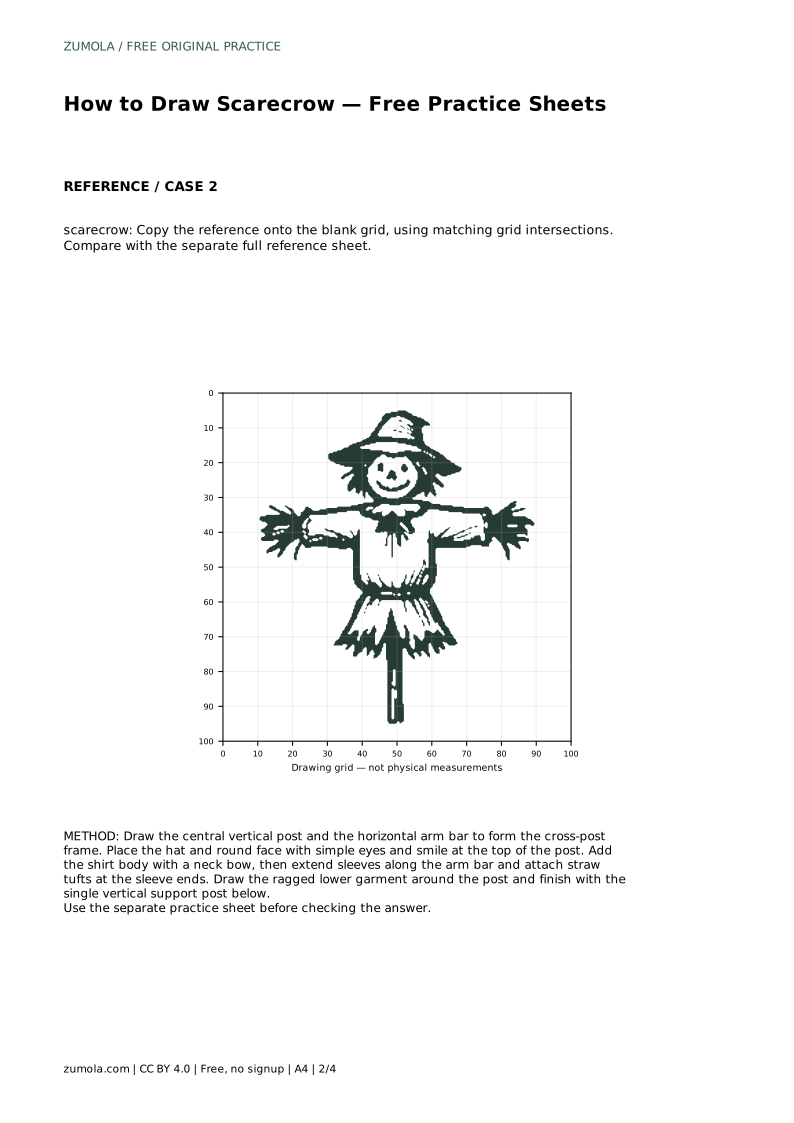
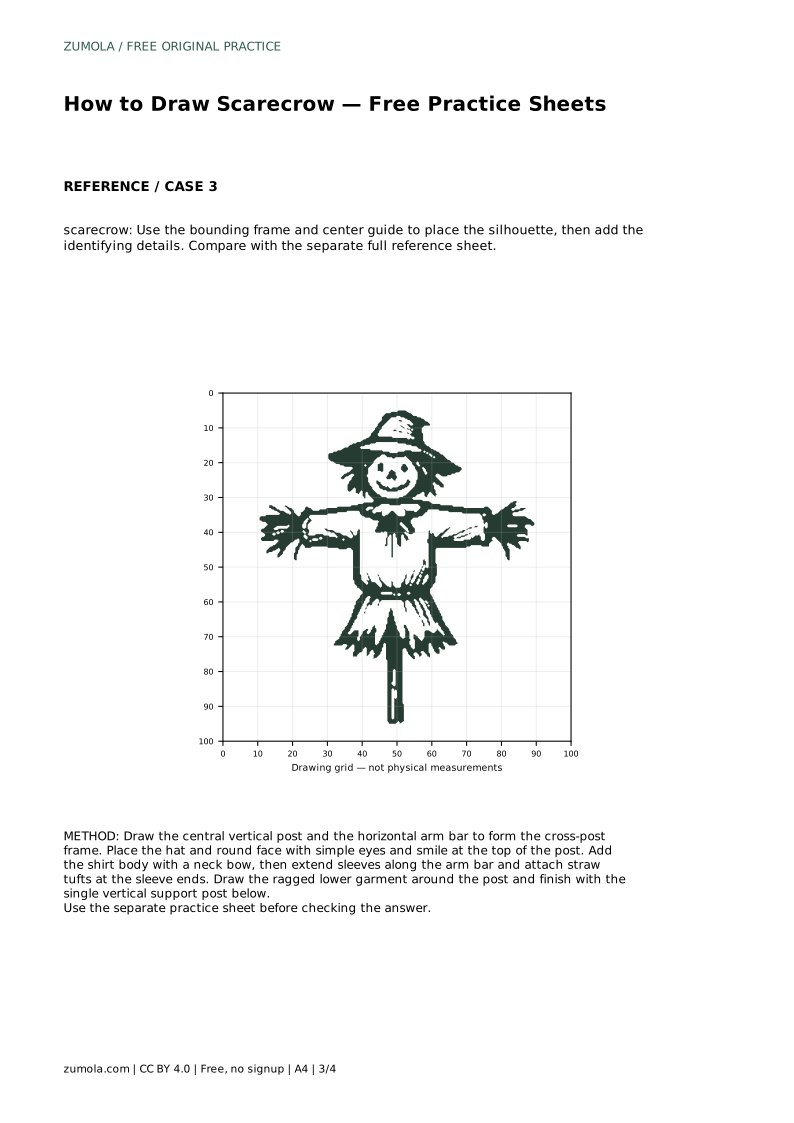
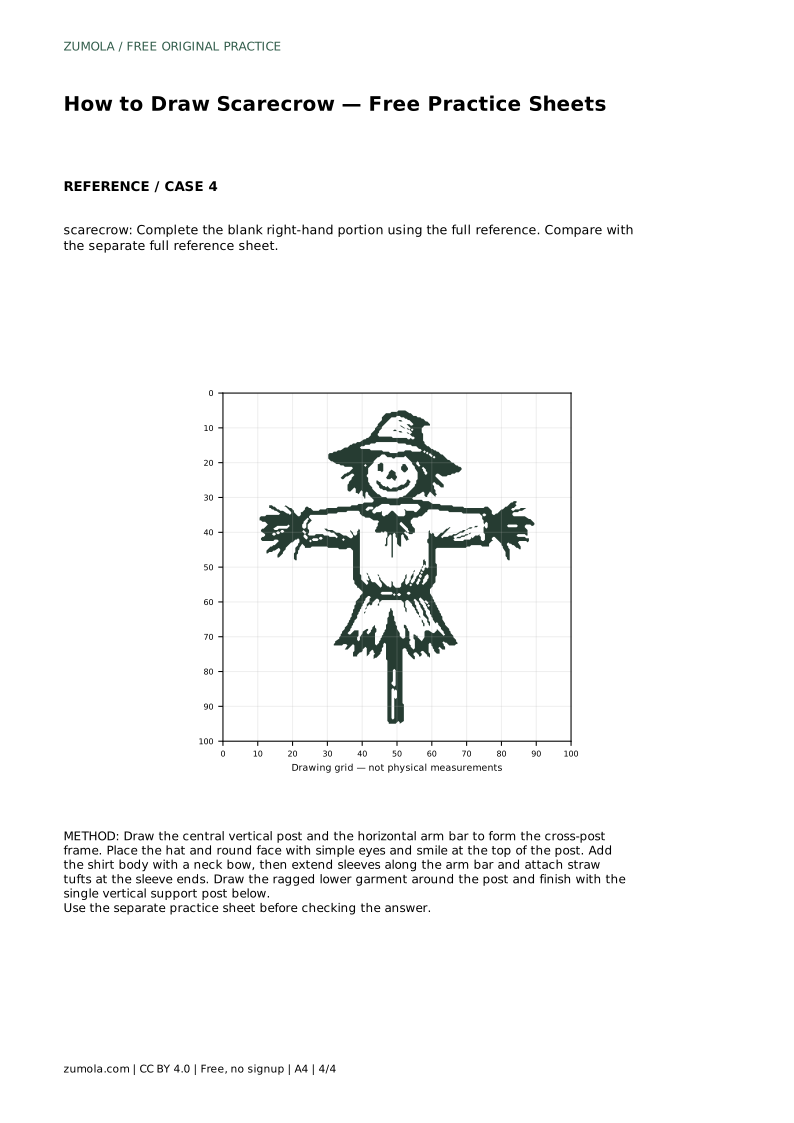
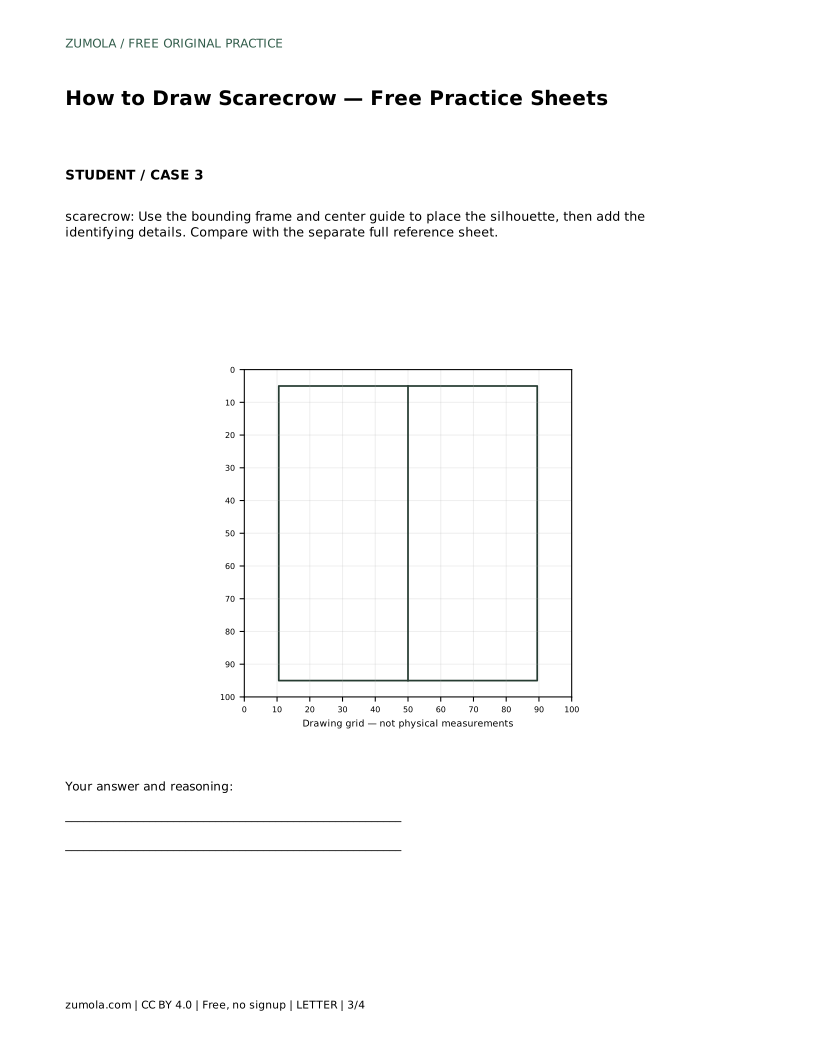
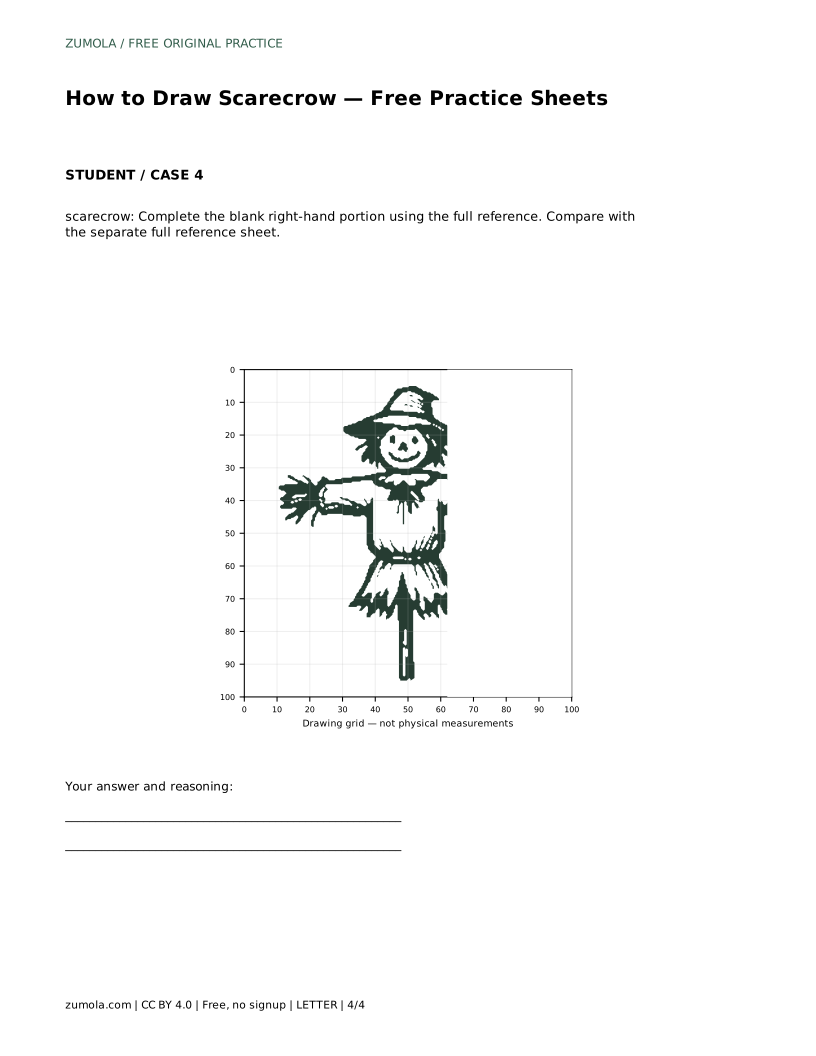
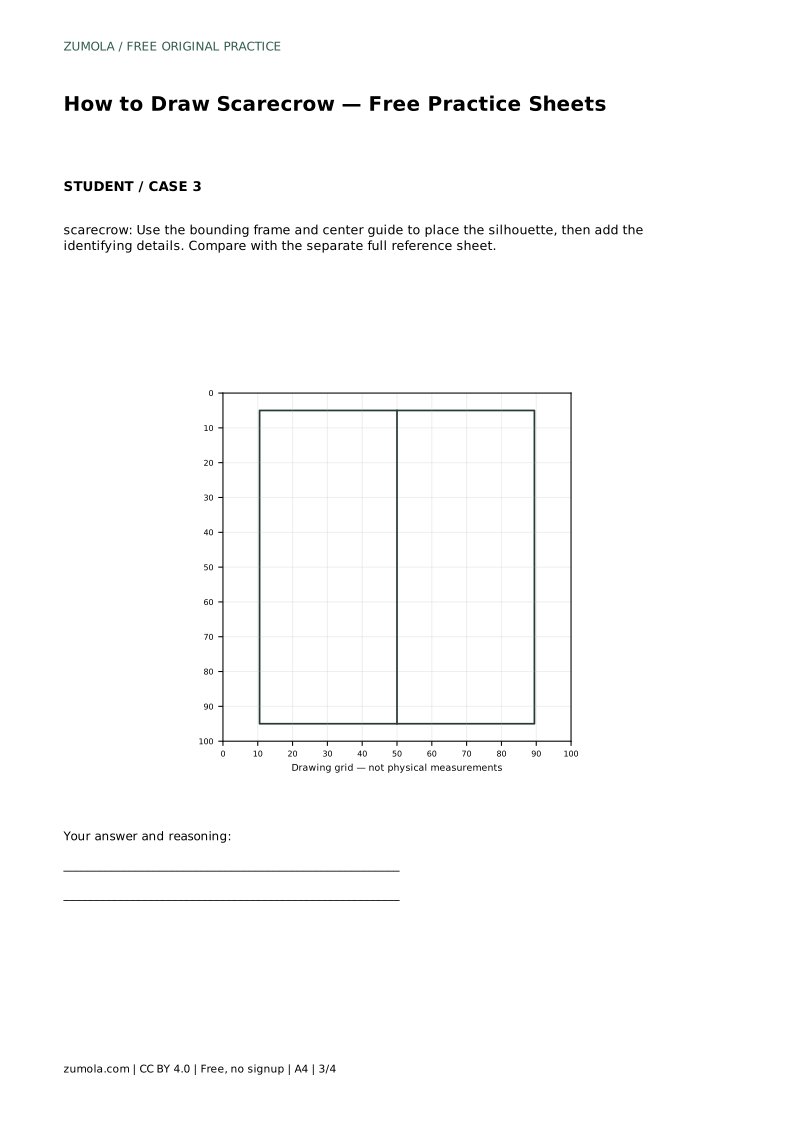
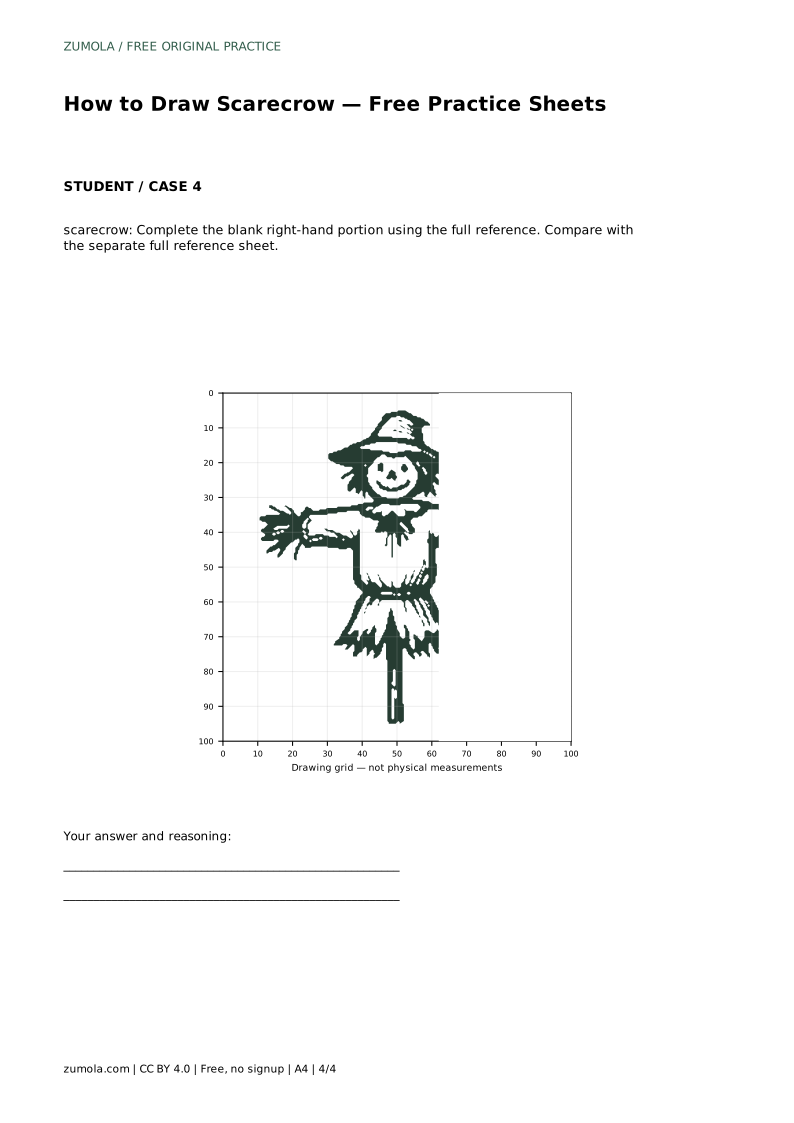
When using a grid or partial sheet, use the guides to place the silhouette, then add the identifying details. The separate full reference sheet is for comparison after you finish, not for copying line by line.
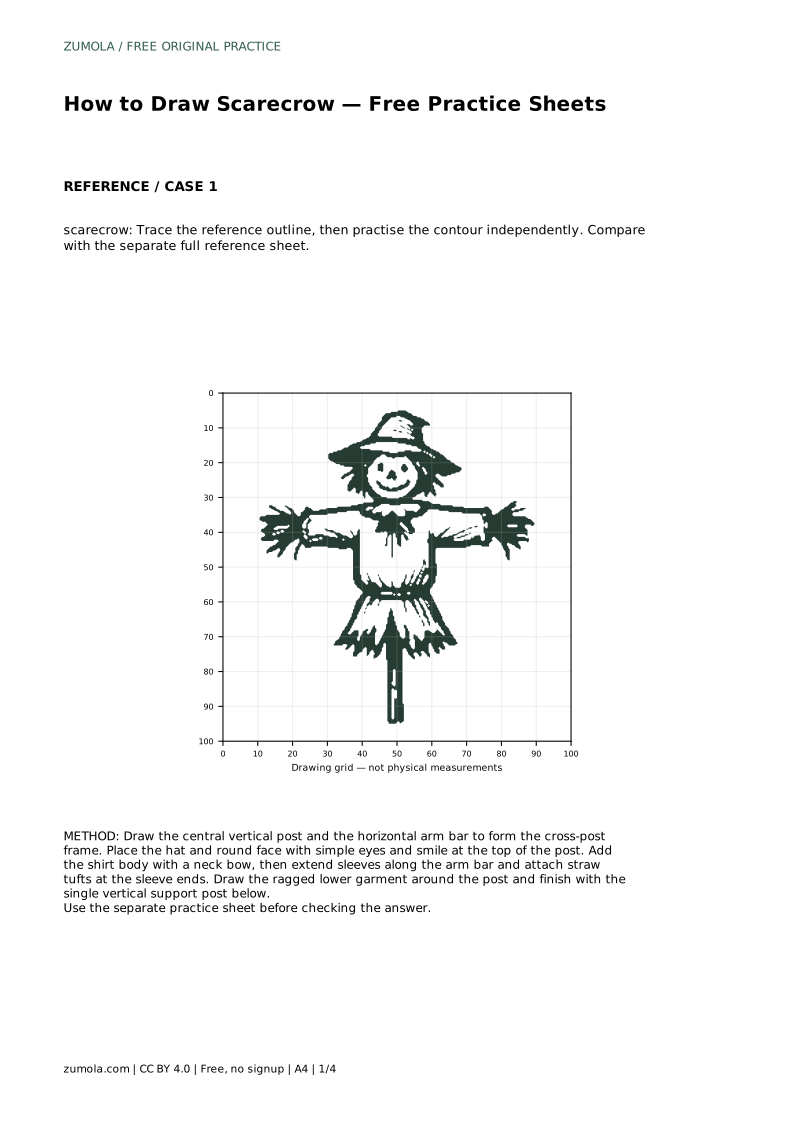
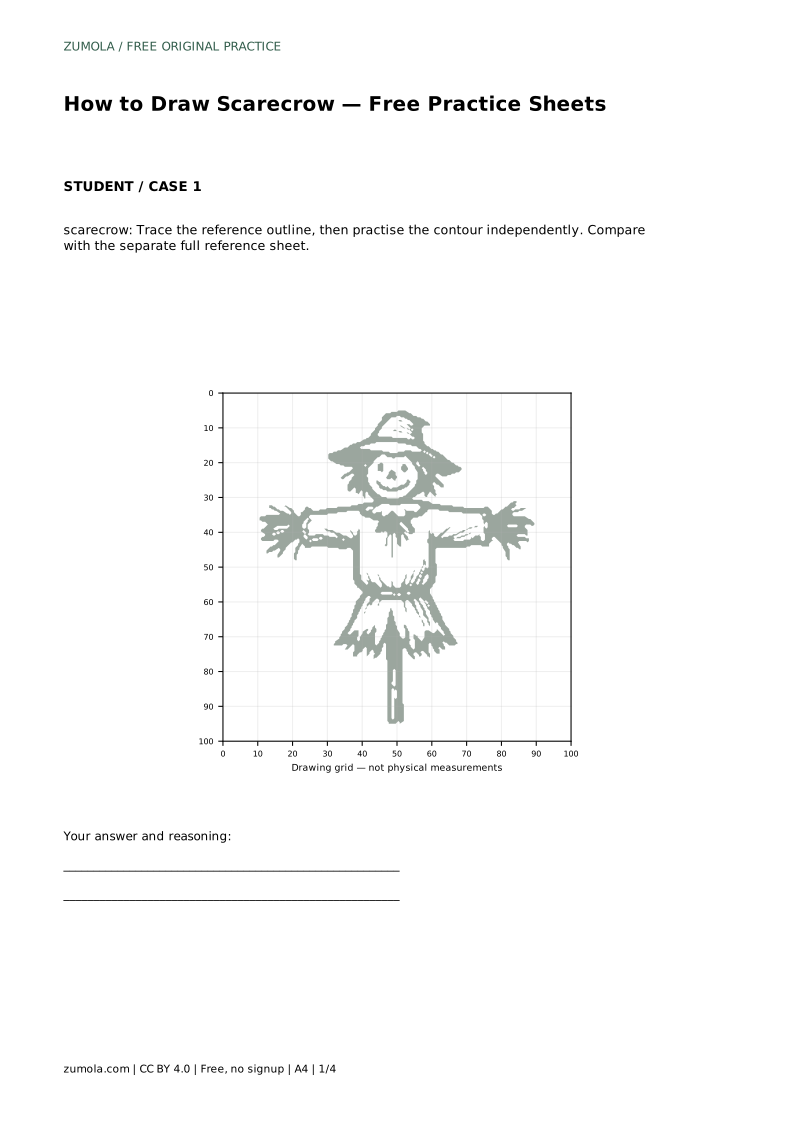
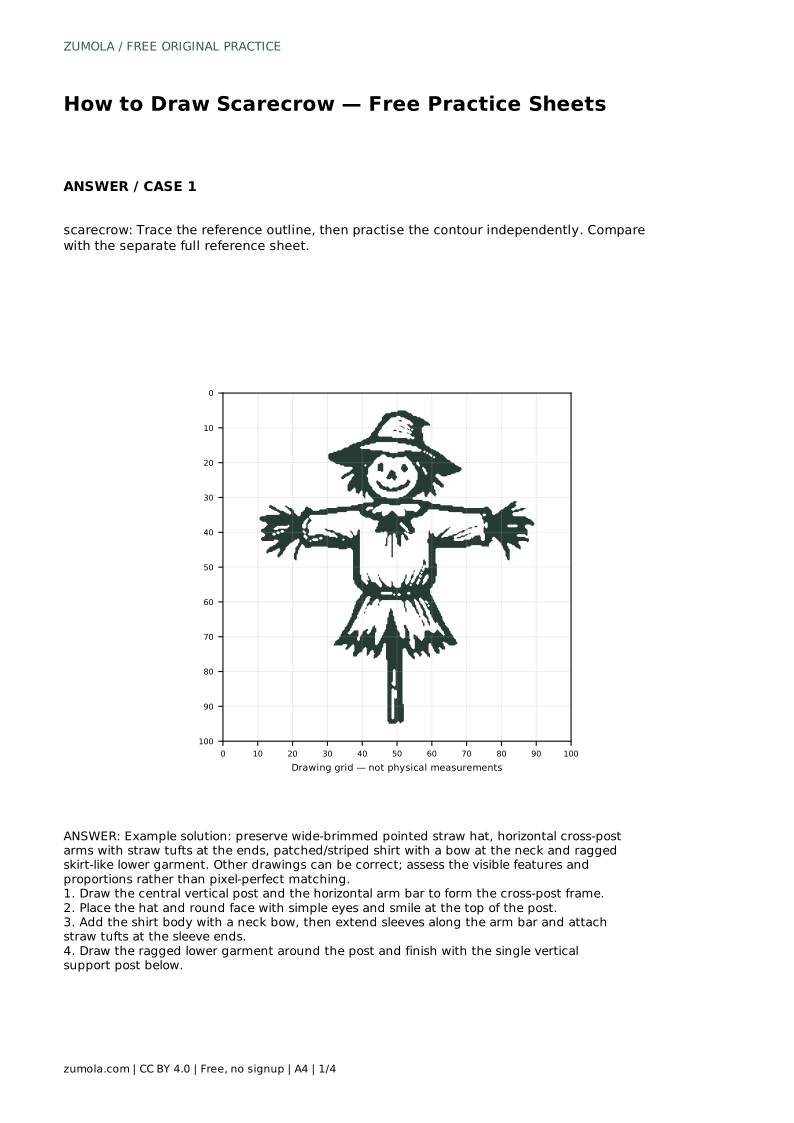
scarecrow: Trace the reference outline, then practise the contour independently. Compare with the separate full reference sheet.
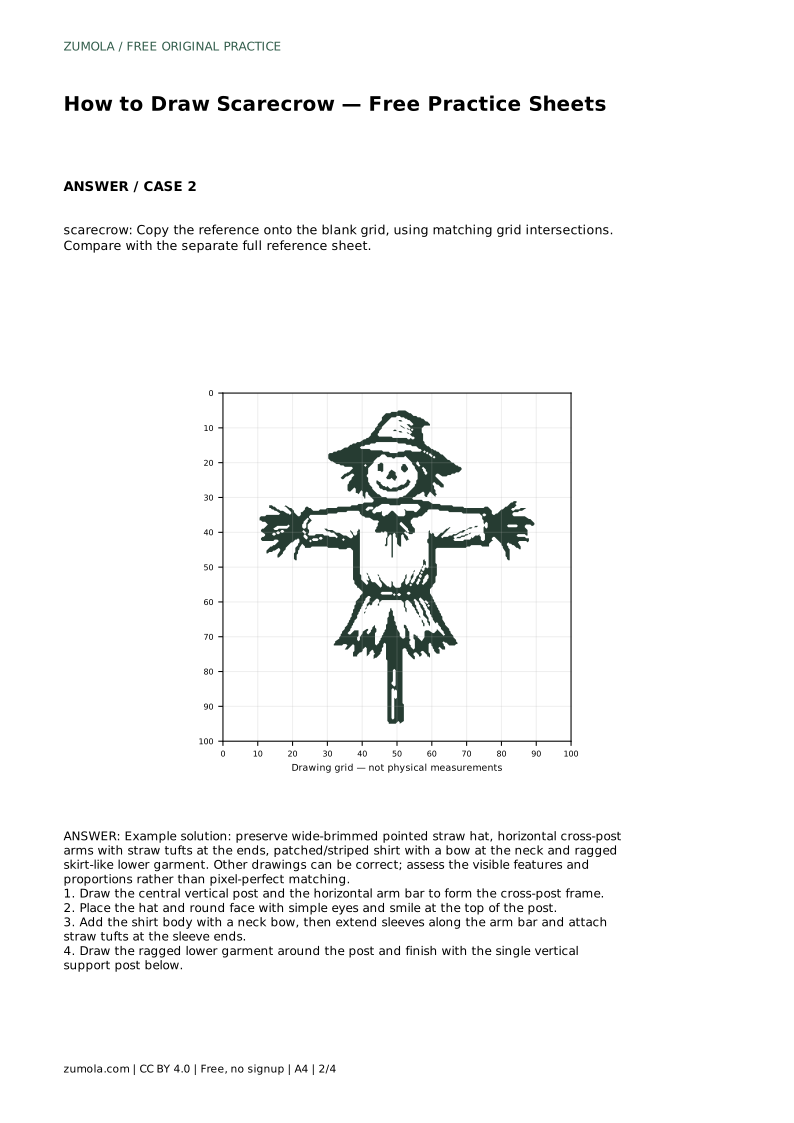
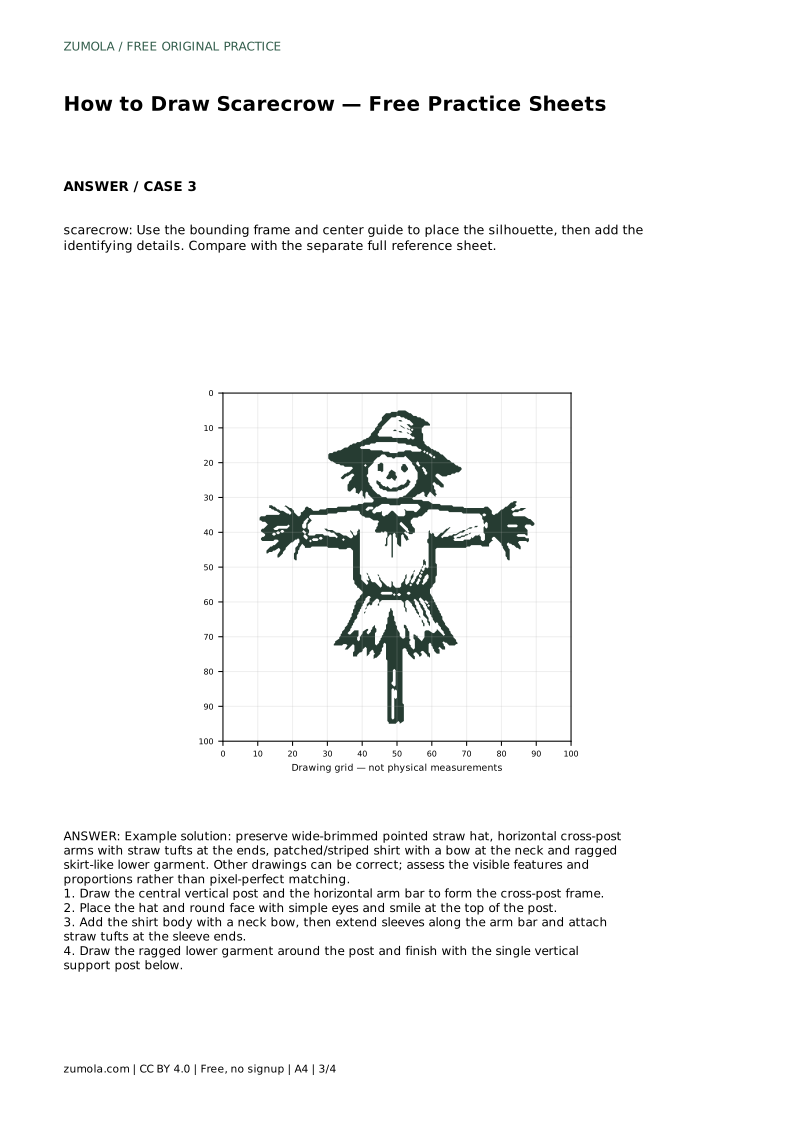
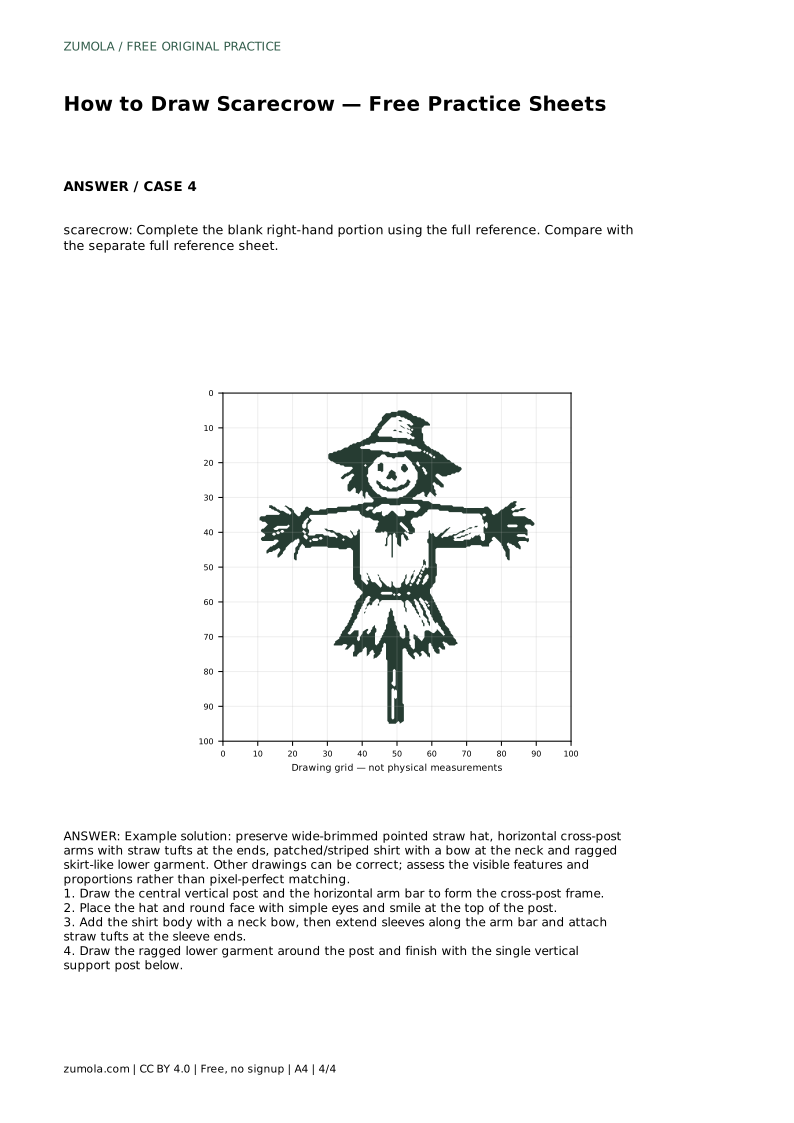
Example solution: preserve wide-brimmed pointed straw hat, horizontal cross-post arms with straw tufts at the ends, patched/striped shirt with a bow at the neck and ragged skirt-like lower garment. Other drawings can be correct; assess the visible features and proportions rather than pixel-perfect matching. Draw the central vertical post and the horizontal arm bar to form the cross-post frame. Place the hat and round face with simple eyes and smile at the top of the post. Add the shirt body with a neck bow, then extend sleeves along the arm bar and attach straw tufts at the sleeve ends. Draw the ragged lower garment around the post and finish with the single vertical support post below.
No. Preserve the identifying features and general proportions; other drawings can be correct.
Near the top, above the shirt body and below the face, with both sides roughly equal.
The cross-post frame, straw hat, straw tufts at the sleeve ends, neck bow, and ragged garment around a visible post.
All drawing practice · Free coordinate paper
Original resources · CC BY 4.0 · Free for personal and classroom use with attribution.