Reference diagrams
LETTER · Download PDF
A4 · Download PDF
Free original resources
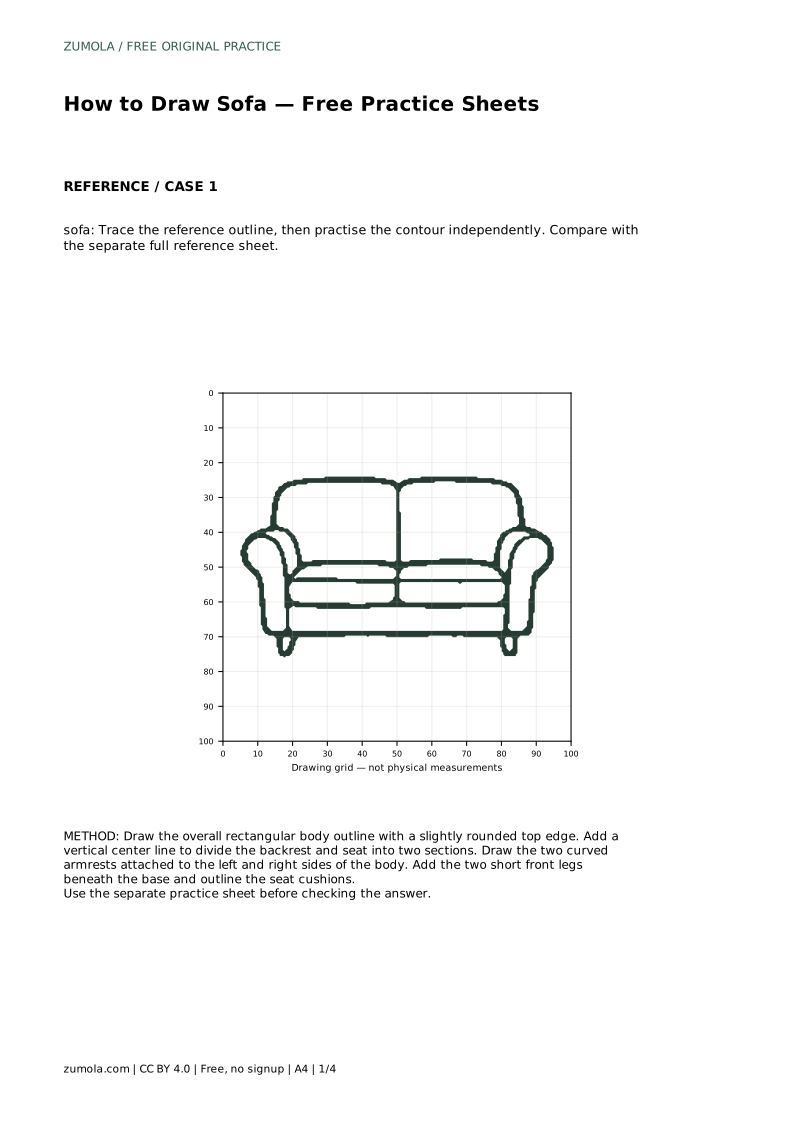
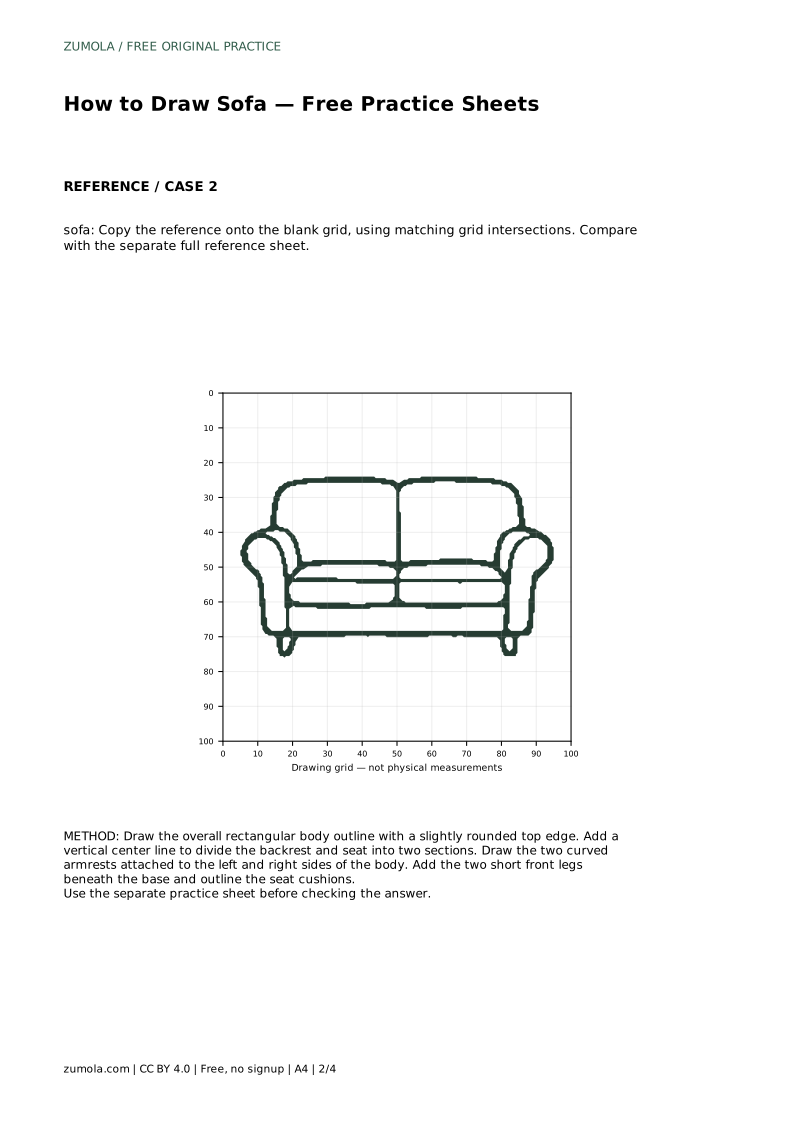
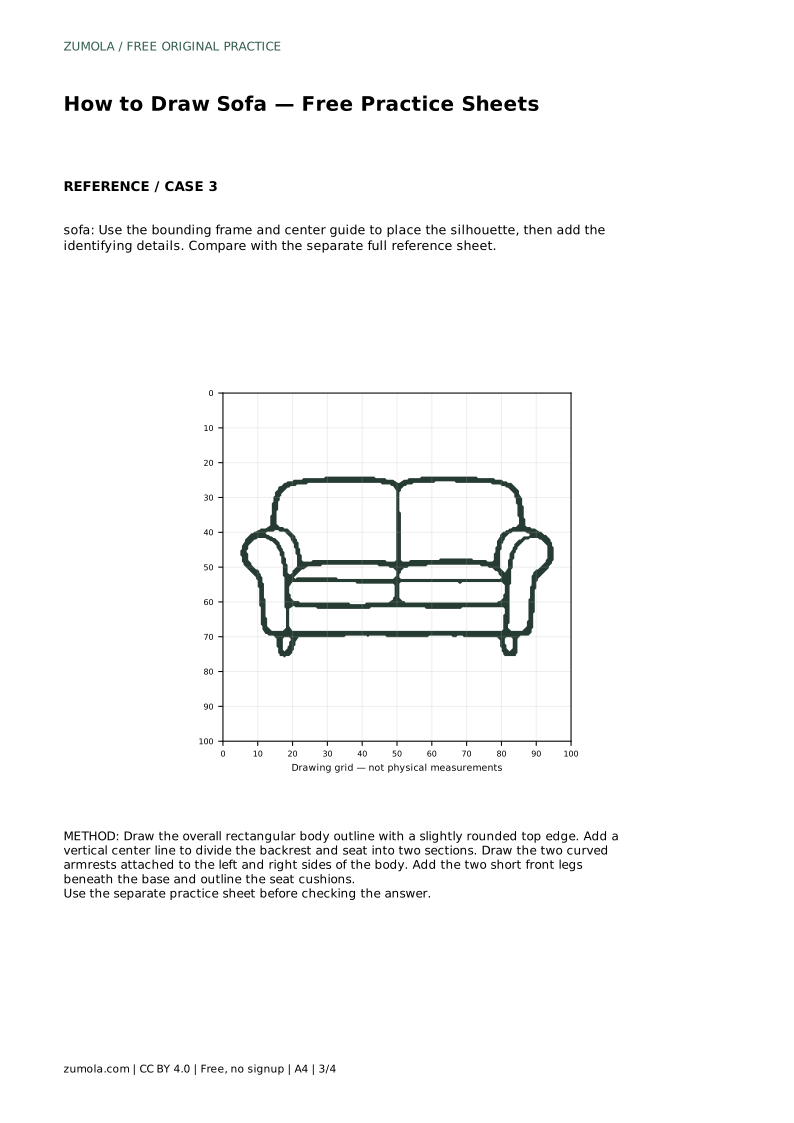
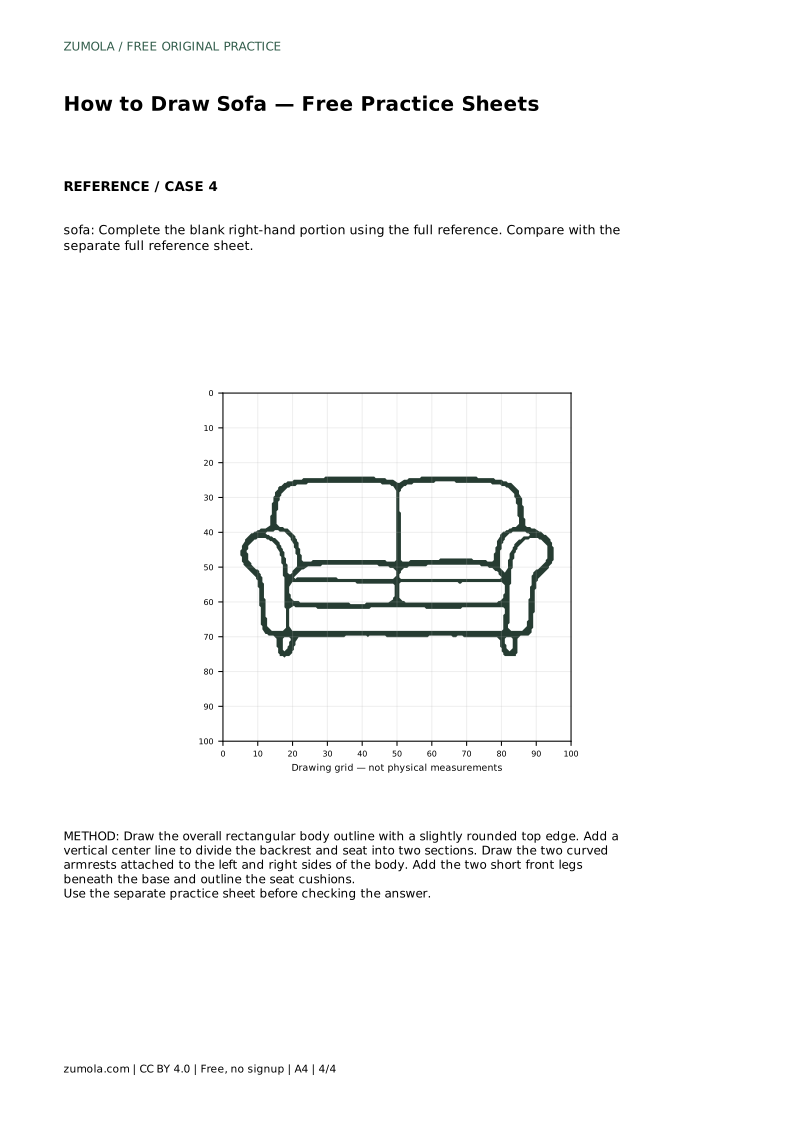
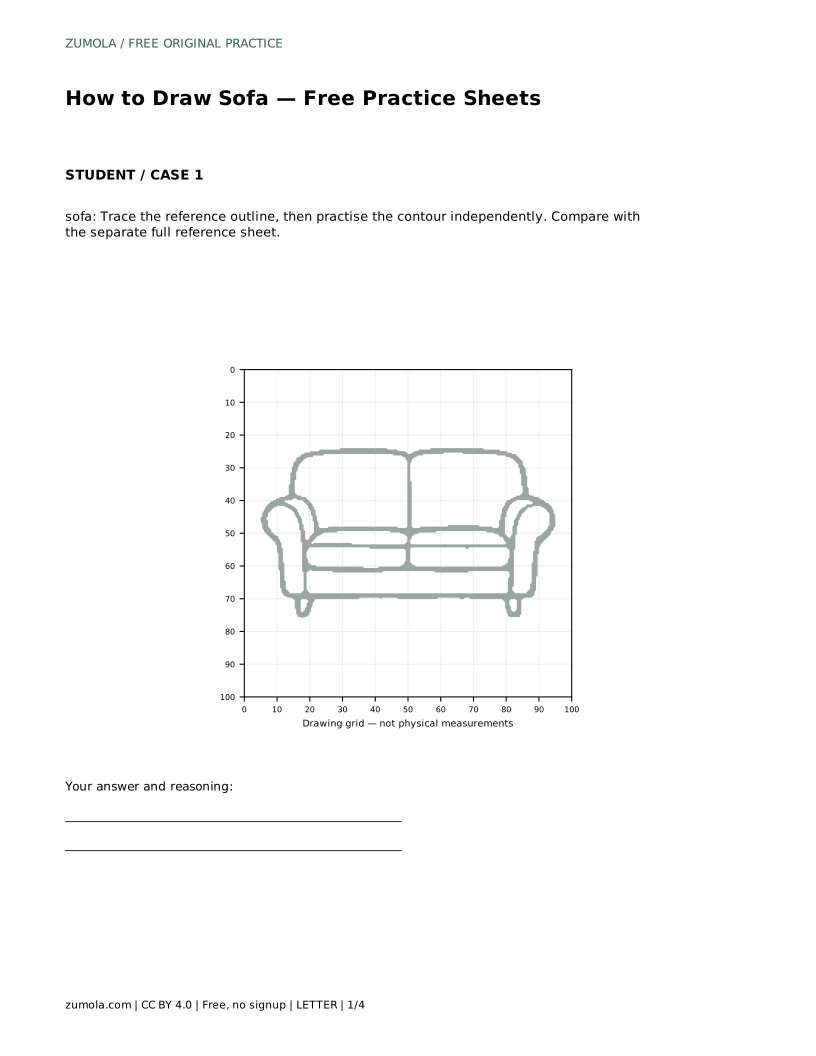
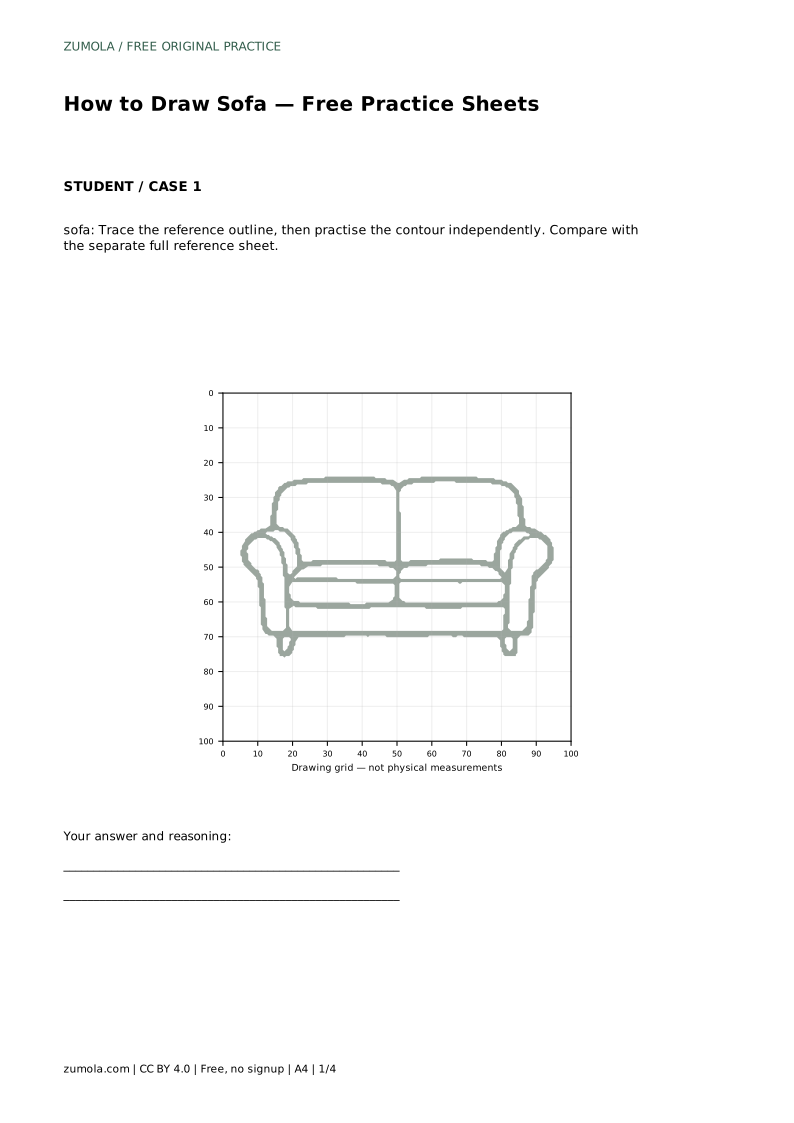
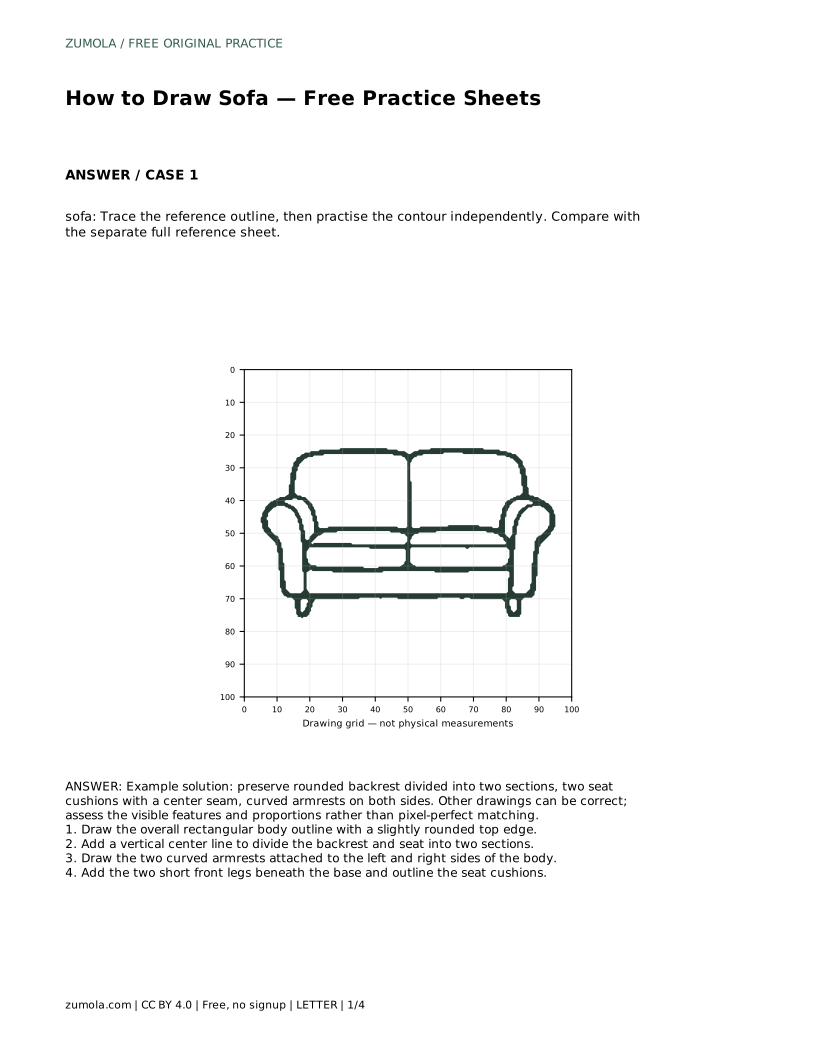
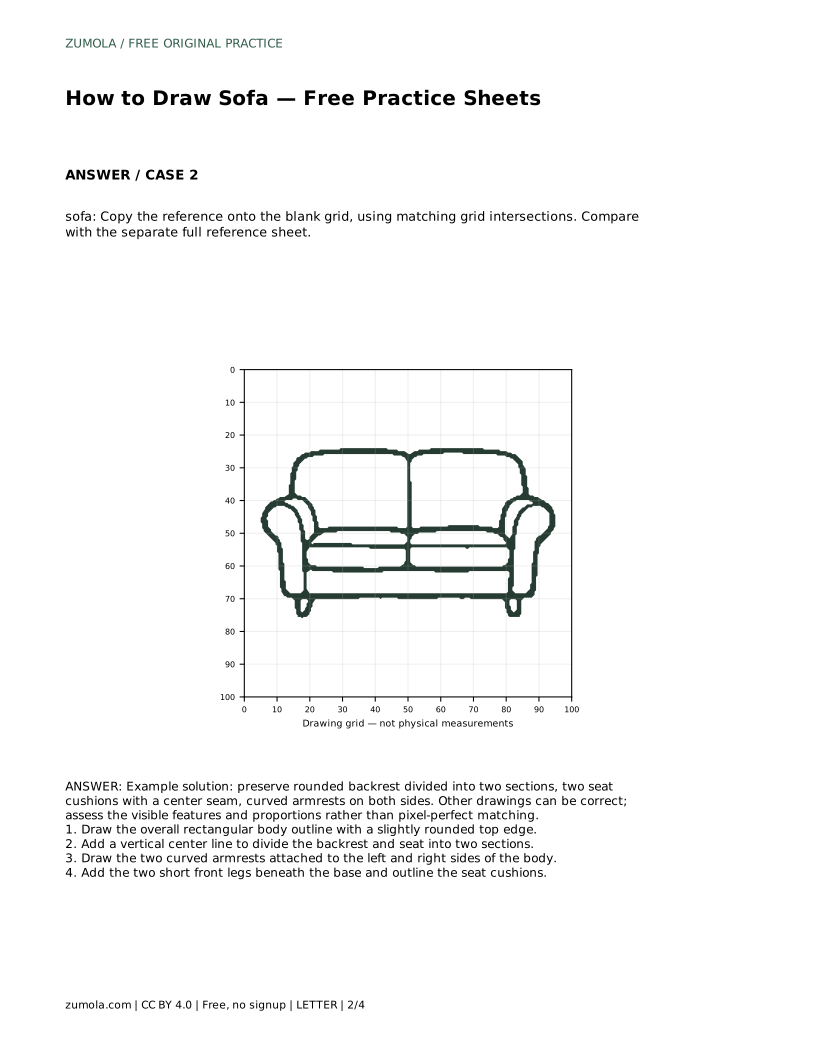
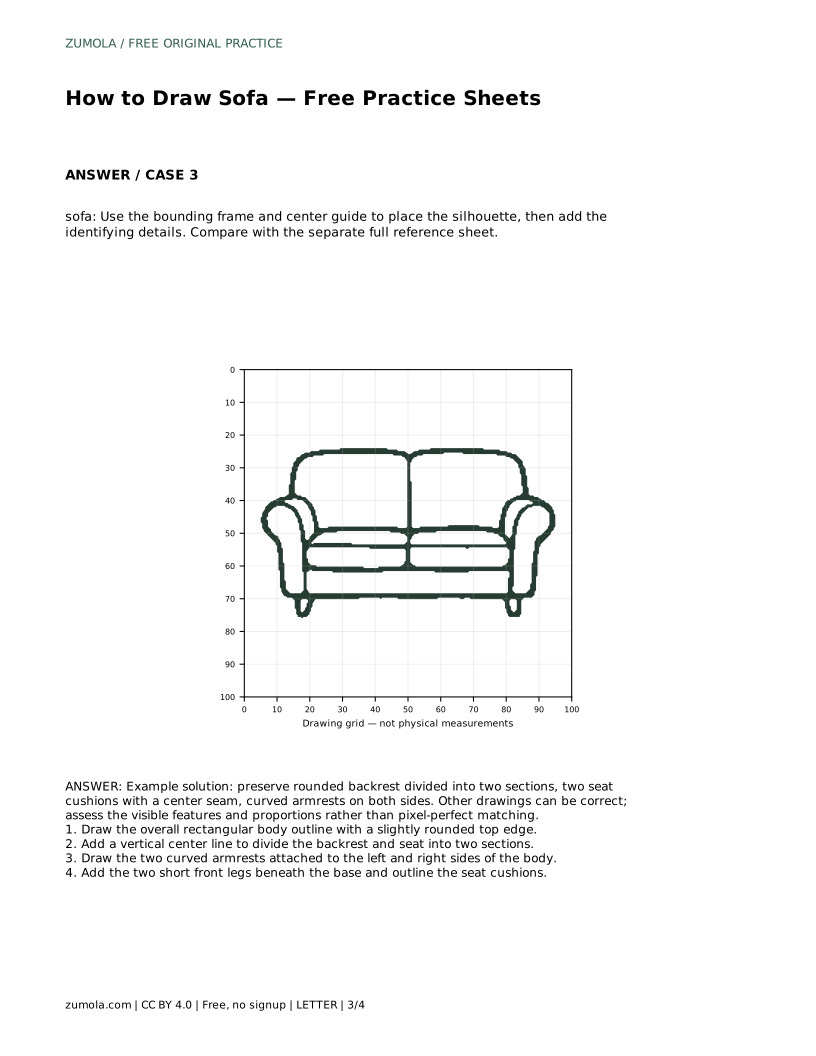
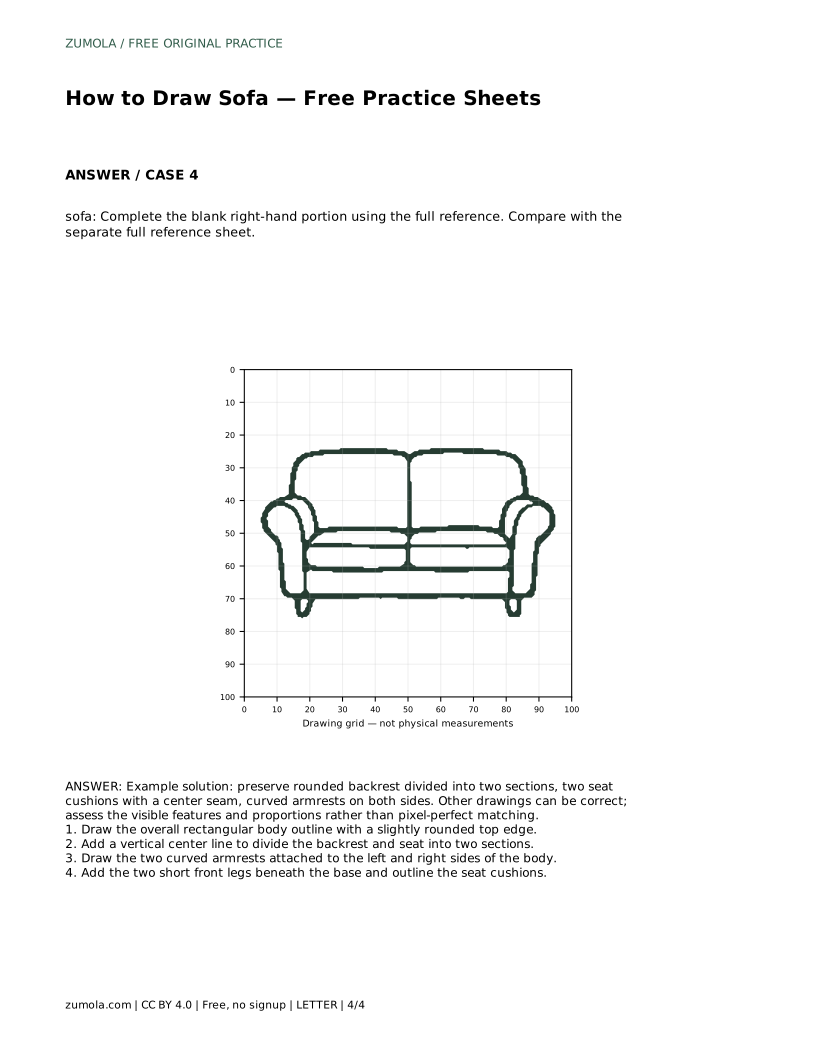
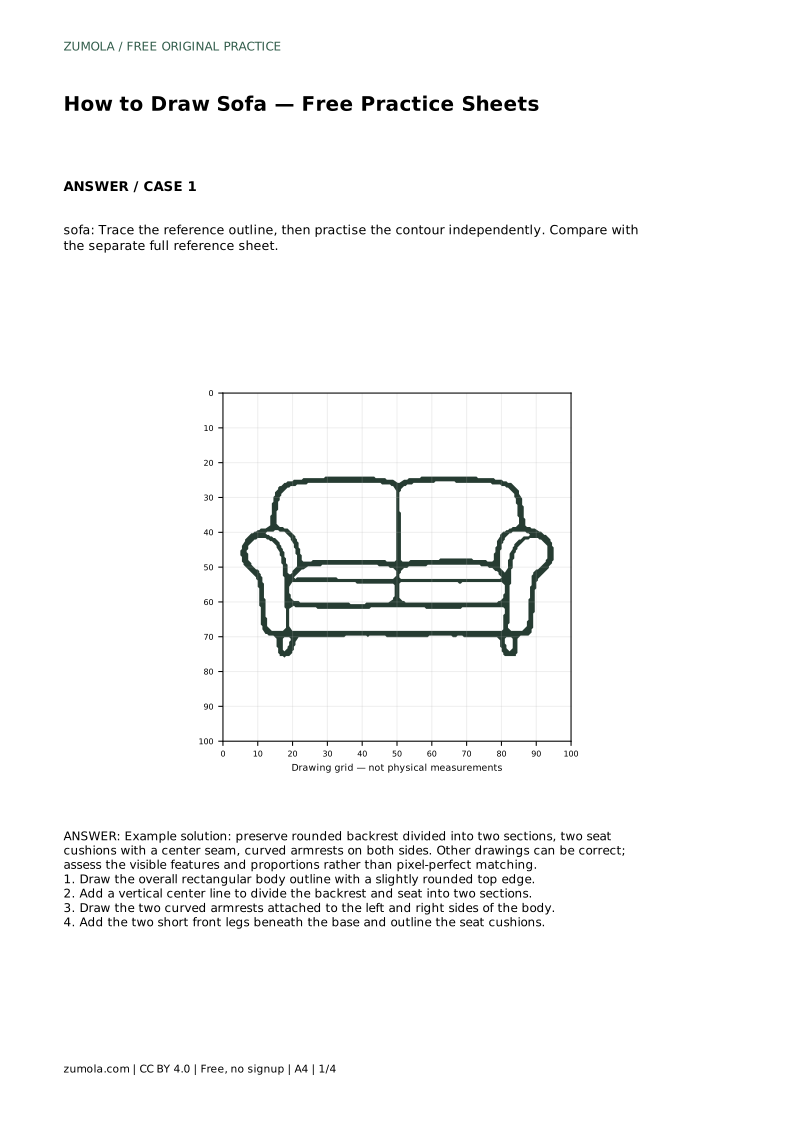
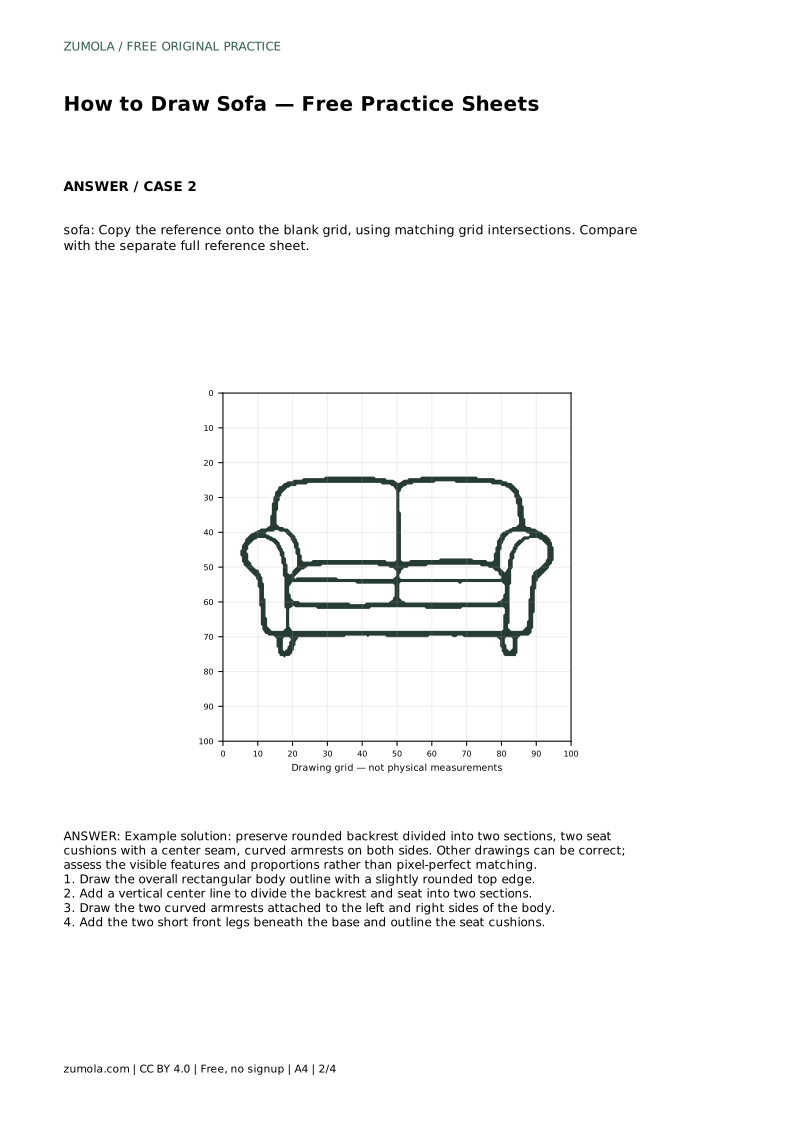
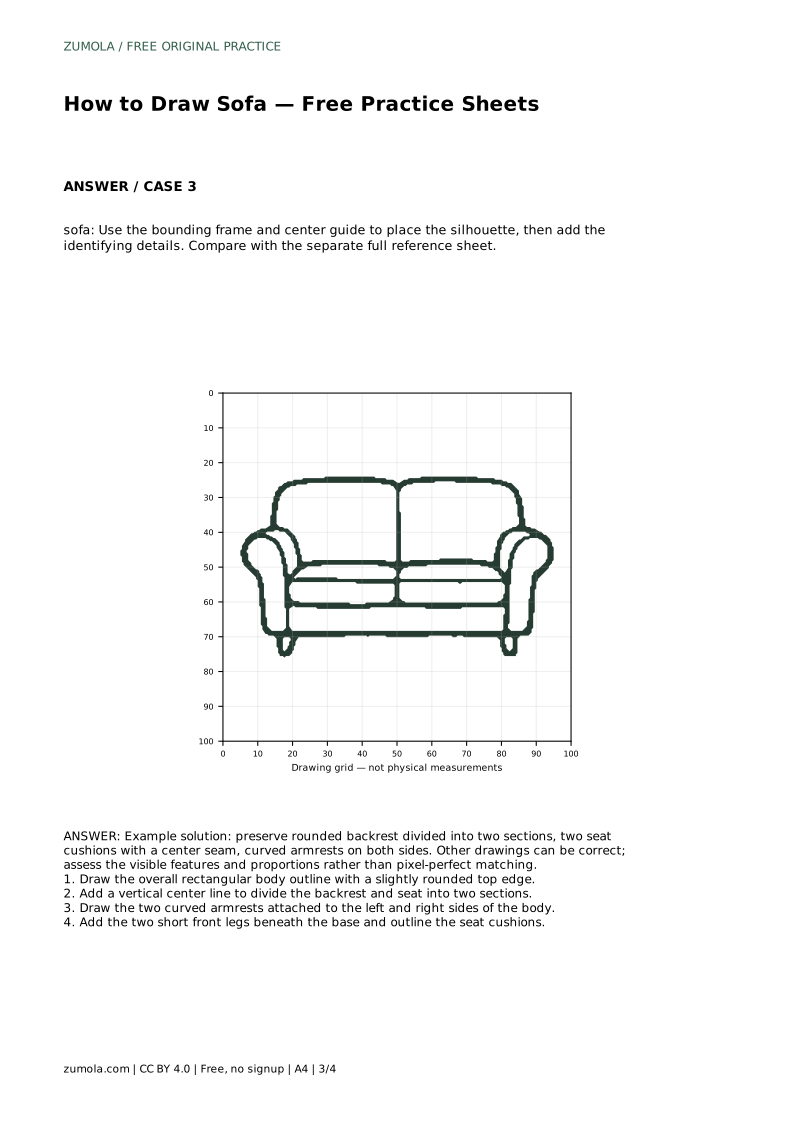
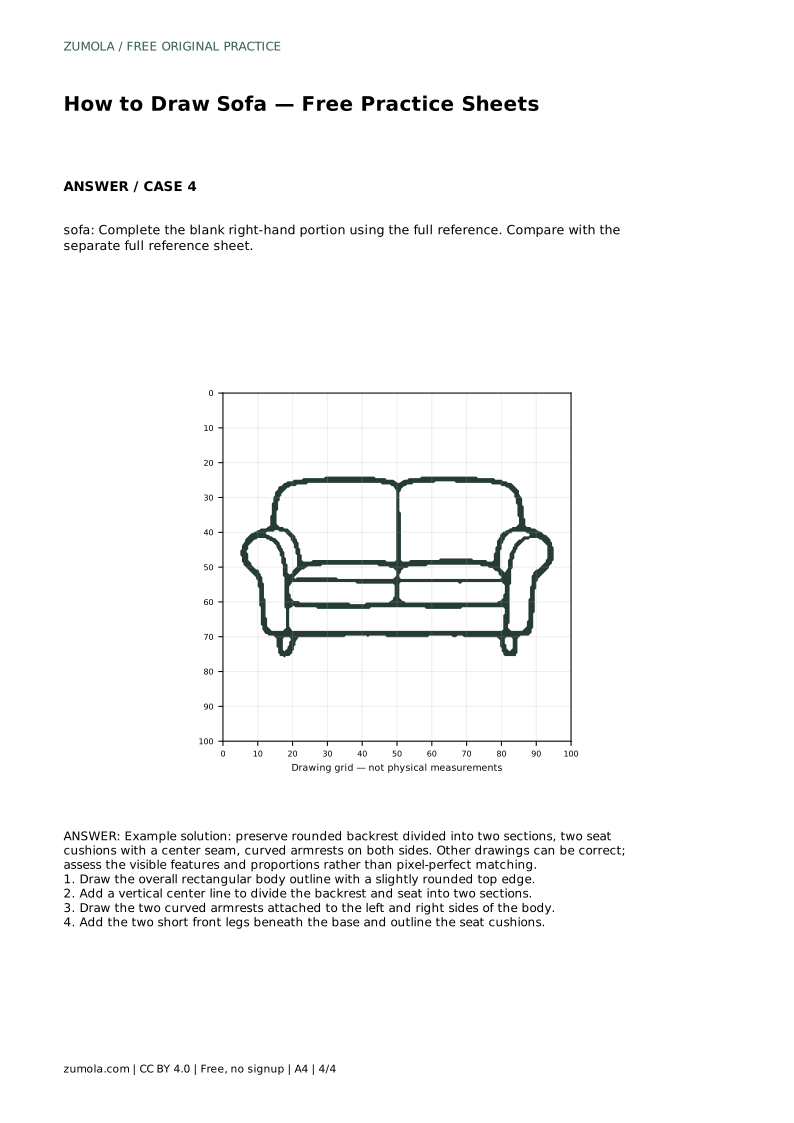
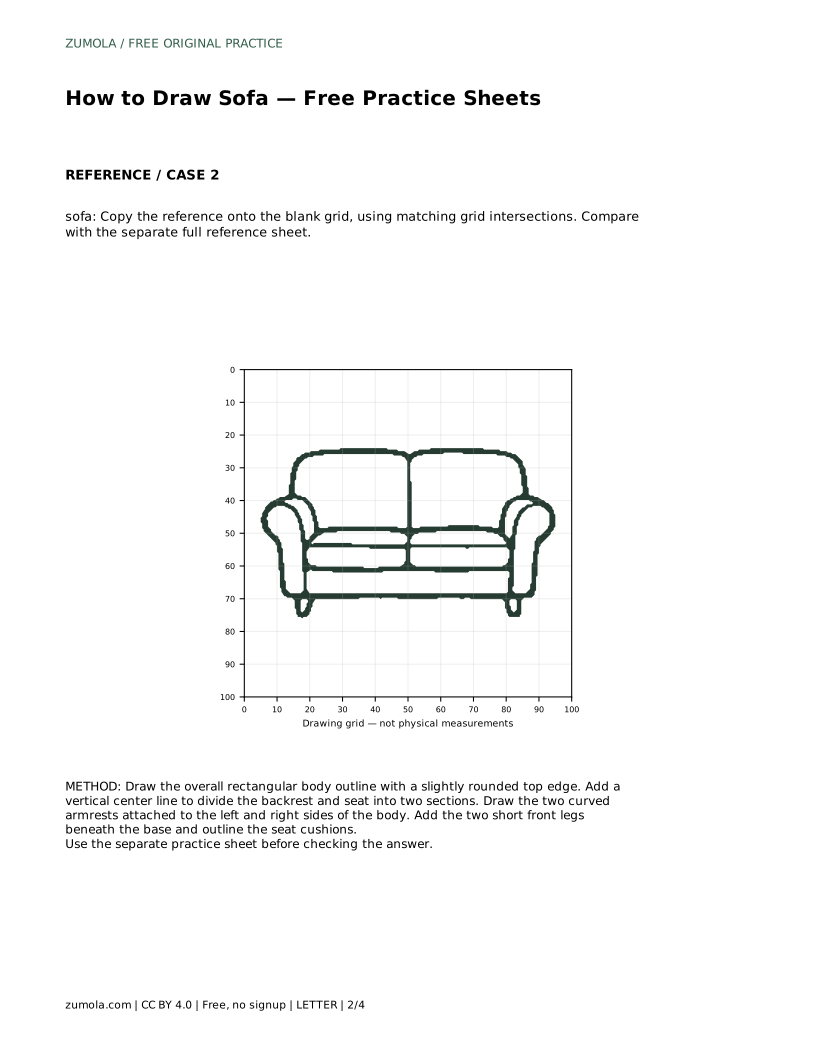
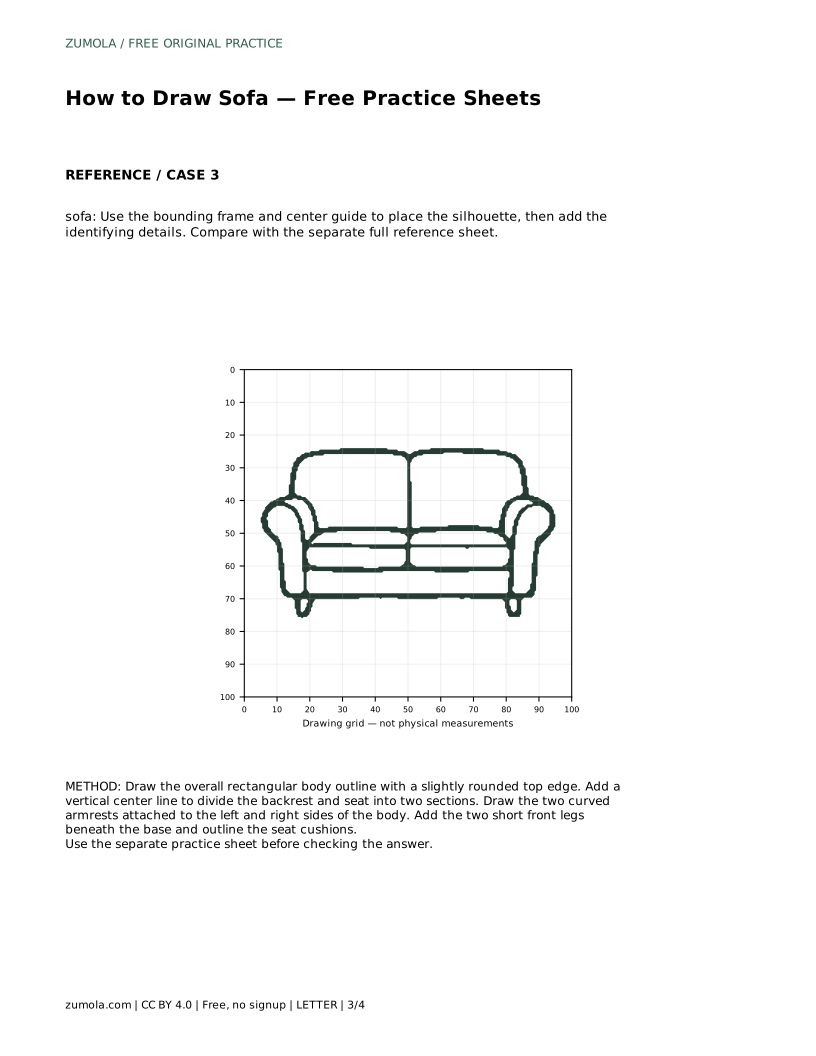
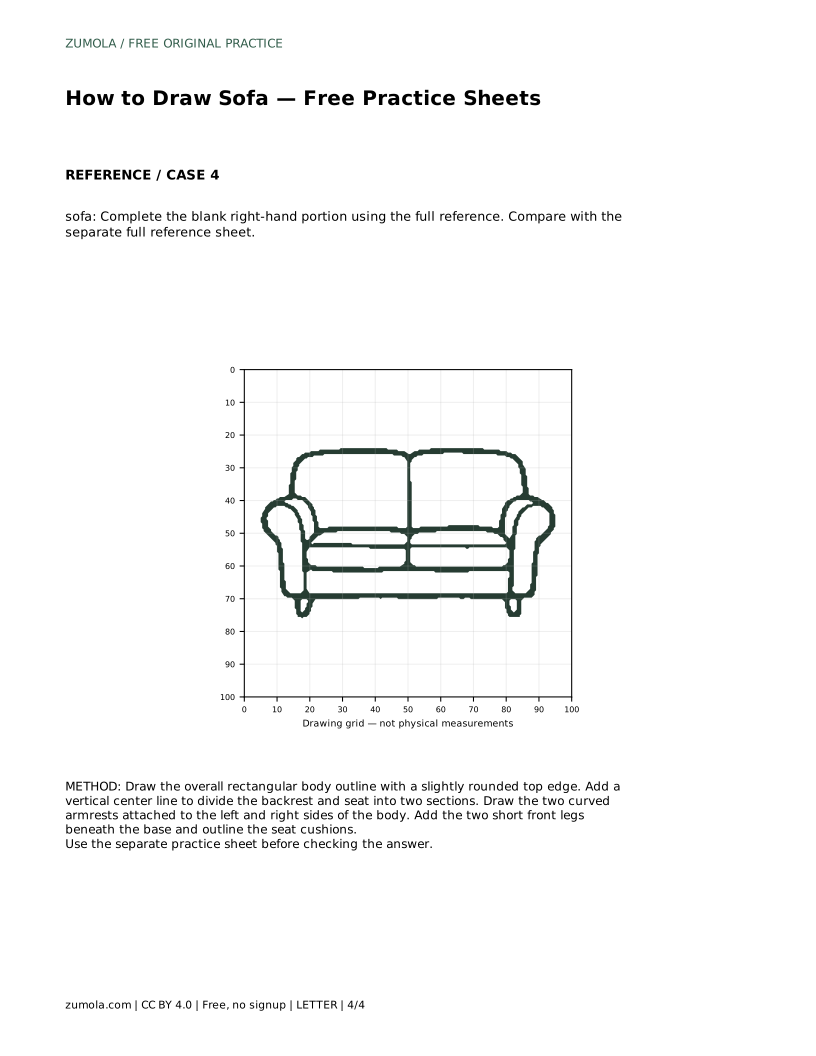
Learn to draw a sofa by tracing, gridding, and completing a reference. Focus on the rounded backrest, two seat cushions, curved armrests, and short front legs.
Four original cases, with reference diagrams, practice sheets and worked answers. Everything is free; no signup required.
LETTER · Download PDF
A4 · Download PDF
LETTER · Download PDF
A4 · Download PDF
LETTER · Download PDF
A4 · Download PDF
Use A4 or US Letter to match your printer. Use the stated values and conditions to solve each exercise; diagrams are not physical measuring rulers.
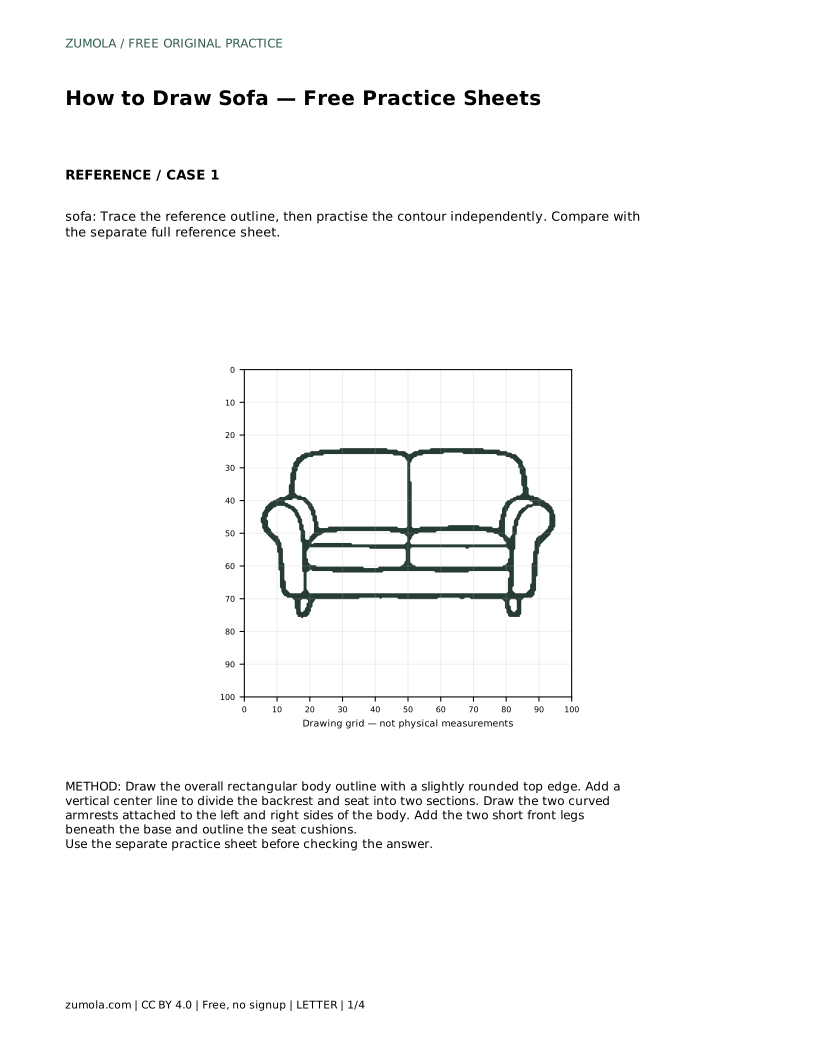
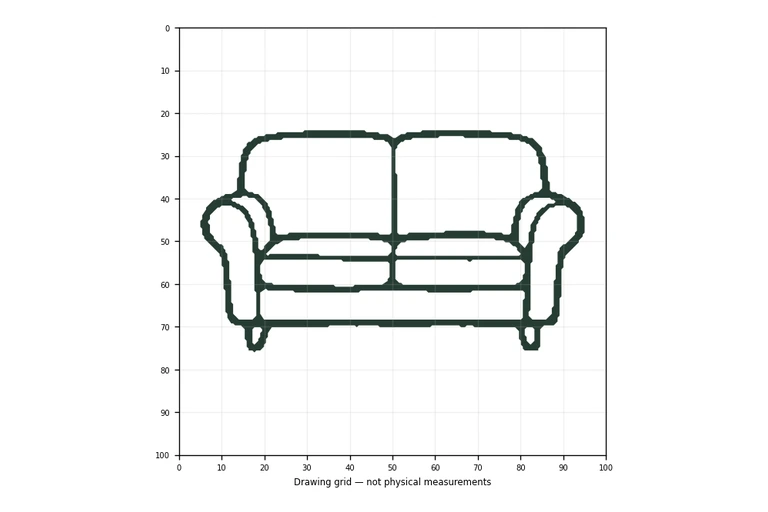
Drawing a sofa is a useful exercise in combining simple shapes into a recognizable object. The goal is not a pixel-perfect copy but a clear, well-proportioned outline that shows the key features: a rounded backrest divided into two sections, two seat cushions with a center seam, curved armrests on both sides, and short front legs. The practice sheets let you trace, copy onto a grid, place the silhouette using a bounding frame and center guide, and complete a partially blank drawing. Each method builds the same core skill: observing and reproducing the sofa's structure.
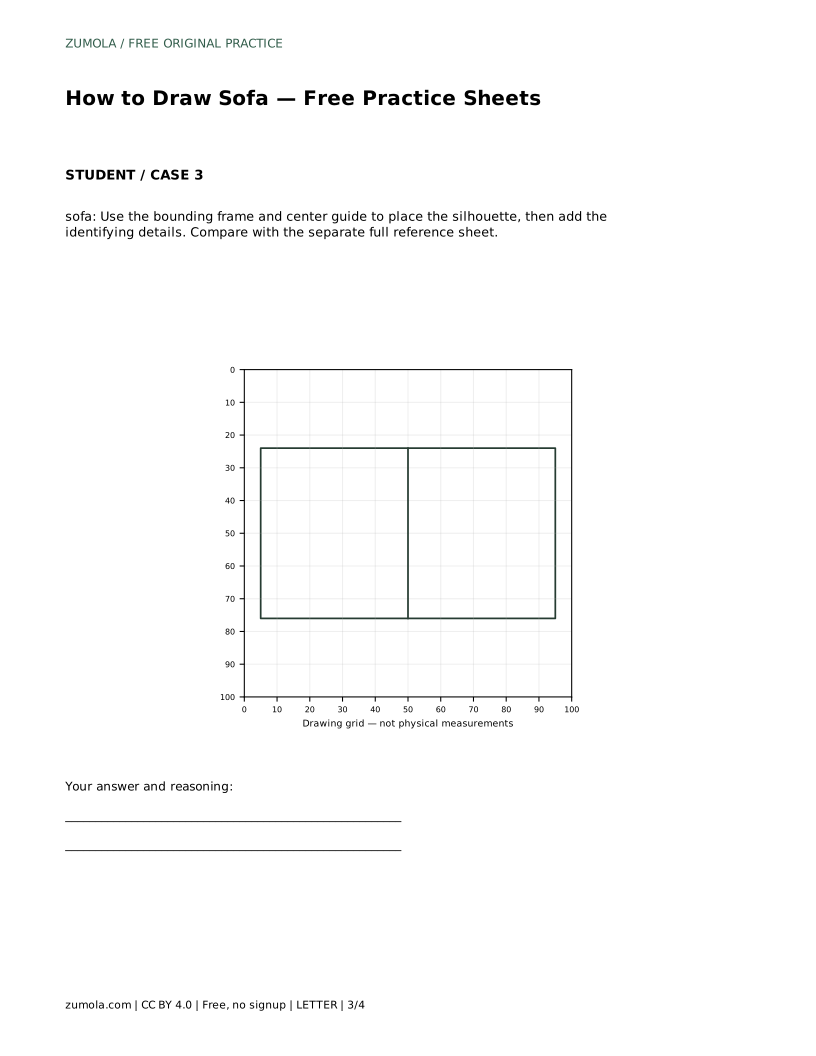
Begin by drawing the sofa's main body as a rectangle with a slightly rounded top edge. This gives you a stable frame for the backrest and seat. Next, add a vertical center line from the top of the backrest down to the base. This line divides the backrest and seat into two equal sections, which helps you place the cushions and the center seam accurately. Keep the line light so you can adjust it later.
The center line is a guide, not a final detail. It ensures symmetry and helps you judge whether the left and right sides match. If your sofa is drawn at a slight angle, the center line may not be perfectly vertical, but it should still divide the visible backrest into two sections.
With the body and center line in place, draw the two curved armrests attached to the left and right sides. They should curve outward slightly and connect smoothly to the body. Then outline the two seat cushions, using the center line to place the seam between them. The cushions should sit within the body outline, leaving a small gap for the backrest above.
Finally, add two short front legs beneath the base. They should be evenly spaced and proportional to the sofa's width. Avoid making them too long or too thin, as this can make the sofa look unstable. The legs are simple rectangles or slightly tapered shapes.
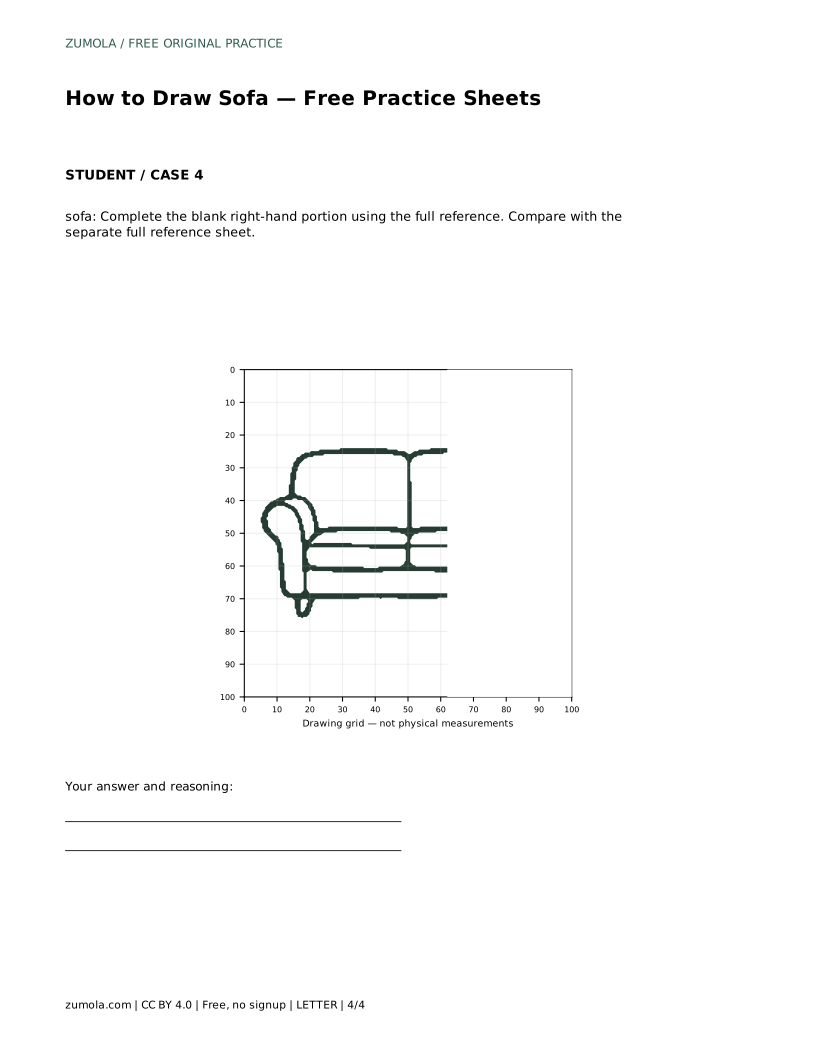
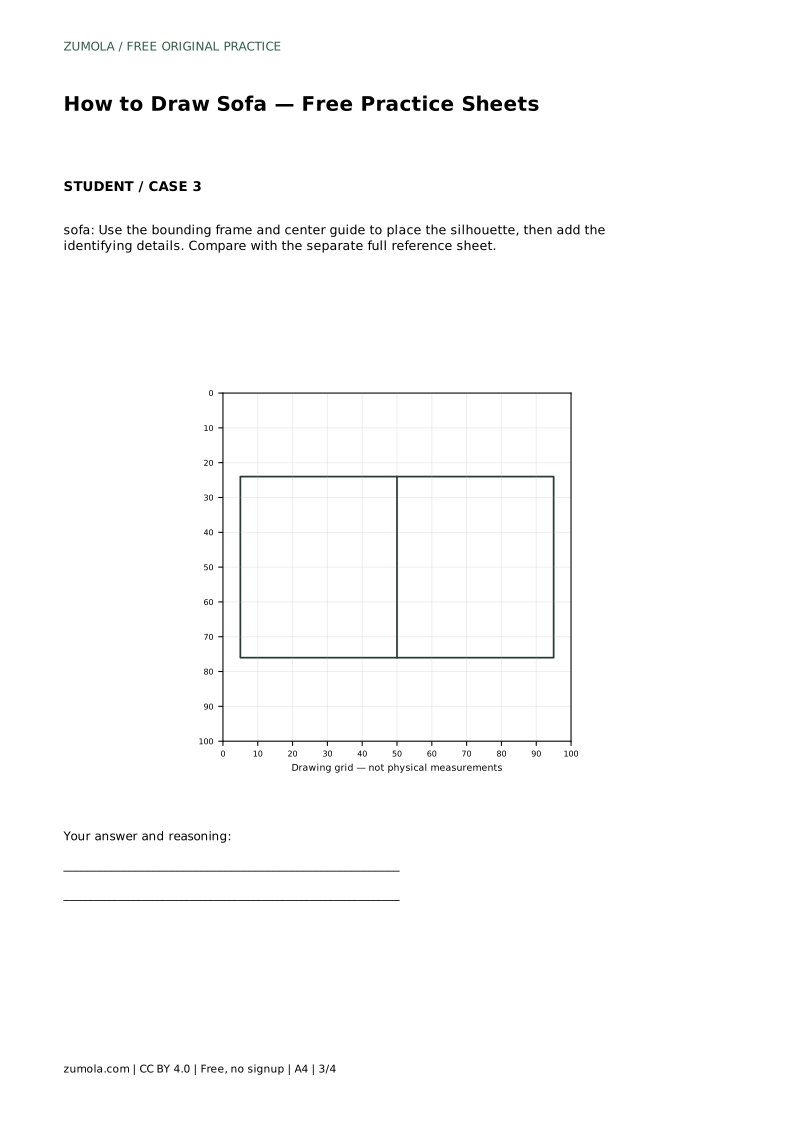
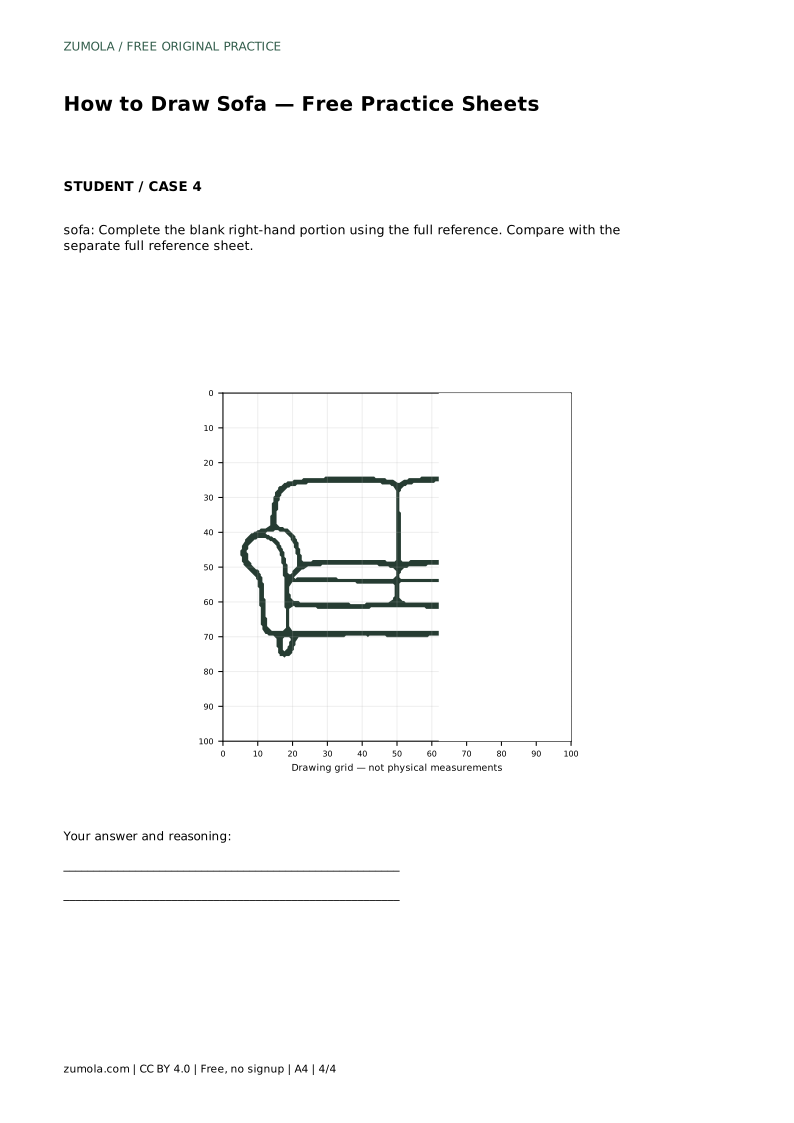
The trace method helps you learn the contour by following the reference outline. After tracing, try drawing the sofa independently and compare with the full reference sheet. The grid method asks you to copy the reference onto a blank grid, matching grid intersections to keep proportions accurate. The bounding frame and center guide method helps you place the silhouette first, then add details. The partial blank method gives you half the drawing and asks you to complete the other half using the full reference.
Each method targets a different observation skill: tracing builds muscle memory, gridding builds proportional judgment, framing builds placement, and completing builds inference. Use the rubric to assess your drawing on visible features and proportions rather than exact matching.
sofa: Trace the reference outline, then practise the contour independently. Compare with the separate full reference sheet.
Example solution: preserve rounded backrest divided into two sections, two seat cushions with a center seam, curved armrests on both sides. Other drawings can be correct; assess the visible features and proportions rather than pixel-perfect matching. Draw the overall rectangular body outline with a slightly rounded top edge. Add a vertical center line to divide the backrest and seat into two sections. Draw the two curved armrests attached to the left and right sides of the body. Add the two short front legs beneath the base and outline the seat cushions.
No. Other drawings can be correct. Assess the visible features and proportions rather than pixel-perfect matching.
The center line may not be perfectly vertical, but it should still divide the visible backrest into two sections. Adjust the armrests and cushions accordingly.
The reference shows two short front legs. If you draw a side view, you might show only one or two legs, but for this front-facing practice, draw two.
All drawing practice · Free coordinate paper
Original resources · CC BY 4.0 · Free for personal and classroom use with attribution.