Reference diagrams
LETTER · Download PDF
A4 · Download PDF
Free original resources
Learn to draw a shoe by building the sole, toe box, laces, and heel in order. Trace, grid, and half-reference practice sheets support each step.
Four original cases, with reference diagrams, practice sheets and worked answers. Everything is free; no signup required.
LETTER · Download PDF
A4 · Download PDF
LETTER · Download PDF
A4 · Download PDF
LETTER · Download PDF
A4 · Download PDF
Use A4 or US Letter to match your printer. Use the stated values and conditions to solve each exercise; diagrams are not physical measuring rulers.
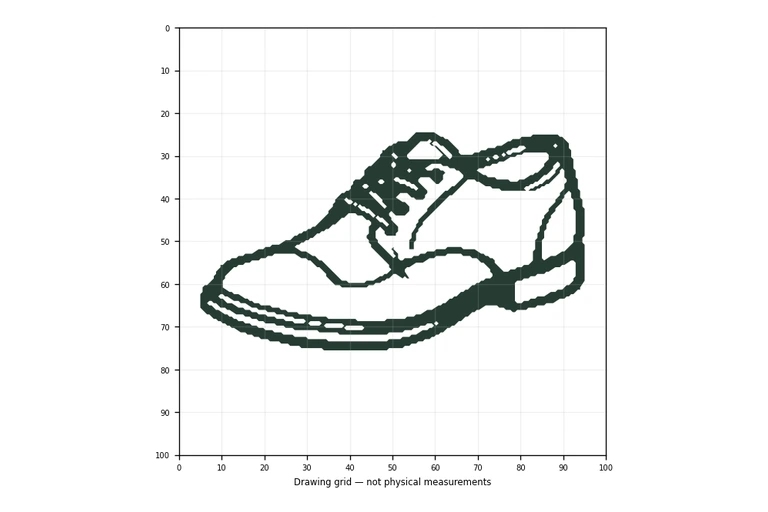
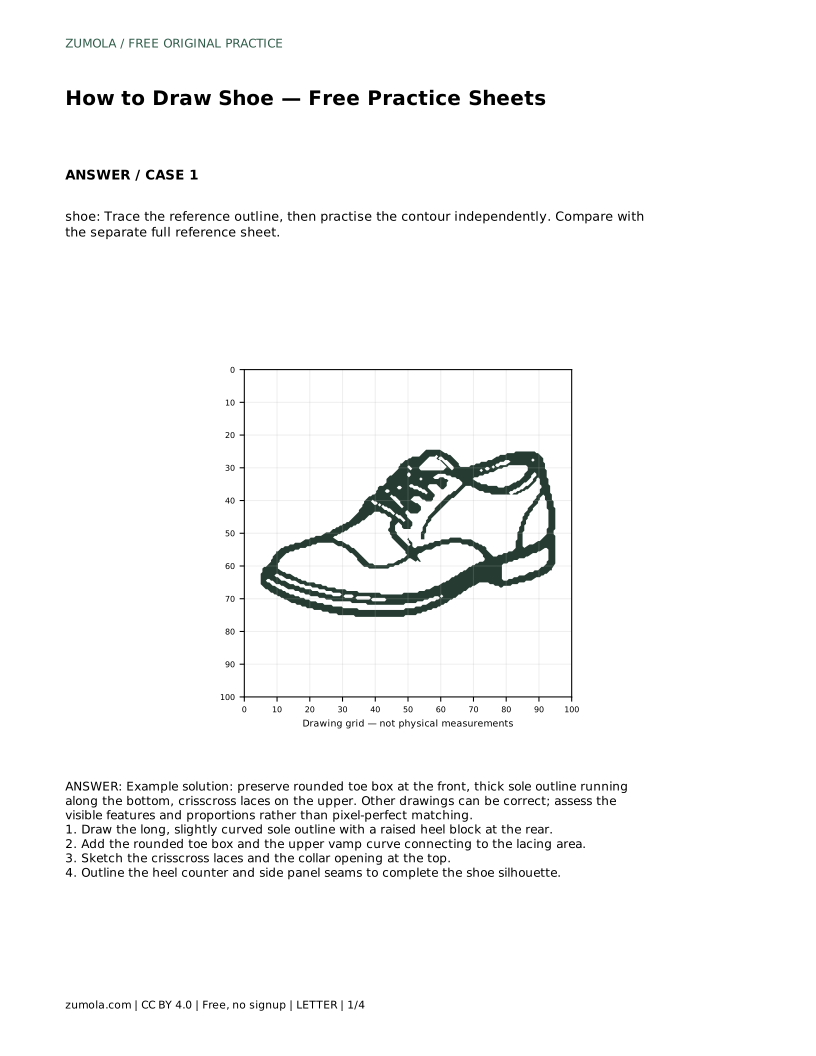
Drawing a shoe is mostly a problem of proportion and contour. The sole sets the length and stance, the toe box gives the front its rounded weight, and the lacing area and collar explain how the shoe opens. This page walks through a reliable order for constructing a side-view shoe, then shows how to use tracing, grid, and partial-reference practice sheets to build independence. Judge your drawing by visible features and proportions, not by pixel-perfect matching.
Start with the sole because it controls the shoe's overall length and balance. Draw a long, slightly curved line for the bottom edge, then add a raised heel block at the rear so the shoe sits with a clear front-to-back direction. Keep the curve gentle; a sole that dips or rises too sharply will make the upper look unstable.
Next, place the rounded toe box at the front and connect it to the lacing area with the upper vamp curve. The toe box should feel full rather than pointed, and the vamp should rise smoothly toward the instep. Only after these large shapes are settled should you add crisscross laces and the collar opening at the top. Finish with the heel counter and side panel seams, which clarify the shoe's structure without changing its silhouette.
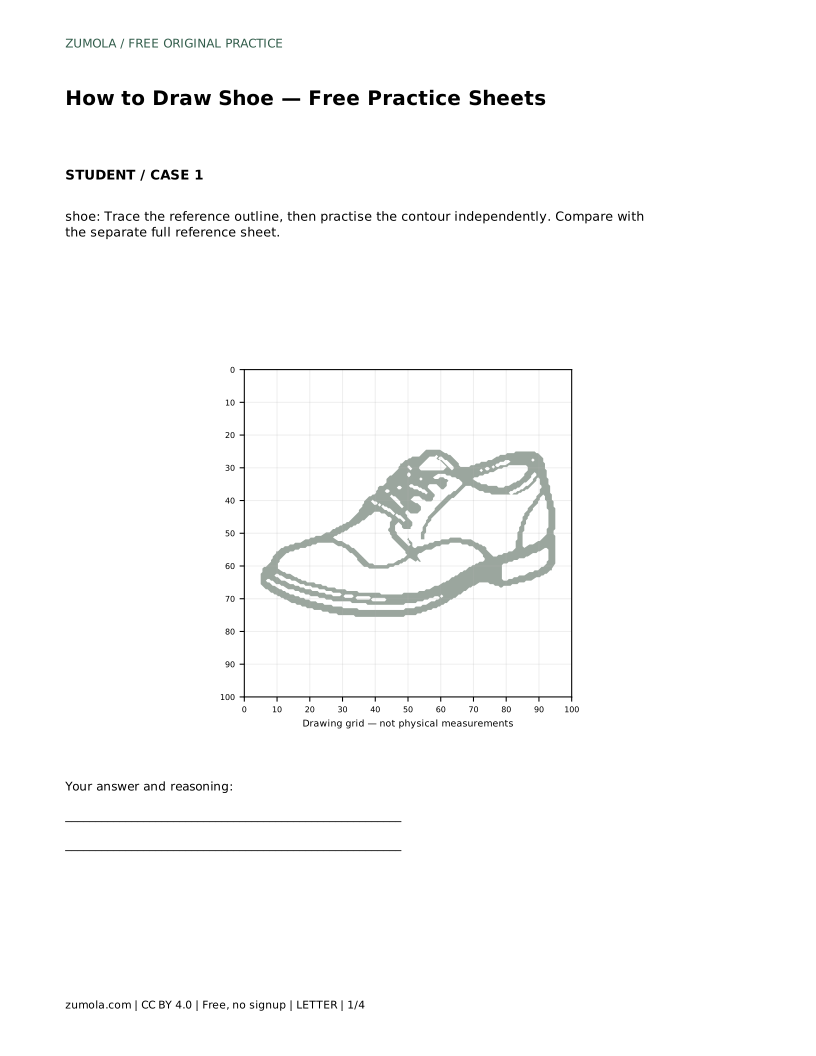
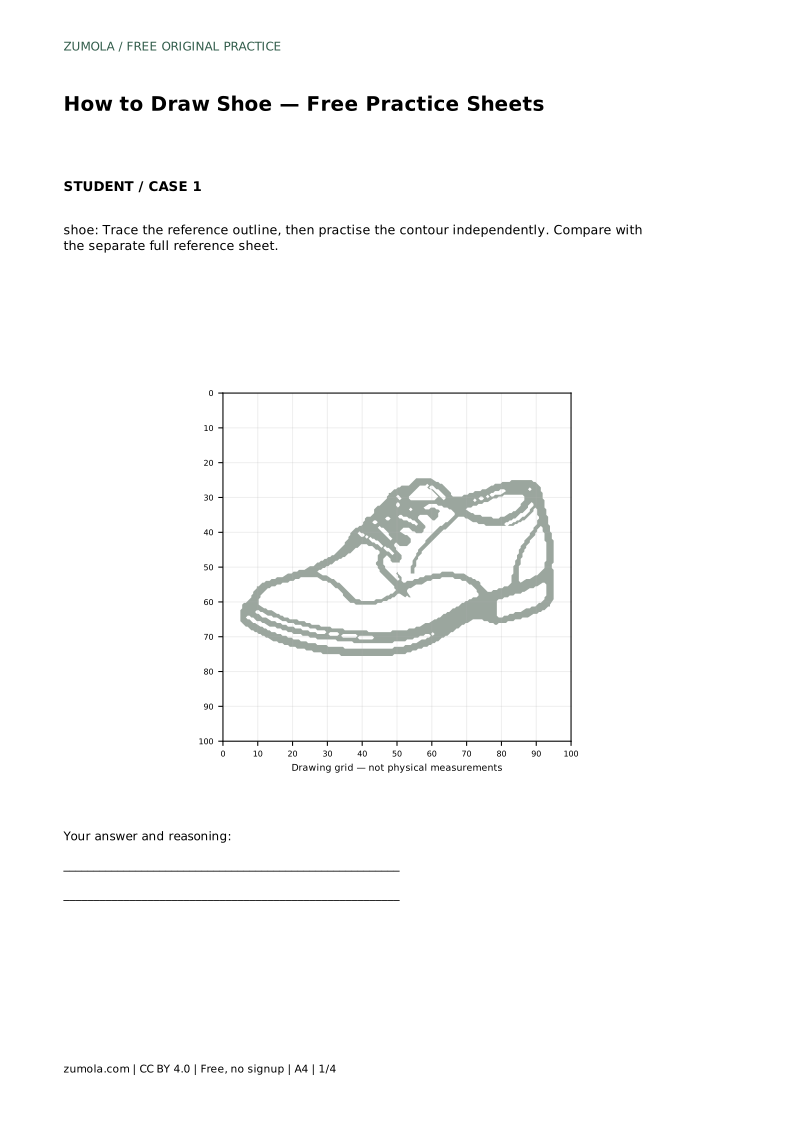
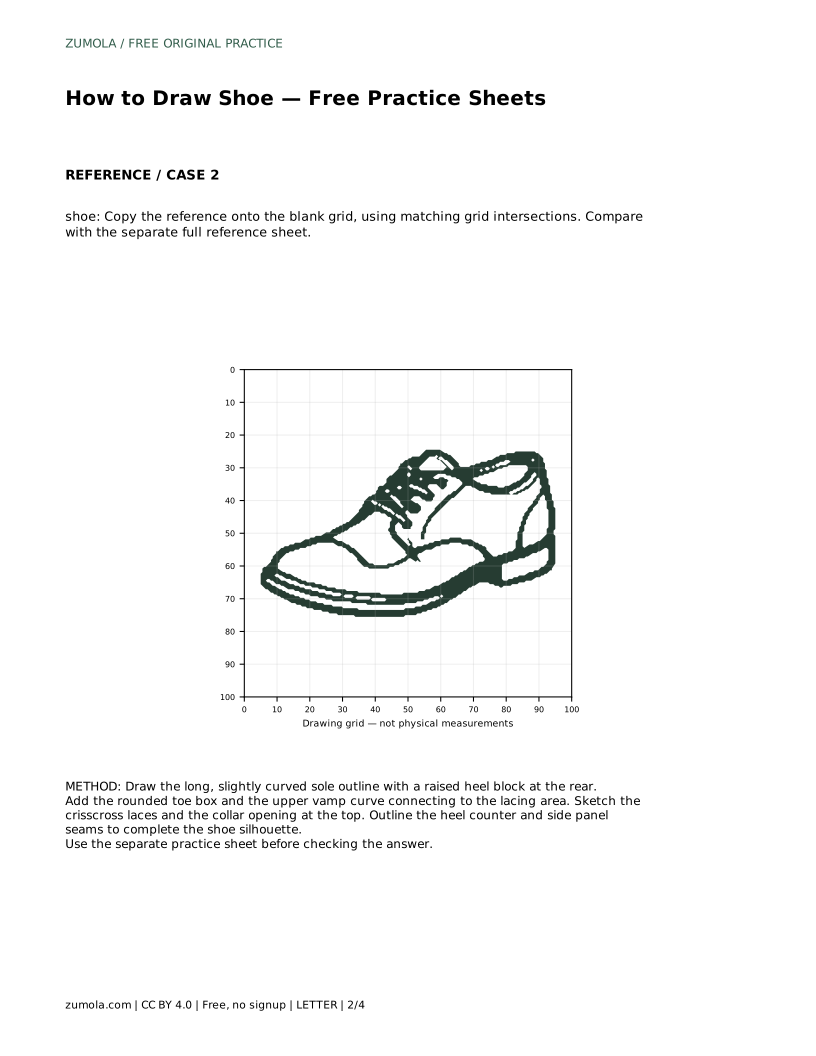
The trace sheet asks you to follow the reference outline first, then practise the contour independently on the same page. Tracing teaches the sequence of edges; the independent attempt shows whether you can reproduce that sequence without guidance. Compare your free drawing with the separate full reference sheet rather than with your traced line, so you notice where your proportions drifted.
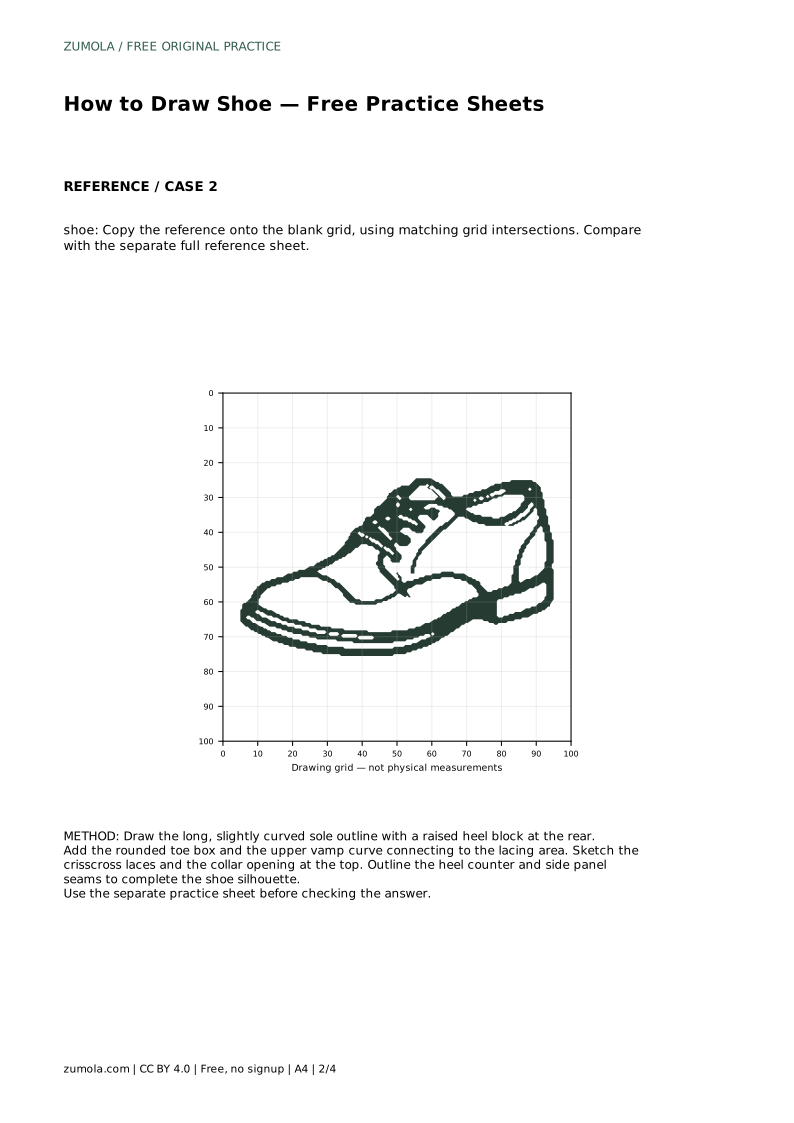
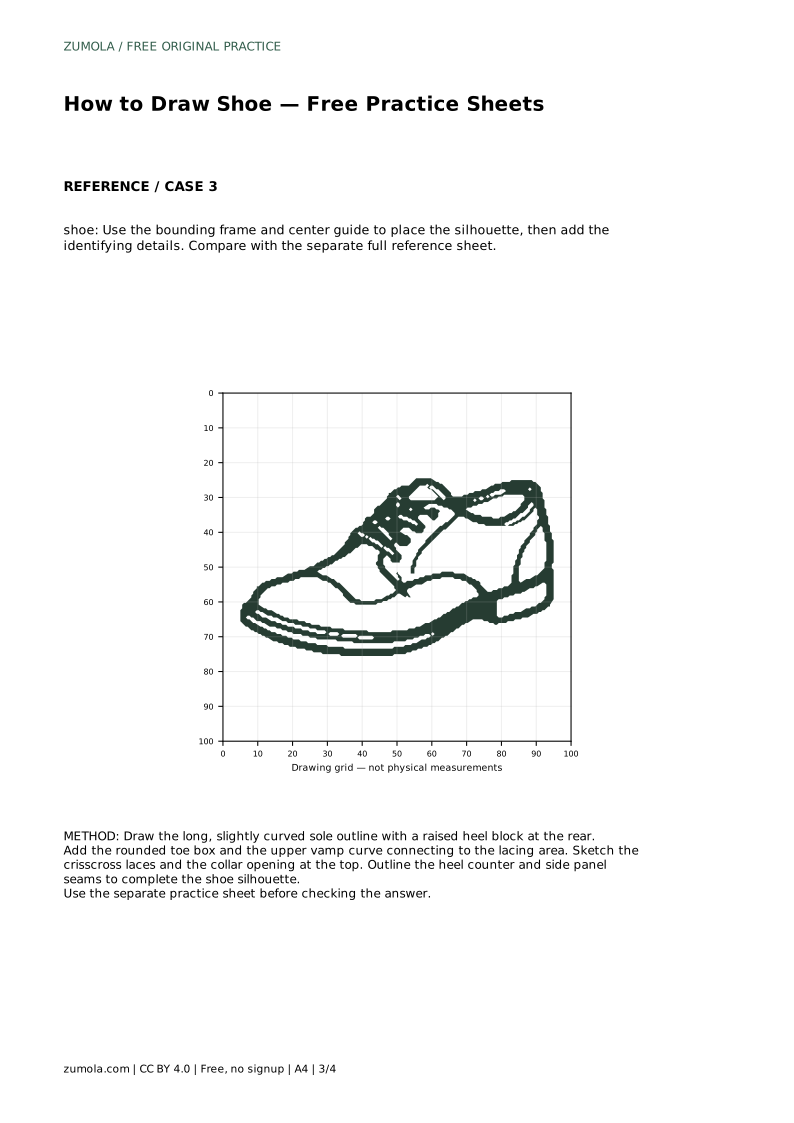
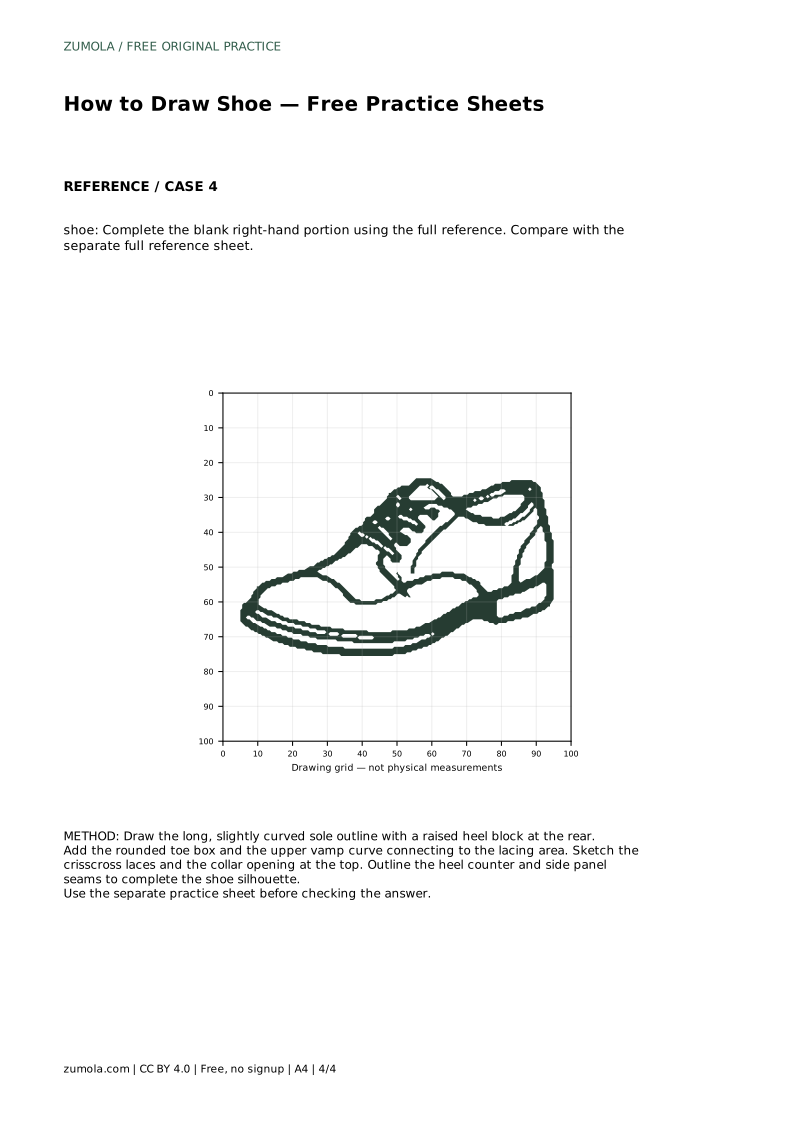
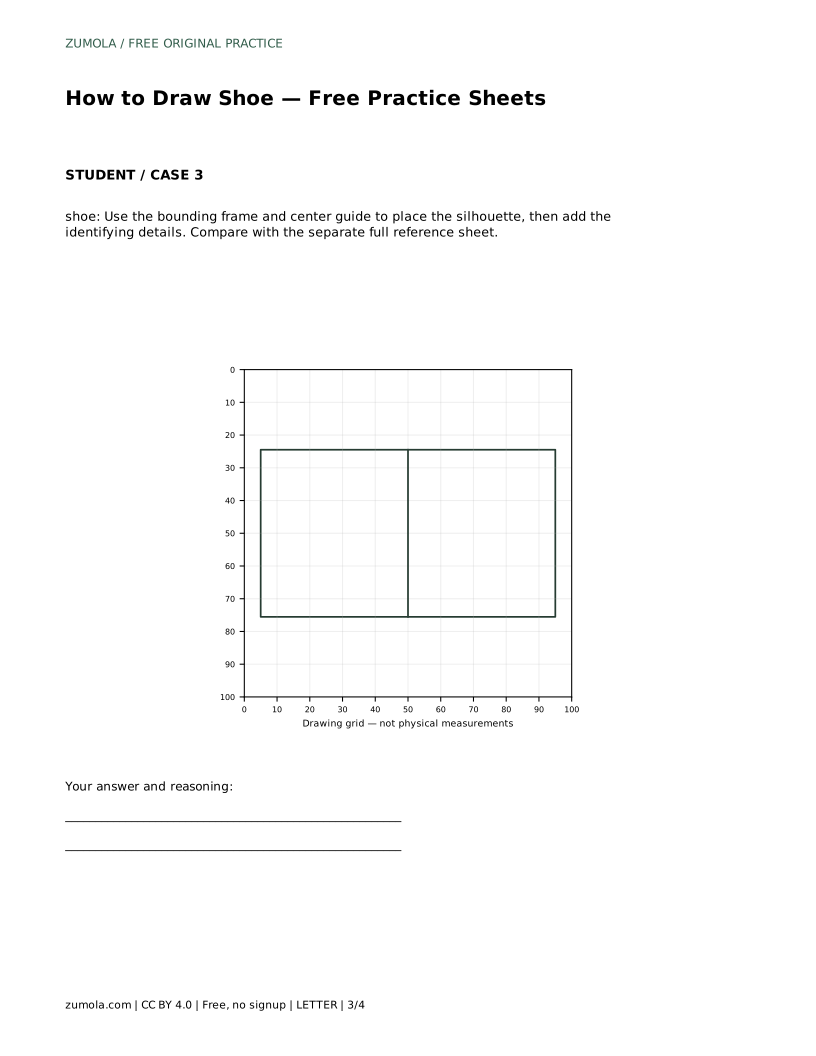
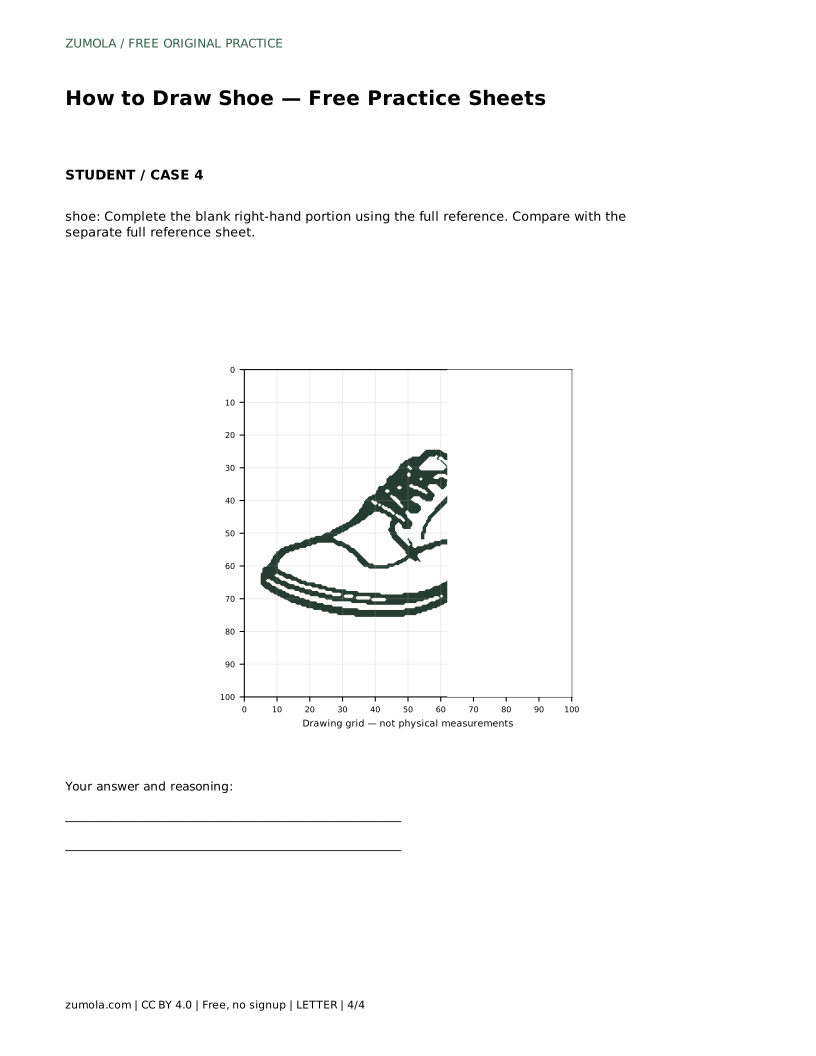
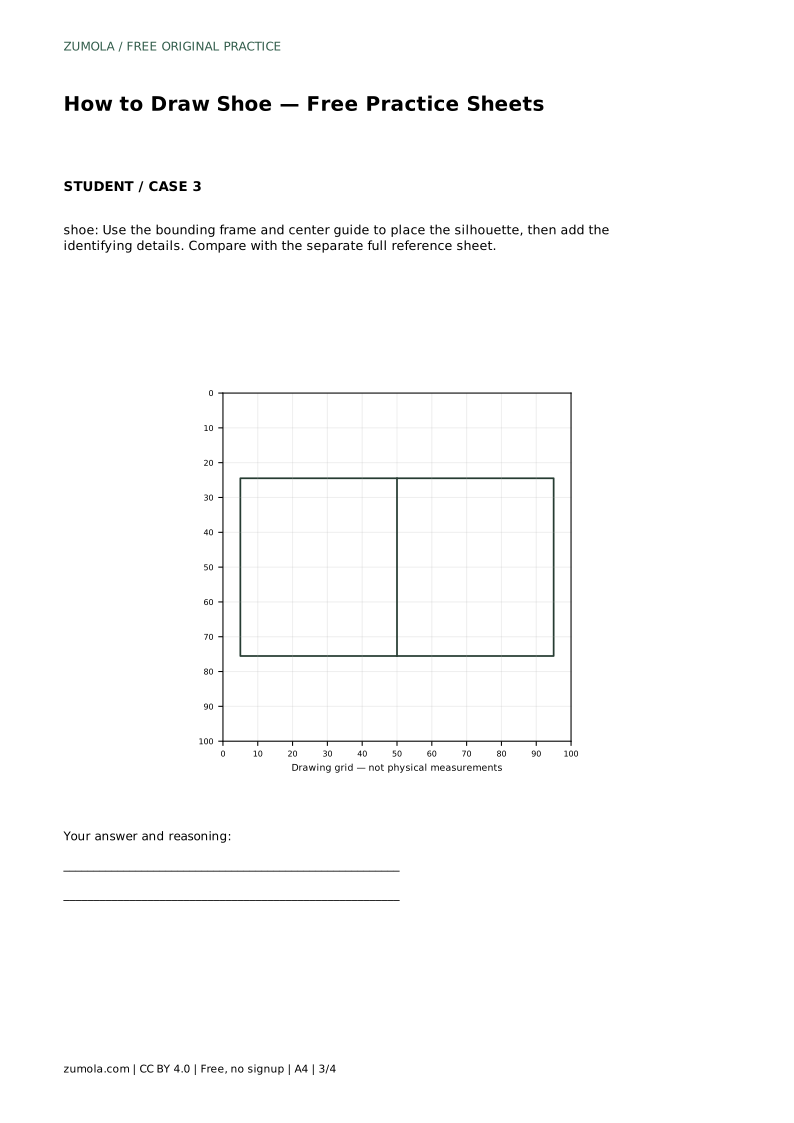
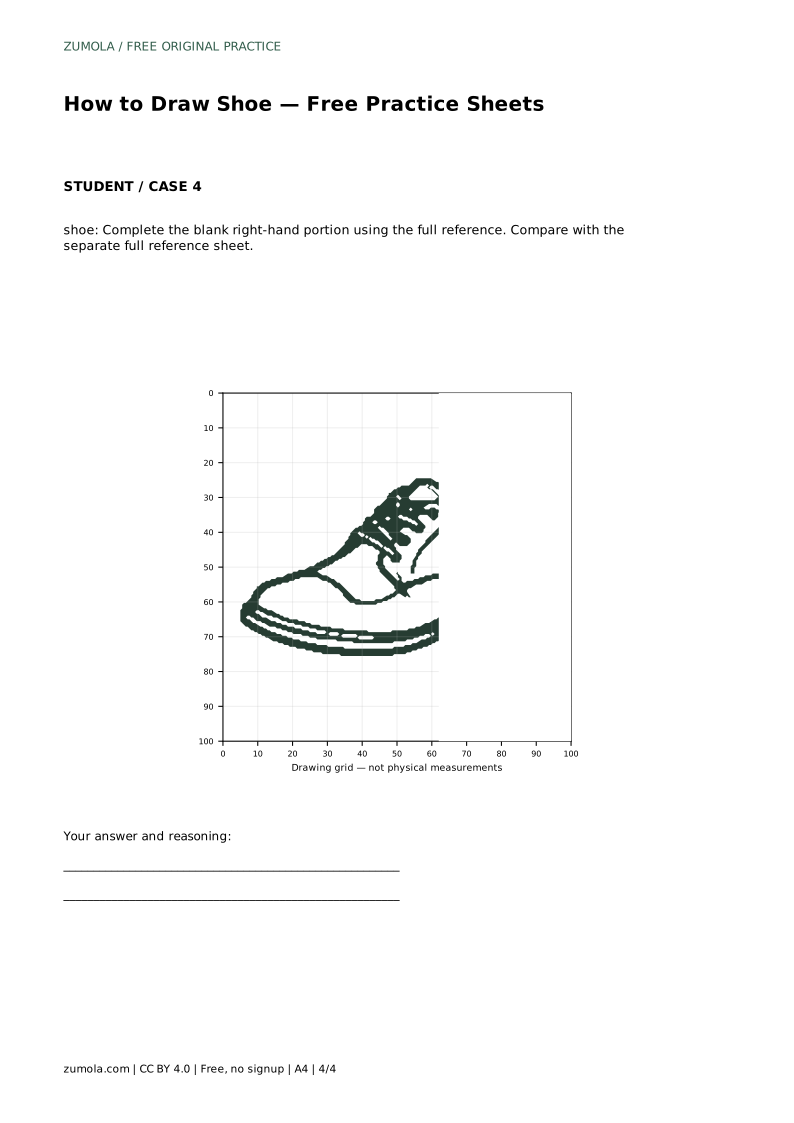
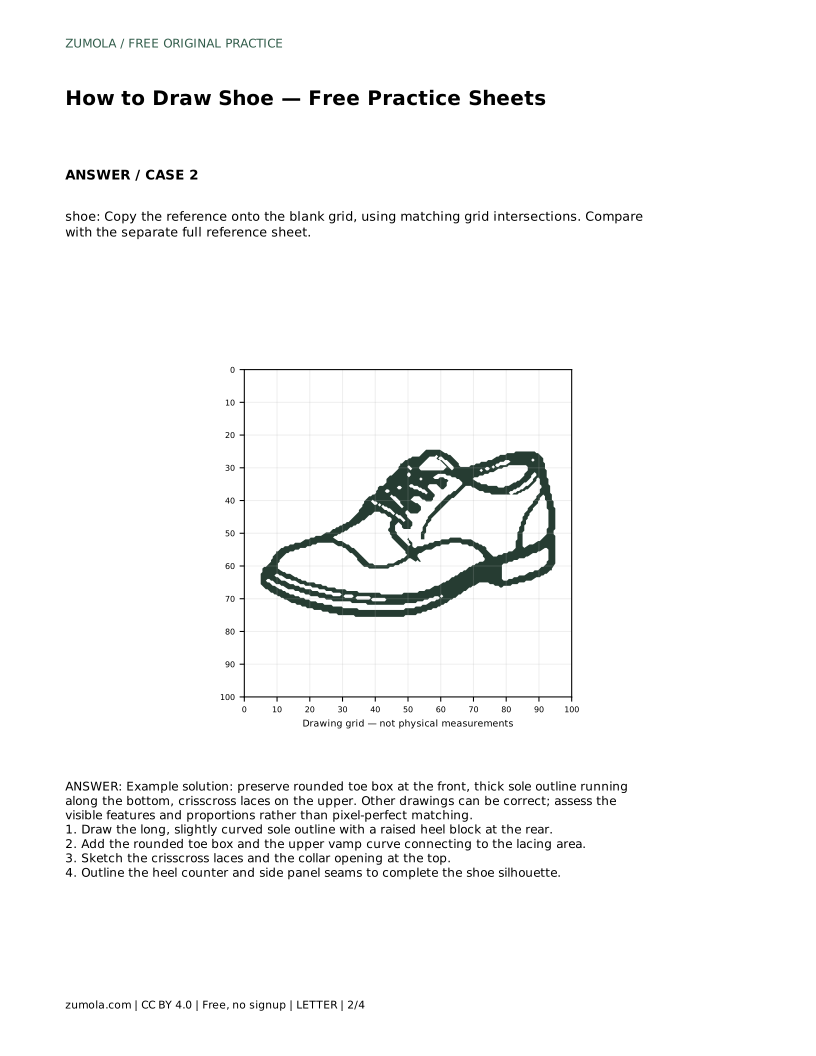
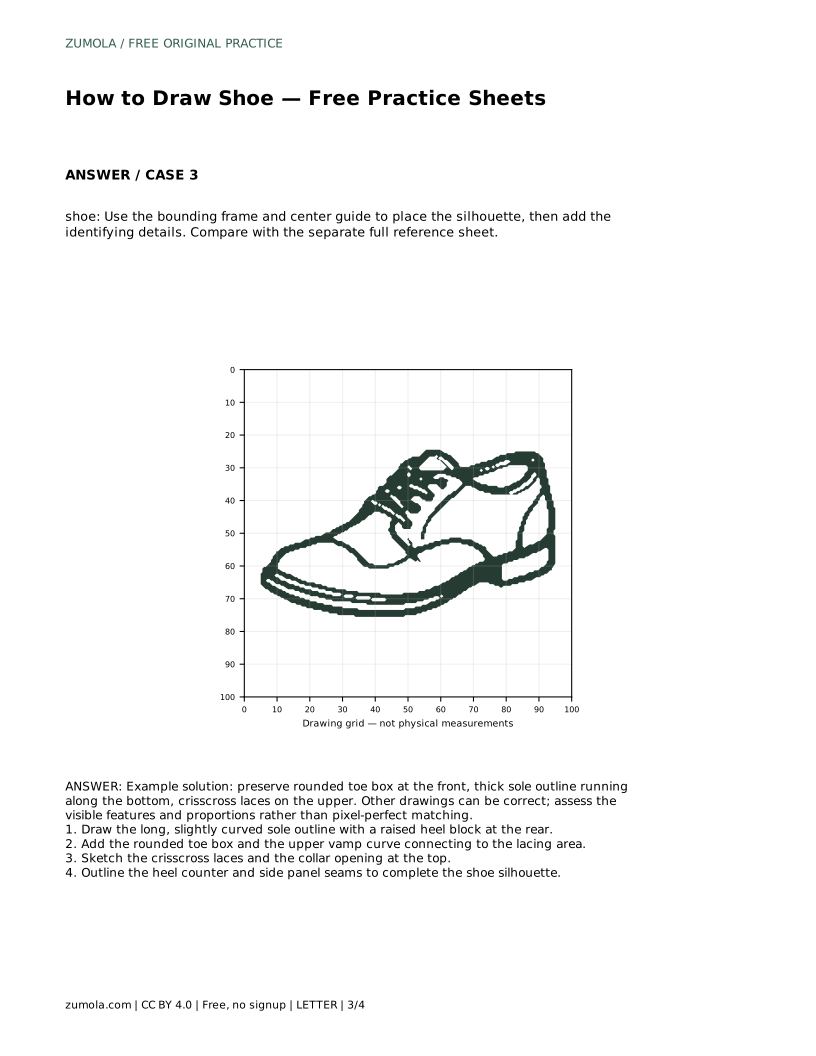
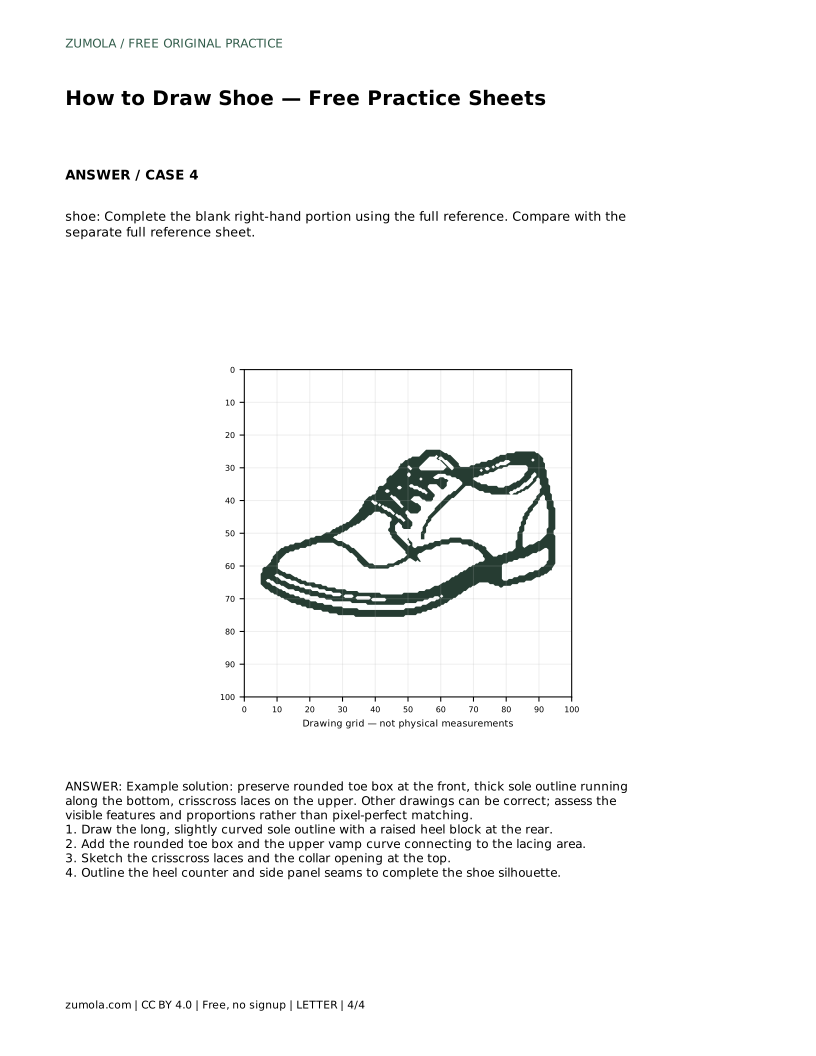
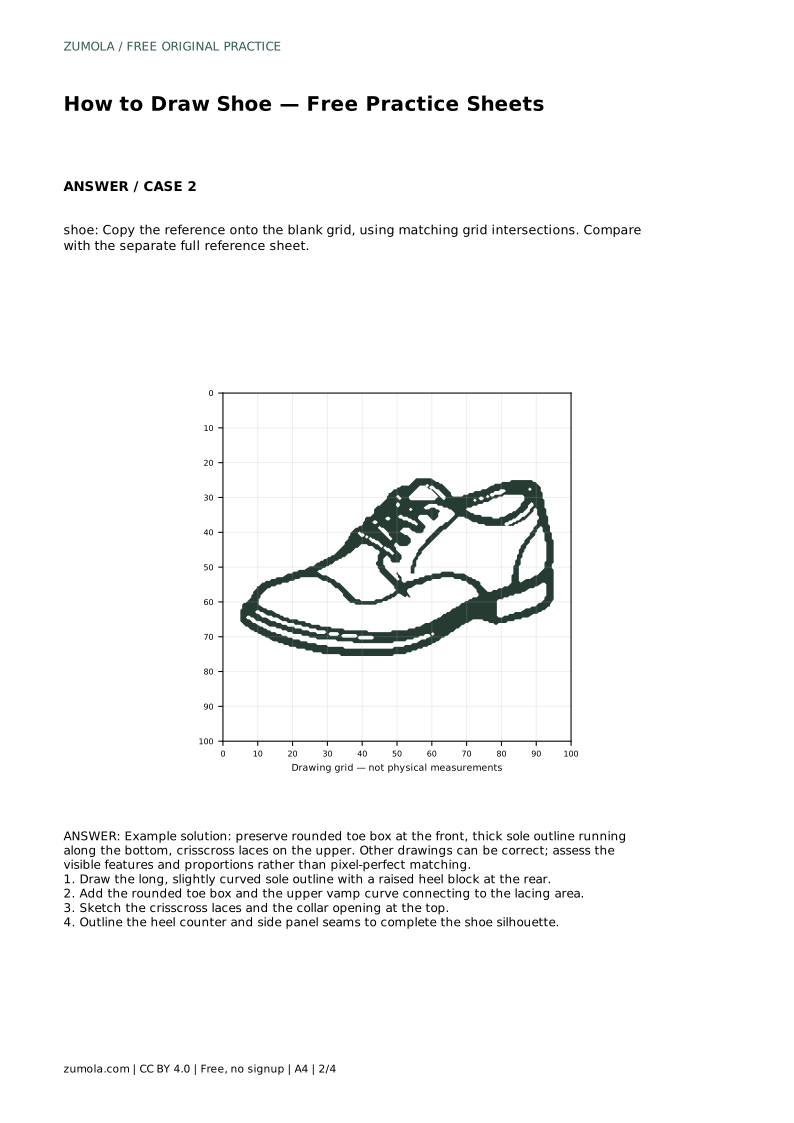
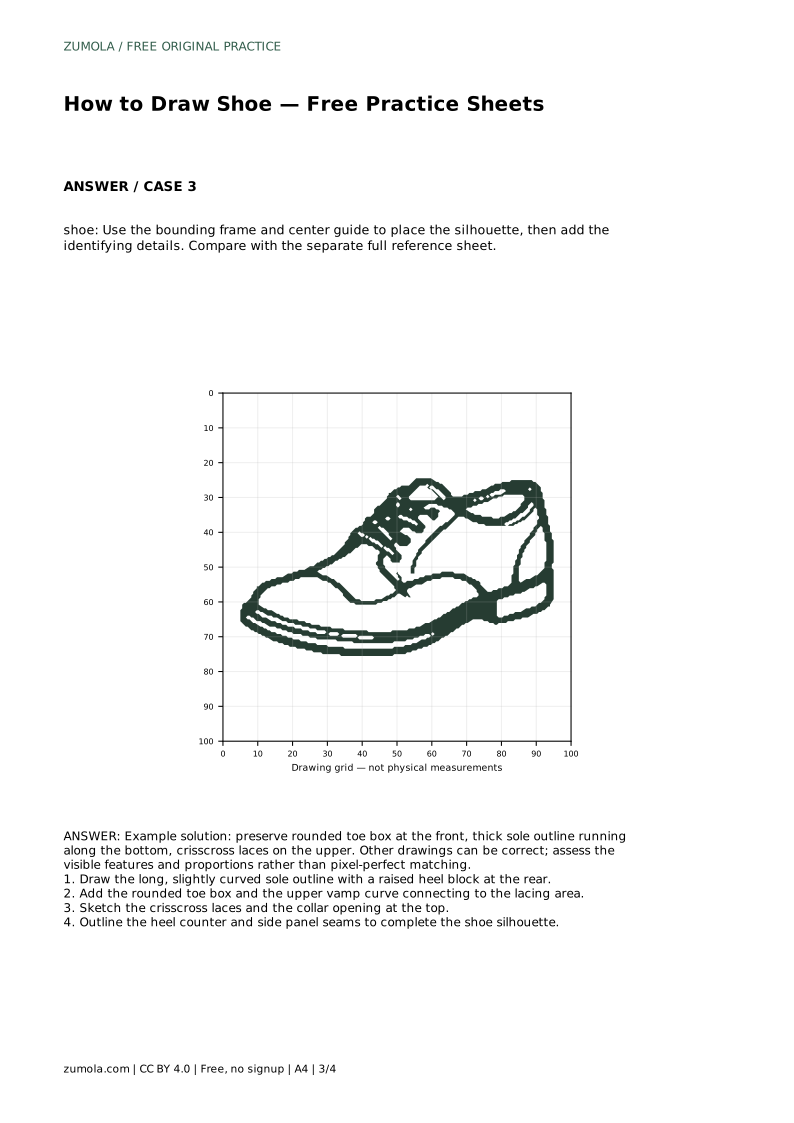
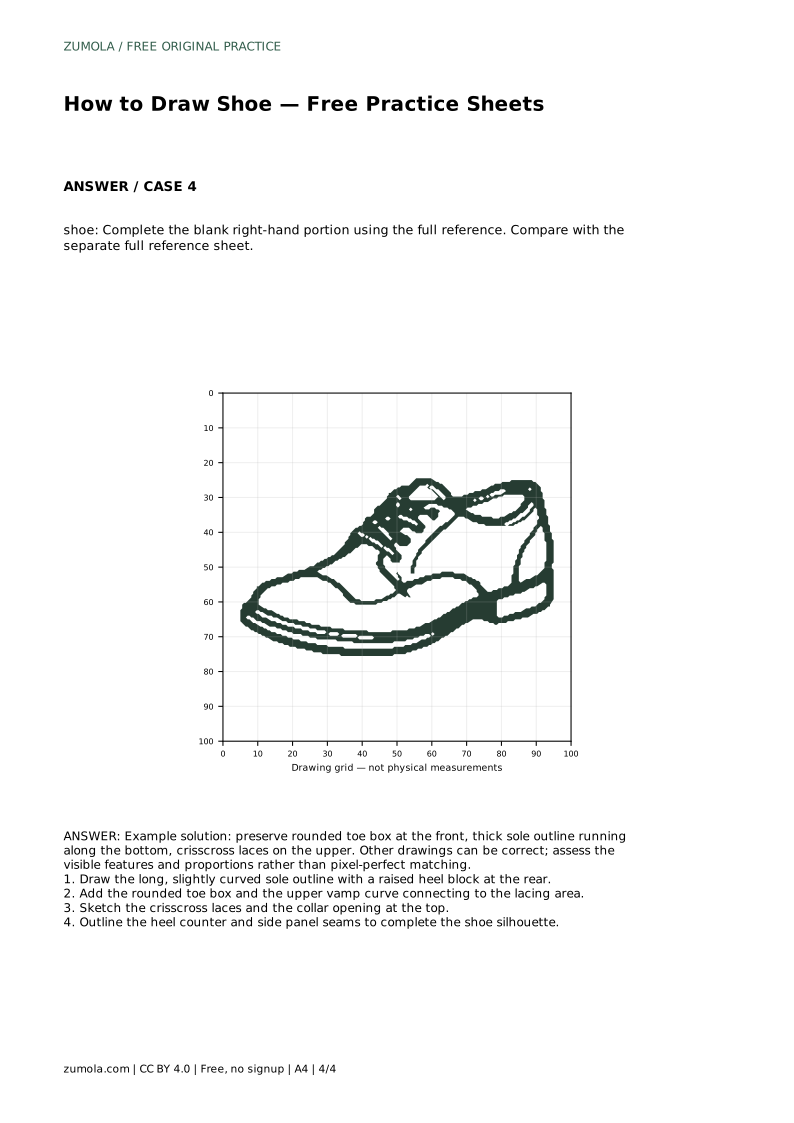
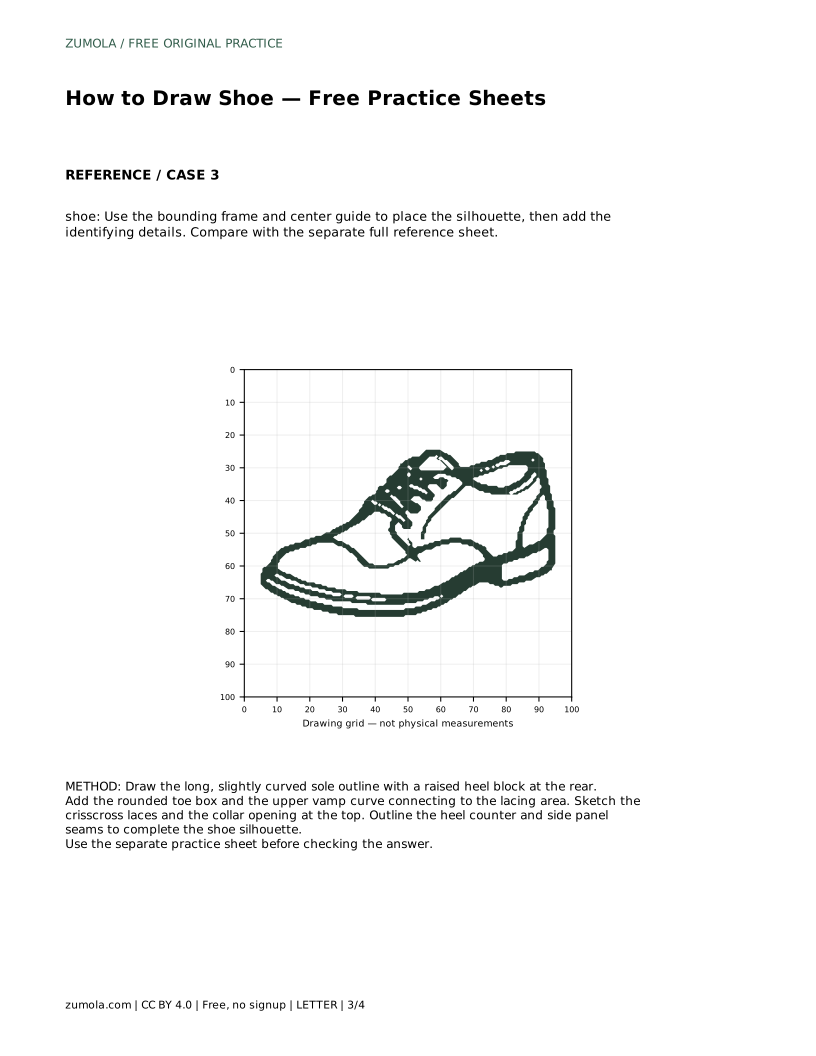
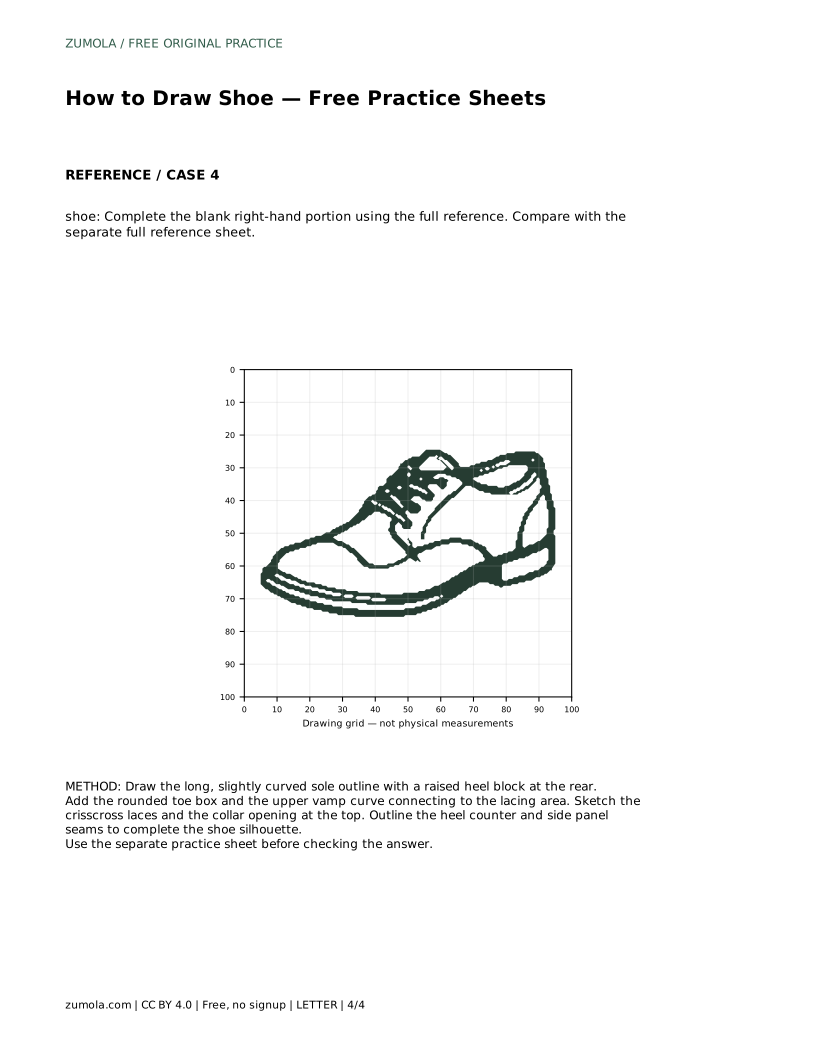
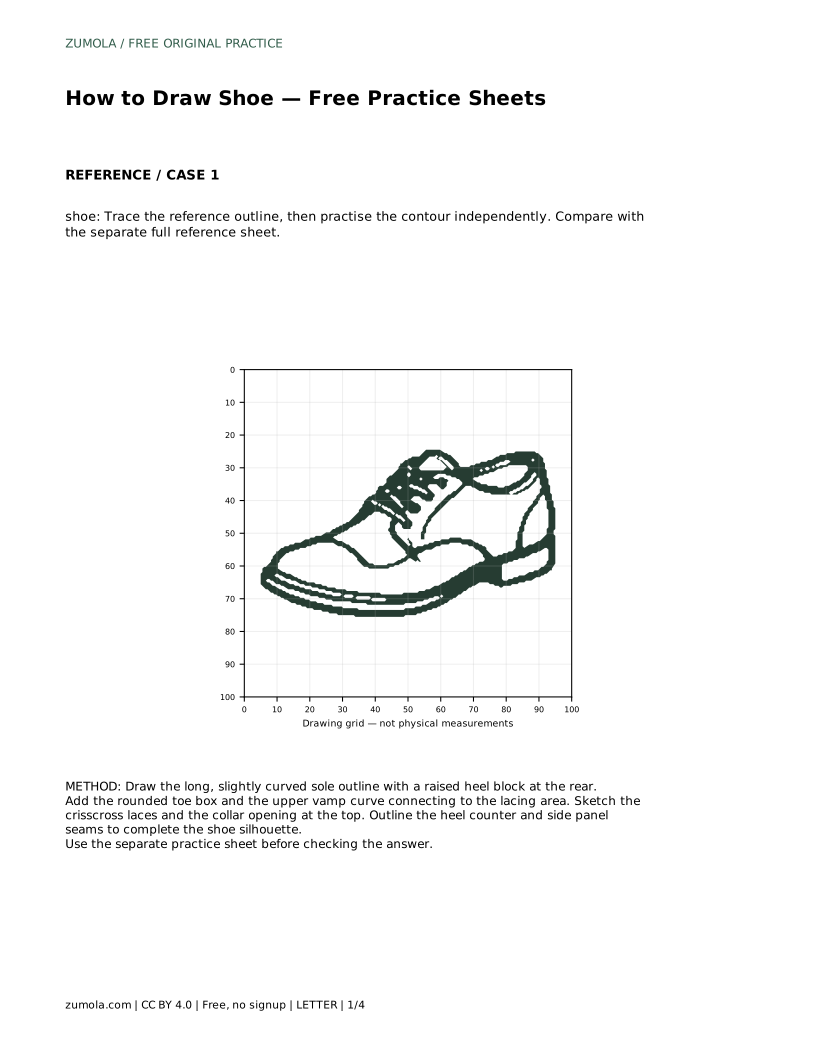
The blank grid version asks you to copy the reference onto matching grid intersections. Use the grid to compare distances: how far the toe box sits from the heel, how tall the collar is relative to the sole, and where the laces begin. The bounding frame and center guide version works differently: place the silhouette inside the frame first, then add identifying details. The partial-reference sheet gives you the full reference and a blank right-hand portion, so you complete the missing side using the same construction order.
Shoes have many valid drawing outcomes, so avoid treating any single outline as the only correct answer. Instead, check whether the rounded toe box is present at the front, whether a thick sole runs along the bottom with a raised heel block, and whether crisscross laces sit on the upper. Then check proportion: the sole should span the full length of the shoe, and the collar opening should sit above the lacing area rather than beside it.
A useful habit is to compare your drawing with the reference at arm's length. Small mismatches in seam placement are less important than a collapsed toe box or a sole that stops short of the heel. If a feature is missing, redraw that section rather than erasing the whole shoe.
A concrete task shows how the steps combine. The prompt below is the first practice case, and the answer describes what a correct attempt should preserve. Other drawings can be correct; assess the visible features and proportions rather than pixel-perfect matching.
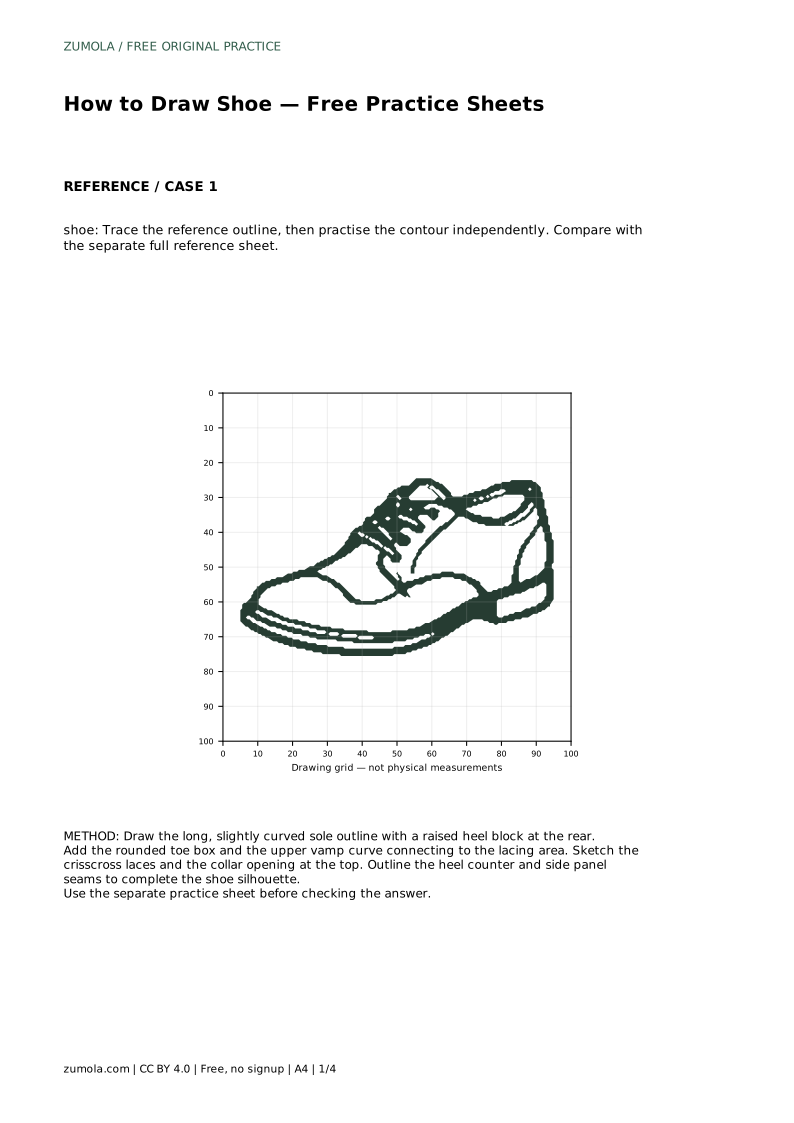
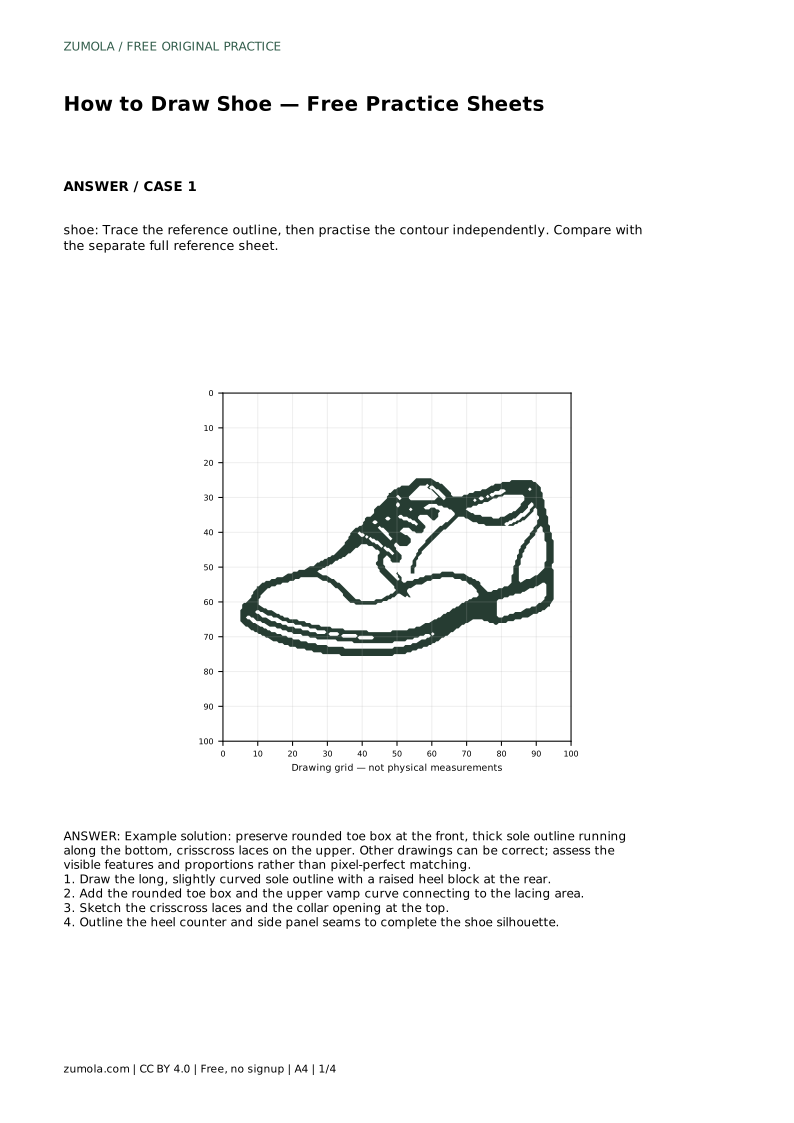
shoe: Trace the reference outline, then practise the contour independently. Compare with the separate full reference sheet.
Example solution: preserve rounded toe box at the front, thick sole outline running along the bottom, crisscross laces on the upper. Other drawings can be correct; assess the visible features and proportions rather than pixel-perfect matching. Draw the long, slightly curved sole outline with a raised heel block at the rear. Add the rounded toe box and the upper vamp curve connecting to the lacing area. Sketch the crisscross laces and the collar opening at the top. Outline the heel counter and side panel seams to complete the shoe silhouette.
No. Preserve the rounded toe box, thick sole, crisscross laces, and collar, then judge proportions. Other drawings can be correct.
Start with the trace sheet to learn the contour order, then move to the grid or framed sheet to practise placement without tracing.
Check the sole length and the toe box shape first, because those two features control the shoe's overall proportion.
All drawing practice · Free coordinate paper
Original resources · CC BY 4.0 · Free for personal and classroom use with attribution.