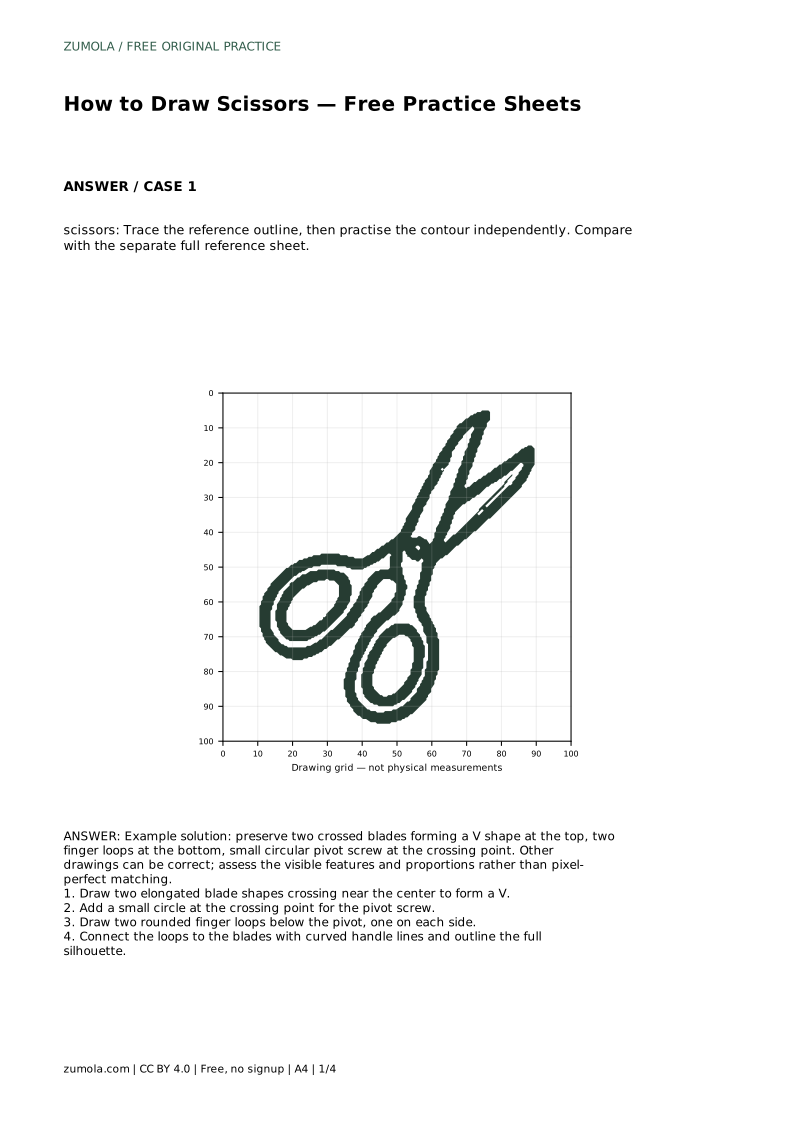
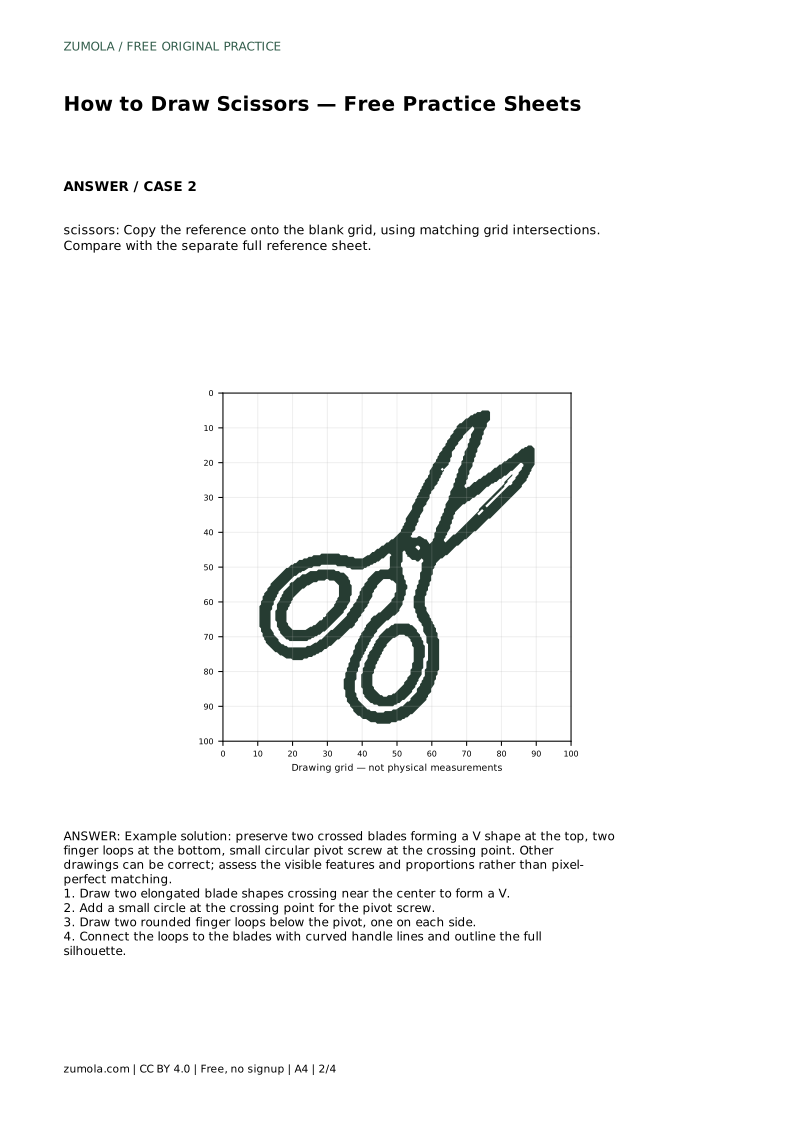
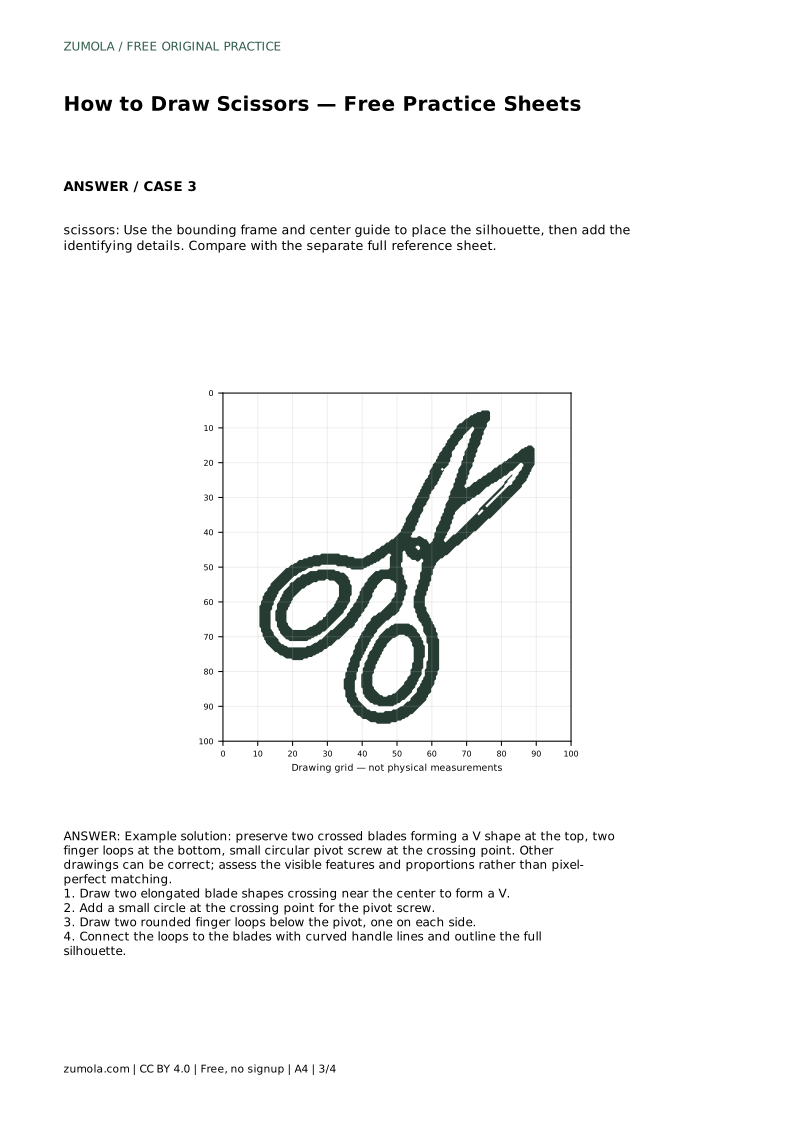
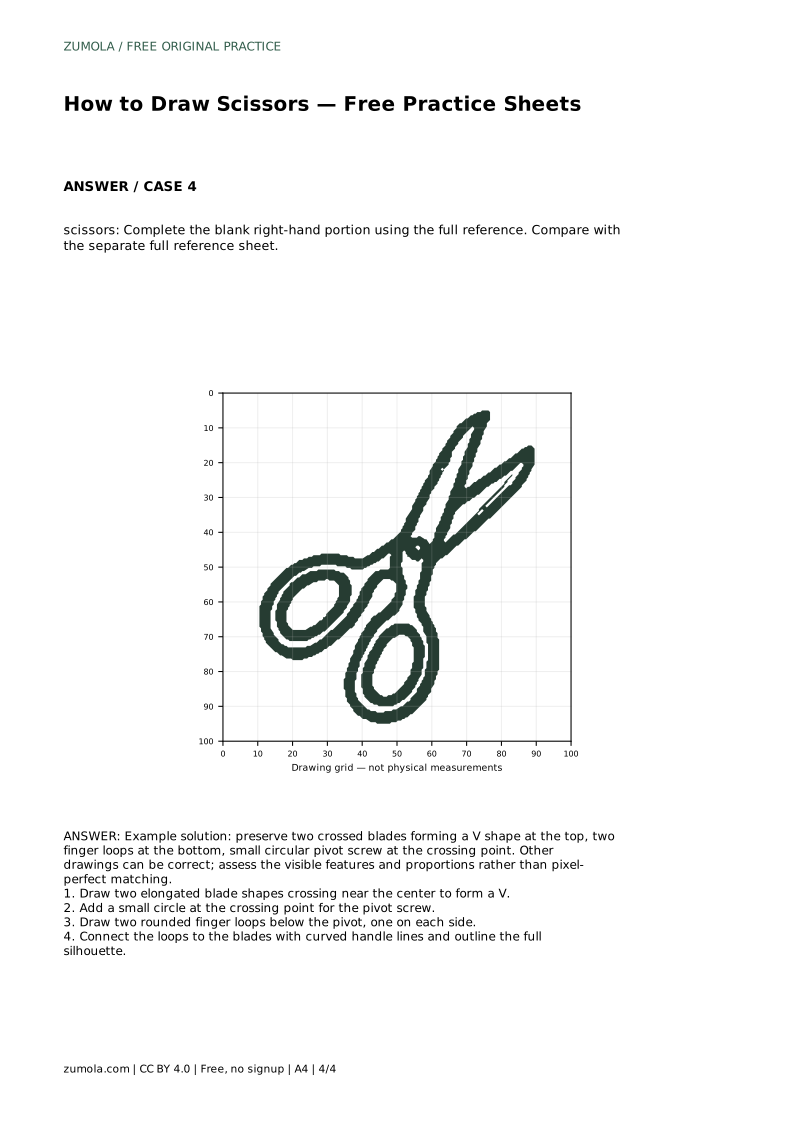
Reference diagrams
LETTER · Download PDF
A4 · Download PDF
Free original resources
Learn to draw scissors by building crossed blades, a pivot screw, and two finger loops. Trace, grid, and complete-the-drawing practice sheets support each step.
Four original cases, with reference diagrams, practice sheets and worked answers. Everything is free; no signup required.
LETTER · Download PDF
A4 · Download PDF
LETTER · Download PDF
A4 · Download PDF
LETTER · Download PDF
A4 · Download PDF
Use A4 or US Letter to match your printer. Use the stated values and conditions to solve each exercise; diagrams are not physical measuring rulers.
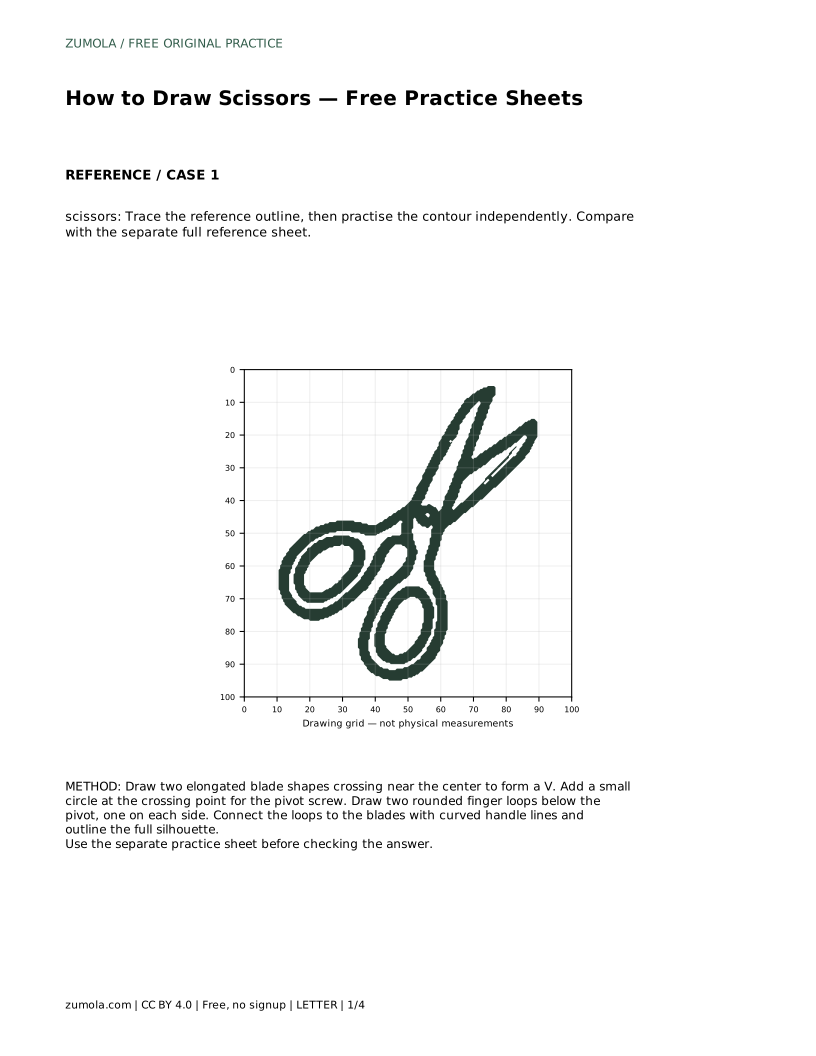
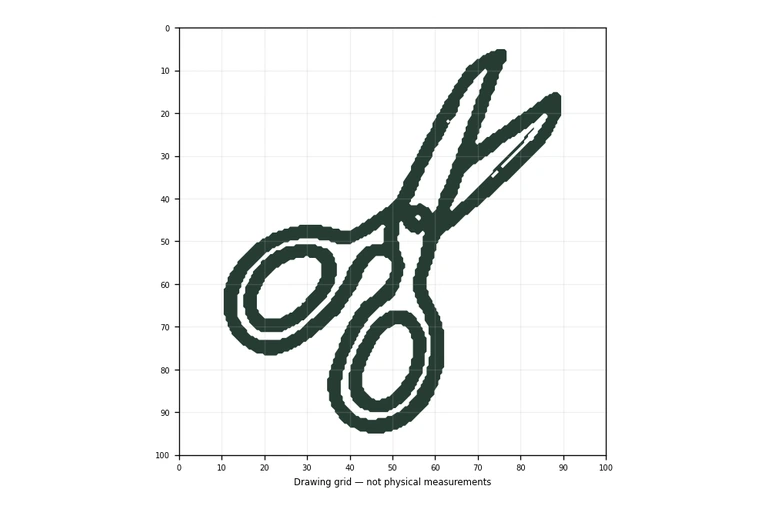
Scissors are a useful drawing subject because their shape depends on a few clear parts: two crossed blades, a small pivot, and two finger loops. This page explains how to place those parts in order, how to keep the blades and handles balanced, and how to check your drawing against a reference. The practice sheets offer tracing, grid copying, guide placement, and partial completion tasks, so you can work on the same structure in different ways.
Start with the crossing point rather than the outline. The pivot is the small circular screw where the two halves meet, and it controls the position of everything else. Mark a light center point, then draw two elongated blade shapes that cross near it and open into a V at the top. Keep the blades narrow and slightly tapered toward their tips.
Below the pivot, draw two rounded finger loops, one on each side. Connect each loop to its blade with curved handle lines so the silhouette reads as one continuous tool. The loops should look large enough for fingers, and the two halves should feel related in size even if they are not identical. Finish by outlining the full silhouette and adding the small circle at the crossing point.
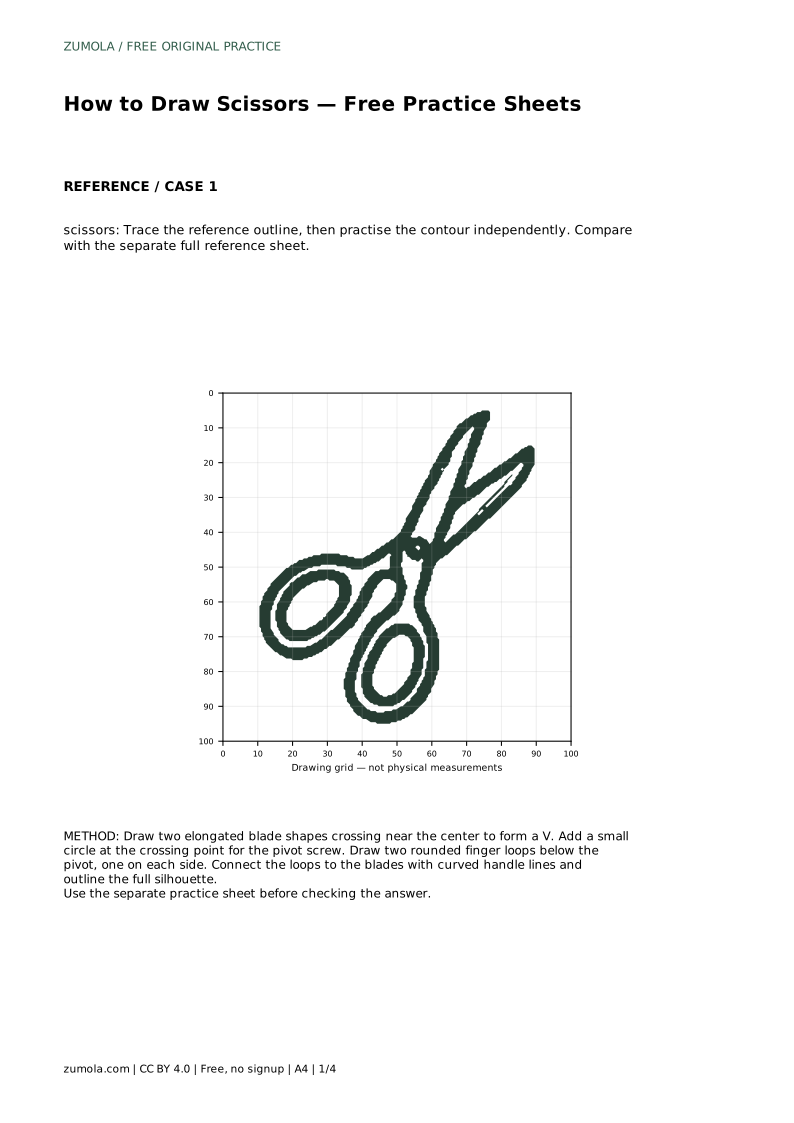
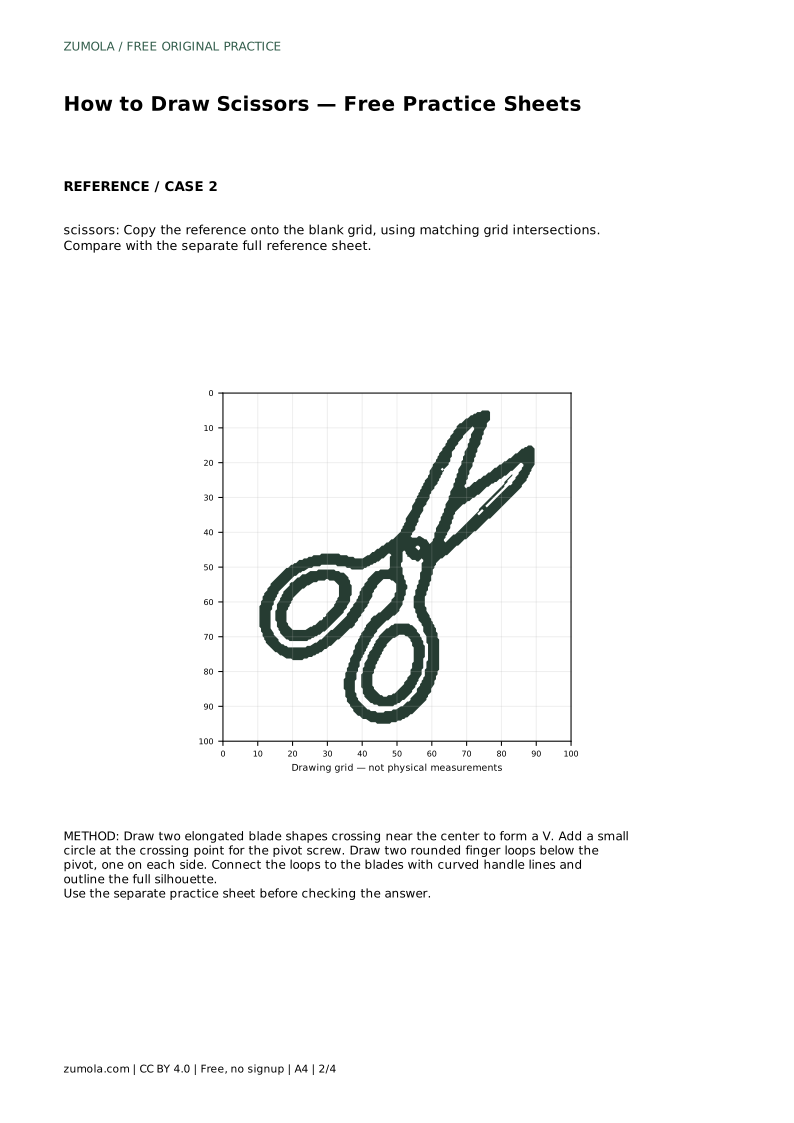
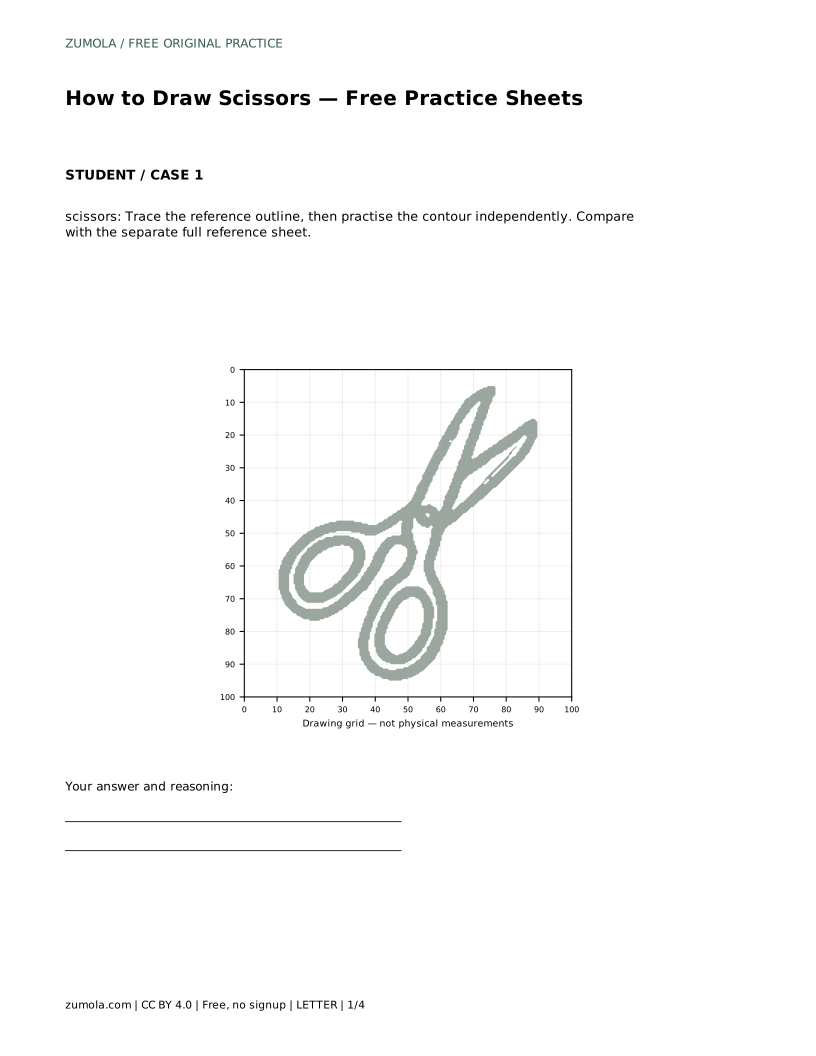
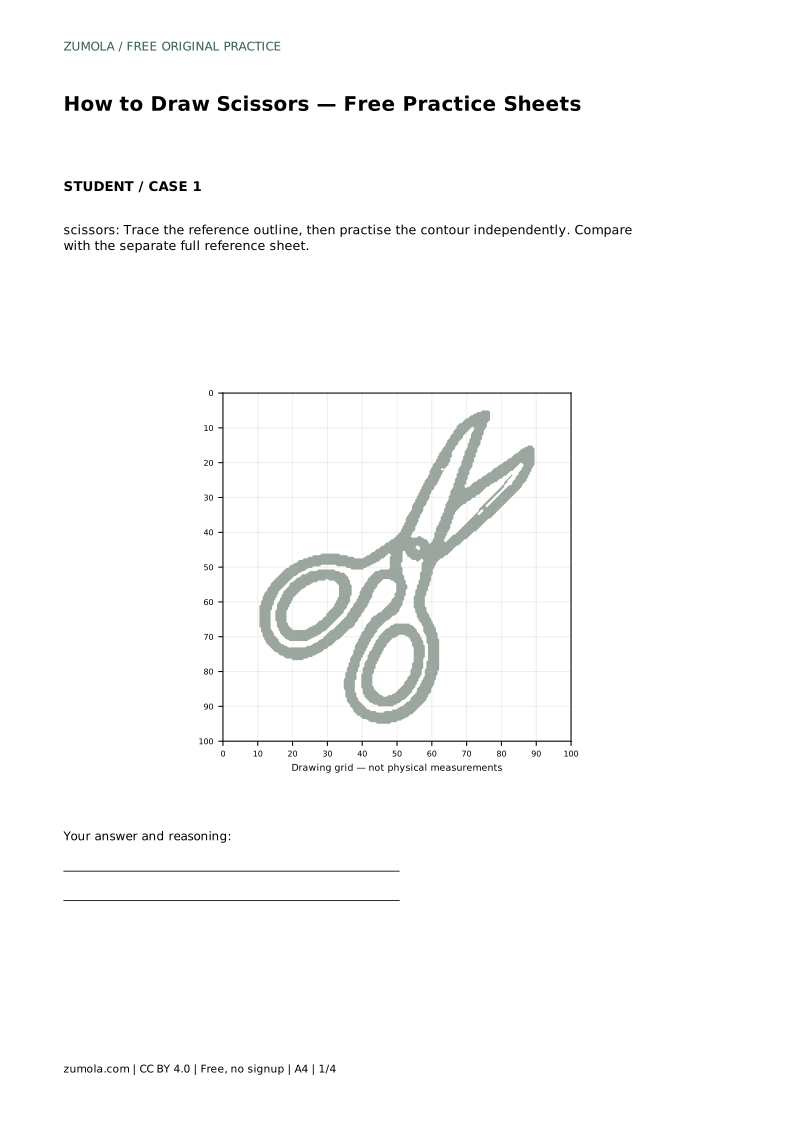
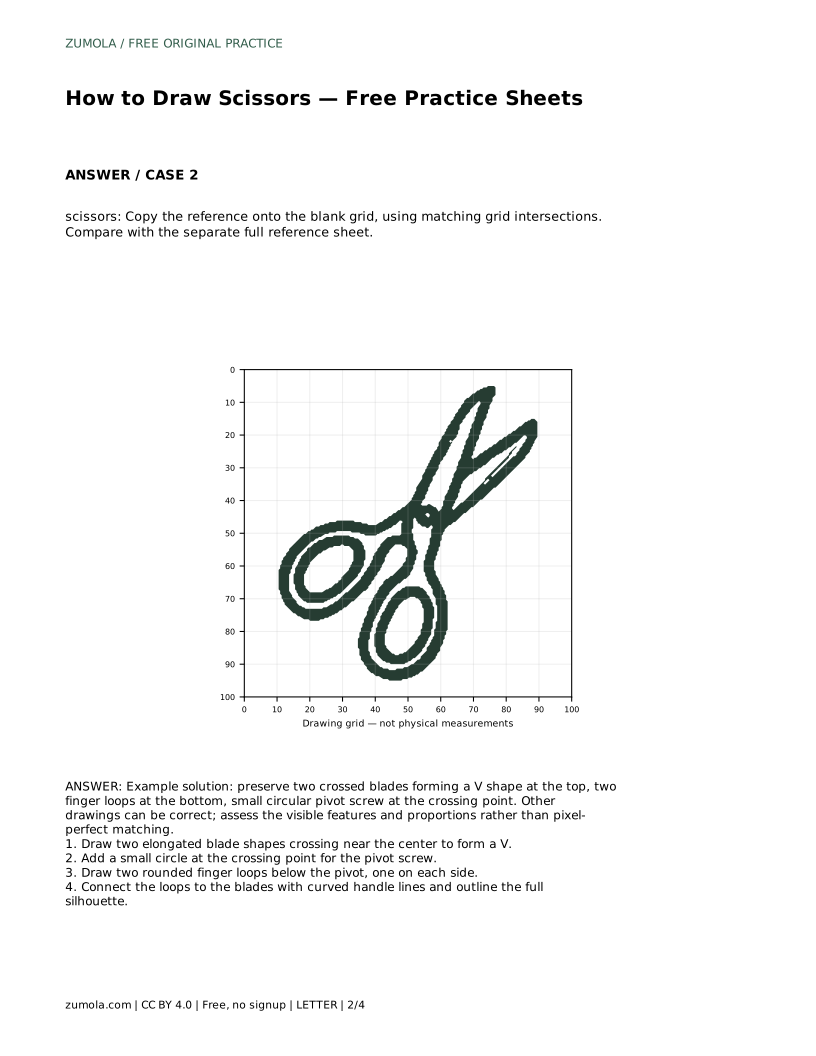
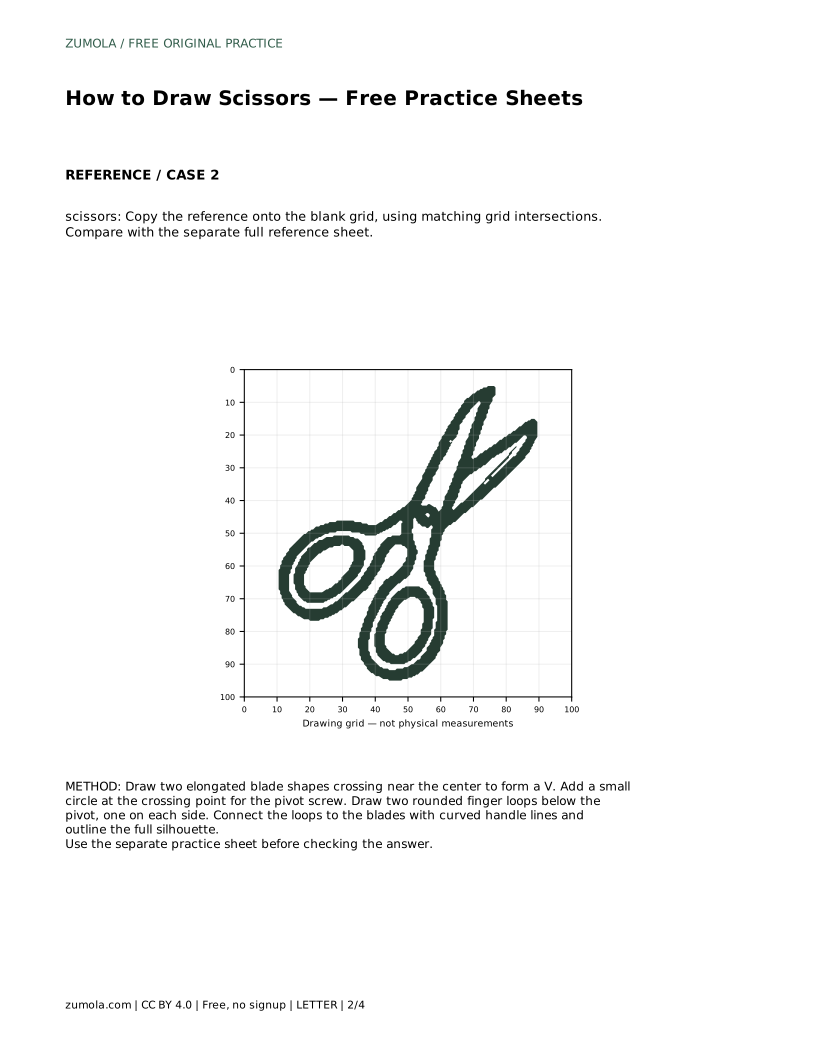
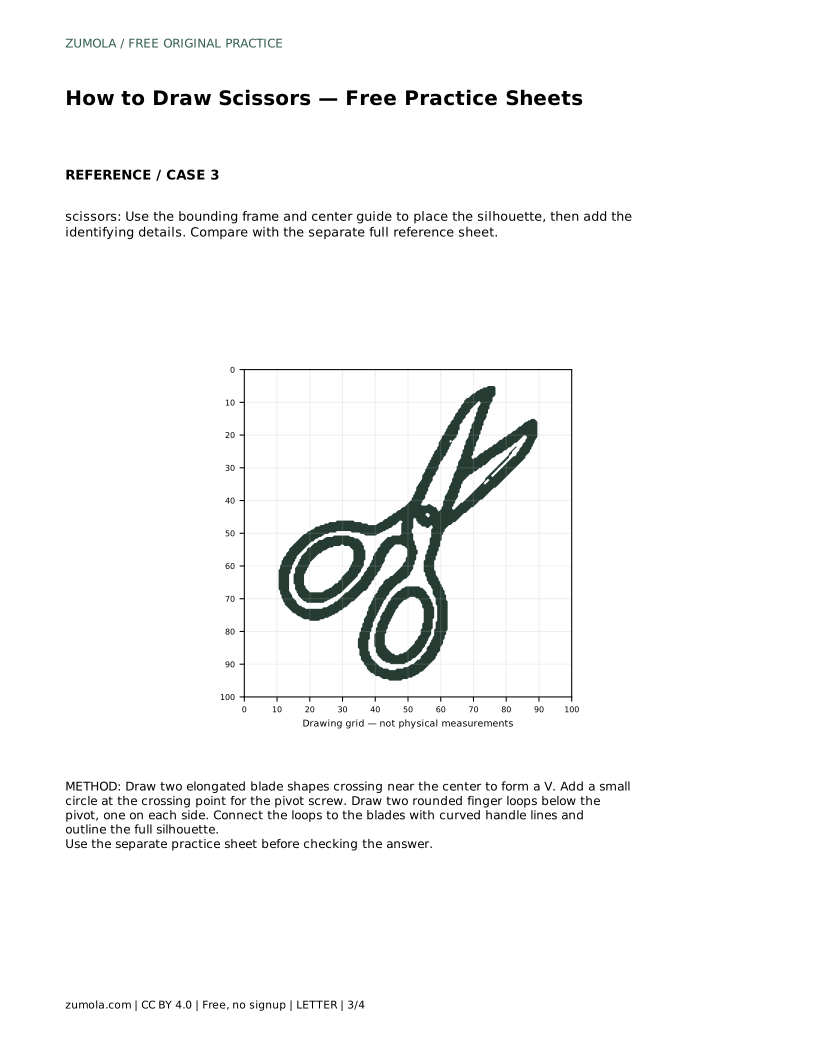
The tracing sheet asks you to follow the reference outline first, then repeat the contour without tracing. This separates guided movement from independent recall. The grid sheet asks you to copy the reference onto a blank grid using matching intersections, which helps you compare spacing and angles rather than guessing.
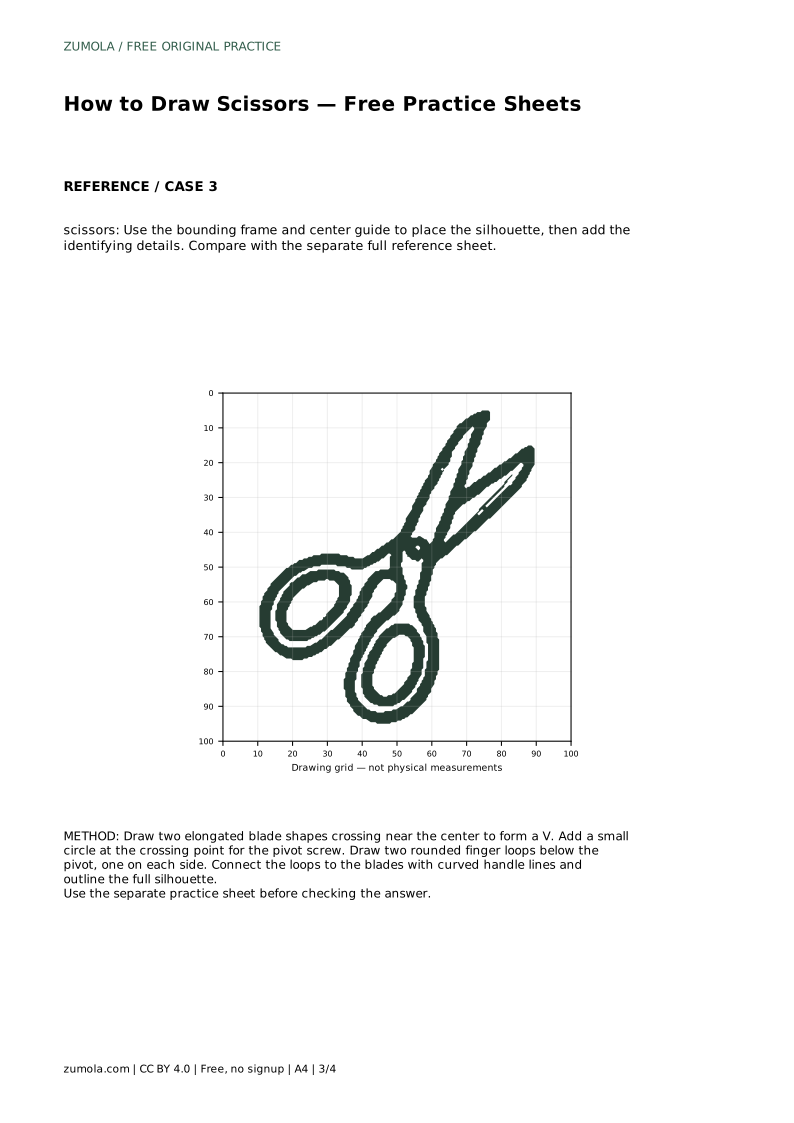
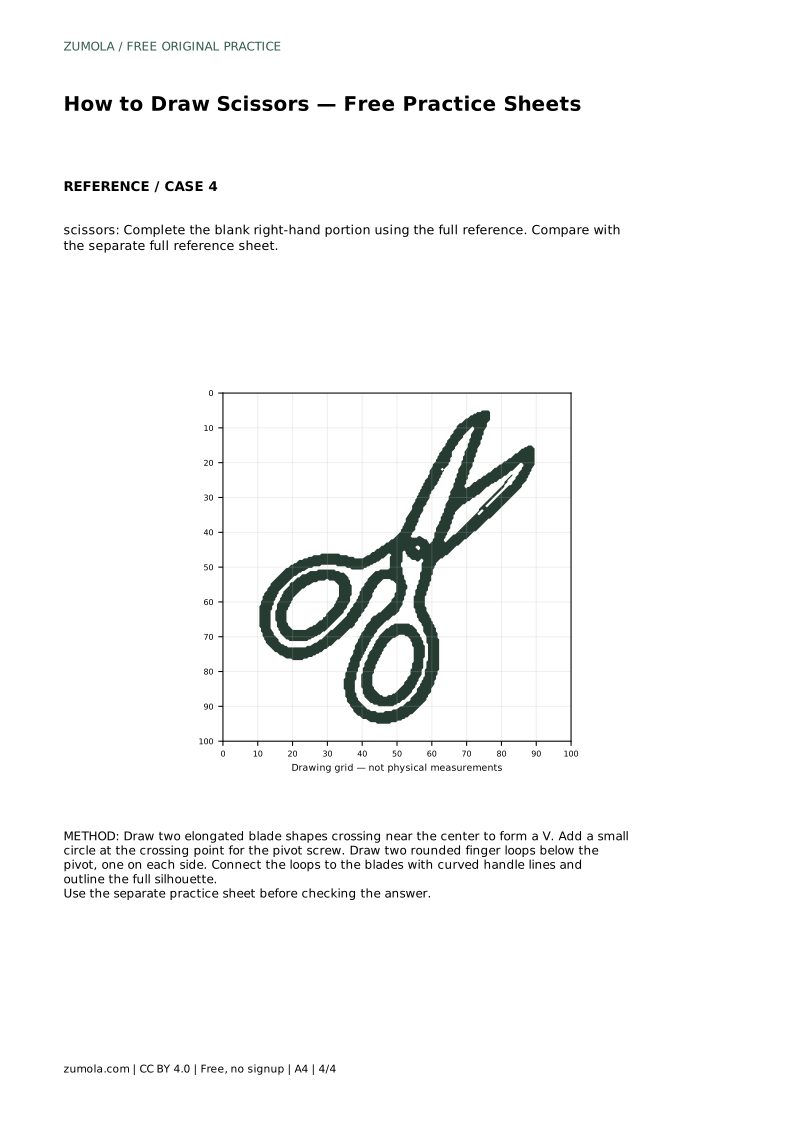
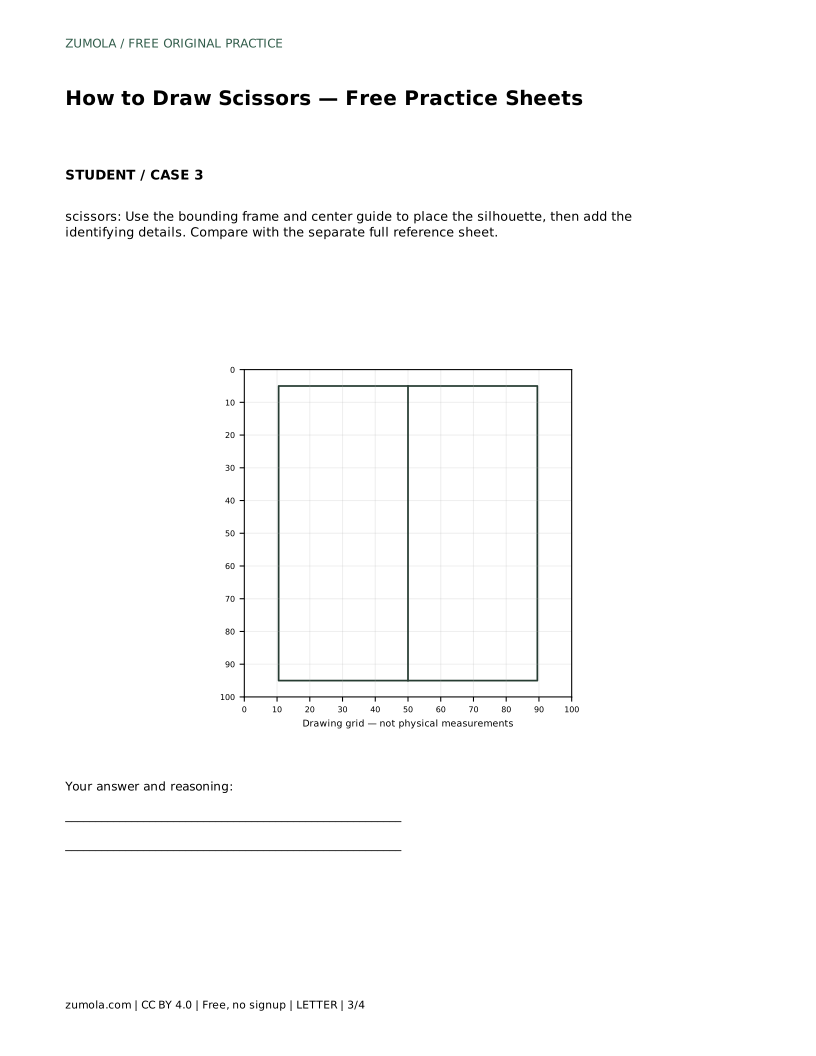
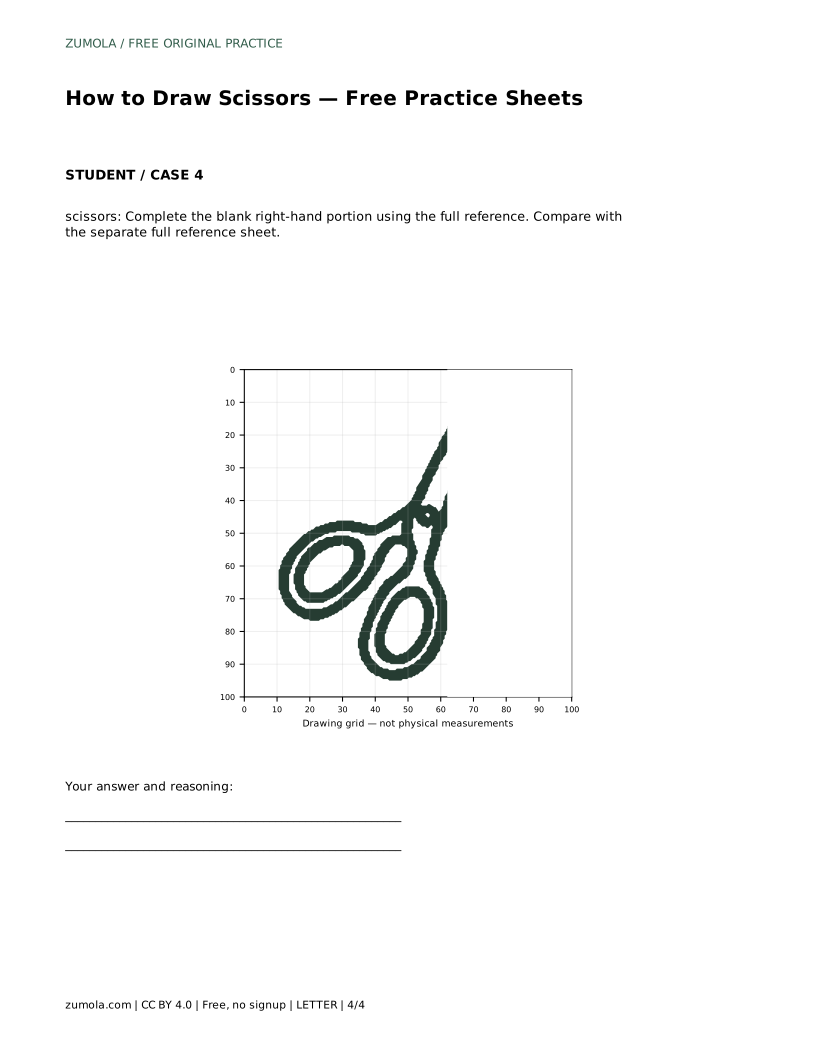
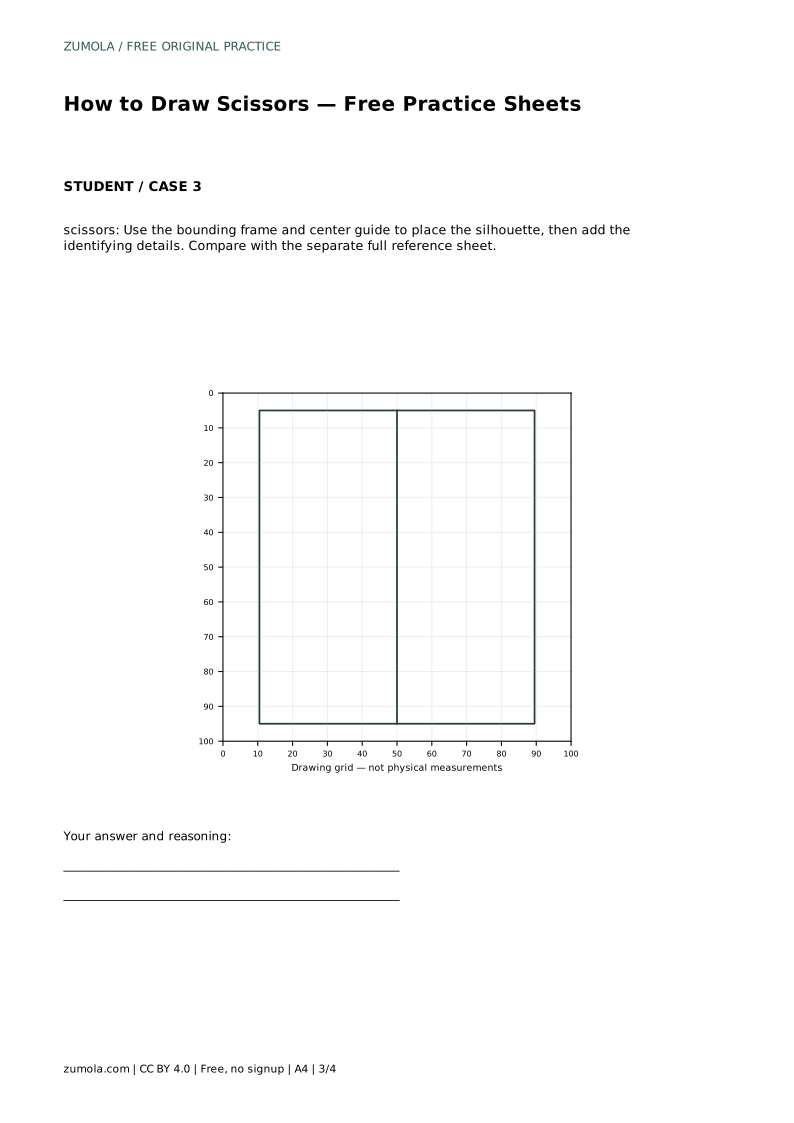
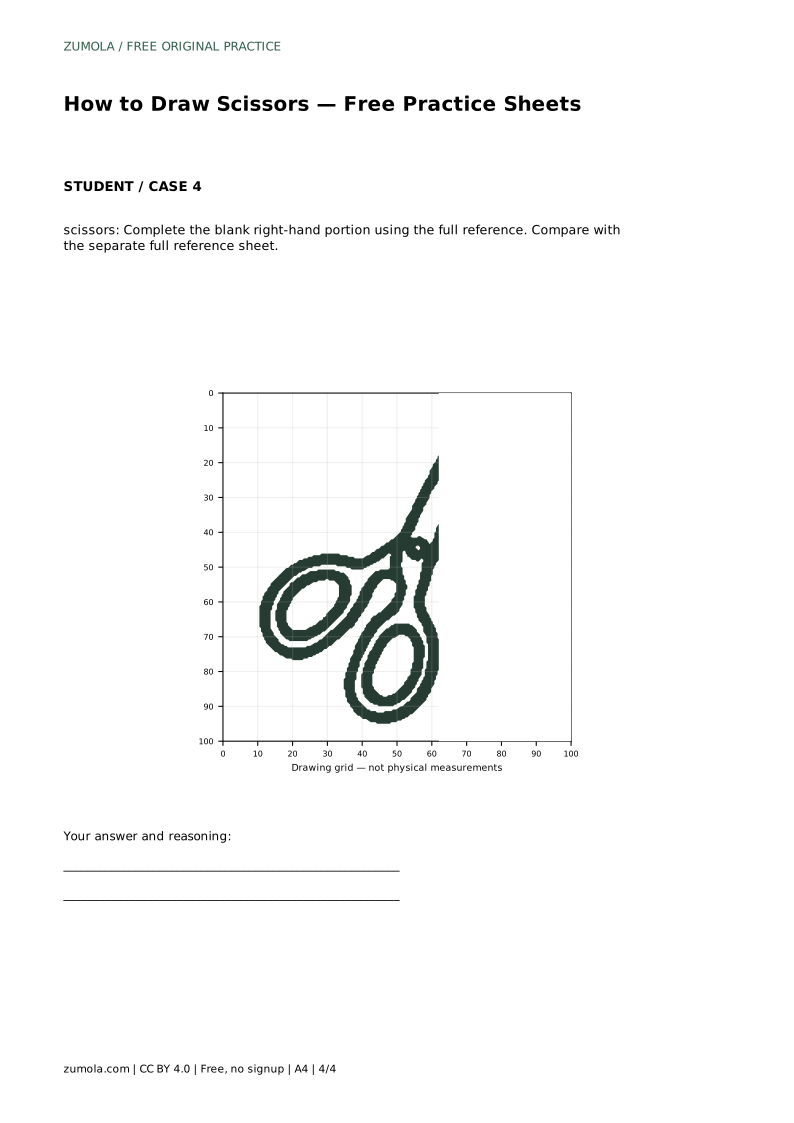
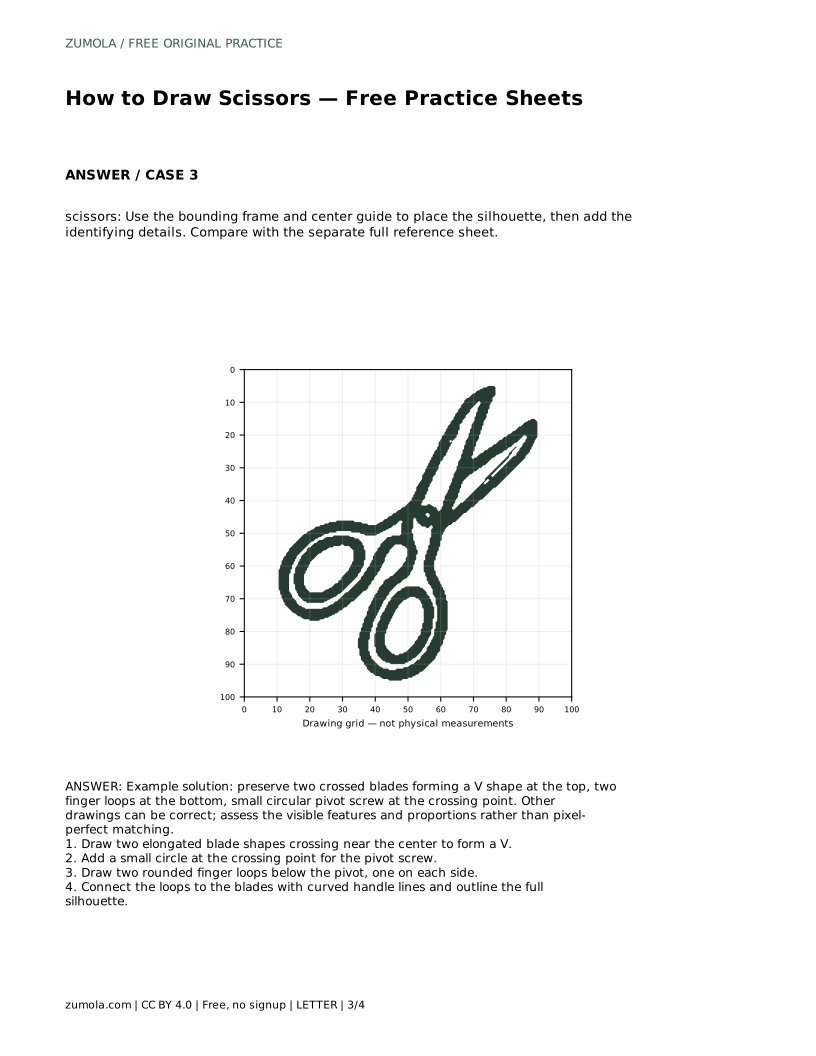
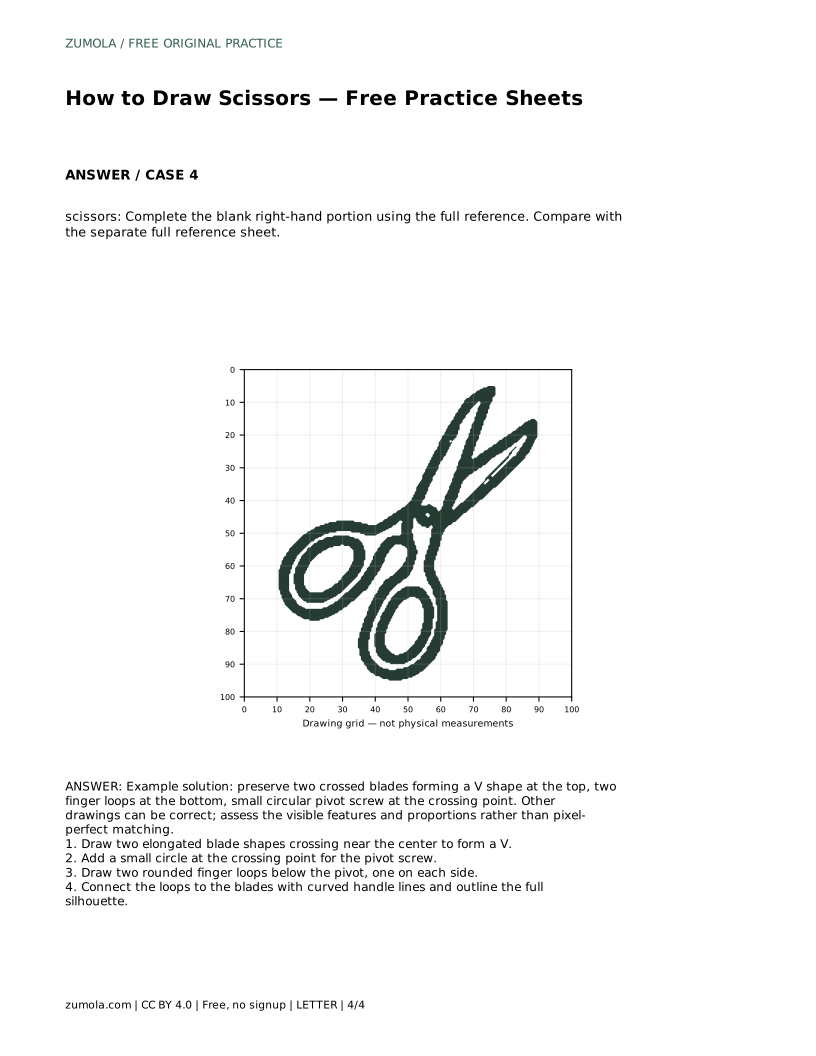
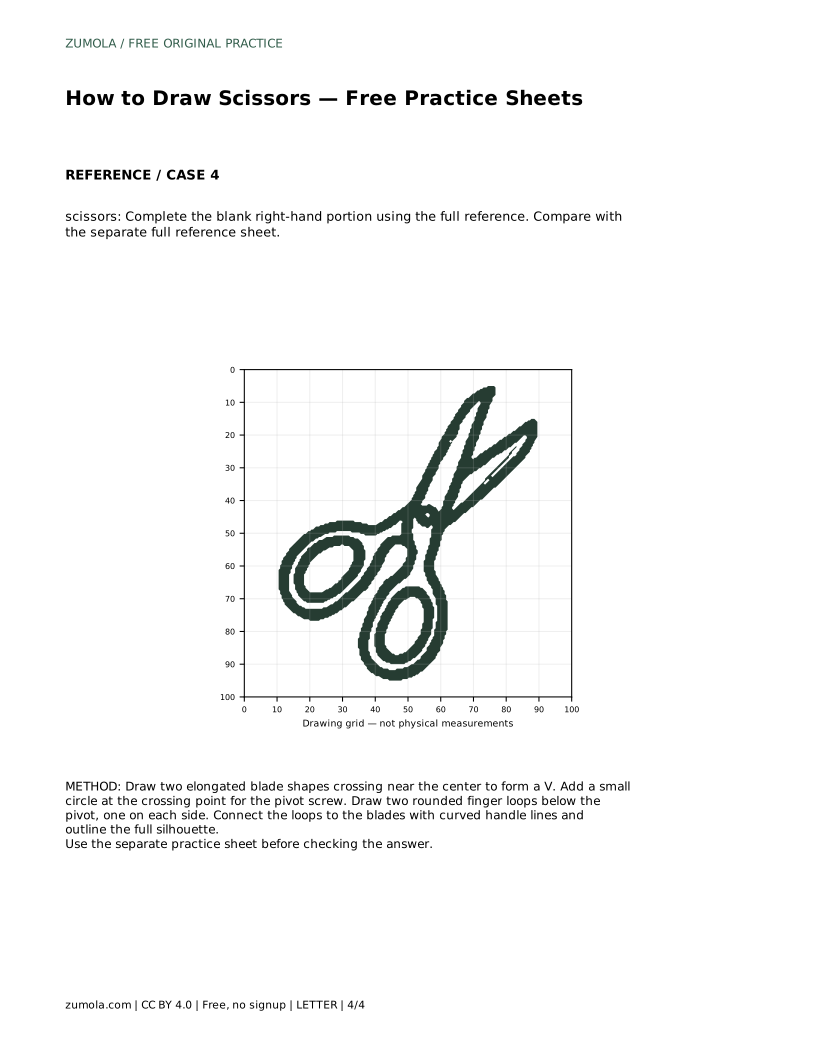
The bounding-frame sheet gives you a center guide and an outer frame. Use them to place the silhouette before adding the pivot and loops. The partial sheet shows one side and leaves the other blank; complete the missing portion using the full reference. In every case, compare your finished drawing with the separate full reference sheet and judge the visible features, not pixel-perfect matching.
A common problem is making the blades too wide or the loops too small. Blades should be longer than they are wide, and the V opening should be clear at the top. The pivot should sit near the middle of the tool, not at the very top or bottom. Finger loops should be rounded and open enough to suggest a hand could use them.
Check symmetry by comparing the two halves from the pivot outward. Exact mirror symmetry is not required, but the overall balance should look intentional. If one blade is much shorter, adjust the tip rather than shrinking the handle. Keep line weight light until the silhouette is settled, then darken the final outline.
Once the silhouette is correct, add the pivot circle and any simple handle details shown in the reference. Avoid inventing extra mechanical parts that are not visible. If you want shading, keep it simple: a light shadow along one side of each blade and a darker edge near the pivot can suggest depth without changing the shape.
Art has multiple valid outcomes. A drawing can be correct even if it is not identical to the reference, as long as the crossed blades, pivot, and two finger loops are present and proportioned sensibly. Use the rubric below to assess your own sheet.
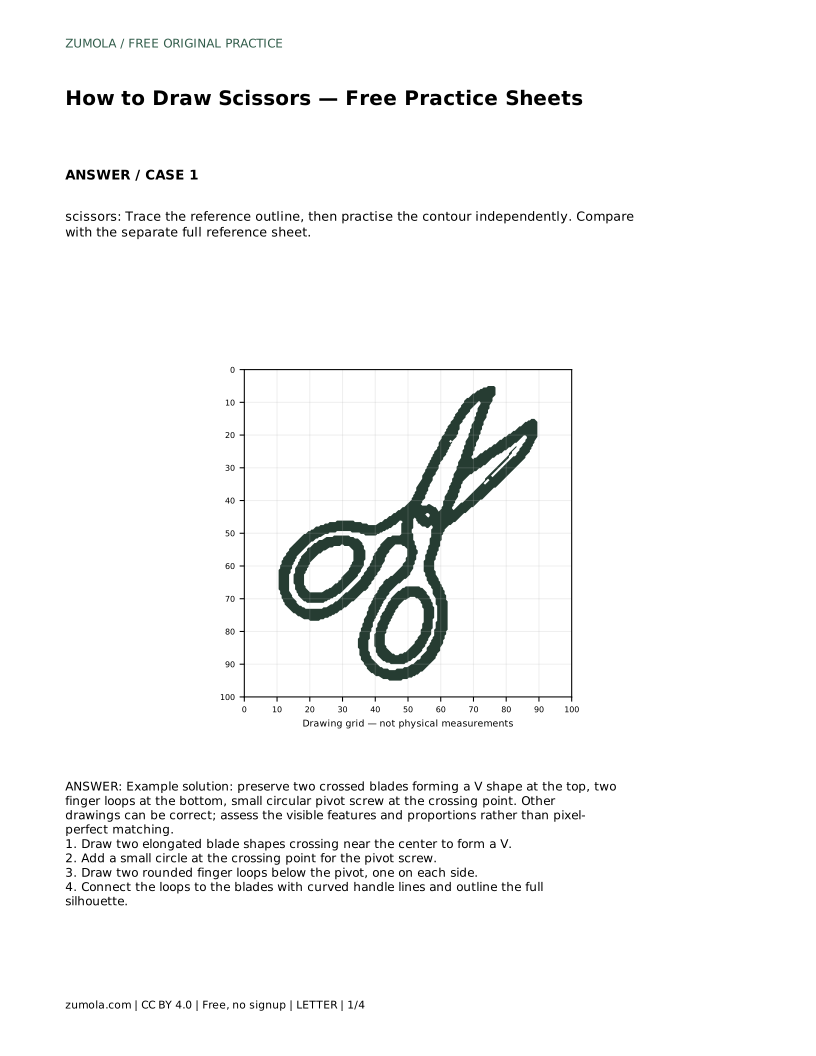
Prompt: Trace the reference outline, then practise the contour independently. Compare with the separate full reference sheet.
Example solution: preserve two crossed blades forming a V shape at the top, two finger loops at the bottom, small circular pivot screw at the crossing point. Other drawings can be correct; assess the visible features and proportions rather than pixel-perfect matching.
scissors: Trace the reference outline, then practise the contour independently. Compare with the separate full reference sheet.
Example solution: preserve two crossed blades forming a V shape at the top, two finger loops at the bottom, small circular pivot screw at the crossing point. Other drawings can be correct; assess the visible features and proportions rather than pixel-perfect matching. Draw two elongated blade shapes crossing near the center to form a V. Add a small circle at the crossing point for the pivot screw. Draw two rounded finger loops below the pivot, one on each side. Connect the loops to the blades with curved handle lines and outline the full silhouette.
No. They should look related in size and balance, but small differences are acceptable as long as the crossed blades, pivot, and two loops are clear.
Place it near the middle of the overall tool, where the two blade shapes cross. It should not sit at the very top or bottom.
Check that two crossed blades form a V at the top, two rounded finger loops sit below, and a small circular pivot appears at the crossing point. Then compare proportions with the full reference.
All drawing practice · Free coordinate paper
Original resources · CC BY 4.0 · Free for personal and classroom use with attribution.