Free original resources
Boat Drawing: Build a Simple Hull With a Centreline and Side Curves
Learn a reliable boat drawing method: set the centreline and upper rim, curve the lower hull, add seats and a waterline, then check symmetry and overlap.
Free resources
Letter & A4
PDF & SVG
Letter & A4
PDF & SVG
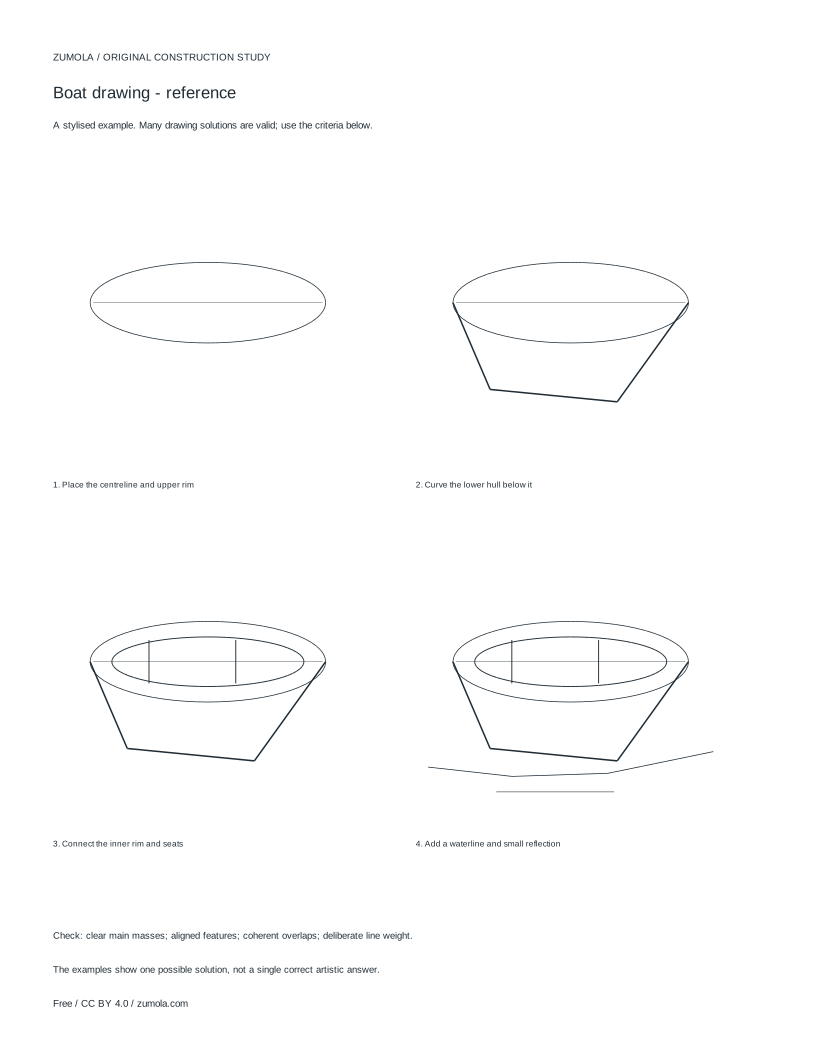
Build the drawing in four stages.
Your free printable kit.
Original reference, student practice and separate worked answers. No account or payment.
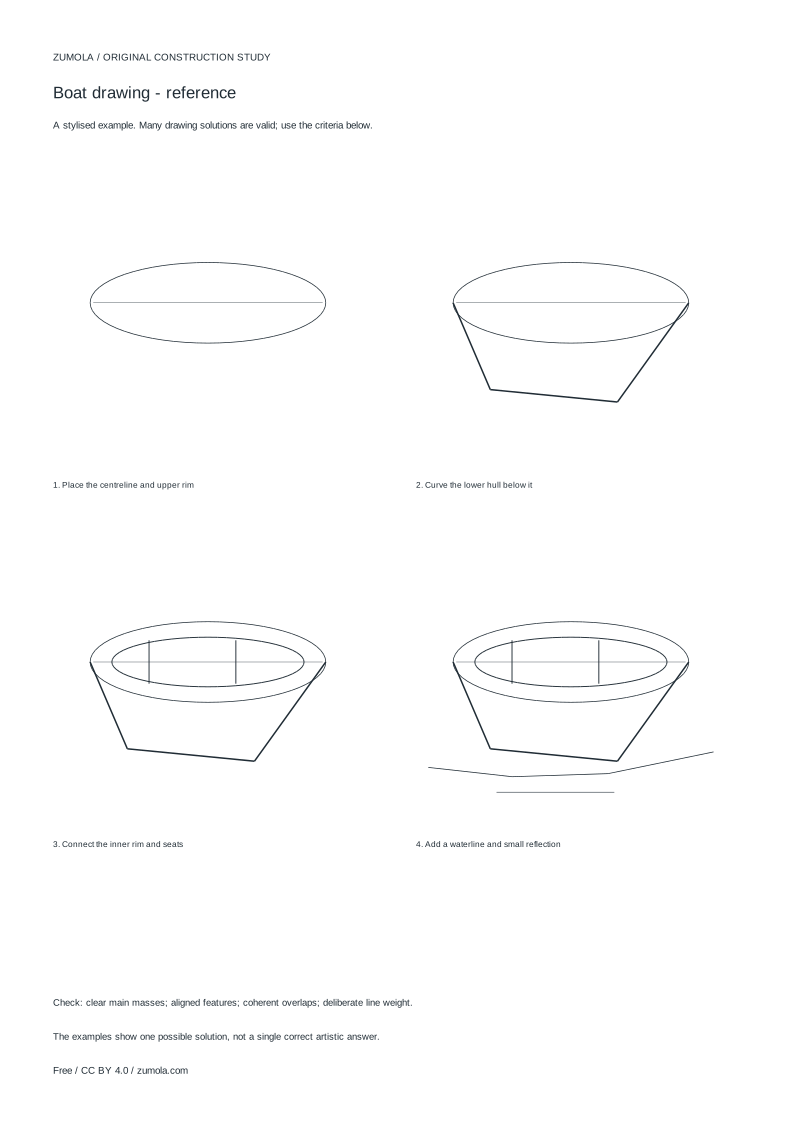
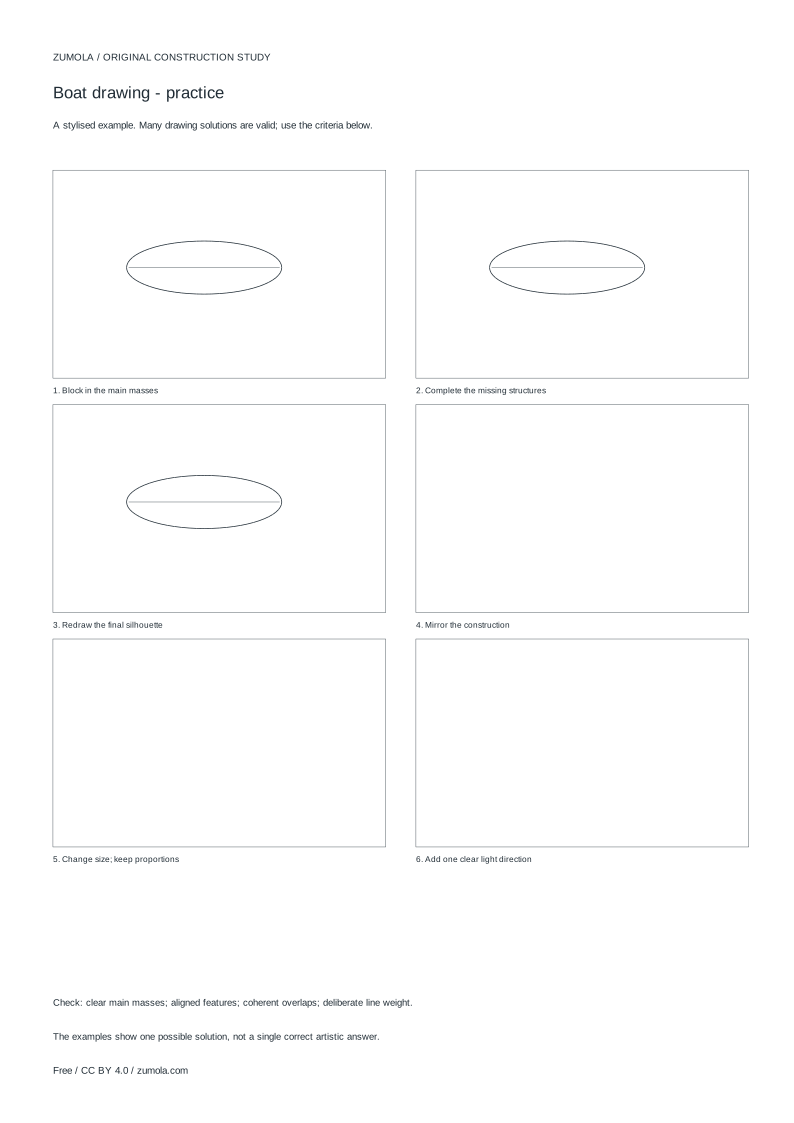
Practice worksheet
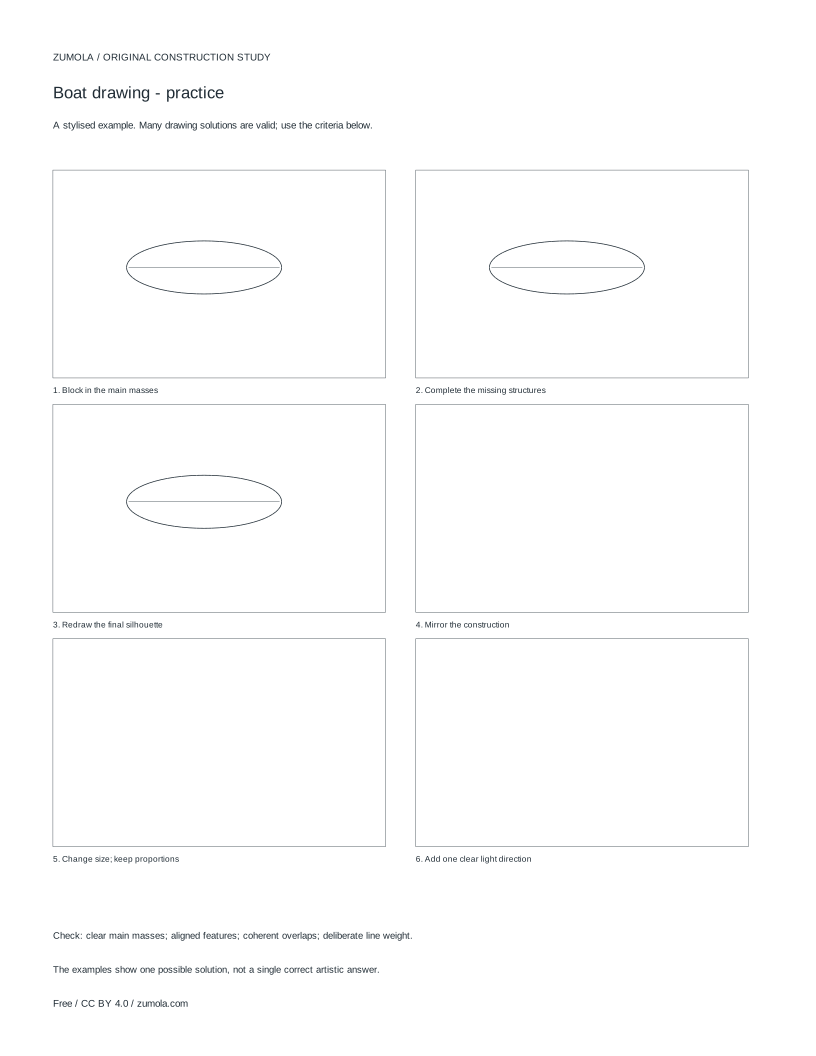
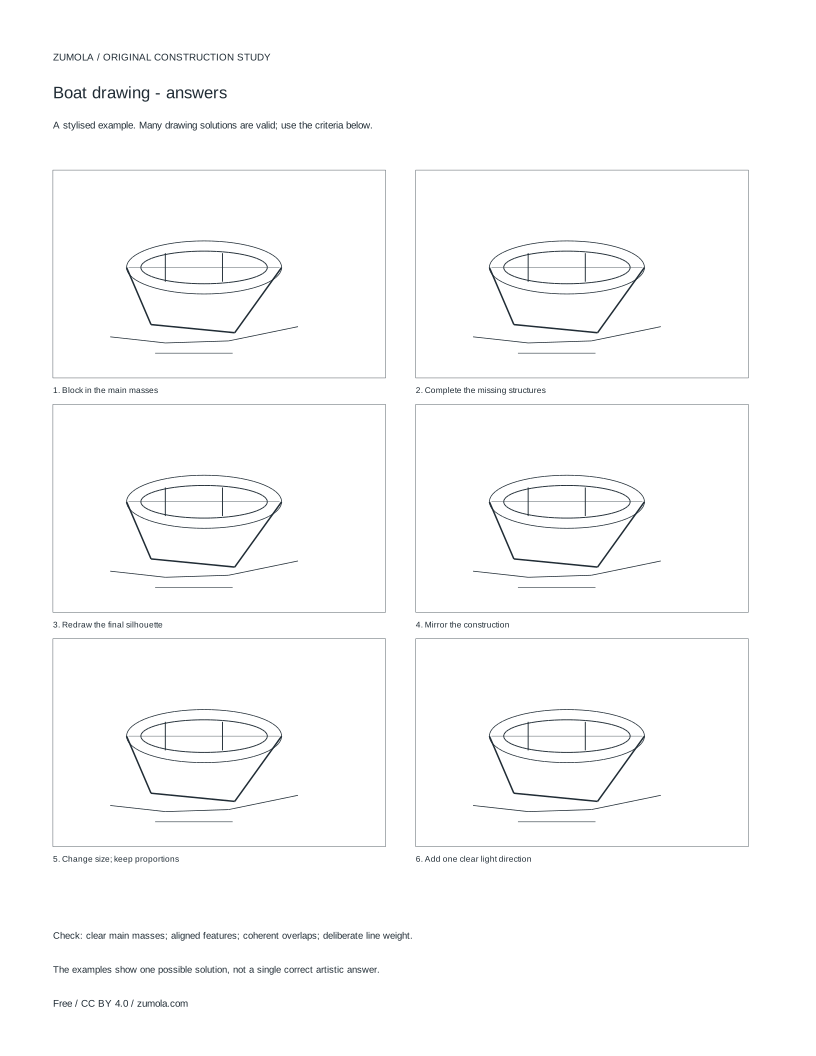
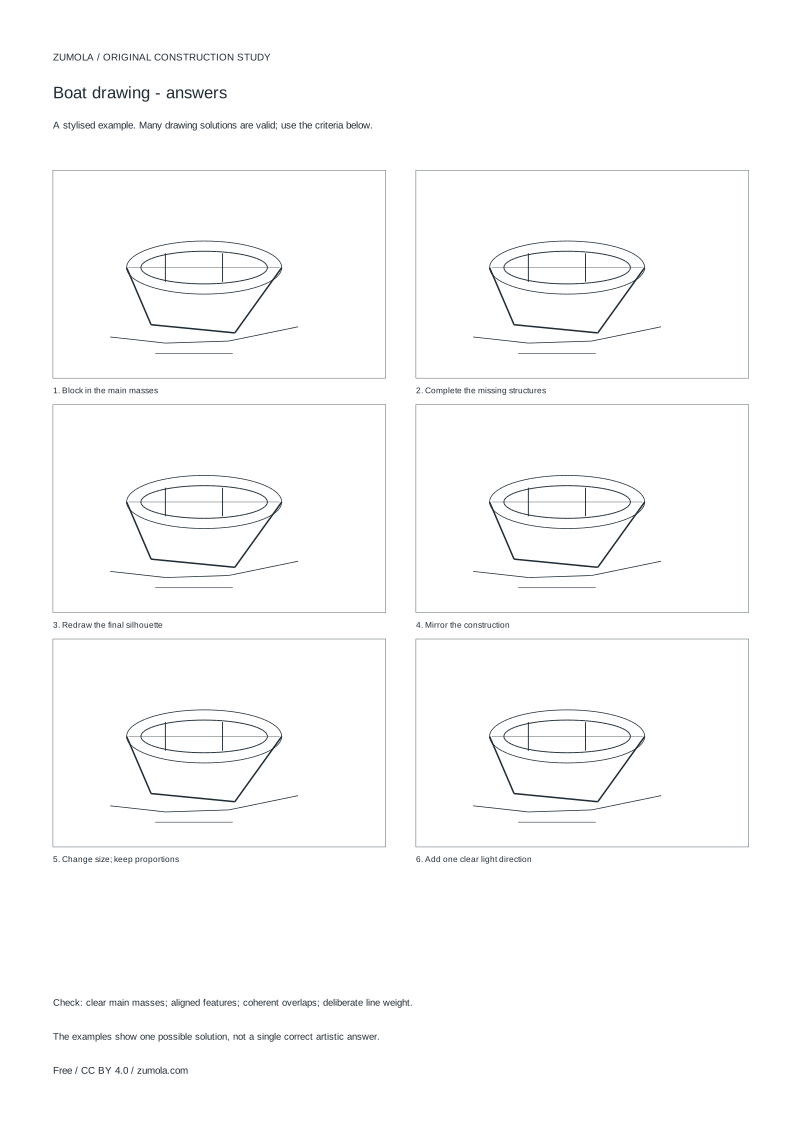
Worked answers / rubric
Print at Actual size / 100%. Check the calibration bar before using physical dimensions.
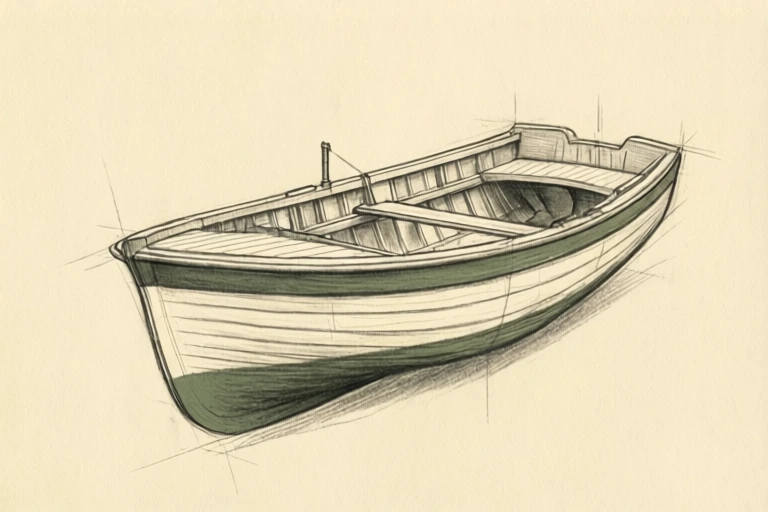
A boat looks simple until the hull twists. This guide shows one dependable order for drawing a small open boat: fix the centreline and upper rim first, curve the lower hull beneath it, connect the inner rim and seats, then place a waterline and a short reflection. The aim is a clear, stylised construction study, not a photorealistic or historical vessel. Work lightly at first so you can correct symmetry before committing to darker lines.
Start with the centreline and upper rim
The centreline is an imaginary line running from the bow (front) to the stern (back) along the top of the boat. Draw it first, lightly, and decide how long the boat is. Then place the upper rim: an oval or flattened curve that crosses the centreline near its middle. This rim is the opening of the hull, so its width controls how wide the boat feels.
Keep the rim symmetrical about the centreline. If the left side bulges more than the right, the boat will look twisted later. A gentle curve reads better than a perfect circle for a small rowing boat.
- Draw a light horizontal centreline and mark bow and stern ends.
- Sketch a flattened oval crossing the centreline, wider at the middle than at the ends.
- Check that the left and right halves of the rim mirror each other before continuing.
Curve the lower hull below the rim
The lower hull hangs beneath the rim. From the bow end, curve down and back toward the stern, keeping the deepest point near the middle. The two side curves should meet the rim at the same points on both sides. Think of the hull as a shallow bowl seen slightly from above: the rim is the opening, and the lower curve is the outside of the bowl.
This is where perspective matters. If you draw the boat from slightly above, you see more of the inside and the rim appears wider. If you draw it from the side, the rim narrows to a thin line and the hull curve dominates.
- From the bow, draw a curve down to the lowest point of the hull.
- Continue the curve back up to the stern, matching the opposite side.
- Compare the two side curves: they should be similar in depth and length.
Connect the inner rim and add seats
Inside the rim, draw a second, slightly smaller curve to suggest the inner edge of the hull. This creates thickness and makes the boat read as open rather than flat. Add one or two seats as short lines or narrow rectangles spanning the inner width. Seats should sit inside the rim, not on top of the outer hull line.
Overlap matters here. The near side of the rim should cross in front of the far side, and the seats should be partly hidden by the near rim. Draw the near edge with a slightly heavier line to show it is closer.
- Draw a smaller inner curve just inside the rim.
- Place seats across the inner width, keeping them parallel to the rim.
- Darken the near rim slightly so the overlap is clear.
Add a waterline and a short reflection
A waterline is a horizontal line where the hull meets the water. Place it partway up the lower hull, not at the very bottom. Below it, add a few short, broken vertical marks as a reflection. Keep the reflection simple and lighter than the boat; it should suggest water without becoming a second drawing.
If the boat sits in calm water, the waterline stays level. If you want a slight tilt, keep the waterline horizontal and tilt the boat instead, so the water still reads as level.
- Draw a horizontal waterline across the lower hull.
- Add short, light vertical strokes below the hull for reflection.
- Check that the waterline stays level and the reflection is lighter than the boat.
Try this example
Draw a small open rowing boat seen slightly from above, with two seats and a calm waterline.
Show the worked explanation
Draw a light centreline about 10 cm long. Place a flattened oval rim crossing it, about 6 cm wide at the middle and narrowing at the ends. From the bow, curve down to a lowest point about 3 cm below the rim, then back up to the stern, matching the other side. Add a smaller inner curve inside the rim and two seats across the inner width. Draw a level waterline about 1 cm above the bottom of the hull, then add short light vertical reflection marks below it. Check that both side curves meet the rim at matching points.
Common mistakes
- Drawing the lower hull before fixing the rim, so the sides do not meet the rim at matching points. Set the centreline and rim first, then curve the hull to meet the rim at equal points on both sides.
- Making the inner rim identical to the outer rim, which flattens the boat. Draw the inner curve slightly smaller and offset toward the far side to show hull thickness.
- Placing the waterline at the very bottom of the hull. Move the waterline partway up the lower hull so part of the hull sits below the water.
Check your work
- The centreline and rim are placed before the lower hull.
- The two side curves of the hull are similar in depth and meet the rim at matching points.
- The inner rim is smaller than the outer rim and shows hull thickness.
- Seats sit inside the rim and are partly overlapped by the near edge.
- The waterline is level and partway up the lower hull.
- Line weight distinguishes the near rim from the far side and the reflection from the boat.
Questions before you start
How do I keep the boat symmetrical?
Work from the centreline outward. Mark matching points on both sides of the rim and hull, and compare the two halves before darkening any lines.
Should I draw the boat from above or from the side?
From slightly above, the rim is wide and you see the inside and seats. From the side, the rim narrows and the hull curve dominates. Choose one view and keep it consistent.
Can I use this method for a fishing boat or a Viking boat?
Yes, as a starting structure. A fishing boat may need a cabin or deck line, and a Viking boat may need a taller bow and stern, but the centreline, rim and hull curve still organise the shape.