Free original resources
Cat Drawing: Build a Sitting Cat from Chest, Pelvis, and Muzzle Masses
Learn a repeatable cat drawing method: stack chest and pelvis masses, place the head and ears, fold sitting legs and front paws, then curve the tail and muzzle.
Free resources
Letter & A4
PDF & SVG
Letter & A4
PDF & SVG
Build the drawing in four stages.
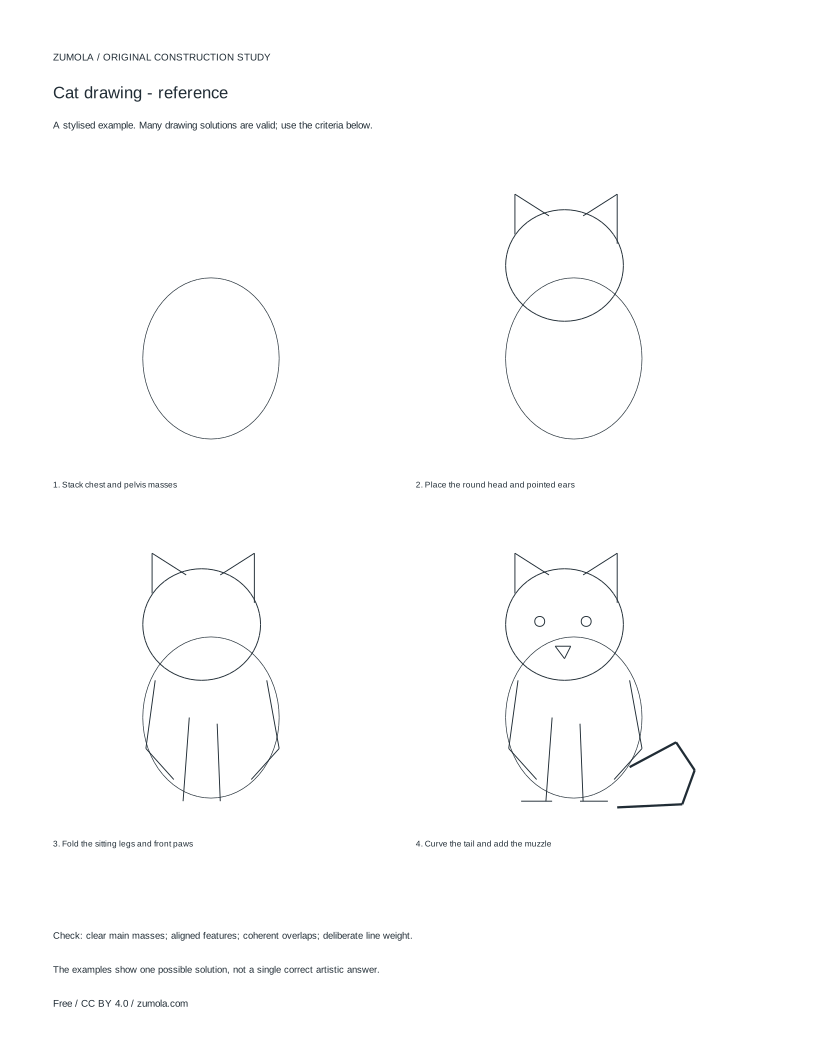
Your free printable kit.
Original reference, student practice and separate worked answers. No account or payment.
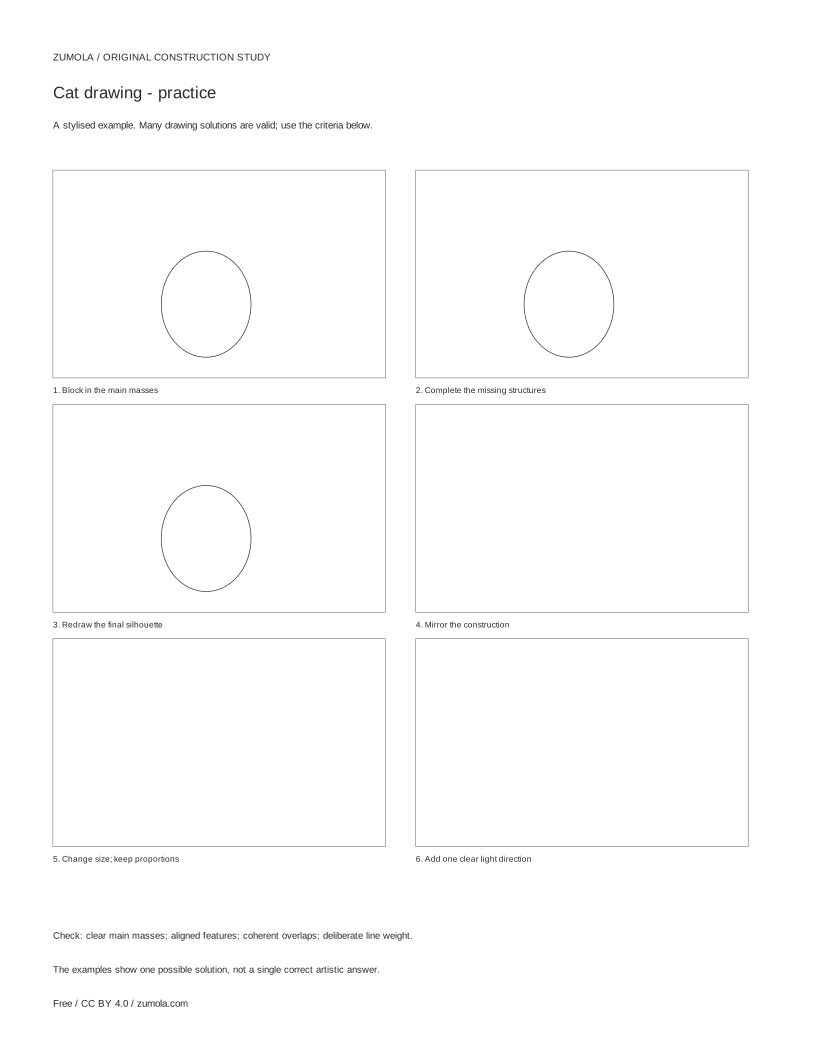
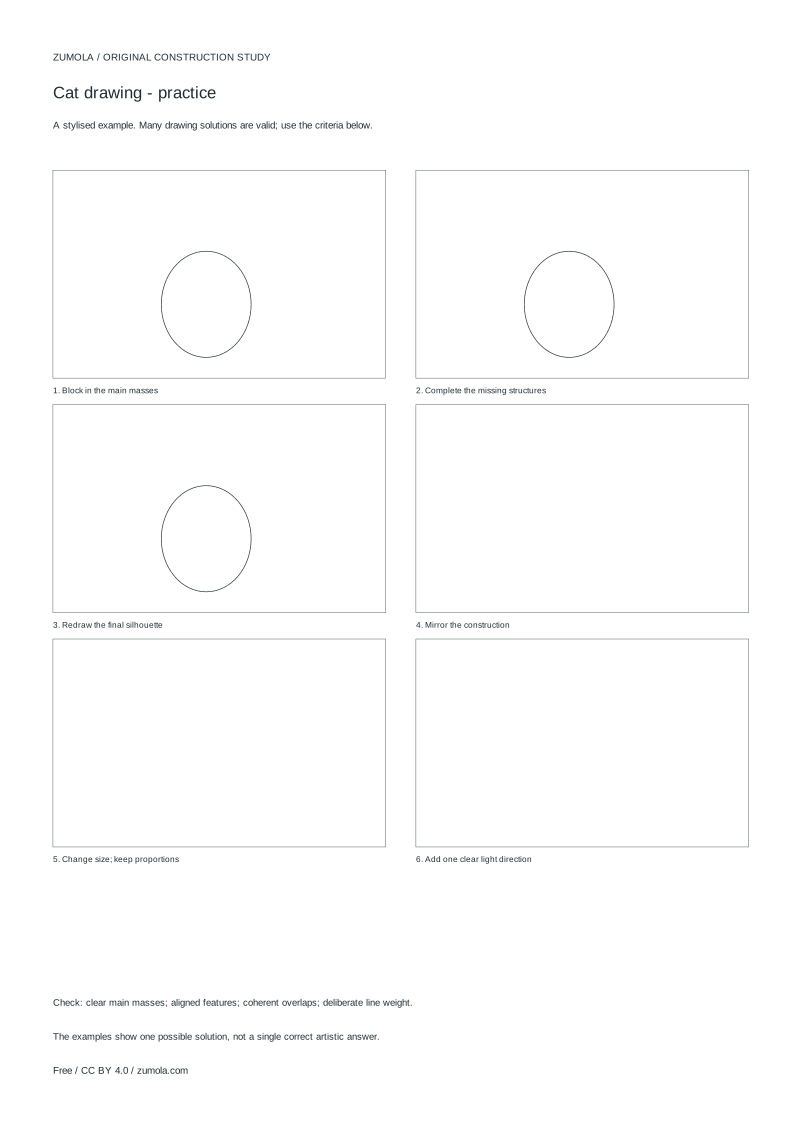
Practice worksheet
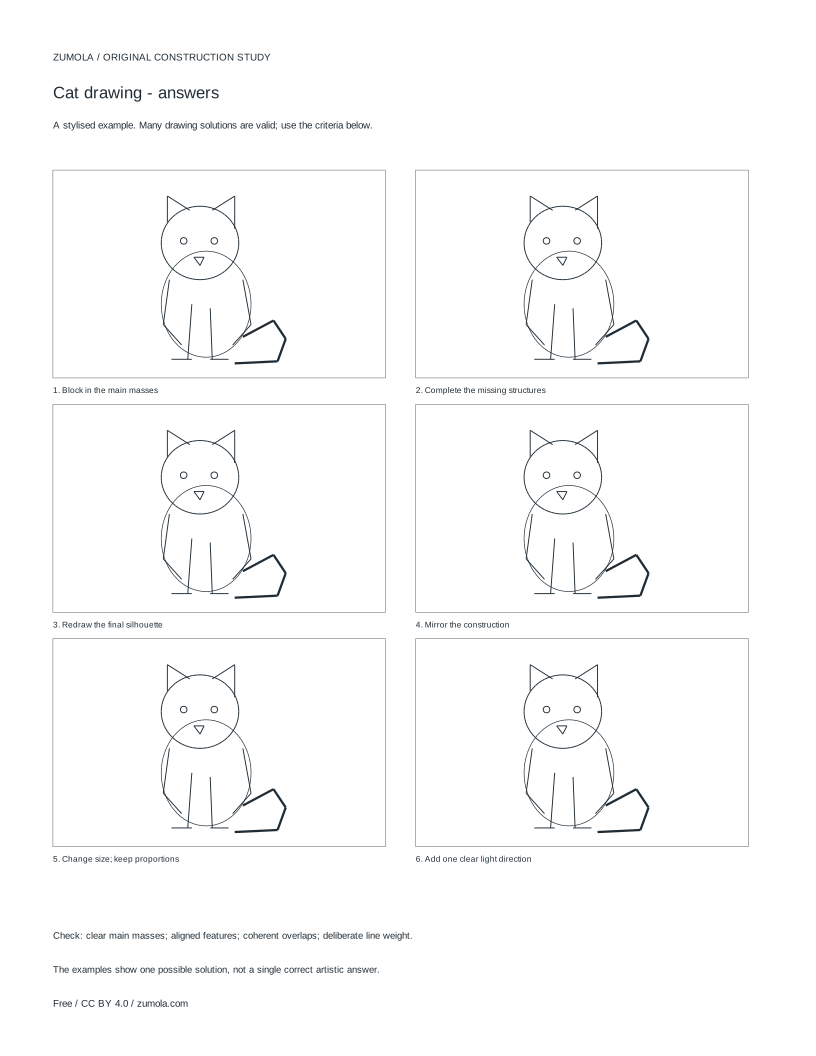
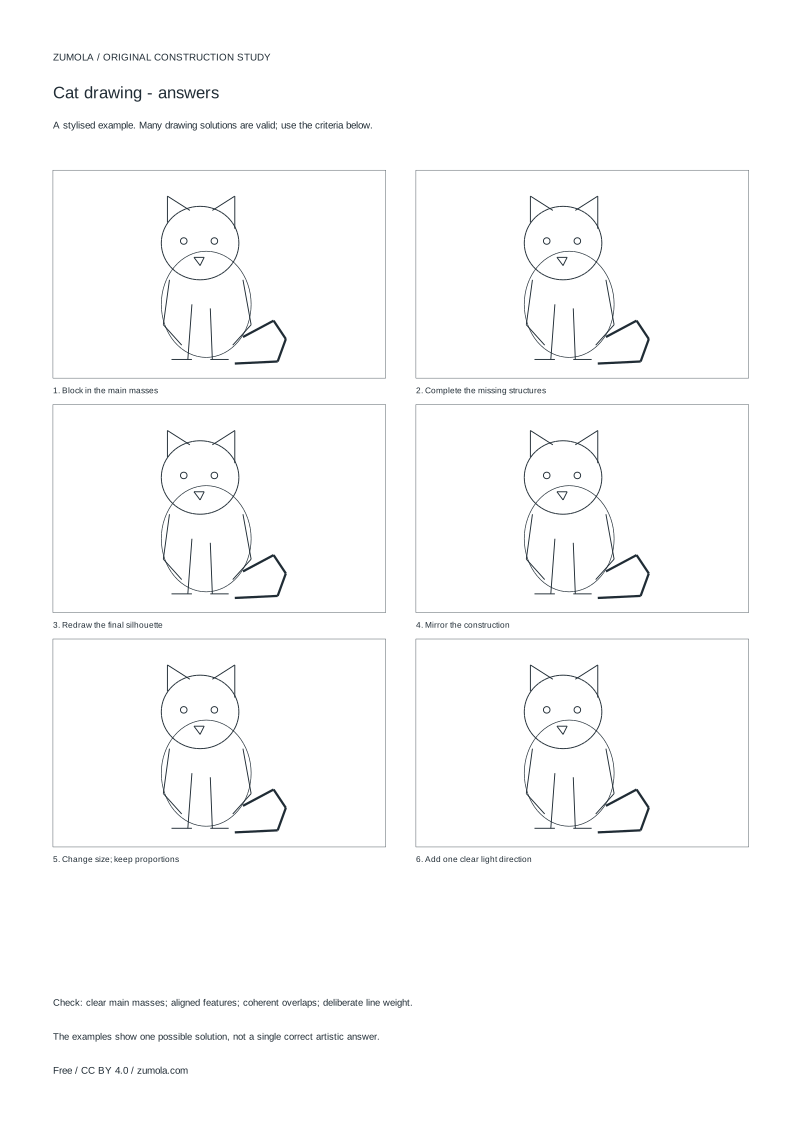
Worked answers / rubric
Print at Actual size / 100%. Check the calibration bar before using physical dimensions.
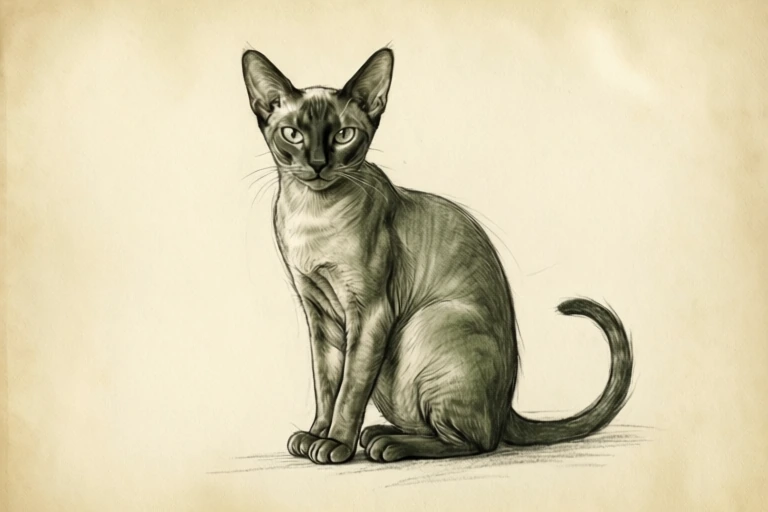
A sitting cat looks simple until the body collapses into a flat outline. This guide builds the pose from three masses: a chest block, a pelvis block, and a rounded head with a muzzle. You will place the folded sitting legs and front paws so overlaps read clearly, then curve the tail. The aim is a stylised construction study, not photorealistic anatomy. Work lightly, check each stage before adding detail, and judge the result with the rubric rather than a single correct answer.
Start with two body masses, not an outline
Begin by drawing the chest as a soft rounded block and the pelvis as a second rounded block beneath and slightly behind it. In a sitting cat the chest sits higher and the pelvis rests lower, so the two masses overlap rather than stack like boxes. Keep both light. The gap or overlap between them tells you where the spine bends.
Check the silhouette before adding anything else. A sitting cat should read as a tall front and a lower, wider rear. If the two masses look like a single oval, separate them slightly. If they look like two separate circles, overlap them more. This stage decides the whole pose.
- Draw a rounded chest mass, wider at the top than the bottom.
- Draw a pelvis mass below and slightly behind the chest, overlapping it.
- Adjust the overlap until the silhouette reads as a sitting body.
Place the head, ears, and muzzle
Set a round head above the chest, tilted slightly forward. Add two pointed ears as triangles with curved bases, spaced so the gap between them is roughly one ear width. Ears sit on top of the head circle, not beside it.
The muzzle is a small rounded form at the lower front of the head. Place it before the eyes so the face has a base to sit on. Keep the muzzle narrow; a wide muzzle turns the cat into a different animal. Mark the nose as a small inverted triangle at the top of the muzzle.
- Draw a circle for the head above the chest.
- Add two pointed ears with curved bases on top of the circle.
- Place a small rounded muzzle at the lower front of the head.
- Add the nose as a small inverted triangle on the muzzle.
Fold the sitting legs and front paws
The rear legs fold: the thigh runs down from the pelvis, the knee points forward, and the lower leg tucks back under the body. Draw the thigh first, then the folded lower leg as a shorter shape behind it. The front legs drop straight from the chest to the ground, ending in small rounded paws.
Overlap matters here. Front paws should sit in front of the rear legs, and the rear paws should be partly hidden. Draw the front legs last so their lines cross over the rear shapes. Keep paws small and rounded; long paws make the cat look like a dog.
- Draw the rear thigh from the pelvis, with the knee pointing forward.
- Tuck the lower rear leg behind the thigh.
- Draw the front legs straight down from the chest.
- Add small rounded front paws in front of the rear legs.
Curve the tail and finish the line weight
Curve the tail from the pelvis, wrapping it around the front paws or resting it beside the body. A tail that crosses the paws adds depth because it overlaps two shapes. Keep the curve smooth and taper it toward the tip.
Finish by varying line weight: heavier lines on the outer silhouette, lighter lines on internal overlaps such as the folded legs and muzzle. This is a stylised study, so the proportions can be expressive, but the masses and overlaps should still read clearly.
- Draw the tail from the pelvis, curving it around or beside the paws.
- Taper the tail toward the tip.
- Darken the outer silhouette and lighten internal overlap lines.
Try this example
Build a sitting cat facing slightly left, with the tail curled around the front paws.
Show the worked explanation
Draw the chest as a rounded block, then the pelvis below and behind it, overlapping by about a third. Place a round head above the chest, tilted left, with two pointed ears on top spaced one ear width apart. Add a small muzzle at the lower front and a nose triangle. Draw the rear thigh with the knee forward, tuck the lower leg behind it, then draw the front legs straight down and add small rounded paws in front. Curve the tail from the pelvis around the paws, tapering the tip. Darken the outer silhouette and lighten the overlap lines.
Common mistakes
- Drawing a single oval for the body. Separate the chest and pelvis into two overlapping masses before adding legs.
- Placing ears beside the head instead of on top. Set both ear bases on the upper curve of the head circle, spaced about one ear width apart.
- Drawing front paws behind the rear legs. Draw the front legs last so their lines cross over the rear shapes.
Check your work
- Chest and pelvis read as two distinct overlapping masses.
- Head sits above the chest with ears on top, not beside.
- Muzzle is small and placed at the lower front of the head.
- Front paws overlap the rear legs rather than hiding behind them.
- Tail curves from the pelvis and tapers toward the tip.
- Outer silhouette lines are heavier than internal overlap lines.
Questions before you start
Why start with chest and pelvis masses instead of an outline?
The two masses set the sitting pose and the spine bend. An outline drawn first tends to flatten the body and hide the overlap between front and rear.
How large should the muzzle be?
Keep it small and narrow, roughly one third of the head width, placed at the lower front of the head. A wide muzzle changes the species read.
Is this a realistic cat drawing method?
It is a stylised construction study. The masses and overlaps are accurate enough to build on, but it is not anatomical or photorealistic instruction.