Free original resources
Dog Drawing: Build a Side-Standing Dog from Torso and Muzzle Shapes
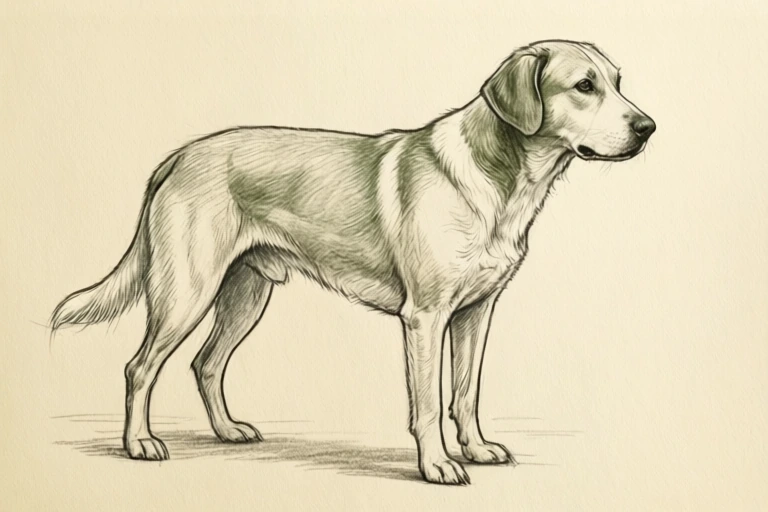
Learn a reliable dog drawing method: place a horizontal torso mass, add a wedge muzzle and head, find four support legs, then set ears, tail and eye with clear overlaps.
Free resources
Letter & A4
PDF & SVG
Letter & A4
PDF & SVG
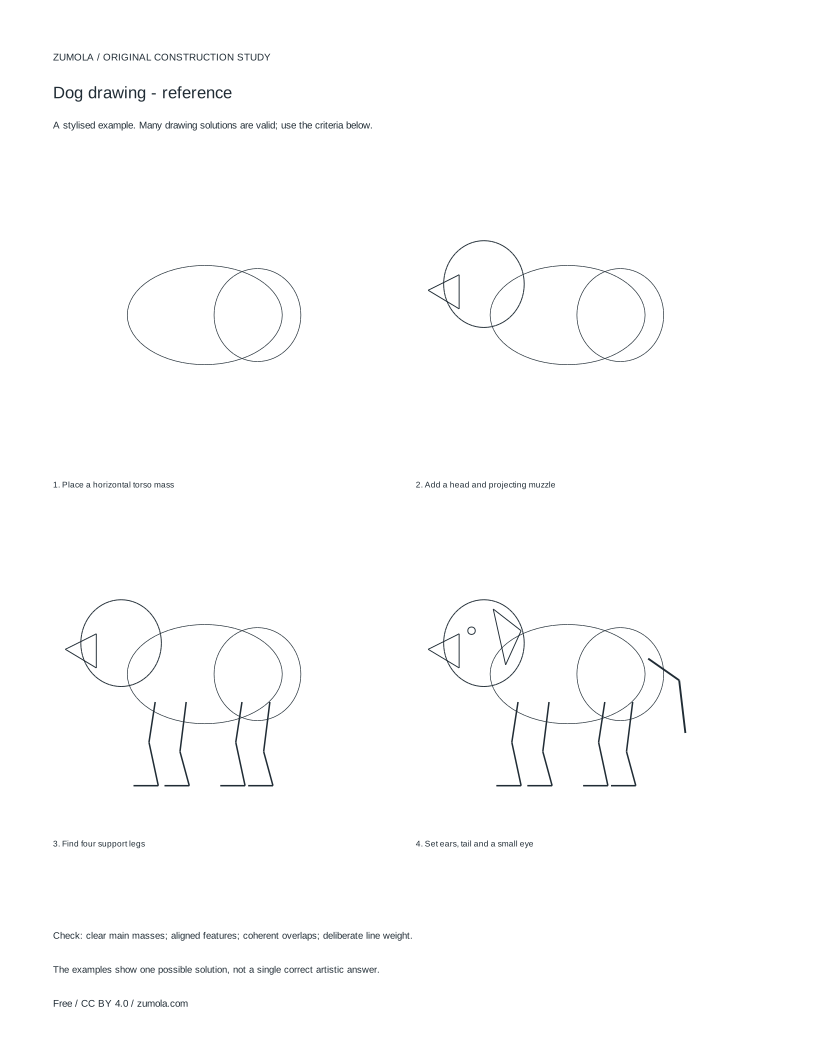
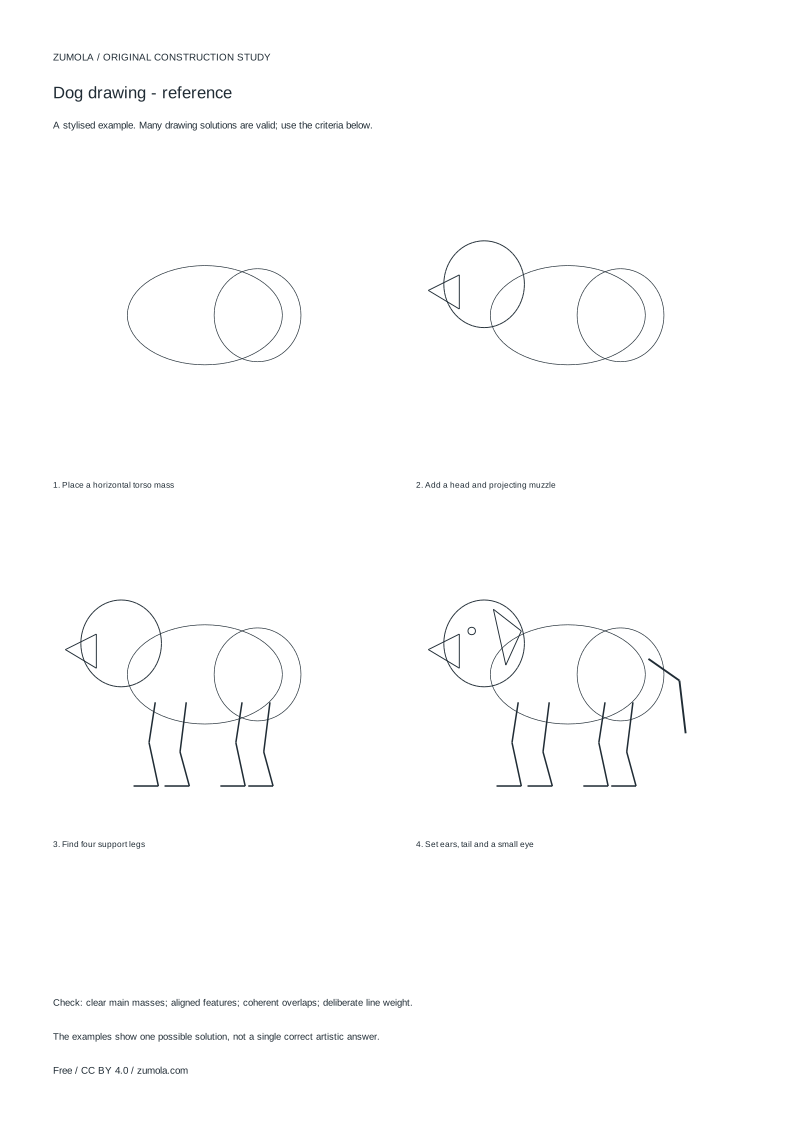
Build the drawing in four stages.
Your free printable kit.
Original reference, student practice and separate worked answers. No account or payment.
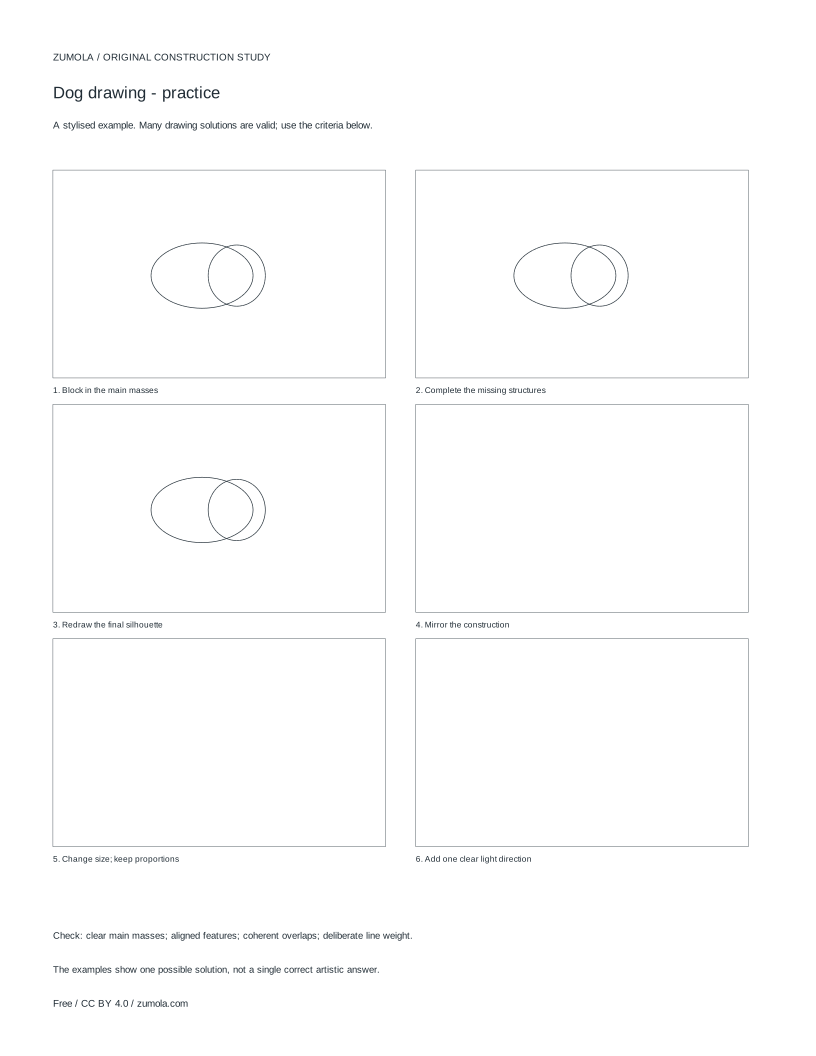
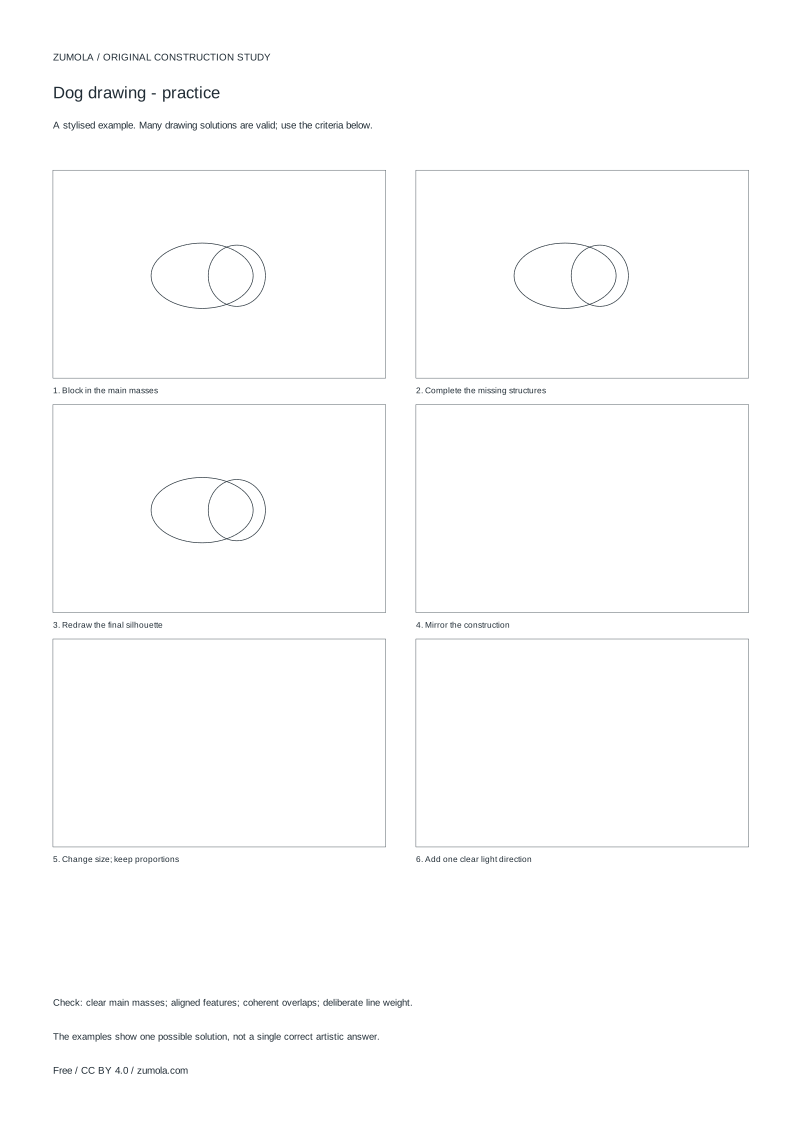
Practice worksheet
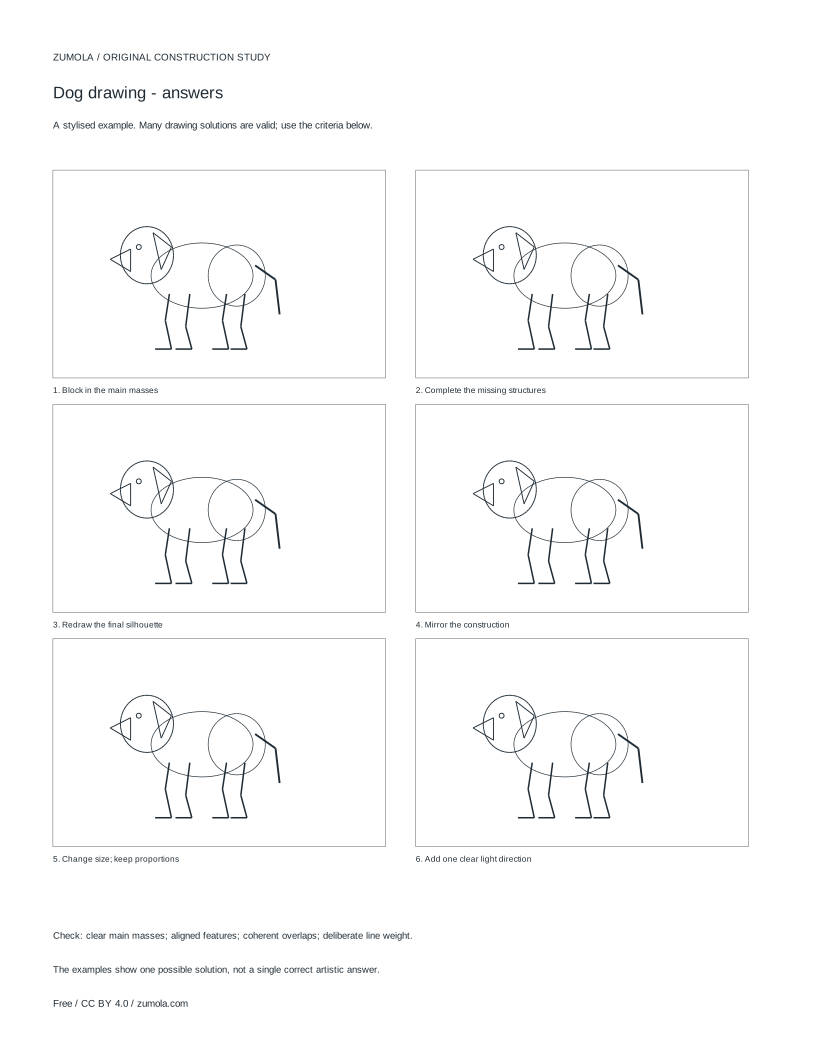
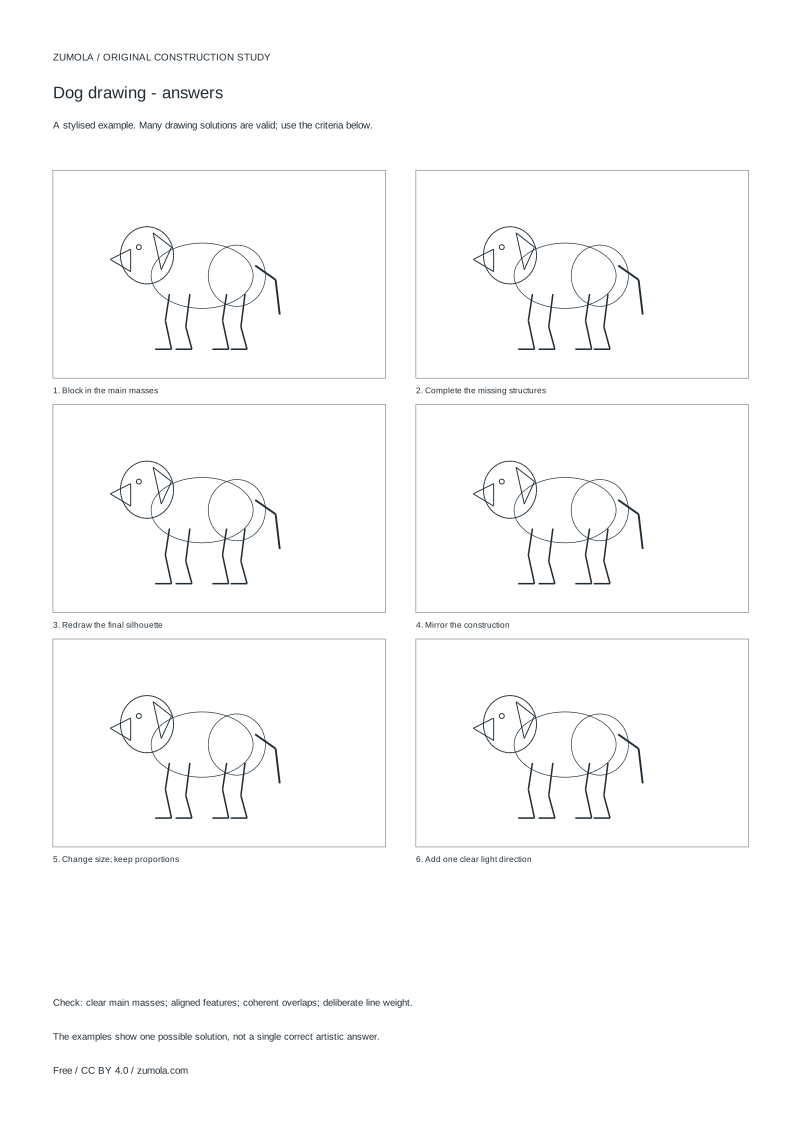
Worked answers / rubric
Print at Actual size / 100%. Check the calibration bar before using physical dimensions.
A standing dog is easier to draw when you stop thinking of it as one outline and start thinking of it as stacked masses. This guide builds a side-view dog from a horizontal torso, a head with a projecting wedge muzzle, and four legs that carry weight. The aim is a clear, stylised construction study, not a photorealistic or anatomical diagram. Work lightly, check how each new shape sits in front of or behind the last, and adjust before committing darker lines.
Start with the torso as a horizontal mass
Begin with a single horizontal shape for the body, roughly twice as long as it is tall. A soft rectangle or a flattened oval both work; the point is to fix the dog's length and height before any detail appears. Keep the top line fairly level and let the belly line curve slightly. This mass is the anchor for everything else, so place it centrally on the page and leave room above for ears and below for legs.
Decide the facing direction now. If the dog faces left, the chest end of the torso sits on the left and the hindquarters on the right. Mark a light vertical guide at the chest end where the front legs will attach, and another near the rear for the back legs. These guides are temporary; they simply stop the legs from drifting along the body.
- Draw a light horizontal oval or soft rectangle for the torso.
- Check the length-to-height ratio is about 2:1.
- Mark a light vertical guide at the chest end and one near the rear.
Add the head and a projecting muzzle wedge
Attach the head at the chest end, slightly above the torso's top line so the neck reads as a short connecting shape rather than a gap. The head is a rounded mass; the muzzle is a separate wedge that projects forward from it. Draw the wedge as a tapered triangle or trapezoid whose narrow end points in the facing direction. The muzzle should overlap the head mass, not float beside it.
This wedge is the feature that makes a dog read as a dog rather than a generic animal. Its length relative to the head matters: a short, broad wedge suggests a stocky face, while a longer, narrower wedge suggests a leaner one. Both are valid. Keep the wedge's top line close to the head's curve so the bridge of the nose flows rather than steps.
- Draw a rounded head mass overlapping the chest end of the torso.
- Add a tapered muzzle wedge projecting forward from the head.
- Make the wedge overlap the head so the join is hidden, not floating.
- Check the muzzle length against the head size and adjust before darkening.
Find four support legs and their overlaps
A standing dog needs four legs that appear to carry weight. Place the front pair under the chest guide and the rear pair under the hindquarters guide. Draw each leg as two tapering segments with a slight bend at the joint, ending in a small foot shape that meets an imaginary ground line. All four feet should sit on roughly the same horizontal level; if one floats, the stance looks unstable.
Overlap is what separates the legs visually. The near front leg sits in front of the far front leg, and the near rear leg sits in front of the far rear leg. Draw the near legs first with slightly heavier lines, then tuck the far legs behind them, stopping their outlines where they meet the near leg. This single decision does more for depth than any shading.
- Drop two front legs from the chest guide and two rear legs from the rear guide.
- Give each leg two tapering segments and a small foot.
- Align all four feet to one ground line.
- Draw near legs first, then stop far-leg outlines where they pass behind.
Set ears, tail and a small eye
Ears sit on top of the head mass, behind the muzzle. Their shape is a free choice: upright triangles, folded flaps or rounded shapes all read correctly if they attach to the skull rather than hovering. The tail continues the top line of the hindquarters, curving away from the body. Keep it simple and let it balance the muzzle on the opposite end of the silhouette.
Place one small eye on the visible side of the head, roughly level with the base of the muzzle wedge. A single dot or short oval is enough at this stage. Because the dog is in side view, a second eye is usually hidden; adding one anyway flattens the head. Finish by checking which lines should be heaviest: the outer silhouette and the near legs, with interior construction lines kept light.
- Attach ears to the top of the head mass, behind the muzzle.
- Curve the tail away from the hindquarters to balance the silhouette.
- Place one small eye level with the muzzle base on the visible side.
- Darken the outer silhouette and near legs; keep construction lines light.
Try this example
Build a side-view standing dog facing left on a page, using a torso about 8 cm long and 4 cm tall, with a head mass about 3 cm across and a muzzle wedge about 1.5 cm long.
Show the worked explanation
Place the 8 by 4 cm torso oval centrally. Mark a chest guide at its left end and a rear guide near the right end. Overlap a 3 cm rounded head at the chest end, sitting slightly above the torso top line. Add a 1.5 cm tapered wedge projecting left from the head, overlapping it so the join is hidden. Drop two front legs from the chest guide and two rear legs from the rear guide, each with two tapering segments, and end all four feet on one horizontal ground line. Draw the near legs first and stop the far-leg outlines where they pass behind. Attach ears to the top of the head behind the muzzle, curve the tail right and away from the hindquarters, and place one small eye level with the muzzle base. Finally, darken the outer silhouette and near legs while keeping the guides light.
Common mistakes
- Drawing the muzzle as a separate shape that touches the head only at one point. Redraw the wedge so it overlaps the head mass, then erase the hidden part of the head outline inside the join.
- Letting the four feet sit at different heights so the dog appears to float or sink. Draw one light horizontal ground line first and end every foot on it before adding detail.
- Outlining all four legs fully so the far legs read as near legs. Stop each far-leg outline where it meets a near leg, leaving the near leg's line unbroken.
Check your work
- Torso is a clear horizontal mass with a length-to-height ratio near 2:1.
- Muzzle is a tapered wedge that overlaps the head rather than floating beside it.
- Four legs reach one shared ground line and appear to support the body.
- Near legs overlap far legs, with far outlines stopped at the crossing.
- Ears attach to the skull and the tail balances the muzzle in the silhouette.
- Only one eye is placed on the visible side in side view.
- Line weight distinguishes the outer silhouette and near legs from light construction lines.
Questions before you start
How long should the muzzle wedge be compared with the head?
There is no single correct ratio. A wedge roughly one-third to one-half the head's length gives a balanced stylised face; shorter reads stockier and longer reads leaner. Choose one and keep it consistent across the drawing.
Why does my dog look flat even with four legs?
Flatness usually comes from missing overlaps. Make the near legs cross in front of the far legs and stop the far outlines at the crossing point. Heavier lines on the near legs and the outer silhouette also help separate front from back.
Can I change the ear shape or pose?
Yes. Ears, tail curve and leg spacing are open choices, and a running pose simply shifts the leg angles while keeping the torso, head and muzzle masses in the same order. Compare your result against the masses and overlaps rather than a single fixed outline.