Free original resources
Fish Drawing: Build a Streamlined Body, Tail and Fins Step by Step
Learn a reliable method for drawing a fish: set a streamlined body envelope, taper the tail, place fins with clear overlaps, then add eye, gill and scales.
Free resources
Letter & A4
PDF & SVG
Letter & A4
PDF & SVG
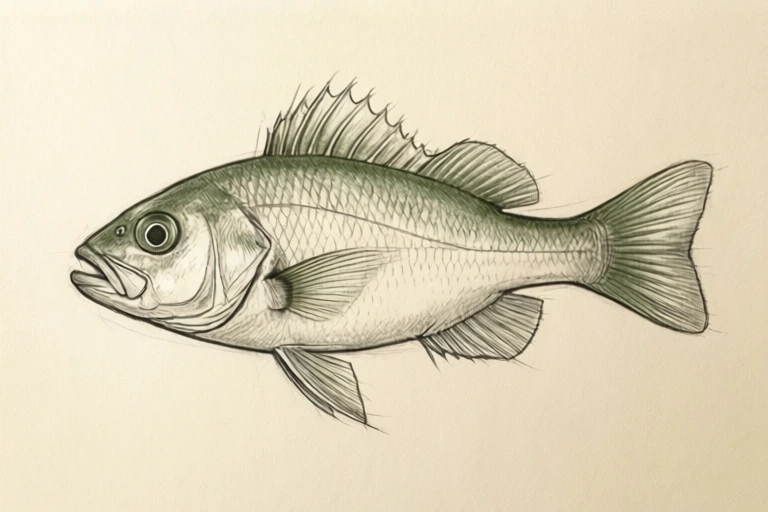
Build the drawing in four stages.
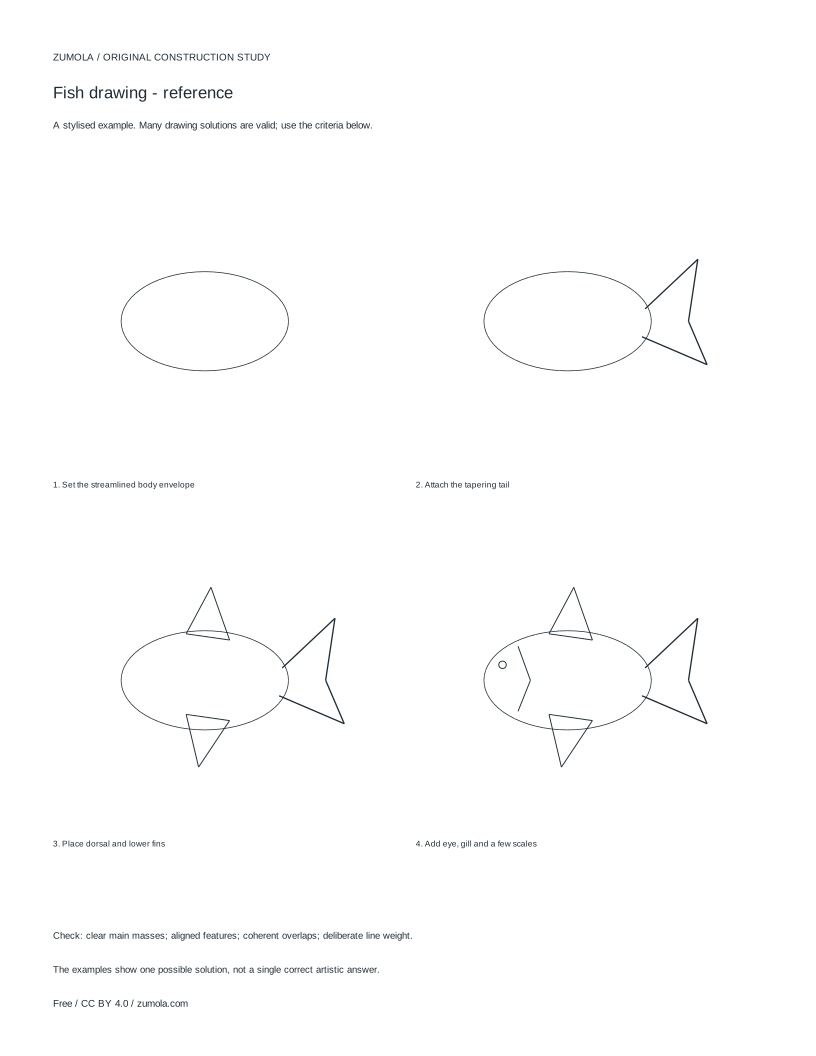
Your free printable kit.
Original reference, student practice and separate worked answers. No account or payment.
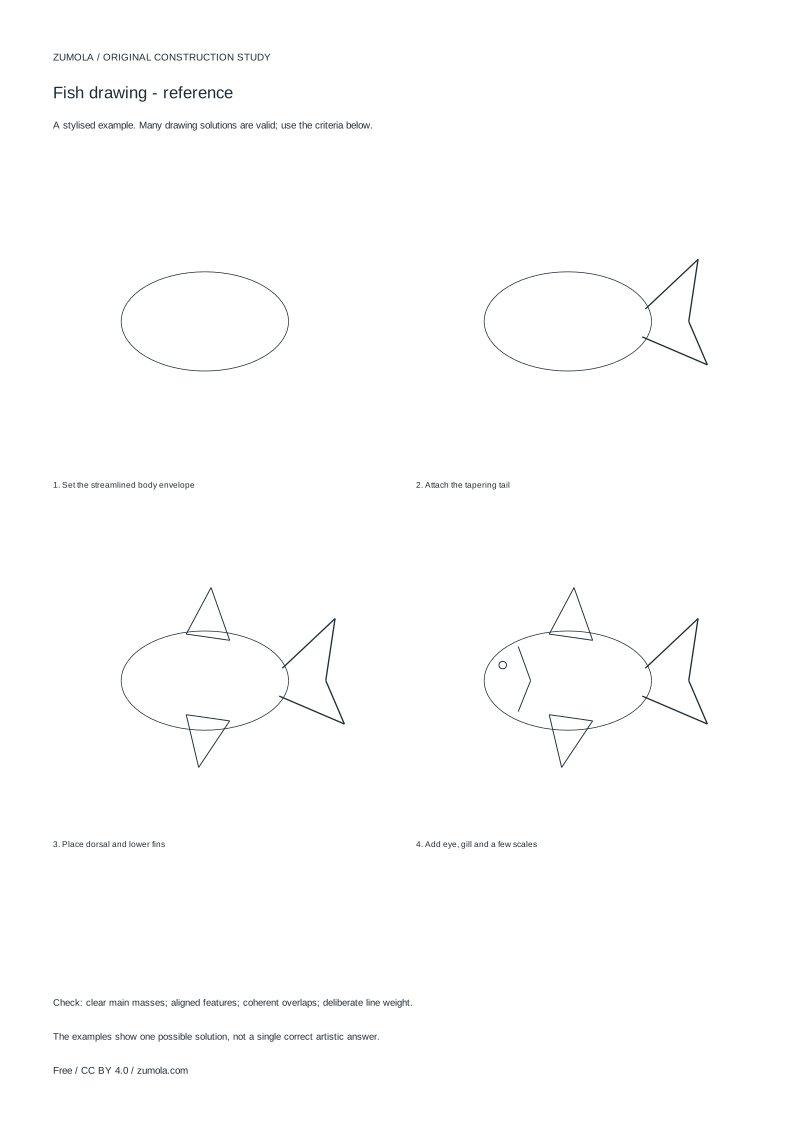
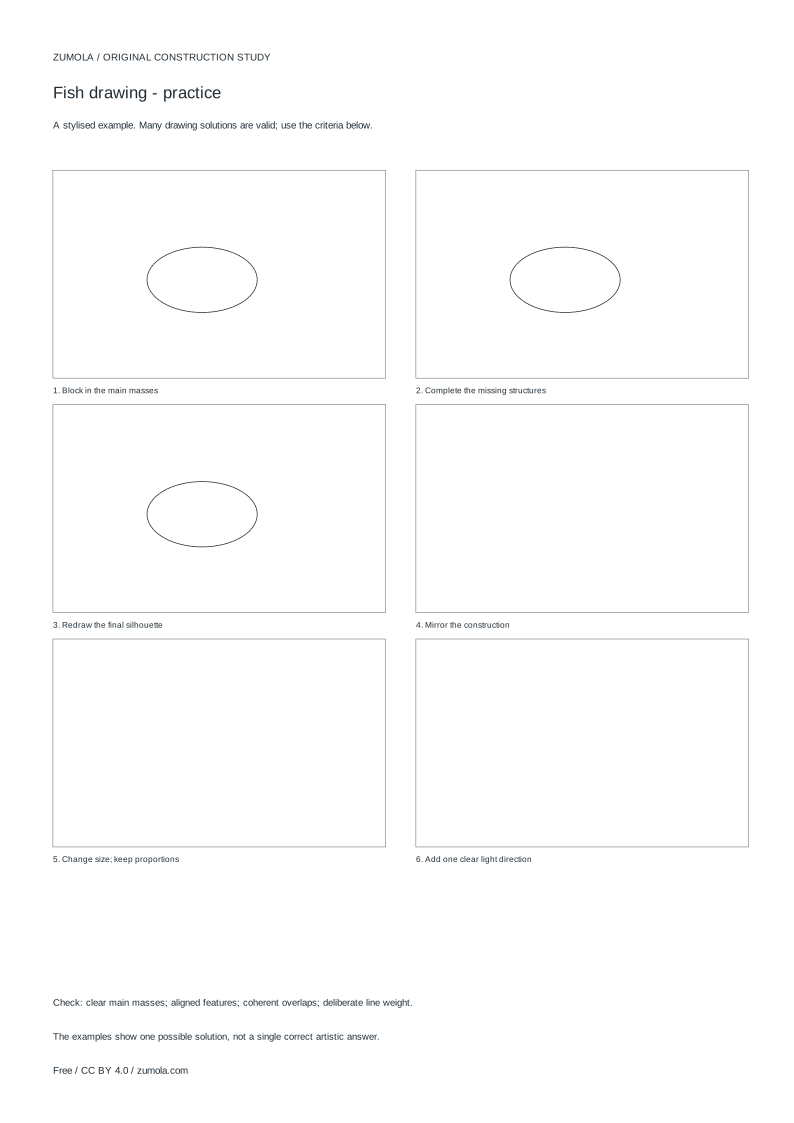
Practice worksheet
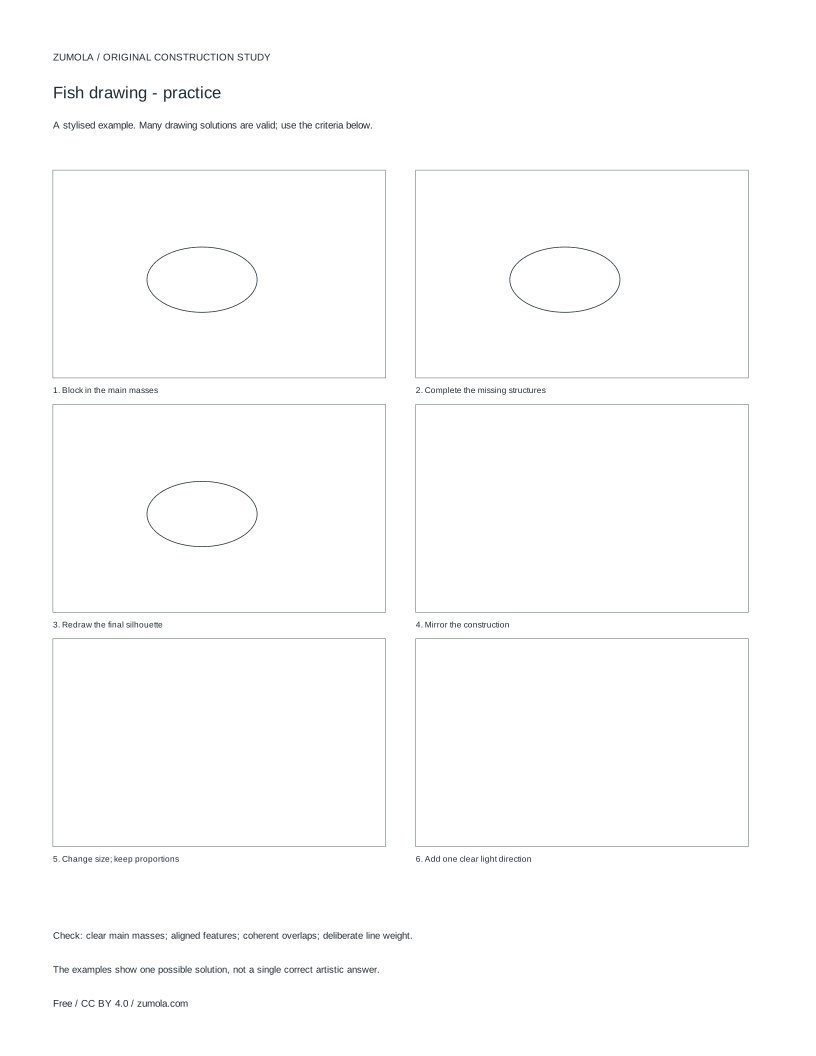
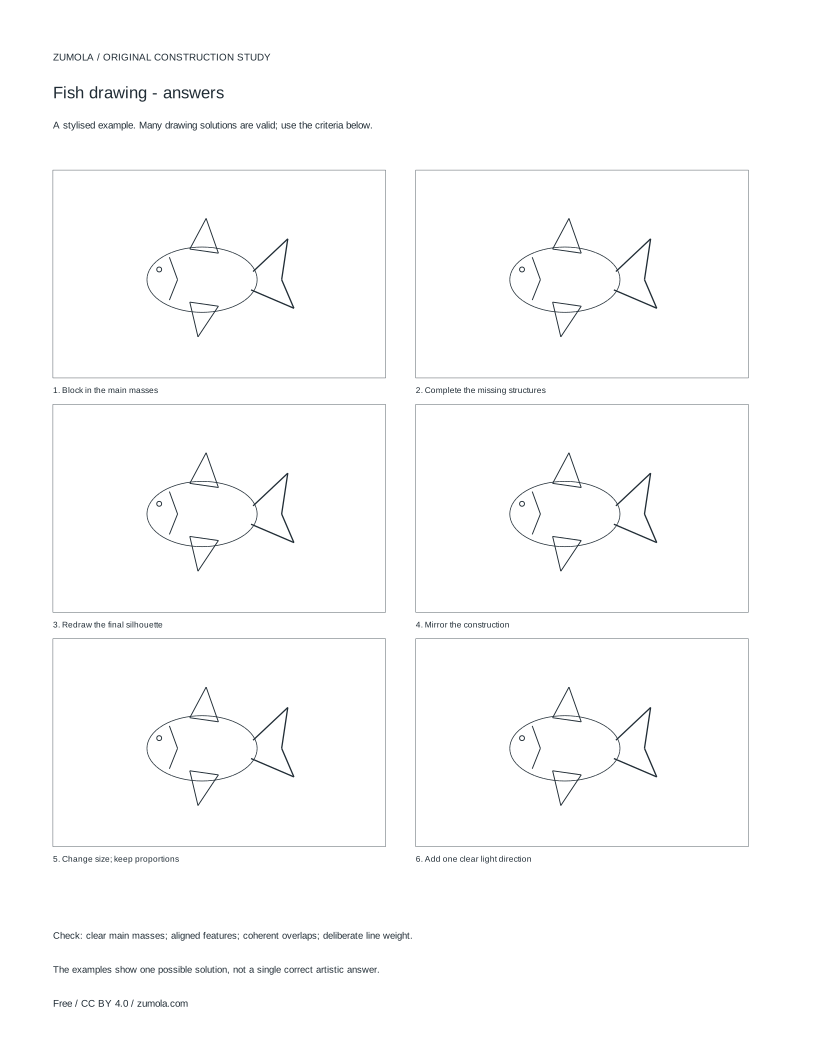
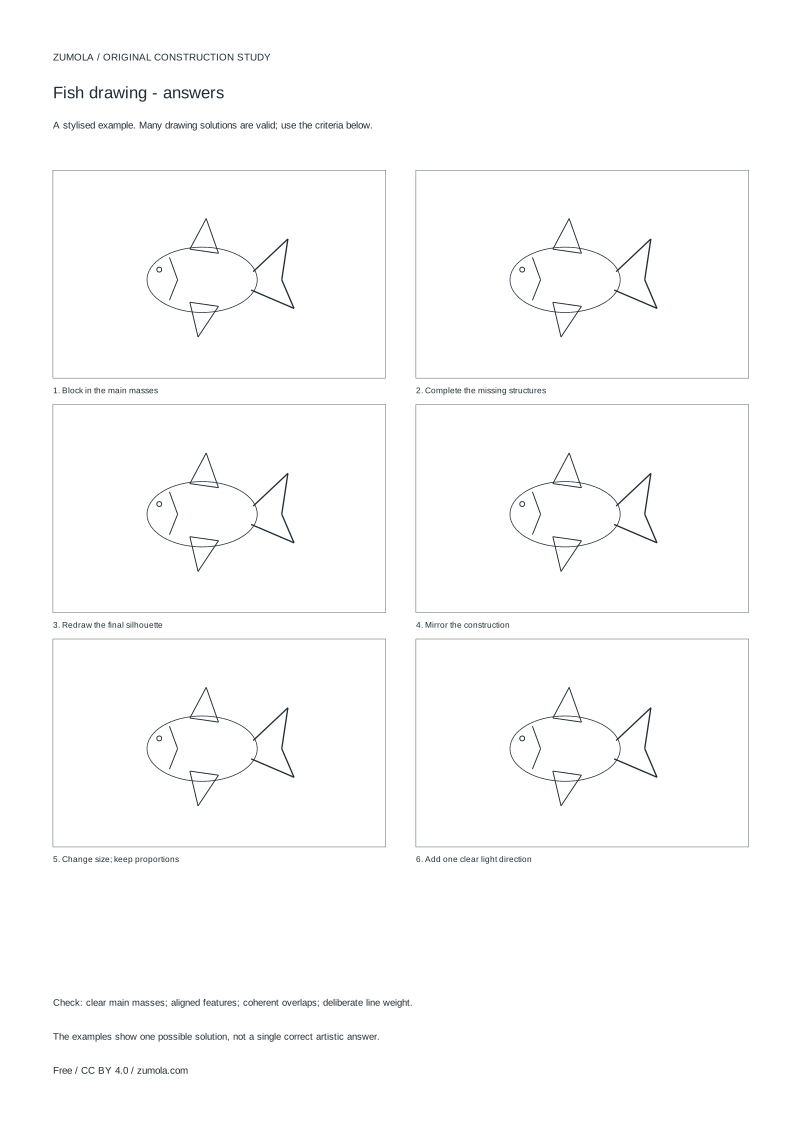
Worked answers / rubric
Print at Actual size / 100%. Check the calibration bar before using physical dimensions.
A fish drawing becomes convincing when the body, tail and fins agree with one another. This guide treats the fish as a few connected masses rather than a single outline: a streamlined body envelope, a tapering tail, and fins placed where they support the shape. You will work in four ordered stages, checking each new line against the one before it. The approach is a stylised construction study, not anatomical or photorealistic instruction, and colour or pattern can be varied after the structure holds.
Start with the streamlined body envelope
Begin with the overall body shape before any detail. Picture the fish from the side: the body is widest just behind the head and narrows toward the tail. Draw a long, gently curved envelope that captures this taper, using a light line you can adjust. Keep the top and bottom contours roughly balanced so the fish does not look tilted or swollen.
Decide the head end and the tail end now. The head should be slightly blunter than the tail junction, because the body continues into a narrow tail base. Mark a faint centre line along the body to guide later features. At this stage the envelope is a placeholder: it should read as a fish silhouette even with no fins, eye or scales added.
- Draw a light horizontal guide for the body length.
- Sketch the upper contour, widest behind the head and narrowing toward the tail.
- Mirror a lower contour so the body tapers evenly.
- Check that the head end is blunter than the tail end.
Attach the tapering tail
The tail continues the body rather than sitting on it like a separate shape. Narrow the body into a short tail base, then let the tail fin open outward. A forked tail has two lobes; a rounded tail has a single curved edge. Choose one and keep it consistent.
Watch the junction. The tail base should be the narrowest point between body and fin, and the fin should widen from there. If the tail looks attached too high or too low, redraw the base so it sits on the body's centre line. Overlap matters: the tail fin begins where the body ends, not floating beside it.
- Narrow the body to a short tail base on the centre line.
- Draw the tail fin opening from that base.
- For a forked tail, make two lobes of similar size.
- Confirm the tail base is the narrowest point.
Place dorsal and lower fins with clear overlaps
Fins give the fish its balance. The dorsal fin sits along the top of the body, usually over the widest section. Lower fins sit beneath the body, and a small pair can sit behind the head. Place each fin so its base touches the body contour and its edge extends outward.
Check overlaps deliberately. A fin drawn in front of the body edge should visibly start at the contour; a fin behind should be partly hidden. Keep fin sizes proportionate to the body: a dorsal fin roughly a third of the body height reads clearly without dominating. Vary fin shapes only after the placement is settled.
- Mark the dorsal fin base along the top contour.
- Draw the dorsal fin outward from that base.
- Add lower fins beneath the body, aligned with the dorsal region.
- Check each fin starts at the body contour and note which lines overlap.
Add eye, gill and a few scales
Place the eye near the head end, above the centre line and set back from the snout. A small circle with a darker centre is enough. The gill line is a short curve behind the eye, following the head's curve rather than cutting straight down.
Scales should suggest texture without crowding. Draw a few overlapping curved lines in one region, following the body's taper. Stop before the pattern competes with the fins. Colour and markings are variants applied after the structure is sound; they do not fix a weak body or misplaced fins.
- Place the eye above the centre line, set back from the snout.
- Draw a short gill curve behind the eye.
- Add a few overlapping scale curves following the body taper.
- Review the whole fish for consistent overlaps and line weight.
Try this example
Draw a simple side-view fish with a forked tail, one dorsal fin, two lower fins, an eye, a gill line and a few scales.
Show the worked explanation
Draw a light horizontal guide. Sketch the upper contour widest behind the head and narrowing toward the tail; mirror a lower contour so the body tapers evenly, with a blunter head end. Narrow the body to a short tail base on the centre line, then open a forked tail with two similar lobes from that base. Mark a dorsal fin base along the top contour over the widest section and draw the fin outward to about a third of the body height. Add two lower fins beneath the body, each starting at the contour. Place the eye above the centre line, set back from the snout, add a short gill curve behind it, and draw a few overlapping scale curves following the taper. Check that every fin starts at the body contour and that the tail base is the narrowest point.
Common mistakes
- Drawing the tail as a separate shape floating beside the body. Narrow the body into a tail base on the centre line, then start the tail fin from that base so the two connect.
- Placing fins without checking where they meet the body contour. Mark each fin base on the contour first, then draw the fin outward and confirm the overlap is visible.
- Adding scales or colour before the body and fins are settled. Finish the body envelope, tail and fin placement first; add texture only once those masses read correctly.
Check your work
- Body envelope tapers evenly from a blunter head to a narrow tail base.
- Tail fin connects to the body at the tail base rather than floating separately.
- Each fin base touches the body contour and overlaps are clearly shown.
- Eye and gill line sit near the head and follow the head's curve.
- Scales suggest texture without crowding the fins.
- Line weight distinguishes main masses from detail lines.
Questions before you start
How many steps should a fish drawing take?
Four ordered stages work well: body envelope, tapering tail, fin placement, then eye, gill and scales. Each stage adds lines you can check against the previous one.
Can I change the colour or pattern?
Yes. Colour and markings are variants applied after the structure holds. They do not correct a weak body shape or misplaced fins, so settle those first.
Is this a realistic fish drawing method?
It is a stylised construction study, not anatomical or photorealistic instruction. It teaches how body masses, tail and fins relate, which you can refine later.