Free original resources
Mouth Drawing: Build Lips From the Mouth Line and Two Masses
Learn a four-step mouth drawing method: place the curved mouth opening, shape upper and lower lip masses, connect the corners, then add limited shadow.
Free resources
Letter & A4
PDF & SVG
Letter & A4
PDF & SVG
Build the drawing in four stages.
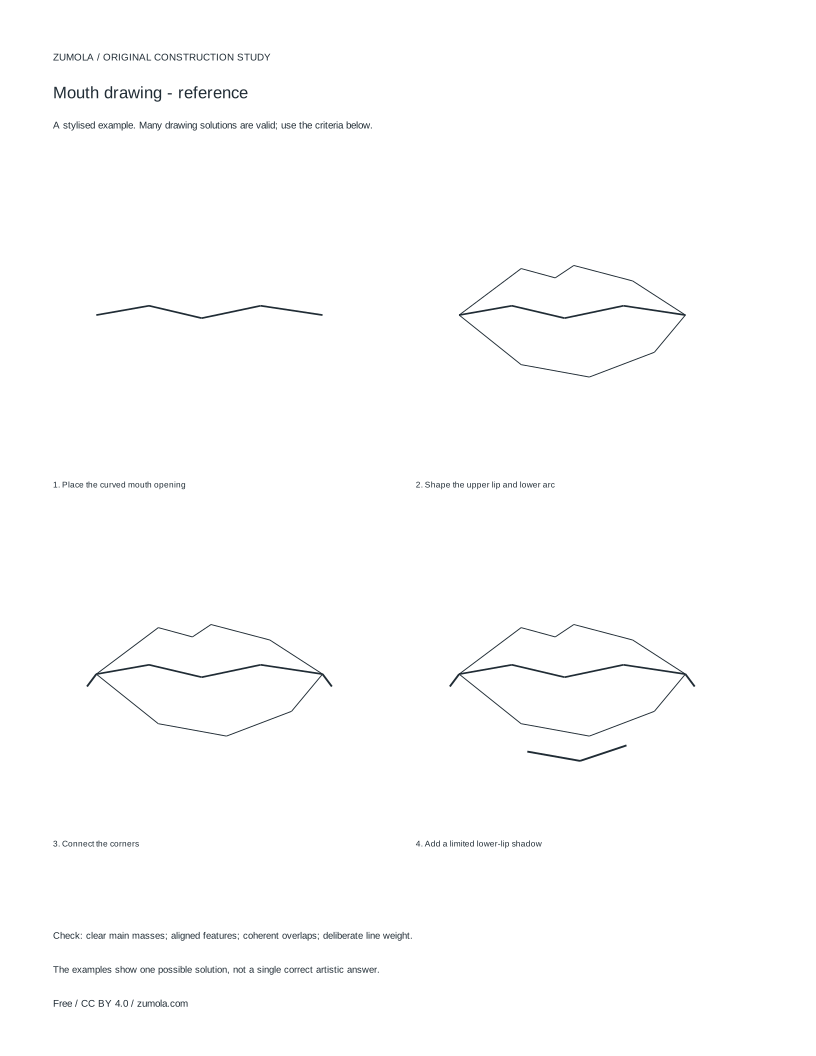
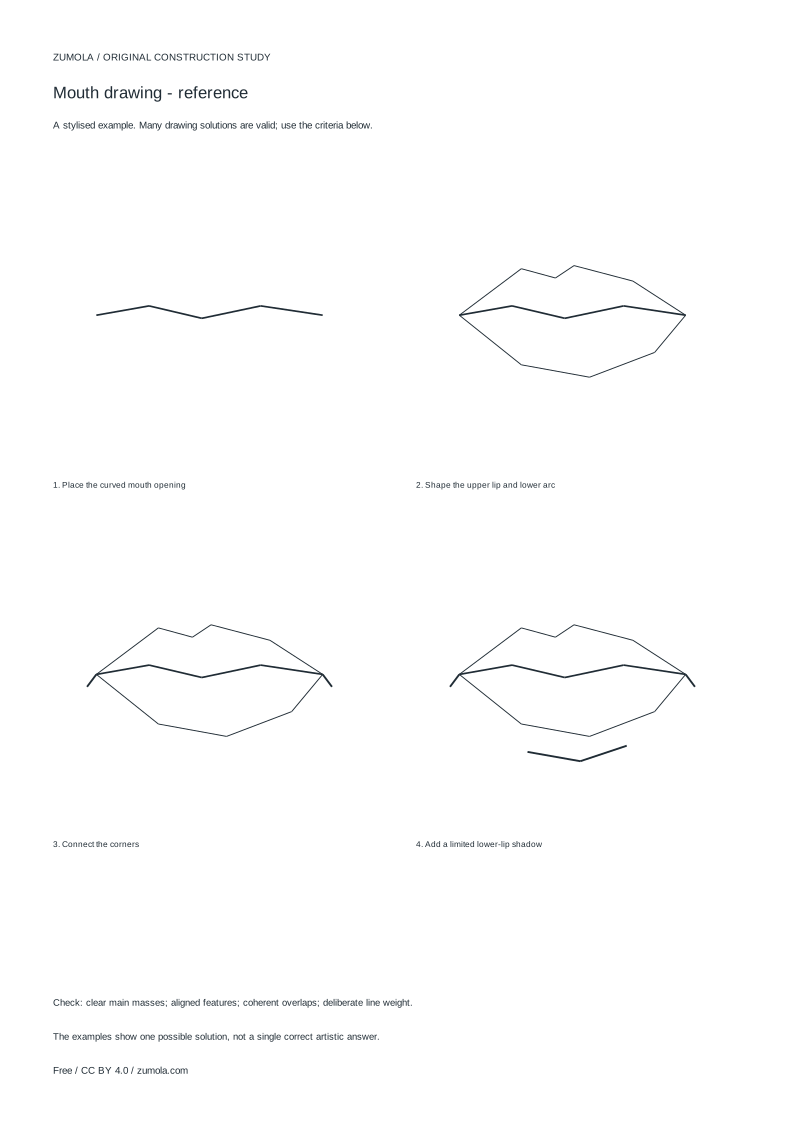
Your free printable kit.
Original reference, student practice and separate worked answers. No account or payment.
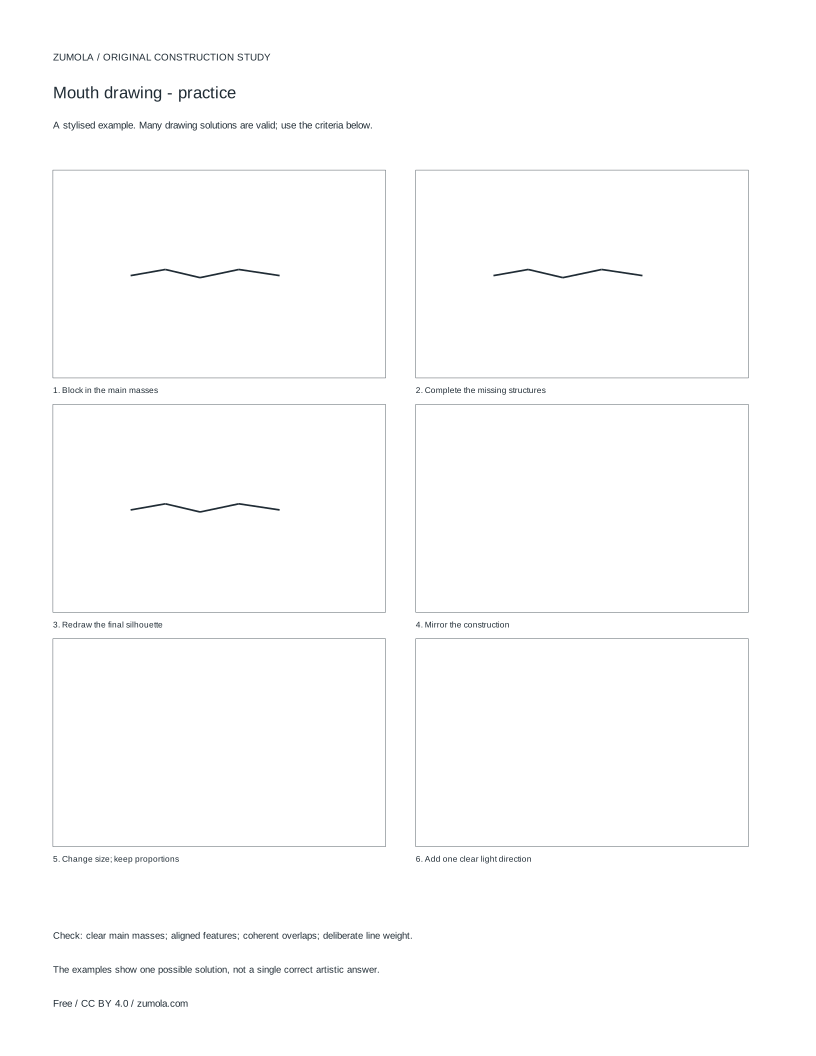
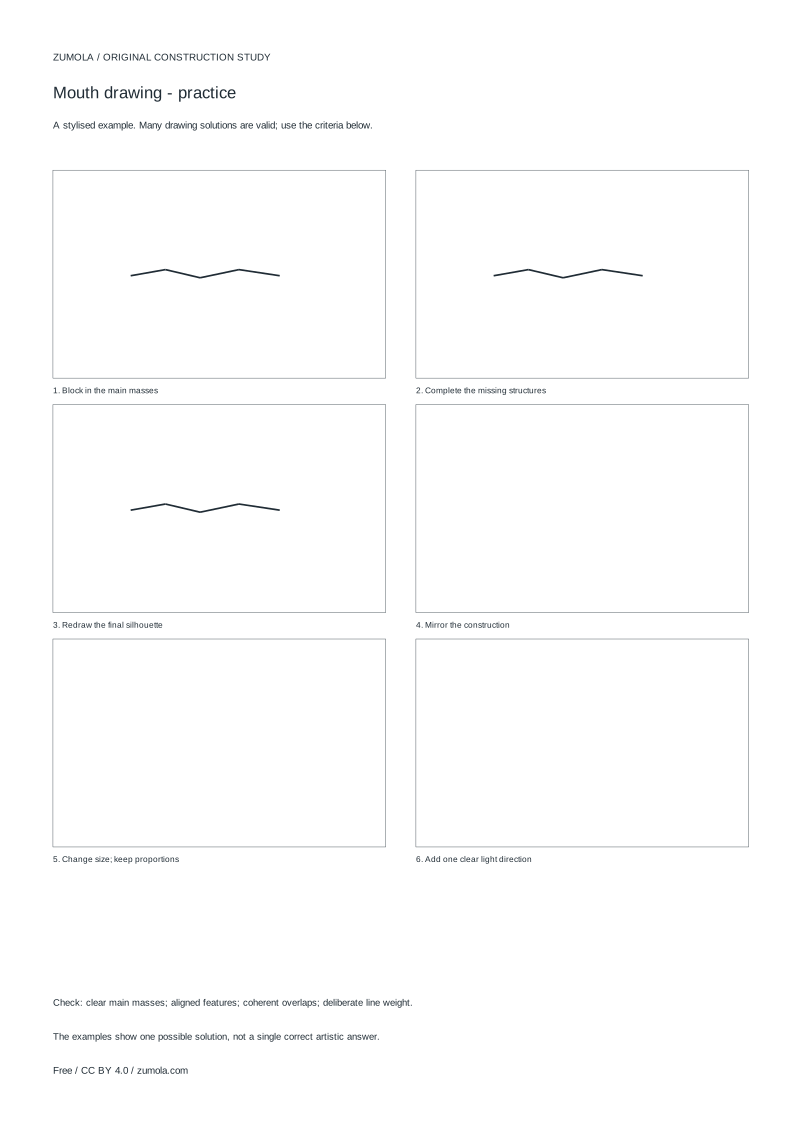
Practice worksheet
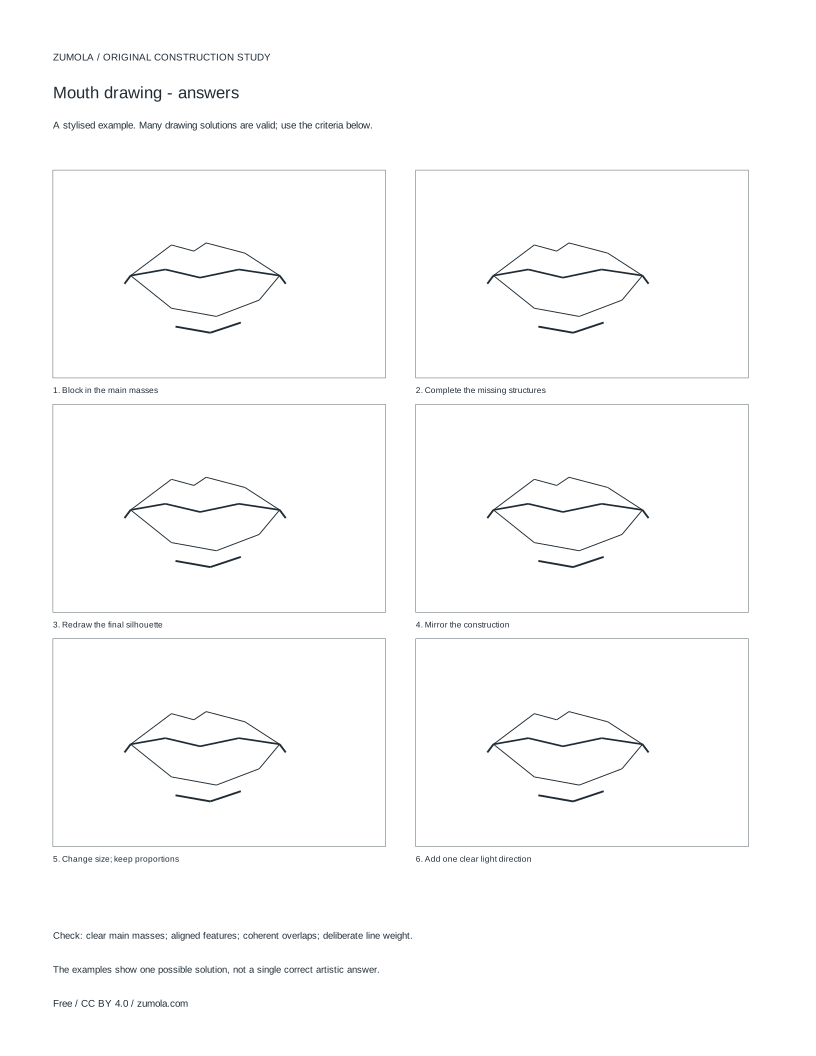
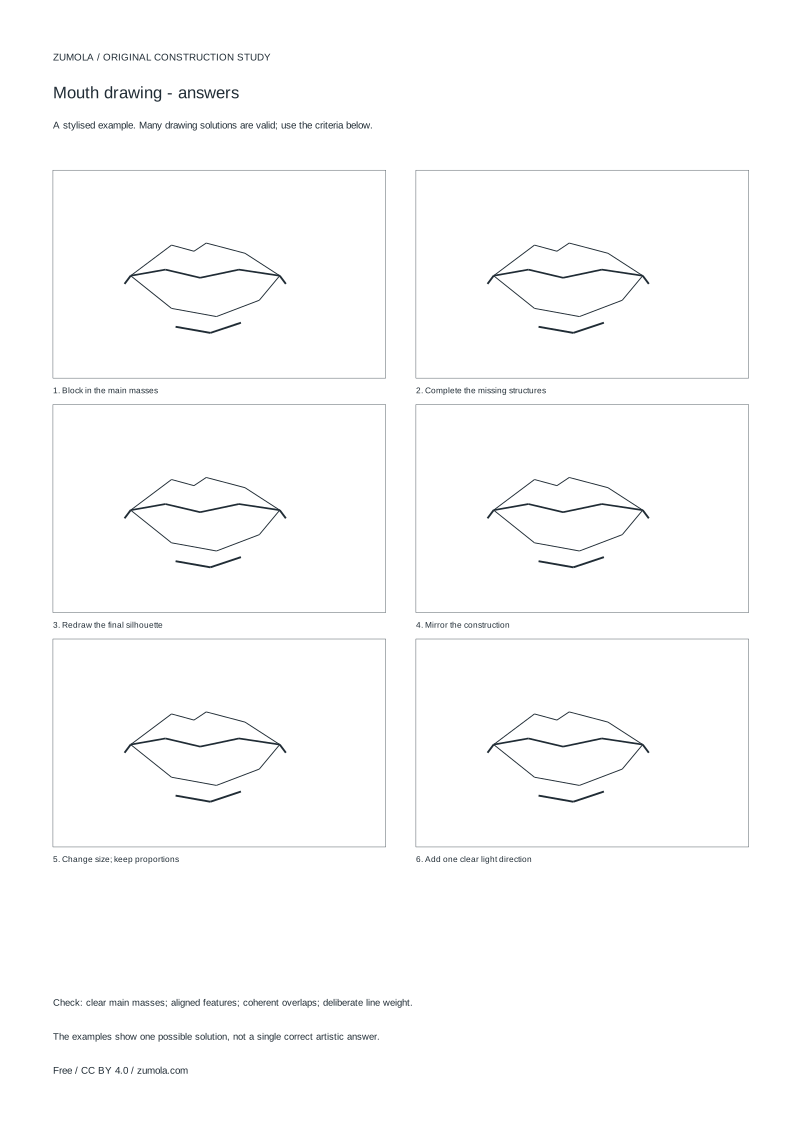
Worked answers / rubric
Print at Actual size / 100%. Check the calibration bar before using physical dimensions.
A mouth reads clearly when you build it from structure rather than tracing an outline. Start with the curved line where the lips meet, then give the upper and lower lips separate body, join the corners so the shapes close, and finish with restrained shadow under the lower lip. This stylised construction study is not anatomical or photorealistic instruction; it is a reliable way to place the main masses before adding detail.
Start With the Mouth Opening, Not the Outline
The line between the lips is the anchor for everything else. Draw it as a gentle curve rather than a flat dash. A slight upward curve at the ends suggests a relaxed or faintly smiling mouth; a downward curve suggests tension or seriousness. Decide the curve first, because the upper and lower lip masses hang from it.
Mark the two corners as endpoints of that curve. Their distance apart sets the mouth width, and their height relative to each other sets the tilt. Keep the curve shallow at this stage: a very deep arc makes the lips look exaggerated and hard to correct later. Check that both corners sit at believable positions on the face before adding any lip body.
- Draw one gentle curved line for the mouth opening.
- Mark a corner at each end of the curve.
- Check the width and tilt before continuing.
Give the Upper and Lower Lips Separate Masses
The upper lip is usually drawn as two soft slopes meeting at a small central dip, while the lower lip is a broader, rounder form. Treat each as a block with thickness, not a thin line. The upper lip mass sits above the mouth line; the lower lip mass sits below it and is generally fuller in the centre.
Keep the two masses distinct so the mouth does not collapse into one flat shape. The upper lip often projects slightly forward at the centre, and the lower lip curves outward before tucking back toward the chin. Draw the outer edges lightly first, then firm them once the proportions look right.
- Sketch the upper lip as two slopes with a small central dip.
- Sketch the lower lip as a wider, rounder mass below the mouth line.
- Compare the two masses for balance before firming any edges.
Connect the Corners and Control Overlaps
Corners are where mouths most often look wrong. The upper and lower lip edges must meet at each corner without crossing or leaving a gap. Draw a short connecting curve at each end so the lips close into one shape. If the mouth is open, the corners still meet, and the opening becomes a darker shape between the lips.
Overlap matters. Where the upper lip sits in front of the lower lip, its edge should interrupt the lower lip line rather than run parallel to it. Use slightly heavier line weight where one form passes in front of another, and lighter lines for soft transitions. This small difference in weight is what makes the mouth look assembled rather than outlined.
- Join the upper and lower lip edges at each corner with a short curve.
- For an open mouth, darken the space between the lips and keep the corners joined.
- Strengthen line weight only where one lip overlaps the other.
Add Limited Lower-Lip Shadow
Shadow should describe form, not decorate the drawing. A soft shadow under the lower lip suggests the lip's rounded underside and separates it from the chin. A small darker area just inside the mouth line suggests the crease between the lips. Keep both restrained; heavy shading flattens the mouth and hides construction errors.
Leave most of the lip surface light. If you shade the whole lower lip, the roundness disappears. Check the result by asking whether the shadow explains a curve or an overlap. If it does neither, remove it.
- Place a soft shadow beneath the lower lip to show its rounded underside.
- Add a narrow darker crease along the mouth line.
- Leave the upper lip and most of the lower lip surface light.
Check Your Work Against the Main Masses
There is no single correct mouth drawing. Compare your result by checking the main masses, feature placement, overlaps and line weight. A mouth can be wide or narrow, full or thin, and still be successful if those four relationships hold together.
Use the rubric below as a comparison tool rather than a pass-or-fail test. Redraw the same mouth with a different curve or lip fullness to see how the structure responds.
- Compare the upper and lower lip masses for balance.
- Check that both corners close the shape.
- Confirm overlaps are shown by line weight, not by extra outlines.
Worked Example: A Relaxed Closed Mouth
A simple example makes the sequence concrete. Suppose the mouth opening is a shallow upward curve 40 mm wide, with corners level. The upper lip rises about 6 mm at its centre dip, and the lower lip drops about 10 mm at its fullest point. These proportions give a calm, slightly smiling mouth.
Draw the 40 mm curve first, mark the corners, then build the upper lip slopes and the fuller lower lip. Join the corners, add a narrow crease along the mouth line, and place a soft shadow under the lower lip. Compare the finished drawing to the four checks in the rubric.
- Draw a shallow upward curve 40 mm wide with level corners.
- Add an upper lip rising about 6 mm at the centre dip.
- Add a lower lip dropping about 10 mm at its fullest point.
- Join the corners, add the crease, and shade lightly beneath the lower lip.
Try this example
Draw a relaxed closed mouth 40 mm wide with level corners, an upper lip rising about 6 mm at its centre dip, and a lower lip dropping about 10 mm at its fullest point.
Show the worked explanation
Draw a shallow upward curve 40 mm wide and mark both corners at the same height. Build the upper lip as two slopes meeting at a dip about 6 mm above the mouth line. Build the lower lip as a rounder mass reaching about 10 mm below the line at its centre. Join the corners with short curves, add a narrow crease along the mouth line, and place a soft shadow beneath the lower lip only. Check that the upper and lower masses balance, the corners close, and overlaps are shown by line weight.
Common mistakes
- Drawing the lip outline before deciding the mouth-opening curve. Place the curved mouth line and both corners first, then build the lip masses from it.
- Leaving a gap or crossing lines at the corners. Add a short connecting curve at each corner so the upper and lower lip edges meet cleanly.
- Shading the entire lower lip heavily. Keep most of the lip surface light and limit shadow to the underside and the mouth-line crease.
Check your work
- The mouth-opening curve is placed before the lip masses, with both corners marked.
- The upper and lower lips read as separate masses with believable relative fullness.
- Both corners close the shape without gaps or crossing lines.
- Overlaps are shown by line weight rather than extra parallel outlines.
- Shadow is limited to the lower-lip underside and the mouth-line crease.
- The drawing is assessed as one valid stylised solution among several, not as an exact answer.
Questions before you start
How do I draw an open mouth without losing the lip shape?
Keep the corners joined and treat the opening as a darker shape between the upper and lower lips. Build the lip masses around that opening rather than drawing a single outline.
What makes a mouth look flat?
Usually a missing overlap or uniform shading. Show which lip sits in front with slightly heavier line weight, and keep shadow limited to areas that explain a curve.
Can I use this method for a simple lips drawing?
Yes. The four steps scale down well: a short curved mouth line, two small lip masses, joined corners, and one soft shadow are enough for a simple study.