Free original resources
Nose Drawing: Wedge, Planes, and Wing Placement
Learn a four-step nose drawing method using a narrow bridge wedge, lower plane, wings, and nostril openings, then separate light and shadow planes with controlled line weight.
Free resources
Letter & A4
PDF & SVG
Letter & A4
PDF & SVG
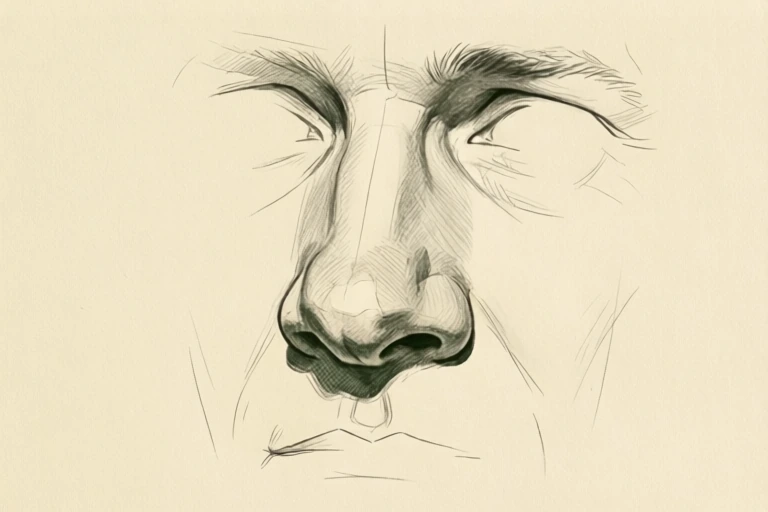
Build the drawing in four stages.
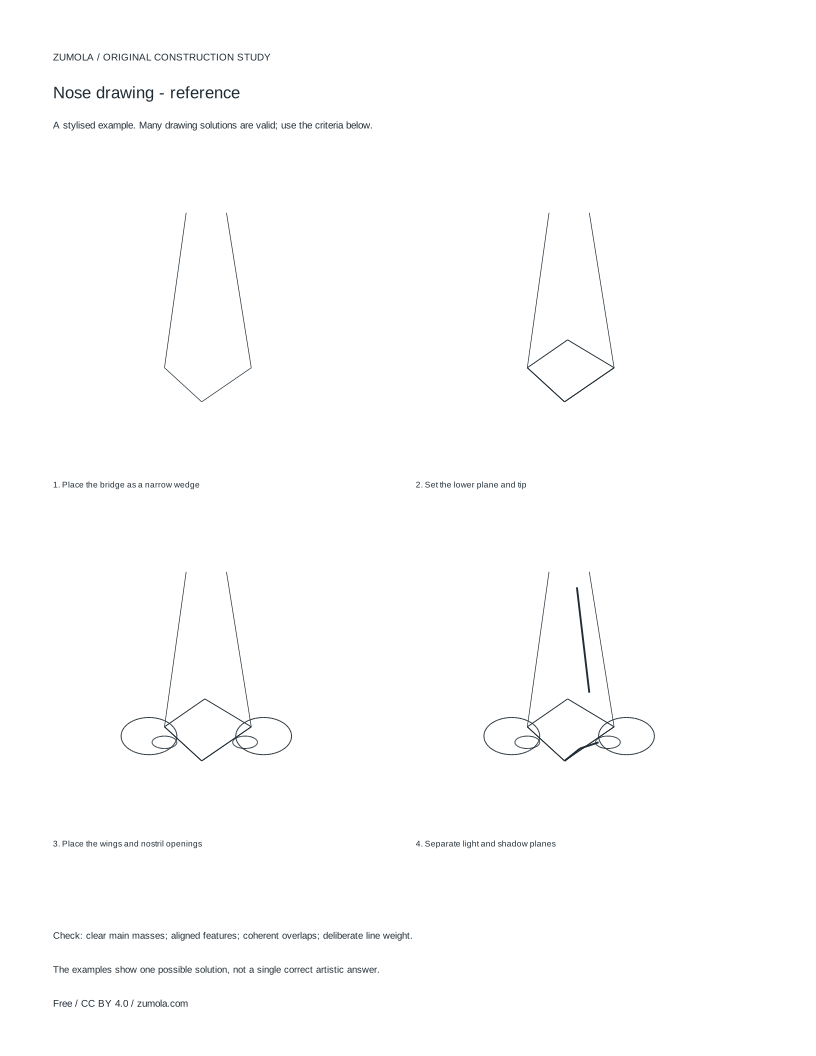
Your free printable kit.
Original reference, student practice and separate worked answers. No account or payment.
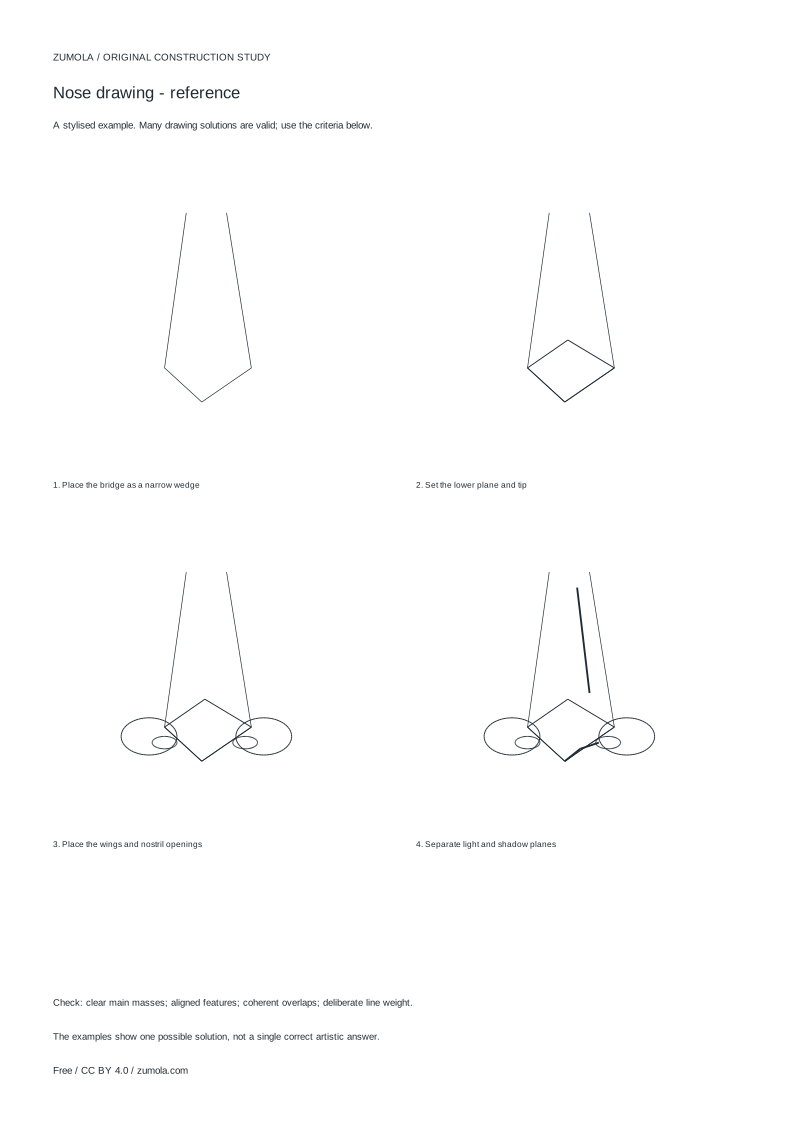
Practice worksheet
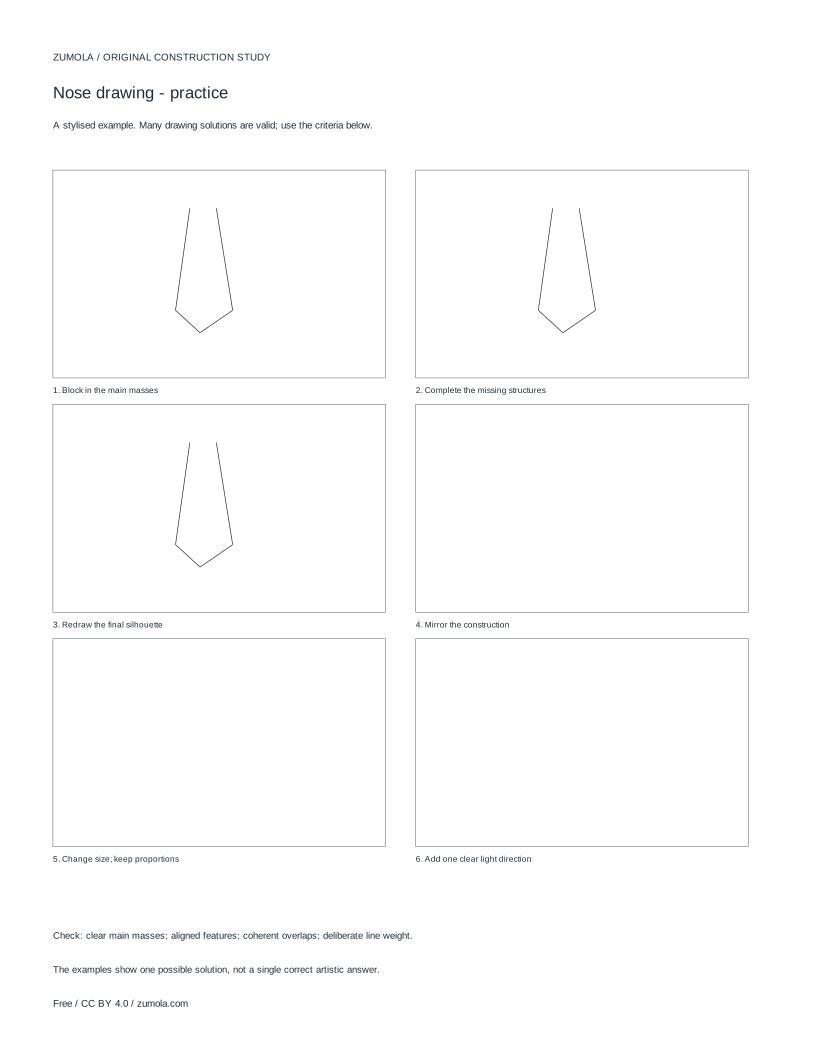
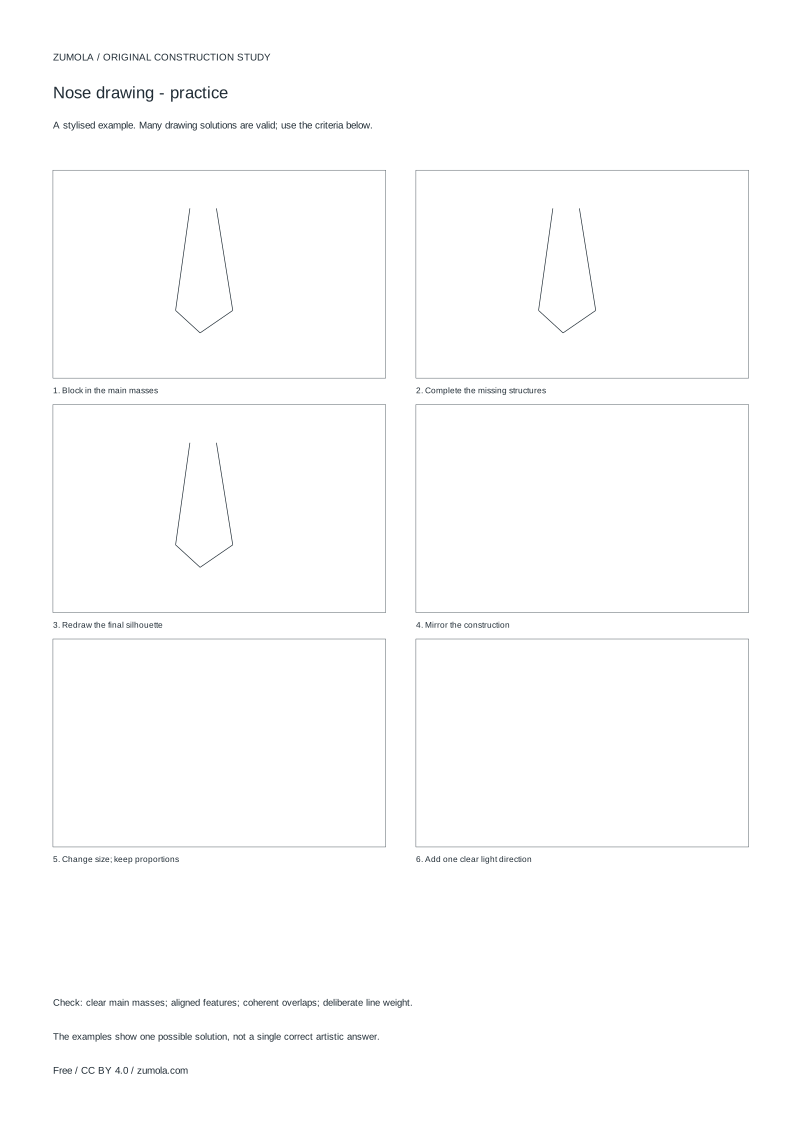
Worked answers / rubric
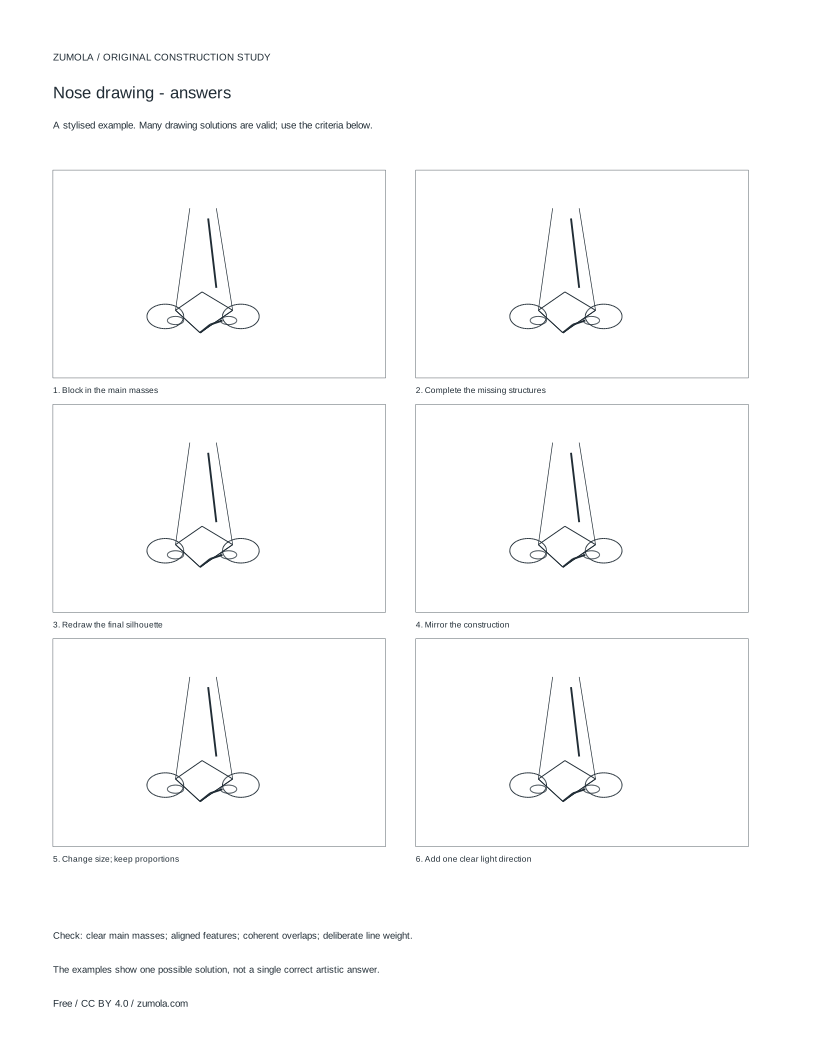
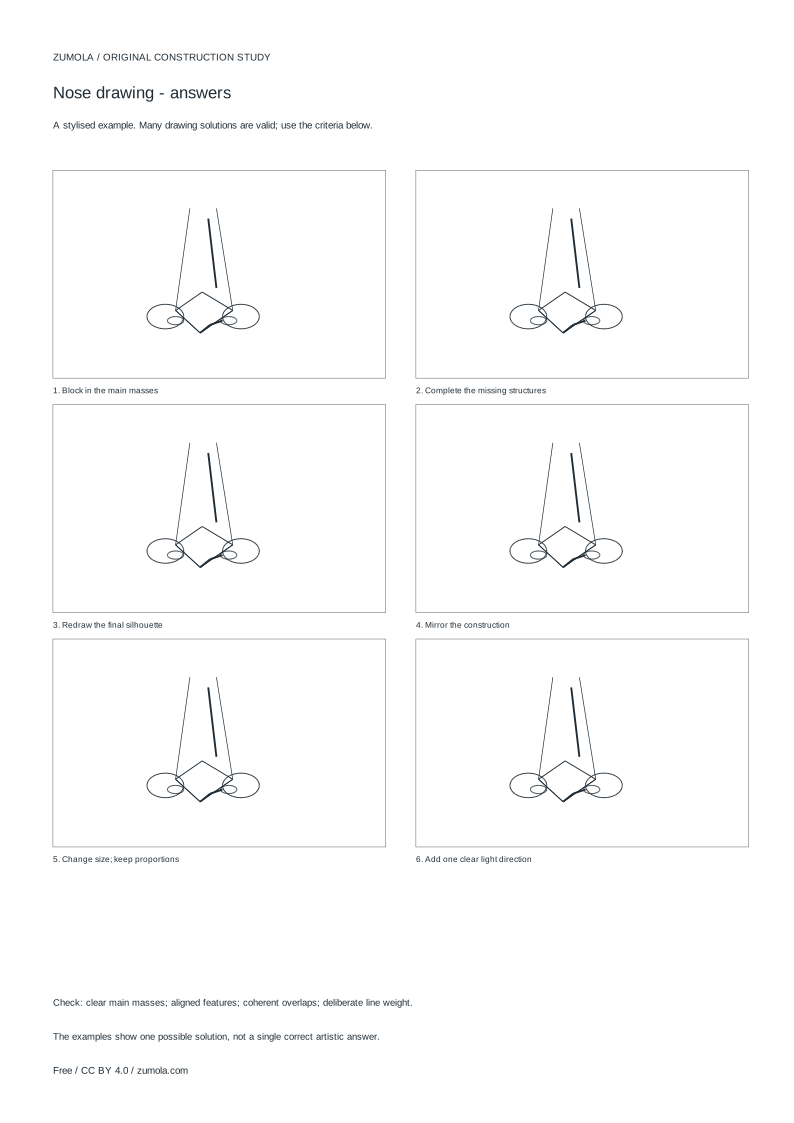
Print at Actual size / 100%. Check the calibration bar before using physical dimensions.
A nose is easier to draw when you stop treating it as one outline and start treating it as a small set of connected planes. This guide builds a stylised construction study: a narrow wedge for the bridge, a lower plane for the tip, wings with openings beneath, and a clear split between lit and shadowed surfaces. The aim is believable structure and readable overlaps, not clinical anatomy or photorealism. Work lightly at first so you can adjust placement before committing to darker lines.
Start with the bridge as a narrow wedge
Begin by deciding the nose's overall length and tilt. Mark a short vertical or slightly angled centre line, then place two converging lines that form a narrow wedge from between the brows down toward the tip. The wedge is wider at the bottom and narrower at the top, which gives the bridge a direction rather than a flat stripe.
Keep these first lines faint. At this stage you are locating the bridge, not describing its surface. Check that the wedge sits symmetrically enough for the head angle you have chosen; a three-quarter view will shift the wedge toward one side and compress the far side.
- Mark the top of the bridge and the intended tip position.
- Draw two gently converging lines to form the narrow wedge.
- Check the tilt against the rest of the face before darkening anything.
Set the lower plane and tip
The tip is not a single point. Treat it as a small lower plane that faces forward and slightly down. Add a short horizontal or curved edge beneath the wedge to close the bridge and establish where the tip turns under. This edge is the hinge between the front of the nose and its underside.
In a three-quarter view, the lower plane becomes a tilted shape rather than a symmetrical one. Keep the far edge shorter and partly hidden by the near side. Avoid drawing a perfect circle for the tip; a rounded triangular or trapezoid shape usually reads more clearly as a turning surface.
- Close the bottom of the wedge with a short edge.
- Shape the tip as a small lower plane, not a dot or circle.
- Adjust the far side so it is shorter when the head turns.
Place the wings and nostril openings
The wings sit on either side of the lower plane. Place them as small curved masses that attach to the sides of the tip, then add the nostril openings as dark, narrow shapes beneath and slightly behind each wing. The openings are not identical ovals; their visible size depends on the viewing angle.
Watch the overlaps. The near wing usually overlaps part of the lower plane, and the far wing may be partly hidden. Draw the wing that sits in front first, then tuck the far wing behind it. This ordering makes the nose feel solid rather than pasted on.
- Attach a small curved wing mass to each side of the tip.
- Draw narrow nostril openings beneath the wings, angled with the head.
- Draw the near wing over the lower plane, then place the far wing behind it.
Separate light and shadow planes
Choose one light direction and keep it consistent. The bridge often carries a lit strip along one side and a shadow along the other; the lower plane may be darker than the bridge; the underside and nostril openings are usually the darkest areas. These are plane decisions, not rules about every face.
Use line weight to support the planes. Keep construction lines light, strengthen edges where one mass overlaps another, and leave the lit side quieter. Avoid a heavy outline around the entire nose, which flattens the form. A few decisive edges at the wing, tip, and underside do more work than a continuous contour.
- Pick a single light direction and mark the shadowed side of the bridge.
- Darken the underside and nostril openings more than the lit planes.
- Strengthen overlap edges and soften or erase unnecessary outlines.
Try this example
Draw a stylised nose in a slight three-quarter view, with light coming from the upper left.
Show the worked explanation
Place a faint centre line tilted slightly right. Draw a narrow wedge from the brow area down to the tip, wider at the bottom. Close the wedge with a short lower-plane edge that tilts down toward the right. Add the near left wing as a curved mass overlapping the lower plane, then tuck the smaller far right wing behind it. Draw narrow nostril openings beneath each wing, with the far one shorter. Shadow the right side of the bridge, the underside, and both openings; keep the upper-left bridge lit. Strengthen the near wing edge and the underside edge, and leave the lit bridge lightly drawn.
Common mistakes
- Drawing the nose as one continuous outline. Build the wedge, lower plane, and wings as separate masses, then connect only the edges that describe an actual turn or overlap.
- Making both wings and nostril openings identical. Shorten and partly hide the far wing and opening when the head is turned, and angle the openings with the lower plane.
- Using uniformly heavy lines around the whole nose. Keep construction lines faint, darken overlap edges and the underside, and leave lit surfaces with lighter or no outline.
Check your work
- The bridge is built as a narrow wedge with a clear direction and tilt.
- The lower plane is a distinct turning surface rather than a point or circle.
- Wing masses and nostril openings are placed with correct near/far overlap.
- Light and shadow follow one consistent direction across the planes.
- Line weight is varied: construction lines light, overlap and underside edges stronger.
- The result reads as a stylised construction study, not a clinical anatomical diagram.
Questions before you start
How do I keep a nose drawing from looking flat?
Separate the bridge, lower plane, wings, and underside into distinct masses, then assign each a light or shadow value based on one consistent light direction. Strengthen only the edges where masses overlap or turn away.
Should the nostril openings be drawn as ovals?
No. Treat them as narrow dark shapes beneath and slightly behind the wings. Their visible size and angle change with the head position, and the far opening is usually partly hidden.
Can I use this method for a three-quarter view?
Yes. Shift the bridge wedge toward the near side, shorten the far wing and opening, and let the near wing overlap the lower plane. Check the tilt of the lower plane against the rest of the face.