Free original resources
Seashell Drawing: Growth Curves, Ribs, and Overlap Steps
Learn a clear seashell drawing method: set a fan envelope, place the hinge, radiate ribs along growth curves, and accent valleys. Includes a worked example and rubric.
Free resources
Letter & A4
PDF & SVG
Letter & A4
PDF & SVG
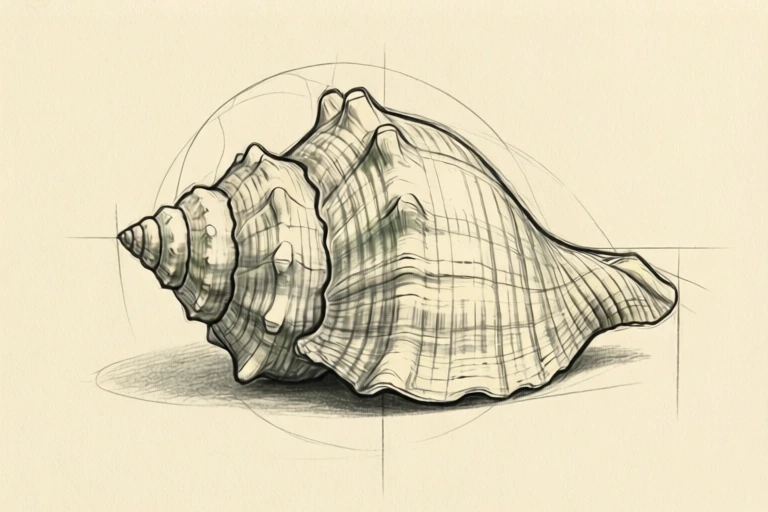
Build the drawing in four stages.
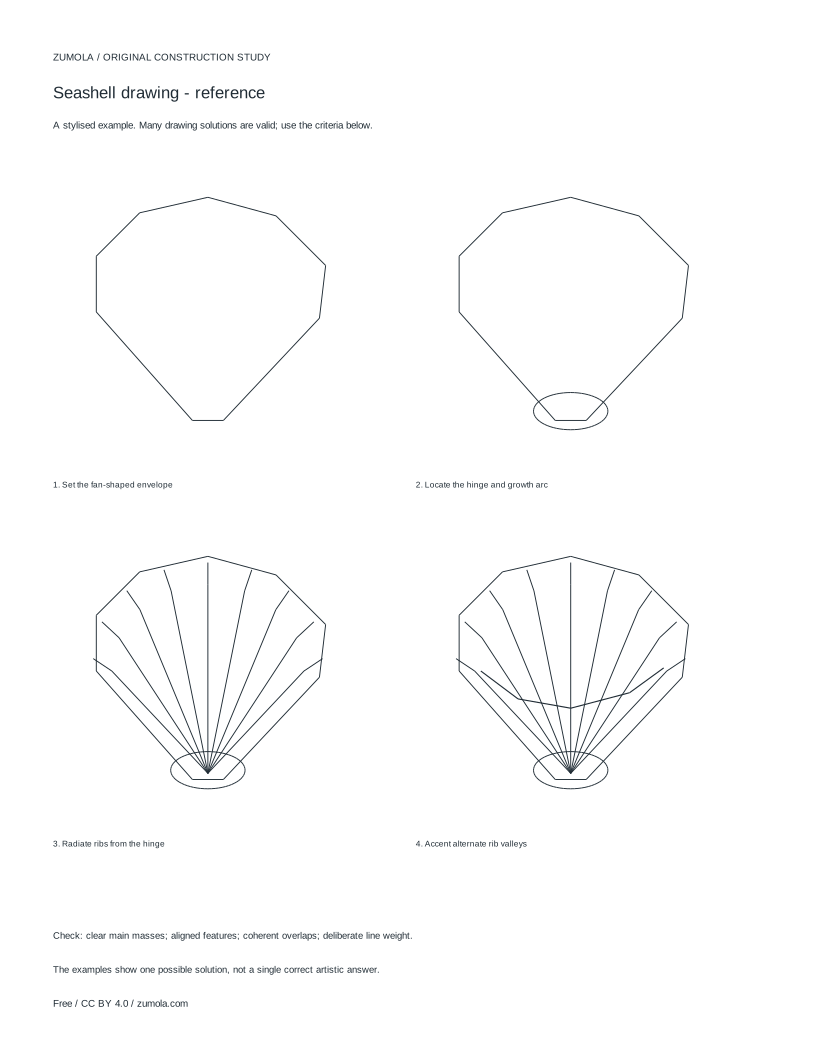
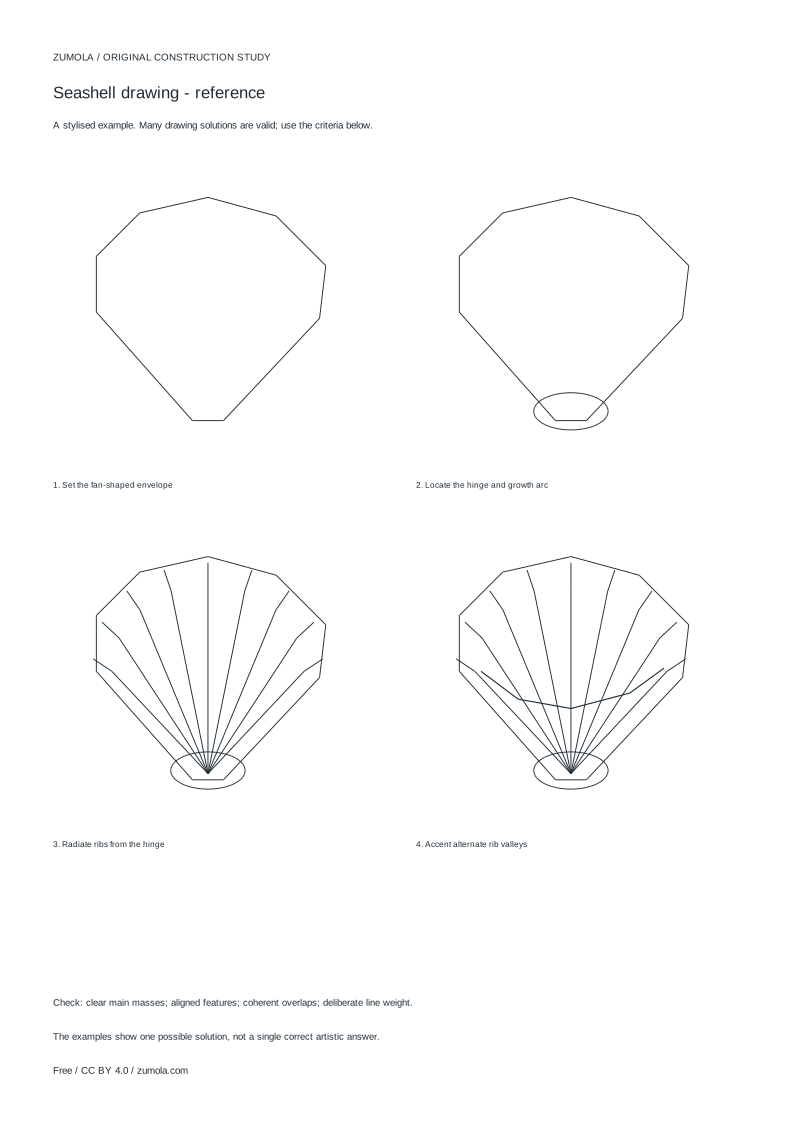
Your free printable kit.
Original reference, student practice and separate worked answers. No account or payment.
Practice worksheet
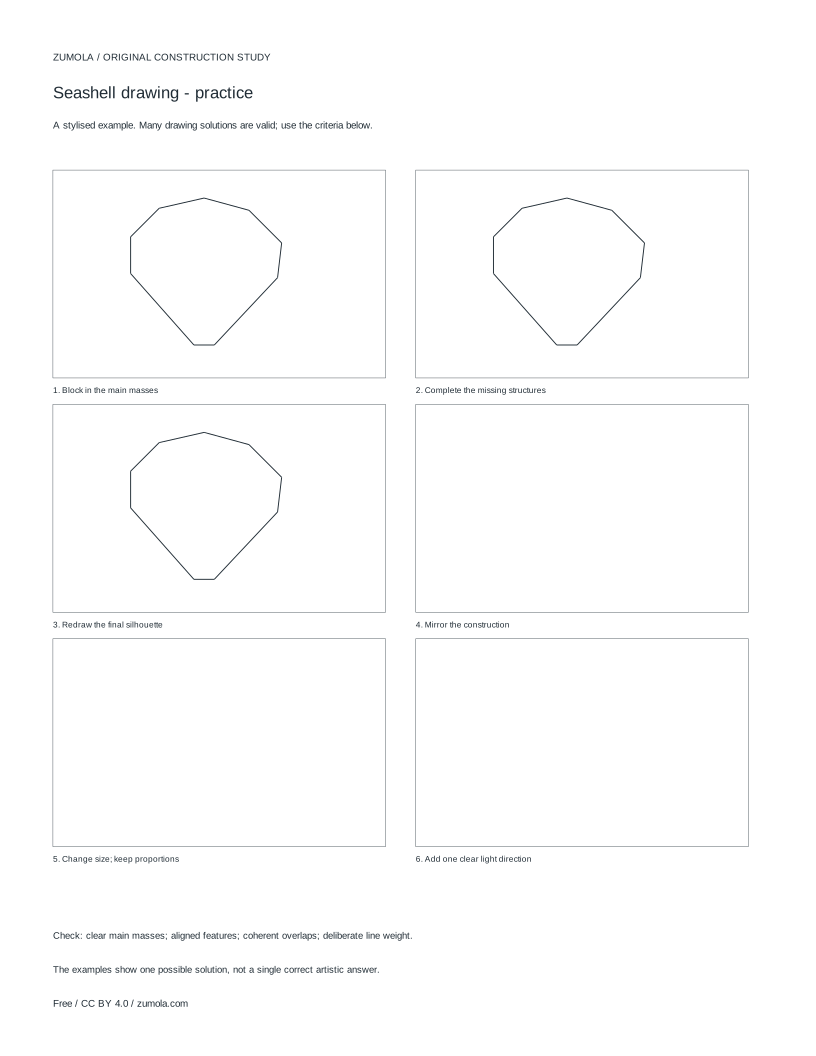
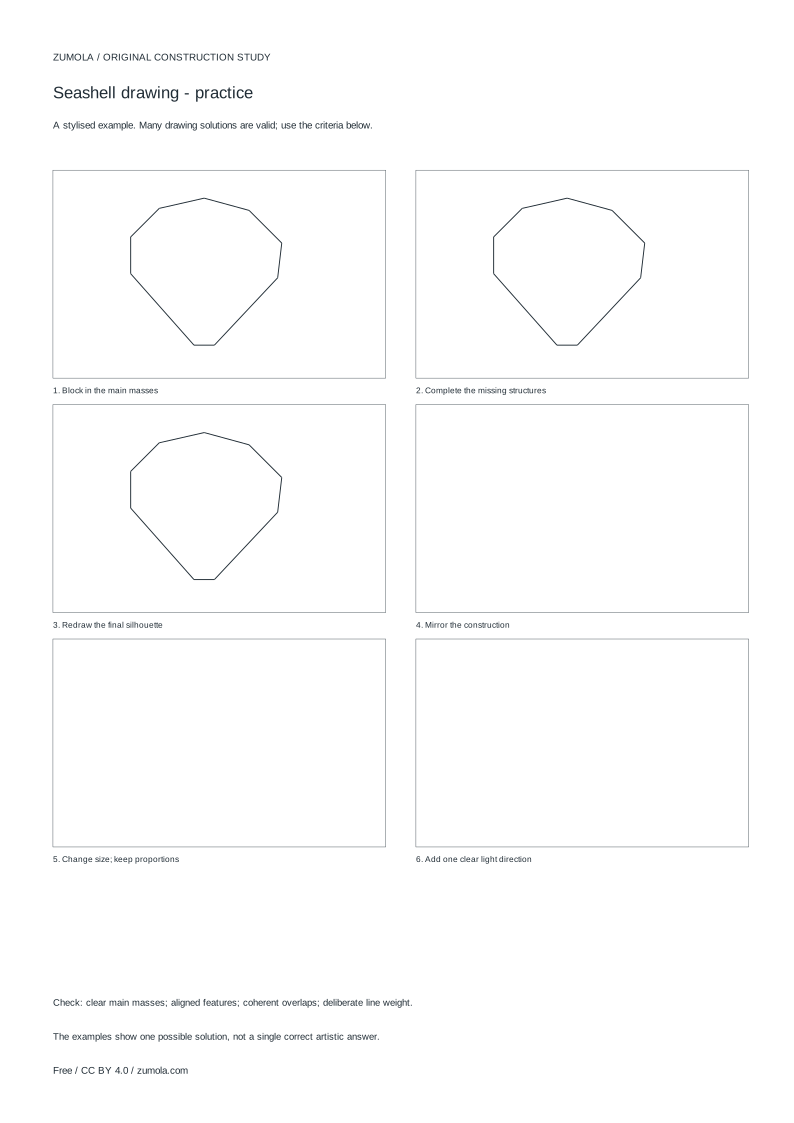
Worked answers / rubric
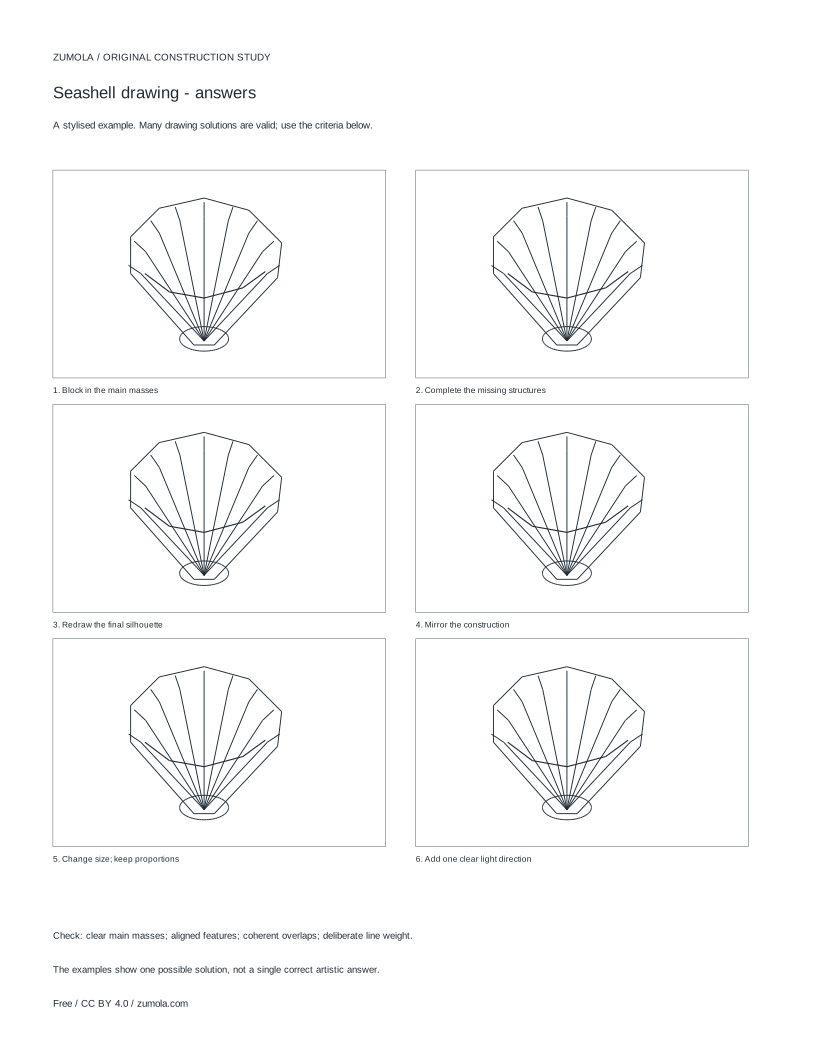
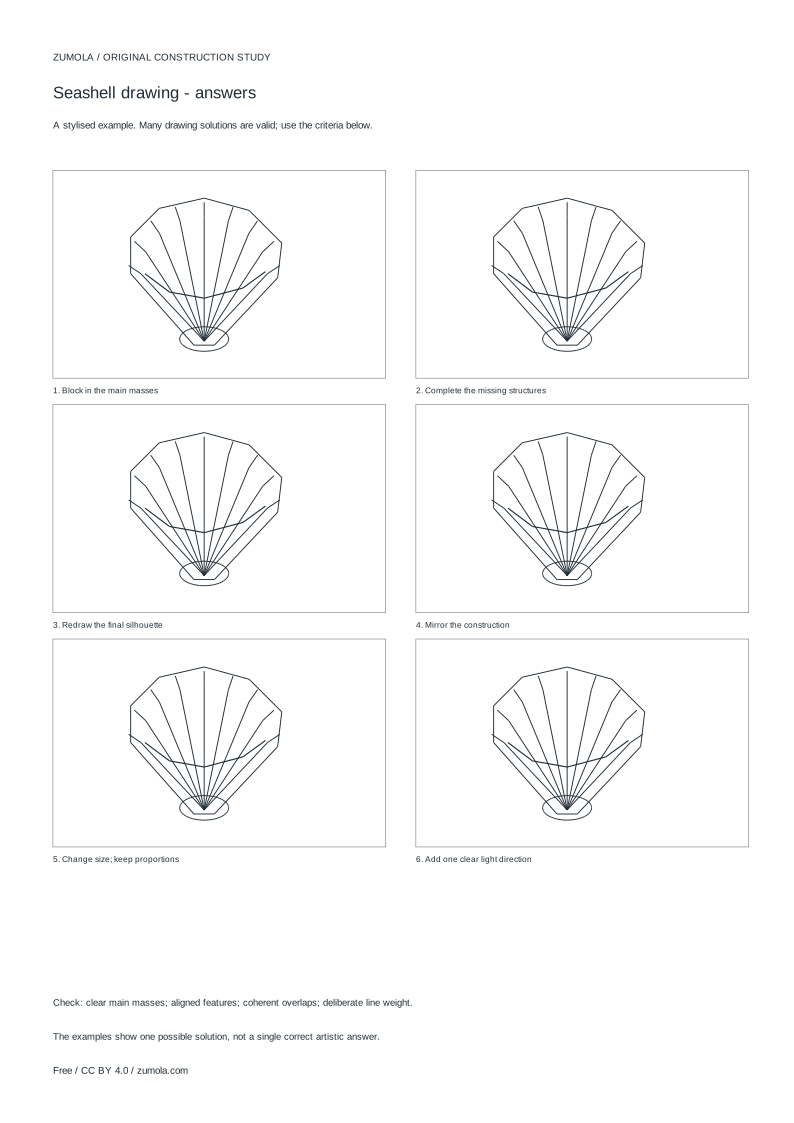
Print at Actual size / 100%. Check the calibration bar before using physical dimensions.
A seashell drawing becomes convincing when you treat the shell as a curved surface with a hinge, a growth direction, and ribs that follow that growth. This guide explains a stylised construction method, not anatomical or photorealistic instruction. You will build a fan-shaped envelope, locate the hinge, radiate ribs, and use line weight to show overlaps. The same approach adapts to simple cartoon shells and to more detailed studies with colour. Work on any paper; if you print a practice sheet, check a calibration bar at 100% before relying on its scale.
Set the fan-shaped envelope and hinge
Begin with the overall silhouette. Most fan-shaped shells fit inside a rounded triangle or fan: a narrow hinge at one end and a broad, curved outer edge. Lightly draw this envelope with a soft pencil. Keep it larger than the final shell so you can adjust proportions without erasing the whole drawing.
Mark the hinge as a small point or short line near the narrow end. The hinge is the origin for the growth arc and the ribs. Decide which side is the outer lip and which is the inner curve. This choice controls where overlaps will appear later.
- Draw a light fan-shaped envelope: narrow at the hinge end, wide and curved at the outer edge.
- Mark the hinge point with a small cross or short line.
- Indicate the outer lip with a gentle curve that follows the fan edge.
- Check that the envelope is wider than tall if you want a classic fan shell; adjust before adding detail.
Locate the growth arc and radiate ribs
A growth arc is a curved line that runs roughly parallel to the outer edge. It represents where the shell has grown outward. Draw one or two light growth arcs between the hinge and the outer lip. These arcs help you place ribs so they follow the shell surface rather than sitting flat.
Ribs radiate from the hinge toward the outer edge. Space them unevenly if you want a natural look, but keep the spacing readable. Each rib should curve slightly as it crosses a growth arc. Avoid making ribs perfectly straight; a slight bow suggests the shell's convex surface.
- Draw a light growth arc from one side of the envelope to the other, staying parallel to the outer edge.
- From the hinge, draw four to eight ribs that fan outward toward the outer lip.
- Let each rib bow gently as it crosses the growth arc.
- Vary rib spacing slightly, but keep the overall fan pattern clear.
Accent alternate rib valleys and show overlaps
Ribs create valleys between them. To suggest depth, darken alternate valleys with a slightly heavier line or light shading. Do not darken every valley equally; alternating accents help the eye read the rib pattern without turning the shell into a flat stripe pattern.
Overlaps occur where the outer lip crosses in front of the inner curve, or where one growth band sits over another. Draw the front edge first, then stop the back line where it meets the front edge. This simple break in the line is enough to show which surface is closer.
- Choose alternate valleys and add a slightly heavier line or soft shading inside them.
- Where the outer lip overlaps the inner curve, draw the front edge continuously and break the back line at the overlap.
- Use a heavier line for the nearest edge and a lighter line for edges that recede.
- Step back and check that the rib pattern still follows the growth arcs.
Adapt the method for colour and cartoon styles
For a cartoon seashell, simplify the envelope to a clean fan, use fewer ribs, and keep line weight consistent. Exaggerate the hinge and outer lip for character, but keep the growth direction clear. For colour, choose a light base tone, then add a slightly darker tone in alternate valleys. Keep highlights on the raised ribs rather than the valleys.
For a more realistic study, add subtle shading across the whole shell after the rib pattern is set. Use a light source direction and keep shadows consistent. Remember that this is a stylised construction study; it does not teach clinical anatomy or exact photorealistic rendering. Multiple valid outcomes are expected.
- For cartoon: reduce ribs to three or four and keep the envelope simple.
- For colour: lay a light base, then darken alternate valleys with a slightly deeper tone.
- Add highlights along the tops of ribs, not in the valleys.
- Check that colour does not obscure the growth arc and hinge placement.
Try this example
Draw a stylised fan-shaped seashell with a hinge at the bottom, five ribs, and one overlap at the outer lip.
Show the worked explanation
Lightly draw a fan envelope about 10 cm wide and 7 cm tall, narrow at the bottom. Mark the hinge at the bottom centre. Draw one growth arc 2 cm inside the outer edge. From the hinge, draw five ribs fanning upward, each bowing slightly as it crosses the growth arc. Accent valleys 2 and 4 with a slightly heavier line. At the outer lip, draw the front edge continuously and break the back line where it meets the front edge. Check that the ribs follow the growth arc and that the overlap reads clearly.
Common mistakes
- Drawing ribs as straight lines that ignore the growth arc. Bow each rib slightly as it crosses the growth arc, and redraw the arc first if it is unclear.
- Darkening every valley equally, which flattens the shell. Accent only alternate valleys, or vary the shading strength to suggest depth.
- Letting back lines run through front edges at overlaps. Break the back line where it meets the front edge, and keep the front edge continuous.
Check your work
- The fan-shaped envelope is clear and the hinge is marked at the narrow end.
- At least one growth arc runs roughly parallel to the outer edge.
- Ribs radiate from the hinge and bow slightly as they cross the growth arc.
- Alternate valleys are accented rather than all valleys being darkened equally.
- Overlaps are shown by breaking the back line at the front edge.
- Line weight distinguishes nearer edges from receding edges.
- The final drawing reads as a shell surface, not a flat pattern.
Questions before you start
How many ribs should a seashell drawing have?
There is no fixed number. Four to eight ribs is a practical starting range for a fan-shaped shell. Use fewer for a cartoon and more for a detailed study, but keep spacing readable.
Can I use this method for any shell shape?
The fan envelope and hinge method suits fan-shaped and scallop-like shells. For spiral shells, the growth direction changes, so treat the spiral as a series of overlapping arcs rather than a single fan.
How do I check a printed practice sheet is the right size?
Print at 100% and measure a calibration bar on the sheet with a ruler. If the bar matches its stated length, the scale is correct. Do not rely on printer previews alone.