Free original resources
Turtle Drawing: Shell Perspective and Limb Placement Steps
Learn a four-step turtle drawing method: set the shell ellipse and axis, connect head and limbs, divide the curved shell into panels, then accent the rim and small features.
Free resources
Letter & A4
PDF & SVG
Letter & A4
PDF & SVG
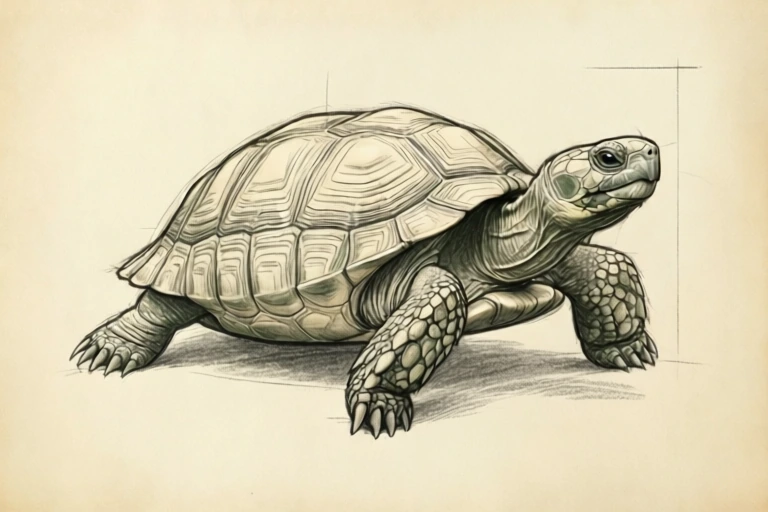
Build the drawing in four stages.
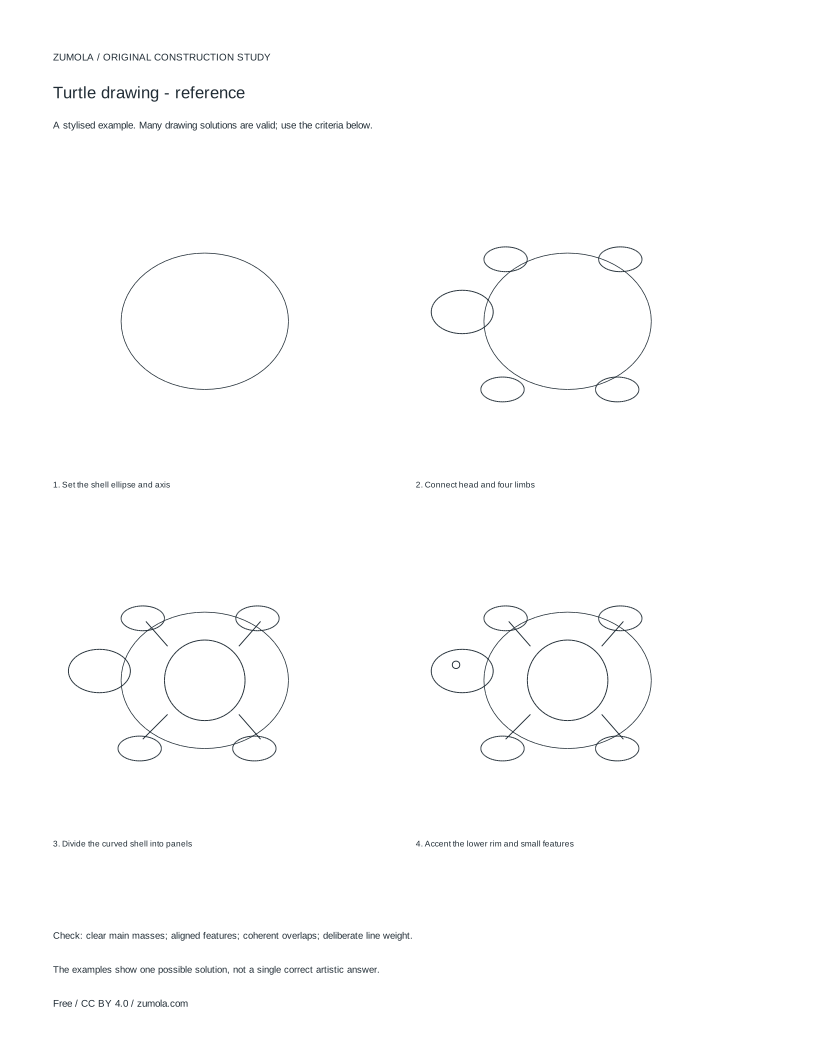
Your free printable kit.
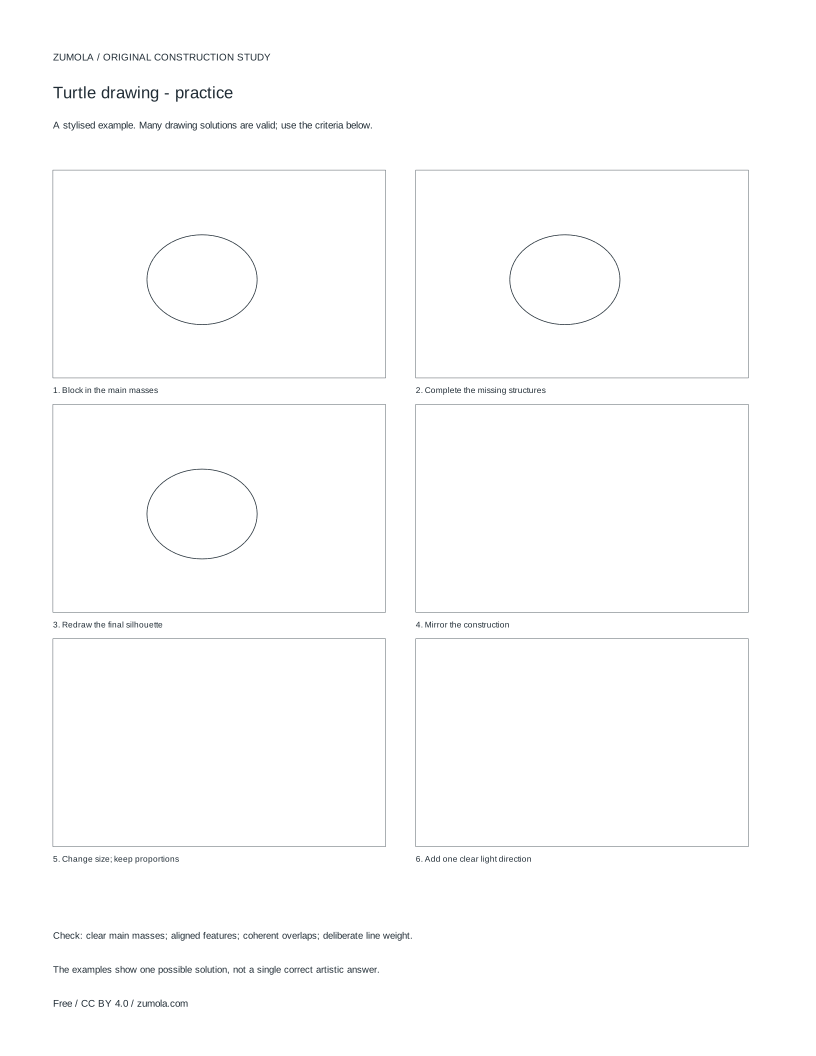
Original reference, student practice and separate worked answers. No account or payment.
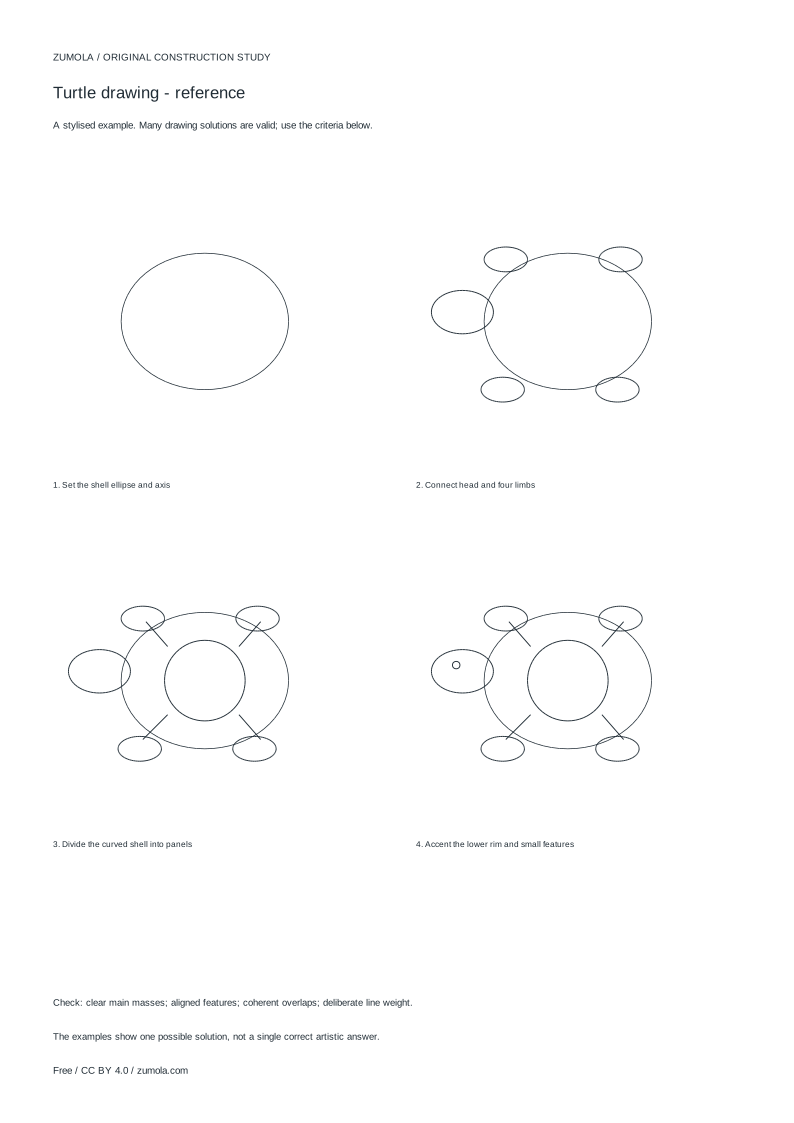
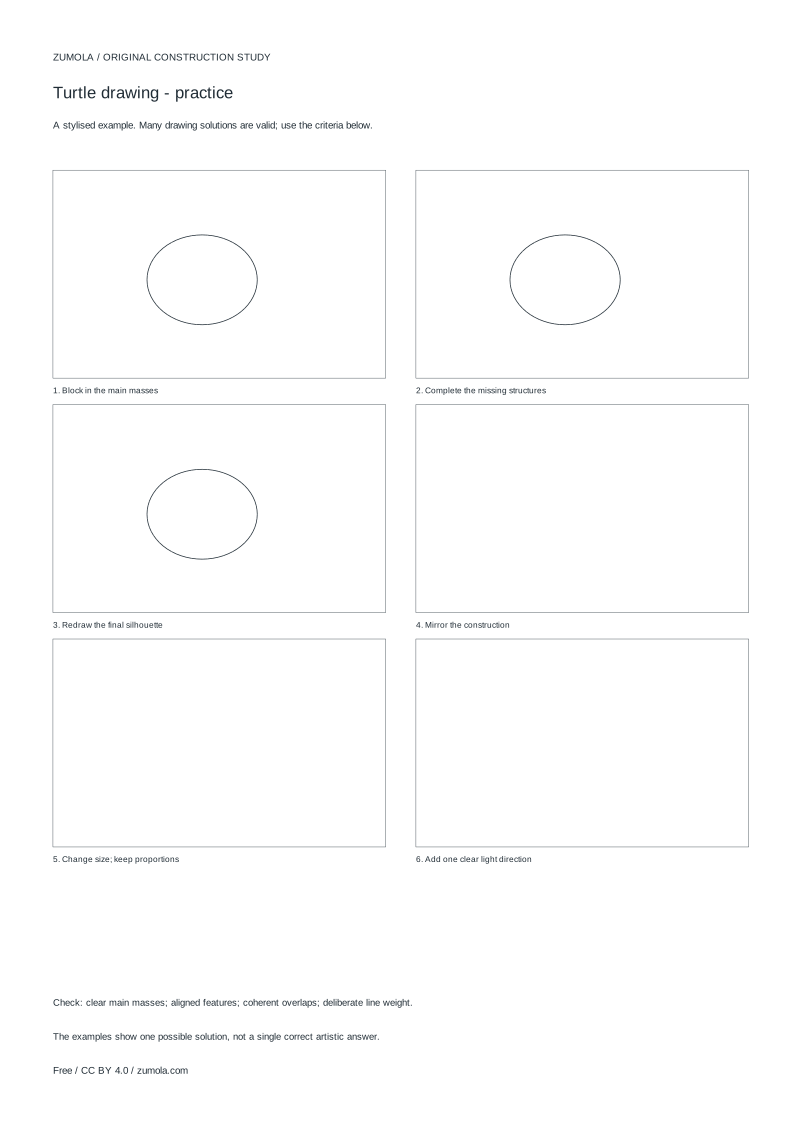
Practice worksheet
Worked answers / rubric
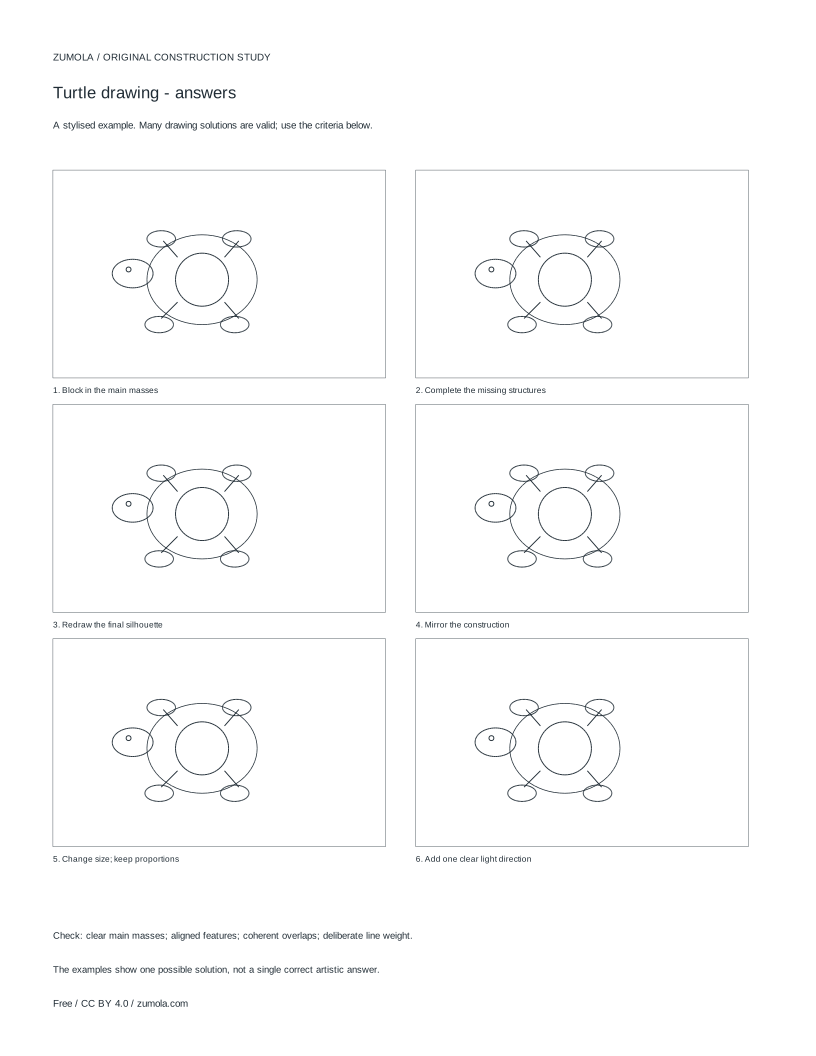
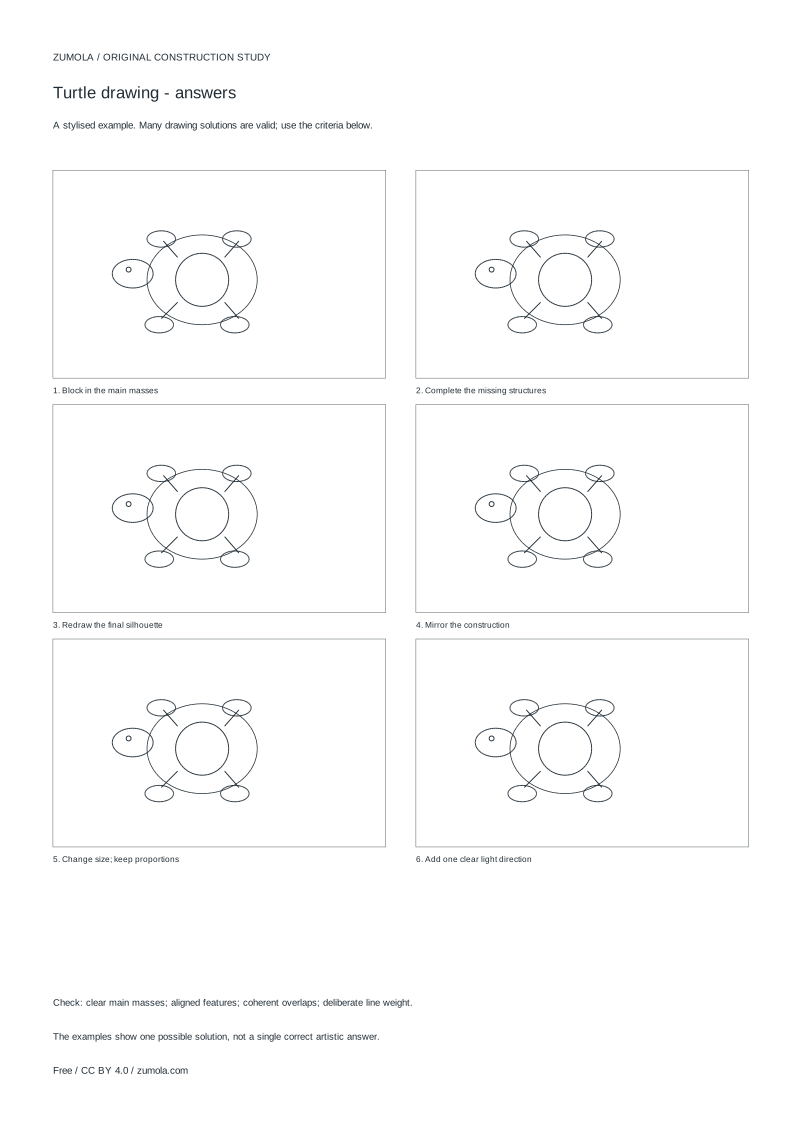
Print at Actual size / 100%. Check the calibration bar before using physical dimensions.
A convincing turtle drawing depends less on the head and more on the shell: its ellipse, its tilt, and how the limbs attach around it. This guide walks through a stylised construction study, not an anatomical or photorealistic lesson. You will build the body in four checkable stages, watching where each new line sits in front of or behind the last. The aim is a clear, readable turtle you can adapt toward cute, cartoon, or more realistic directions.
Start with the shell as a tilted ellipse
The shell is the anchor. Draw one ellipse for the carapace, then mark a long axis through it to record the tilt. A shell seen from slightly above looks wider than tall; a shell seen from the side compresses toward a narrow oval. Decide the viewing angle before adding anything else, because every limb position depends on it.
Add a second, smaller curve beneath the ellipse for the lower rim or plastron edge. Keep this line partly hidden behind the carapace so the shell reads as a volume rather than a flat badge. Lightly mark where the head and four limbs will meet the shell; these are attachment points, not final outlines.
- Draw a single ellipse and mark its long axis to fix the tilt.
- Add a shallow lower curve for the rim, tucked behind the carapace edge.
- Mark four limb attachment points around the ellipse and one for the neck.
Connect the head and four limbs
Place the head at the front of the axis, extending from the shell rather than floating beside it. Front flippers or legs sit forward and slightly below the shell's midline; rear limbs sit back and lower. Overlap matters here: each limb should begin behind the shell edge and emerge outward, so the shell stays in front.
For a sea turtle, stretch the front limbs into long flippers angled back along the body. For a land turtle, keep the legs shorter and sturdier, planted under the rim. The head can be a simple rounded wedge with a short neck; keep it small relative to the shell so the proportions stay believable.
- Draw the neck emerging from the front attachment point, then the head.
- Sketch each limb starting behind the shell edge and extending outward.
- Check overlaps: shell in front of limb bases, limbs in front of the background.
Divide the curved shell into panels
Shell panels follow the curve, not a flat grid. Draw a central row of shapes along the long axis, then add side panels that bend with the ellipse. Lines should converge slightly toward the shell's far edge to suggest curvature. Keep panel sizes varied but balanced; identical tiles flatten the shell.
Work lightly first. Panels near the rim can be smaller and more crowded, while central panels stay broader. If a line crosses the rim, stop it at the edge rather than running it into the limbs.
- Draw a central row of panels along the marked axis.
- Add side panels that curve with the ellipse and narrow toward the far edge.
- Stop panel lines at the rim; do not run them into limbs.
Accent the lower rim and small features
Finish by strengthening the lower rim with a slightly heavier line, since it carries the shell's weight visually. Add eyes, a mouth line, and small claw or scale marks only where they clarify the form. Vary line weight: heavier at contact points and the rim, lighter for panel divisions.
Colour, if used, should follow the same logic: darker under the rim and where limbs meet the shell, lighter on raised panels. Compare your drawing against the four stages to see whether masses, placement, and overlaps still read clearly.
- Darken the lower rim and limb contact points.
- Add eyes, mouth, and small feature marks sparingly.
- Review masses, feature placement, overlaps, and line weight before colouring.
Try this example
Draw a stylised sea turtle seen from slightly above, with a tilted shell and four flippers.
Show the worked explanation
Draw an ellipse wider than tall, tilted about 20 degrees, with a long axis running front to back. Add a shallow lower rim curve tucked behind the front edge. Mark the neck at the front of the axis and four limb points: two forward, two rear. Draw a small rounded head emerging from the neck, then long front flippers angled back and shorter rear flippers, each starting behind the shell edge. Divide the shell with a central panel row along the axis and side panels curving toward the far edge. Darken the lower rim and limb contacts, then add eyes and a mouth line. Check that the shell overlaps every limb base and that panel lines stop at the rim.
Common mistakes
- Drawing the shell as a flat circle with a grid of equal panels. Tilt the ellipse, mark its axis, and curve panel lines toward the far edge so the shell reads as a volume.
- Attaching limbs beside the shell instead of behind its edge. Start each limb at a marked attachment point and let the shell edge overlap the limb base.
- Making the head too large or the flippers too short for the chosen turtle type. Keep the head small relative to the shell and match limb length to sea or land type before adding detail.
Check your work
- Shell ellipse is tilted and its long axis is marked.
- Head and four limbs attach at marked points and emerge from behind the shell edge.
- Shell panels curve with the ellipse and narrow toward the far edge.
- Lower rim and limb contacts carry heavier line weight than panel divisions.
- Overlaps read clearly: shell in front of limb bases, limbs in front of background.
- Small features such as eyes and mouth clarify form without crowding the shell.
Questions before you start
How do I make a turtle drawing look cute rather than realistic?
Enlarge the head slightly, round the shell panels, and shorten the limbs, while keeping the shell ellipse and overlap logic intact so the body still reads as a turtle.
Where should the front limbs sit on a sea turtle?
Forward and slightly below the shell midline, angled back along the body as long flippers that emerge from behind the shell edge.
Can I colour the shell without losing the panel structure?
Yes. Keep panel lines visible, shade darker under the rim and at limb contacts, and leave raised panels lighter so the curve stays readable.