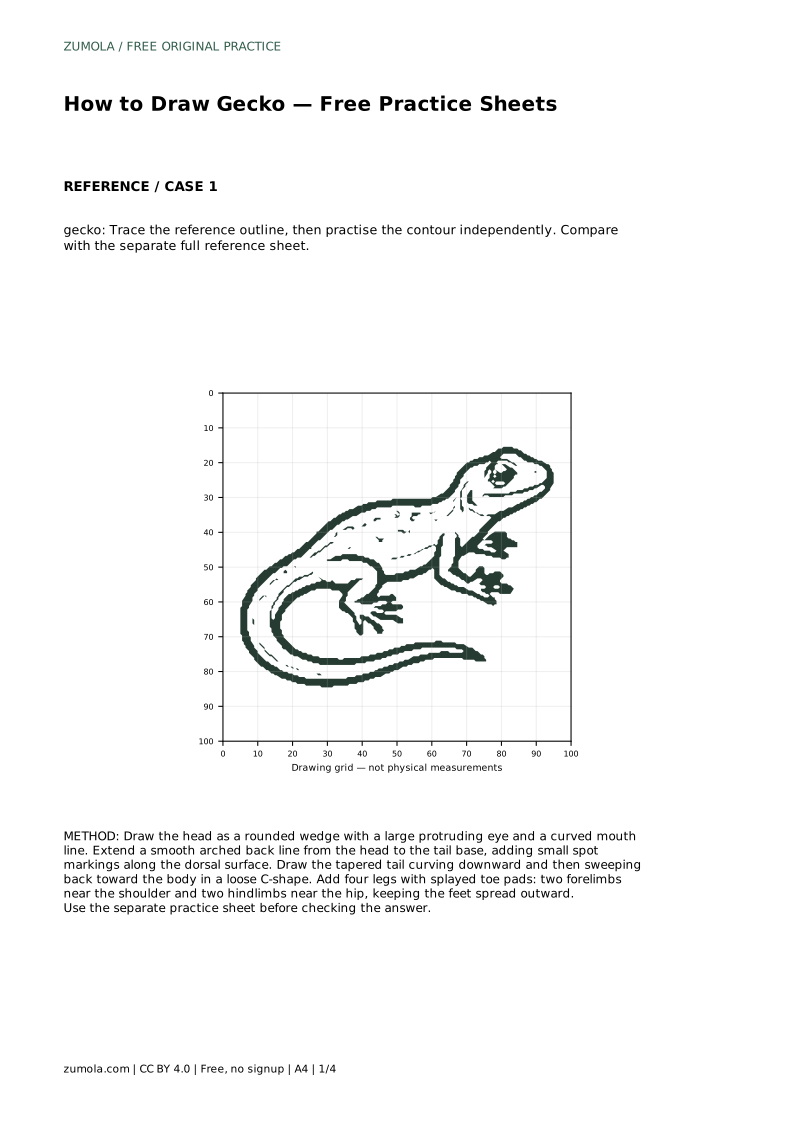
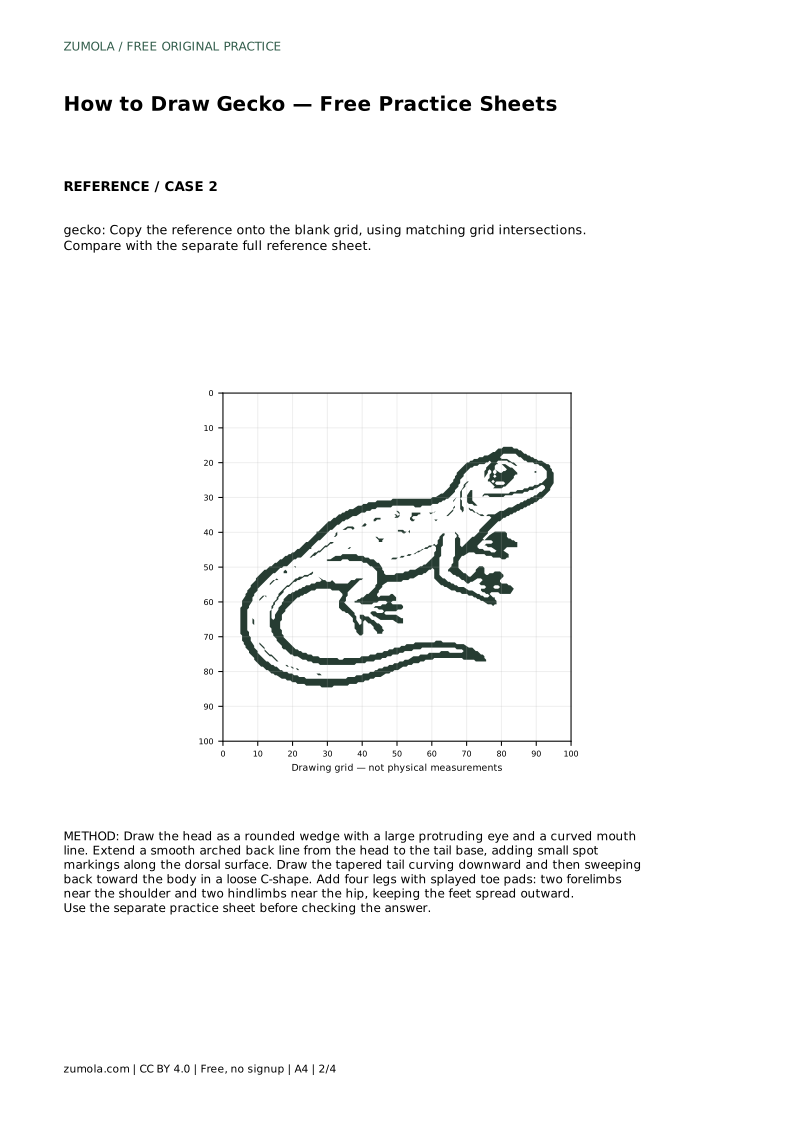
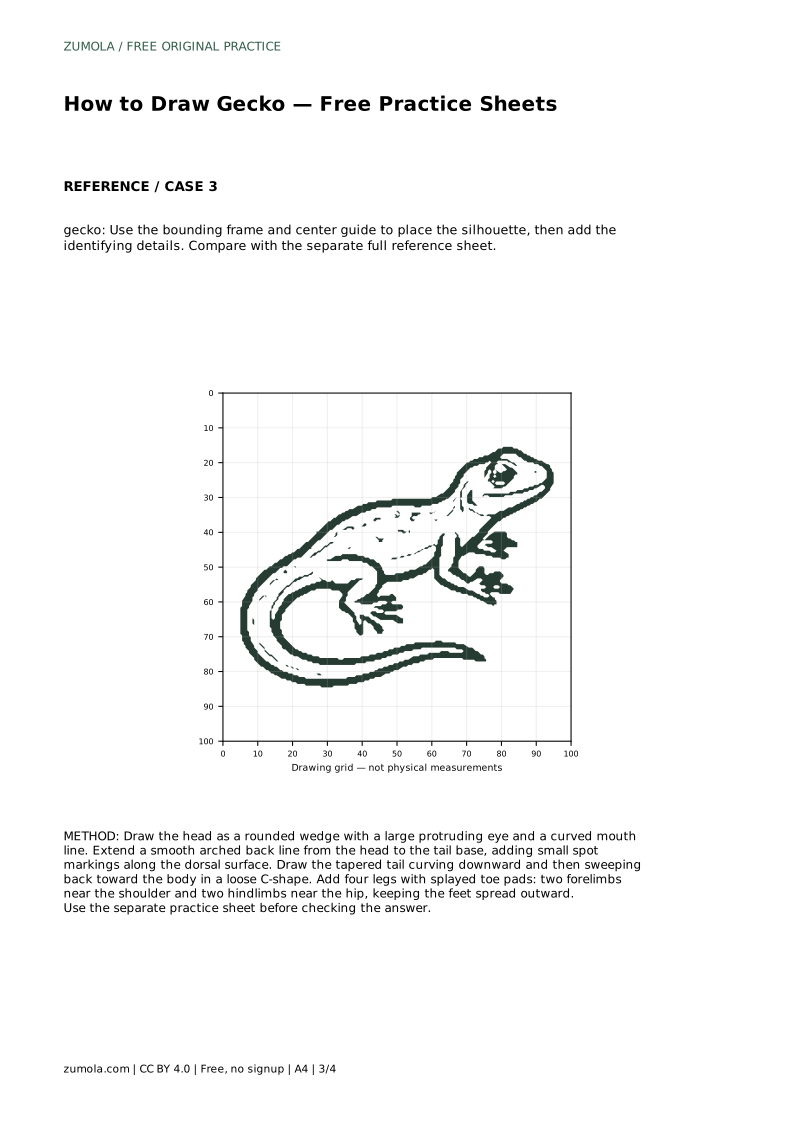
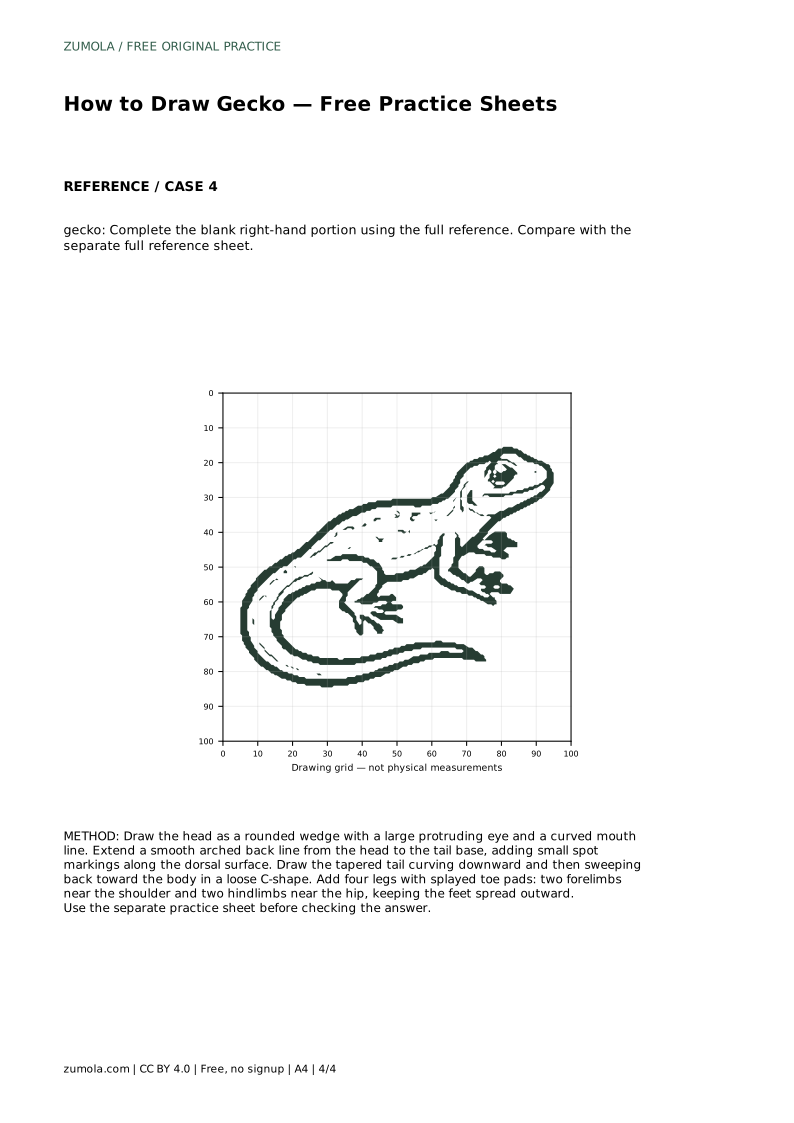
Reference diagrams
LETTER · Download PDF
A4 · Download PDF
Free original resources
Learn to draw a gecko by building the head, arched back, curled tail, and splayed toe pads. Free printable practice sheets support tracing, grids, and guided frames.
Four original cases, with reference diagrams, practice sheets and worked answers. Everything is free; no signup required.
LETTER · Download PDF
A4 · Download PDF
LETTER · Download PDF
A4 · Download PDF
LETTER · Download PDF
A4 · Download PDF
Use A4 or US Letter to match your printer. Use the stated values and conditions to solve each exercise; diagrams are not physical measuring rulers.
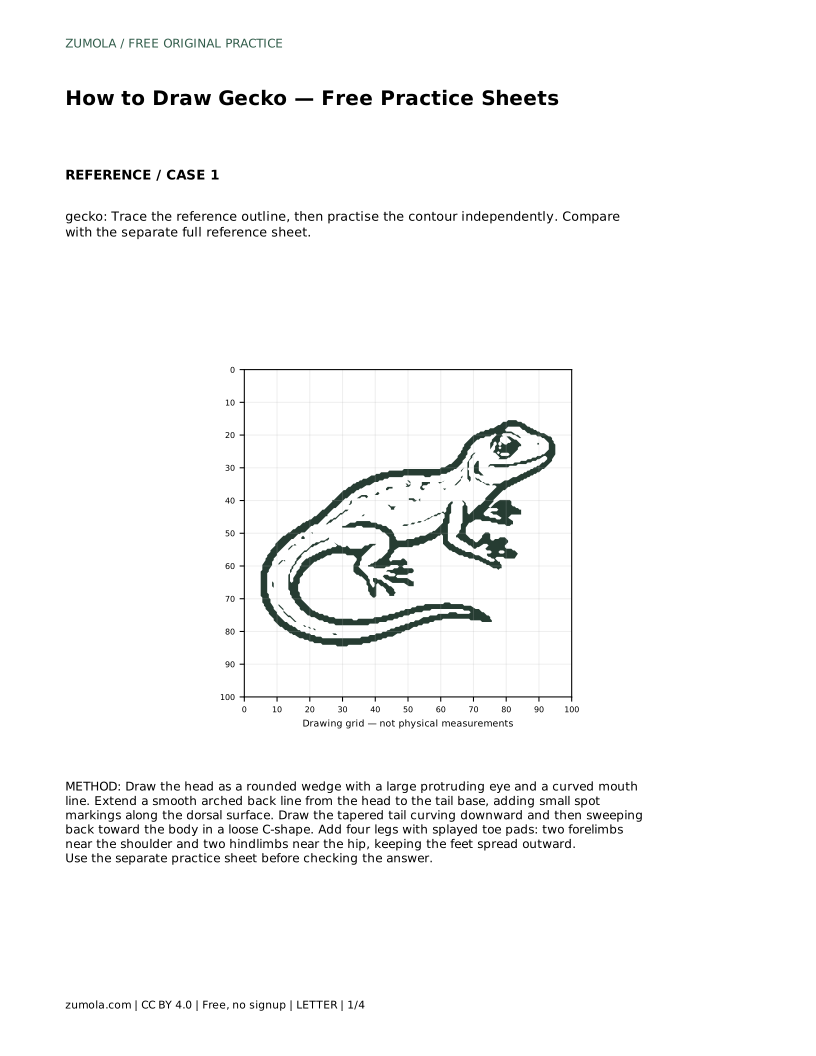
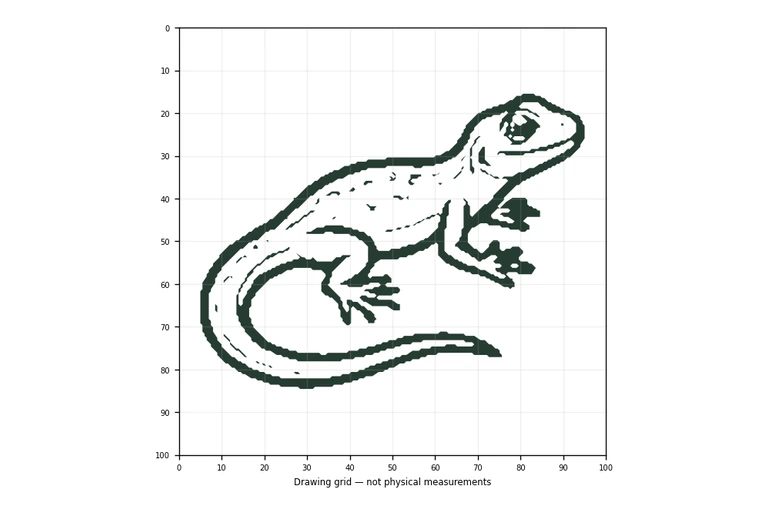
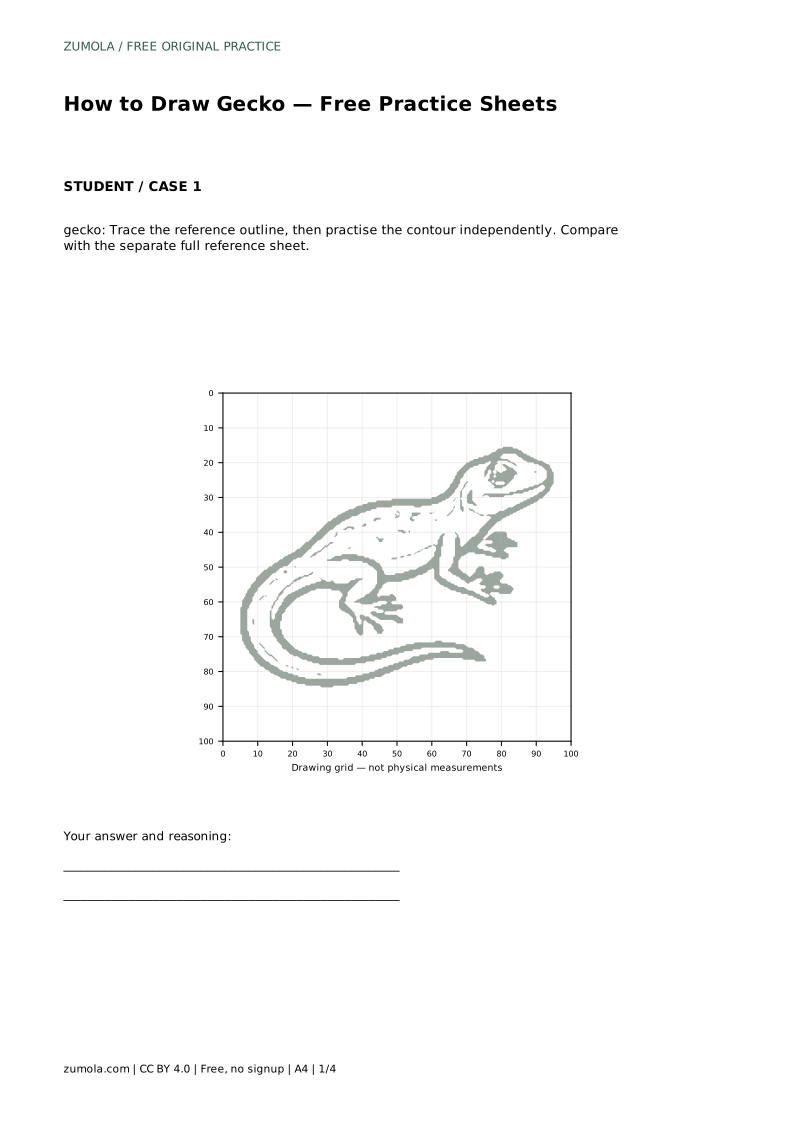
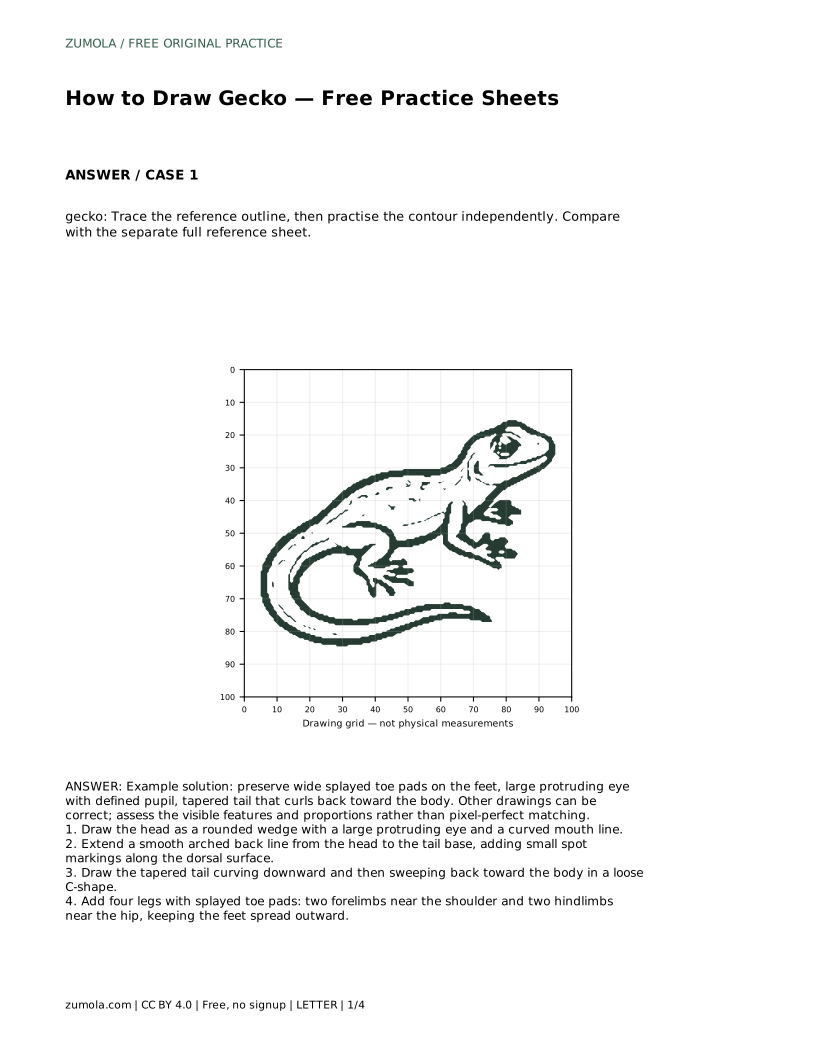
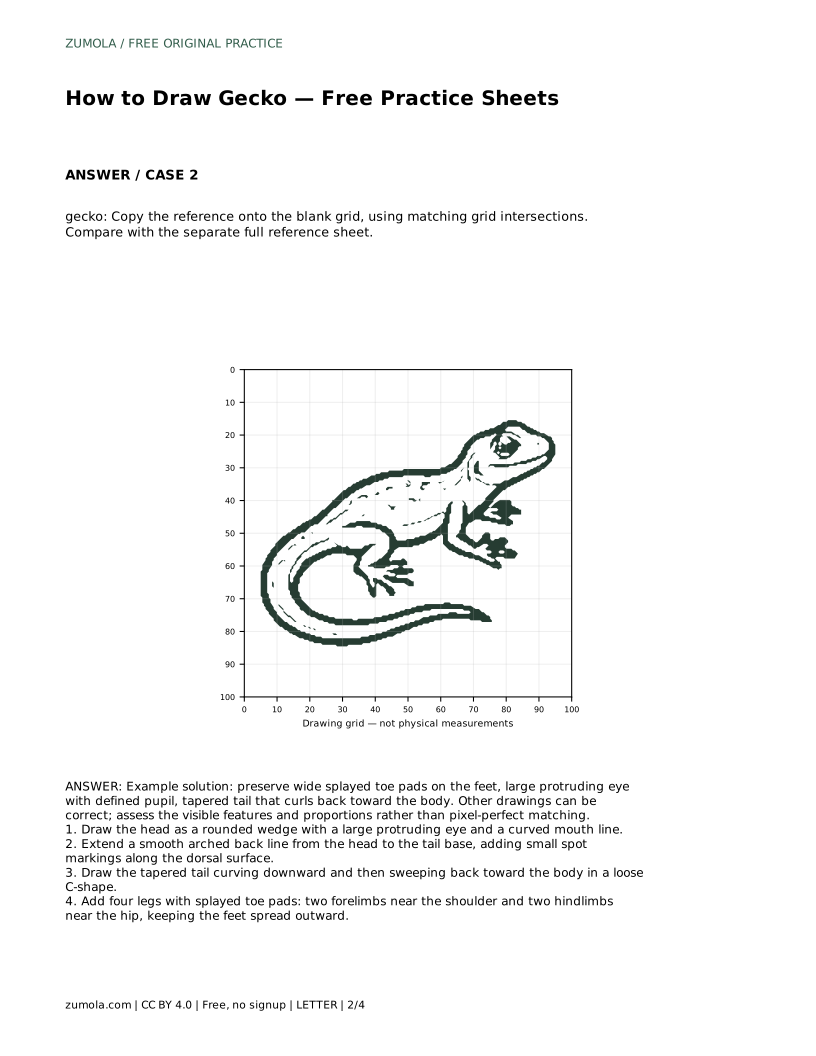
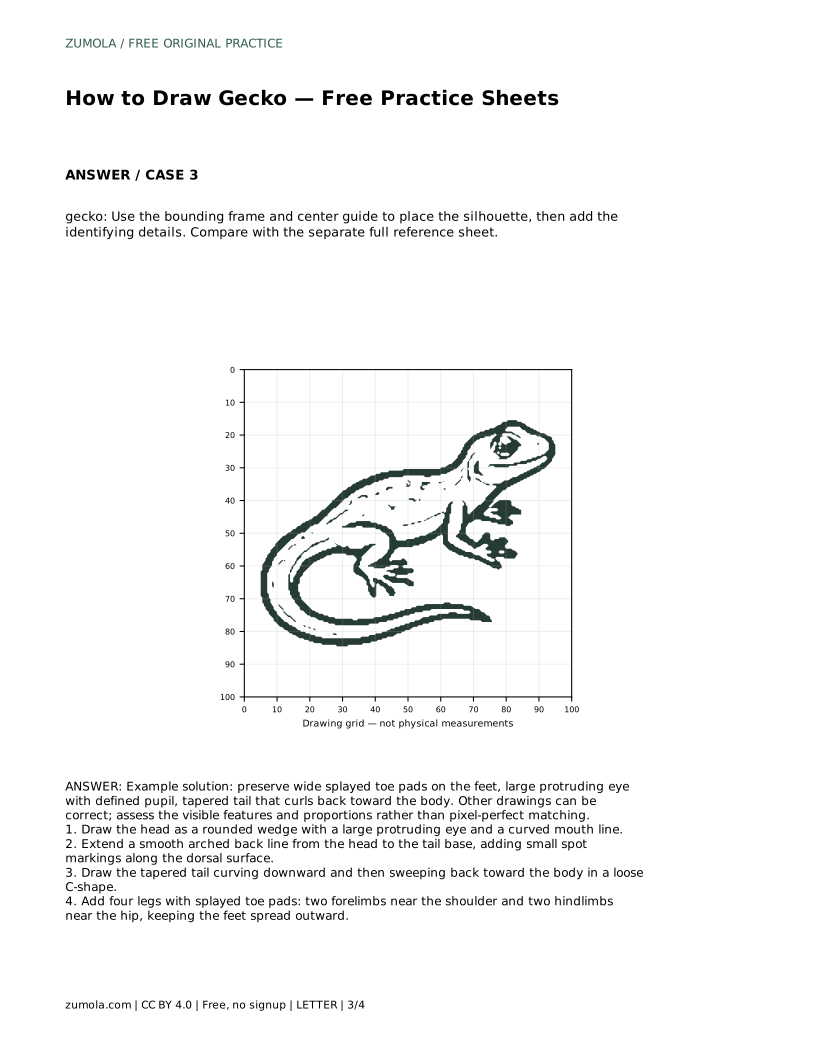
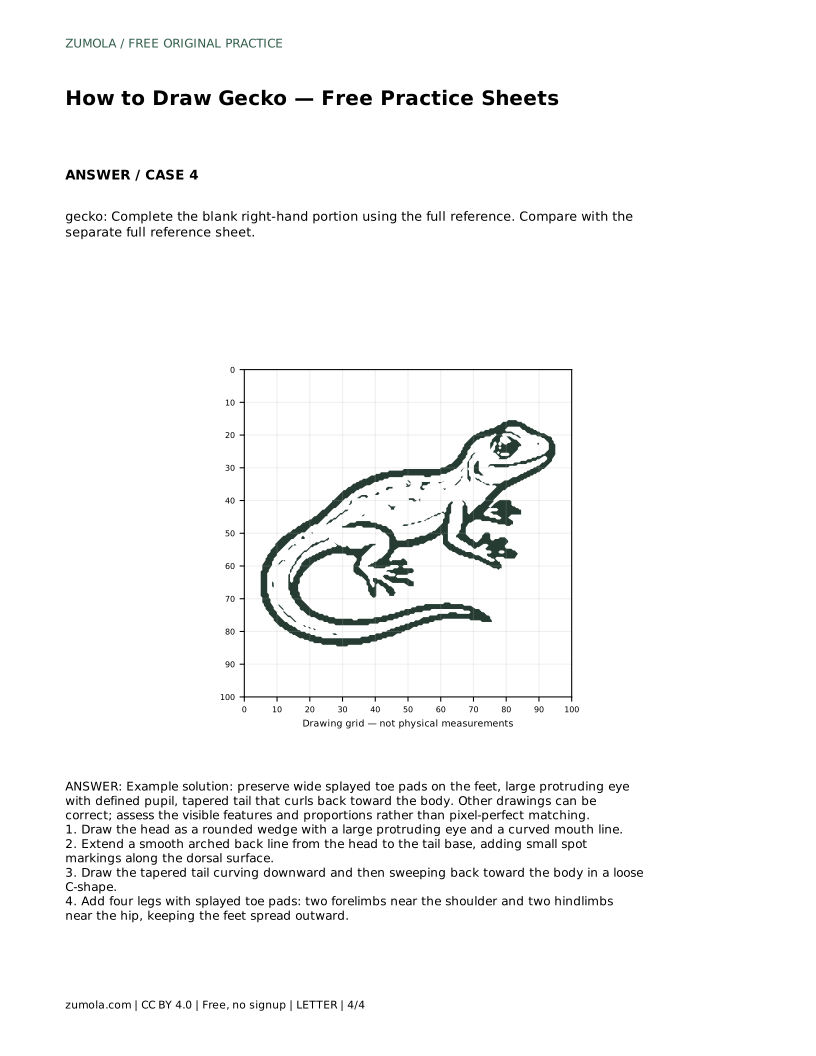
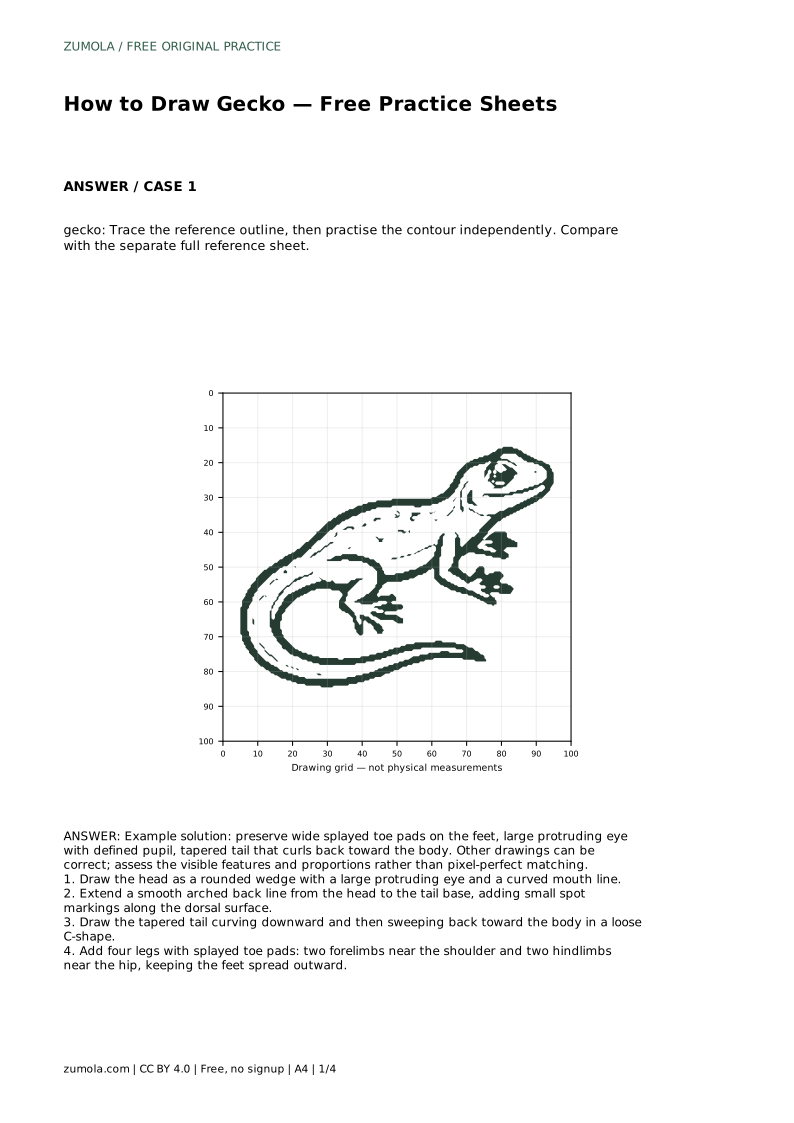
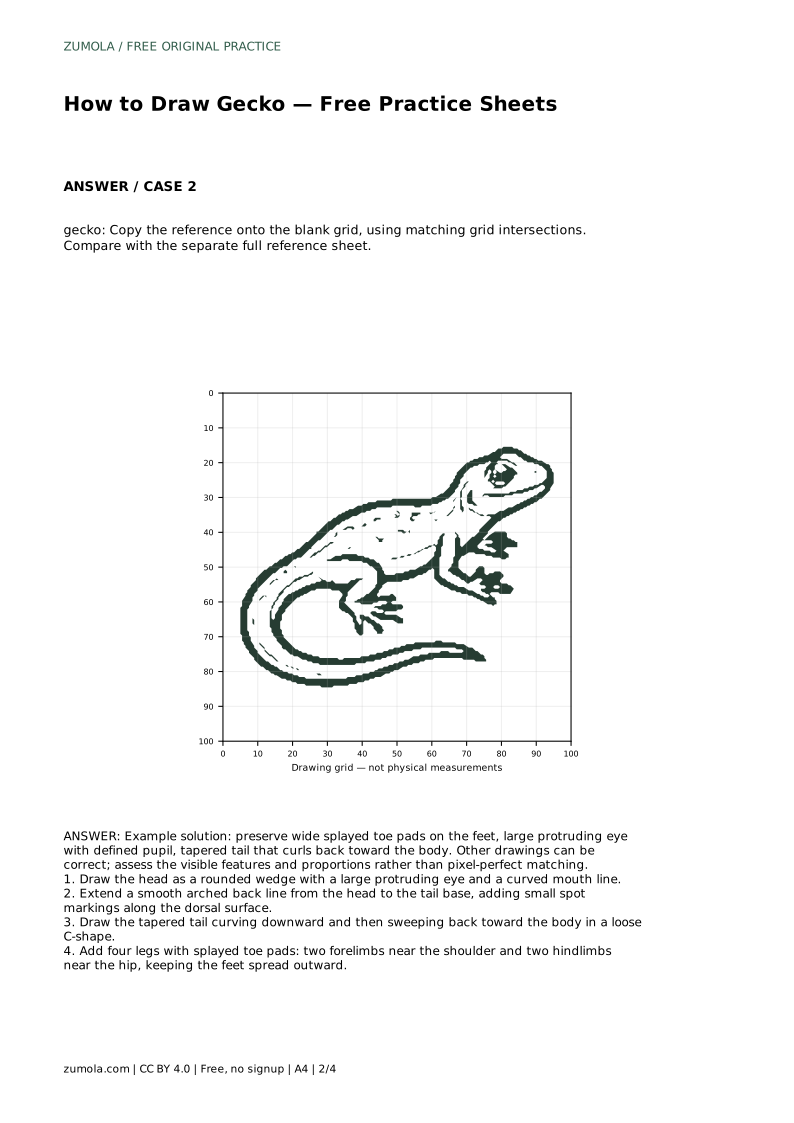
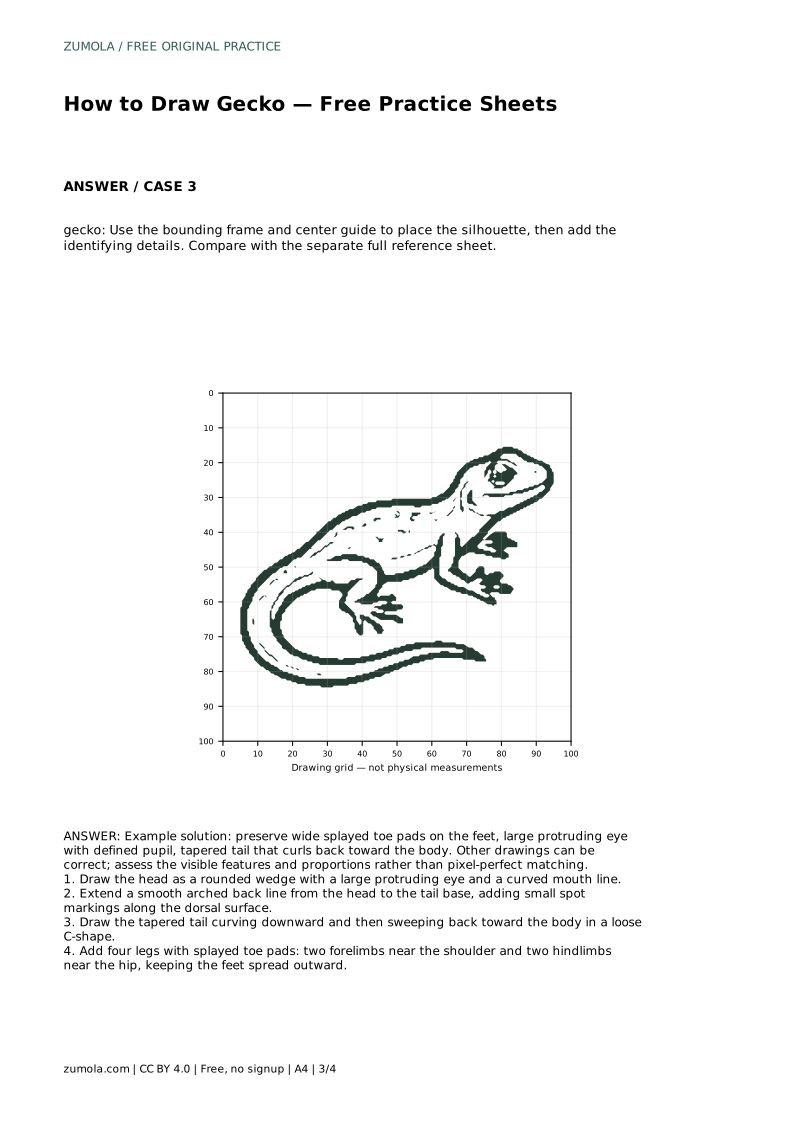
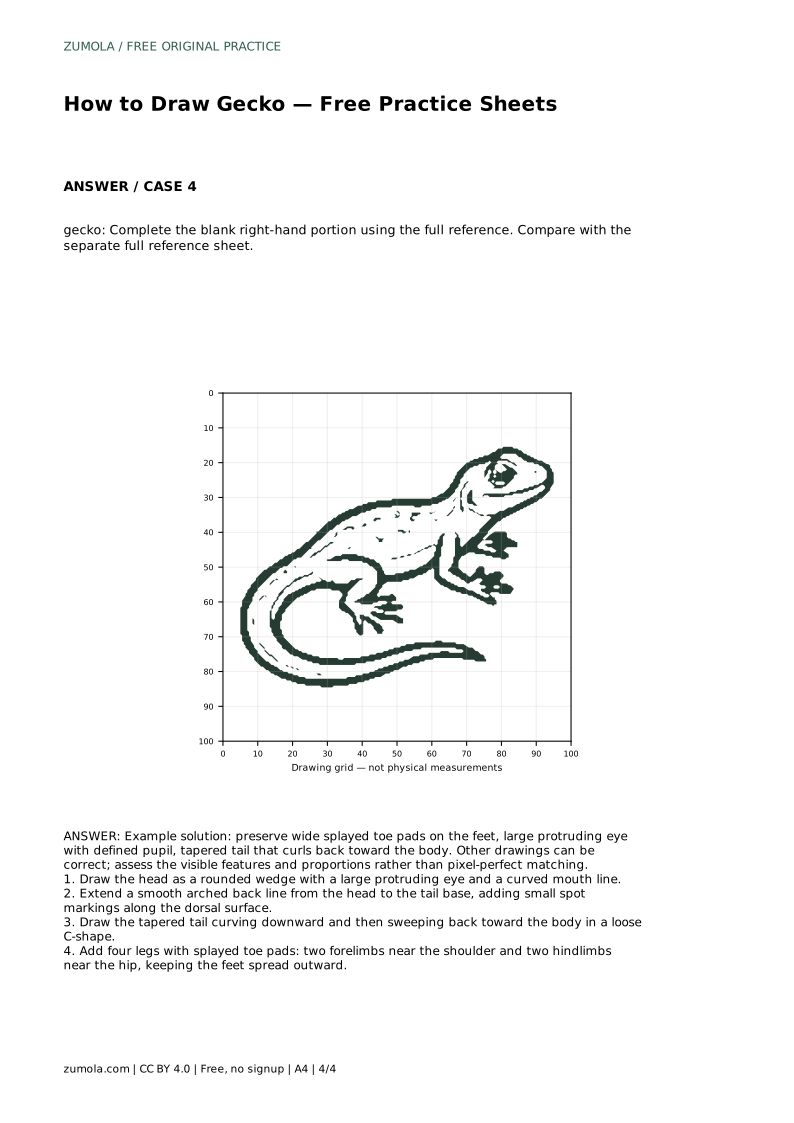
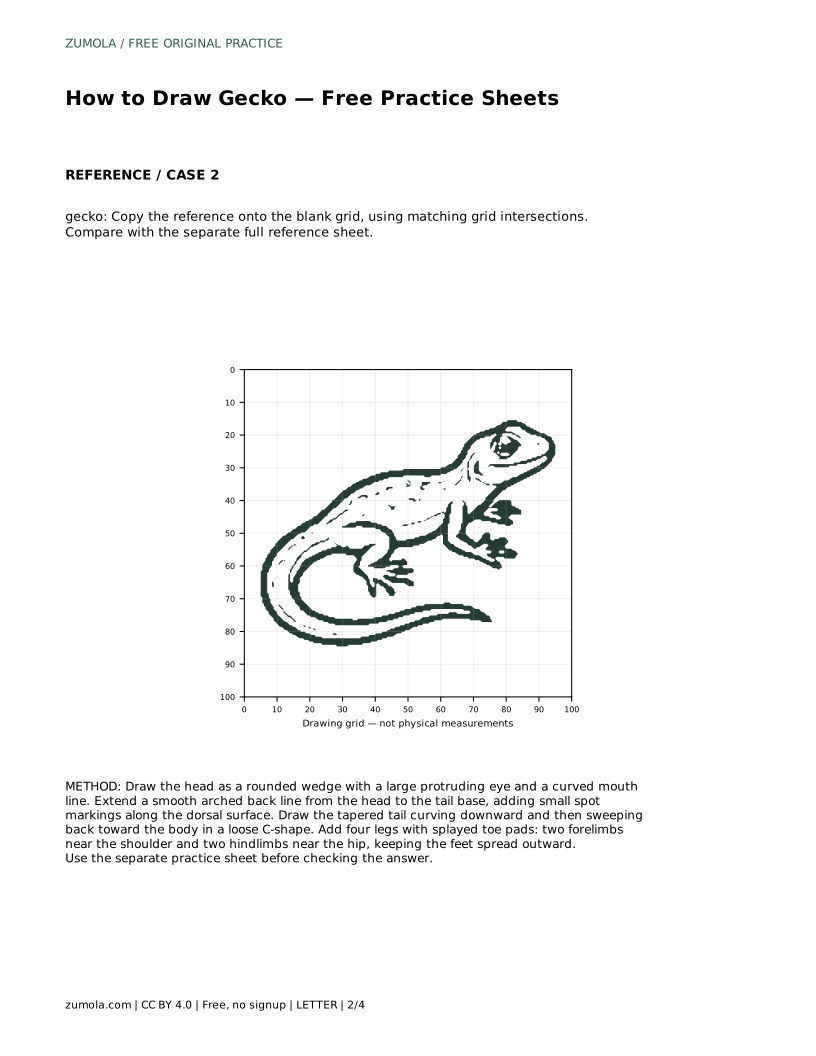
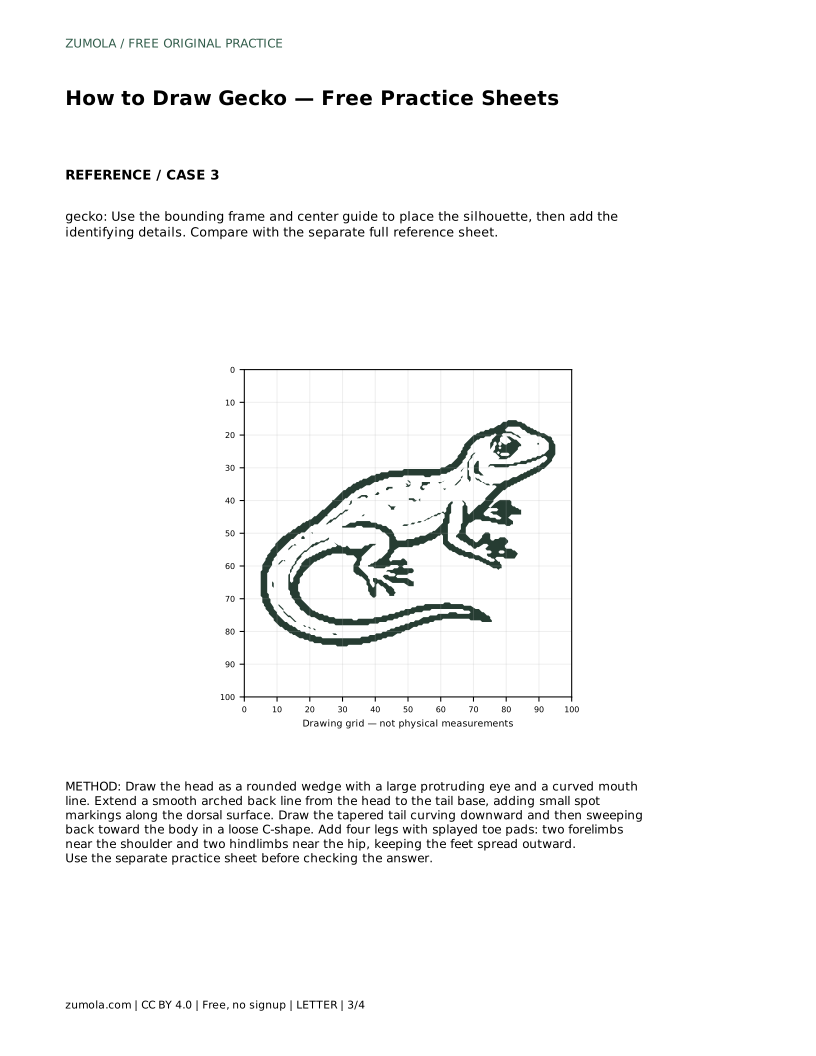
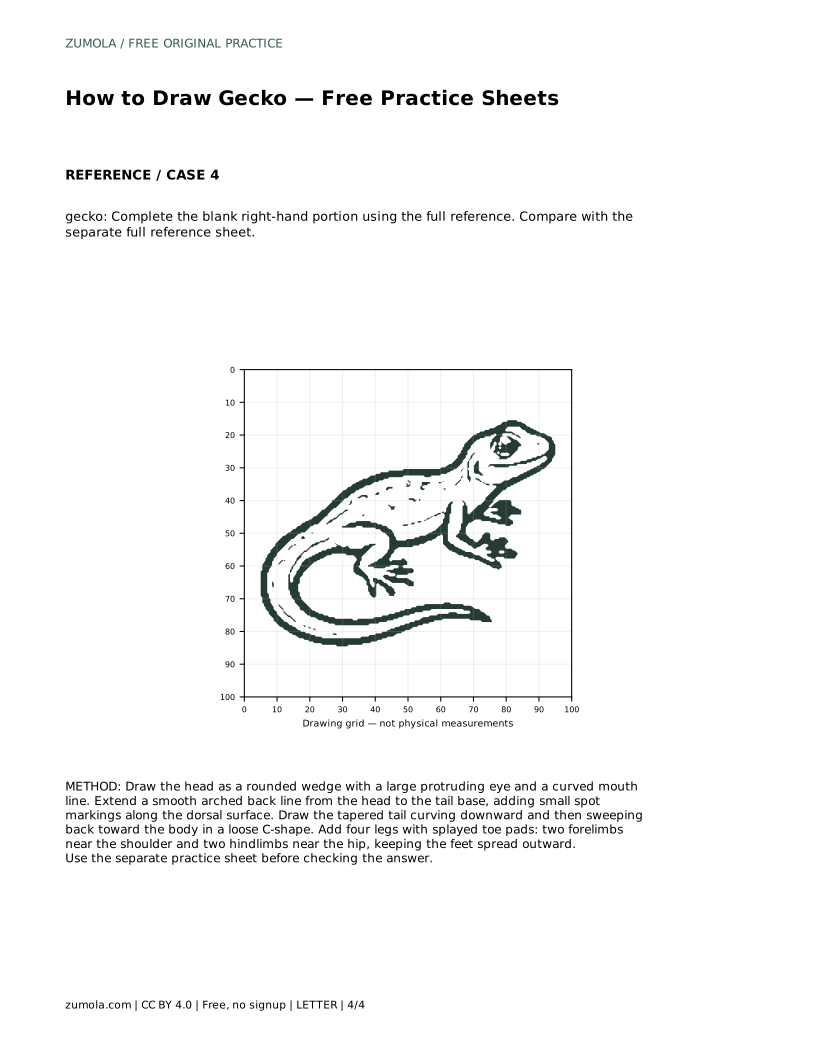
A convincing gecko drawing depends on a few clear features: a rounded wedge-shaped head, a large protruding eye, a smooth arched back, four spread feet with wide toe pads, and a tapered tail that curls back toward the body. The practice sheets let you trace a reference outline, copy it onto a grid, place the silhouette inside a bounding frame, or complete a partially blank drawing. Each approach trains a different part of observation, and any well-proportioned result can be correct.
Begin with the head rather than the legs or tail. Draw a rounded wedge: wider at the back of the skull, narrowing toward the snout. Place a large protruding eye on the side of the head and give it a defined pupil, then add a curved mouth line that follows the wedge. The eye is one of the gecko's most recognizable features, so give it enough size to read clearly.
From the back of the head, extend a smooth arched line to the tail base. Keep this line continuous and gently curved rather than jagged. Small spot markings along the dorsal surface can be added once the outline is stable; they help the body read as a gecko without needing dense texture.
Draw the tail as a taper that narrows from the tail base to the tip. Curve it downward and then sweep it back toward the body in a loose C-shape. Avoid making the tail uniformly thick; the gradual taper is what makes it look like a tail rather than a tube.
Add four legs: two forelimbs near the shoulder and two hindlimbs near the hip. Each foot should spread outward with wide splayed toe pads. The pads are a defining feature, so keep them visibly broad rather than drawing thin pointed toes. Check that the legs attach at believable points along the body and that the feet do not overlap confusingly.
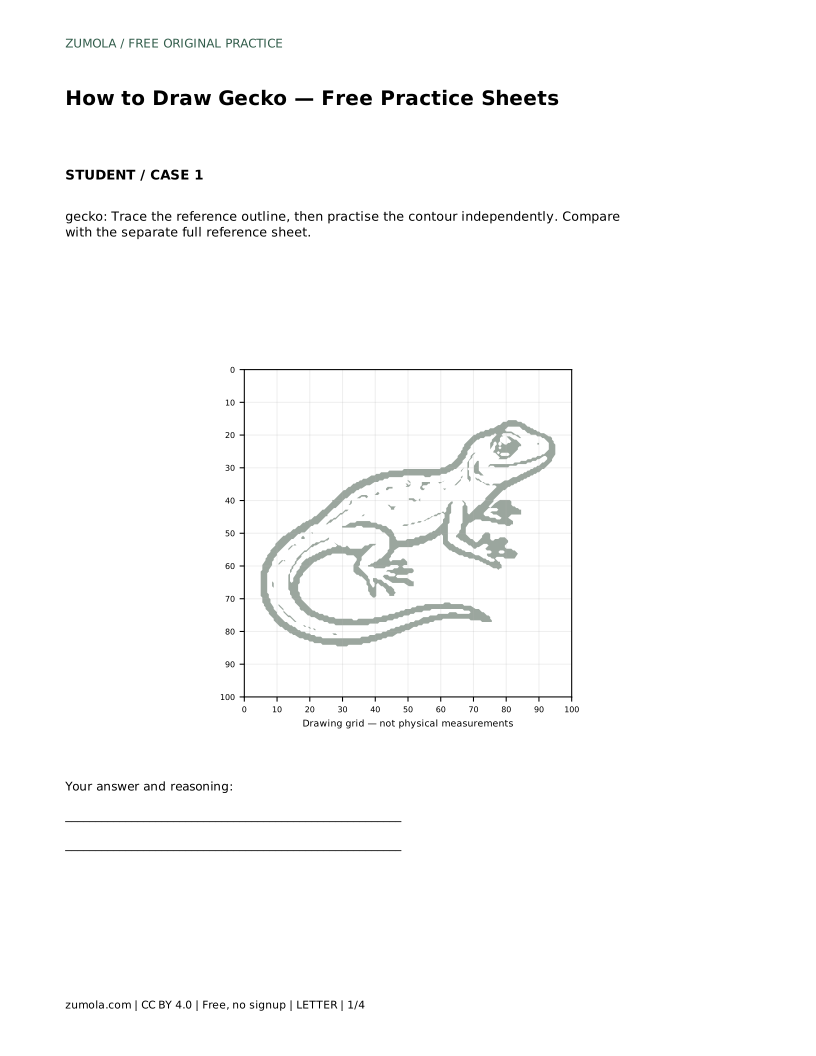
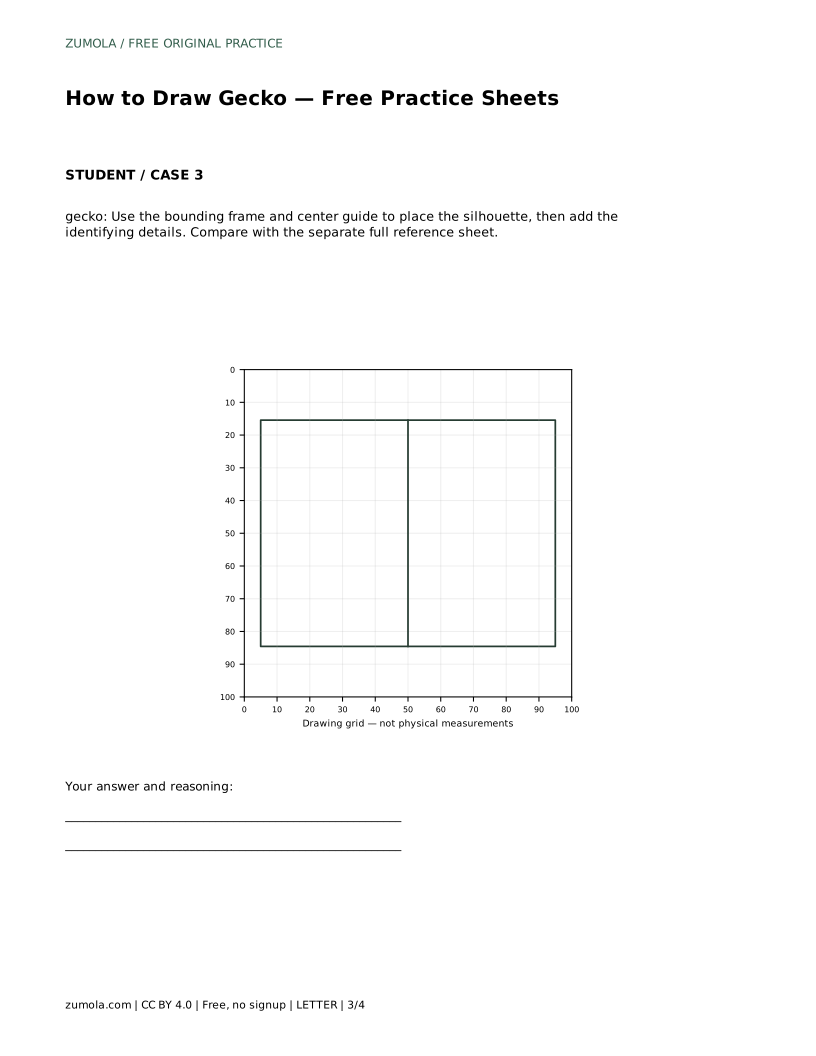
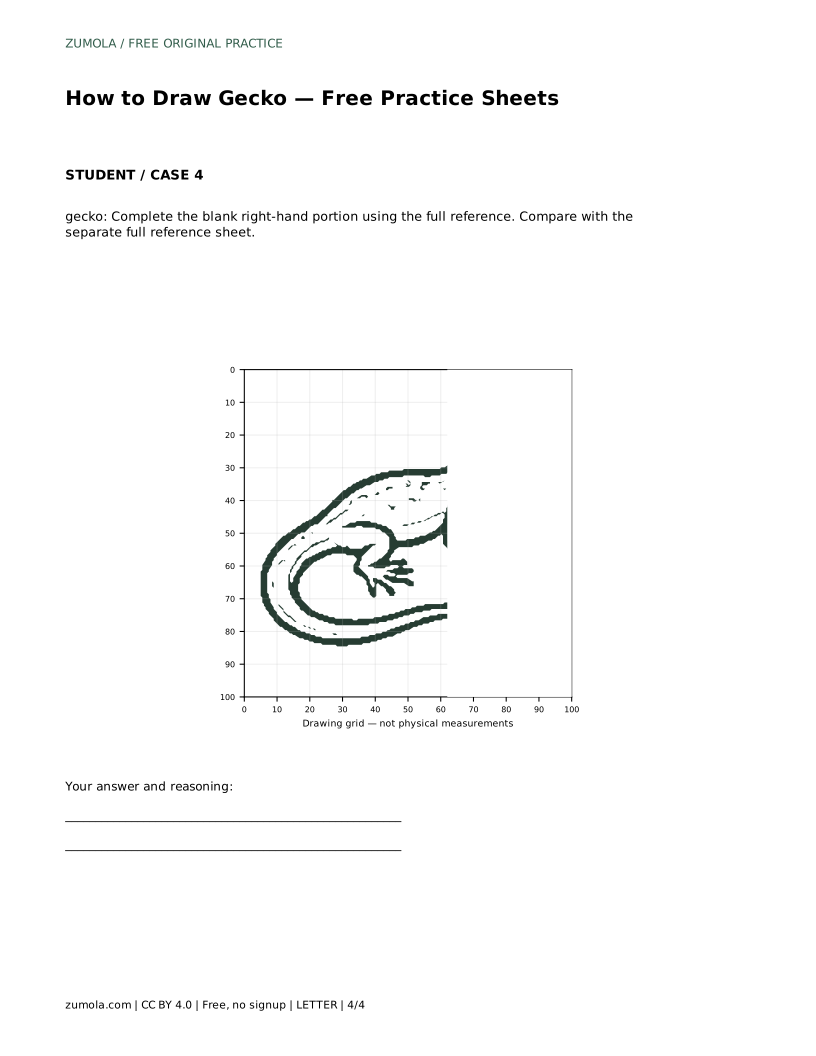
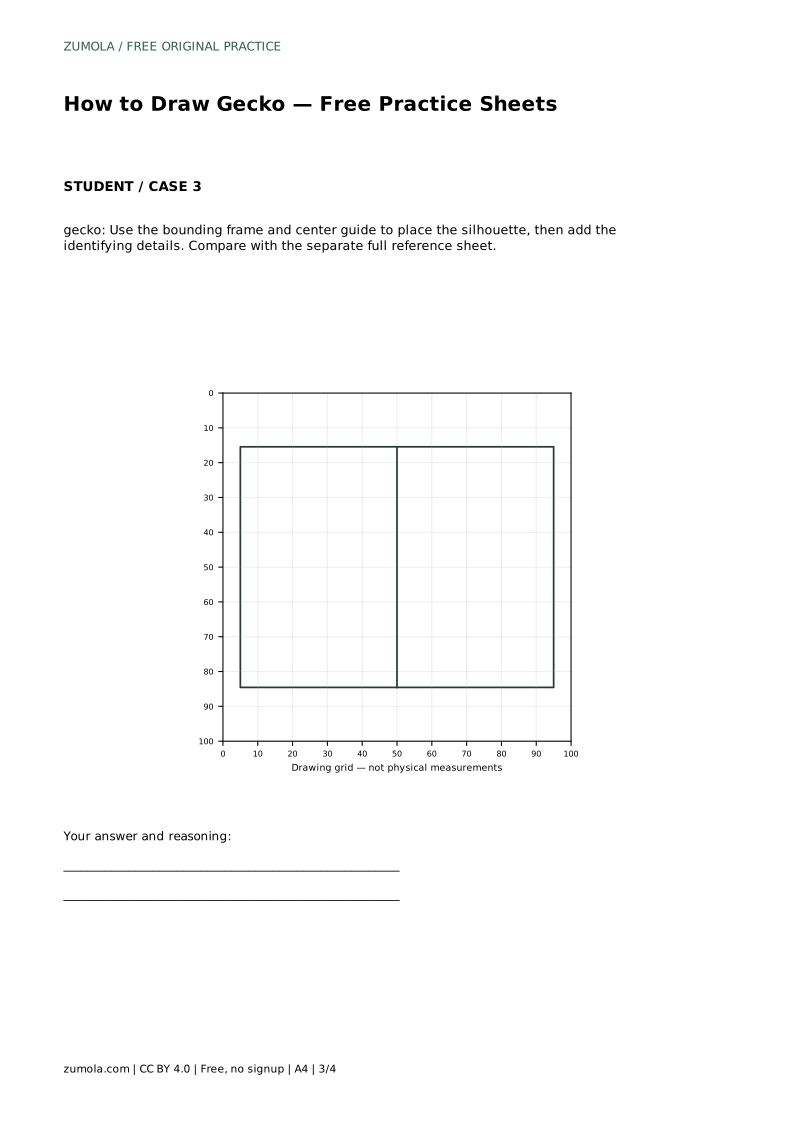
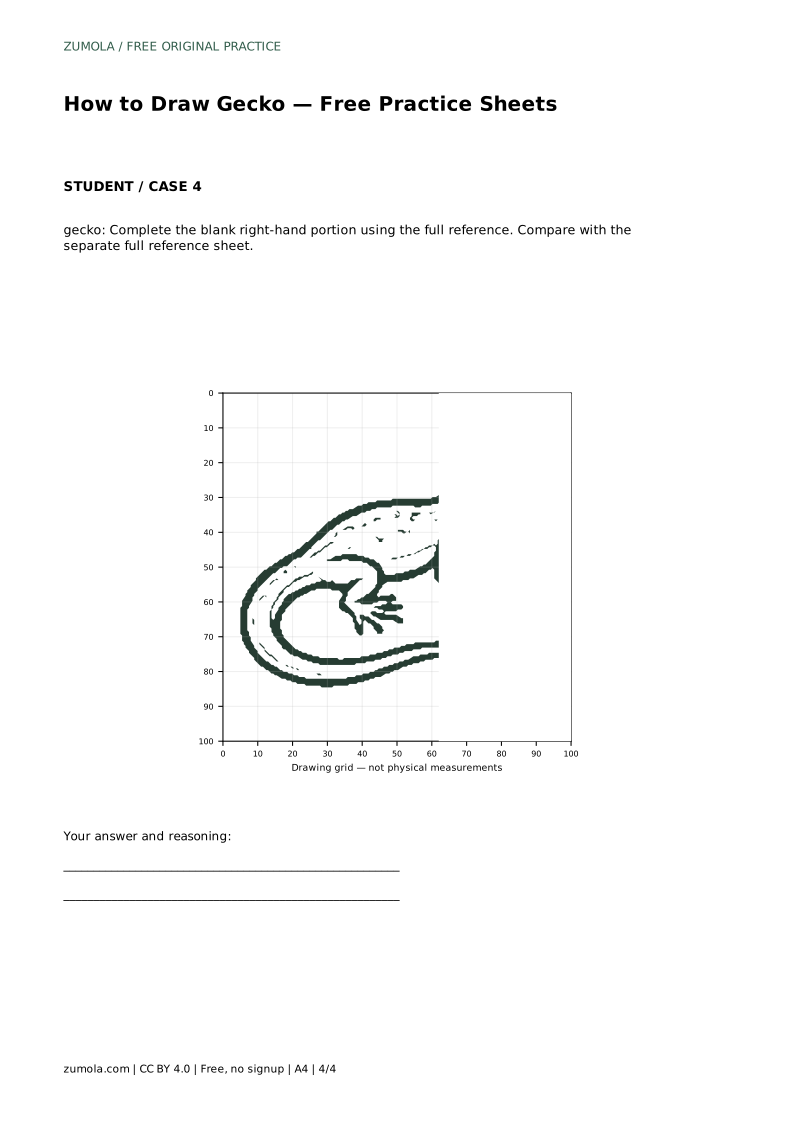
Tracing the reference outline first builds familiarity with the contour. After tracing, practise the contour independently on blank space and compare with the separate full reference sheet. The grid version asks you to copy the reference onto a blank grid using matching intersections, which trains proportion and placement. The bounding frame and center guide help you position the silhouette before adding identifying details. The partial-blank version asks you to complete the missing right-hand portion using the full reference.
Whichever format you use, compare your drawing with the full reference sheet at the end. Judge visible features and proportions rather than pixel-perfect matching. A drawing with a clear eye, arched back, tapered curled tail, and four splayed feet can be correct even if its outline differs from the reference.
Review the drawing feature by feature. Is the head a rounded wedge? Is the eye large and protruding with a defined pupil? Does the back arch smoothly to the tail base? Does the tail taper and curl back toward the body? Are there four legs with wide splayed toe pads? These checks catch most proportion problems before you add shading or markings.
Art has multiple valid outcomes. Use the rubric below to assess the visible features rather than expecting an exact match to the reference.
gecko: Trace the reference outline, then practise the contour independently. Compare with the separate full reference sheet.
Example solution: preserve wide splayed toe pads on the feet, large protruding eye with defined pupil, tapered tail that curls back toward the body. Other drawings can be correct; assess the visible features and proportions rather than pixel-perfect matching. Draw the head as a rounded wedge with a large protruding eye and a curved mouth line. Extend a smooth arched back line from the head to the tail base, adding small spot markings along the dorsal surface. Draw the tapered tail curving downward and then sweeping back toward the body in a loose C-shape. Add four legs with splayed toe pads: two forelimbs near the shoulder and two hindlimbs near the hip, keeping the feet spread outward.
No. Other drawings can be correct. Assess the visible features and proportions rather than pixel-perfect matching.
Start with the traceable outline to learn the contour, then try the grid or bounding frame version to practise independent placement.
The large protruding eye, rounded wedge head, arched back, tapered curled tail, and four feet with wide splayed toe pads.
All drawing practice · Free coordinate paper
Original resources · CC BY 4.0 · Free for personal and classroom use with attribution.