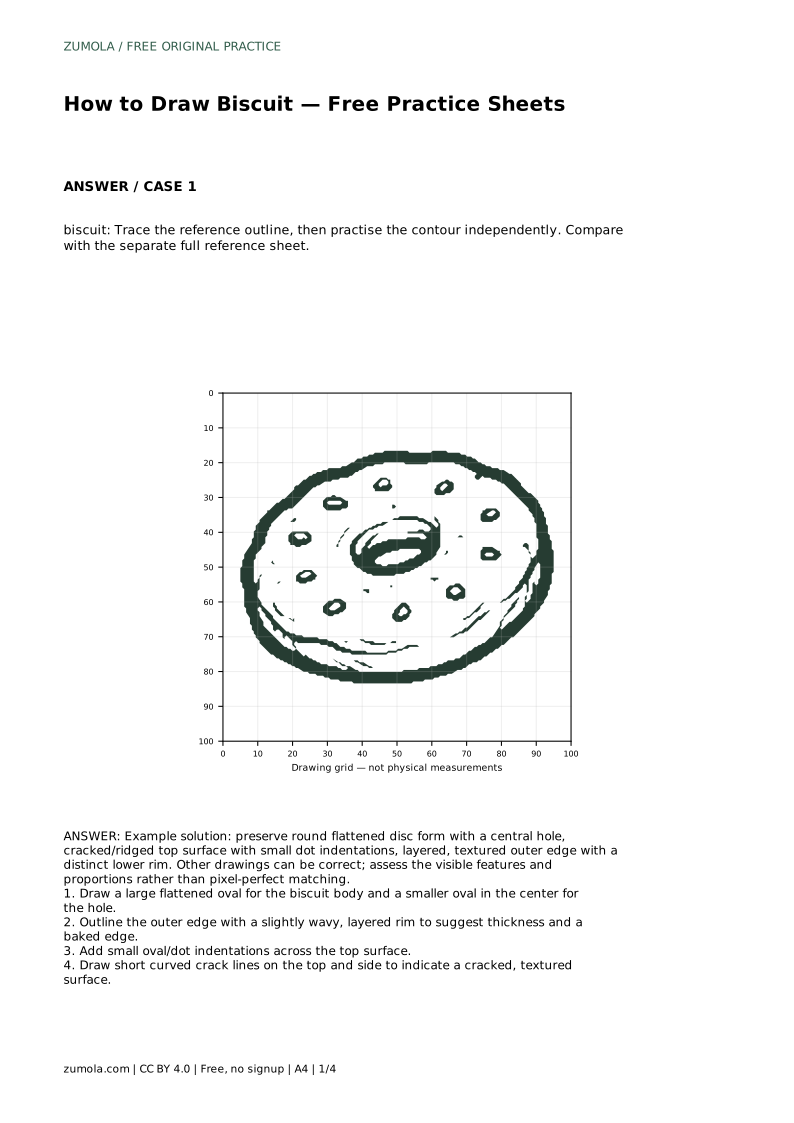
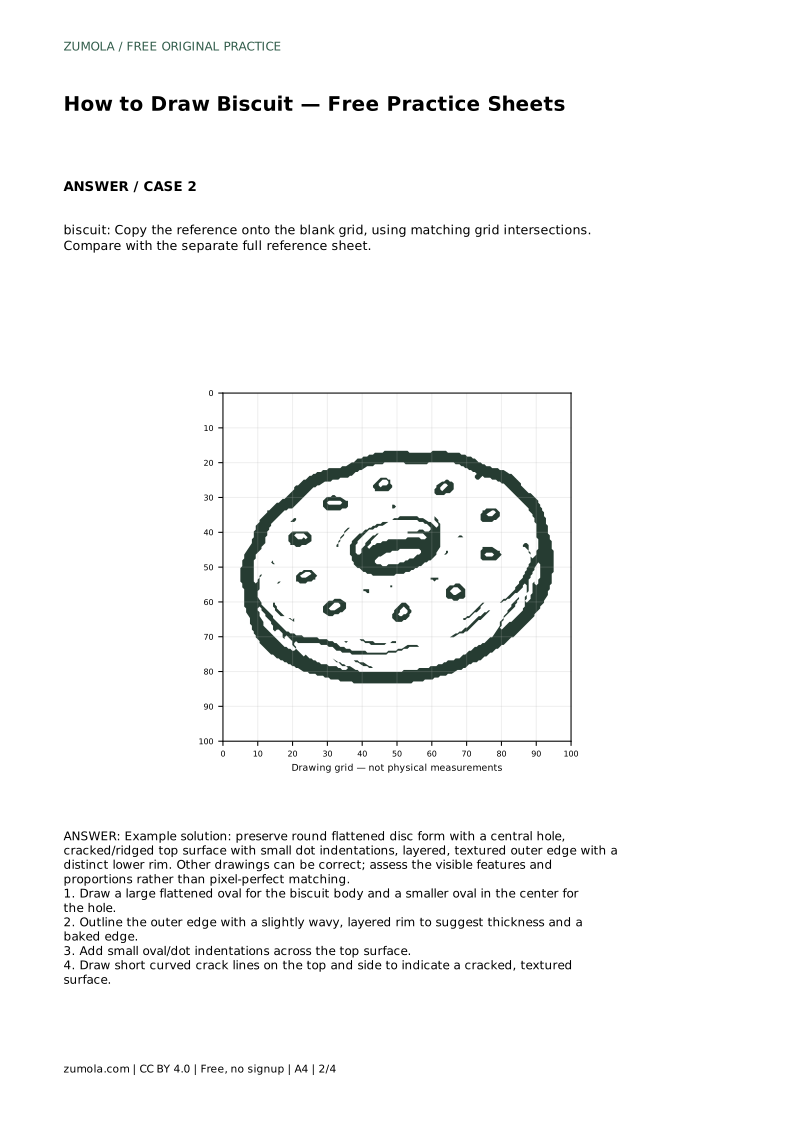
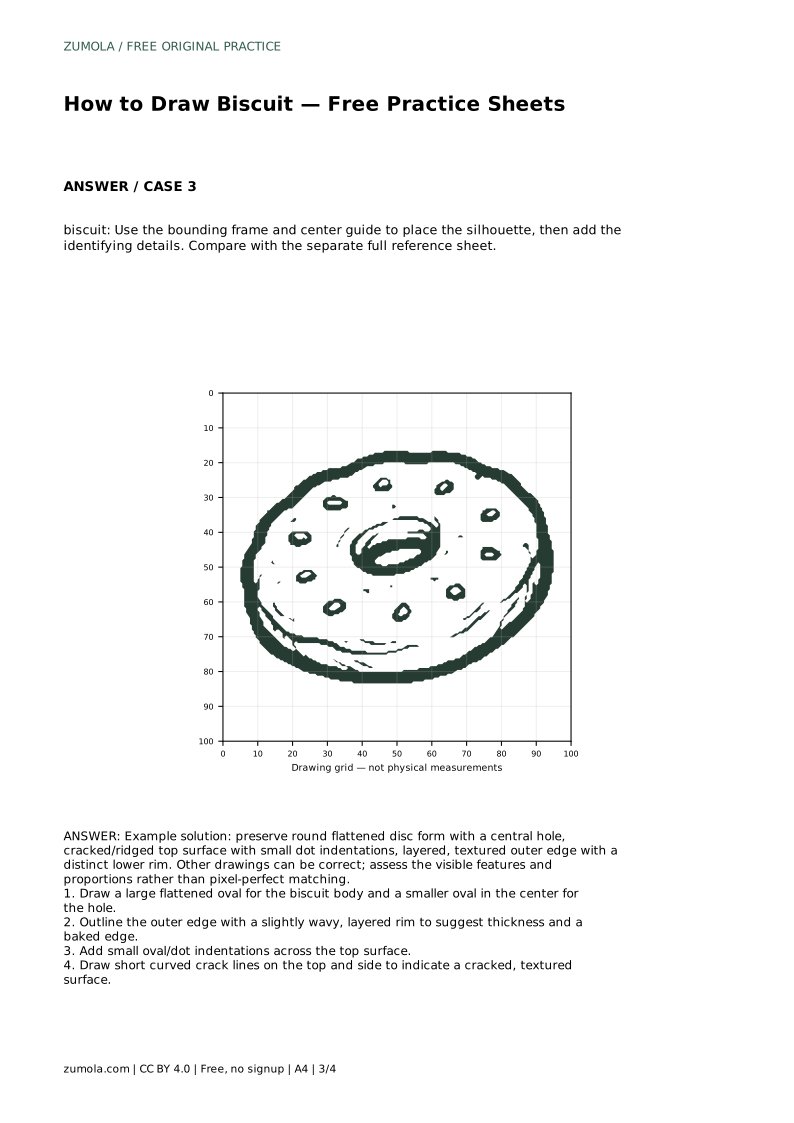
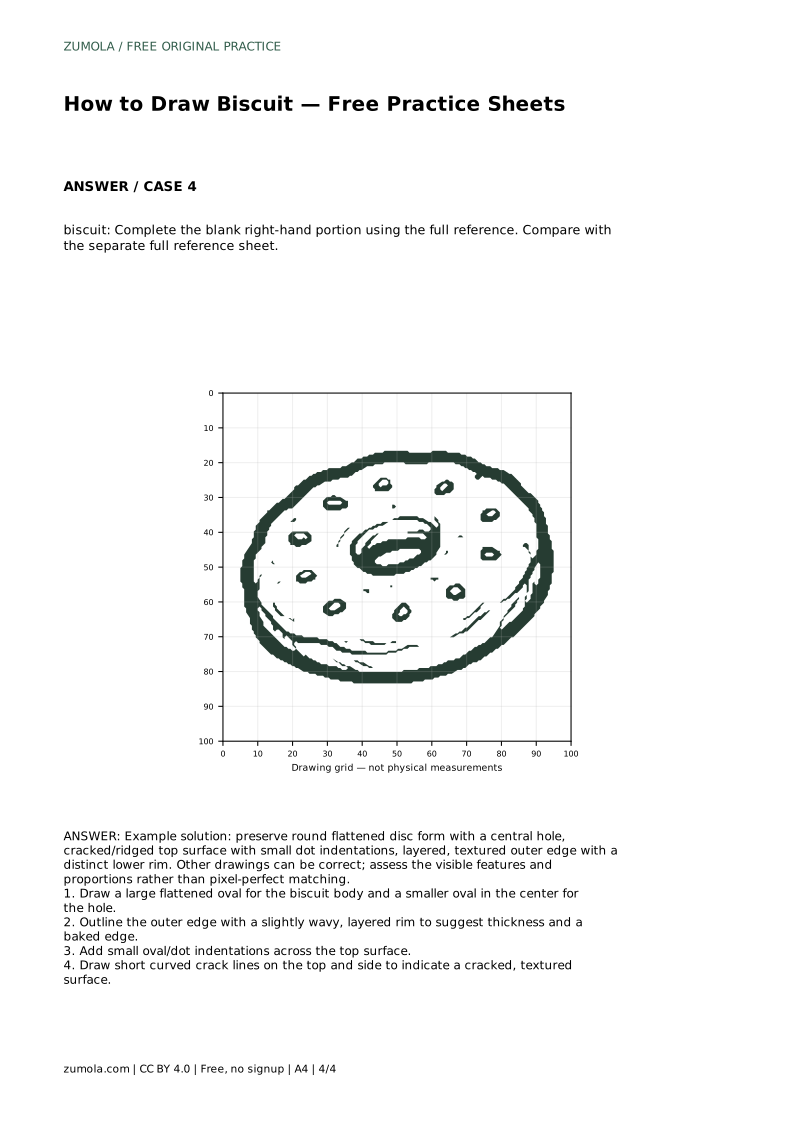
Reference diagrams
LETTER · Download PDF
A4 · Download PDF
Free original resources
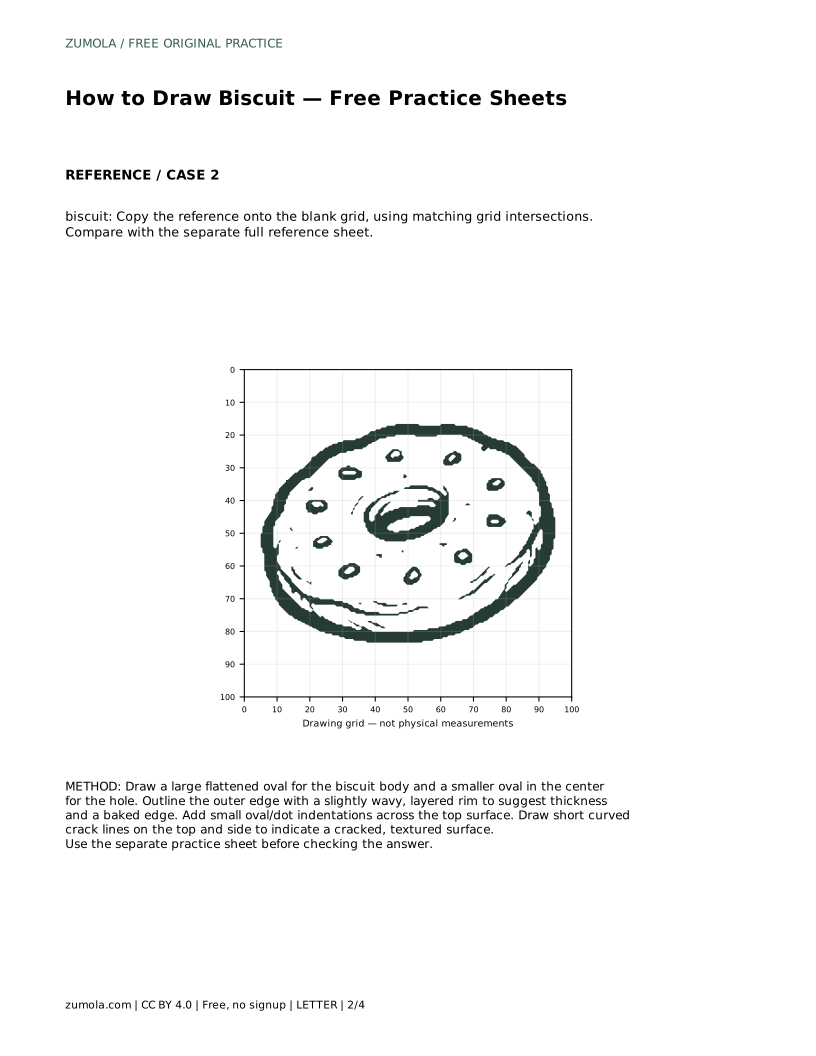
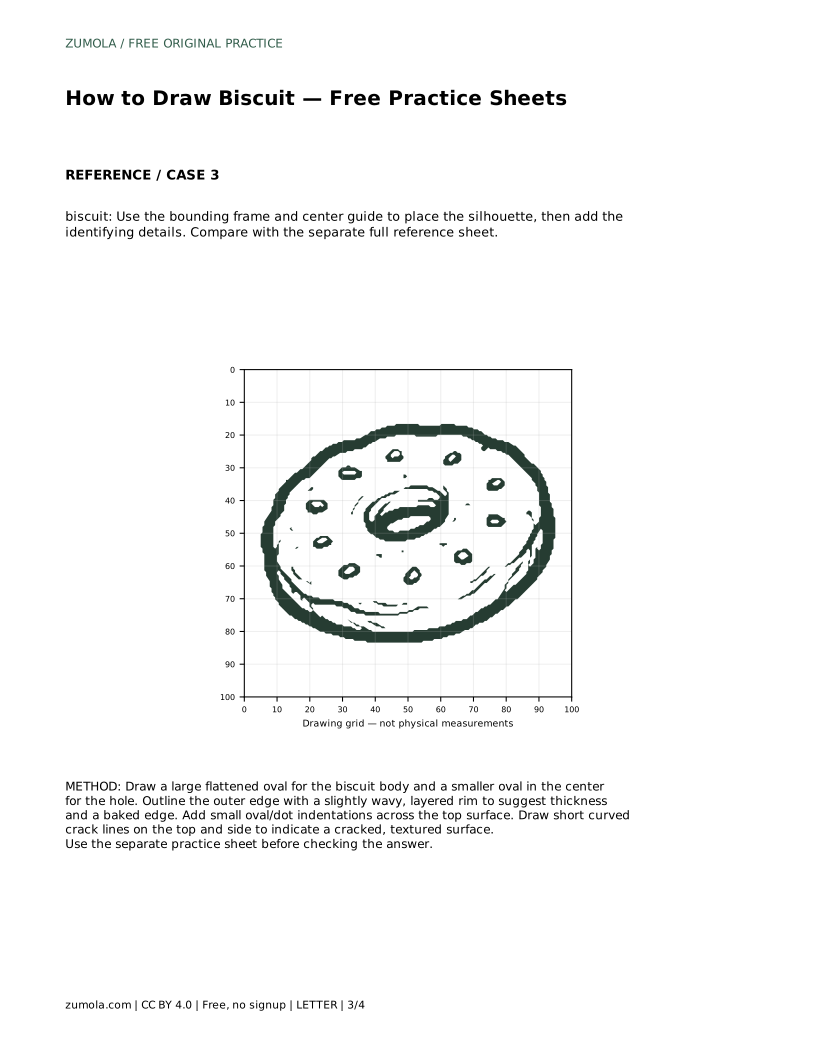
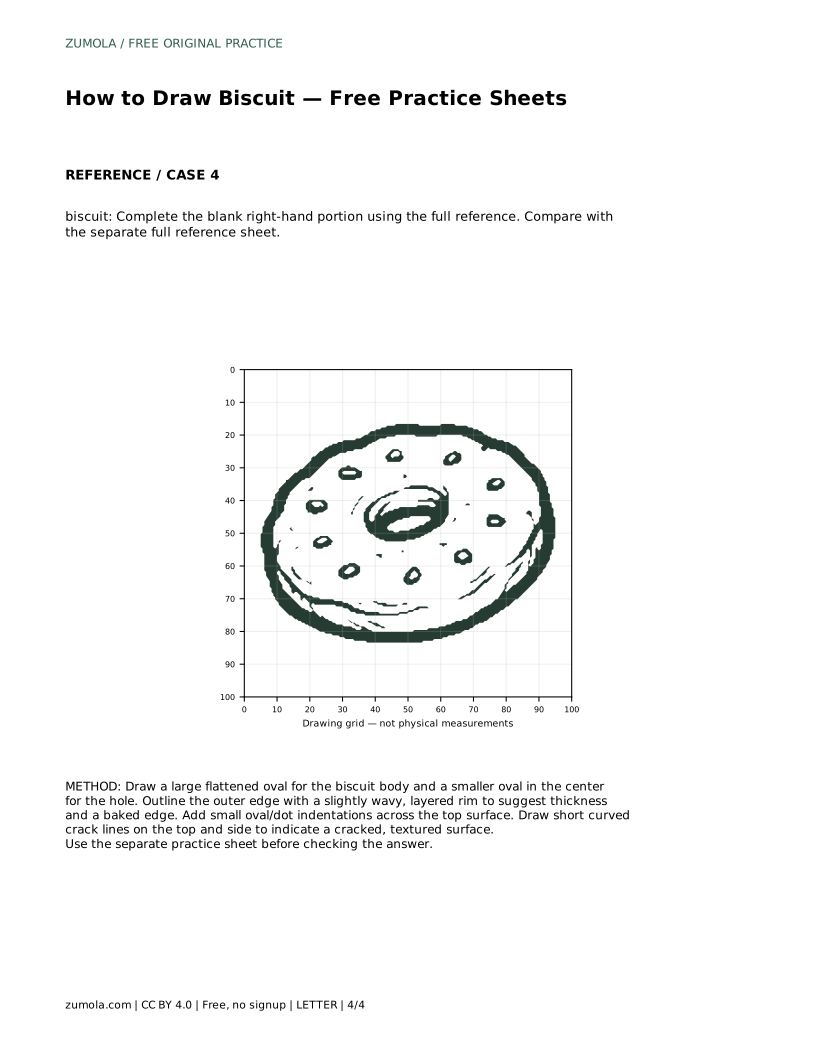
Learn to draw a biscuit by building a flattened oval body, central hole, layered rim, dot indentations, and crack lines. Free practice sheets support each step.
Four original cases, with reference diagrams, practice sheets and worked answers. Everything is free; no signup required.
LETTER · Download PDF
A4 · Download PDF
LETTER · Download PDF
A4 · Download PDF
LETTER · Download PDF
A4 · Download PDF
Use A4 or US Letter to match your printer. Use the stated values and conditions to solve each exercise; diagrams are not physical measuring rulers.
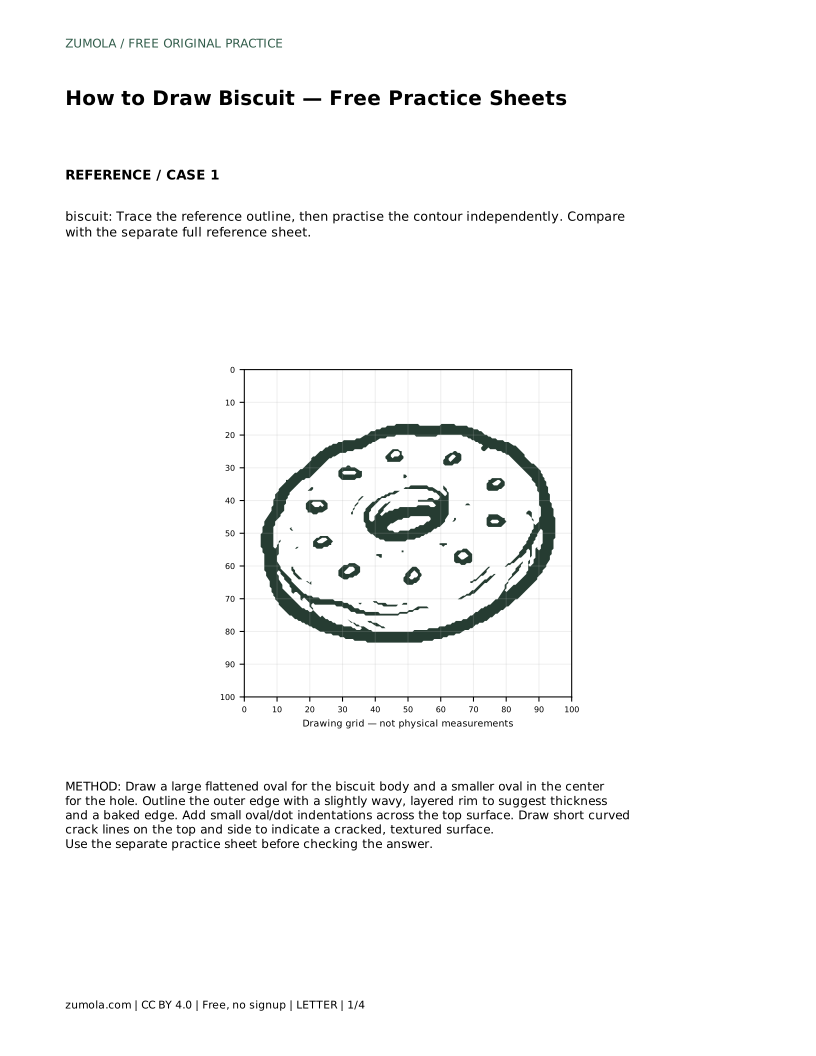
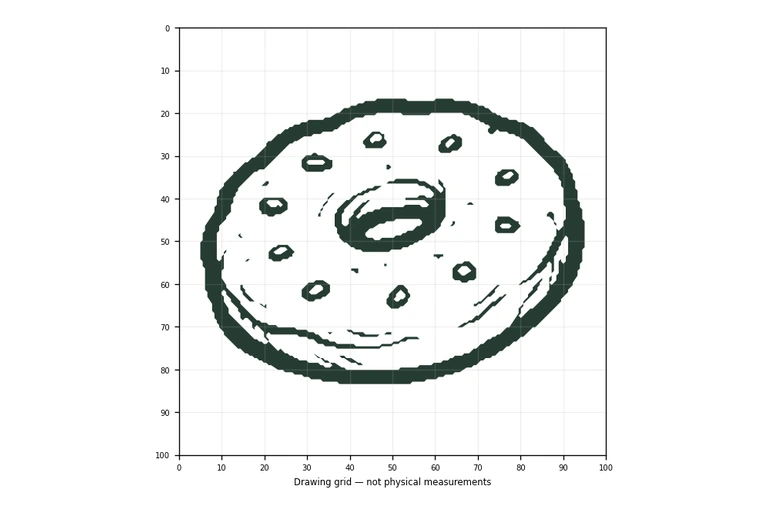
Drawing a biscuit is mostly a lesson in proportion and surface texture. The shape is simple, but the details that make it readable are specific: a flattened disc, a central hole, a layered outer rim, small indentations, and short cracks. This guide explains how to build those features in order, then how to judge your drawing by visible qualities rather than exact matching. The practice sheets let you trace, copy to a grid, place a silhouette with guides, or complete a partial drawing.
Begin by placing the biscuit's overall form before adding any texture. Think of the body as a large flattened oval rather than a perfect circle; the slight squash suggests a baked disc seen at a gentle angle. Inside it, draw a smaller oval for the central hole. Keep the hole clearly smaller than the body and roughly centered, because the ring of biscuit around it is what makes the shape read correctly.
Check the relationship between the two ovals before continuing. The outer oval should have a comfortable margin on every side of the inner one. If the hole drifts toward an edge, the biscuit will look uneven. Lightly adjust the inner oval now, while the lines are still easy to change.
The outer edge carries much of the biscuit's character. Instead of one clean outline, suggest thickness with a slightly wavy, layered rim. A distinct lower rim helps the disc feel solid rather than flat. Keep the waves gentle and irregular; a baked edge is not mechanically even, but it should still follow the overall oval.
Work around the shape in one direction so the rim stays continuous. The lower rim can sit just inside or just outside the main outline, depending on which side you treat as the front. Decide that once and stay consistent, so the edge does not appear to switch sides.
Surface details turn a plain ring into a biscuit. Small oval or dot indentations across the top suggest the typical dotted pattern. Space them loosely and vary their size slightly so the surface does not look stamped. Then add short curved crack lines on the top and side to indicate a cracked, textured surface. Cracks should be brief and follow the curve of the biscuit rather than running straight across it.
Place indentations after the rim is settled, because they sit within the top surface and should not cross the edge. Keep crack lines away from the central hole unless you intend a crack that reaches it. A few well-placed marks read better than many crowded ones.
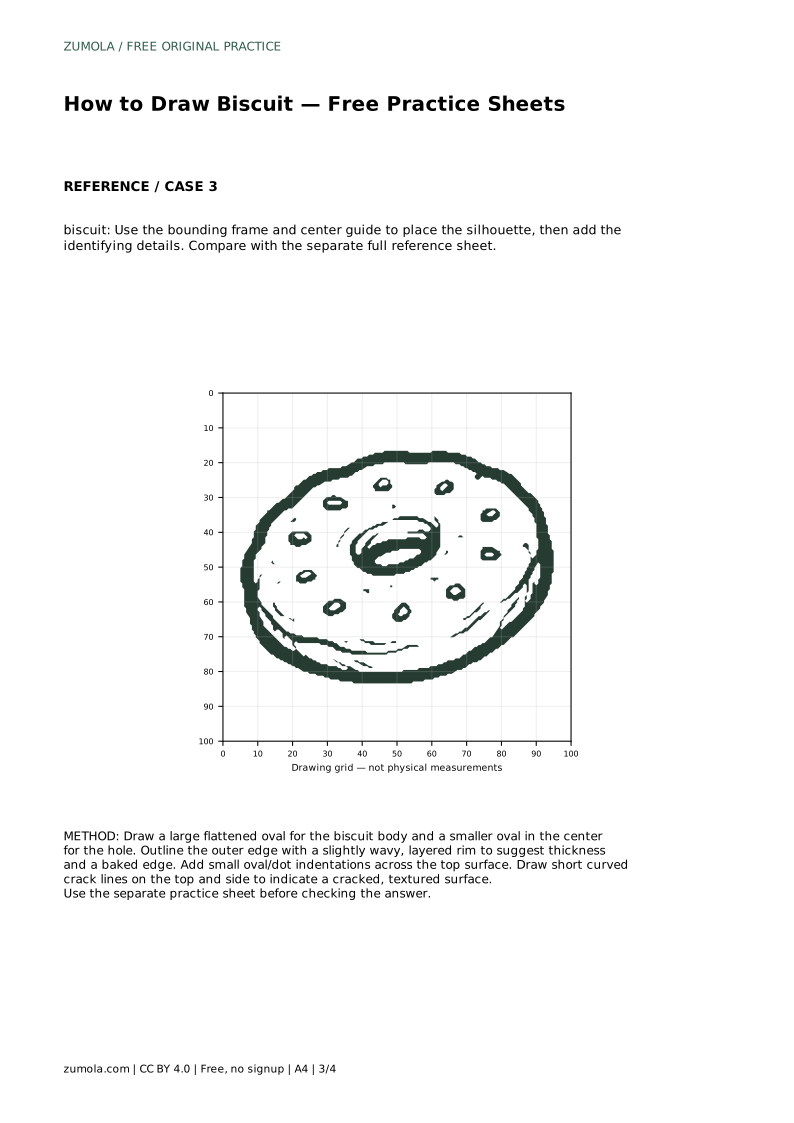
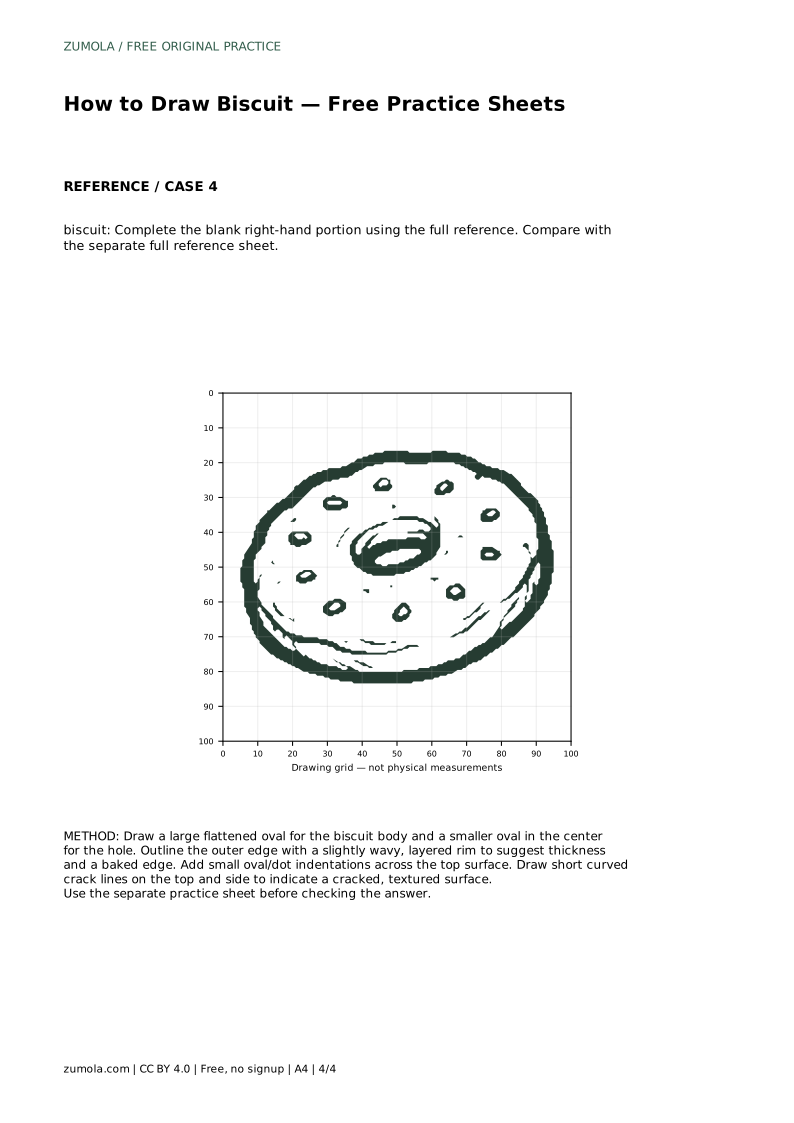
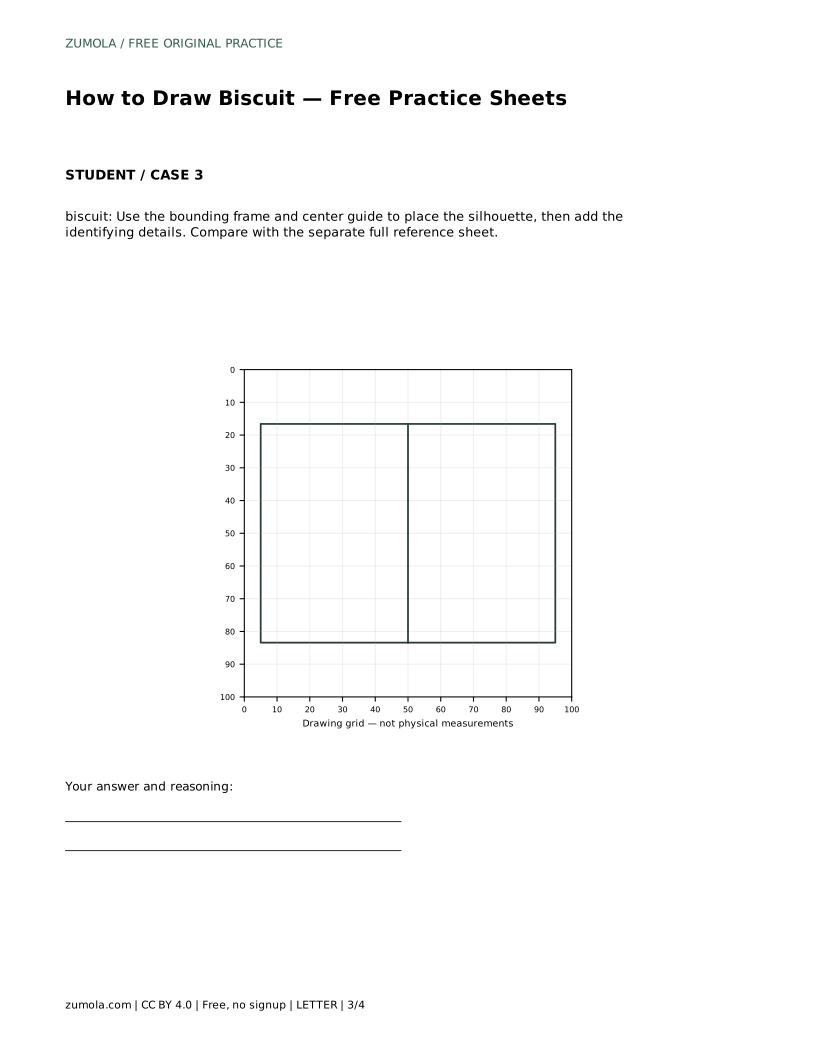
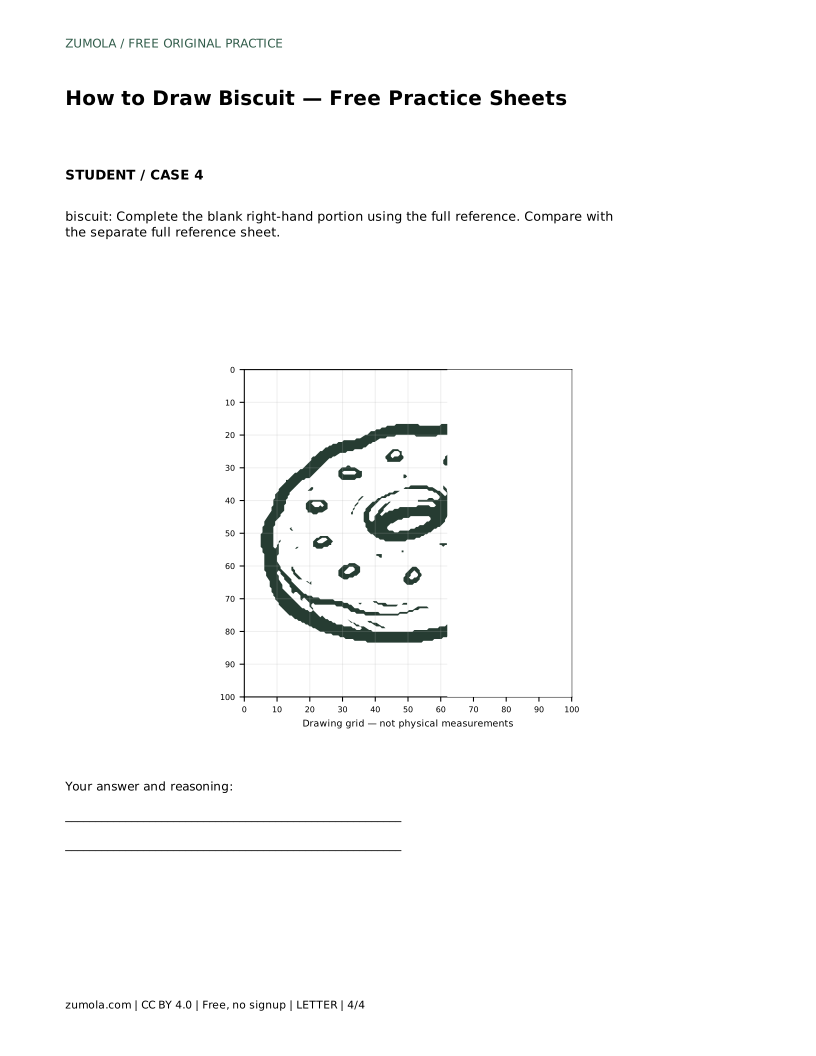
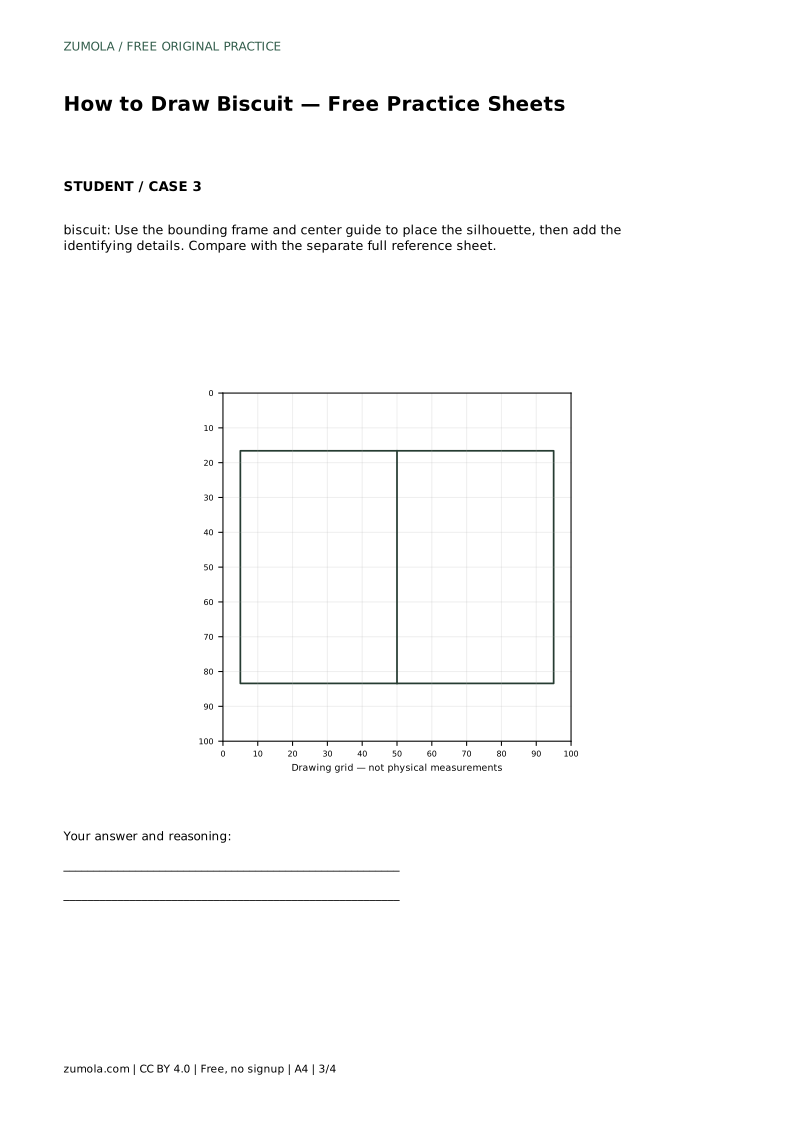
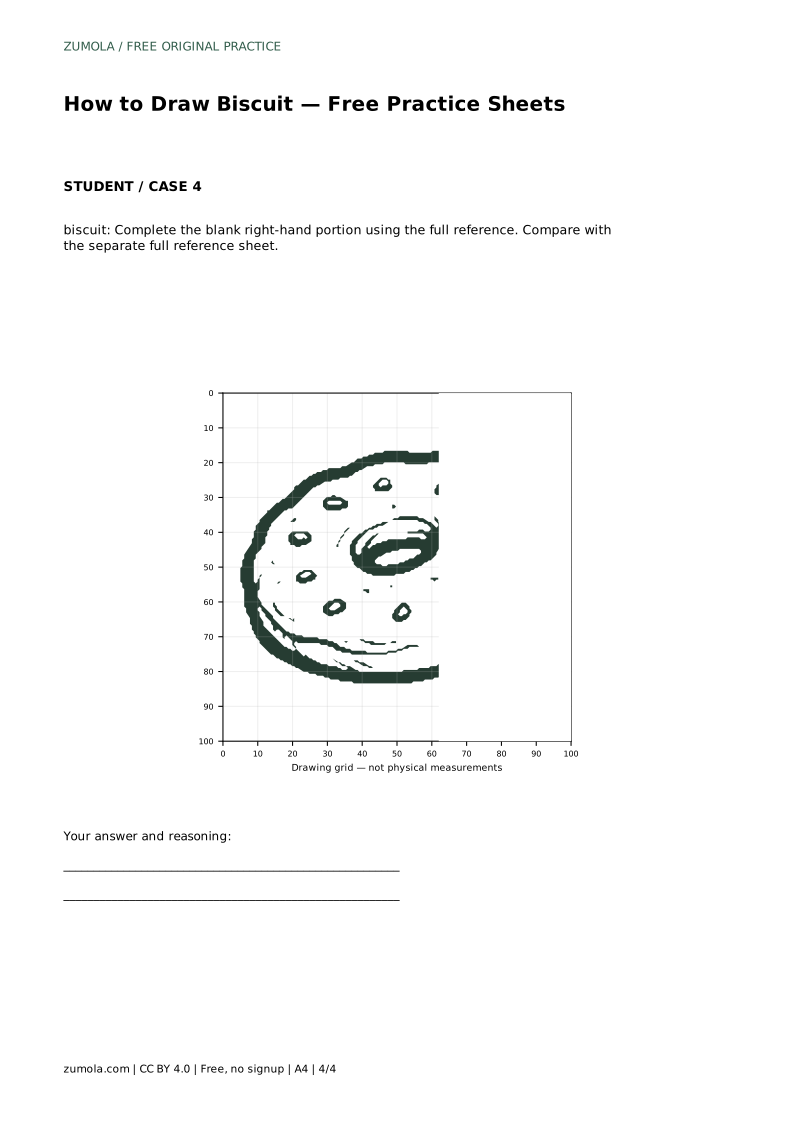
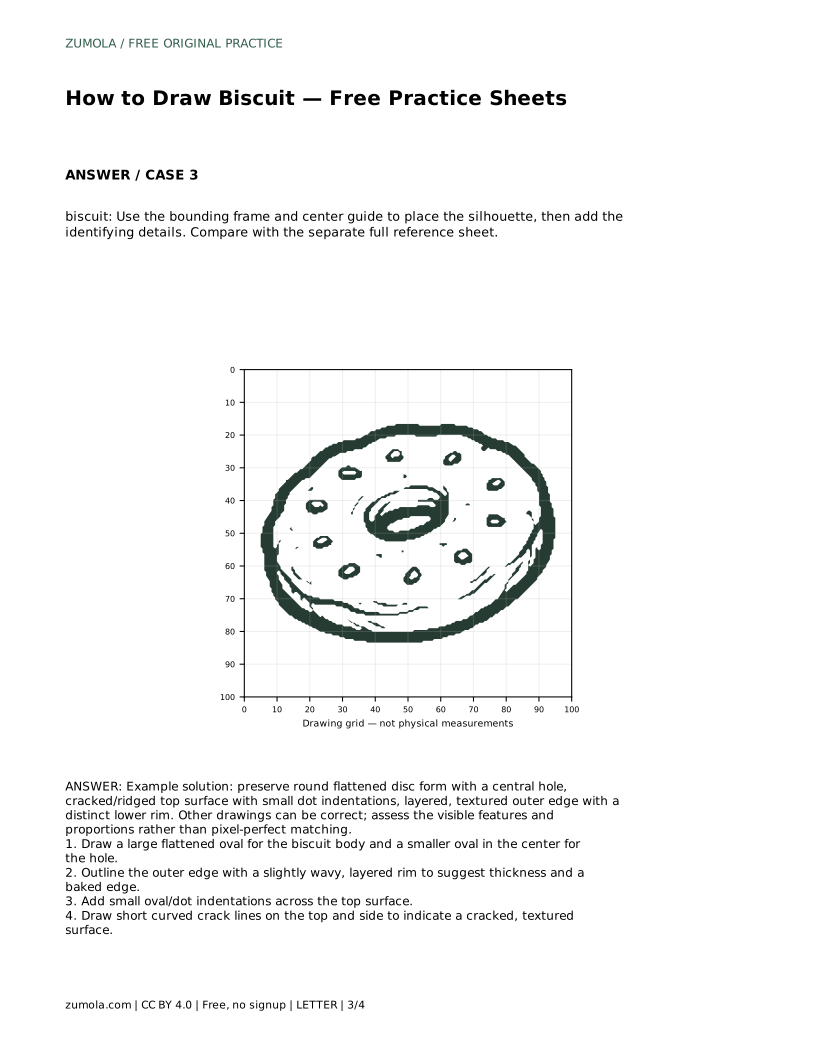
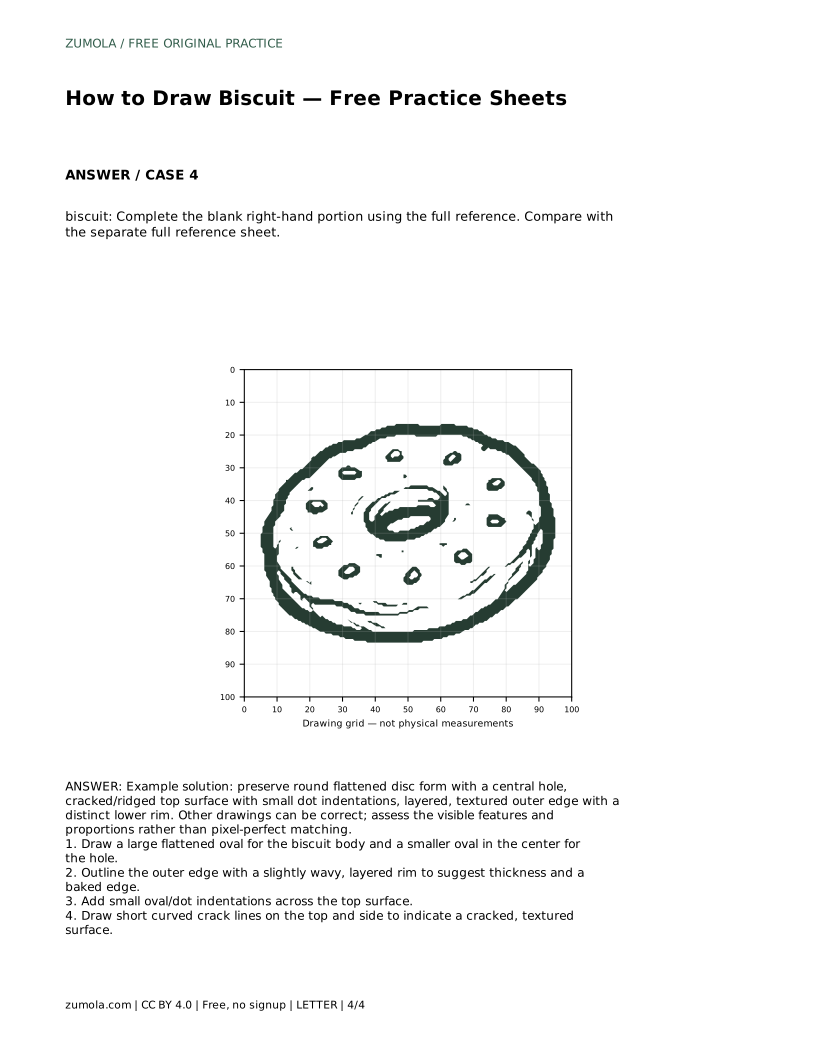
Each sheet format targets a different part of the skill. Tracing the reference outline builds familiarity with the contour before you draw it independently. Copying onto a blank grid asks you to match intersections, which trains proportion and placement. Using a bounding frame and center guide helps you position the silhouette before adding identifying details. Completing a blank right-hand portion tests whether you can continue a drawing from partial information.
After any format, compare your work with the separate full reference sheet. The goal is not a pixel-perfect copy. Ask whether the flattened disc form, central hole, layered rim, indentations, and cracks are all present and in sensible proportion. Different drawings can be correct.
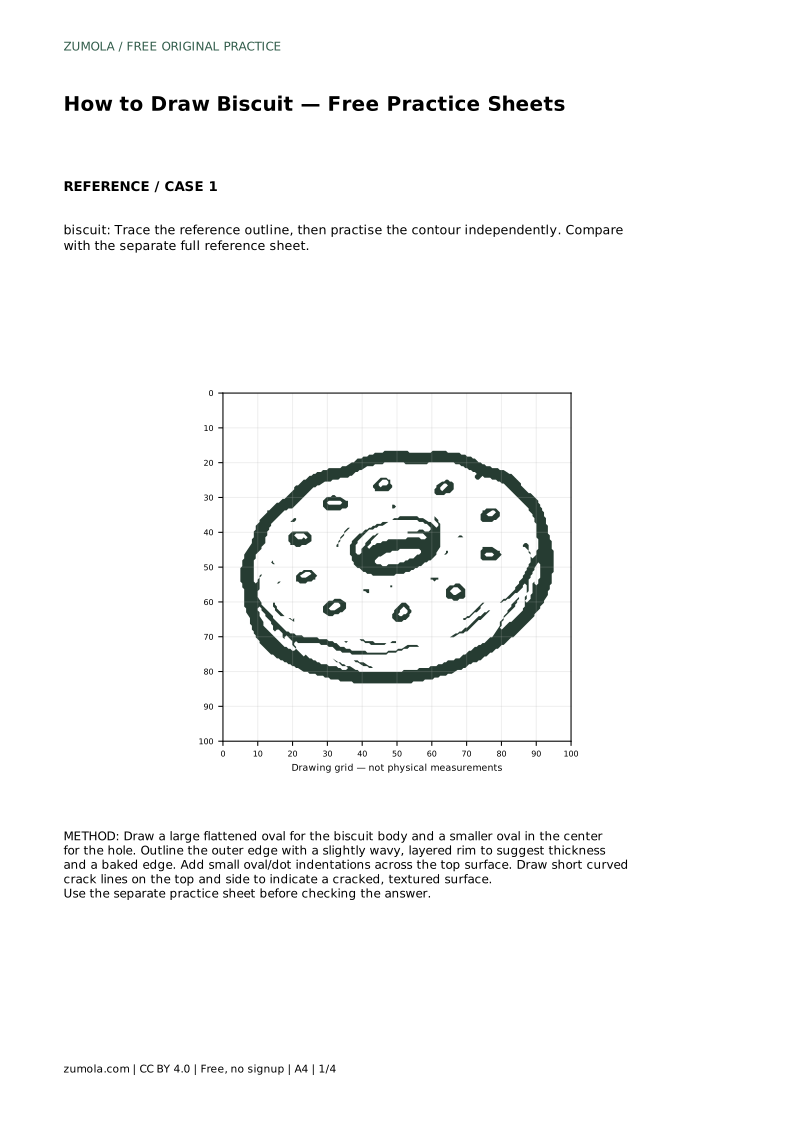
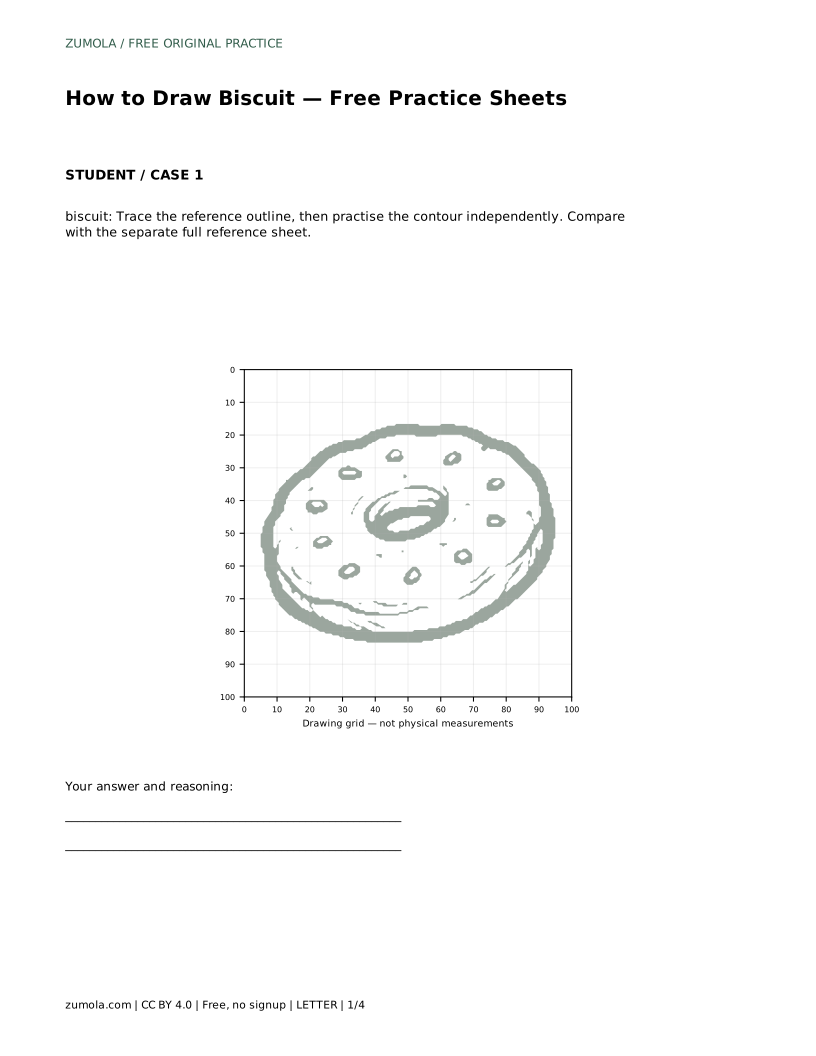
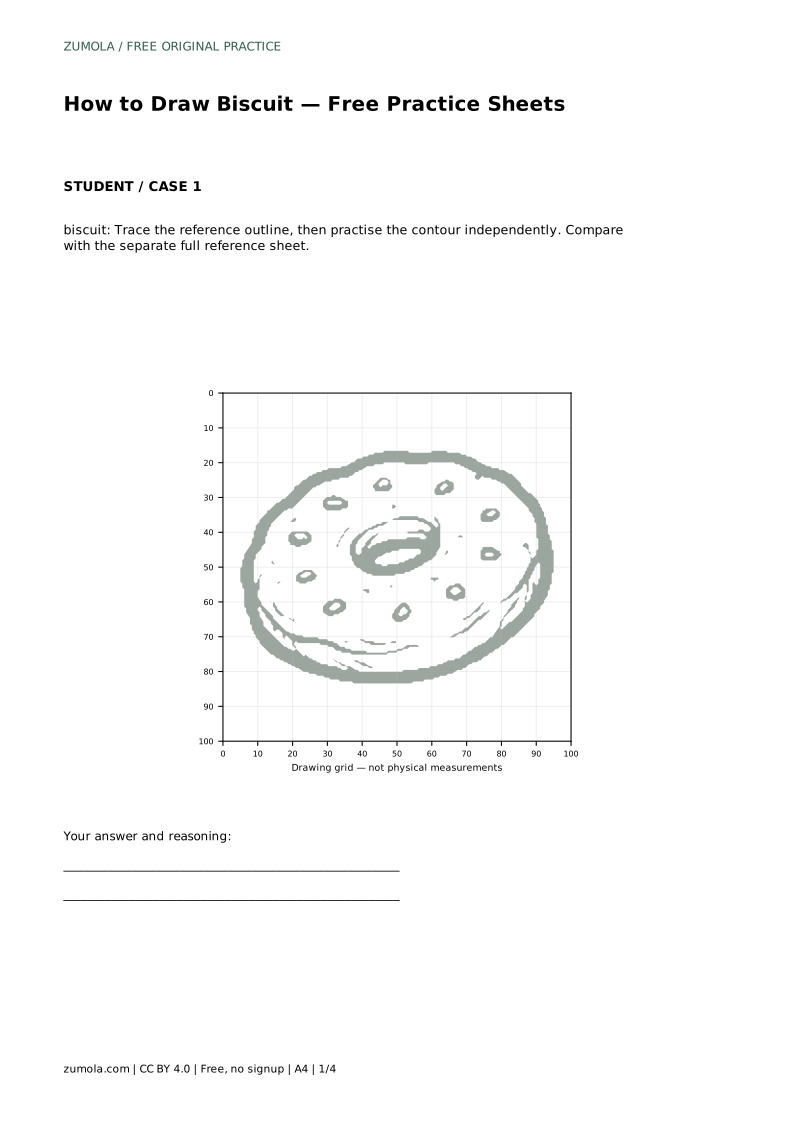
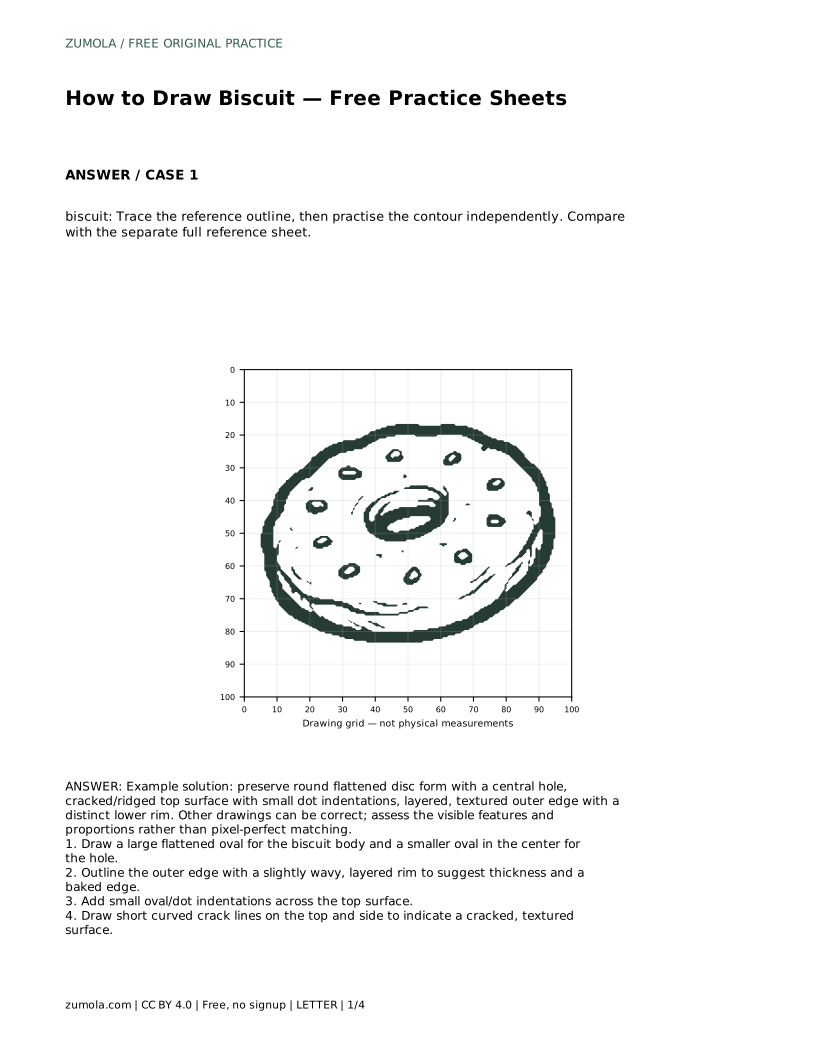
Prompt: biscuit: Trace the reference outline, then practise the contour independently. Compare with the separate full reference sheet.
Answer: Example solution: preserve round flattened disc form with a central hole, cracked/ridged top surface with small dot indentations, layered, textured outer edge with a distinct lower rim. Other drawings can be correct; assess the visible features and proportions rather than pixel-perfect matching.
biscuit: Trace the reference outline, then practise the contour independently. Compare with the separate full reference sheet.
Example solution: preserve round flattened disc form with a central hole, cracked/ridged top surface with small dot indentations, layered, textured outer edge with a distinct lower rim. Other drawings can be correct; assess the visible features and proportions rather than pixel-perfect matching. Draw a large flattened oval for the biscuit body and a smaller oval in the center for the hole. Outline the outer edge with a slightly wavy, layered rim to suggest thickness and a baked edge. Add small oval/dot indentations across the top surface. Draw short curved crack lines on the top and side to indicate a cracked, textured surface.
No. Several drawings can be correct. Judge the visible features and proportions: flattened disc form, central hole, layered rim, dot indentations, and short cracks.
Body oval first, then the central hole, then the layered outer edge and lower rim, then indentations and crack lines. This keeps texture from crowding the basic shape.
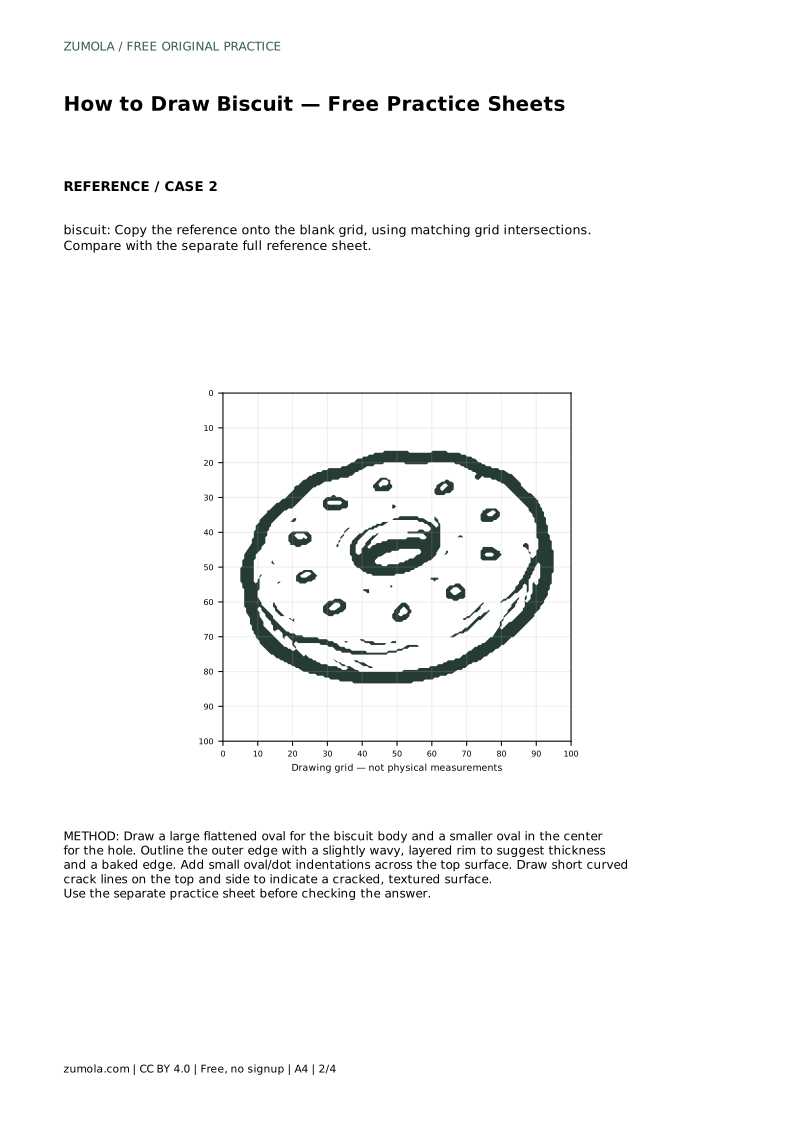
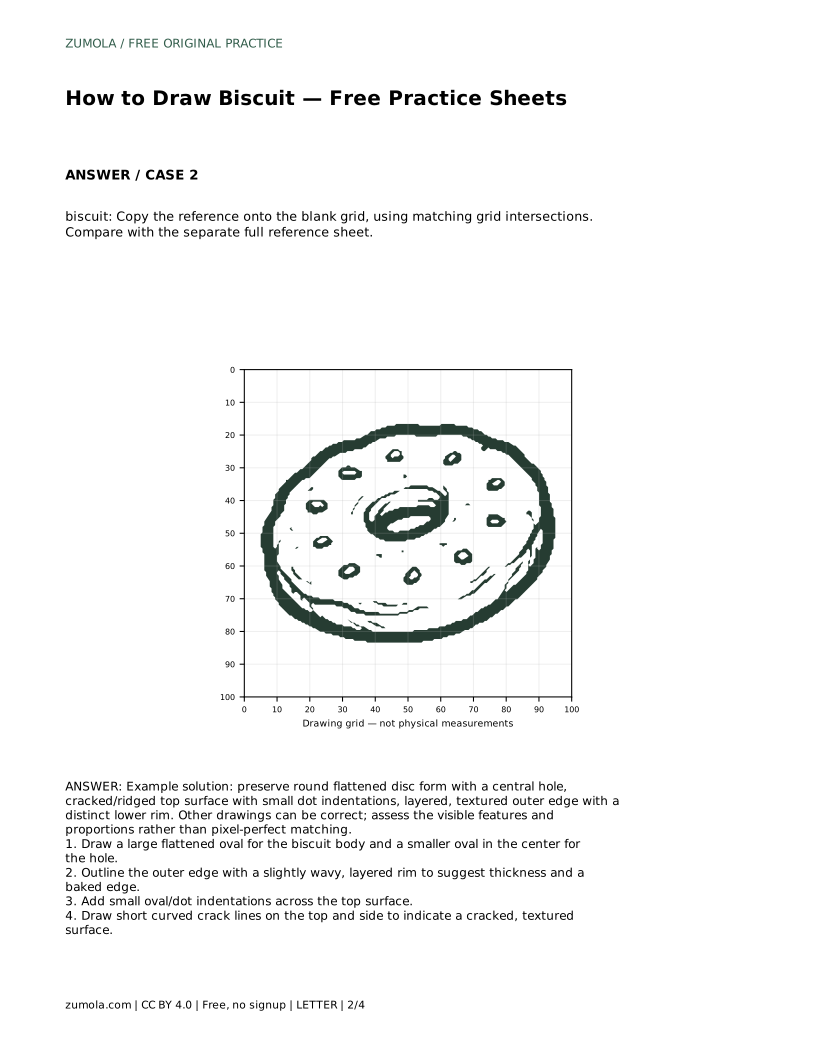
Copy the reference onto the blank grid by matching grid intersections. This trains proportion and placement rather than freehand guessing.
All drawing practice · Free coordinate paper
Original resources · CC BY 4.0 · Free for personal and classroom use with attribution.