Reference diagrams
LETTER · Download PDF
A4 · Download PDF
Free original resources
Learn to draw a deviled egg by building the outer white oval, the centered yolk filling, and a paprika speckle cluster, then refine outlines and shading.
Four original cases, with reference diagrams, practice sheets and worked answers. Everything is free; no signup required.
LETTER · Download PDF
A4 · Download PDF
LETTER · Download PDF
A4 · Download PDF
LETTER · Download PDF
A4 · Download PDF
Use A4 or US Letter to match your printer. Use the stated values and conditions to solve each exercise; diagrams are not physical measuring rulers.
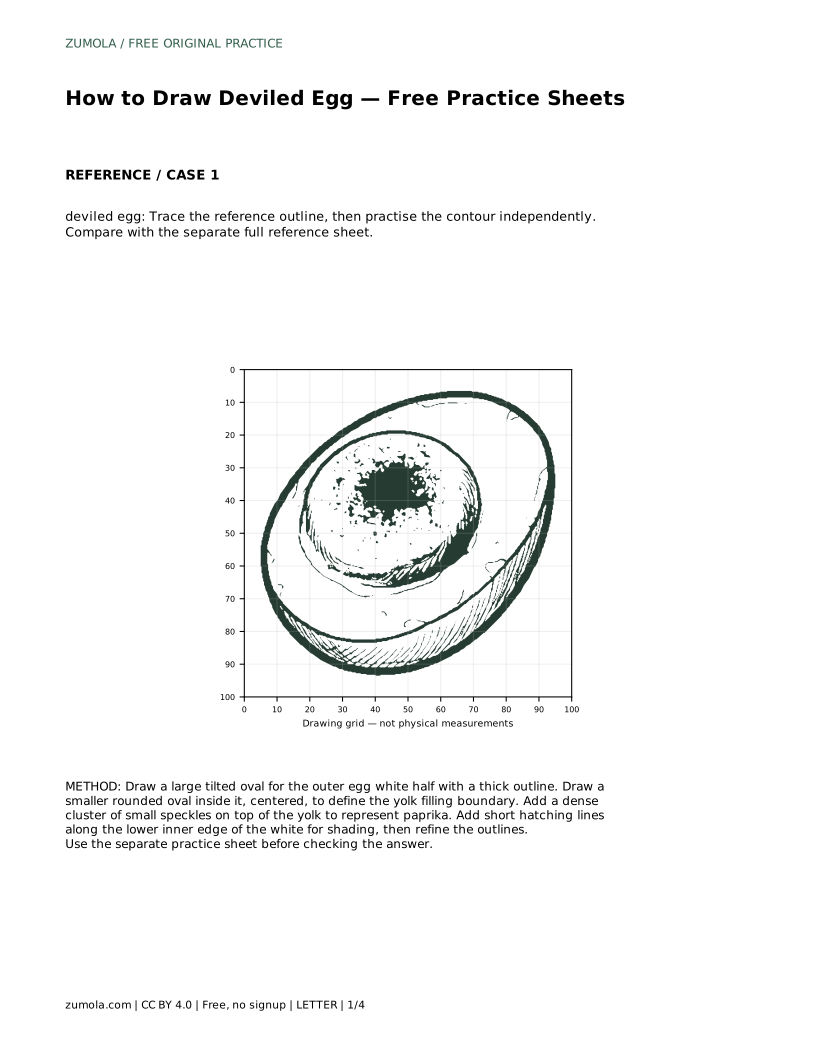
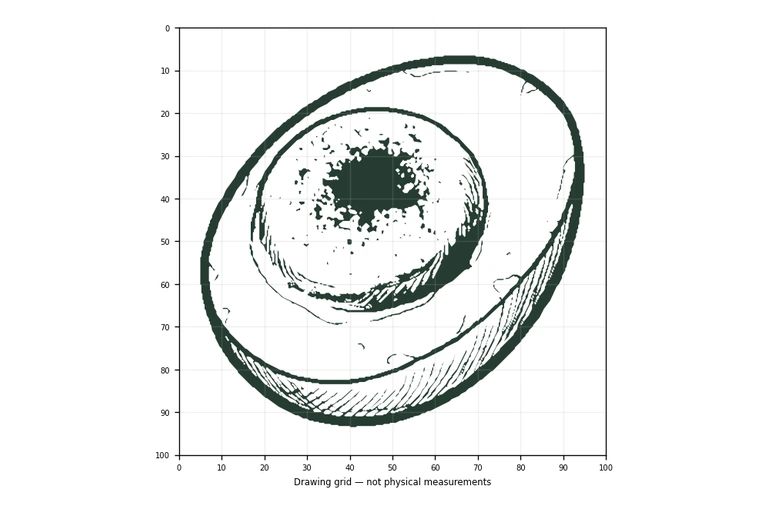
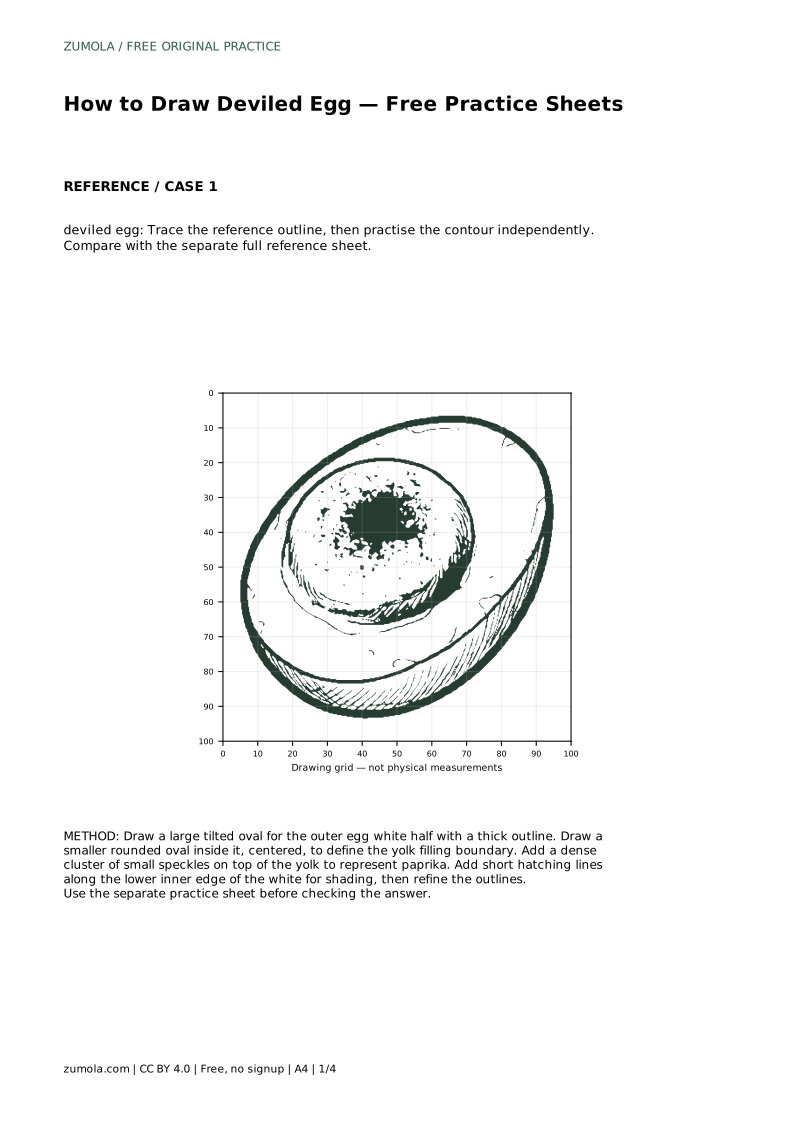
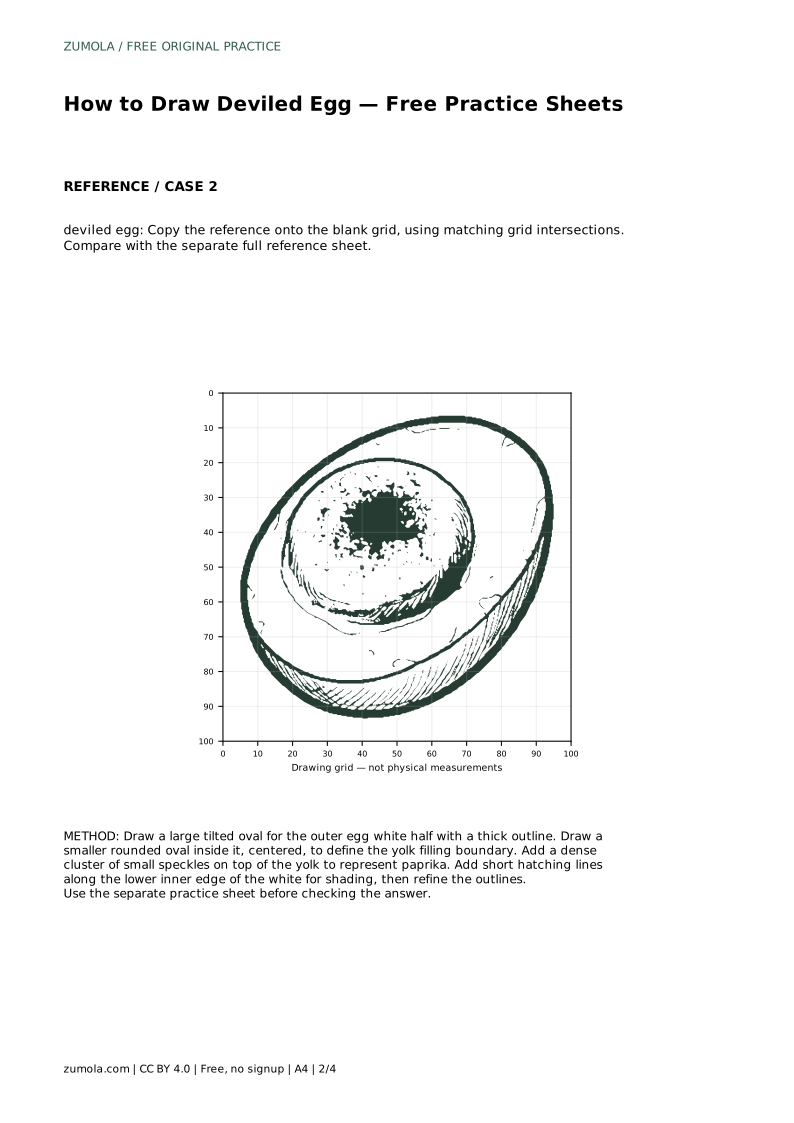
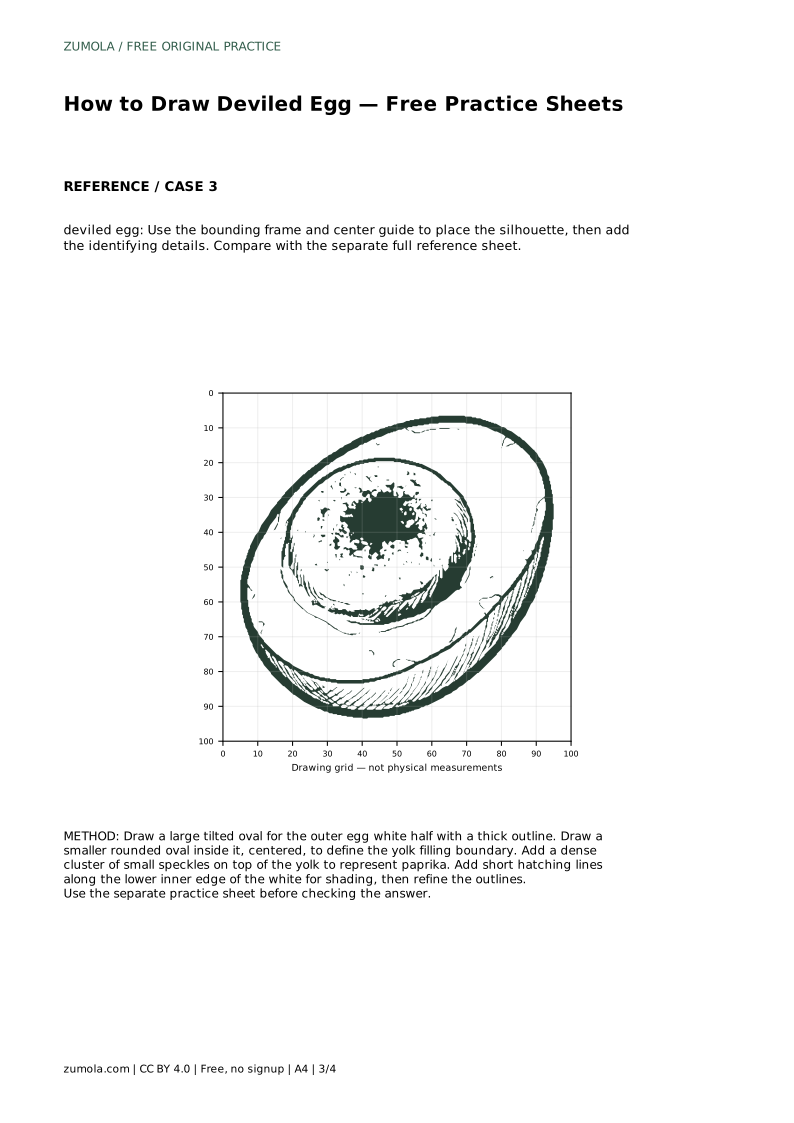
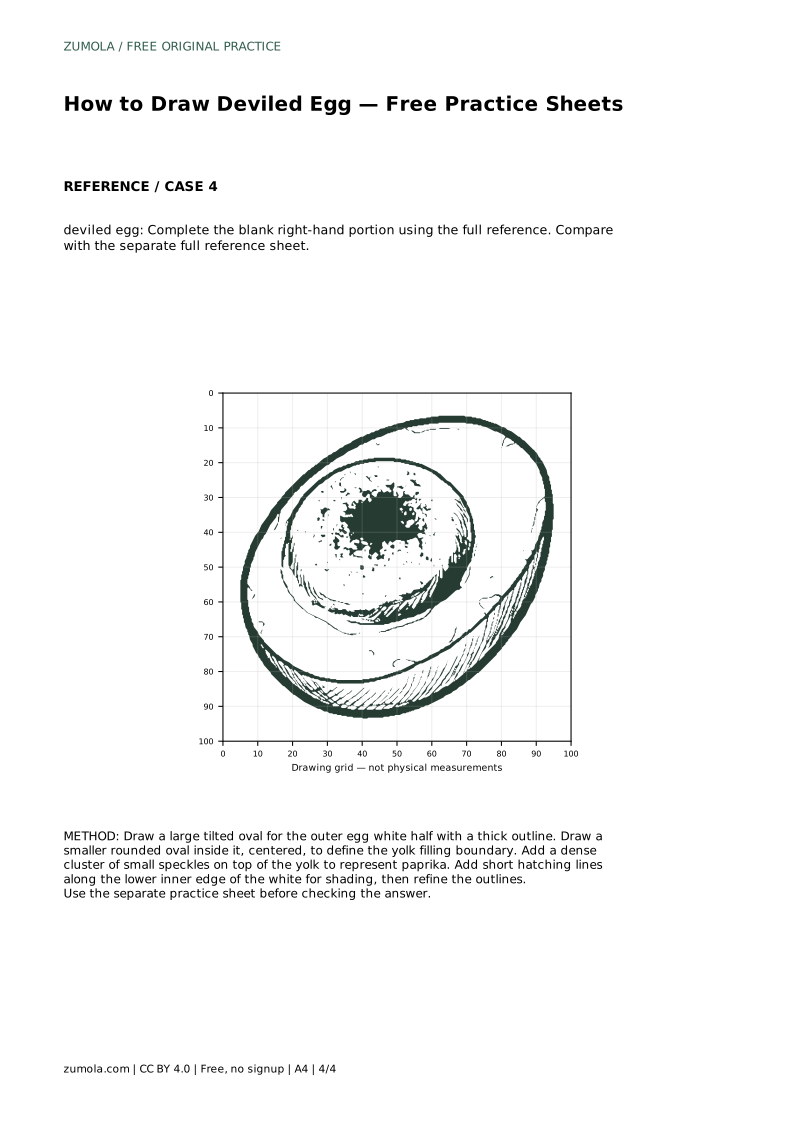
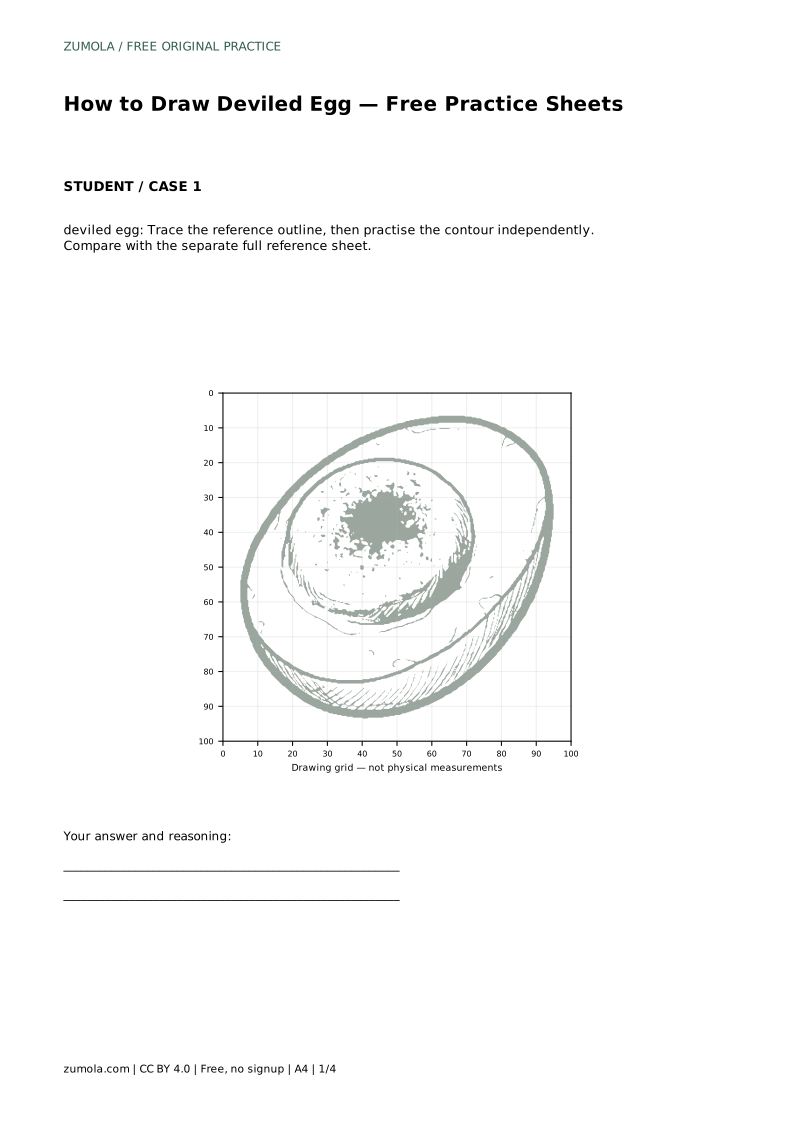
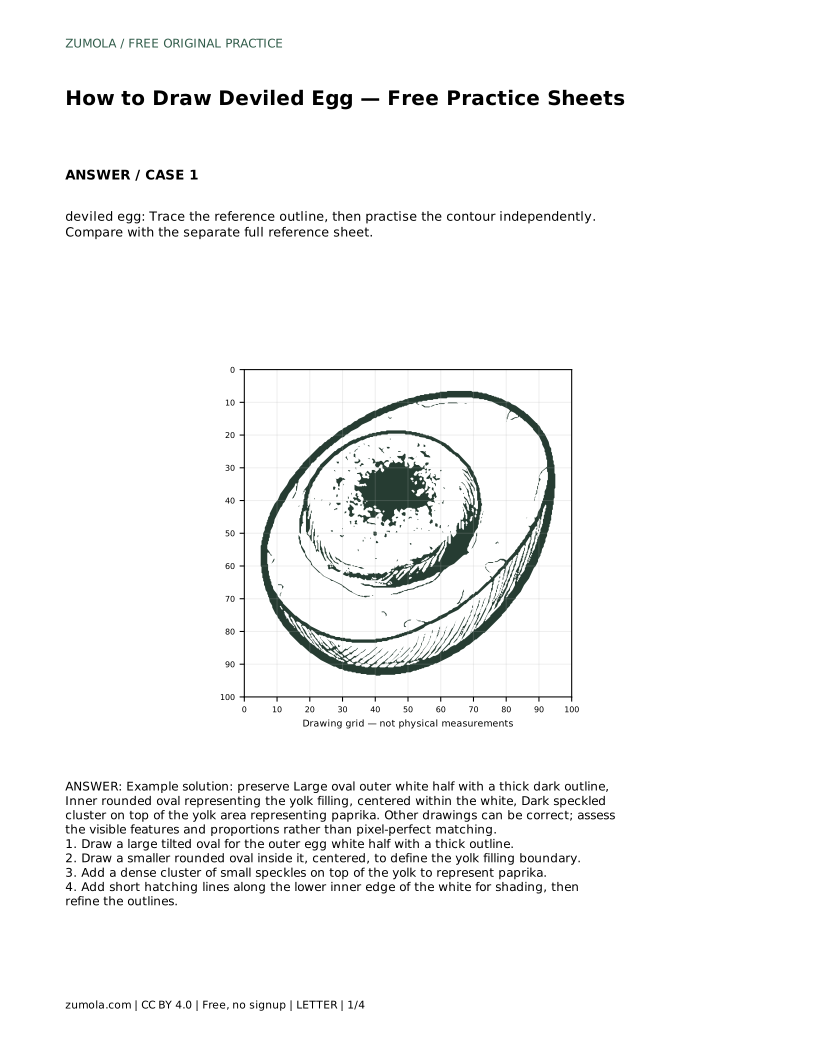
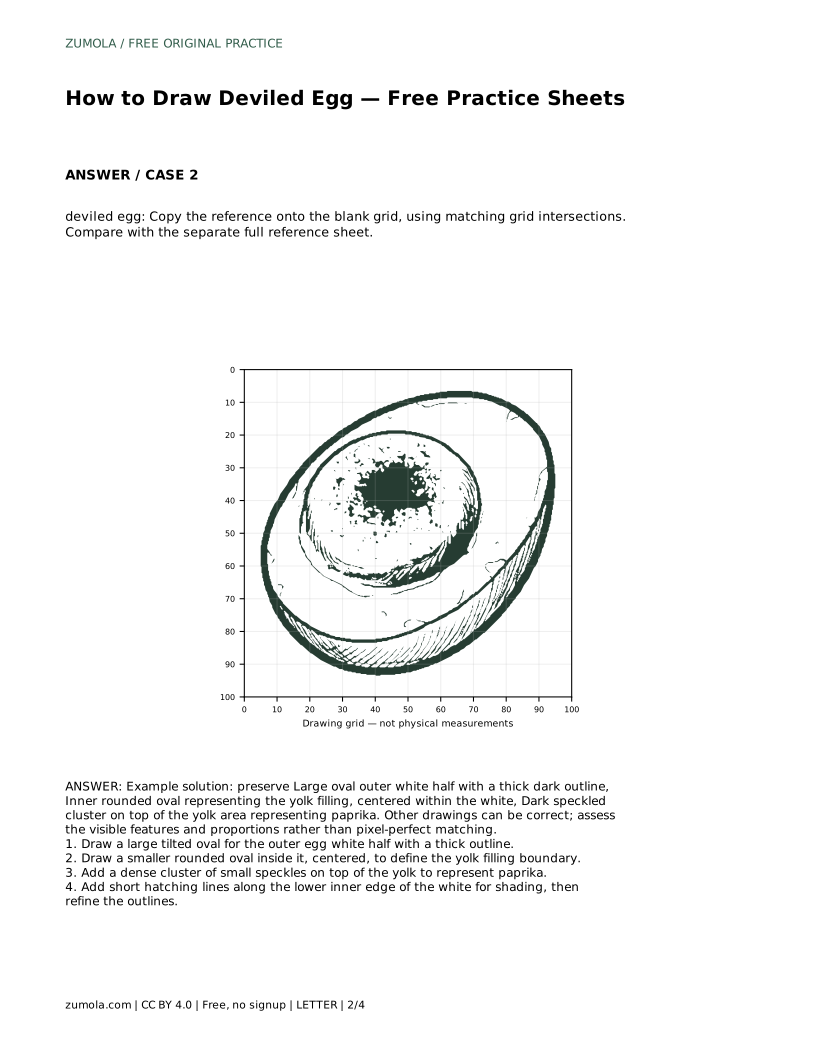
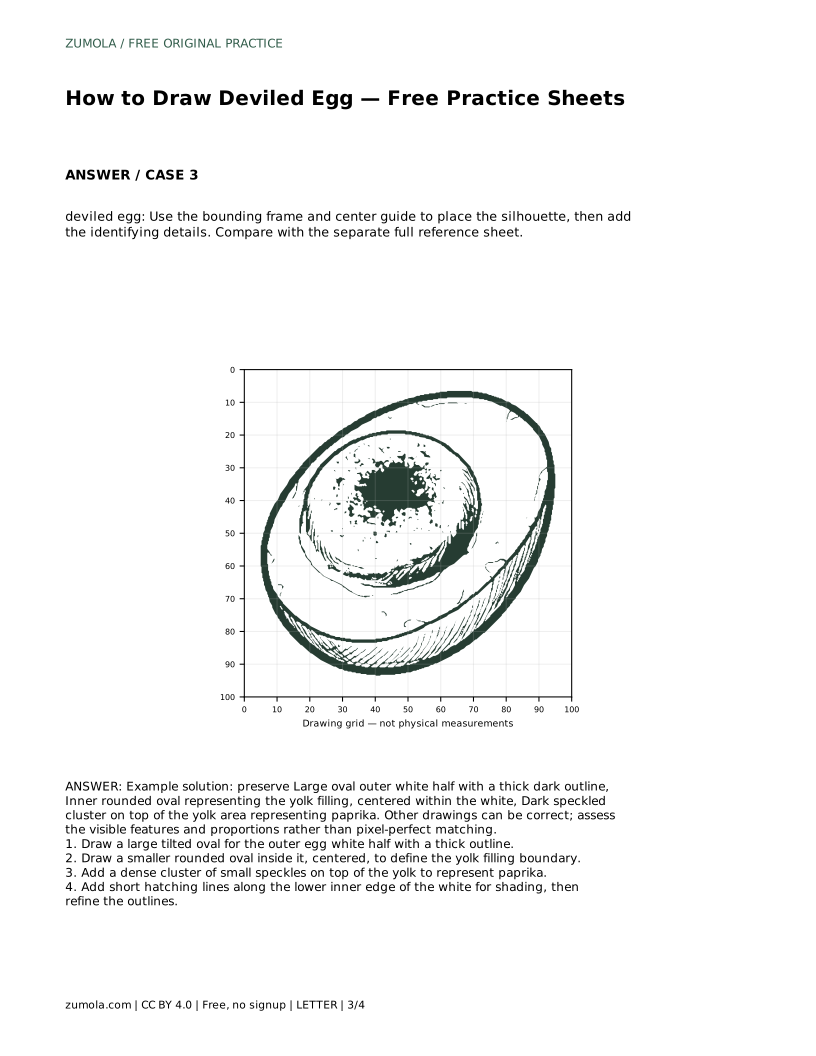
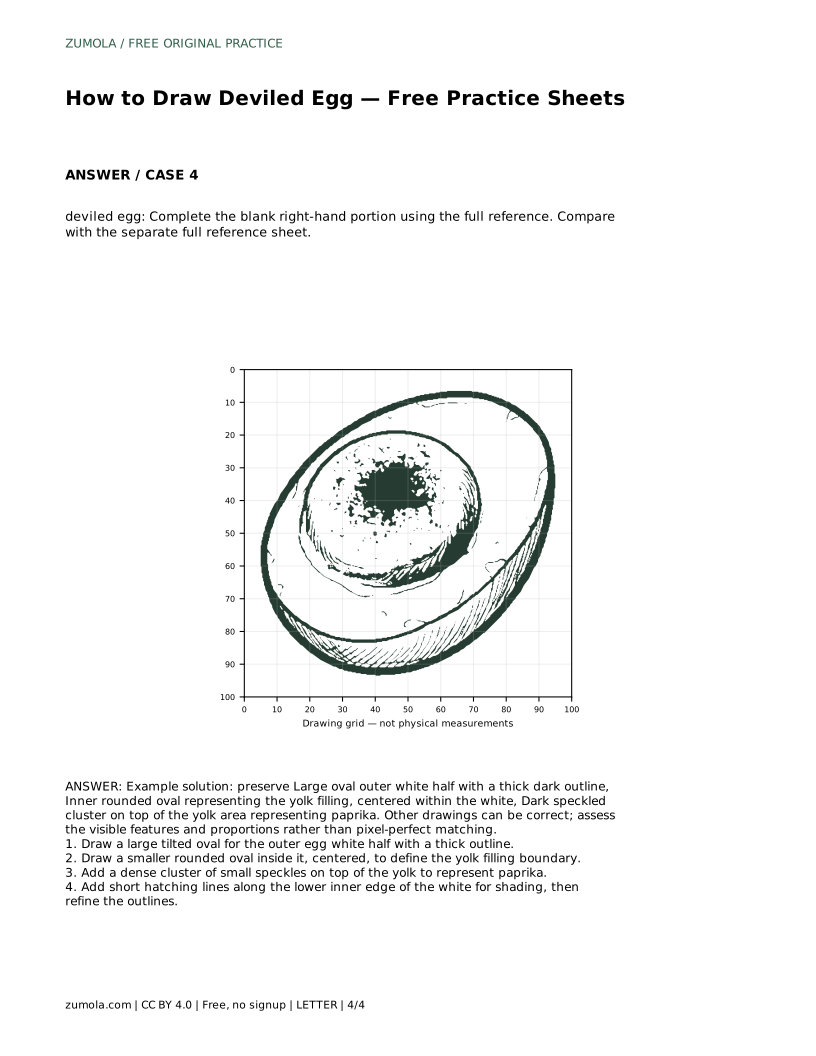
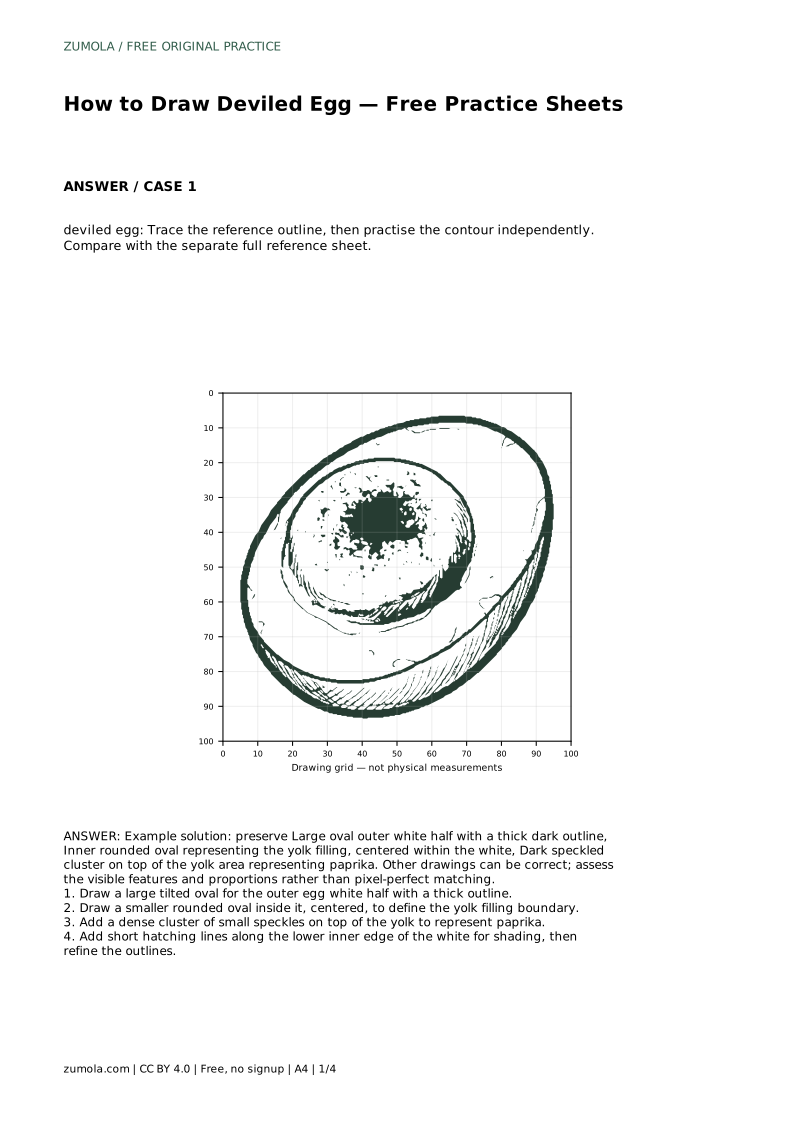
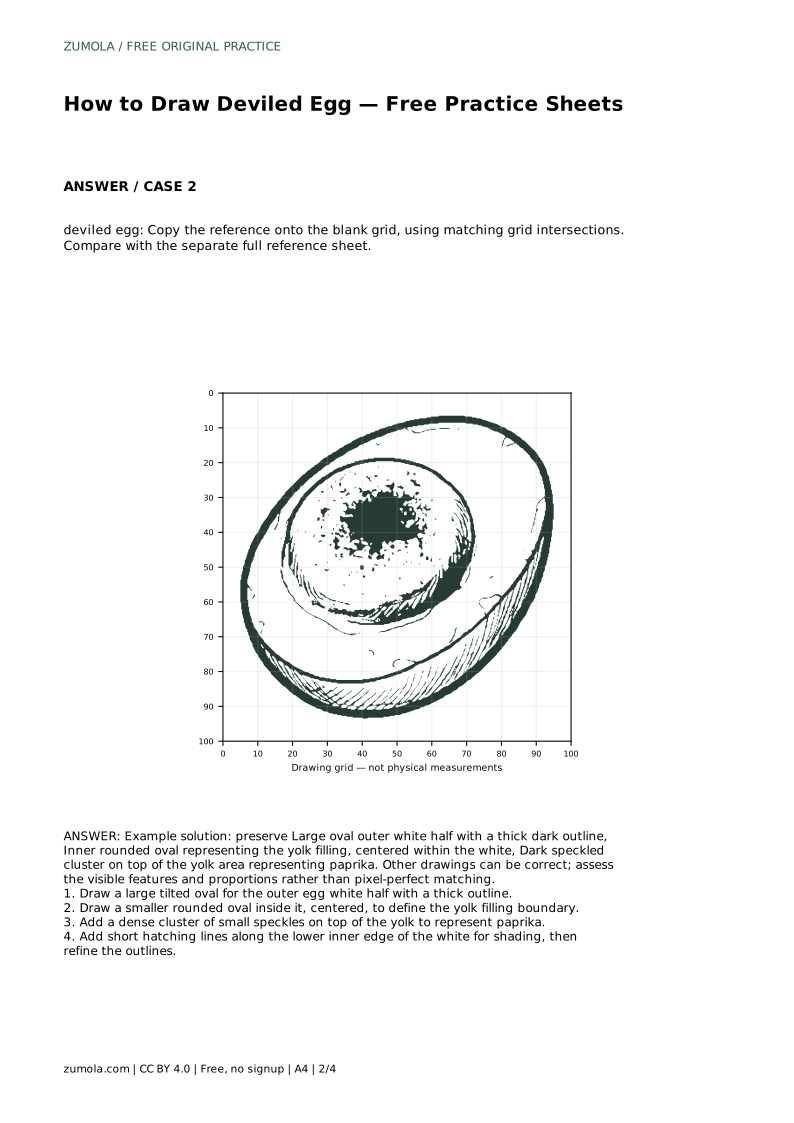
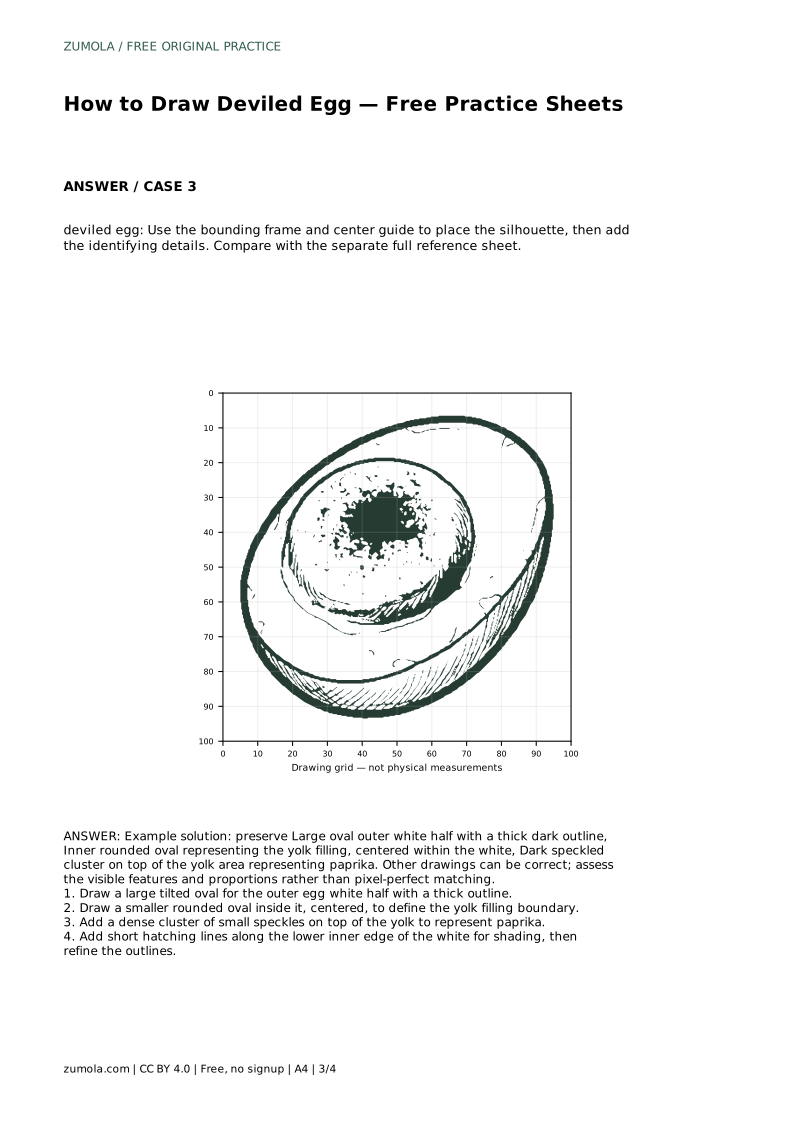
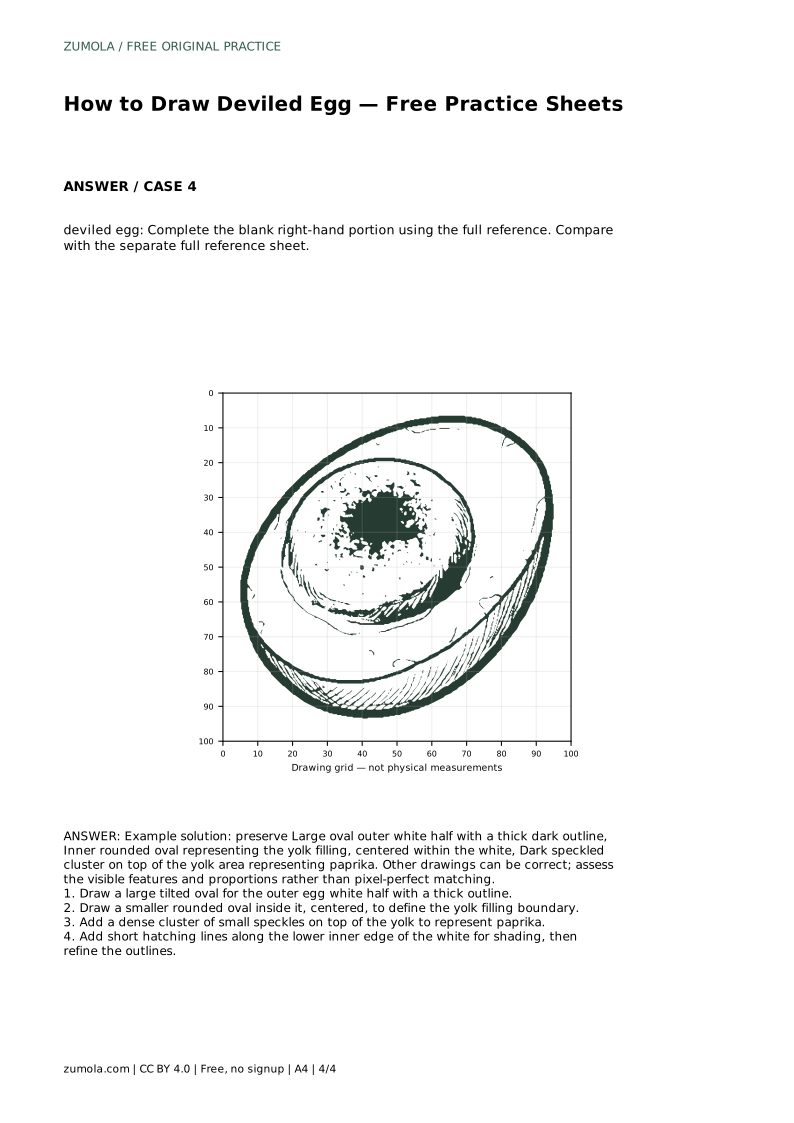
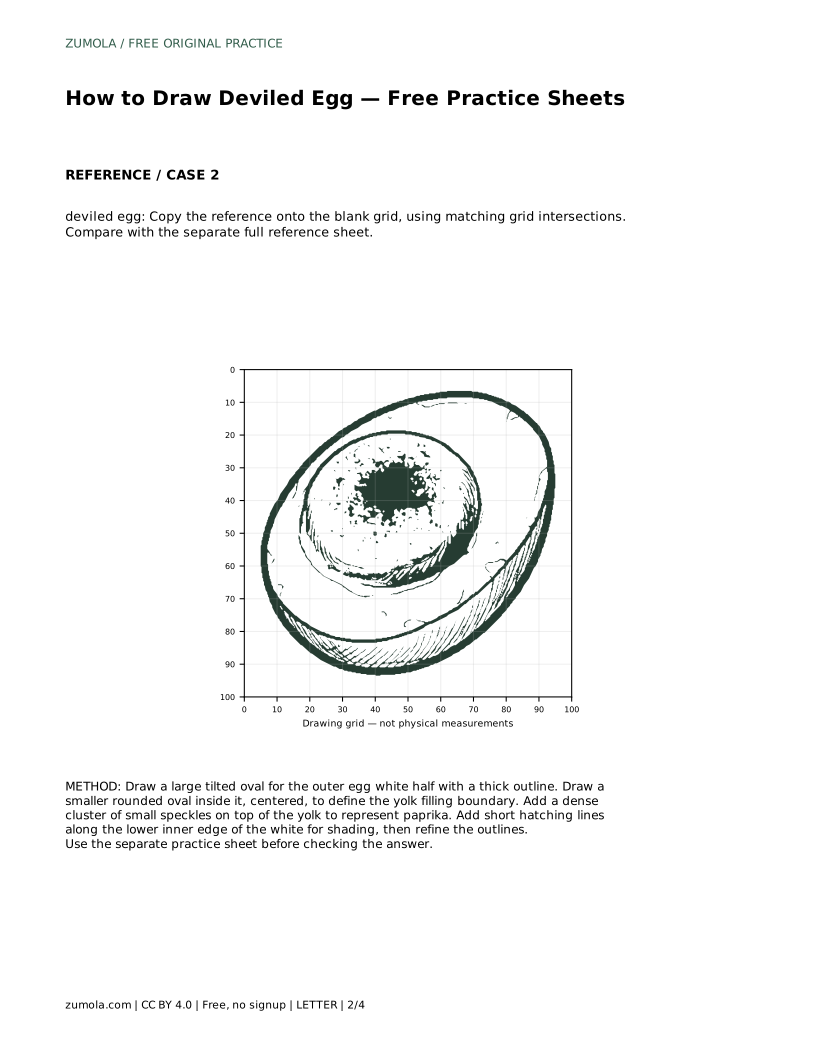
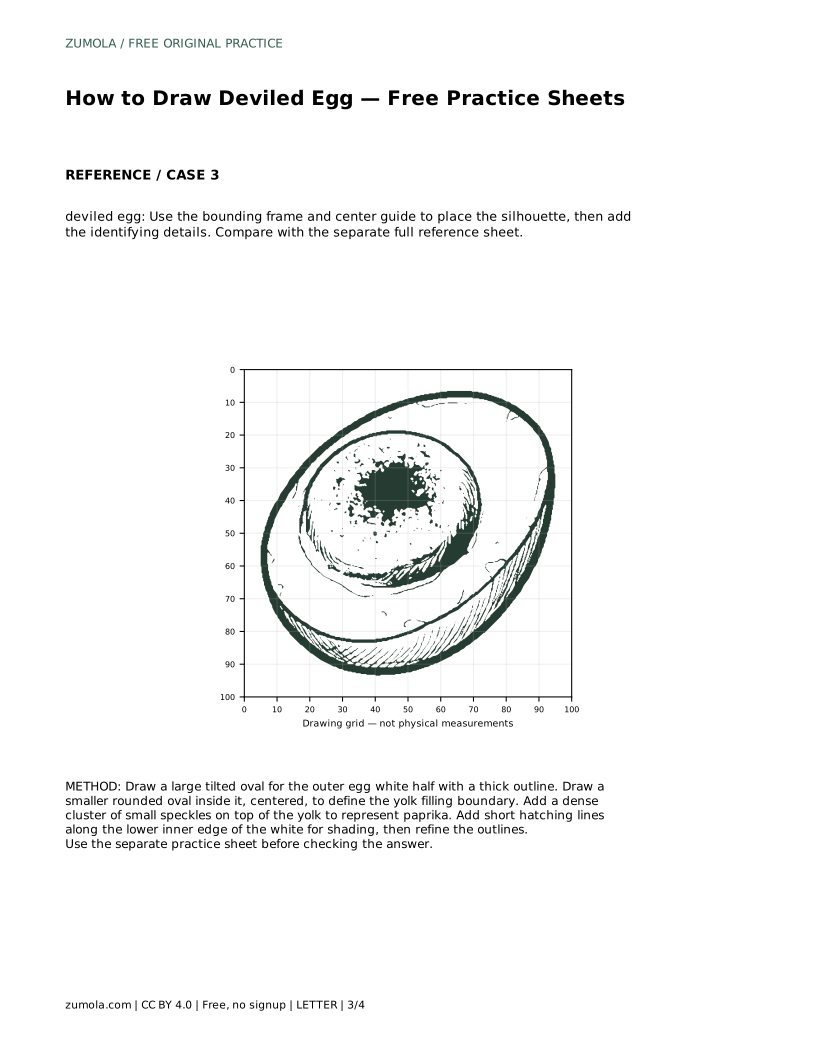
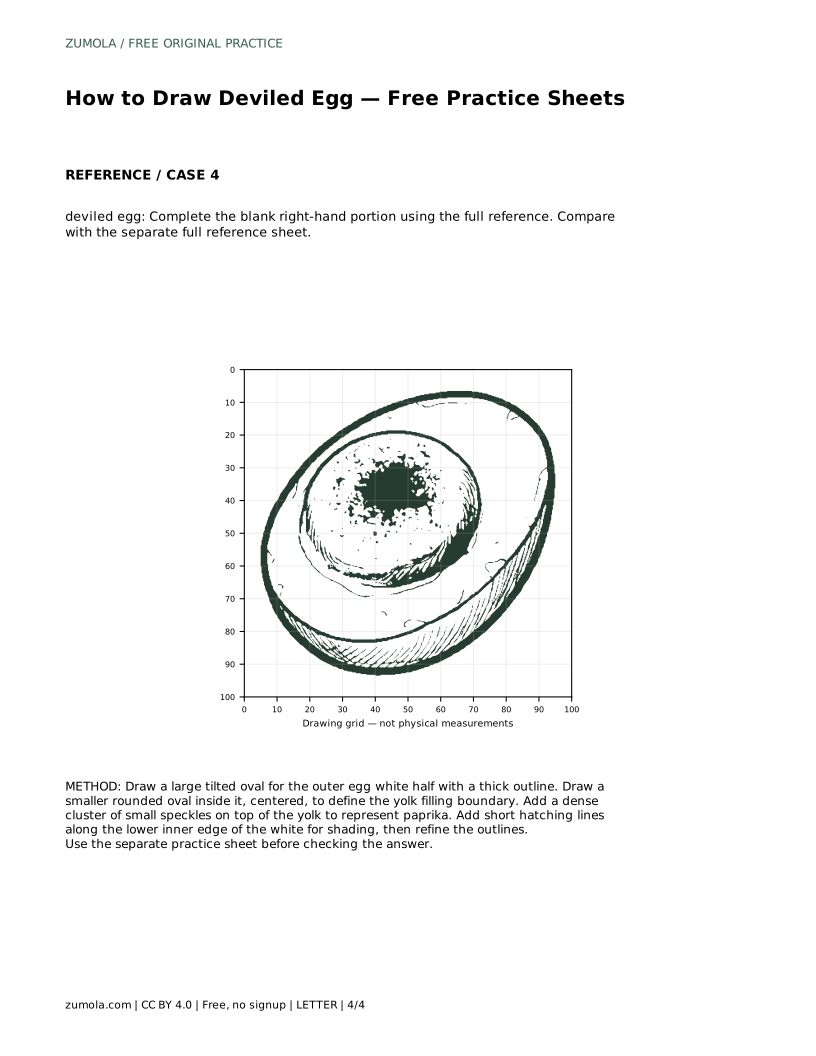
A deviled egg drawing is mostly a study in nested shapes: a wide outer oval for the egg white half, a smaller rounded oval inside it for the yolk filling, and a dense speckle cluster on top for paprika. This page explains how to place those shapes in order, how to keep the filling centered, and how to use the practice sheet formats to build control.
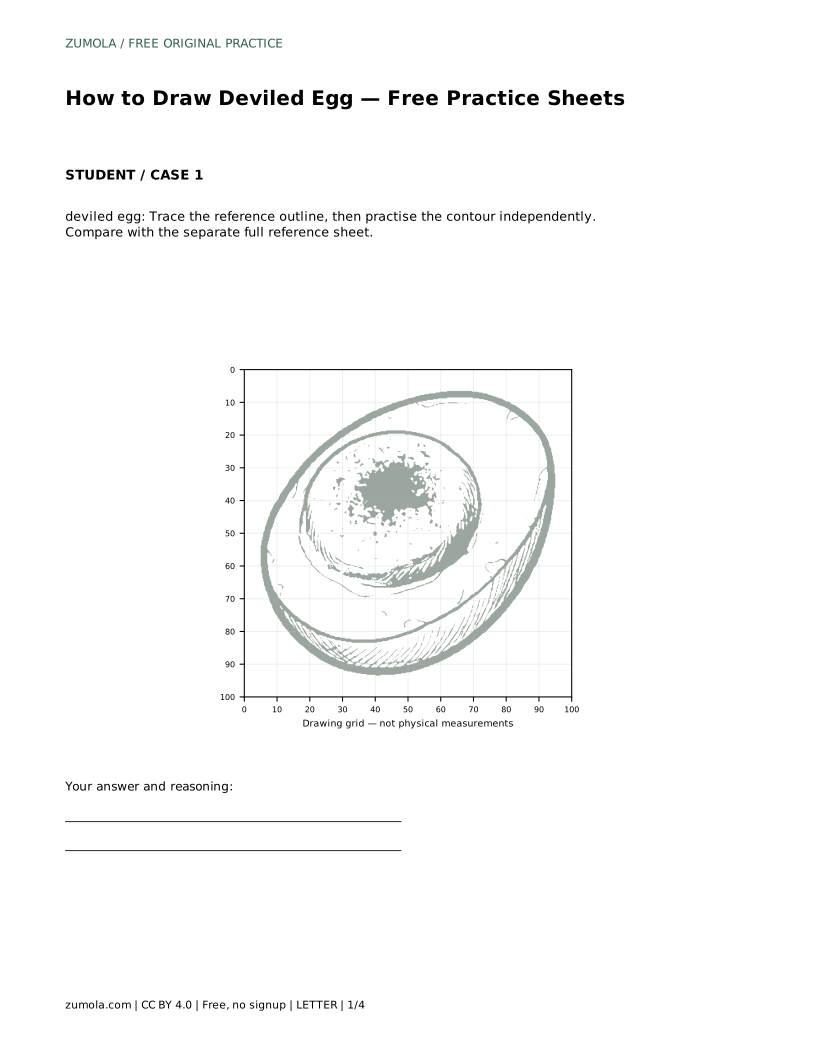
Start with the largest shape, because it sets the space every other feature must fit inside. The outer egg white half is a large oval, and it can sit at a slight tilt rather than perfectly level. Give that oval a thick dark outline so the silhouette reads clearly at a glance.
Inside the white, draw a smaller rounded oval for the yolk filling boundary. Keep it centered within the white, leaving a visible rim of white all the way around. If the filling oval drifts toward one edge, the drawing starts to look like a broken or bitten egg rather than a filled one.
Only after both ovals are placed should you add the paprika. Treat it as a dense cluster of small speckles sitting on top of the yolk area, not as scattered dots across the whole egg. Density matters: a tight cluster reads as seasoning, while sparse dots read as noise.
The trace format asks you to follow the reference outline first, then repeat the contour on your own without the guide. The point is to feel the shape before drawing it freehand. Compare your independent attempt with the separate full reference sheet rather than with your traced line.
The grid format asks you to copy the reference onto a blank grid using matching grid intersections. Read where the outer oval crosses each intersection, then where the inner filling oval sits relative to the same lines. Working intersection by intersection keeps proportions from drifting as you draw.
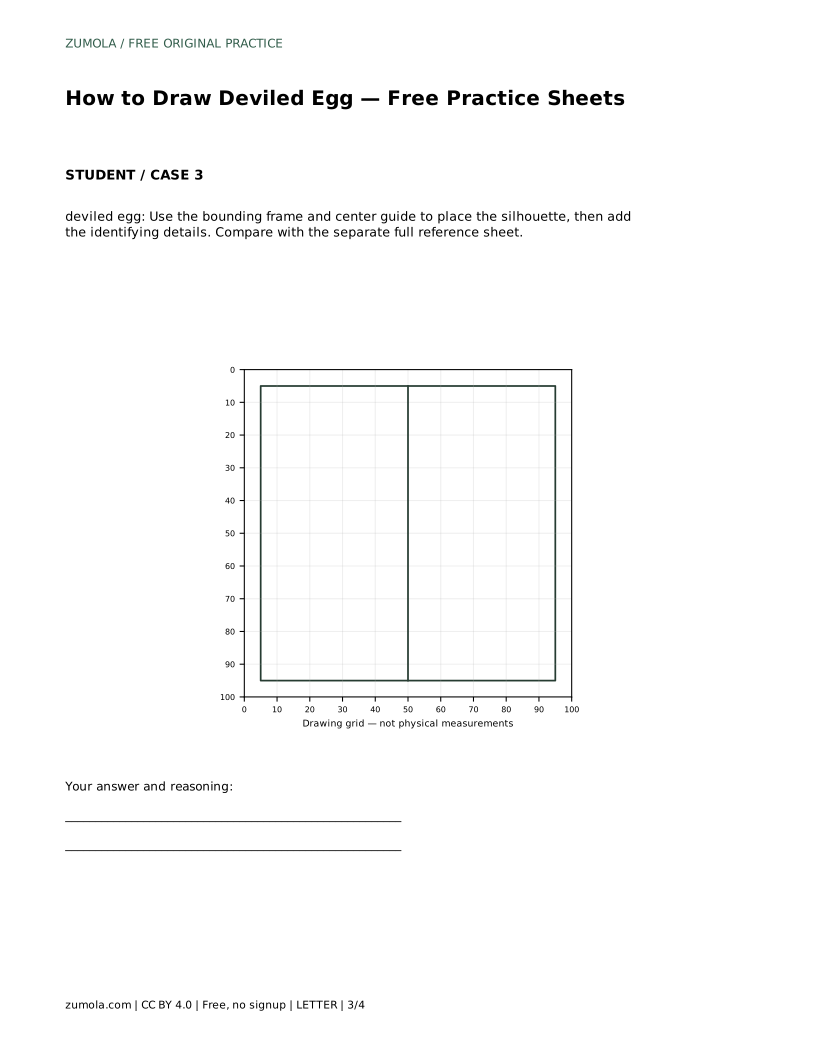
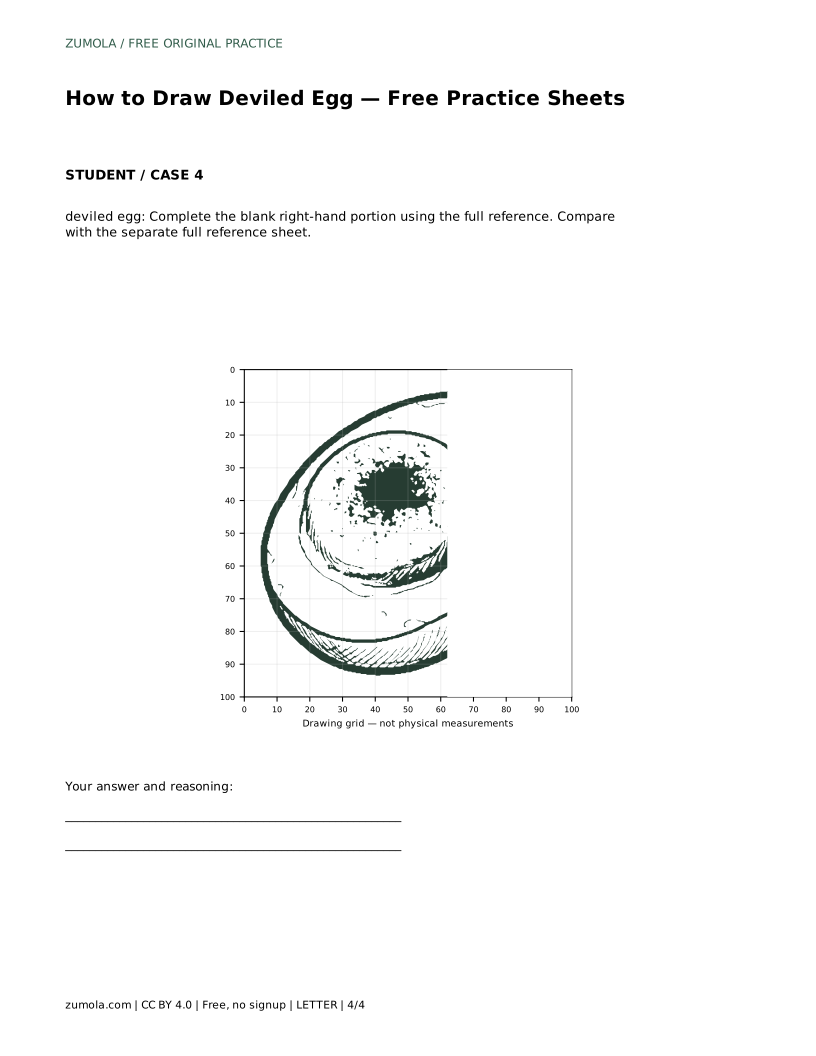
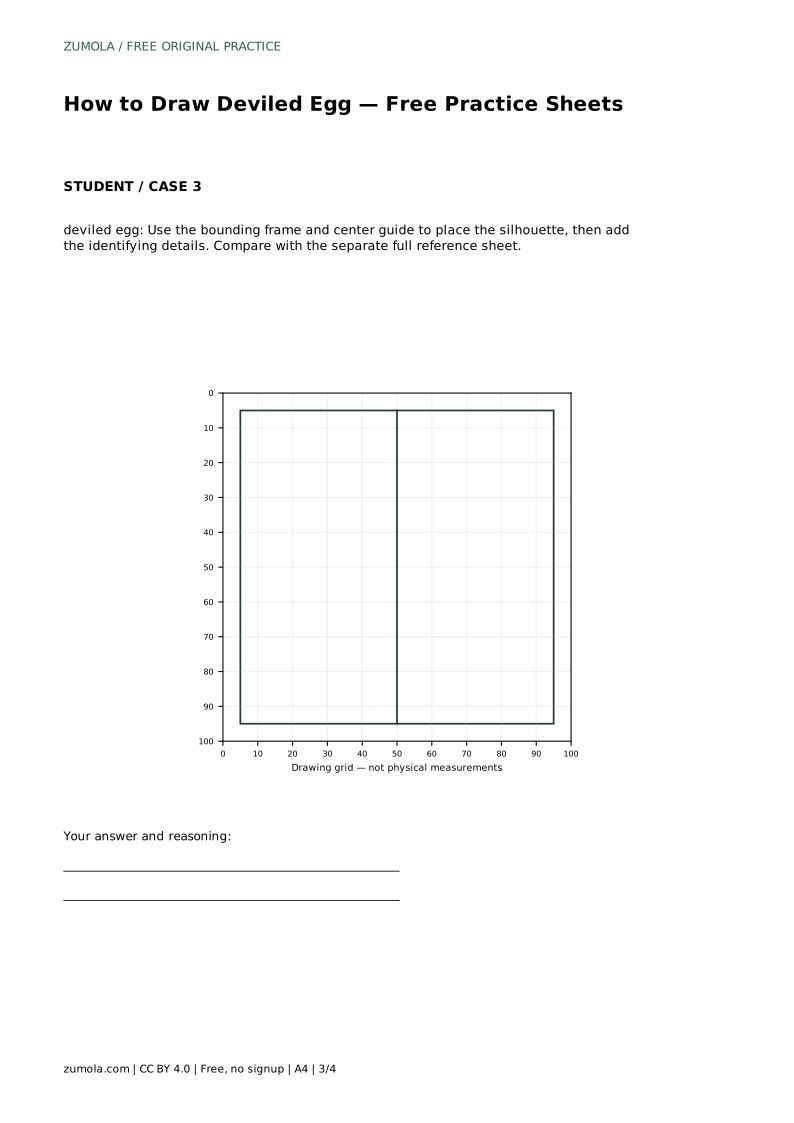
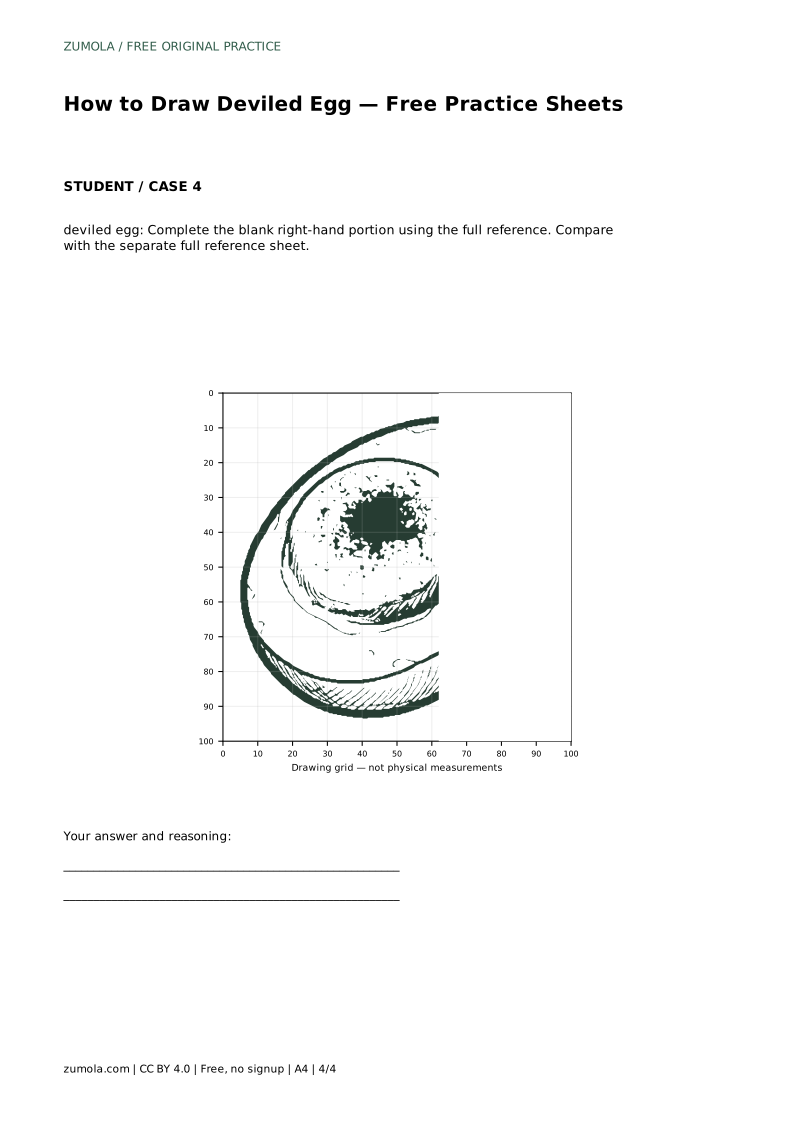
The bounding frame and center guide format gives you a placement frame first: use it to position the silhouette, then add the identifying details. The partial-completion format gives you the left portion of the reference and asks you to finish the blank right-hand portion, which tests whether you can continue a shape accurately from a starting point.
Short hatching lines along the lower inner edge of the white suggest the curve of the egg half without turning the drawing into a full tonal study. Keep the hatching inside the white and parallel to its lower edge, and leave the upper surface mostly clear.
Refine outlines last. Thicken the outer white outline, keep the filling boundary slightly lighter so the two shapes stay distinguishable, and check that the paprika cluster still sits on the yolk area after any adjustment. Art has multiple valid outcomes here, so judge the visible features and proportions rather than pixel-perfect matching.
deviled egg: Trace the reference outline, then practise the contour independently. Compare with the separate full reference sheet.
Example solution: preserve Large oval outer white half with a thick dark outline, Inner rounded oval representing the yolk filling, centered within the white, Dark speckled cluster on top of the yolk area representing paprika. Other drawings can be correct; assess the visible features and proportions rather than pixel-perfect matching. Draw a large tilted oval for the outer egg white half with a thick outline. Draw a smaller rounded oval inside it, centered, to define the yolk filling boundary. Add a dense cluster of small speckles on top of the yolk to represent paprika. Add short hatching lines along the lower inner edge of the white for shading, then refine the outlines.
Outer white oval first, then the centered yolk filling oval, then the paprika cluster, then hatching and outline refinement.
No. A slight tilt is fine; what matters is that the filling oval stays centered within the white.
Check that the outer oval is large with a thick outline, the filling oval is smaller and centered, and the paprika forms a dense cluster on the yolk area.
All drawing practice · Free coordinate paper
Original resources · CC BY 4.0 · Free for personal and classroom use with attribution.