Reference diagrams
LETTER · Download PDF
A4 · Download PDF
Free original resources
Learn to draw a dumpling with a rounded pouch body, broad base, pleated wavy top edge, and central knot. Includes tracing, grid, and completion practice guidance.
Four original cases, with reference diagrams, practice sheets and worked answers. Everything is free; no signup required.
LETTER · Download PDF
A4 · Download PDF
LETTER · Download PDF
A4 · Download PDF
LETTER · Download PDF
A4 · Download PDF
Use A4 or US Letter to match your printer. Use the stated values and conditions to solve each exercise; diagrams are not physical measuring rulers.
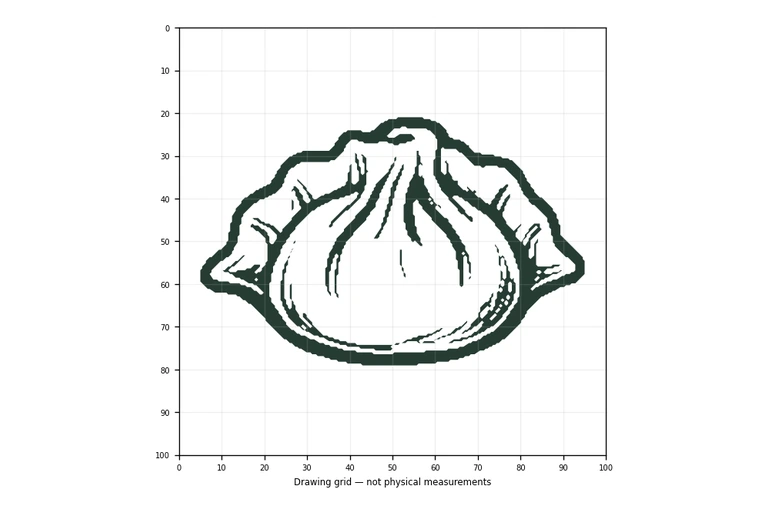
A dumpling is easy to draw once you understand its basic shape: a wide, shallow base, a rounded pouch body, and a gathered top edge with pleats. This guide explains how to build that shape step by step, then use practice sheets to trace, copy, and complete the drawing independently. Because drawings can vary, you will assess visible features and proportions rather than expect an exact match.
Start with the bottom of the dumpling, not the top. A wide, shallow crescent or bowl-shaped line gives the drawing a stable base and helps you judge the overall width before adding height. Keep this line gentle rather than sharply curved, so the dumpling looks like a soft pouch resting on a surface.
Above that base, draw a rounded pouch body. The sides should flare slightly outward as they rise, which makes the dumpling feel filled rather than flat. Avoid making the body perfectly circular; a dumpling usually looks wider at the bottom and narrower near the gathered top.
The top edge is the identifying feature. Draw a wavy, pleated line that gathers toward a small central top knot. The waves do not need to be identical, but they should suggest fabric-like folds pulled together. Finally, add curved fold lines running from the top knot down the body to show pleats and volume.
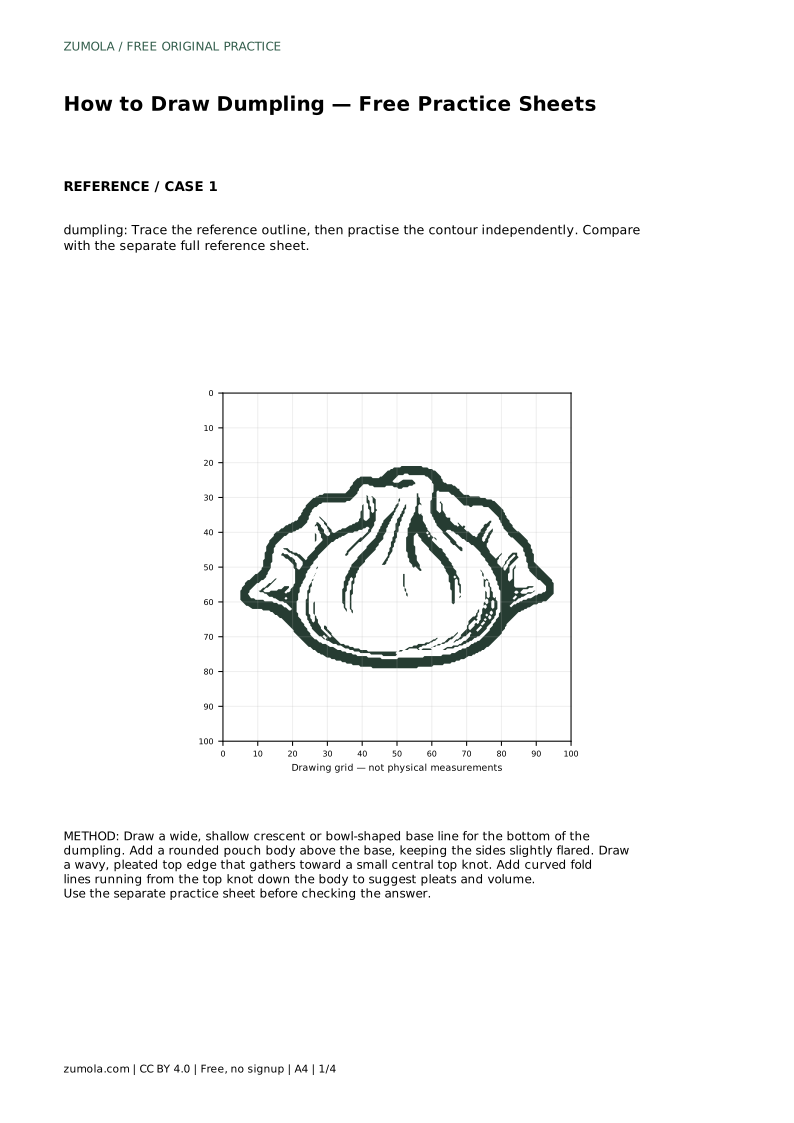
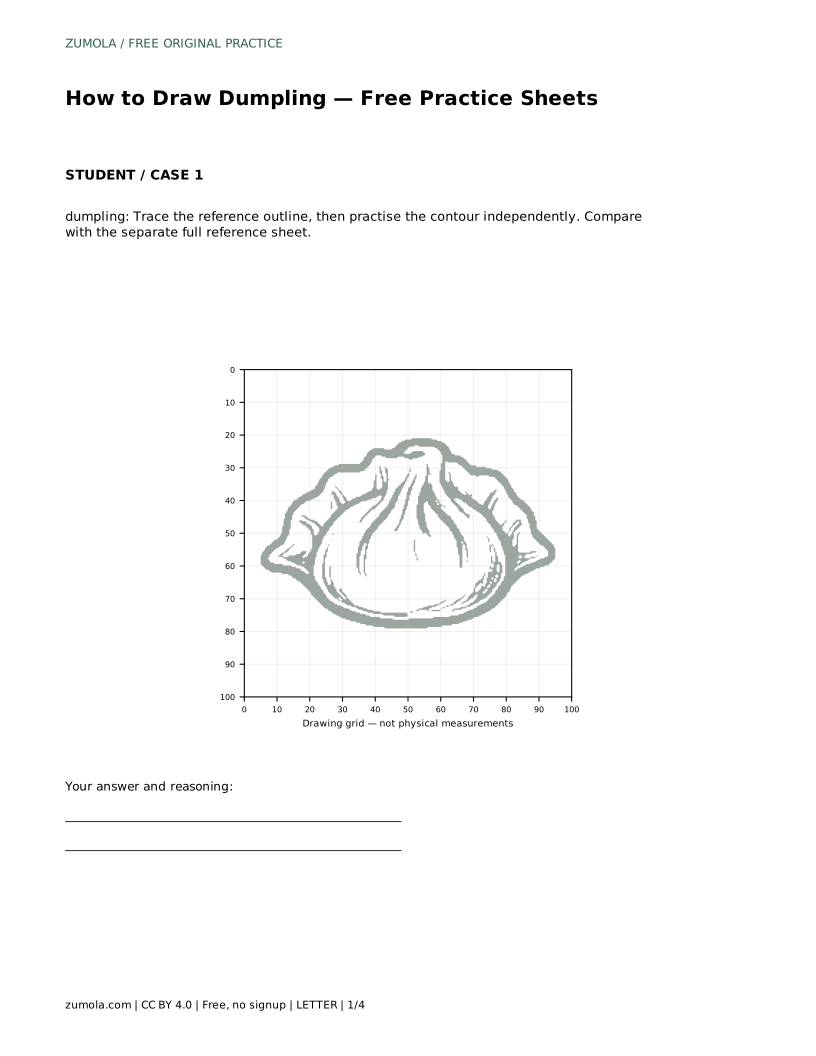
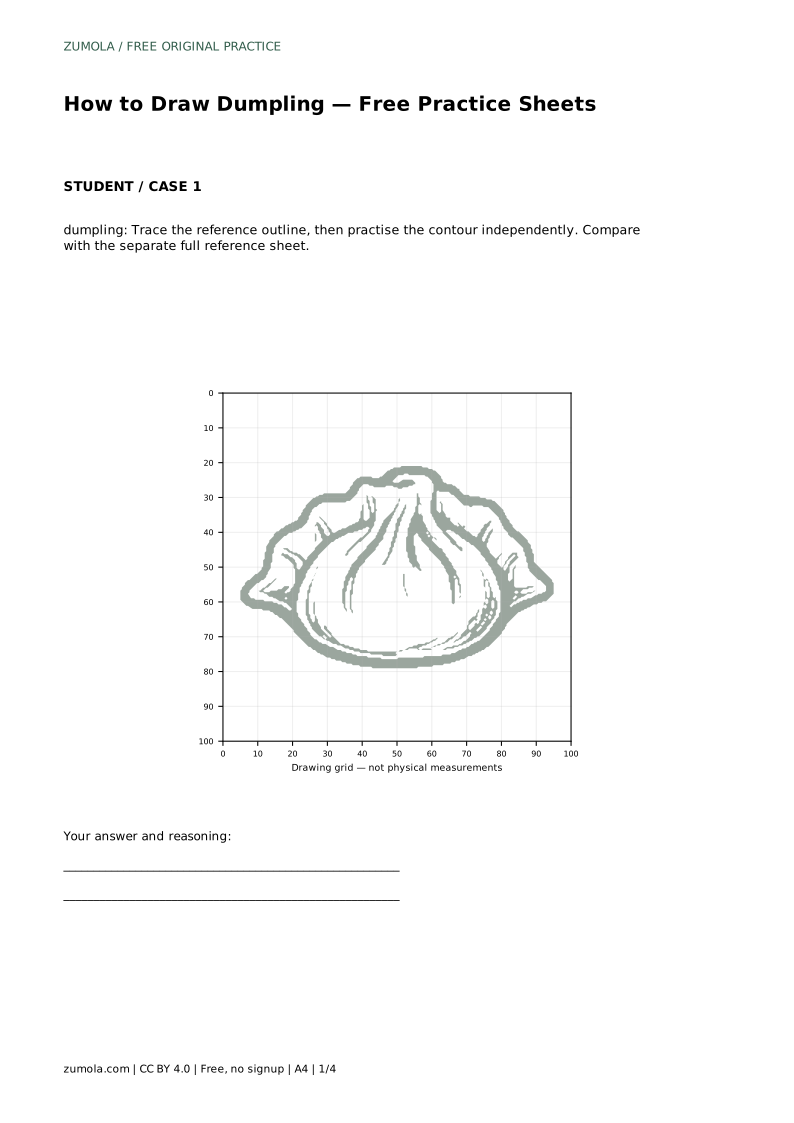
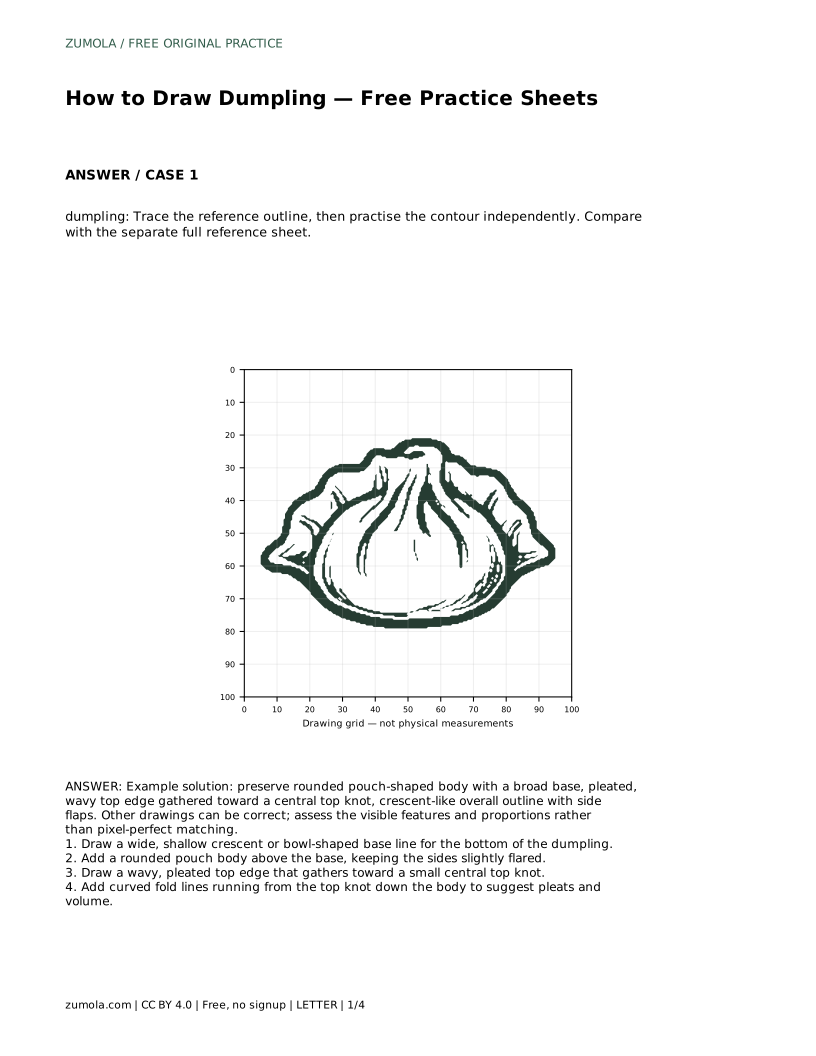
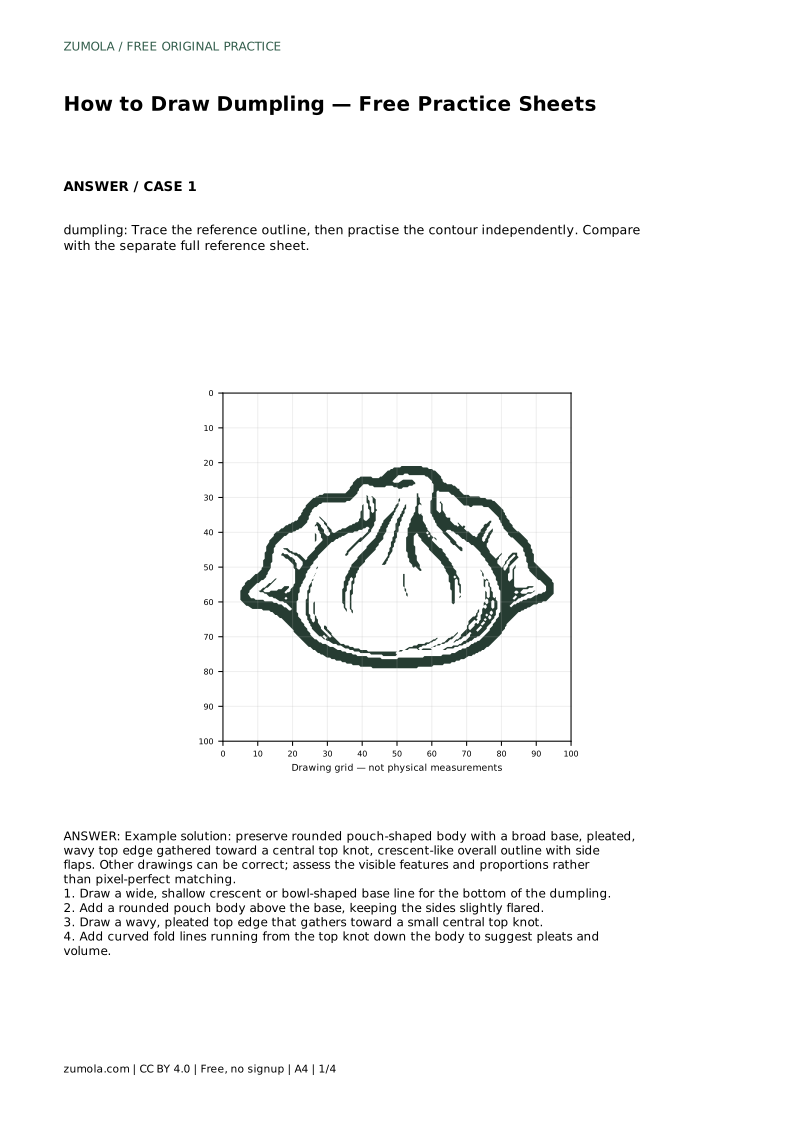
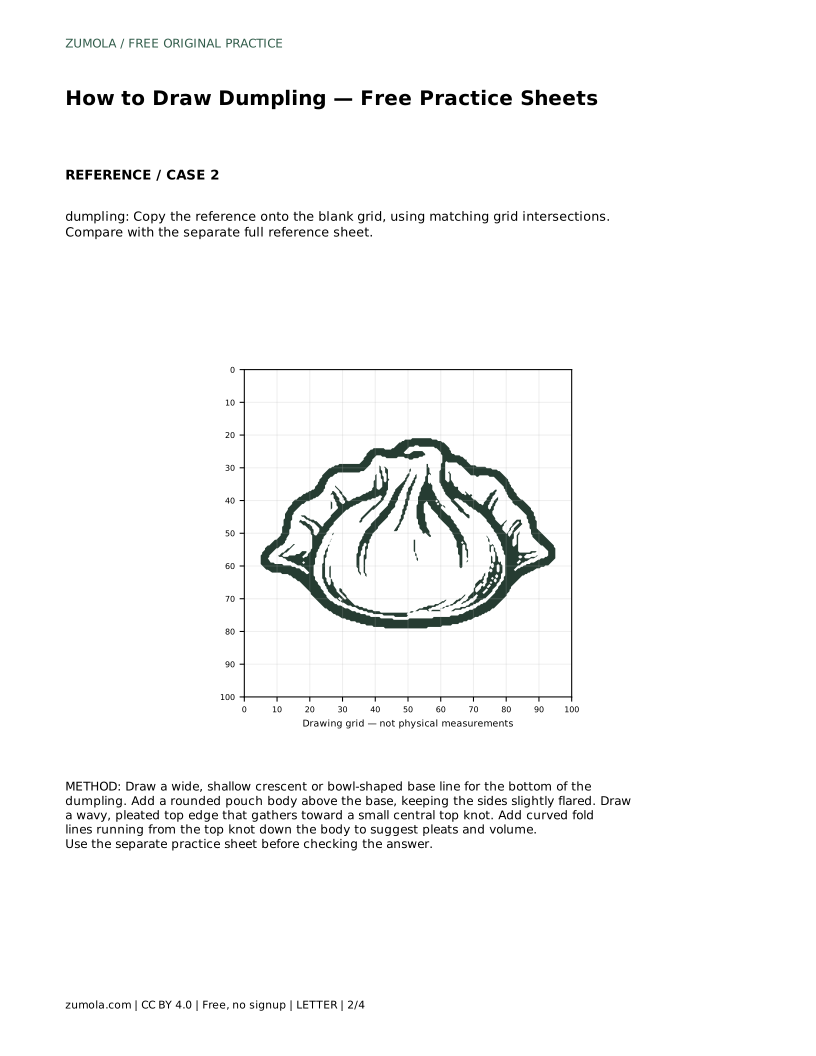
Tracing helps you learn the order of the shape. Follow the reference outline first, then practise the contour independently on a separate area. Compare your freehand contour with the full reference sheet, checking the base width, the flare of the sides, and the position of the top knot.
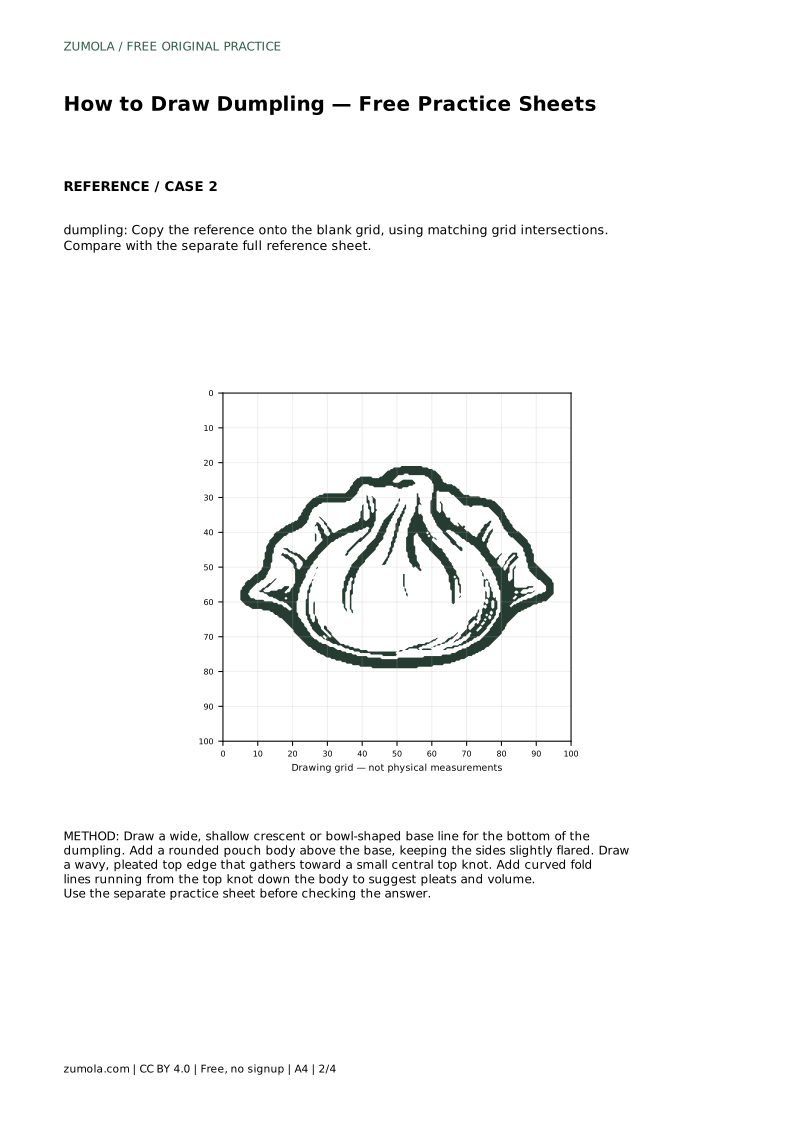
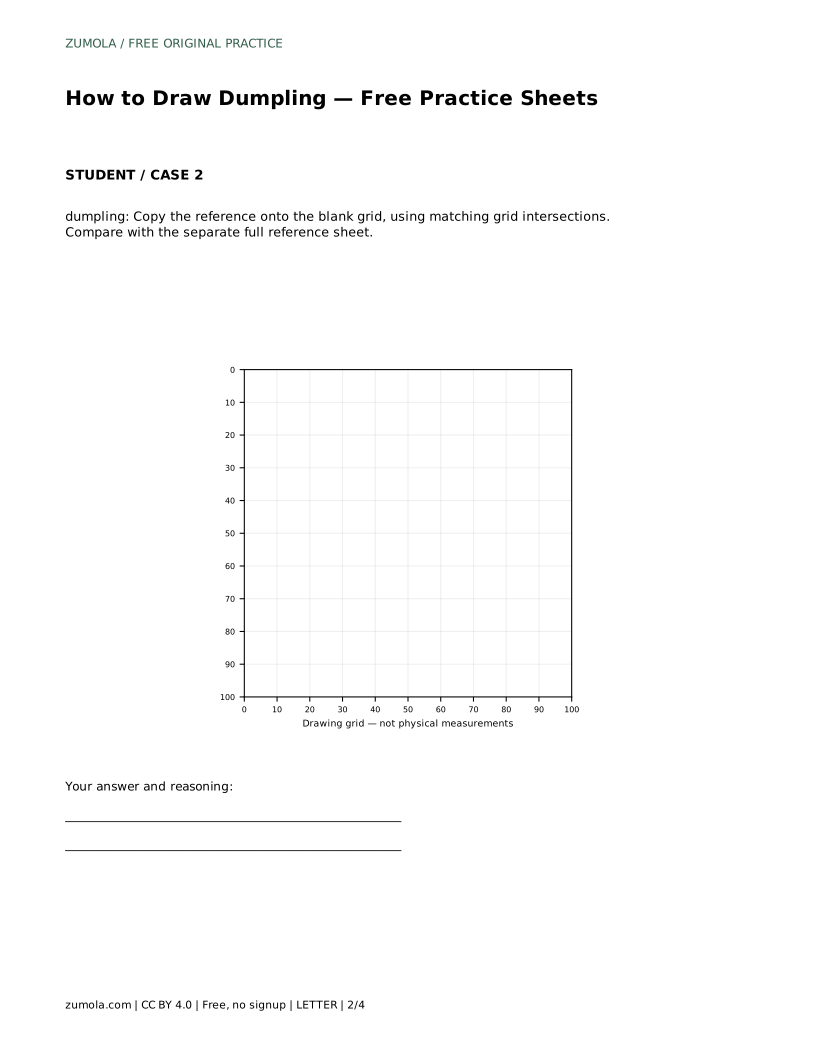
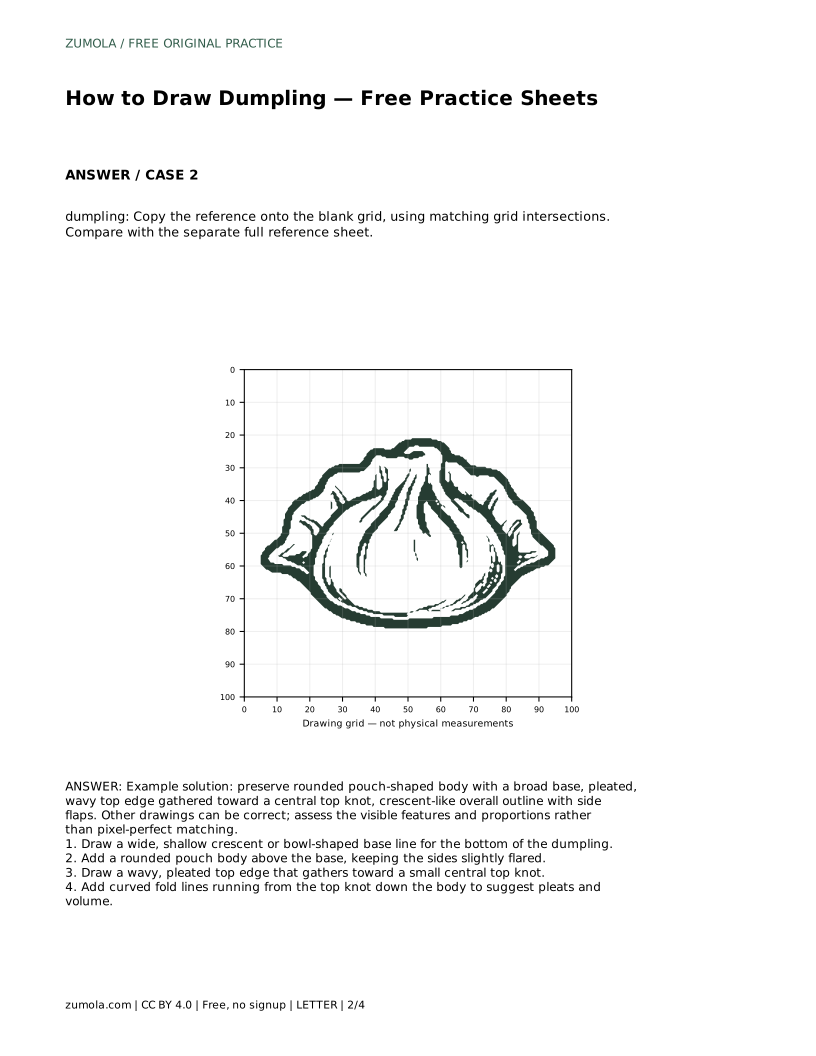
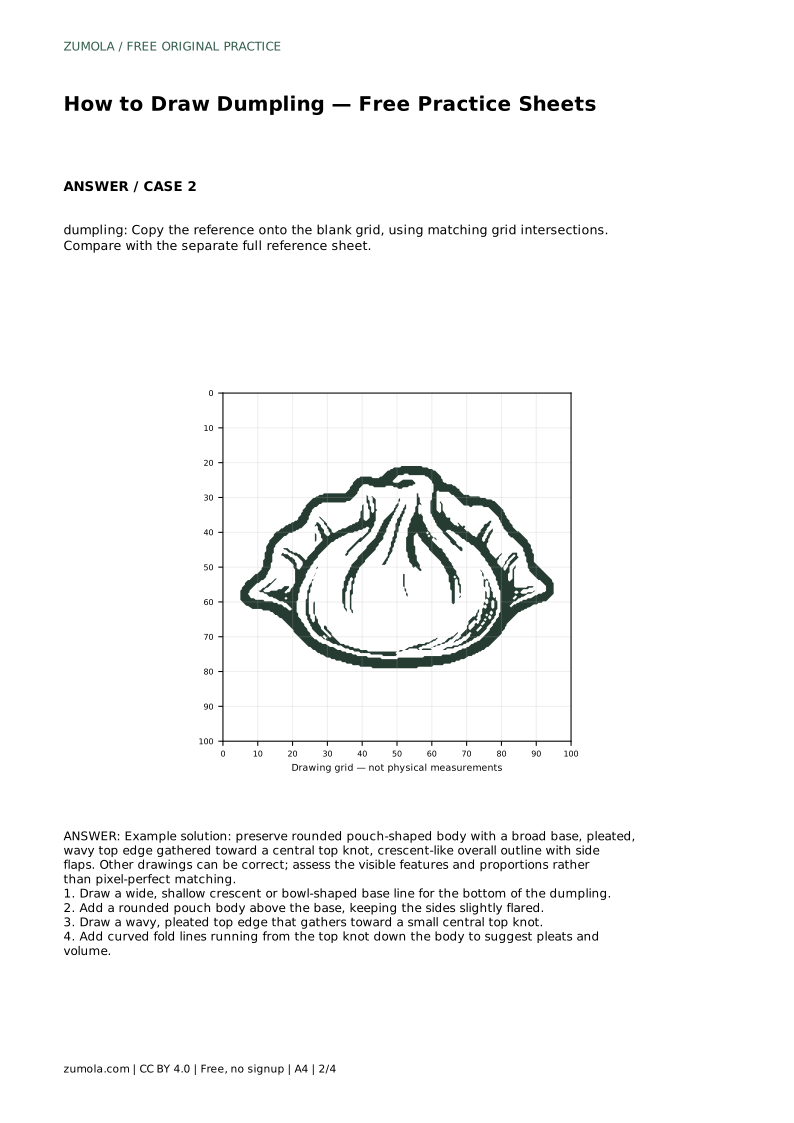
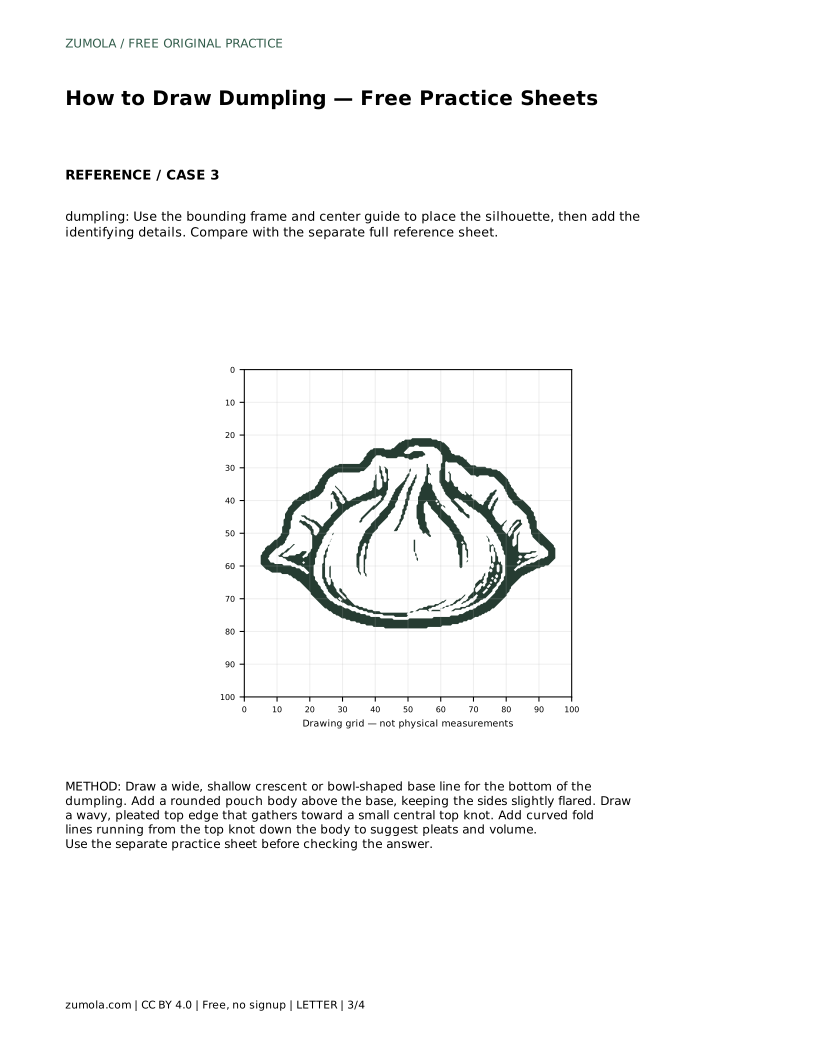
Grid copying trains placement. Copy the reference onto the blank grid using matching grid intersections, so the base, body, and top knot land in comparable positions. The grid is a placement aid, not a guarantee of identical proportions.
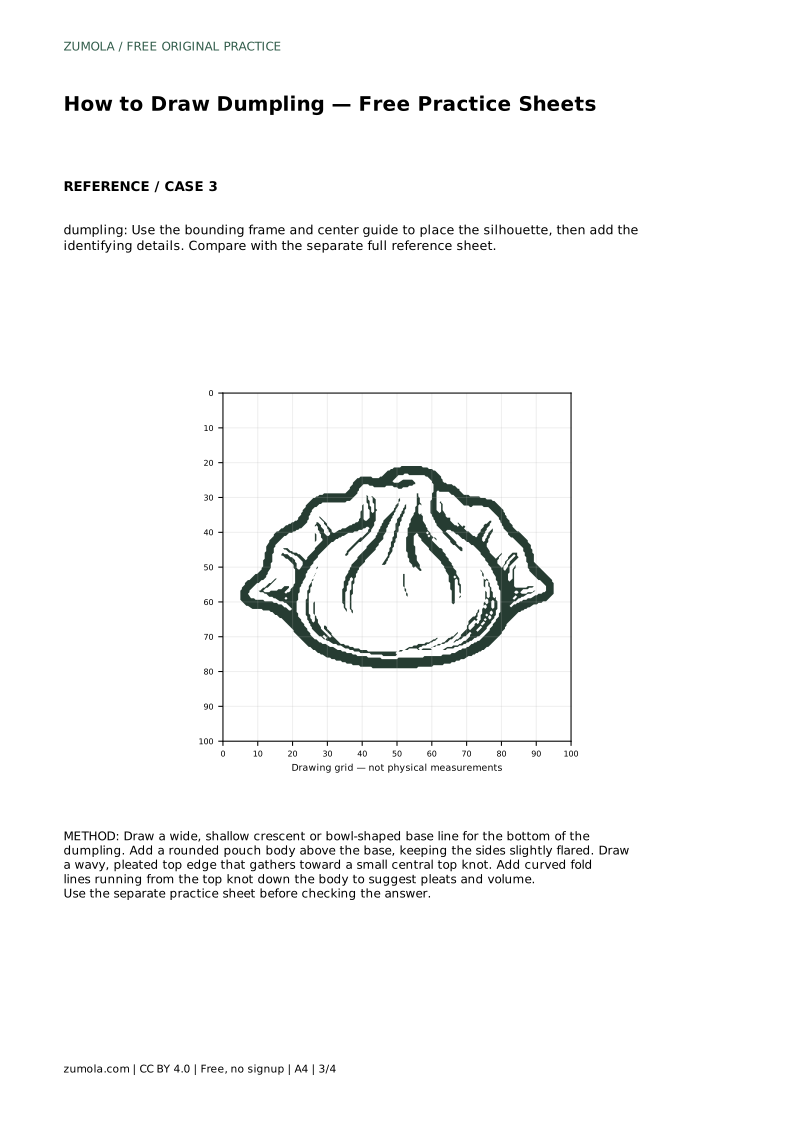
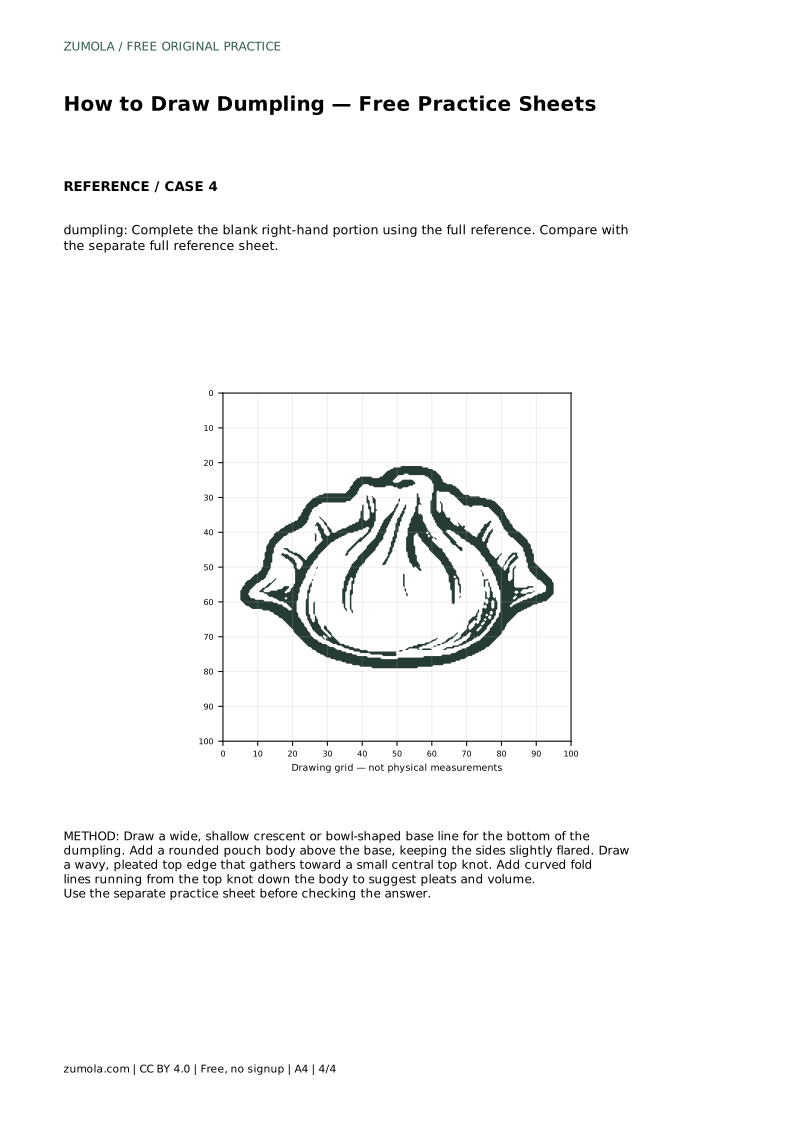
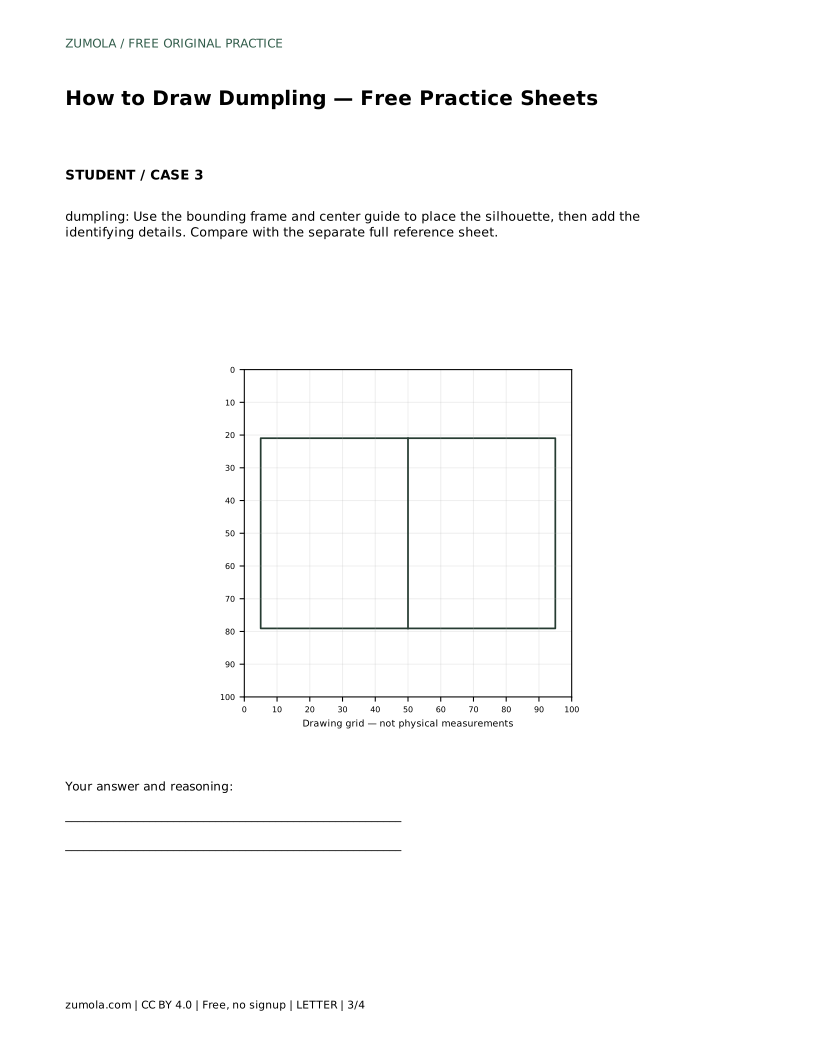
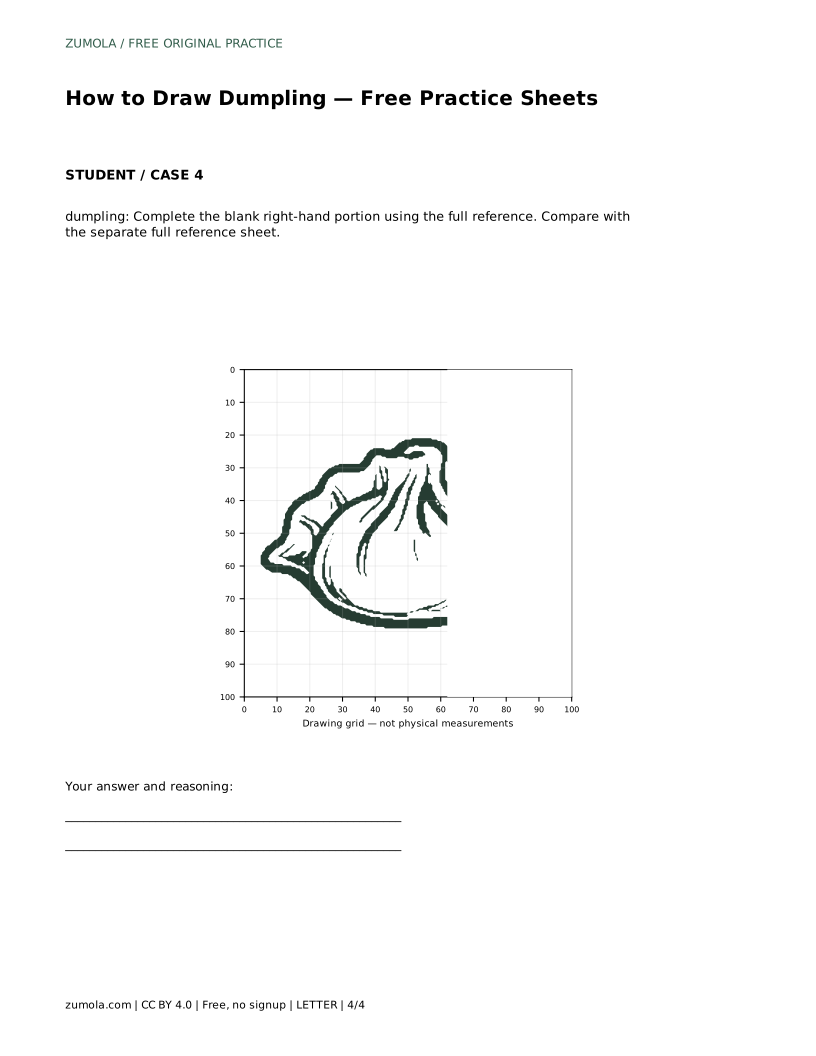
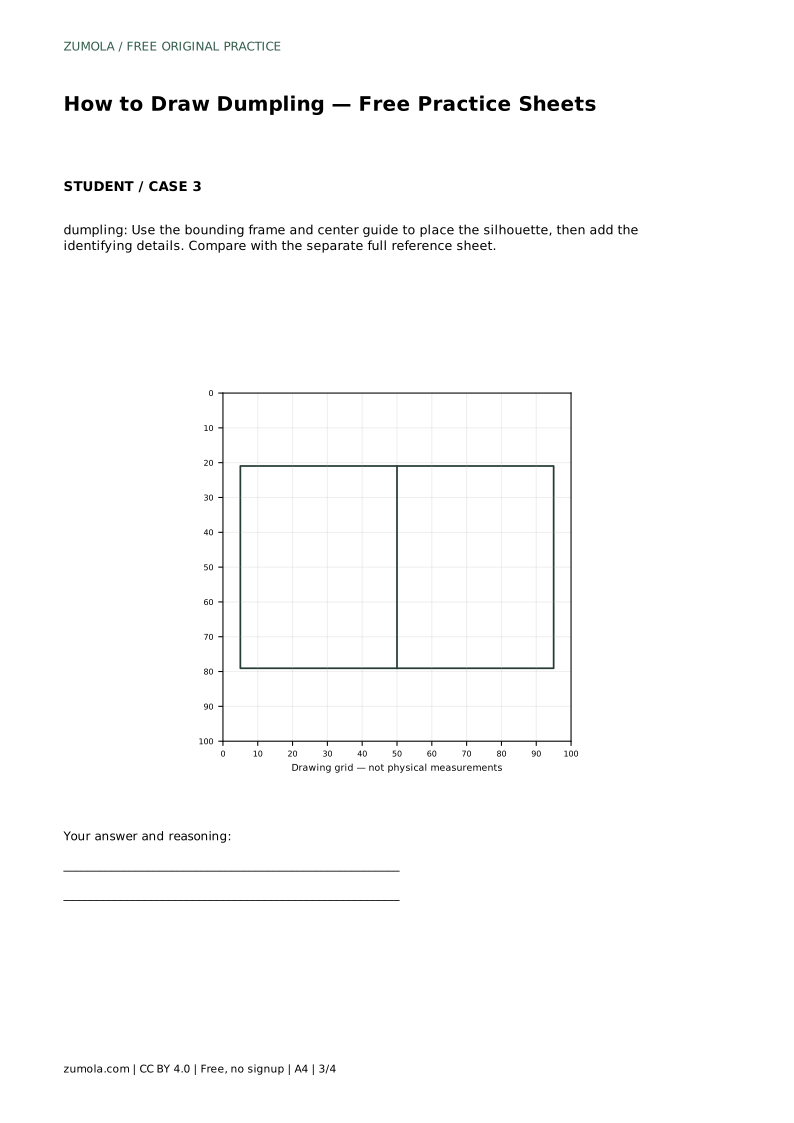
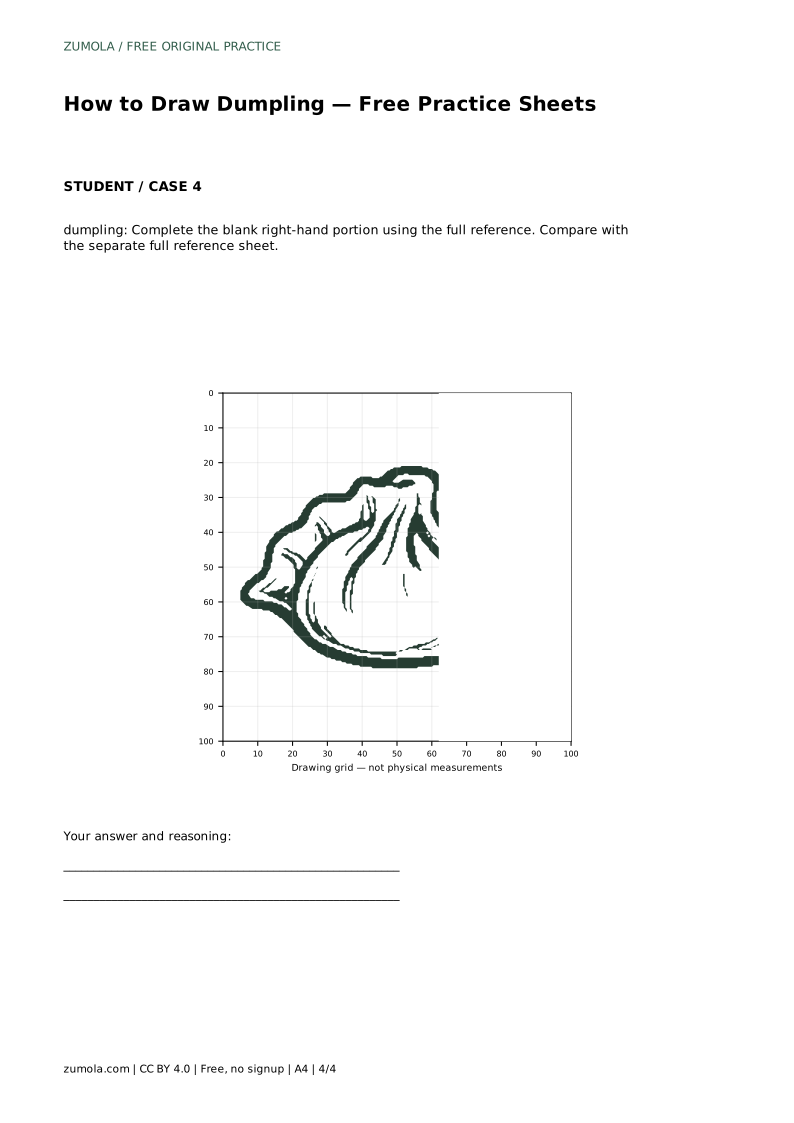
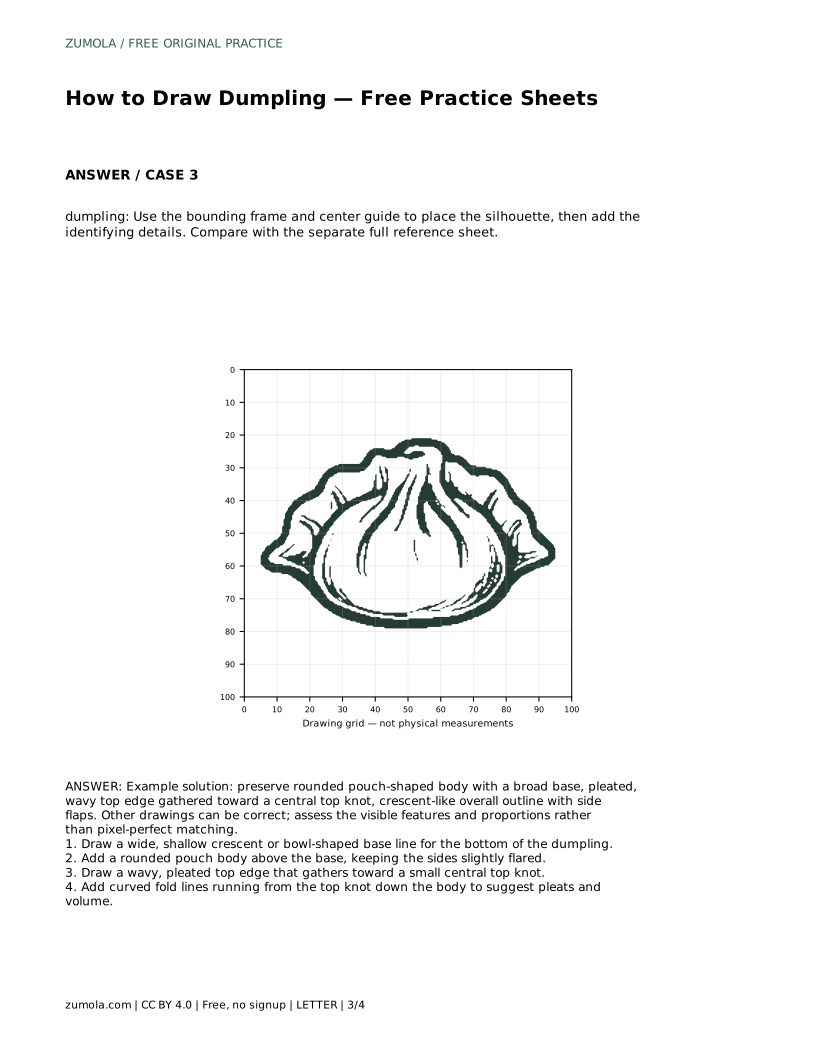
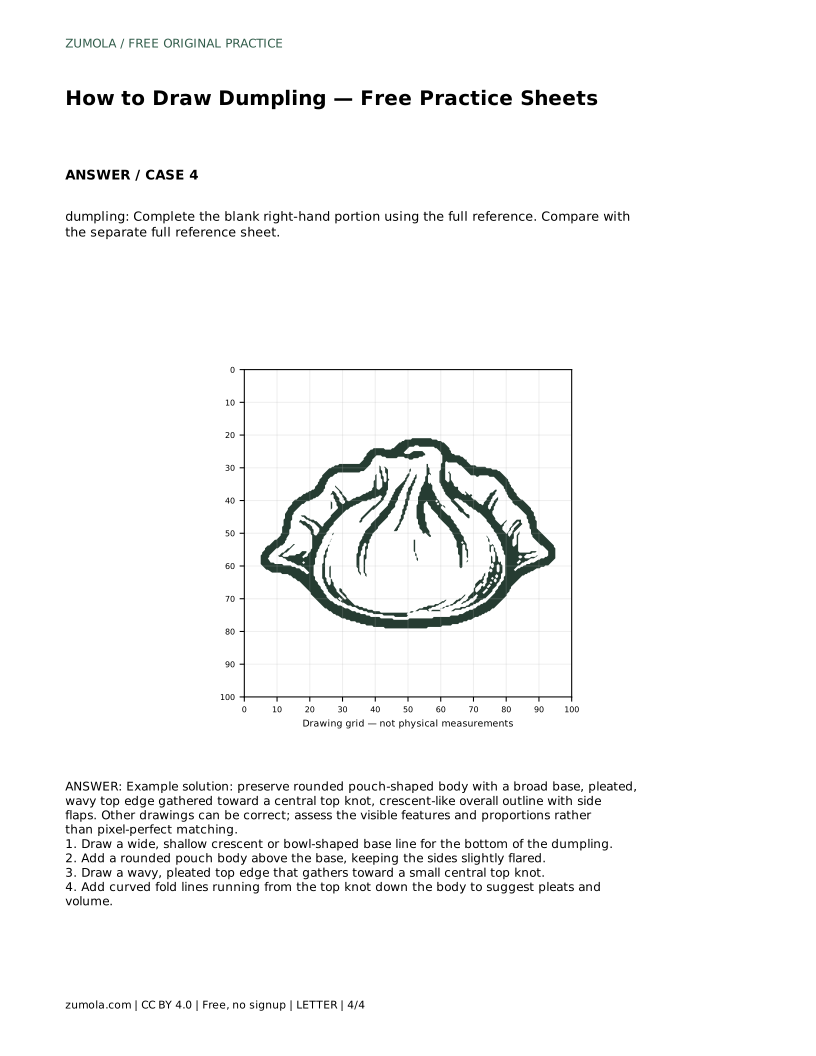
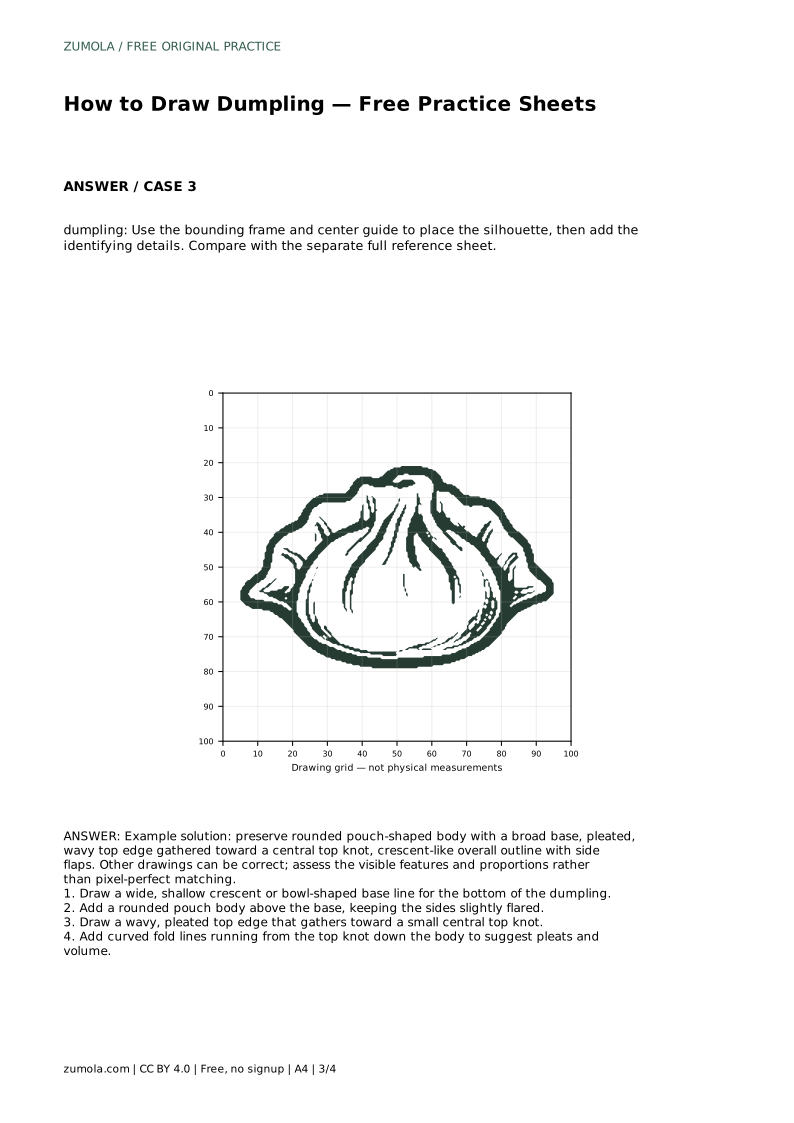
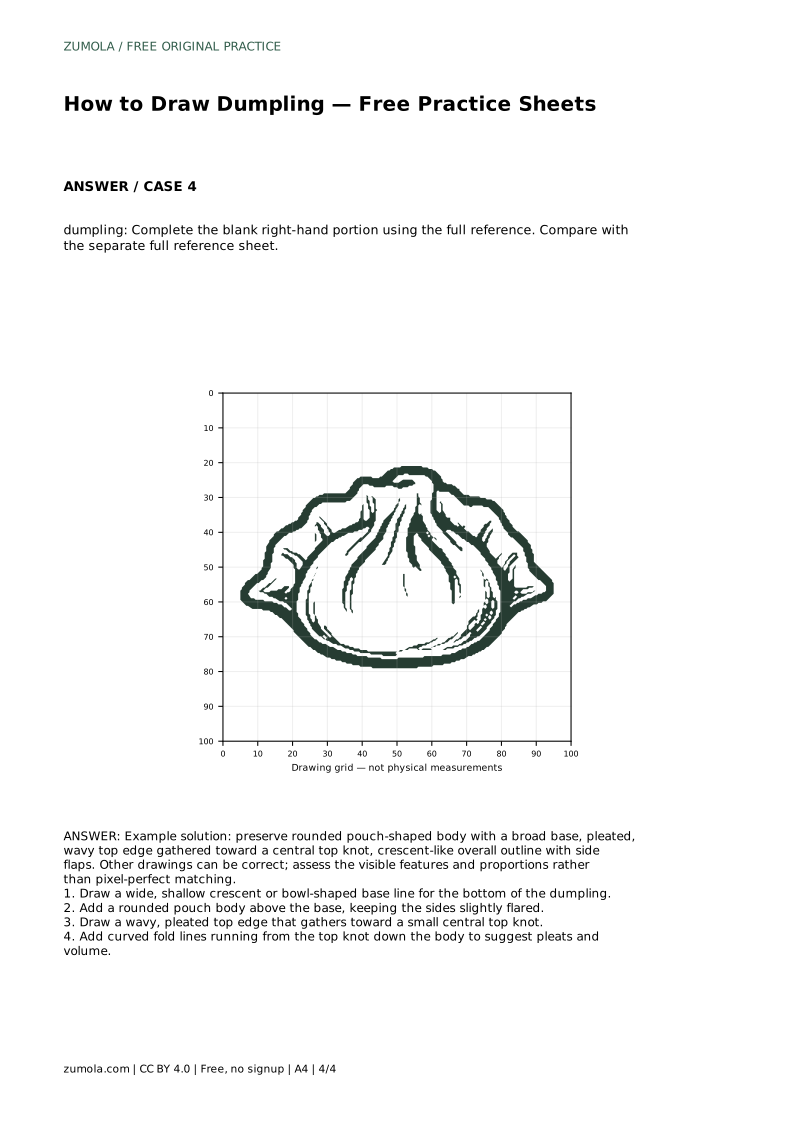
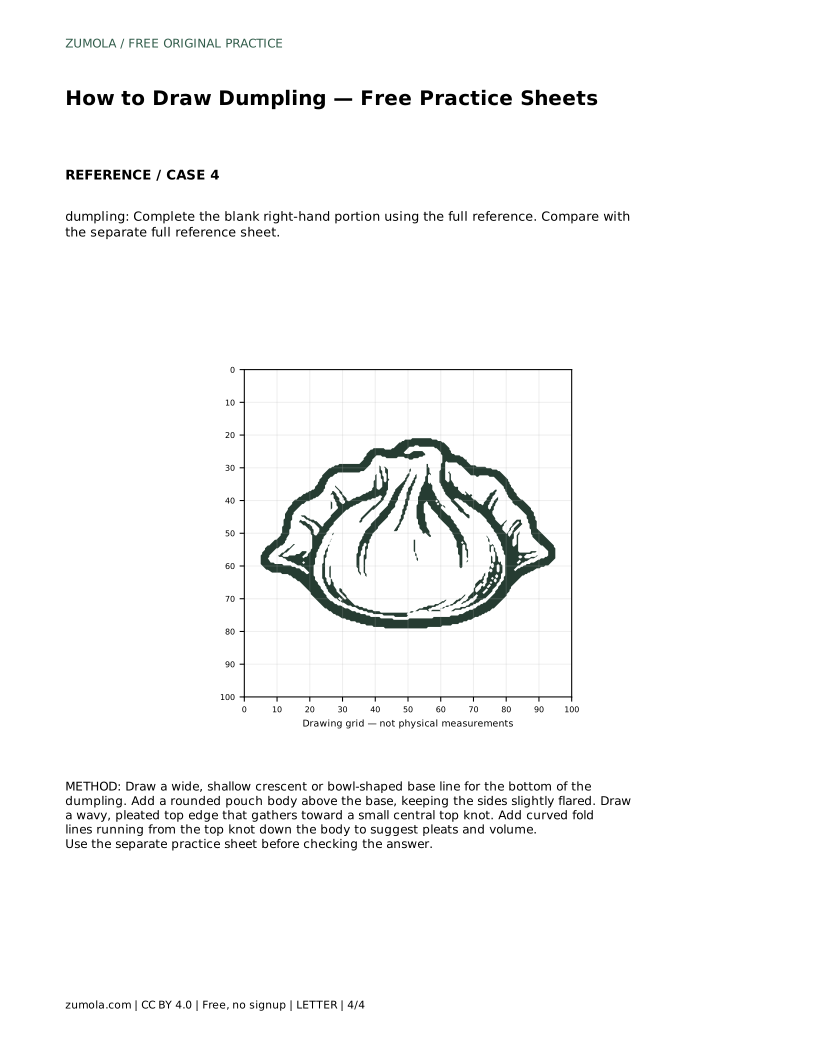
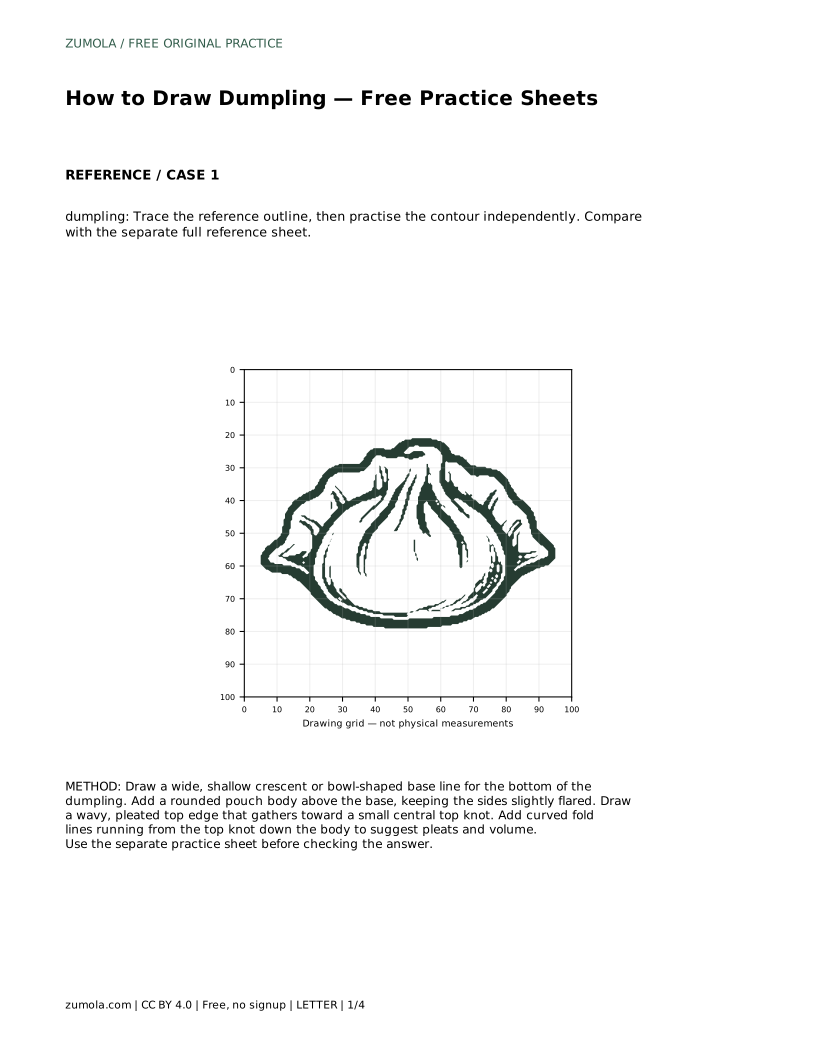
The bounding frame and center guide help you place the silhouette before adding details. Use the frame to set the outer limits of the drawing and the center guide to balance the top knot. The partial-completion sheet asks you to finish the blank right-hand portion using the full reference, which tests whether you can continue the contour and pleats consistently.
Compare the width of the base with the height of the pouch body. If the body looks too tall and narrow, the dumpling may read as a bun rather than a filled pouch. If the base is too narrow, the drawing can look unstable.
Check that the pleated top edge gathers toward one central point. Pleats that spread too widely lose the gathered look. Fold lines should follow the body's curve rather than run straight down, because straight lines flatten the volume.
Side flaps are part of the crescent-like overall outline. They should connect smoothly to the base and body rather than appear as separate shapes. Assess these visible features and proportions rather than pixel-perfect matching.
Once tracing feels comfortable, draw the dumpling without the outline. Begin with the base, then the body, then the gathered top, and finish with fold lines. Keep the same order so the shape stays balanced.
If a drawing looks off, compare it with the reference sheet and identify one feature to adjust, such as the base width or the top knot position. Redrawing with one correction at a time is more useful than erasing repeatedly without a clear goal.
A dumpling drawing has multiple valid outcomes. Use a rubric to check whether the key features are present and proportioned sensibly, rather than claiming one exact answer.
dumpling: Trace the reference outline, then practise the contour independently. Compare with the separate full reference sheet.
Example solution: preserve rounded pouch-shaped body with a broad base, pleated, wavy top edge gathered toward a central top knot, crescent-like overall outline with side flaps. Other drawings can be correct; assess the visible features and proportions rather than pixel-perfect matching. Draw a wide, shallow crescent or bowl-shaped base line for the bottom of the dumpling. Add a rounded pouch body above the base, keeping the sides slightly flared. Draw a wavy, pleated top edge that gathers toward a small central top knot. Add curved fold lines running from the top knot down the body to suggest pleats and volume.
Use a wide, shallow crescent or bowl-shaped base line. It sets the width and helps the dumpling look stable.
There is no fixed number. Draw a wavy top edge that gathers toward a central knot, then add curved fold lines that suggest pleats and volume.
Yes. Copy the reference onto the blank grid using matching grid intersections, then compare with the full reference sheet.
All drawing practice · Free coordinate paper
Original resources · CC BY 4.0 · Free for personal and classroom use with attribution.