Reference diagrams
LETTER · Download PDF
A4 · Download PDF
Free original resources
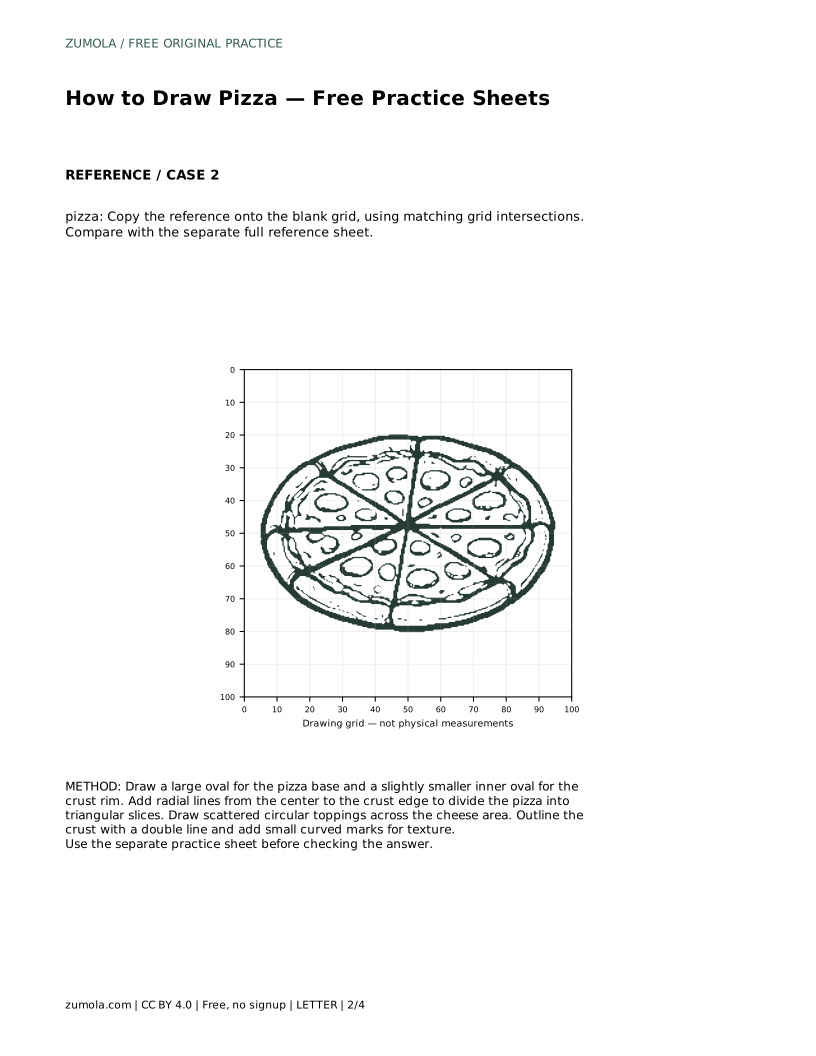
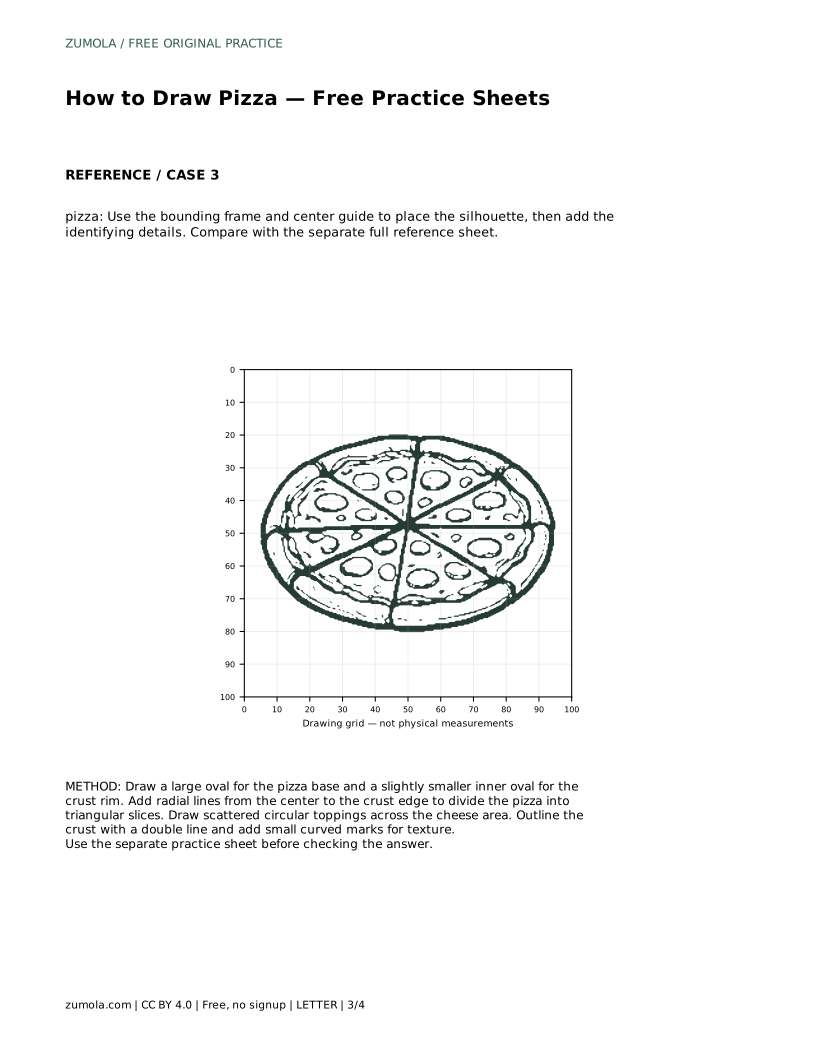
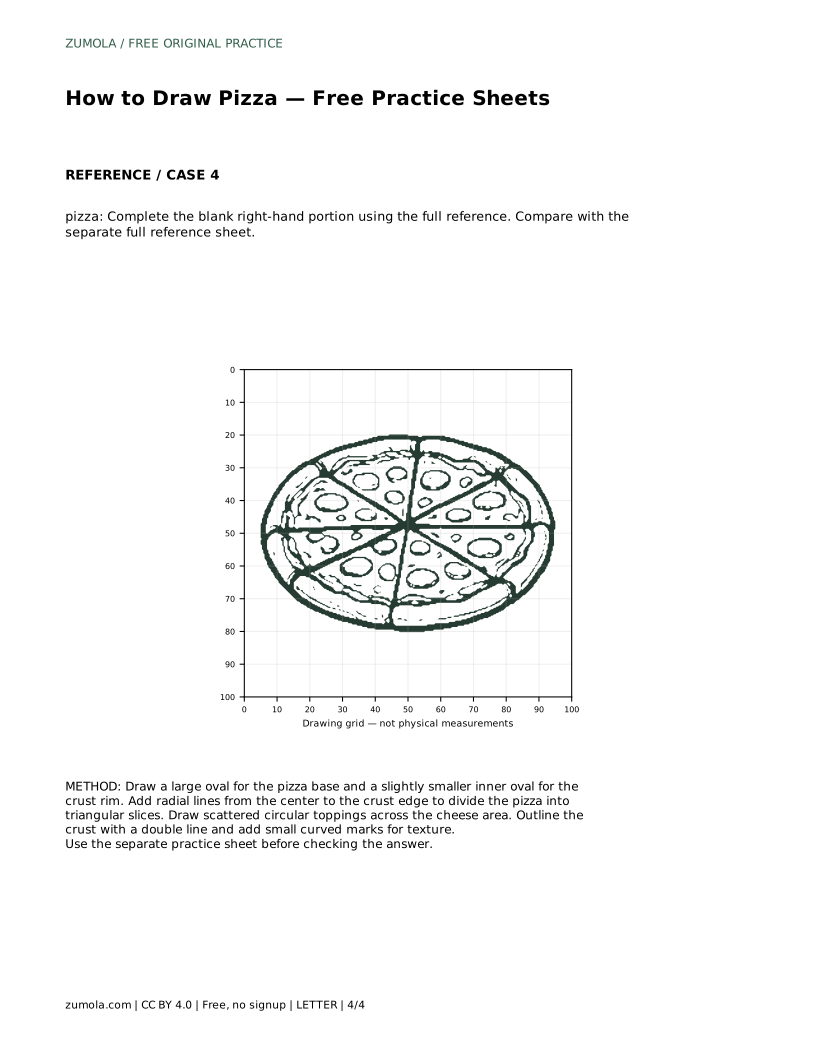
Learn a simple pizza drawing method: build the oval base, add the crust rim, divide slices, and place toppings. Includes tracing, grid, and frame practice guidance.
Four original cases, with reference diagrams, practice sheets and worked answers. Everything is free; no signup required.
LETTER · Download PDF
A4 · Download PDF
LETTER · Download PDF
A4 · Download PDF
LETTER · Download PDF
A4 · Download PDF
Use A4 or US Letter to match your printer. Use the stated values and conditions to solve each exercise; diagrams are not physical measuring rulers.
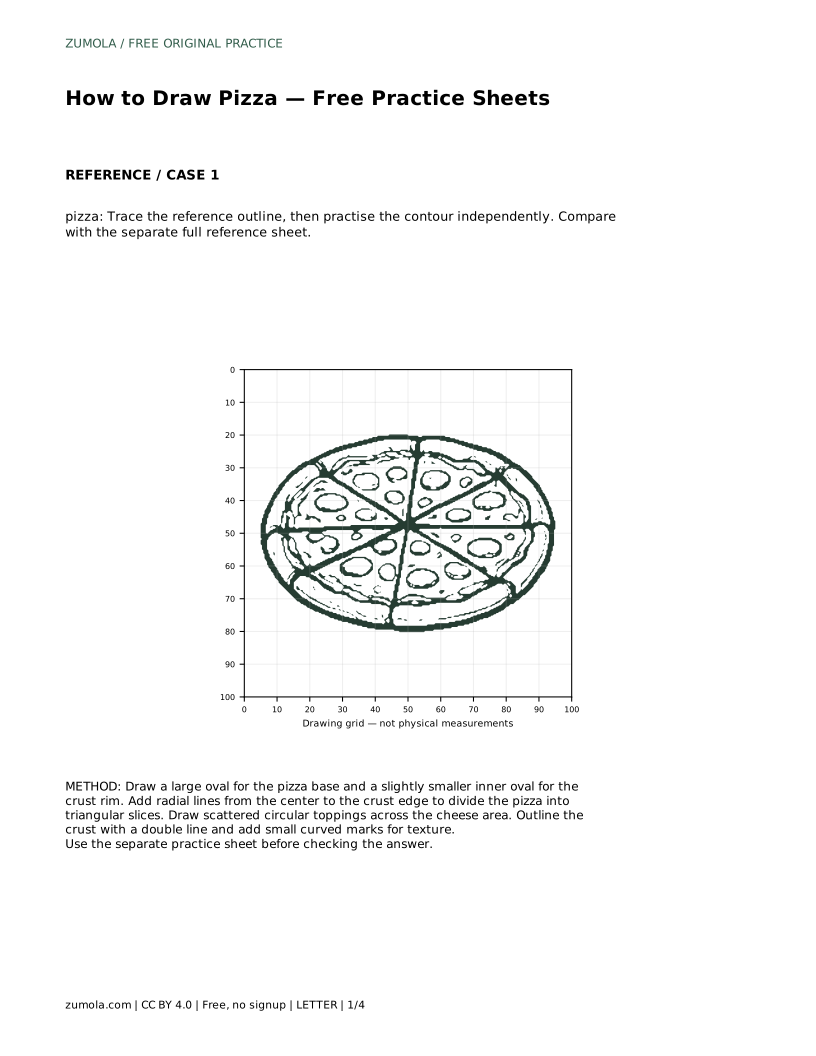
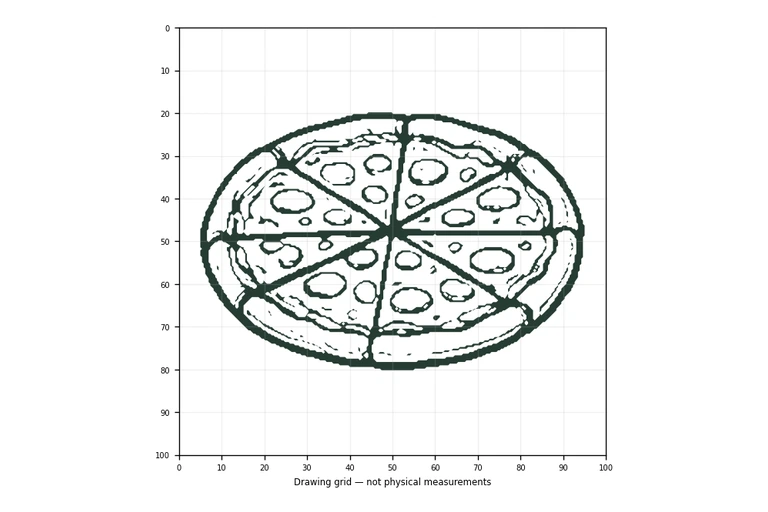
A pizza drawing is mostly a set of clear shapes: a wide oval base, a narrower crust rim, lines that divide the surface into slices, and small round toppings. This page explains a simple order for drawing those parts so the result reads as pizza rather than a flat circle. It also explains how to use tracing, grid, frame, and partial-reference practice sheets, and how to judge a finished drawing by visible features and proportions rather than exact matching.
Start with the overall silhouette before adding any detail. A pizza seen from above is usually drawn as a large oval rather than a perfect circle, because an oval suggests a surface viewed at a slight angle. Keep the outline light at this stage so it is easy to adjust.
Next, place a slightly smaller inner oval inside the first one. The band between the two ovals becomes the crust rim. The inner oval marks the cheese area, so toppings should sit inside it rather than crossing the rim.
Only after the base and rim are placed should you add slice lines and toppings. Working from large shapes to small details keeps the proportions stable and prevents the drawing from becoming crowded before the main structure is clear.
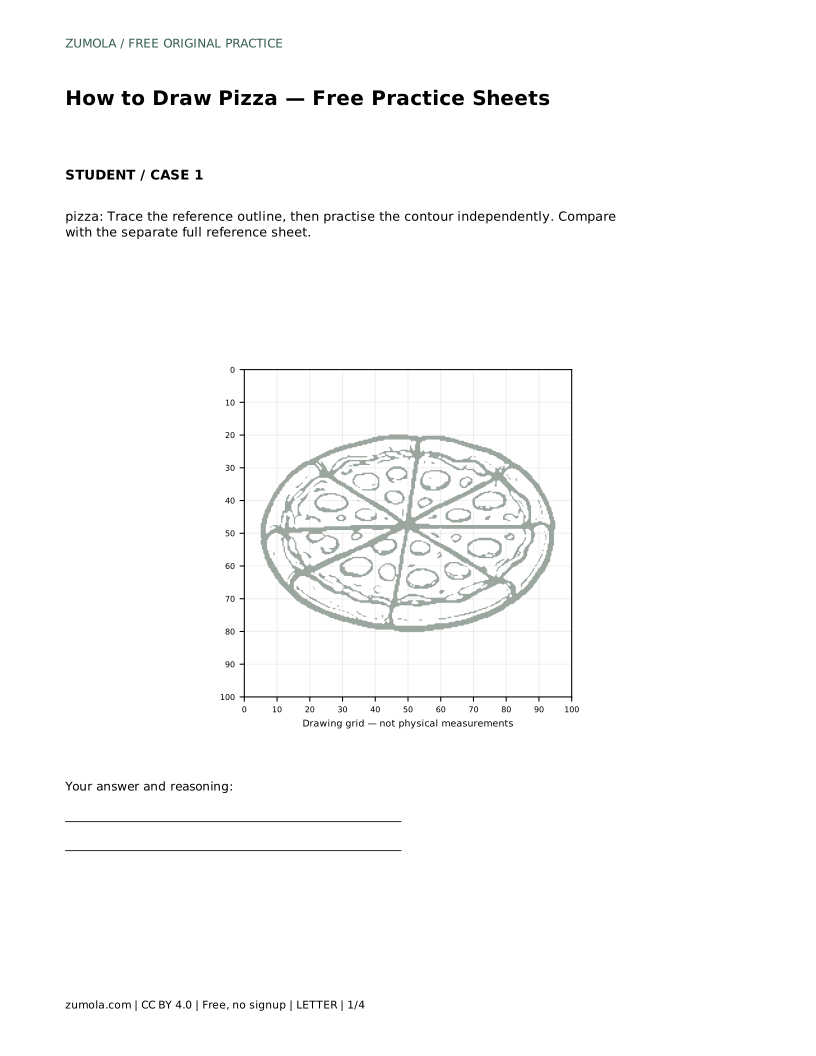
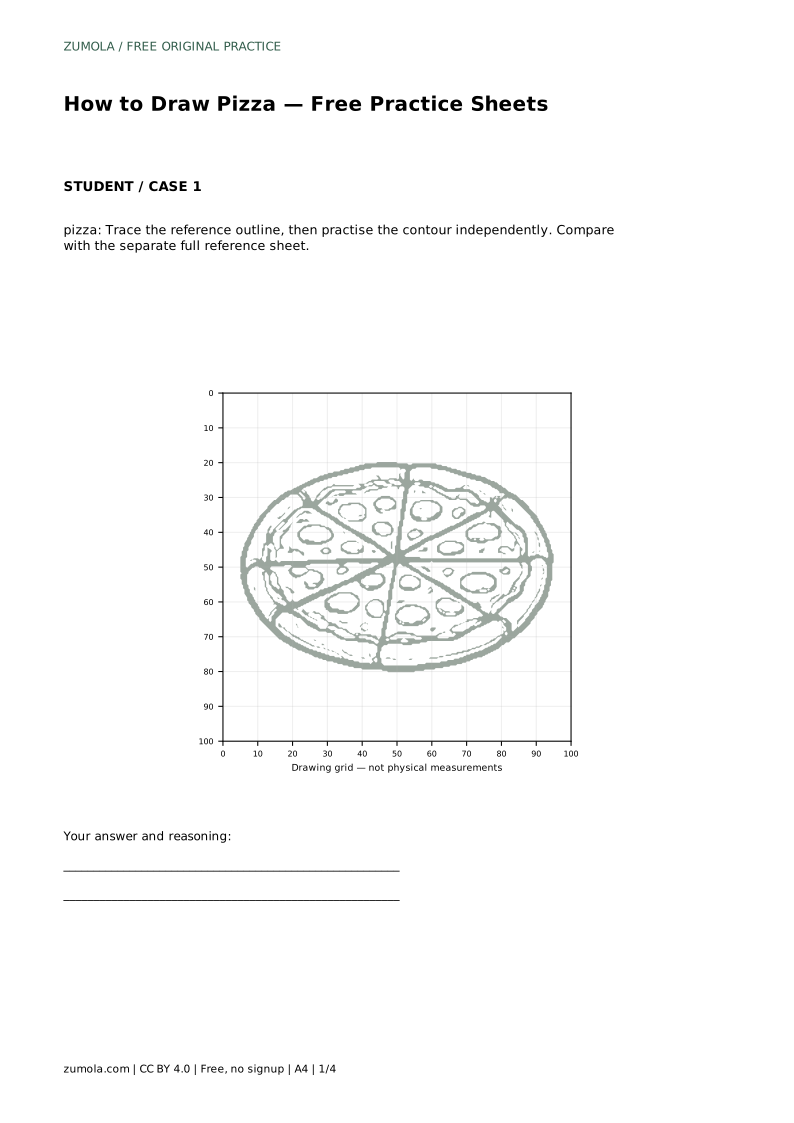
Tracing practice asks you to follow the reference outline first, then draw the contour independently on the same page. The tracing stage builds the sequence of shapes; the independent stage checks whether you can reproduce that sequence without guidance.
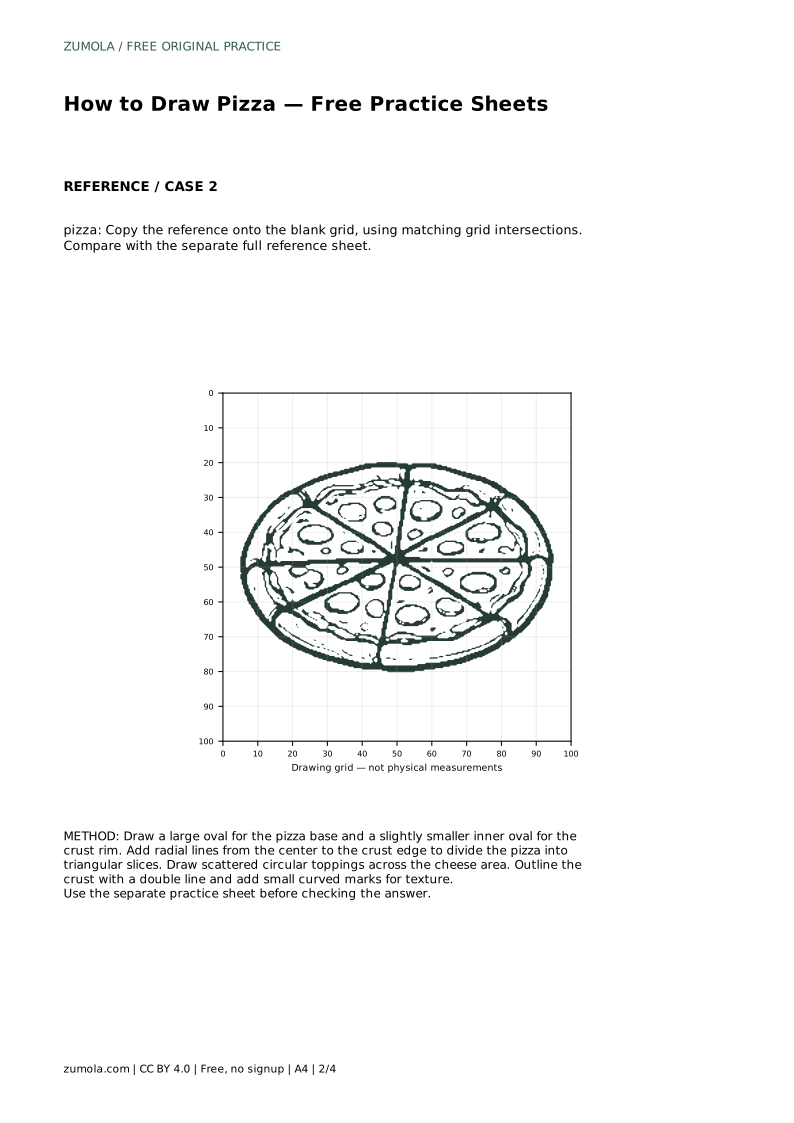
Grid copying uses matching grid intersections to place the silhouette and details. Compare where the outer oval crosses grid lines, where the inner rim sits, and where slice lines meet the crust. The grid is a placement aid, not a requirement that every mark land exactly on an intersection.
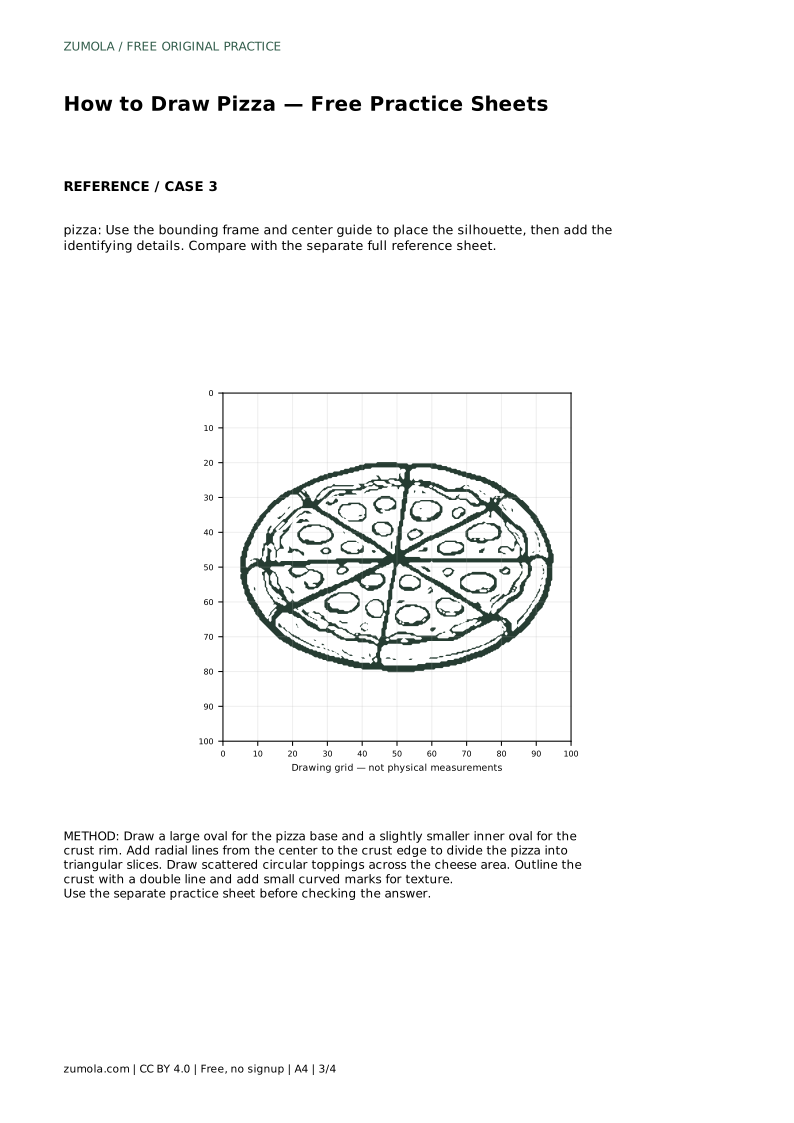
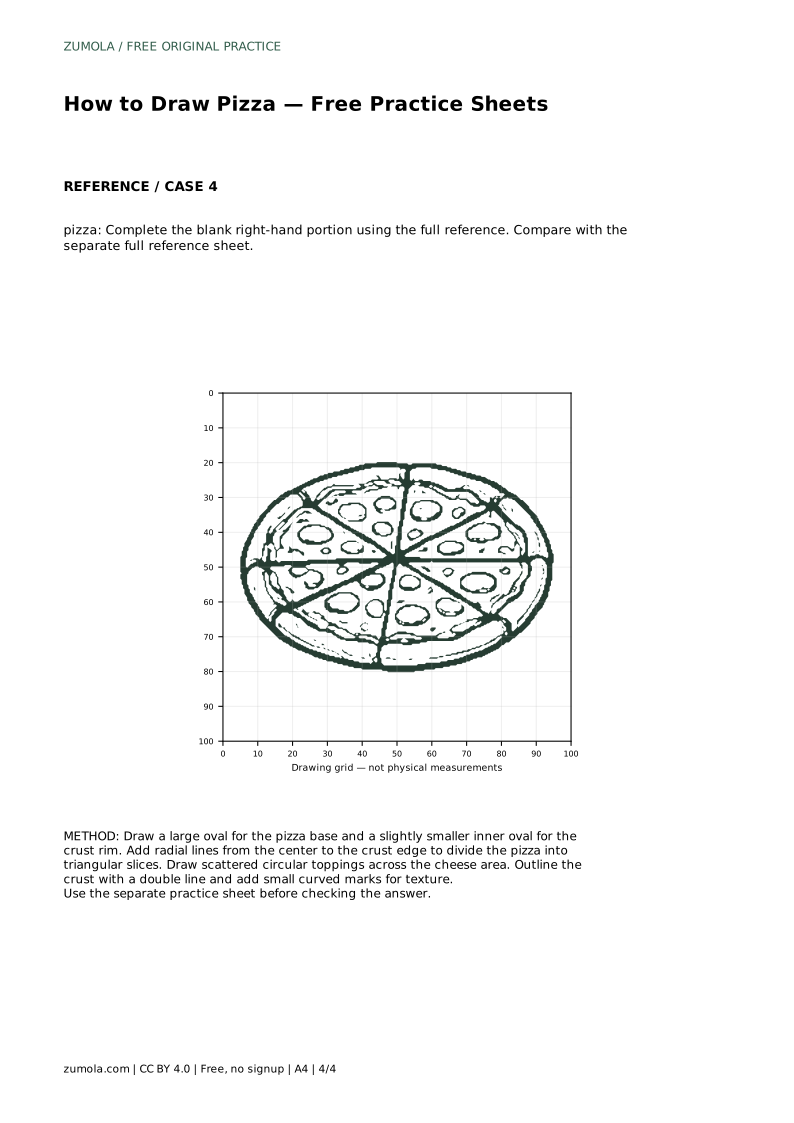
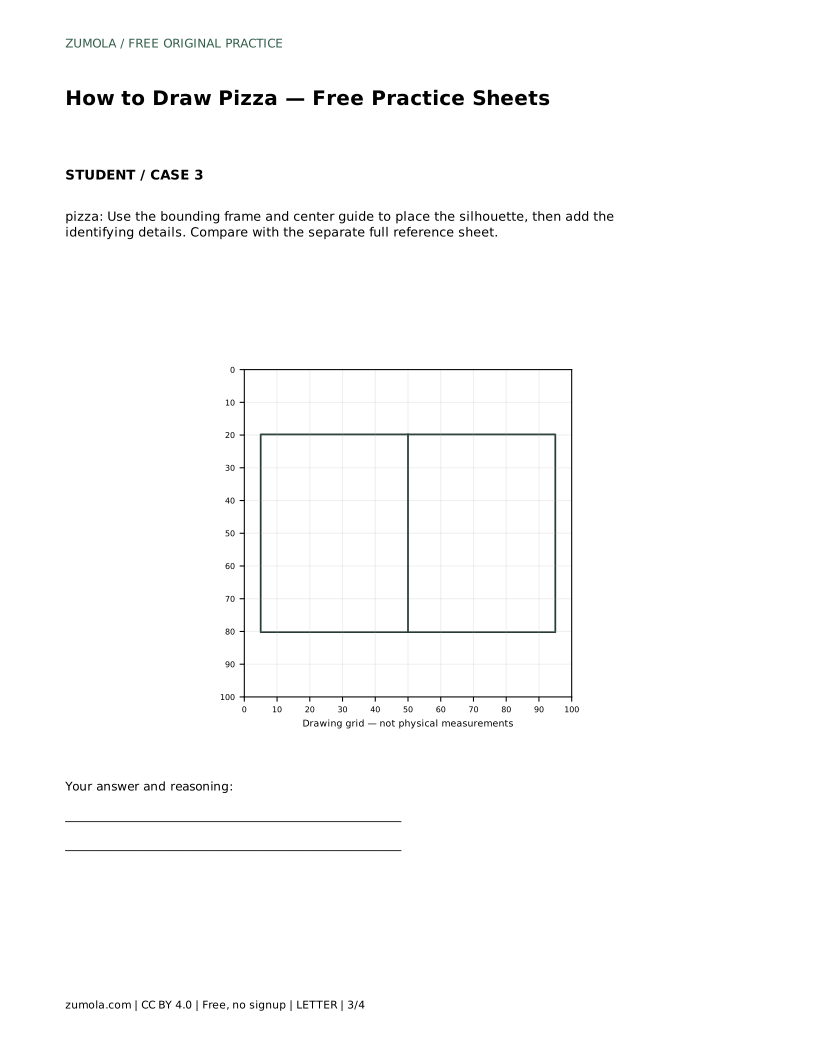
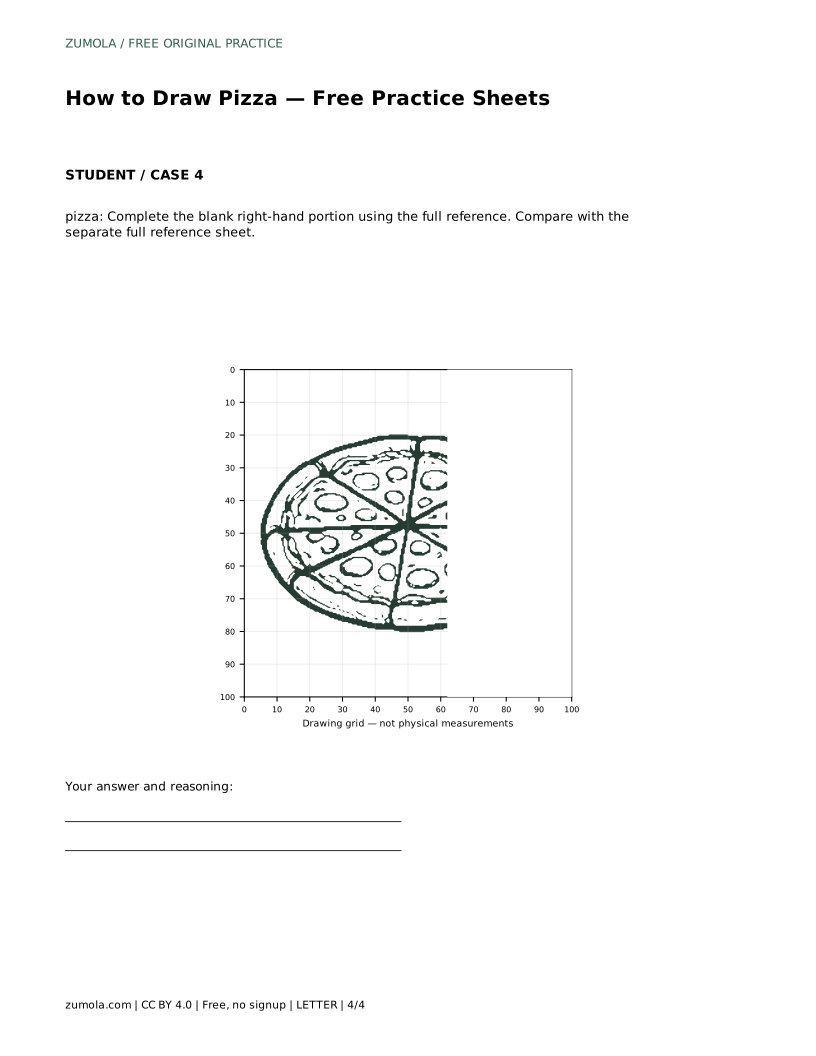
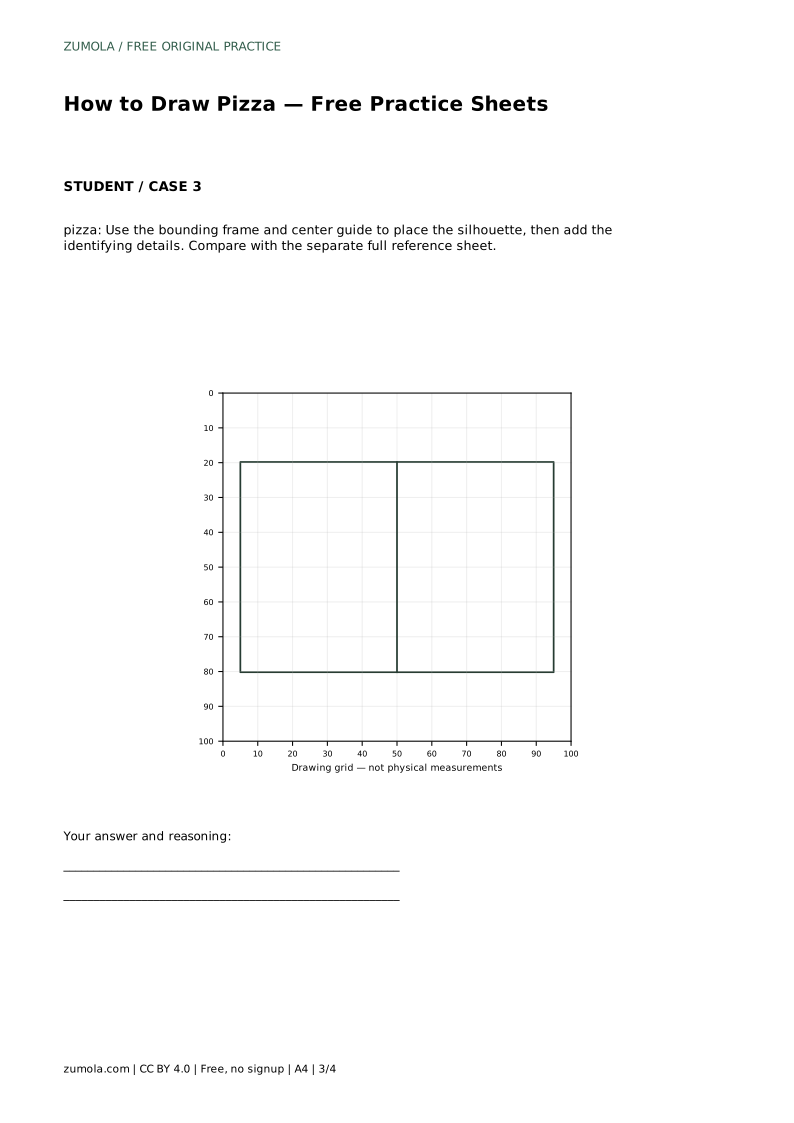
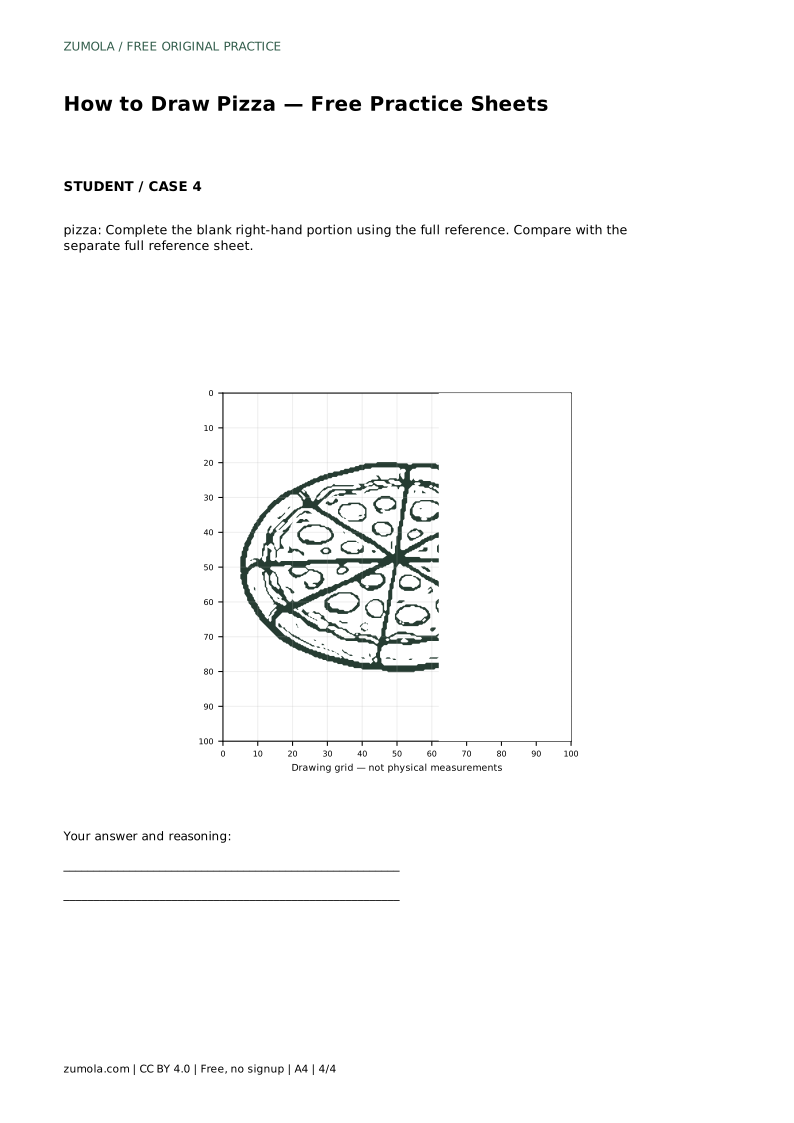
Frame and center-guide practice gives you a bounding frame and a center mark. Use them to position the silhouette before adding identifying details. Partial-reference practice leaves the right-hand portion blank; complete it using the full reference, keeping the slice spacing and topping scale consistent with the visible left side.
Several pizza drawings can all be correct. Judge the result by whether the round crust is present, whether the surface is divided into triangular slices, and whether toppings read as small circles inside the cheese area. Proportions matter more than pixel-perfect alignment.
A useful check is to look at the drawing from a short distance. If the crust rim is clearly visible, the slice lines radiate from the center, and the toppings sit within the cheese area, the drawing communicates pizza. Small differences in oval width or topping placement do not make it wrong.
Most problems come from adding detail too early or from letting the inner rim drift outside the outer oval. If the crust looks uneven, redraw the inner oval first and then adjust the slice lines to meet it. If toppings look too large, reduce their diameter so several can fit inside one slice.
Keep the drawing light until the structure is settled. A light outline is easier to correct, and corrections made before toppings are added preserve the overall shape.
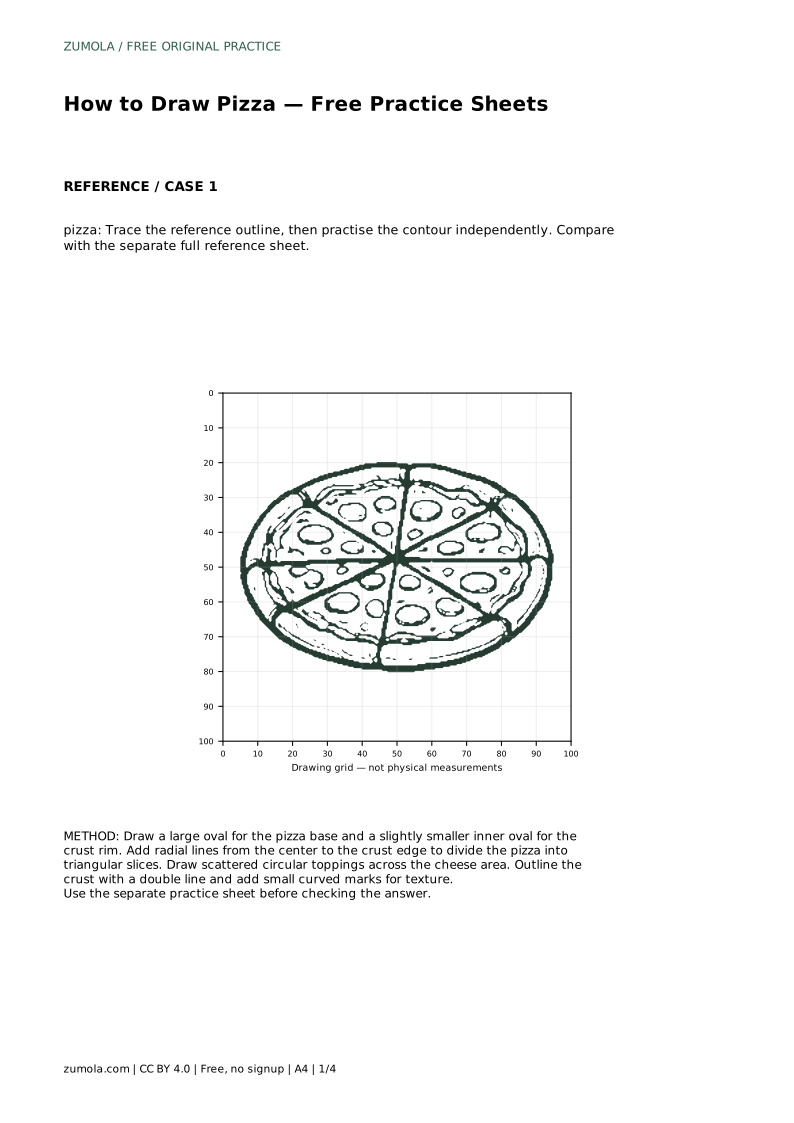
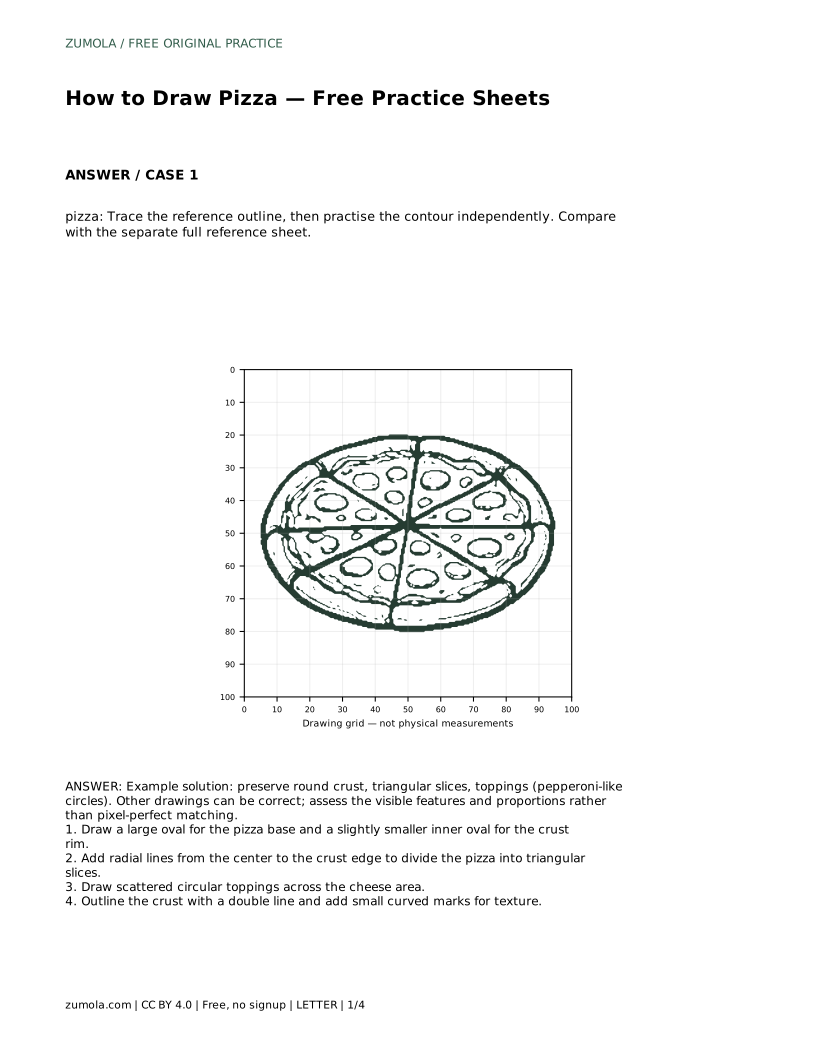
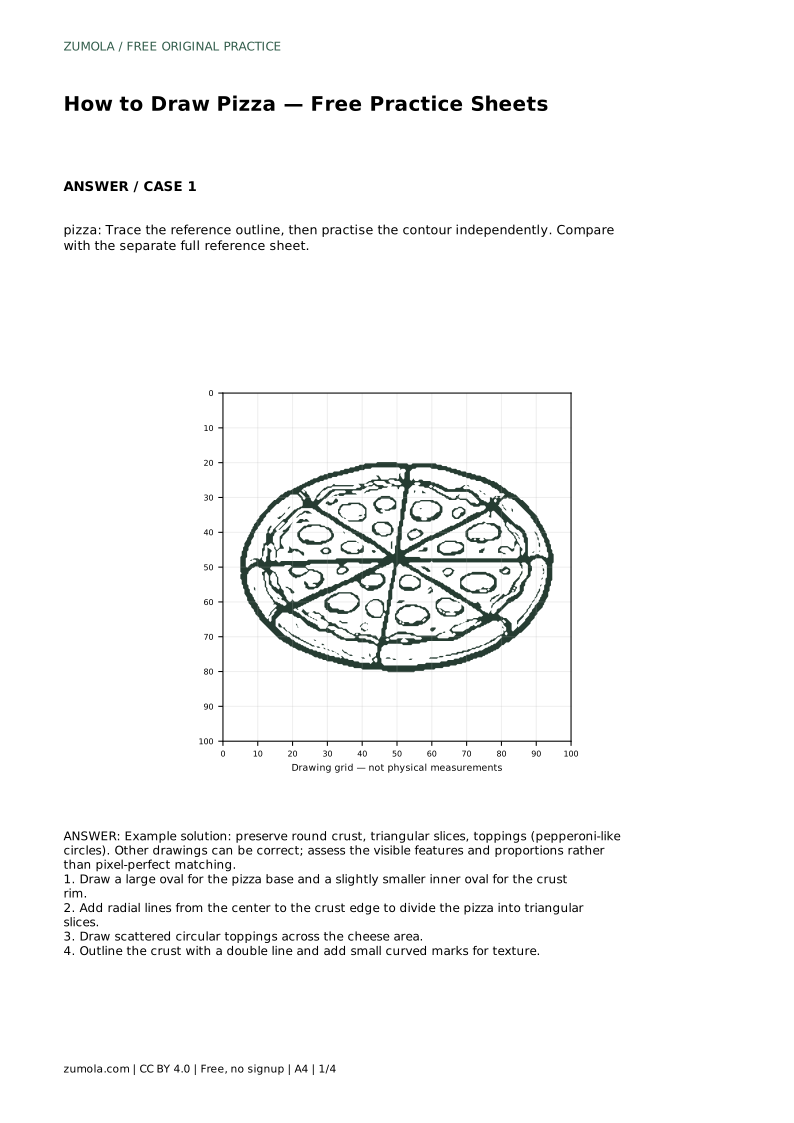
pizza: Trace the reference outline, then practise the contour independently. Compare with the separate full reference sheet.
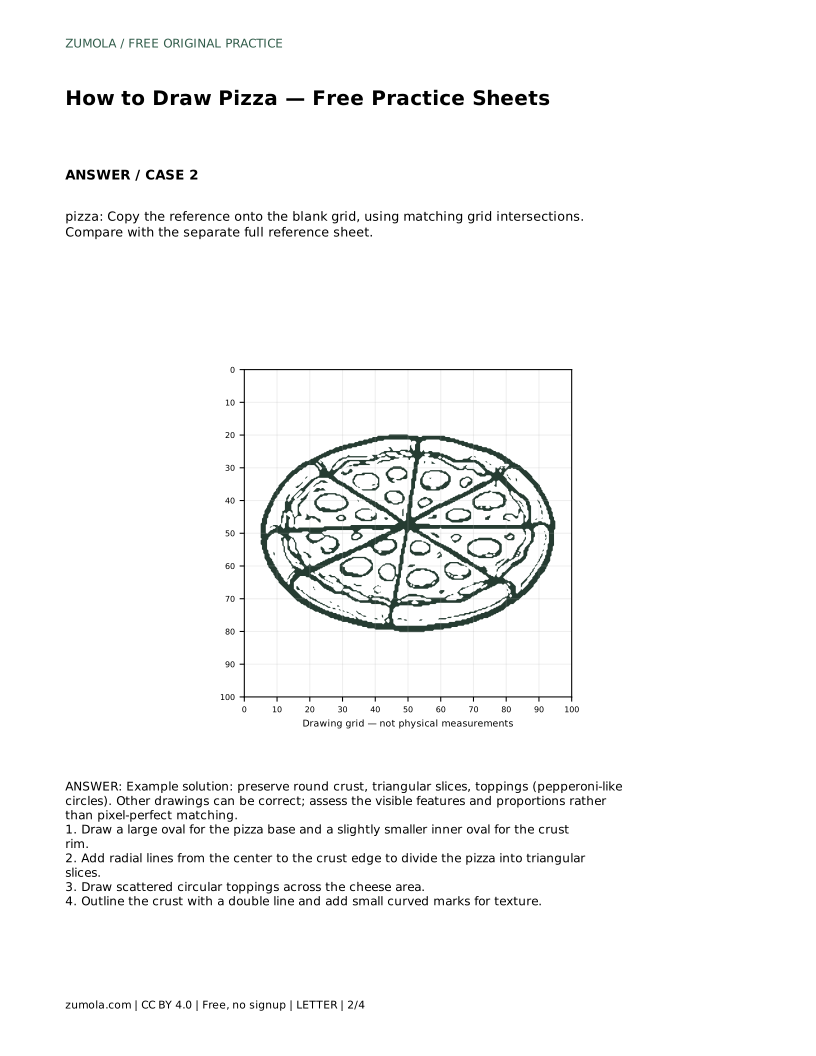
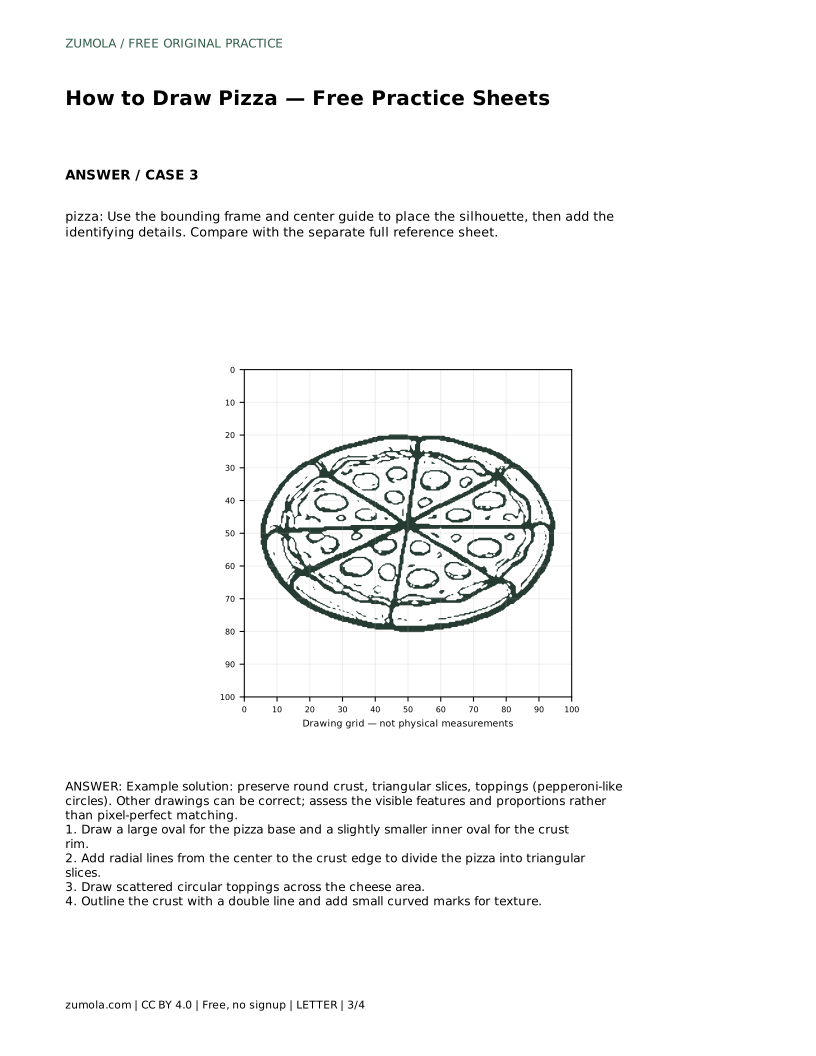
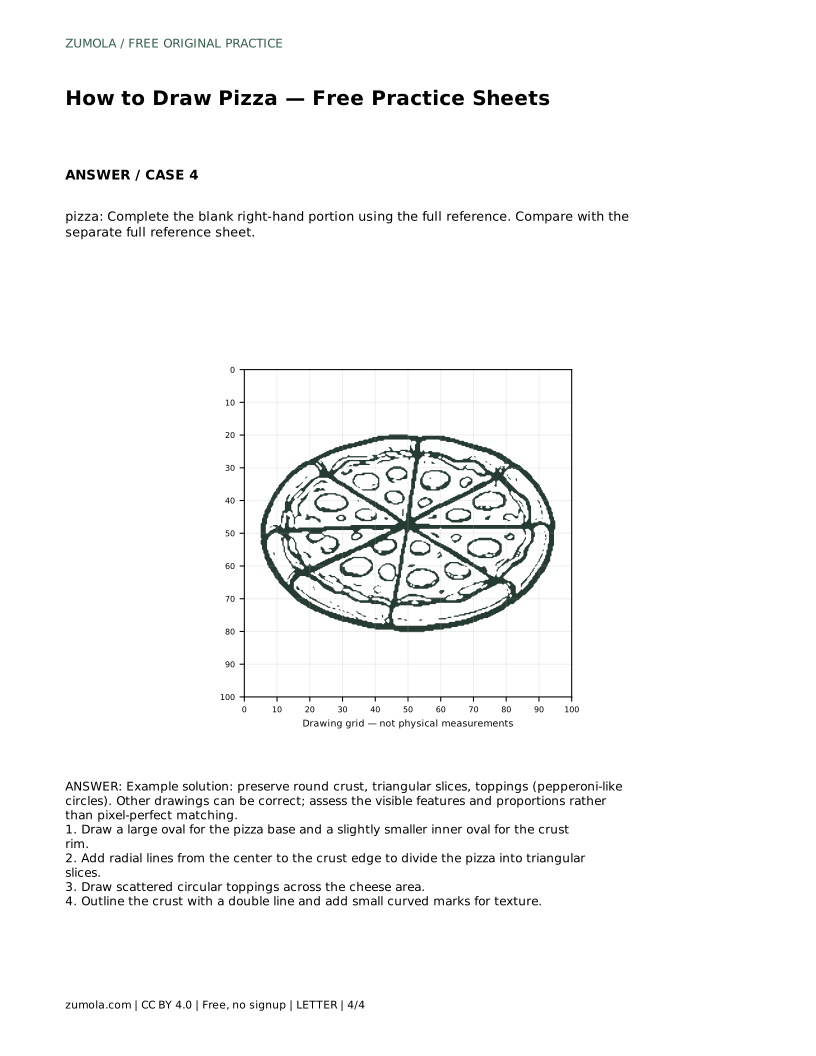
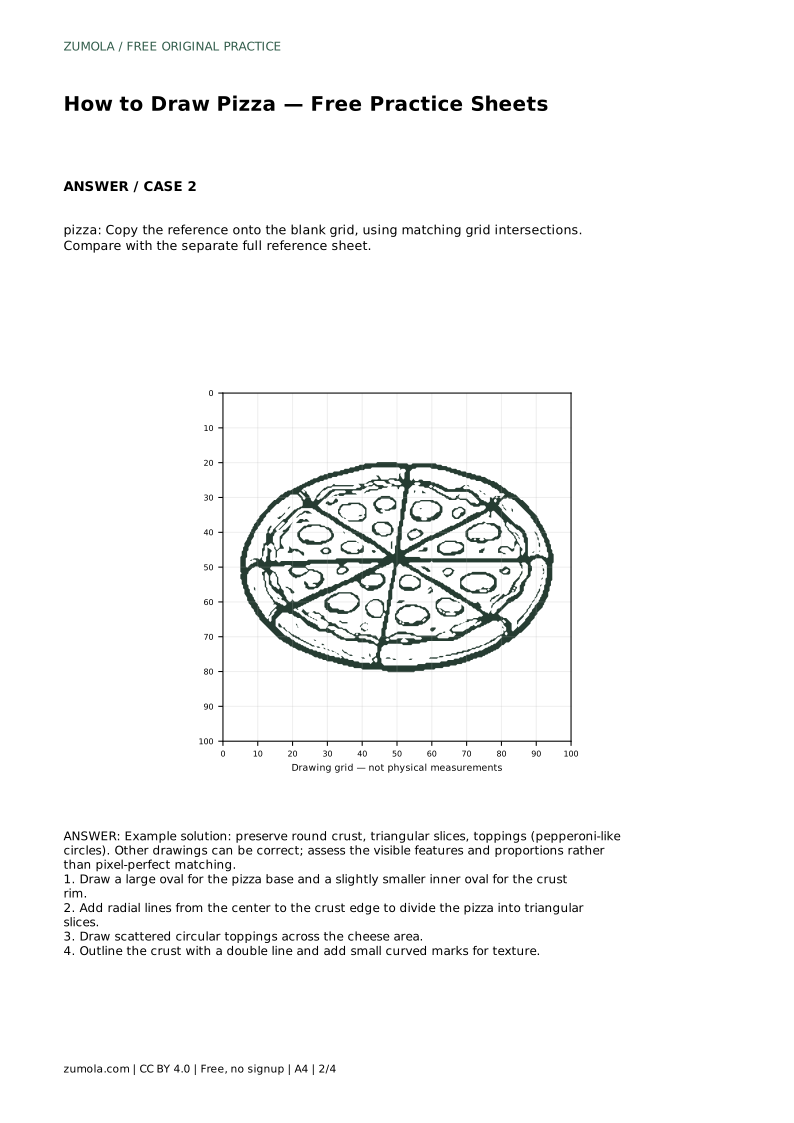
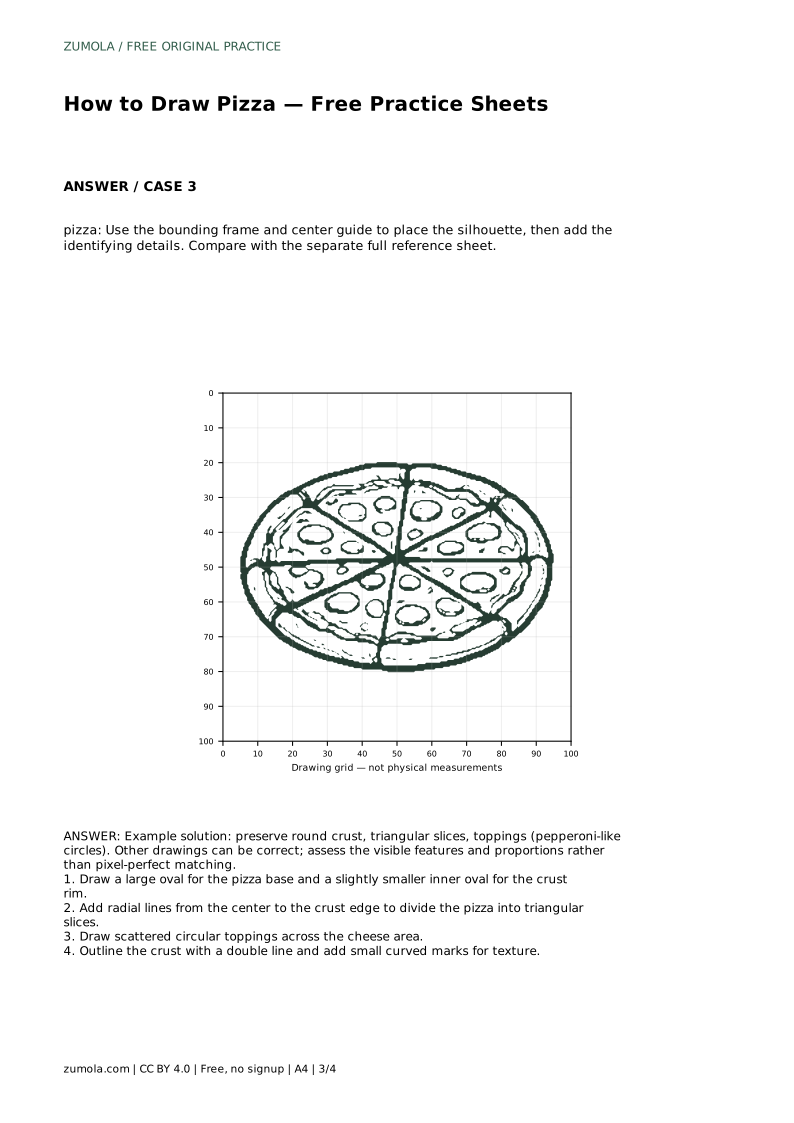
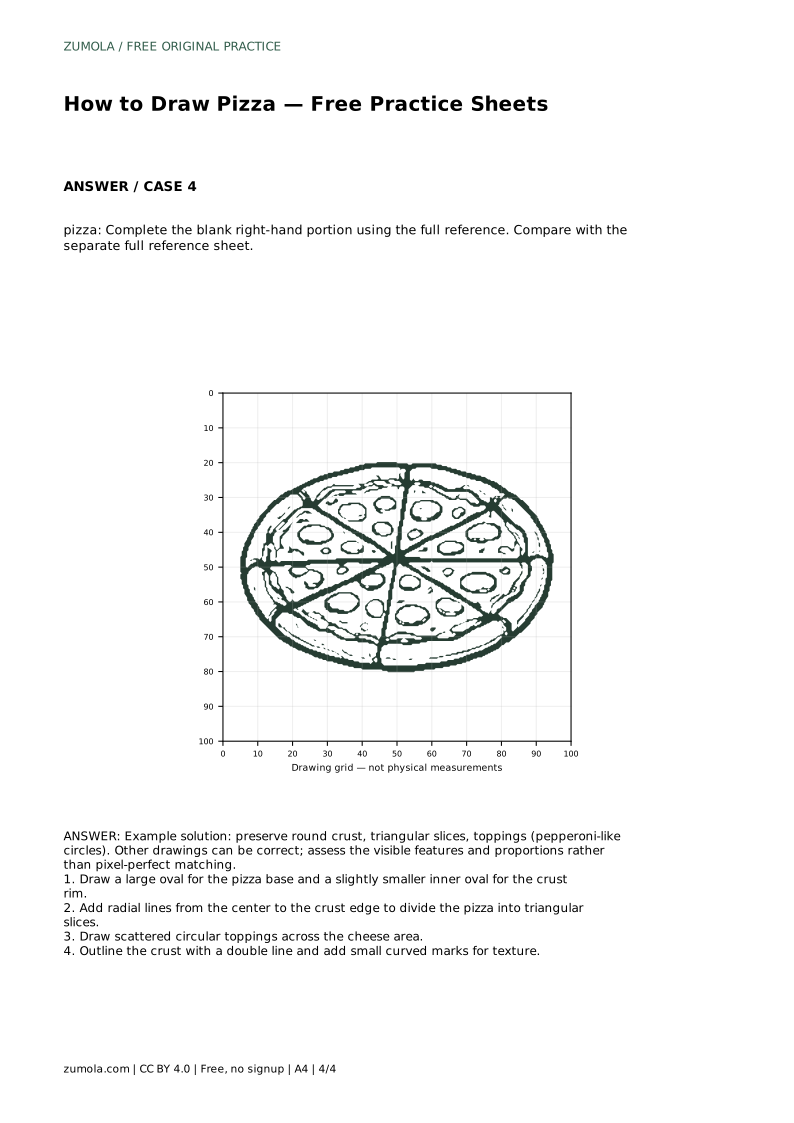
Example solution: preserve round crust, triangular slices, toppings (pepperoni-like circles). Other drawings can be correct; assess the visible features and proportions rather than pixel-perfect matching. Draw a large oval for the pizza base and a slightly smaller inner oval for the crust rim. Add radial lines from the center to the crust edge to divide the pizza into triangular slices. Draw scattered circular toppings across the cheese area. Outline the crust with a double line and add small curved marks for texture.
No. A large oval is a common and useful choice because it suggests a surface viewed at a slight angle. The important features are the visible crust rim, triangular slices, and toppings inside the cheese area.
Draw the large outer oval, then the smaller inner oval for the crust rim, then radial slice lines, then circular toppings, and finally the double crust outline with small curved texture marks.
Check visible features and proportions: a round crust, triangular slices radiating from the center, and toppings placed inside the cheese area. Other drawings can be correct, so assess the features rather than pixel-perfect matching.
All drawing practice · Free coordinate paper
Original resources · CC BY 4.0 · Free for personal and classroom use with attribution.