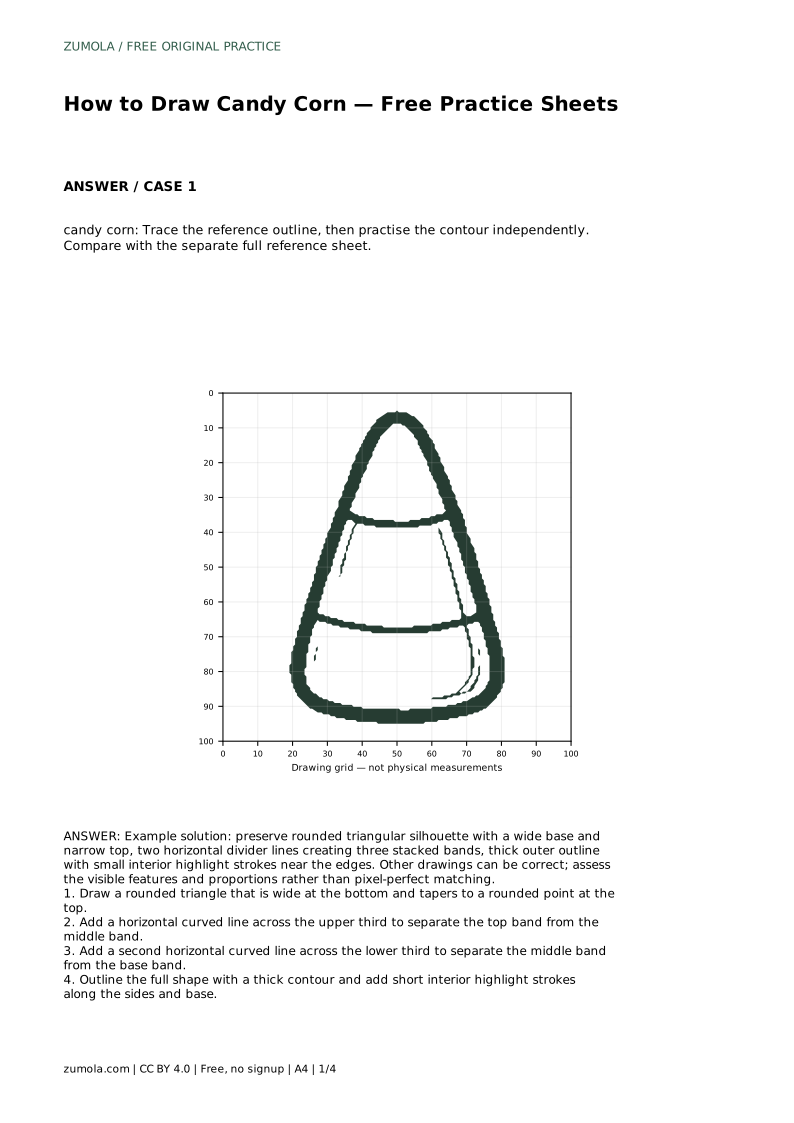
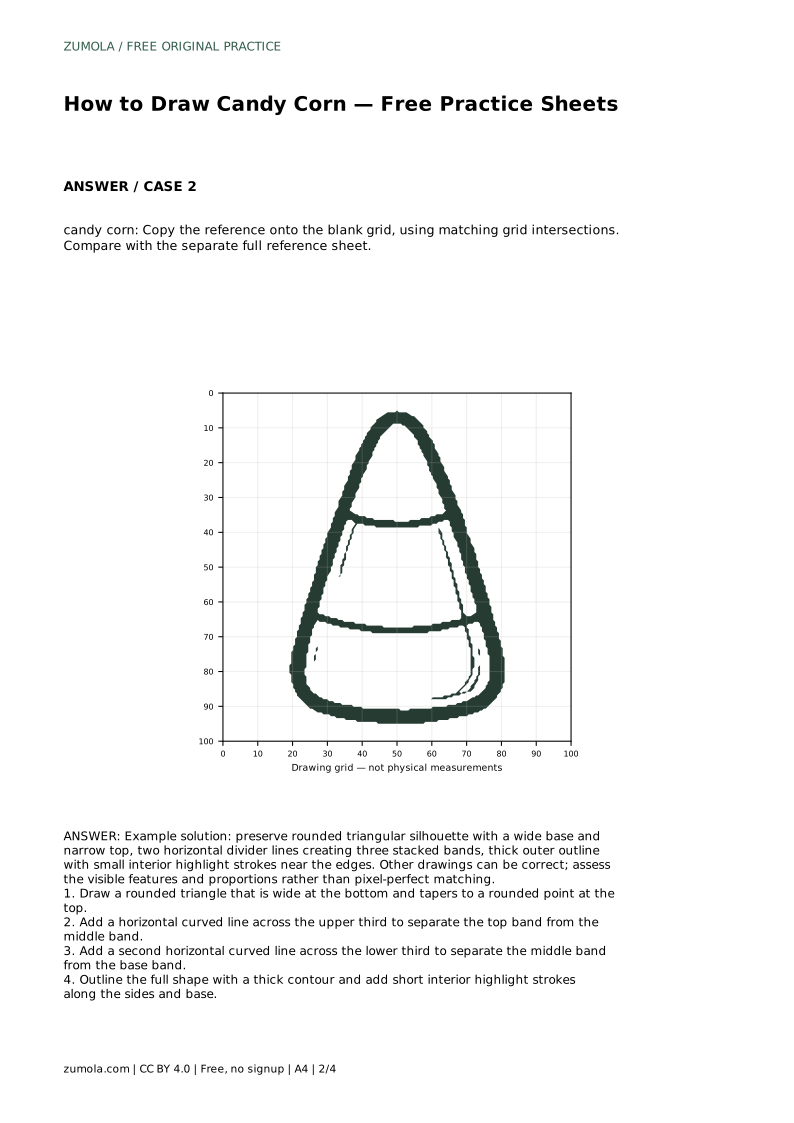
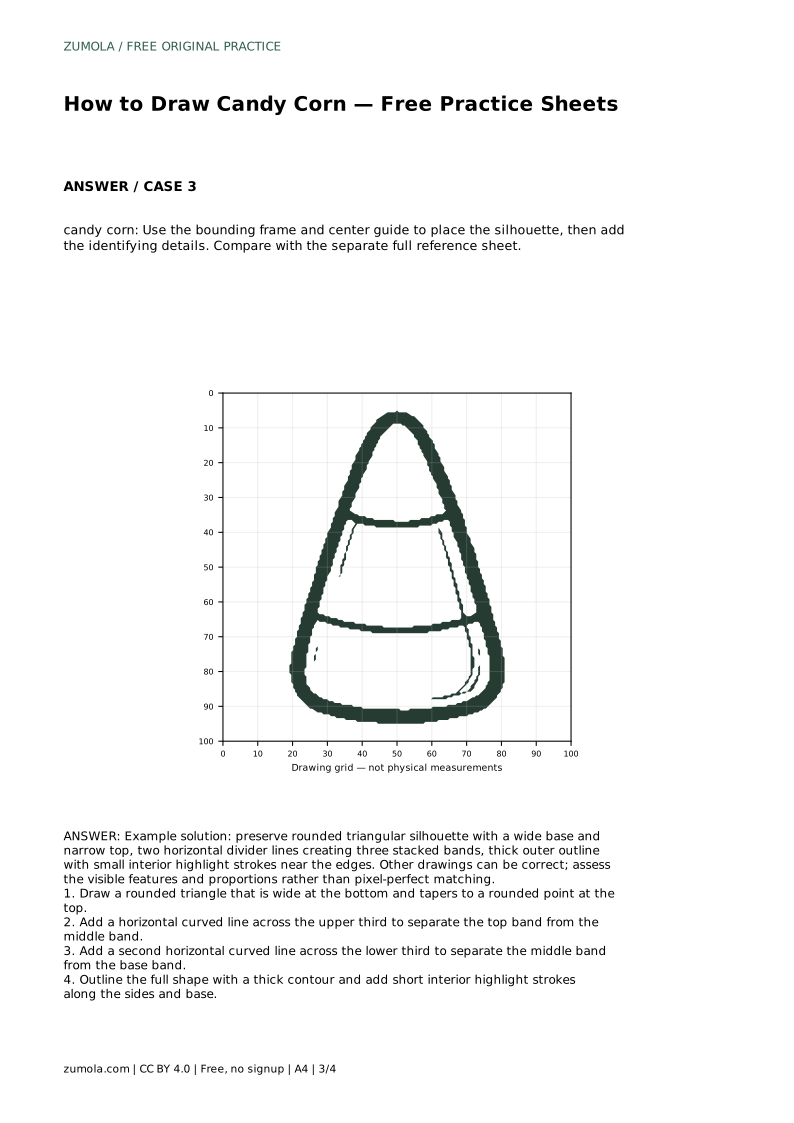
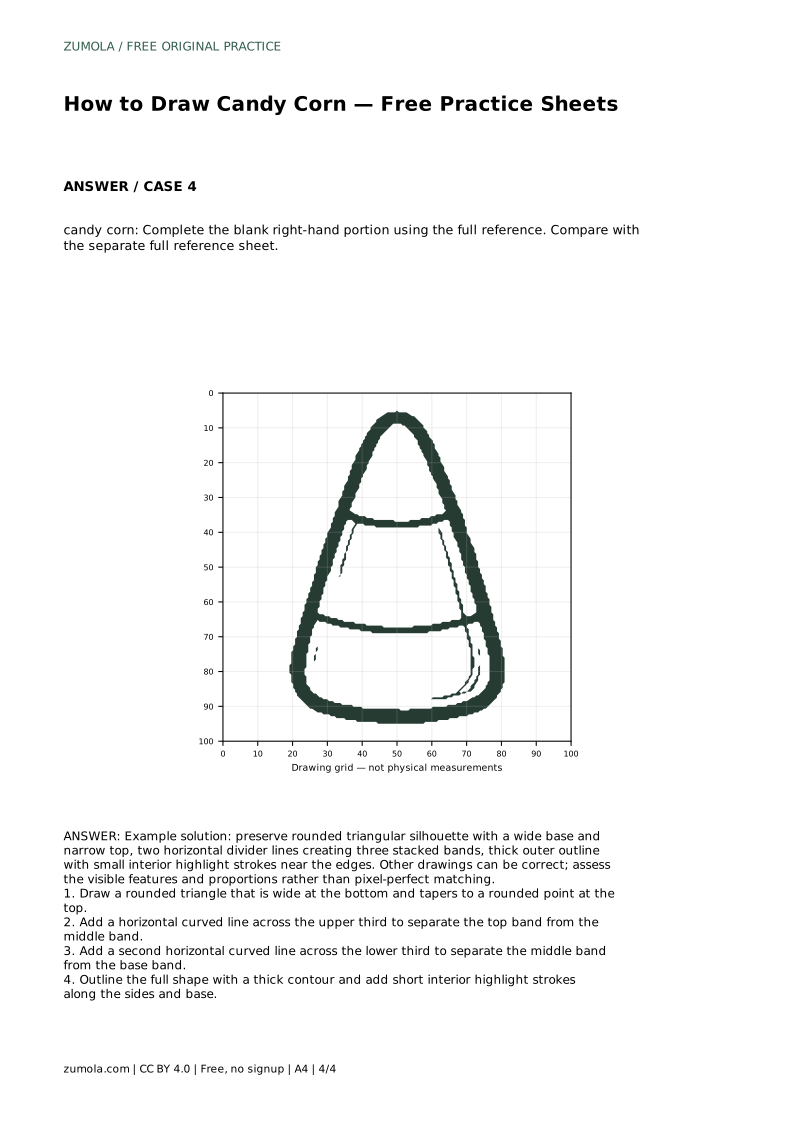
Reference diagrams
LETTER · Download PDF
A4 · Download PDF
Free original resources
Learn to draw candy corn with a wide rounded base, narrow rounded tip, two curved band dividers, and a thick outline. Trace, grid, and frame practice included.
Four original cases, with reference diagrams, practice sheets and worked answers. Everything is free; no signup required.
LETTER · Download PDF
A4 · Download PDF
LETTER · Download PDF
A4 · Download PDF
LETTER · Download PDF
A4 · Download PDF
Use A4 or US Letter to match your printer. Use the stated values and conditions to solve each exercise; diagrams are not physical measuring rulers.
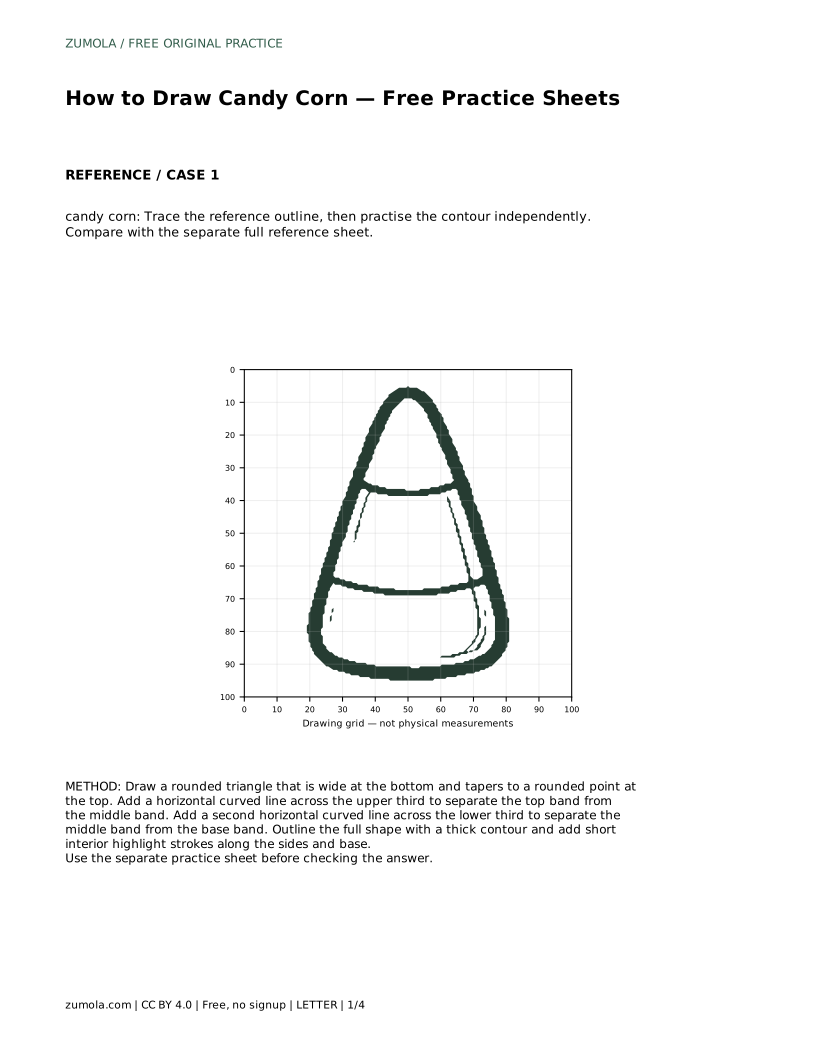
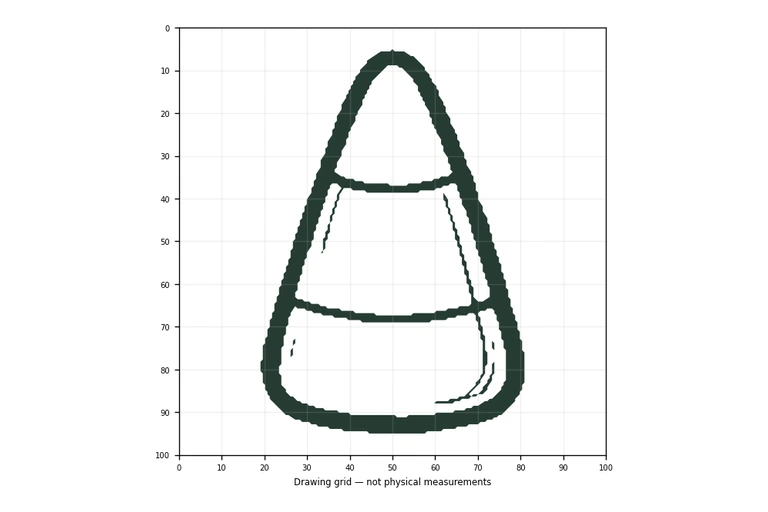
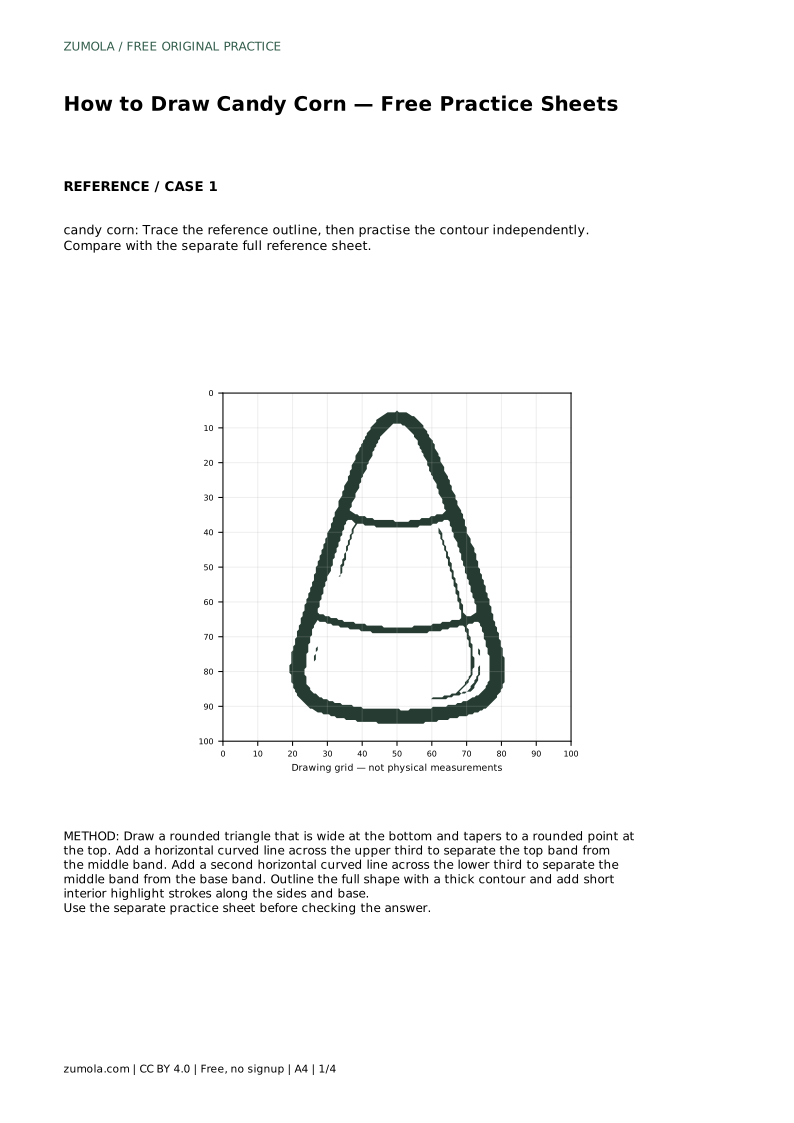
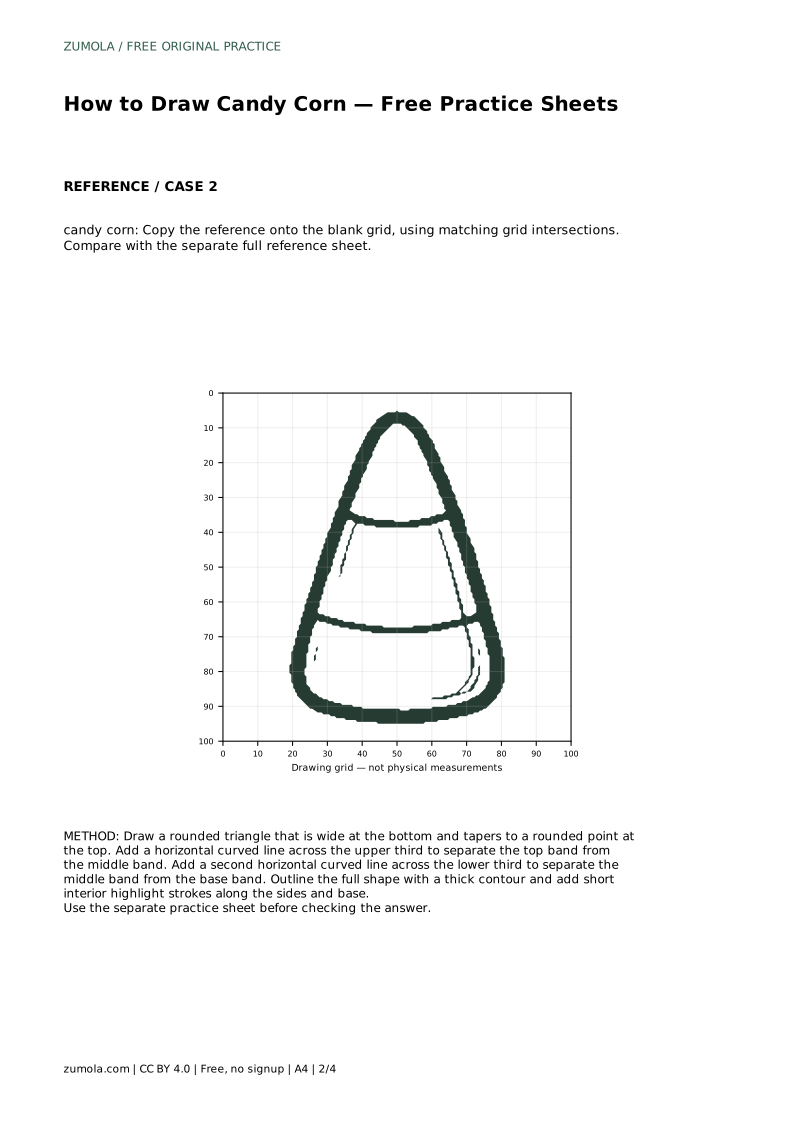
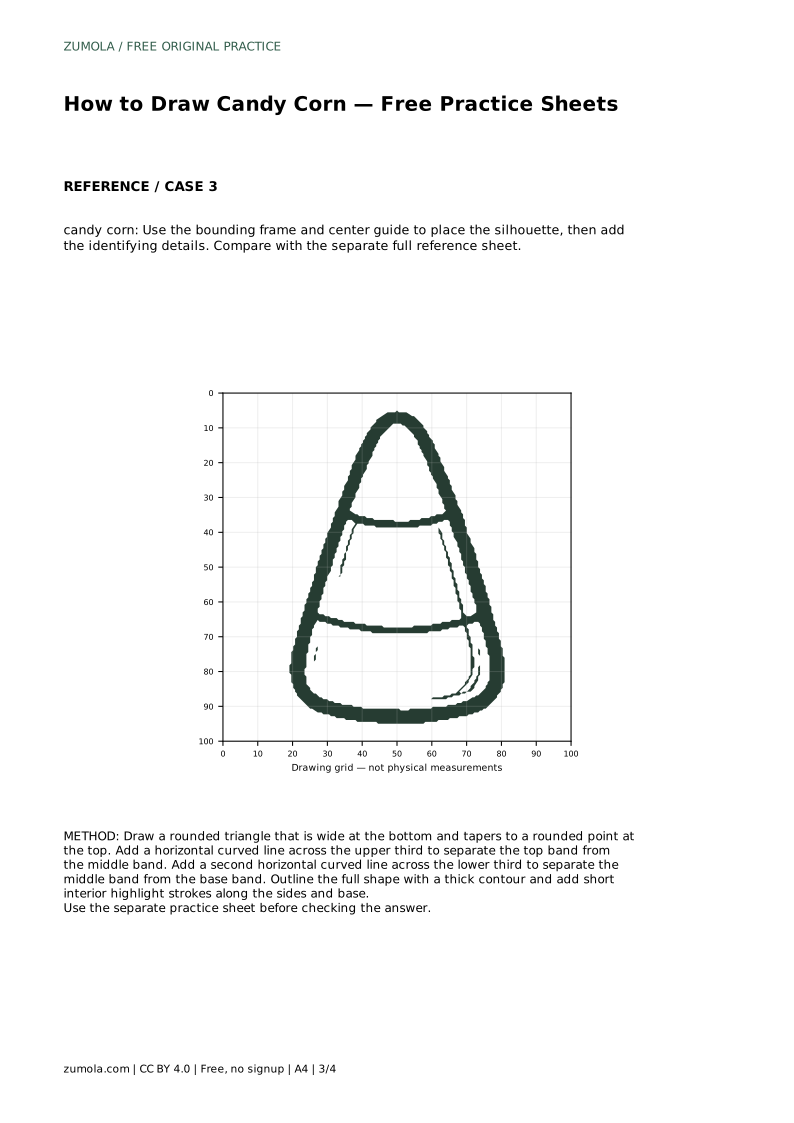
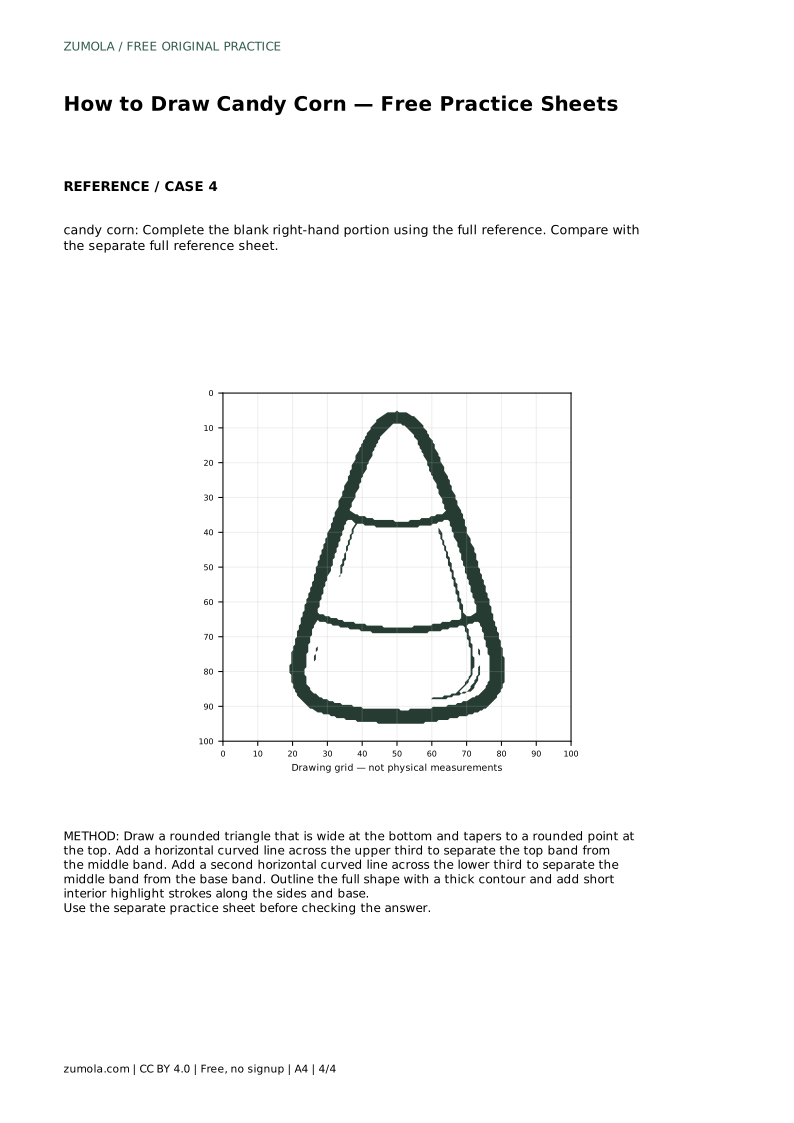
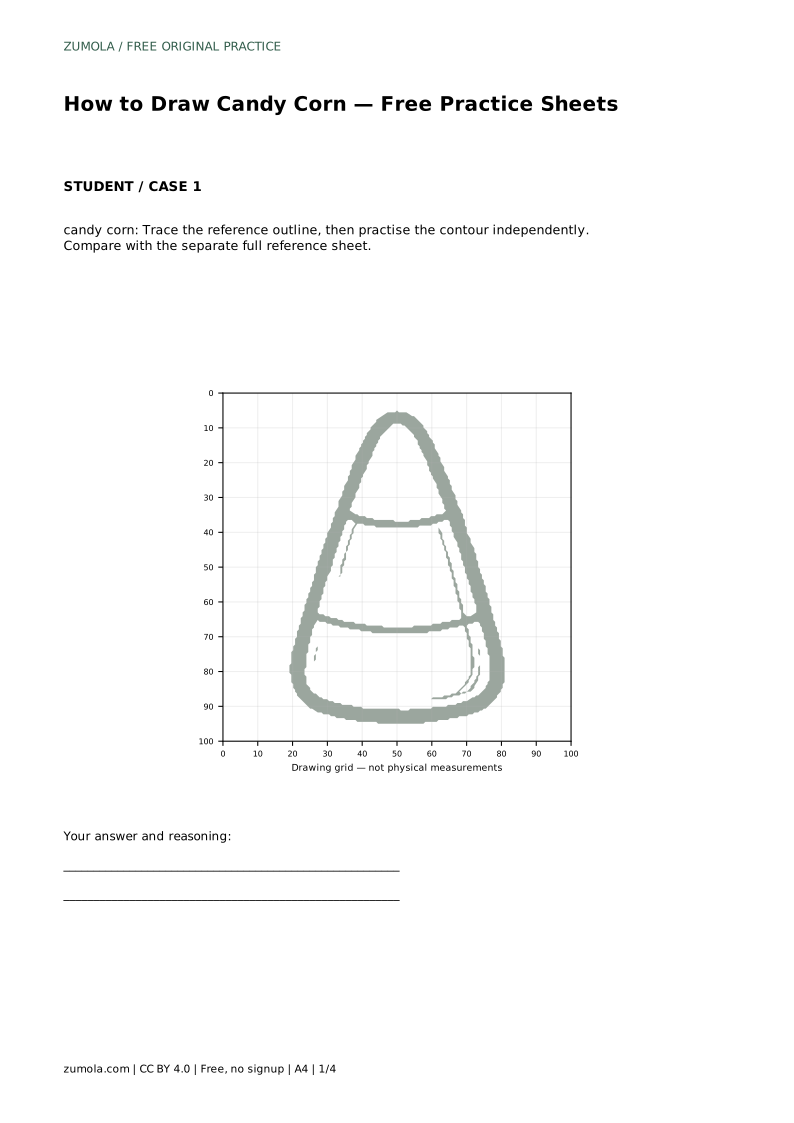
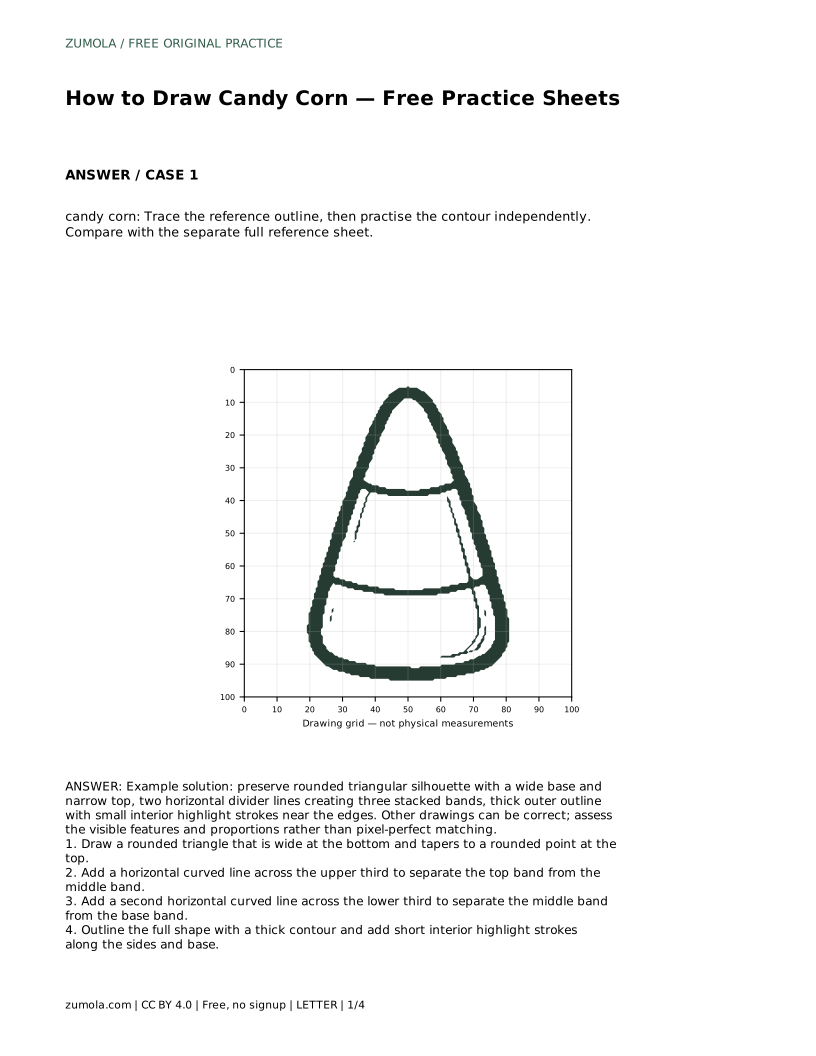
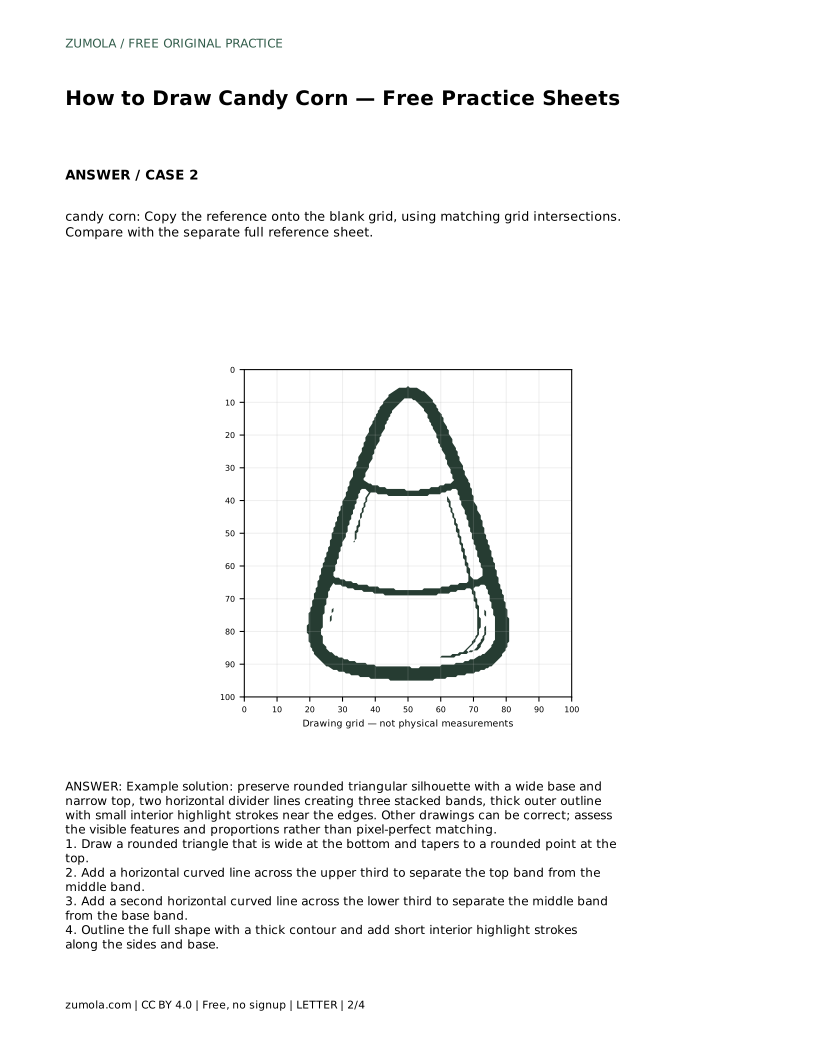
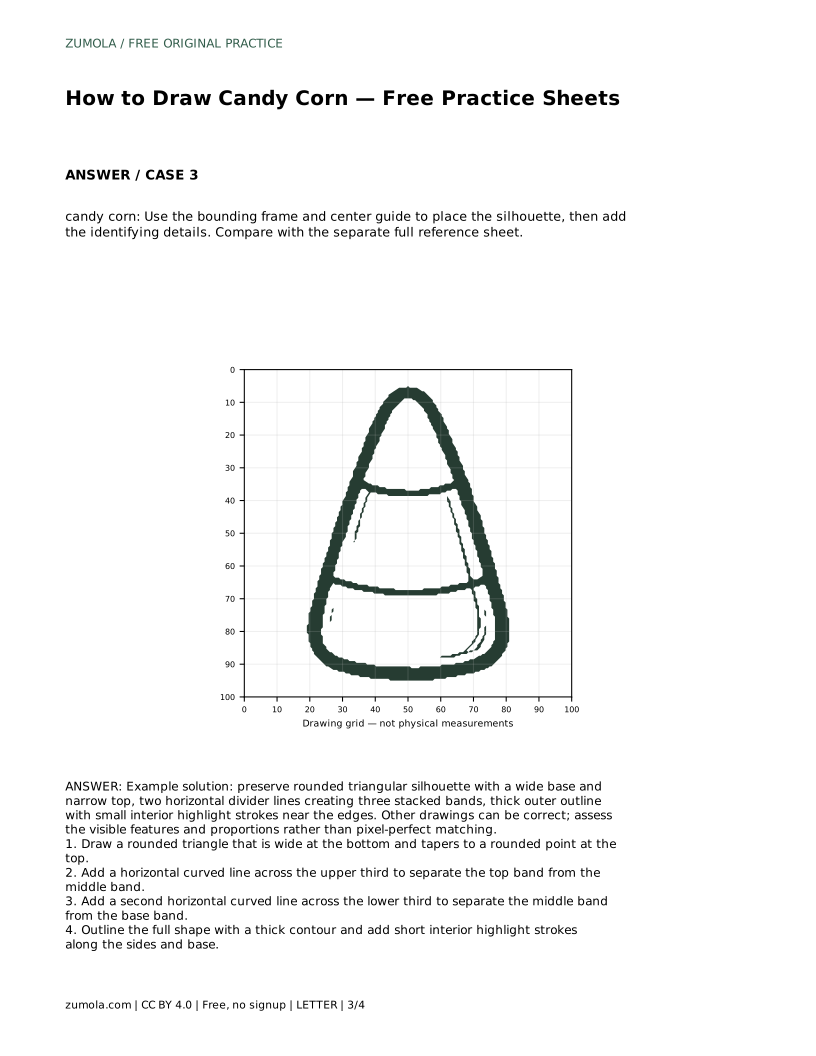
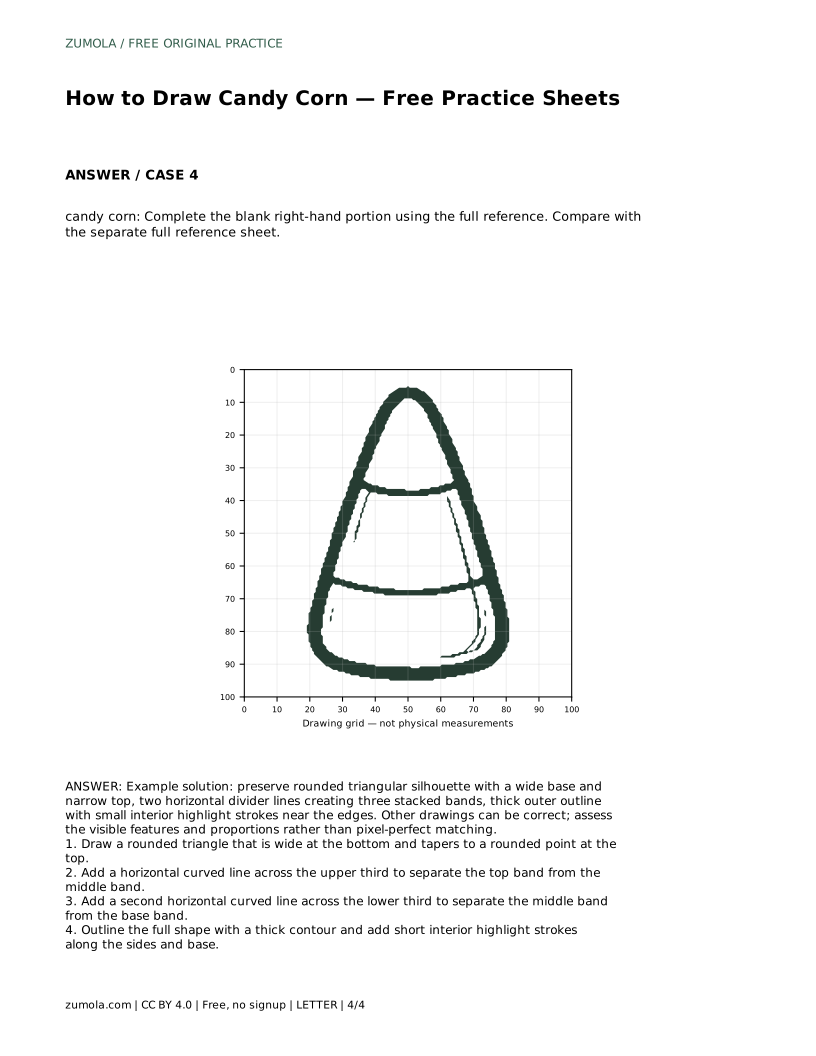
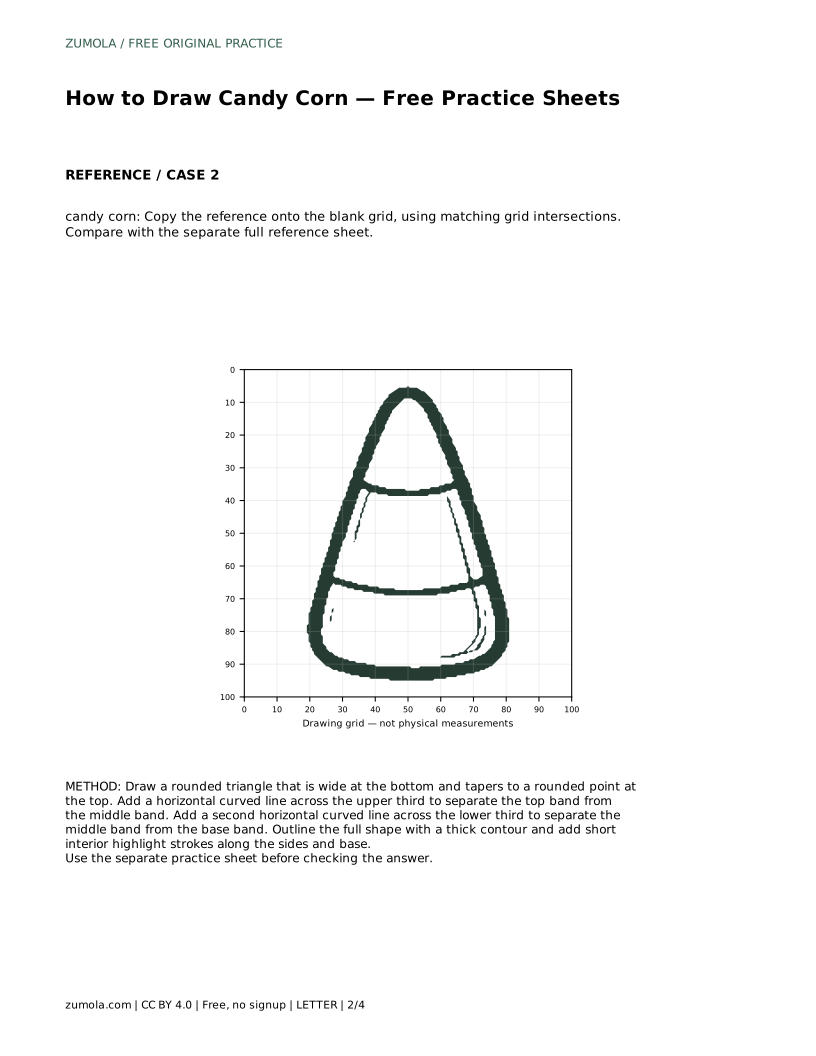
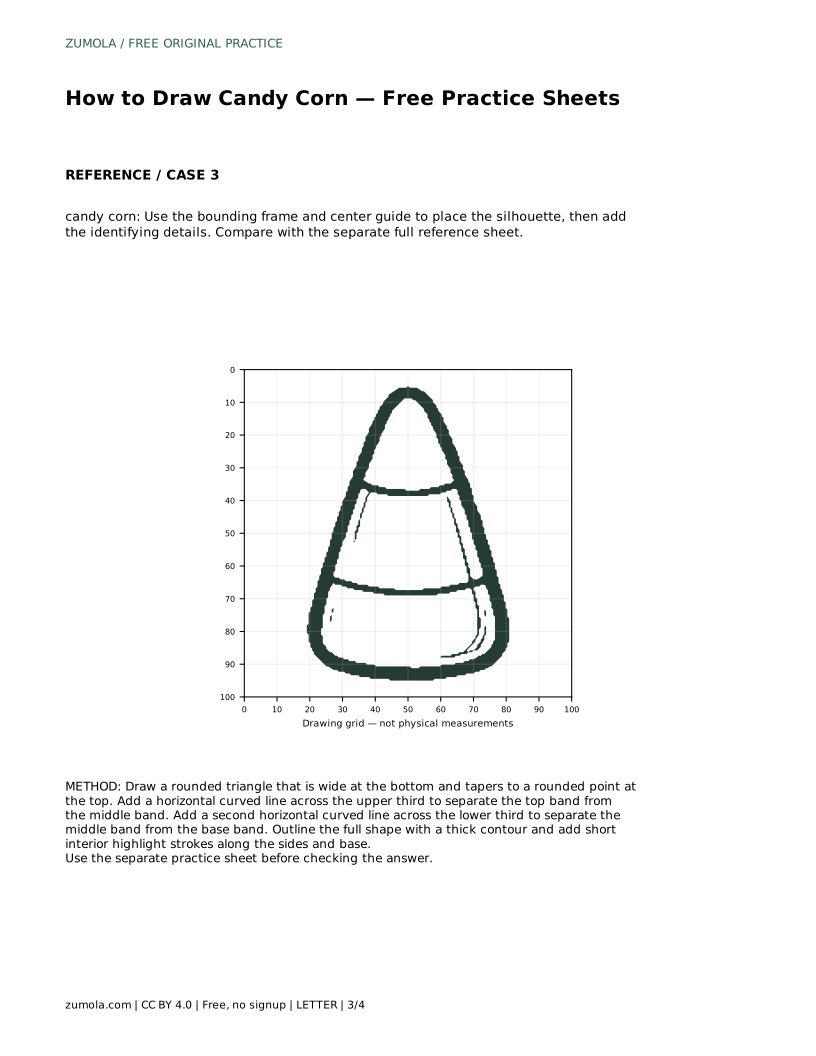
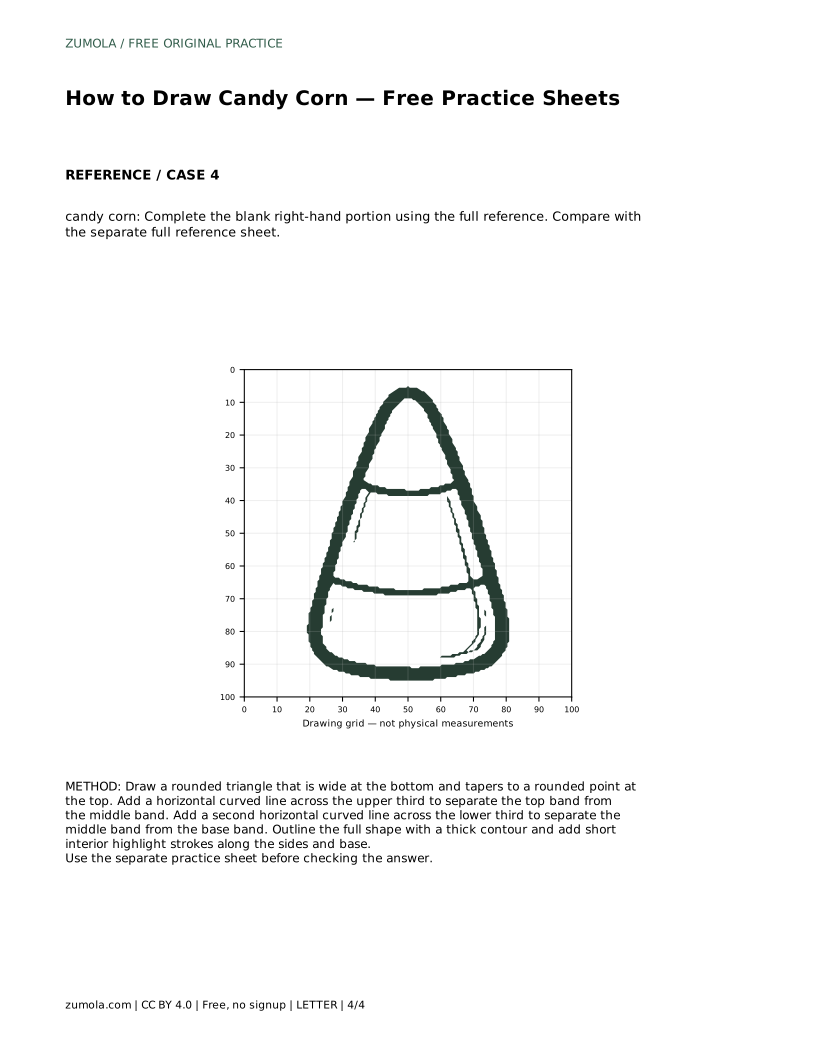
Candy corn is a simple shape with a few precise features: a rounded triangle that is wide at the bottom and narrow at the top, two horizontal curved lines that divide it into three stacked bands, and a thick outer contour. This page explains how to build that silhouette step by step, then how to check your drawing against a reference sheet. The practice sheets support tracing, grid copying, frame placement, and completing a partially drawn figure.
Start with the overall shape before adding any band lines. Candy corn reads as a triangle with softened corners: the base is wide and gently curved, the two sides slope inward, and the top ends in a small rounded point rather than a sharp corner. Keep the left and right sides roughly balanced so the piece does not lean. A light first pass lets you adjust the width of the base and the height of the point before committing to darker lines.
The proportions matter more than the exact size. A common mistake is making the top too wide, which turns the candy into a rounded blob. Another is making the base too narrow, which makes it look like a tall wedge. Aim for a base noticeably wider than the height of the top band, and a tip that is clearly narrower than the middle of the shape.
Candy corn has three stacked bands separated by two horizontal lines. Place the first divider across the upper third of the shape and the second across the lower third, leaving a wider middle band. Both lines should curve gently to follow the rounded form rather than cutting straight across like a ruler line. The curve is subtle: a slight bow that echoes the base curve keeps the bands looking wrapped around the shape.
Keep the dividers inside the silhouette. They should meet the outer edges cleanly, not float past them or stop short. If a divider looks uneven, redraw it lightly before thickening anything.
Once the silhouette and dividers are placed, strengthen the outer outline into a thick contour. A heavier edge makes the candy read clearly at small sizes and separates it from the background. Keep the interior divider lines lighter than the outer contour so the shape stays unified.
Small highlight strokes near the edges suggest the glossy surface of the candy. Place short marks along the sides and base rather than filling the bands. These strokes are a drawing convention for shine, not a claim about the candy's actual surface. A few well-placed marks are enough; too many break up the clean bands.
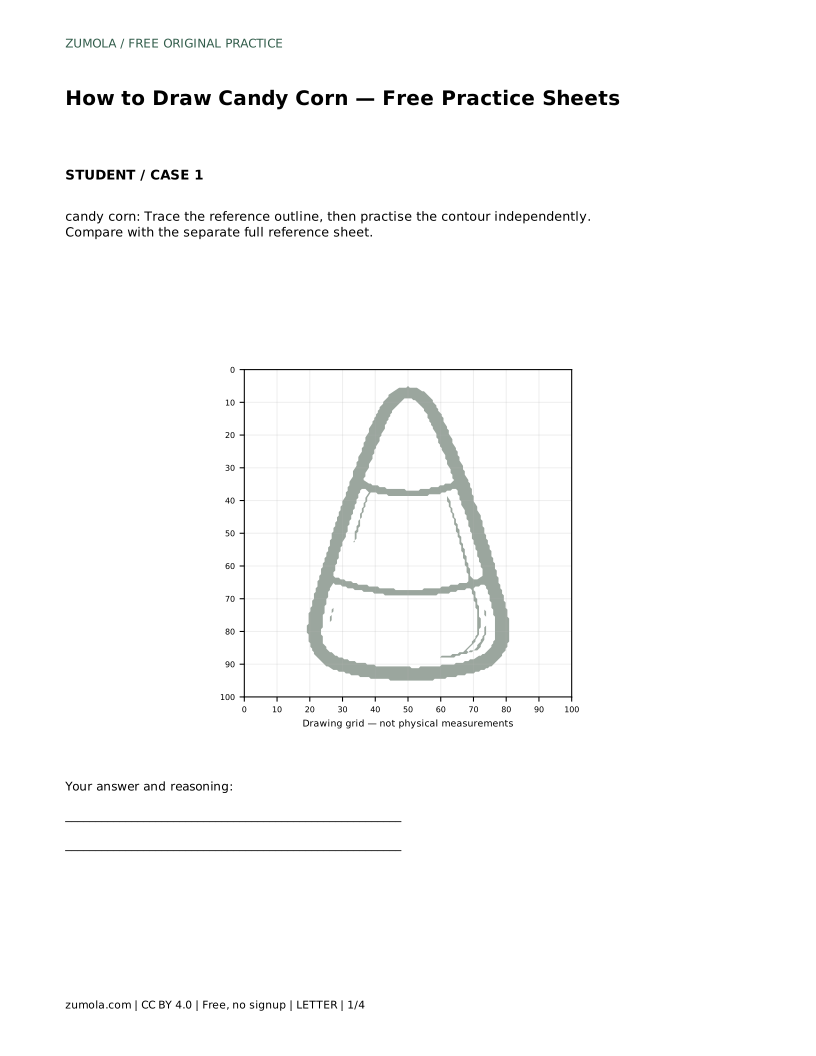
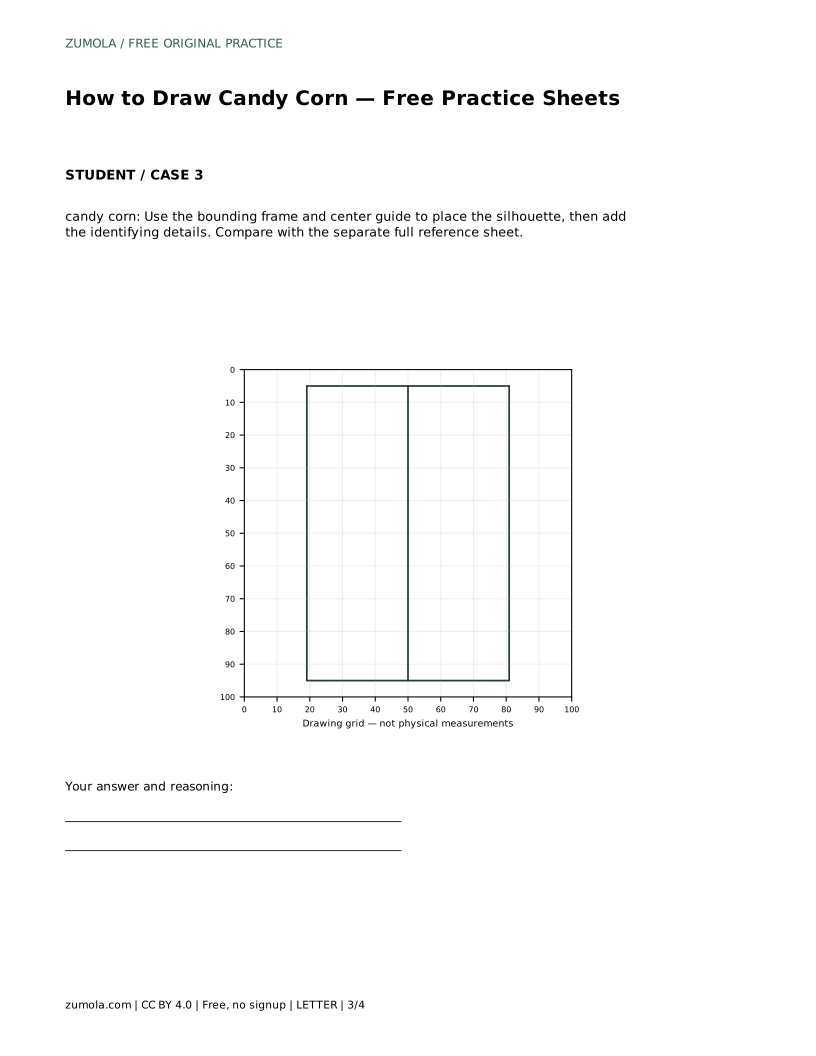
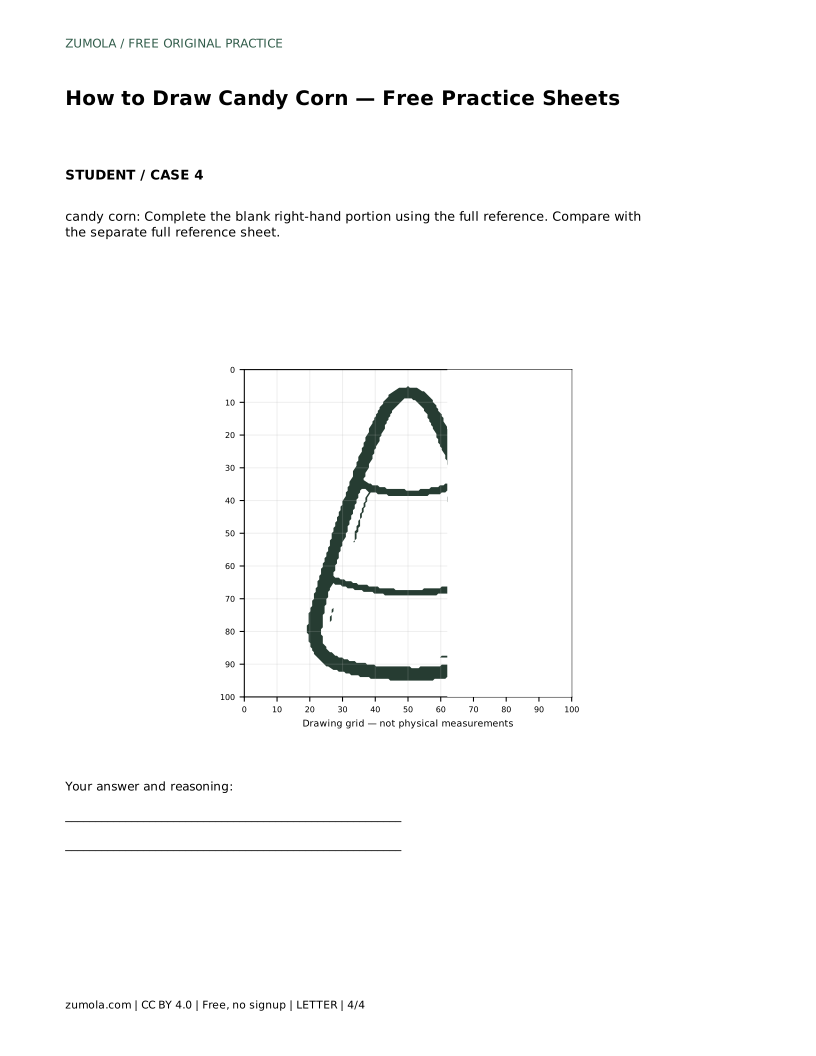
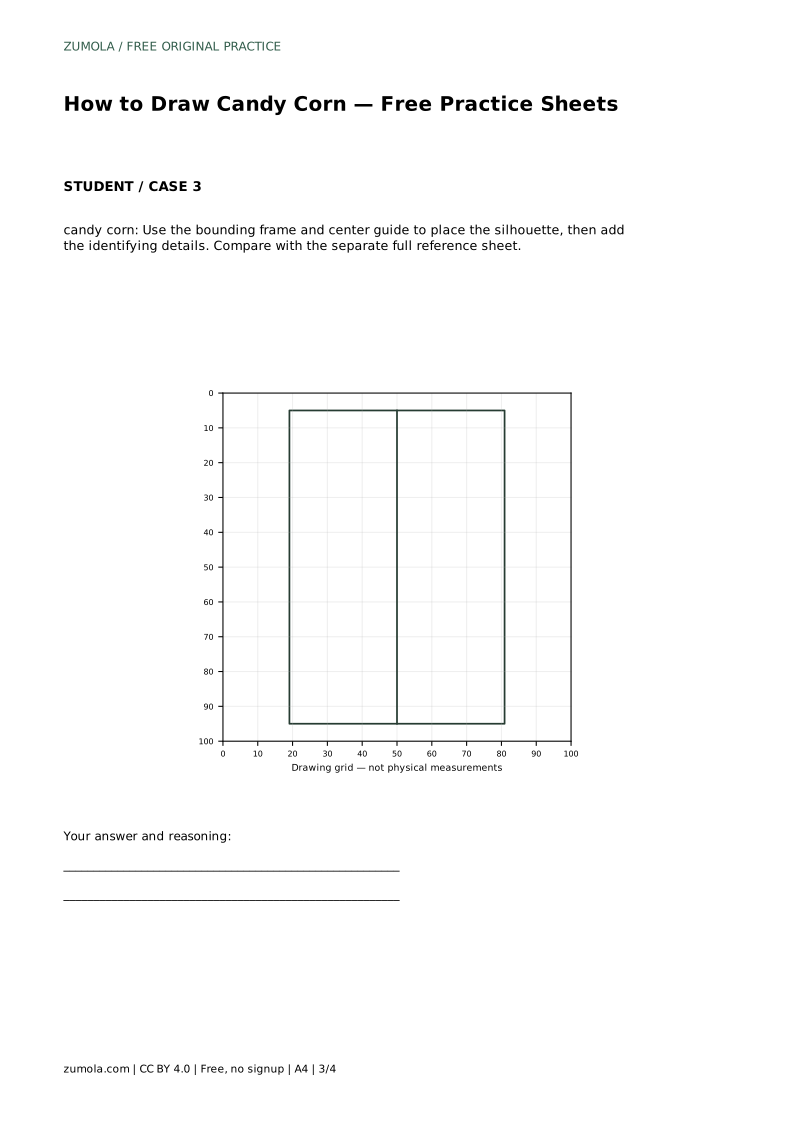
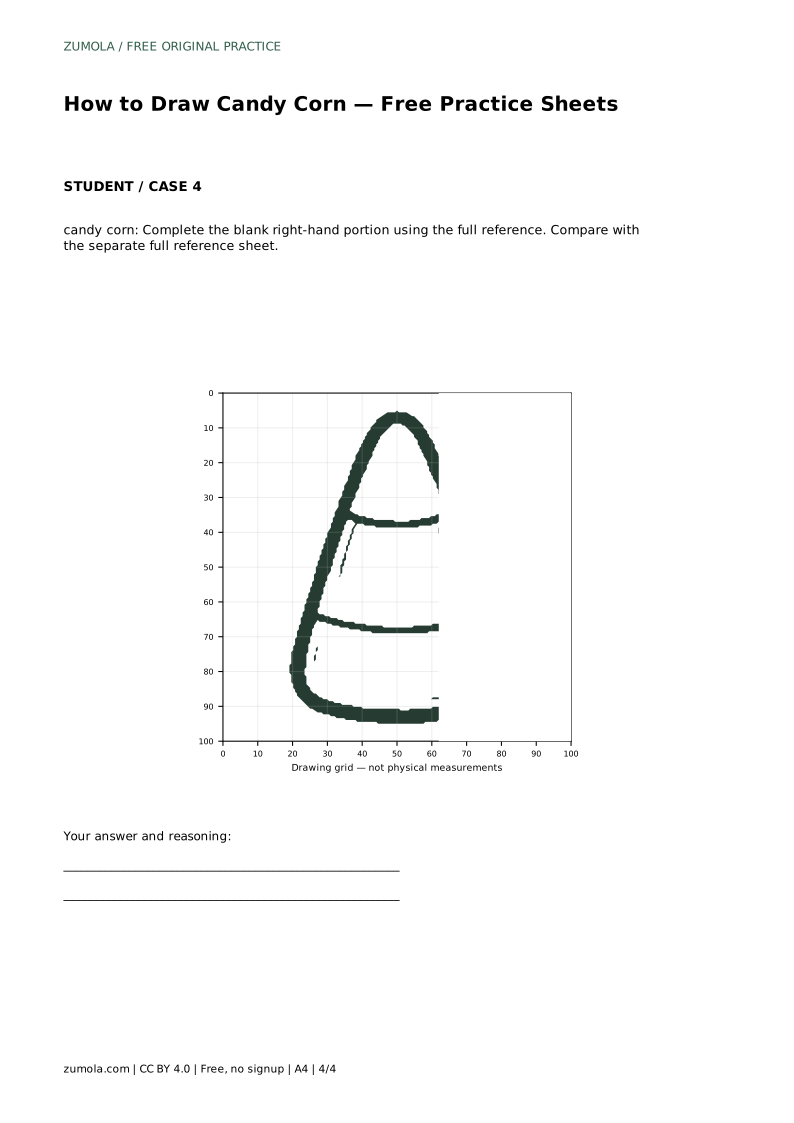
The trace sheet asks you to follow the reference outline first, then repeat the contour independently on blank space. The grid sheet asks you to copy the reference onto a blank grid using matching intersections, which trains proportion and placement. The frame sheet gives a bounding frame and center guide so you can position the silhouette before adding details. The partial sheet leaves the right-hand portion blank so you complete it from the full reference.
After each attempt, compare with the separate full reference sheet. Judge visible features and proportions rather than pixel-perfect matching, because several drawings can be correct.
candy corn: Trace the reference outline, then practise the contour independently. Compare with the separate full reference sheet.
Example solution: preserve rounded triangular silhouette with a wide base and narrow top, two horizontal divider lines creating three stacked bands, thick outer outline with small interior highlight strokes near the edges. Other drawings can be correct; assess the visible features and proportions rather than pixel-perfect matching. Draw a rounded triangle that is wide at the bottom and tapers to a rounded point at the top. Add a horizontal curved line across the upper third to separate the top band from the middle band. Add a second horizontal curved line across the lower third to separate the middle band from the base band. Outline the full shape with a thick contour and add short interior highlight strokes along the sides and base.
Three stacked bands, separated by two horizontal curved divider lines placed across the upper and lower thirds.
No. Preserve the rounded triangular silhouette, the two dividers, and the thick outer contour; other proportions can vary and still be correct.
They are highlight marks suggesting a glossy surface. Keep them short and near the sides and base rather than filling the bands.
All drawing practice · Free coordinate paper
Original resources · CC BY 4.0 · Free for personal and classroom use with attribution.