Reference diagrams
LETTER · Download PDF
A4 · Download PDF
Free original resources
Learn to draw a stuffed olive by tracing, gridding, and completing a reference. Practise the tilted oval, pimento hole, stem nub, and glossy highlight.
Four original cases, with reference diagrams, practice sheets and worked answers. Everything is free; no signup required.
LETTER · Download PDF
A4 · Download PDF
LETTER · Download PDF
A4 · Download PDF
LETTER · Download PDF
A4 · Download PDF
Use A4 or US Letter to match your printer. Use the stated values and conditions to solve each exercise; diagrams are not physical measuring rulers.
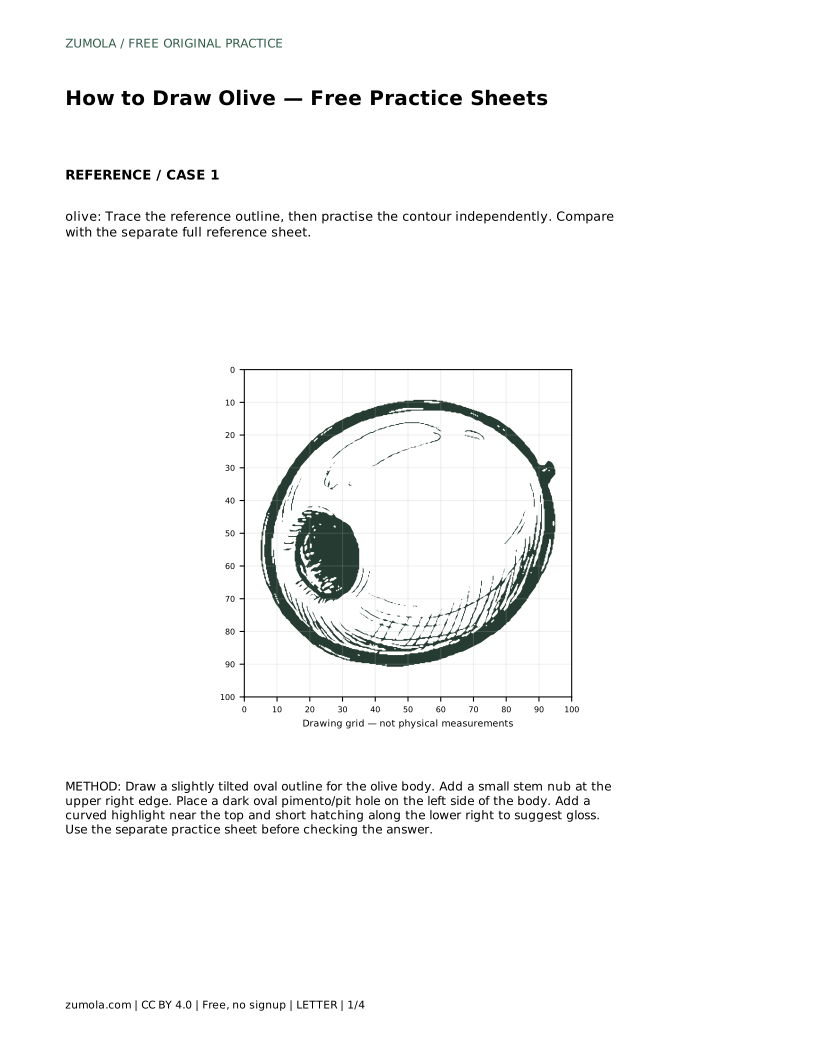
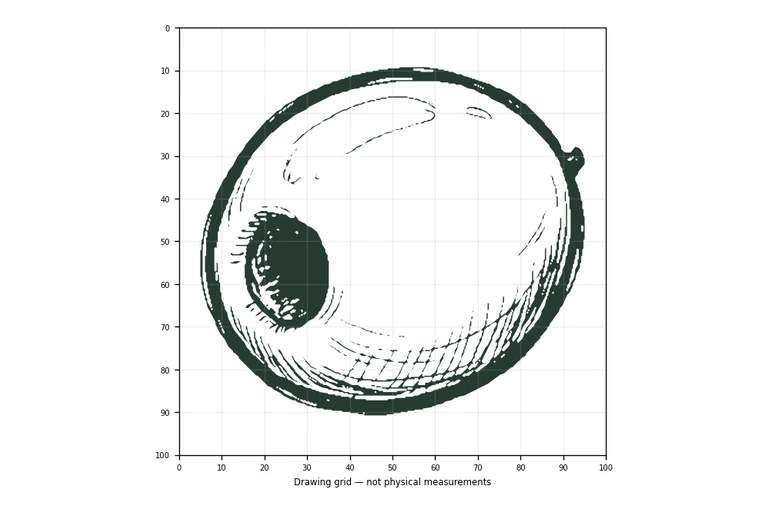
An olive is a small subject with a few clear features: a tilted oval body, a stem nub, a dark pimento or pit hole, and a glossy surface. This page explains how to practise those features using trace, grid, guide-frame, and partial-reference sheets. The aim is not a pixel-perfect copy. Different drawings can be correct when the visible features and proportions hold together.
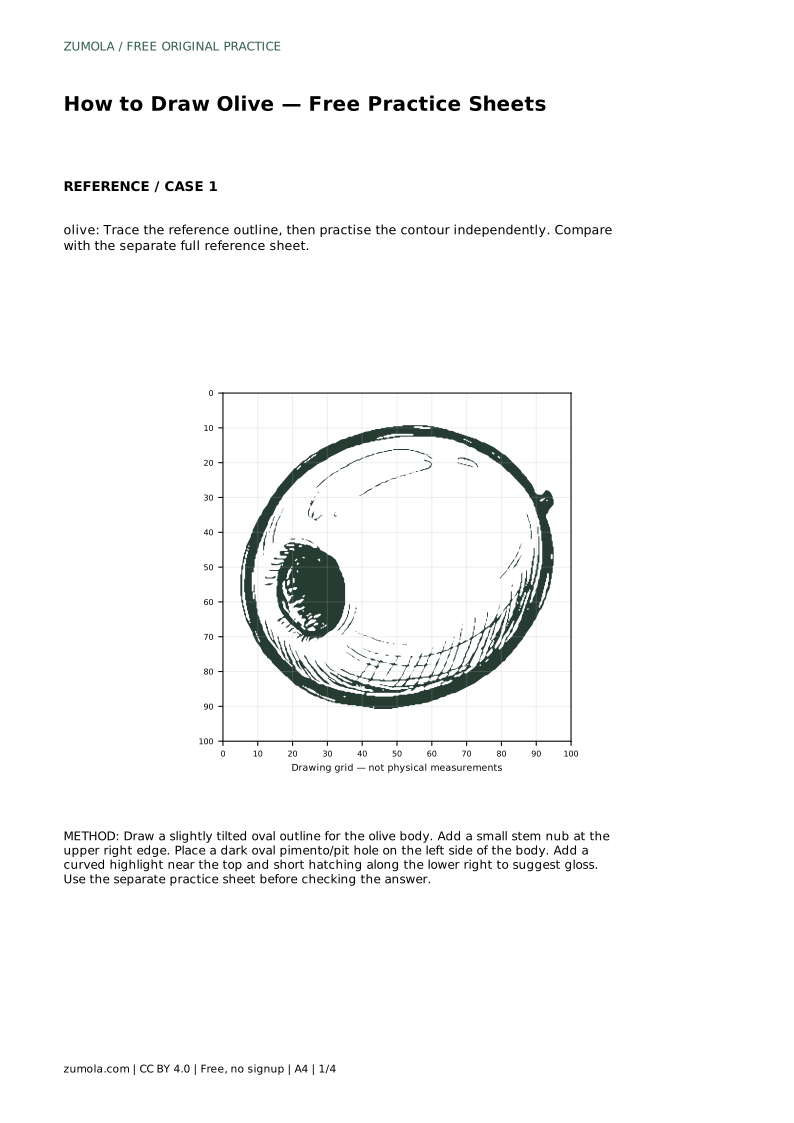
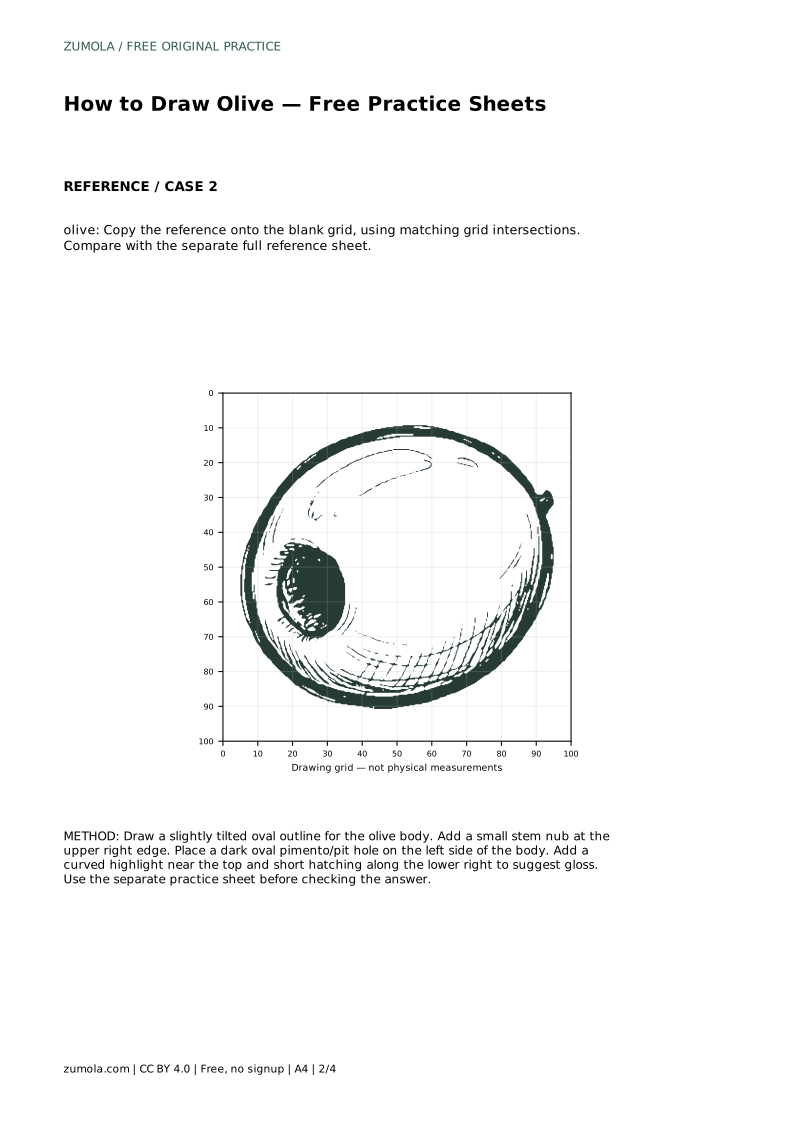
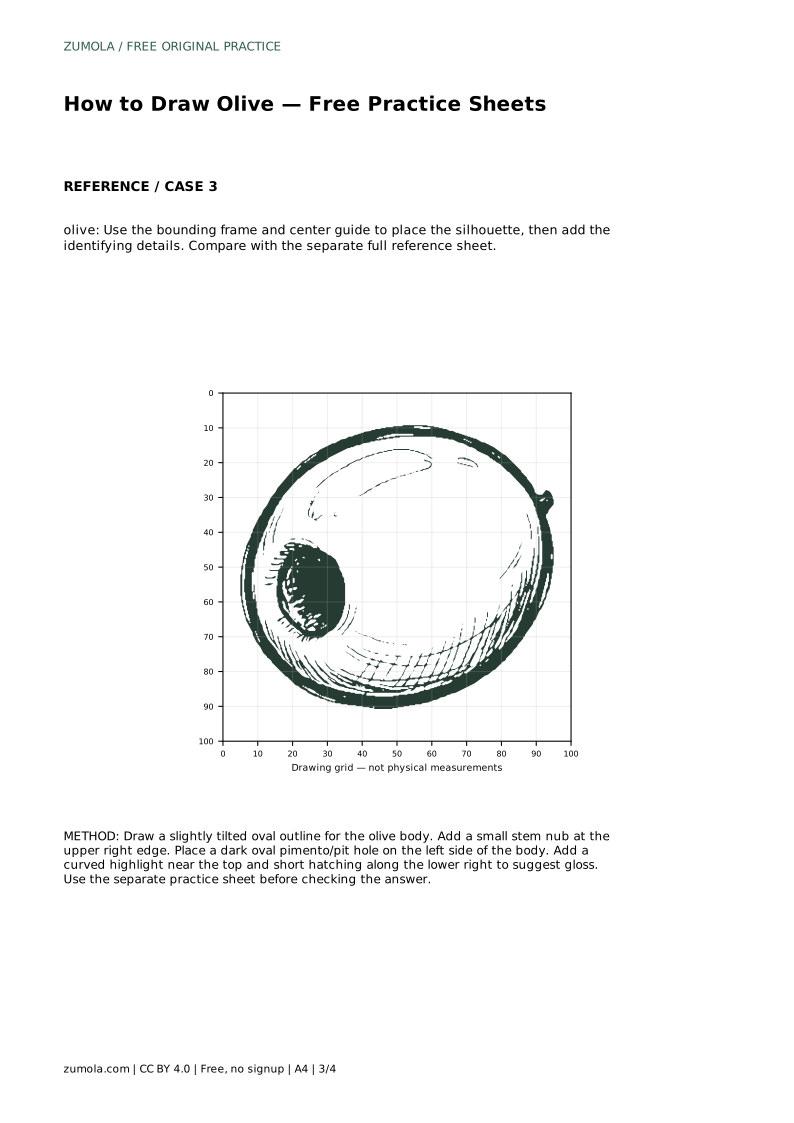
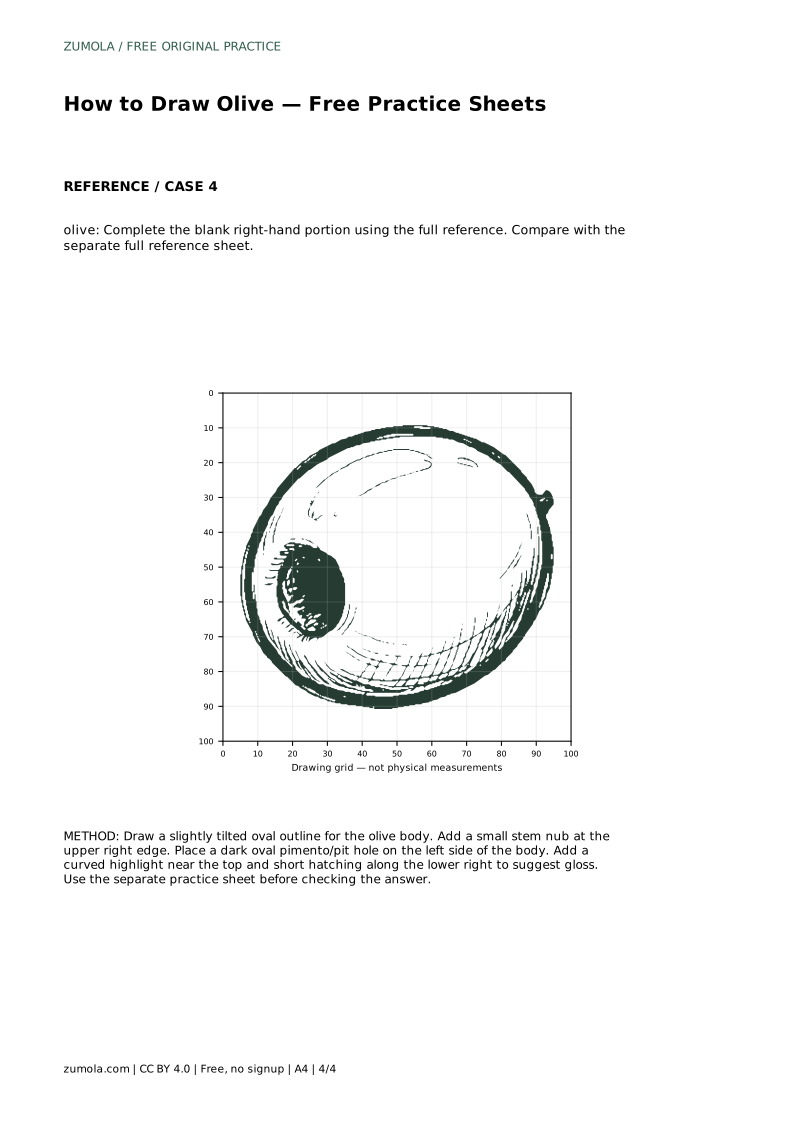
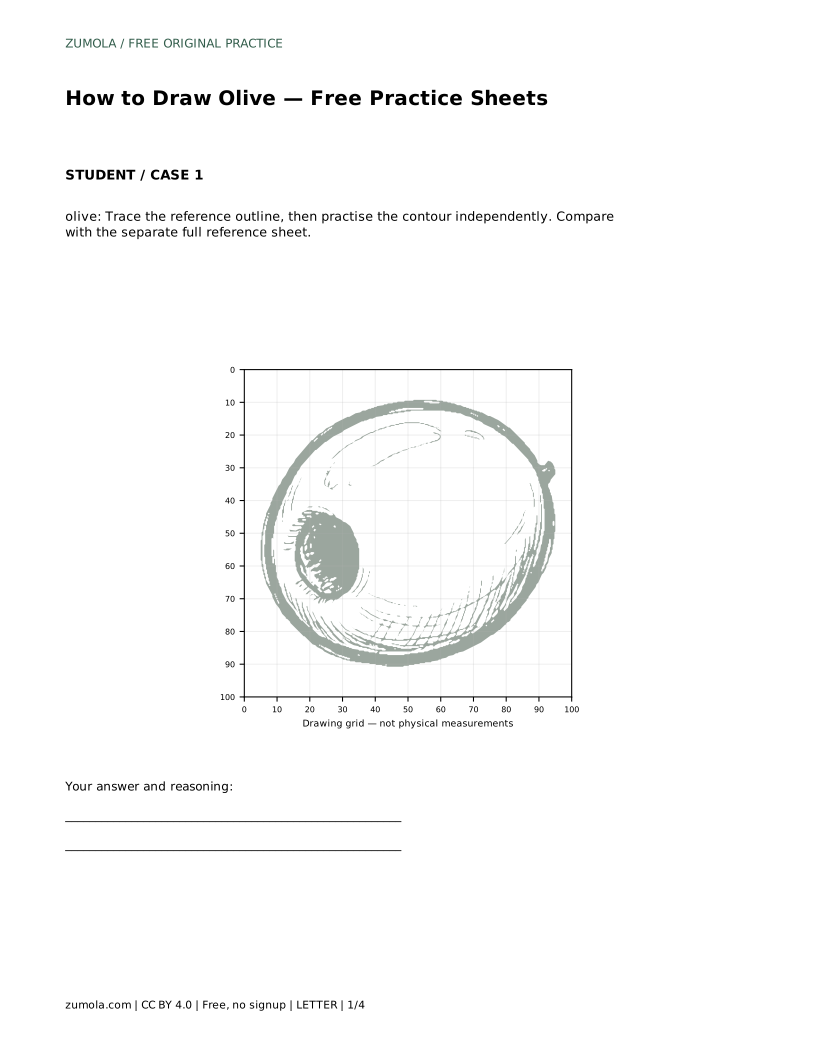
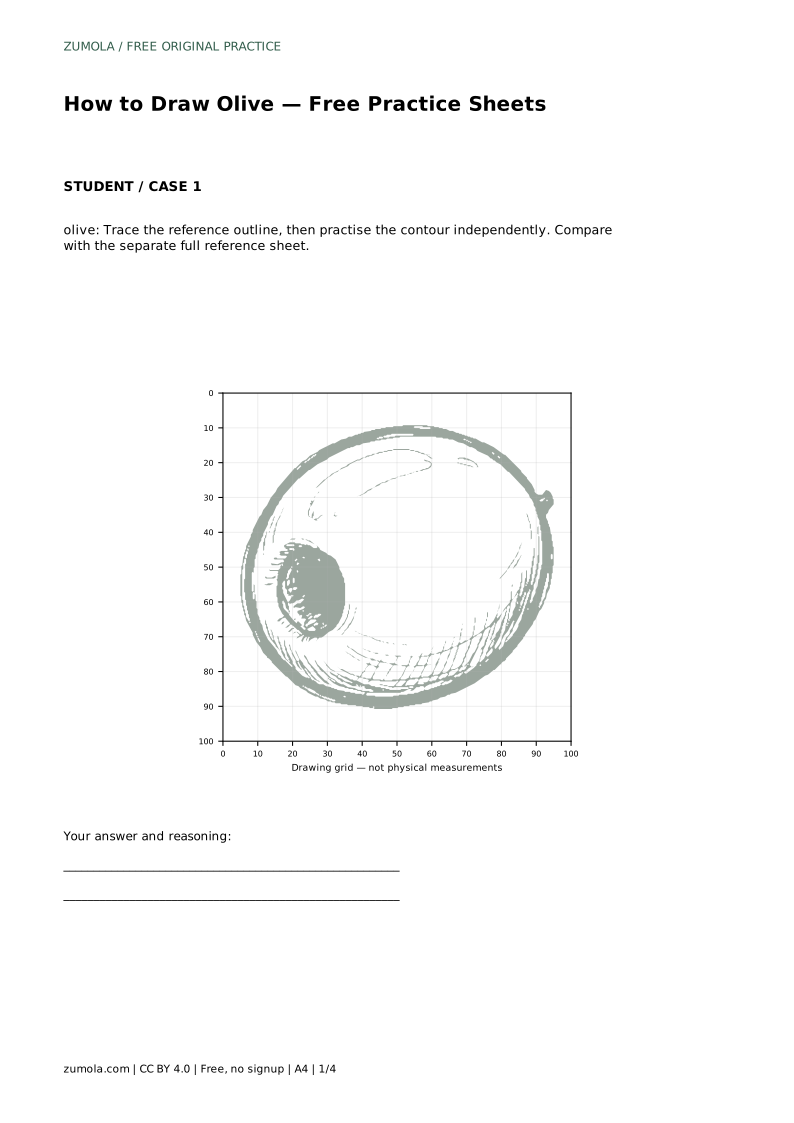
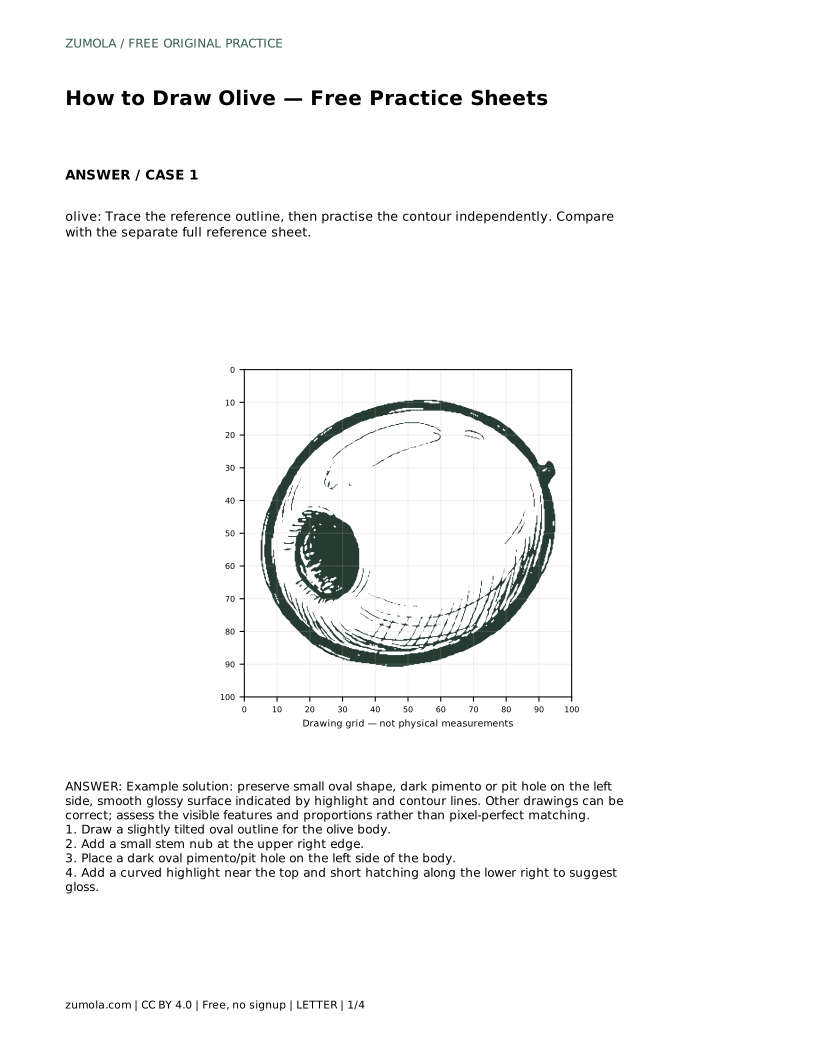
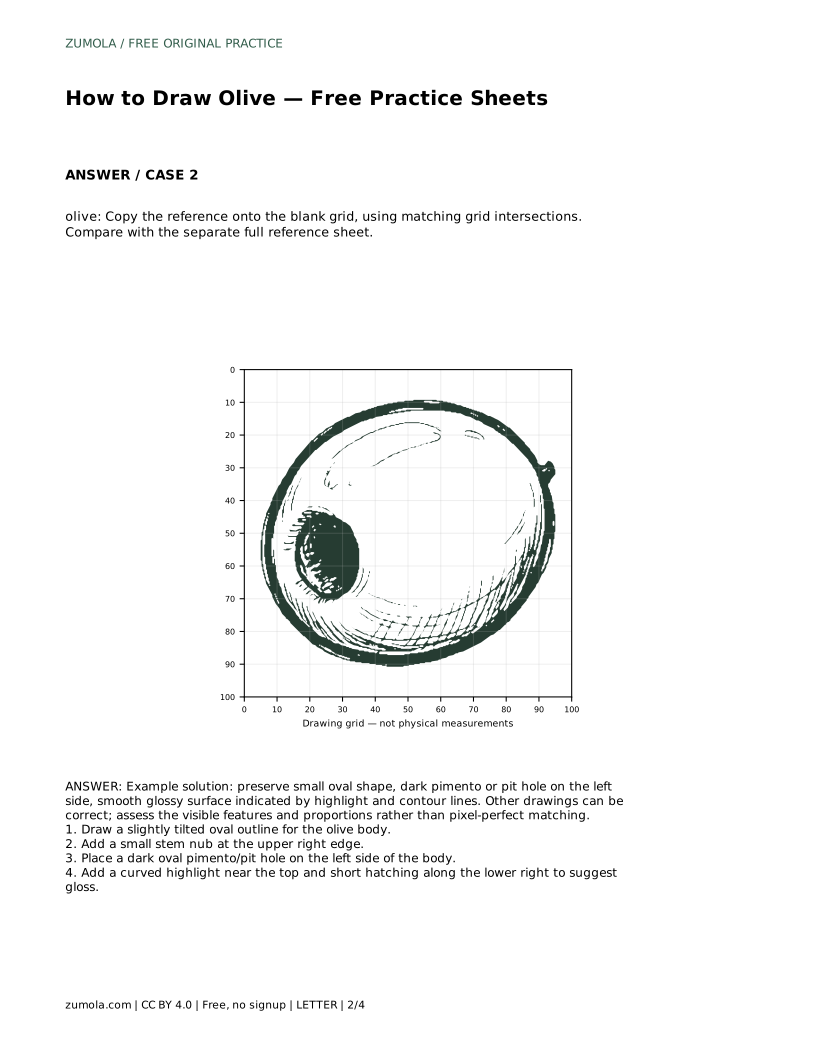
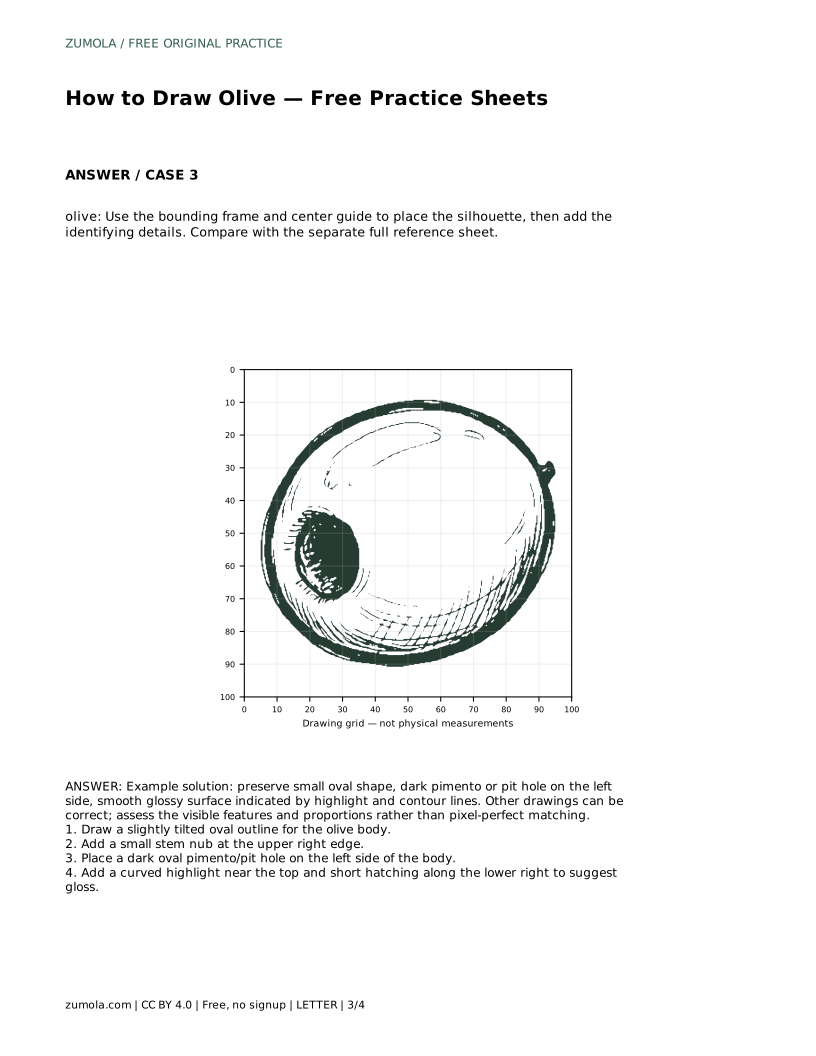
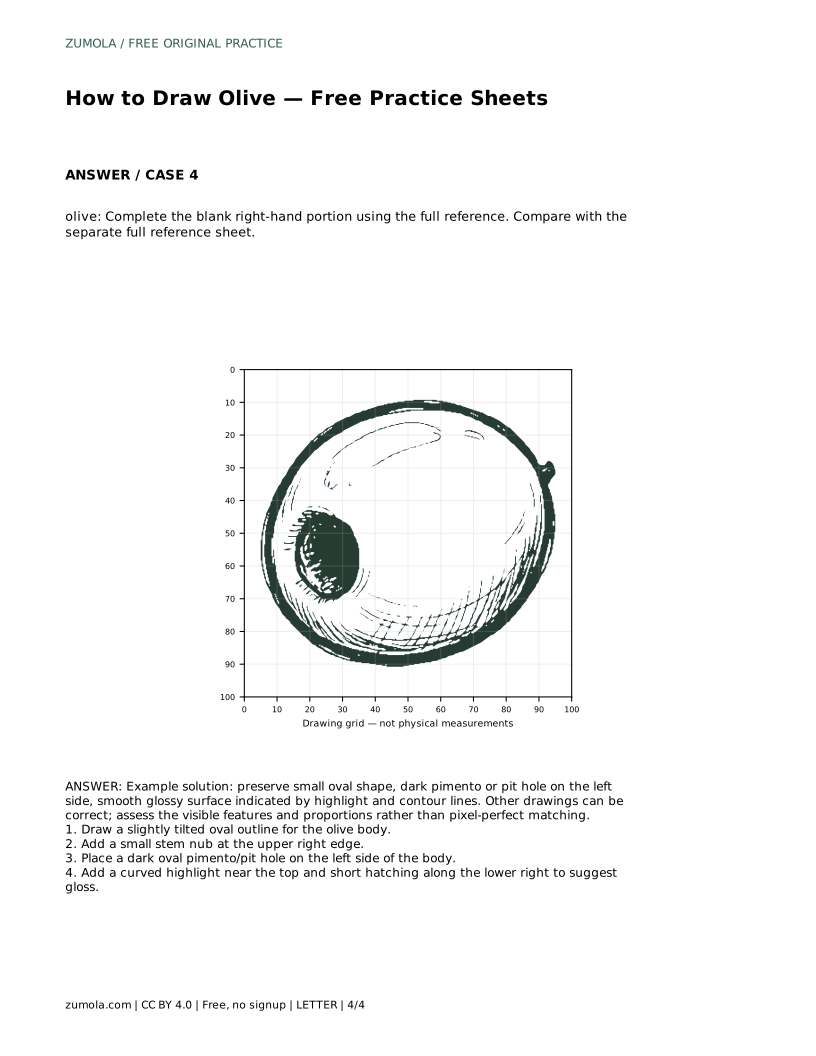
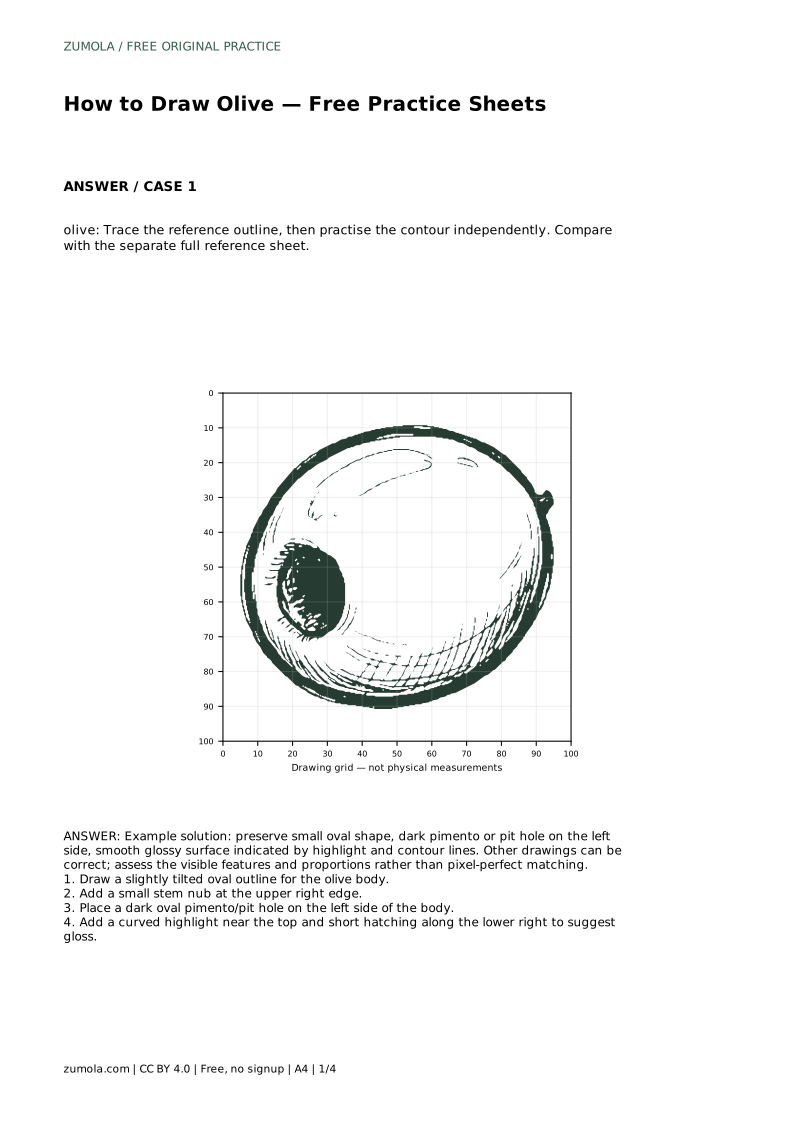
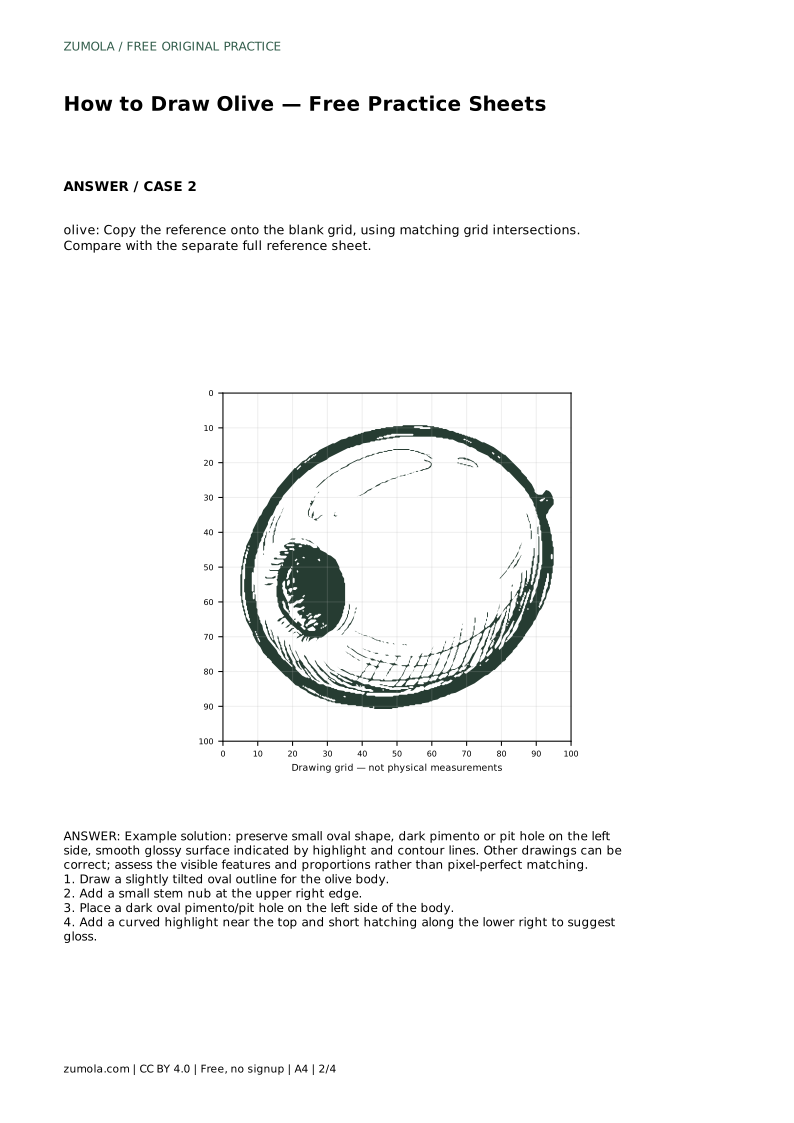
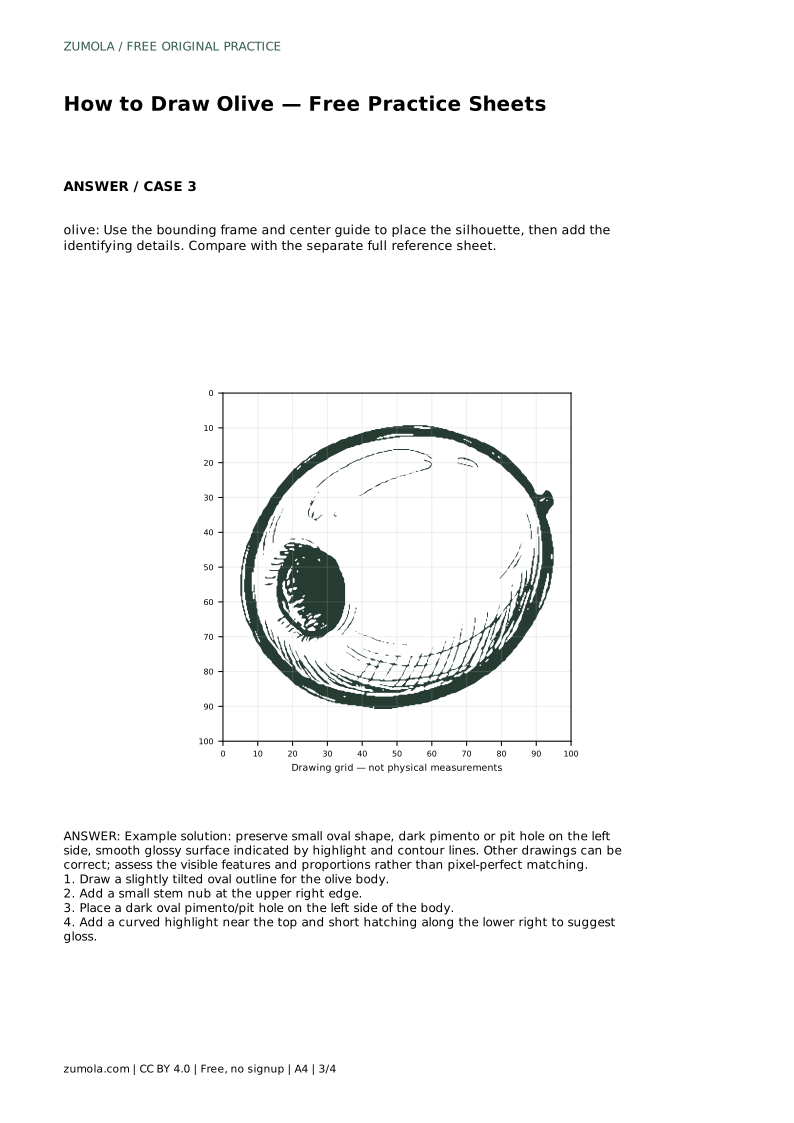
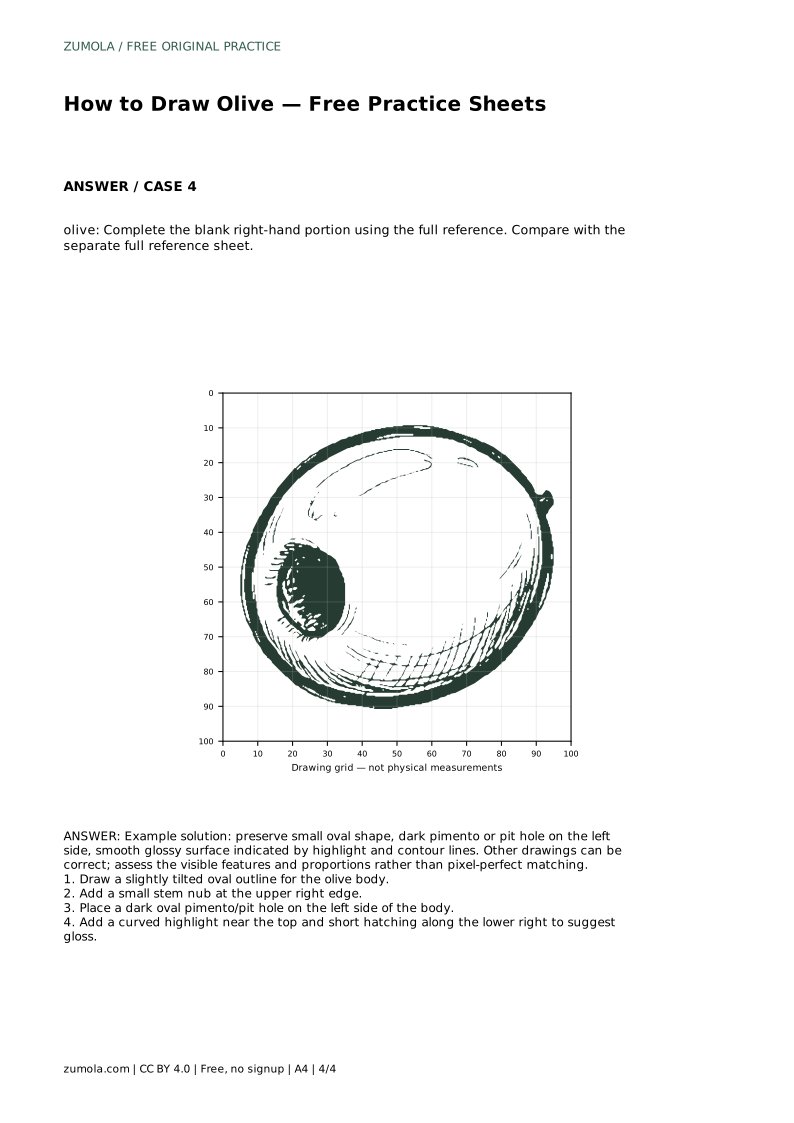
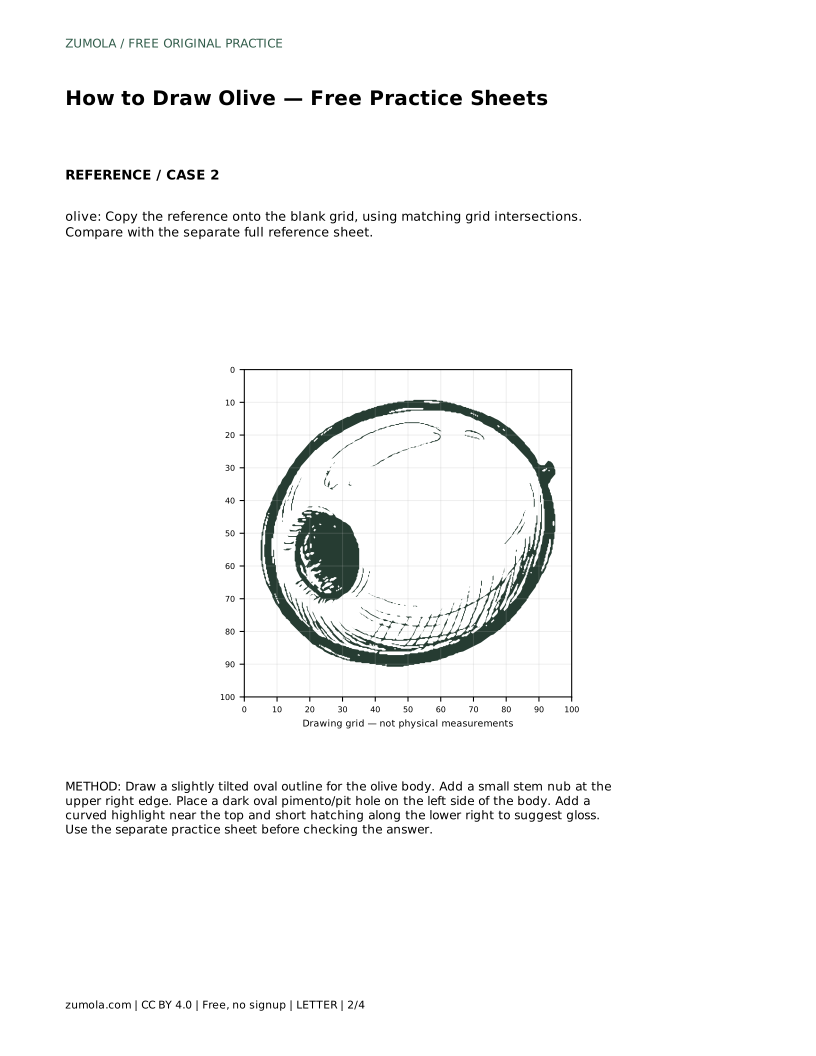
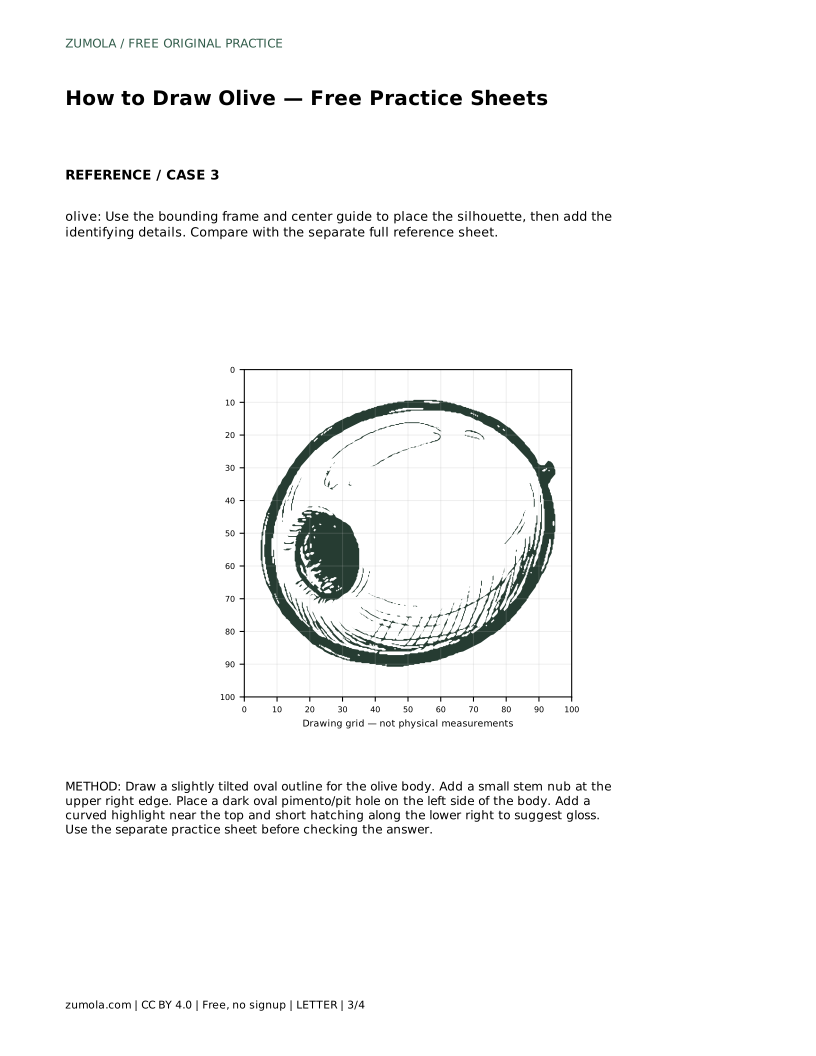
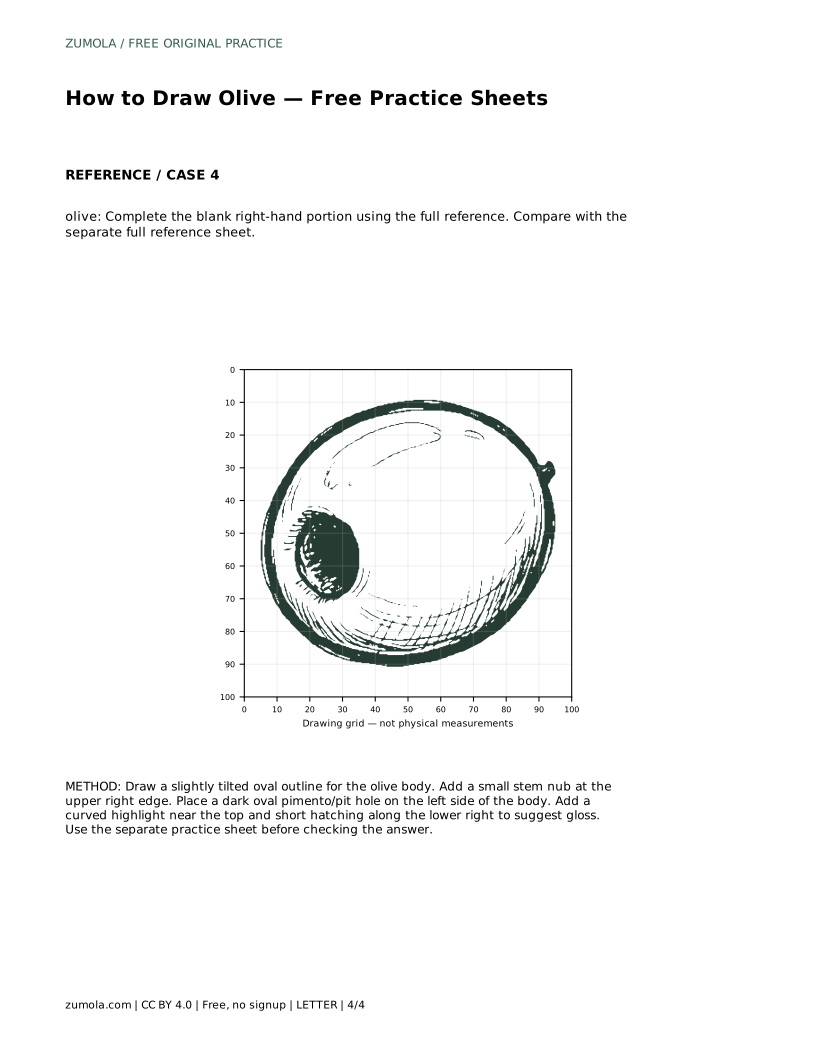
Look at the reference as a set of shapes rather than one outline. The body is a slightly tilted oval, wider through the middle than at the ends. The stem nub sits at the upper right edge. The dark pimento or pit hole is a small oval on the left side of the body. A curved highlight near the top and short hatching along the lower right suggest a smooth, glossy surface.
Check the relationships between these parts. The pimento hole should sit inside the body outline, not on its edge. The stem nub should touch the upper right edge without becoming a long stalk. The highlight should follow the curve of the oval. Keeping these relationships steady matters more than matching every millimetre.
Start with the trace sheet. Follow the reference outline slowly, keeping the oval small and slightly tilted. Add the stem nub, then the pimento hole, then the highlight and hatching. Tracing builds familiarity with the order of the parts.
Next, cover or set aside the traced outline and draw the olive on blank paper. Work in the same order: body, stem nub, pimento hole, gloss marks. Compare your independent drawing with the separate full reference sheet. Ask whether the oval is tilted the same way, whether the pimento hole sits on the left, and whether the highlight follows the top curve. Adjust one feature at a time rather than redrawing everything.
On the grid sheet, copy the reference onto the blank grid using matching grid intersections. Treat each intersection as a landmark: where the oval crosses a line, where the pimento hole begins and ends, where the stem nub meets the edge. The grid helps you keep proportions while you draw.
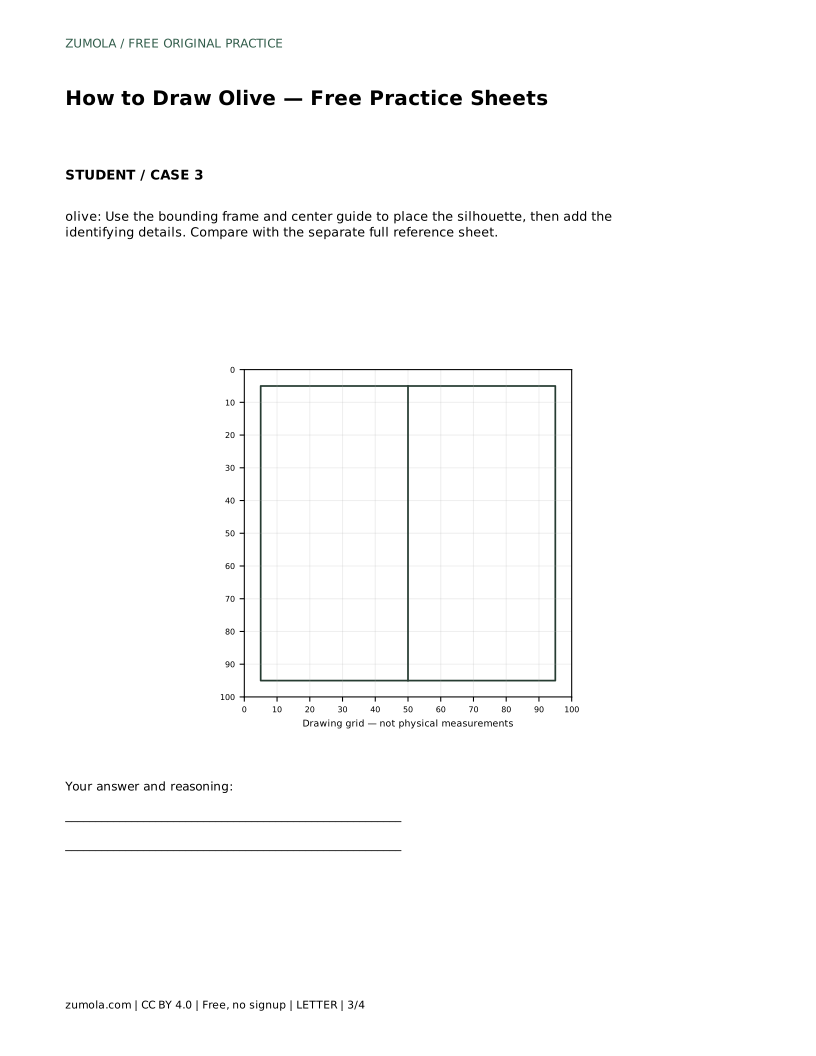
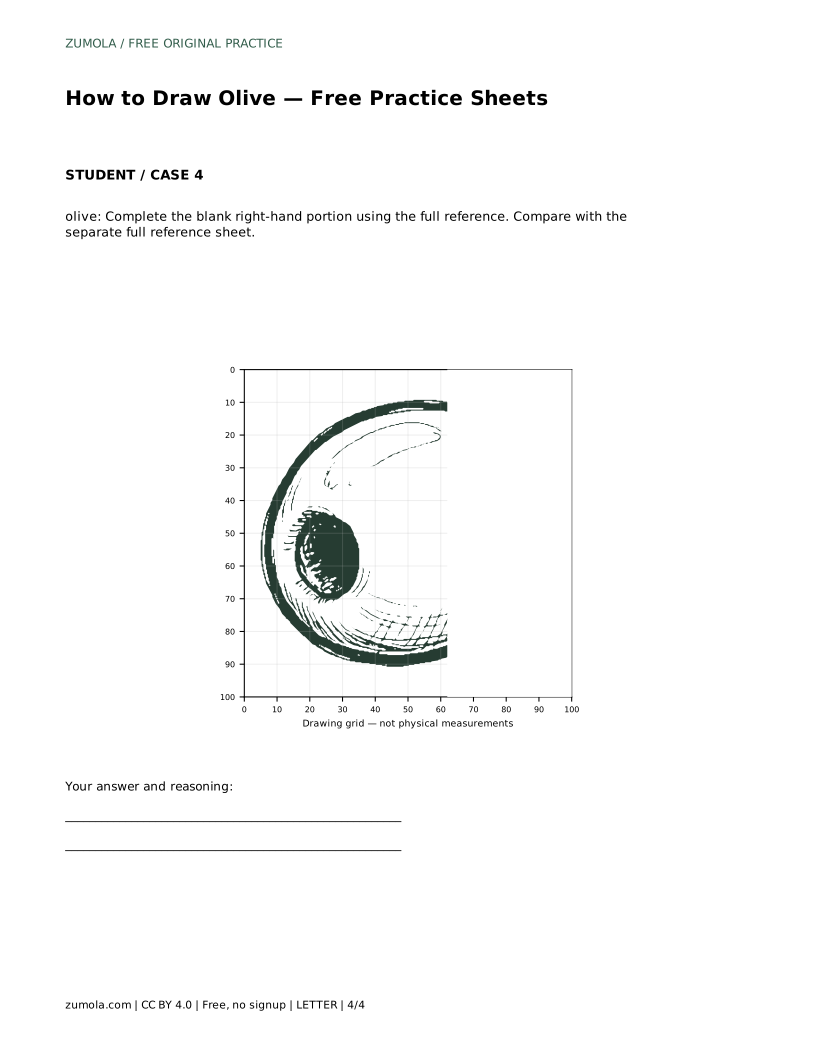
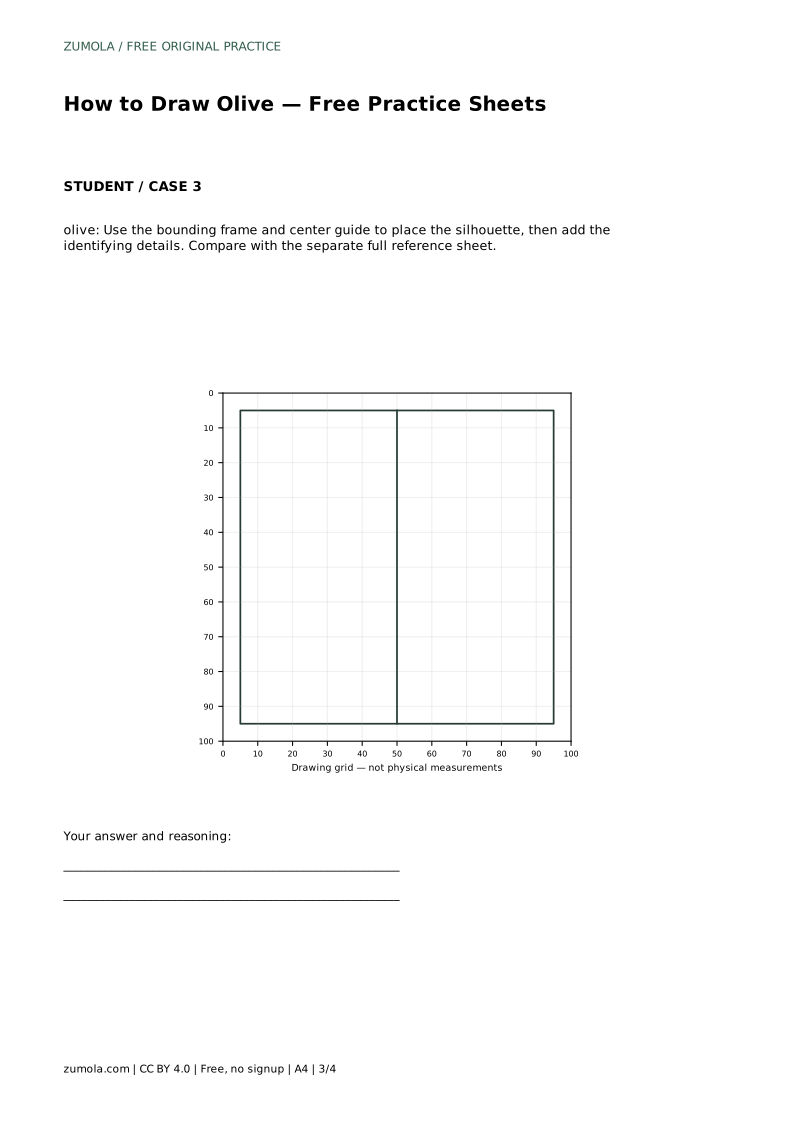
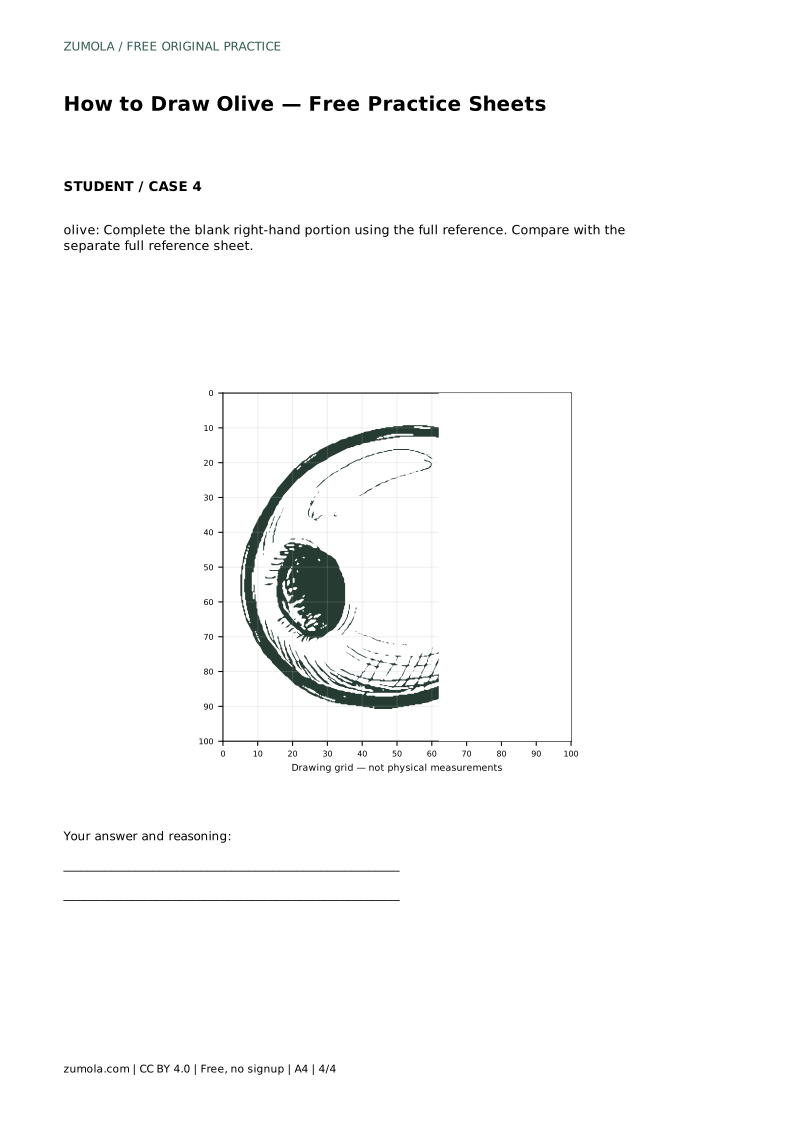
On the frame sheet, use the bounding frame and centre guide to place the silhouette first. The frame limits how large the olive can be; the centre guide helps you judge the tilt. Add the identifying details only after the silhouette sits comfortably inside the frame. On the partial sheet, complete the blank right-hand portion using the full reference. Match the height and tilt of the visible left portion so the two halves join naturally.
Because art has multiple valid outcomes, assess the drawing by visible features rather than an exact answer. A strong olive keeps a small oval body with a consistent tilt, places the pimento or pit hole on the left inside the outline, attaches a short stem nub at the upper right, and uses a curved highlight plus lower-right hatching to suggest gloss. Proportions should feel balanced: the hole should not dominate the body, and the highlight should not cover the whole surface.
Use the rubric below to review your own sheet or a class set. Note one feature to improve, then redraw only that feature on a fresh practice sheet.
olive: Trace the reference outline, then practise the contour independently. Compare with the separate full reference sheet.
Example solution: preserve small oval shape, dark pimento or pit hole on the left side, smooth glossy surface indicated by highlight and contour lines. Other drawings can be correct; assess the visible features and proportions rather than pixel-perfect matching. Draw a slightly tilted oval outline for the olive body. Add a small stem nub at the upper right edge. Place a dark oval pimento/pit hole on the left side of the body. Add a curved highlight near the top and short hatching along the lower right to suggest gloss.
No. Other drawings can be correct. Assess the visible features and proportions rather than pixel-perfect matching.
Draw the tilted oval body first, then the stem nub at the upper right, then the pimento or pit hole on the left, then the highlight and hatching.
Match the height and tilt of the visible left portion so the completed right side joins naturally, then compare with the separate full reference sheet.
All drawing practice · Free coordinate paper
Original resources · CC BY 4.0 · Free for personal and classroom use with attribution.