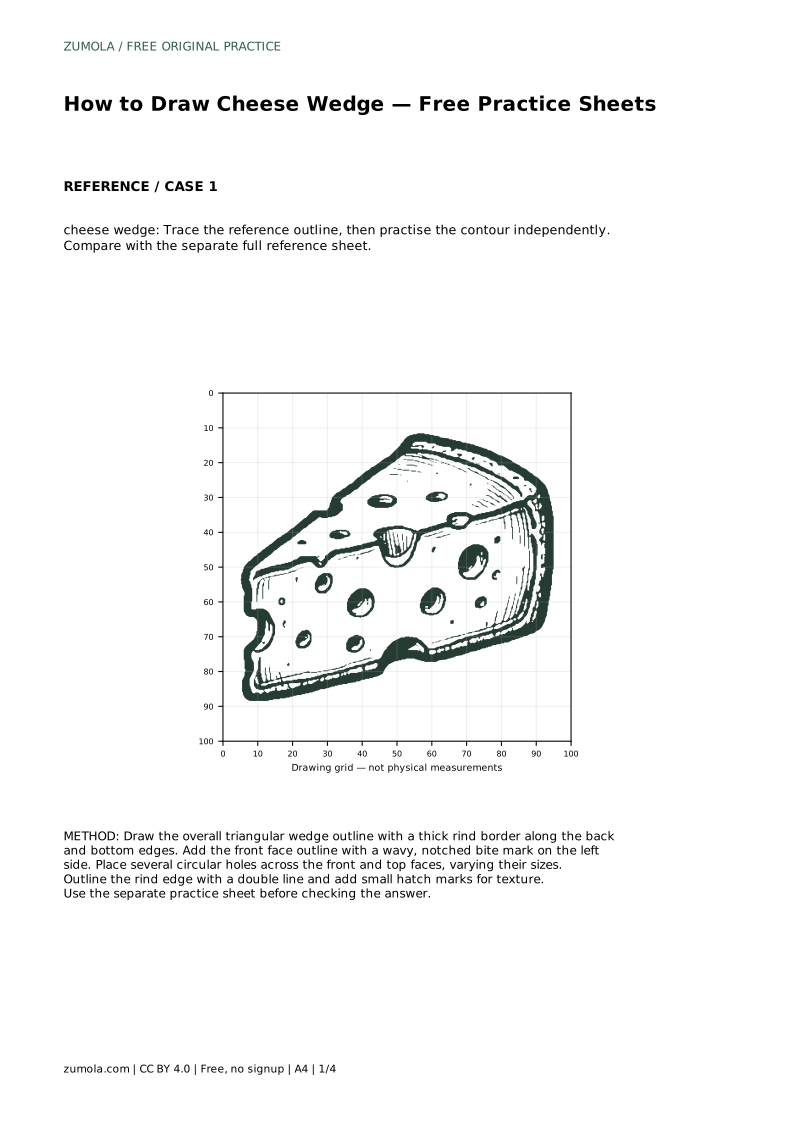
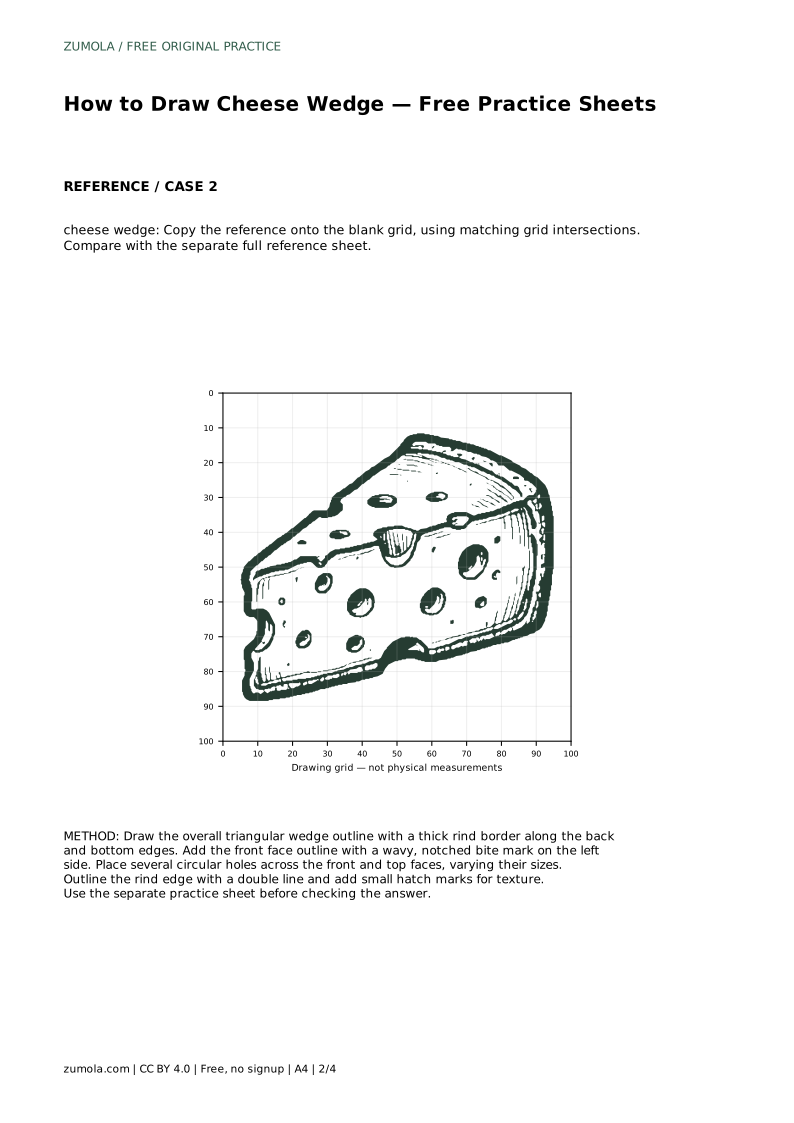
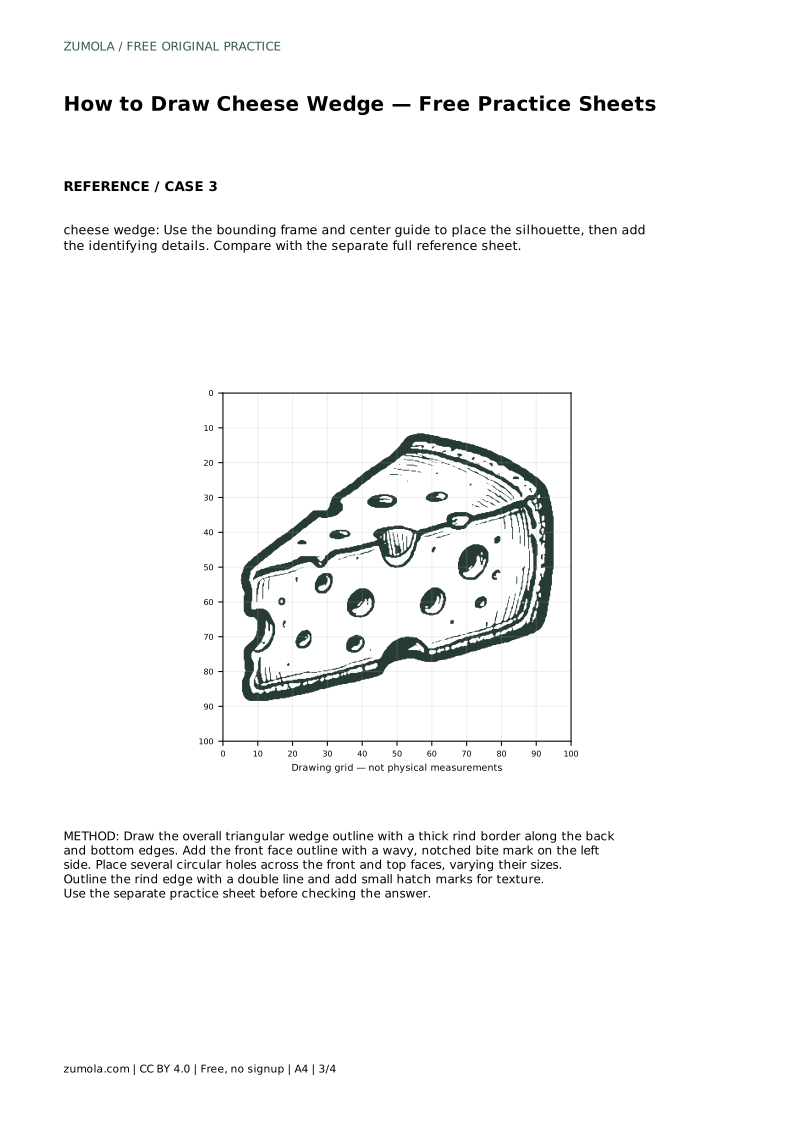
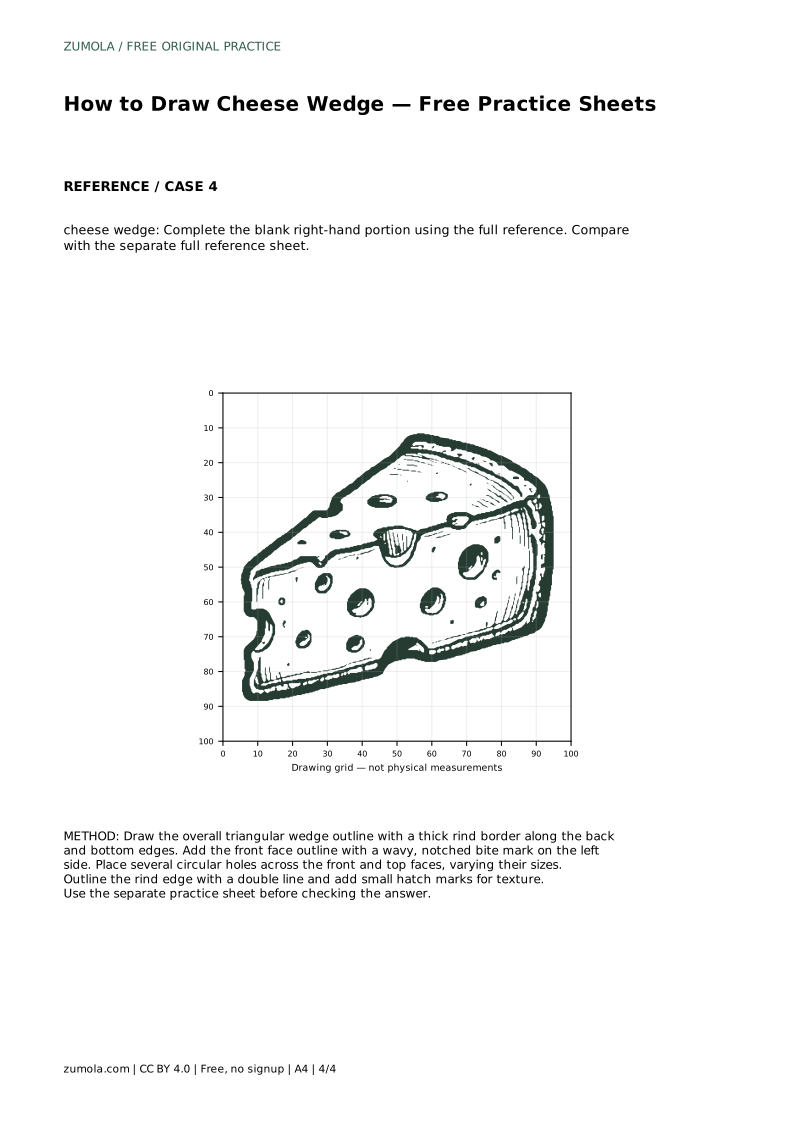
Reference diagrams
LETTER · Download PDF
A4 · Download PDF
Free original resources
Learn to draw a triangular cheese wedge with a rind border, a notched bite mark, and varied circular holes. Includes tracing, grid, and completion practice guidance.
Four original cases, with reference diagrams, practice sheets and worked answers. Everything is free; no signup required.
LETTER · Download PDF
A4 · Download PDF
LETTER · Download PDF
A4 · Download PDF
LETTER · Download PDF
A4 · Download PDF
Use A4 or US Letter to match your printer. Use the stated values and conditions to solve each exercise; diagrams are not physical measuring rulers.
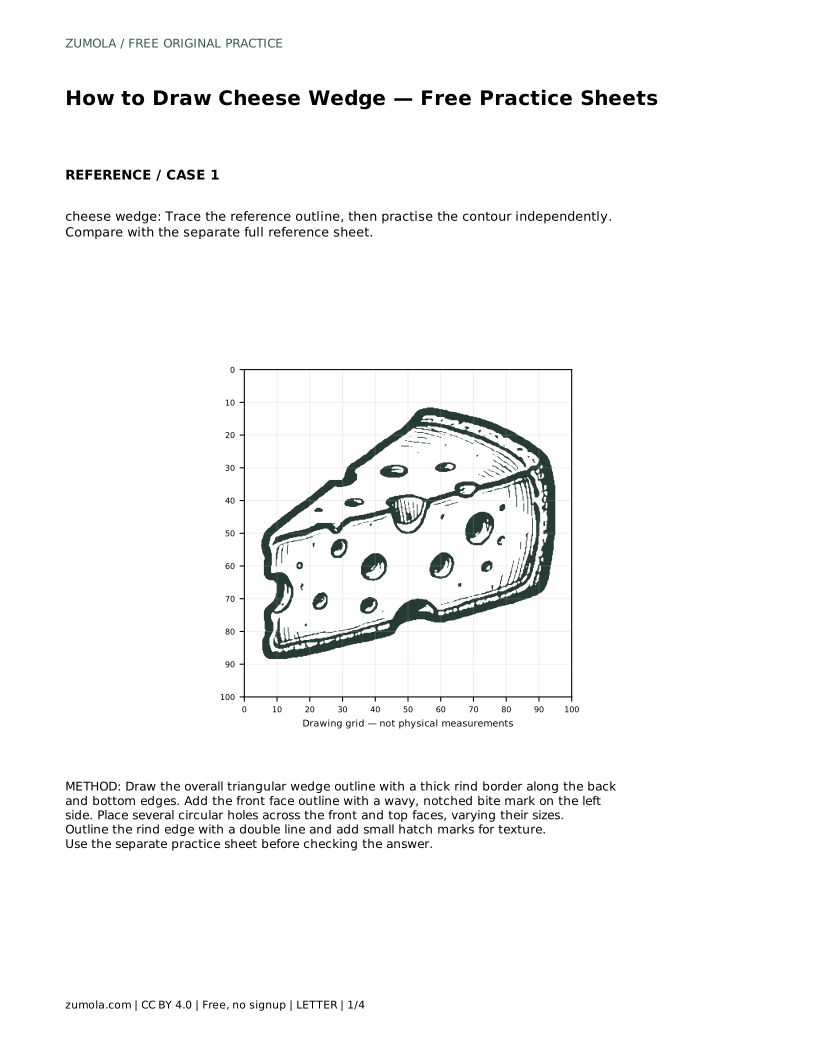
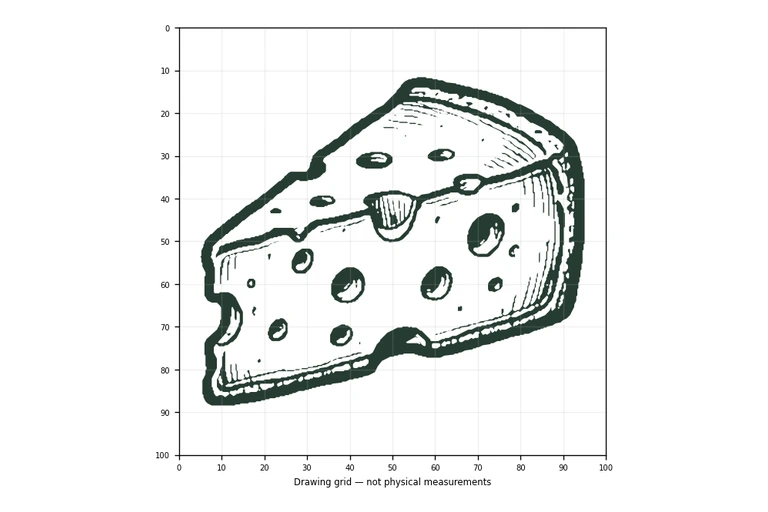
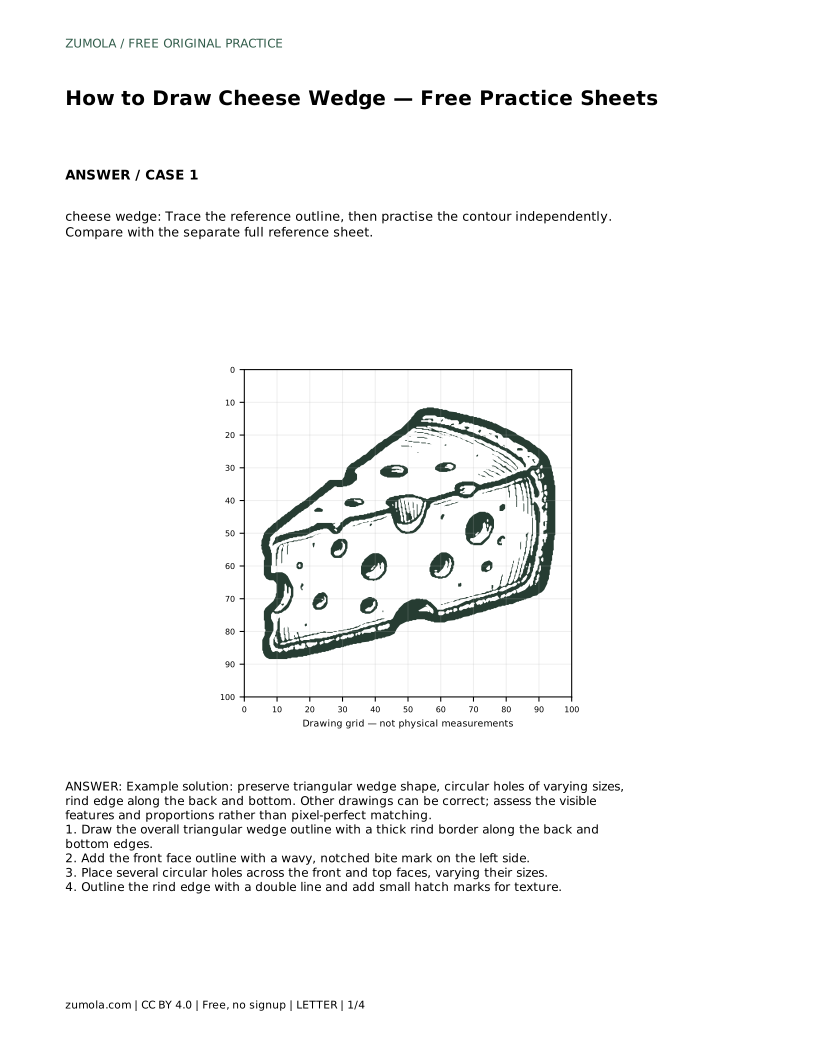
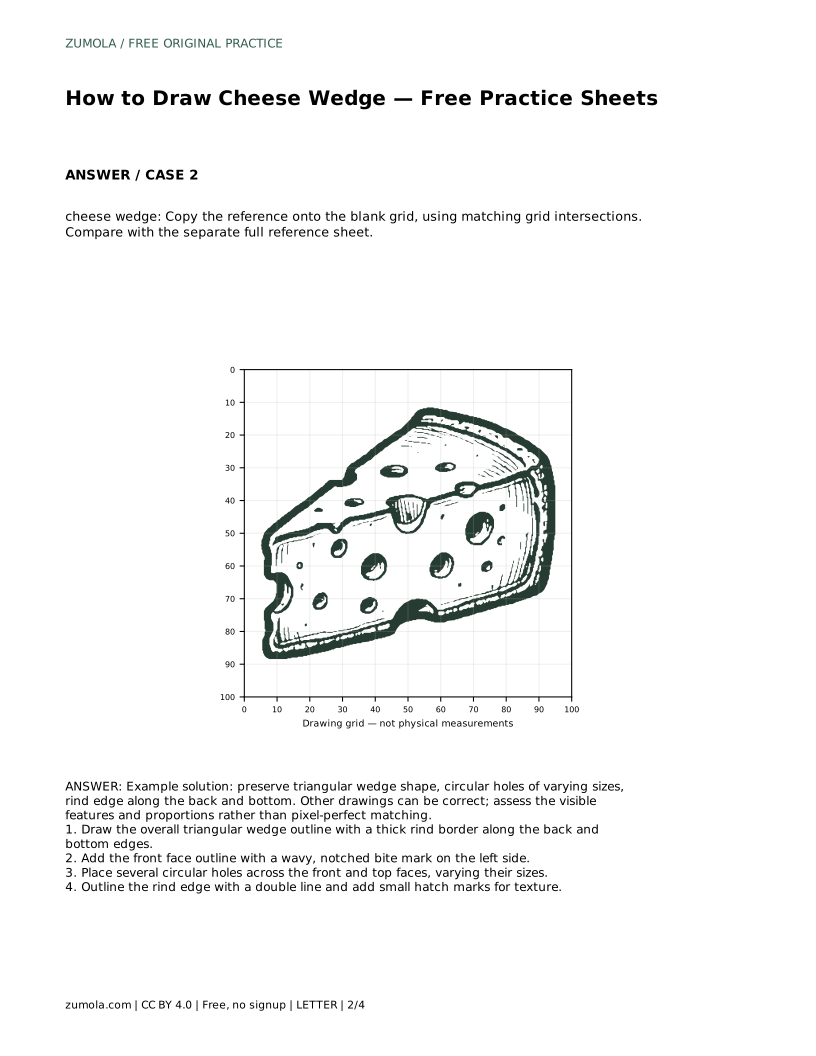
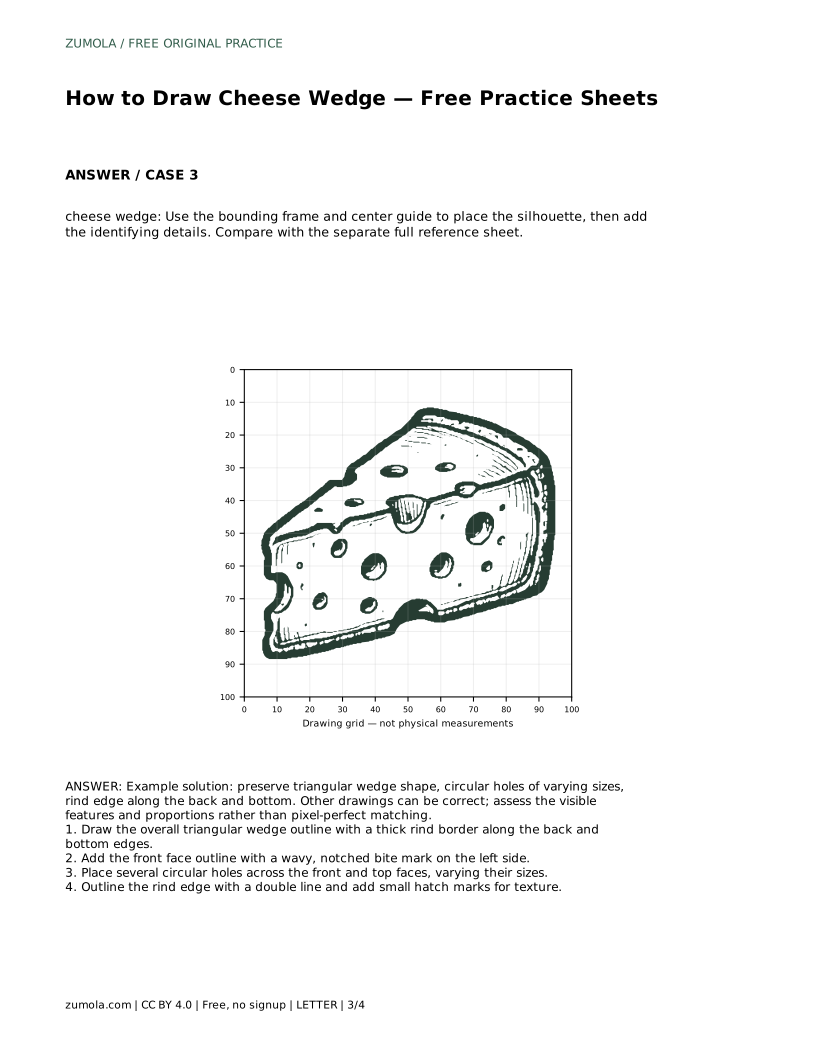
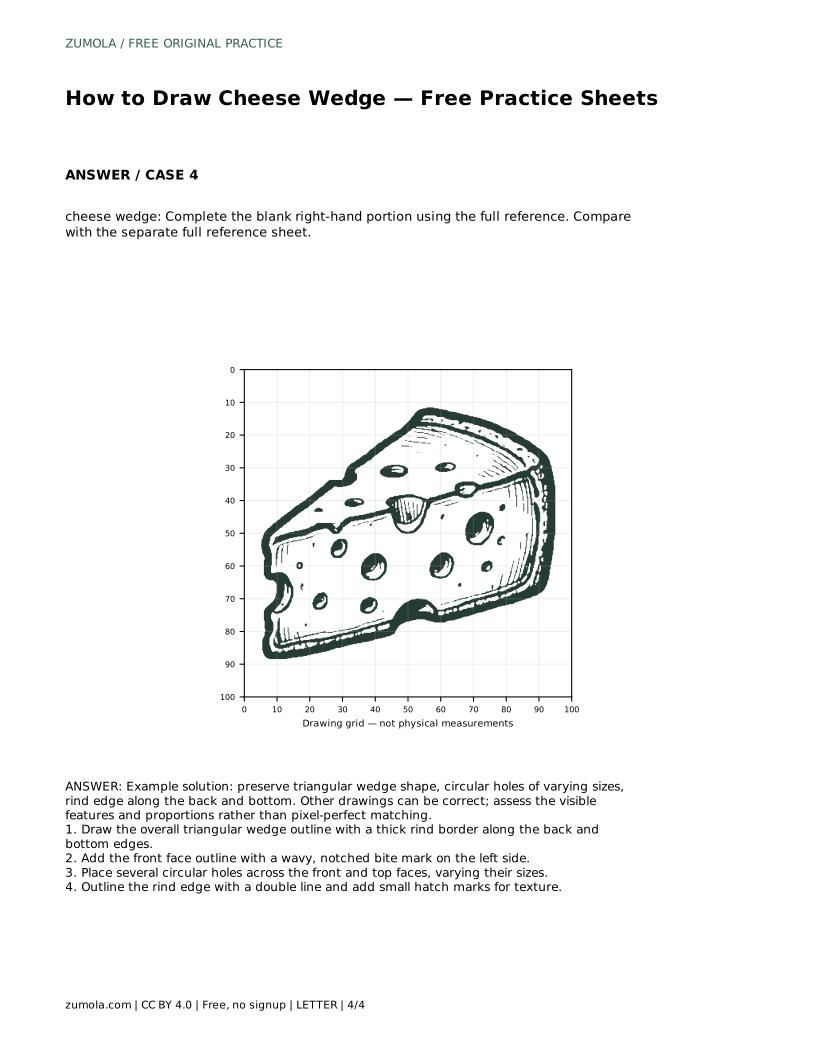
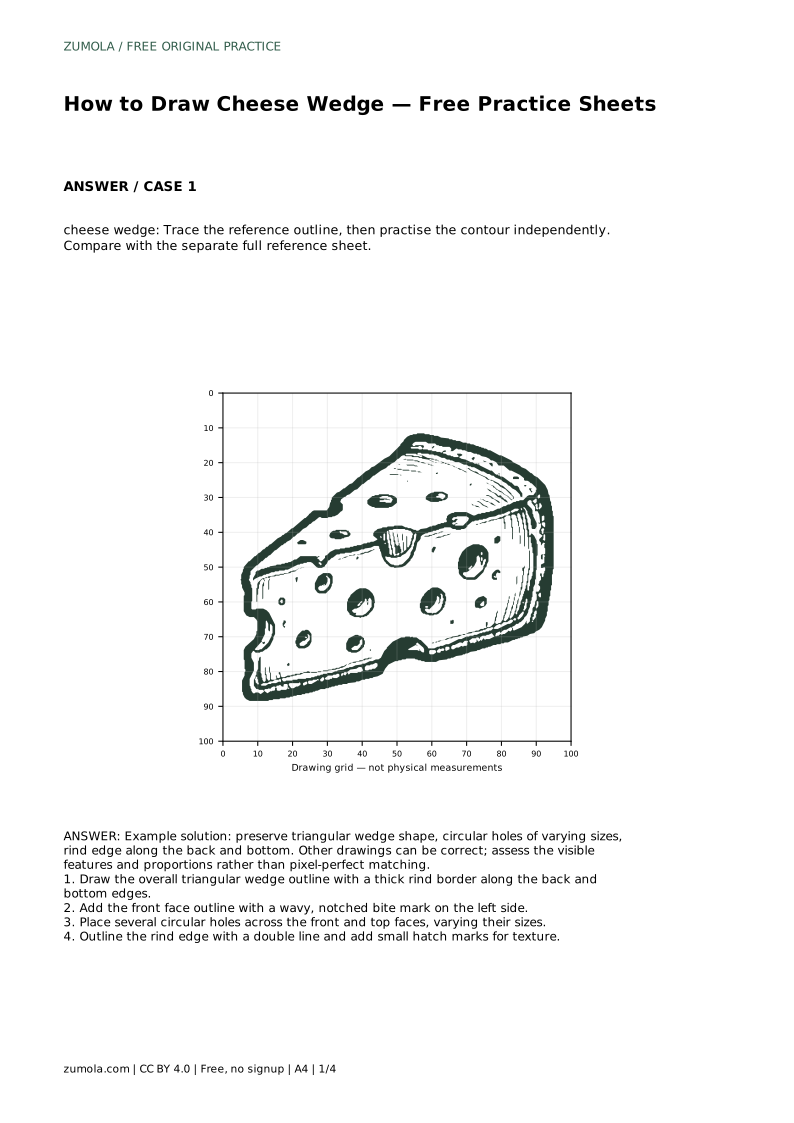
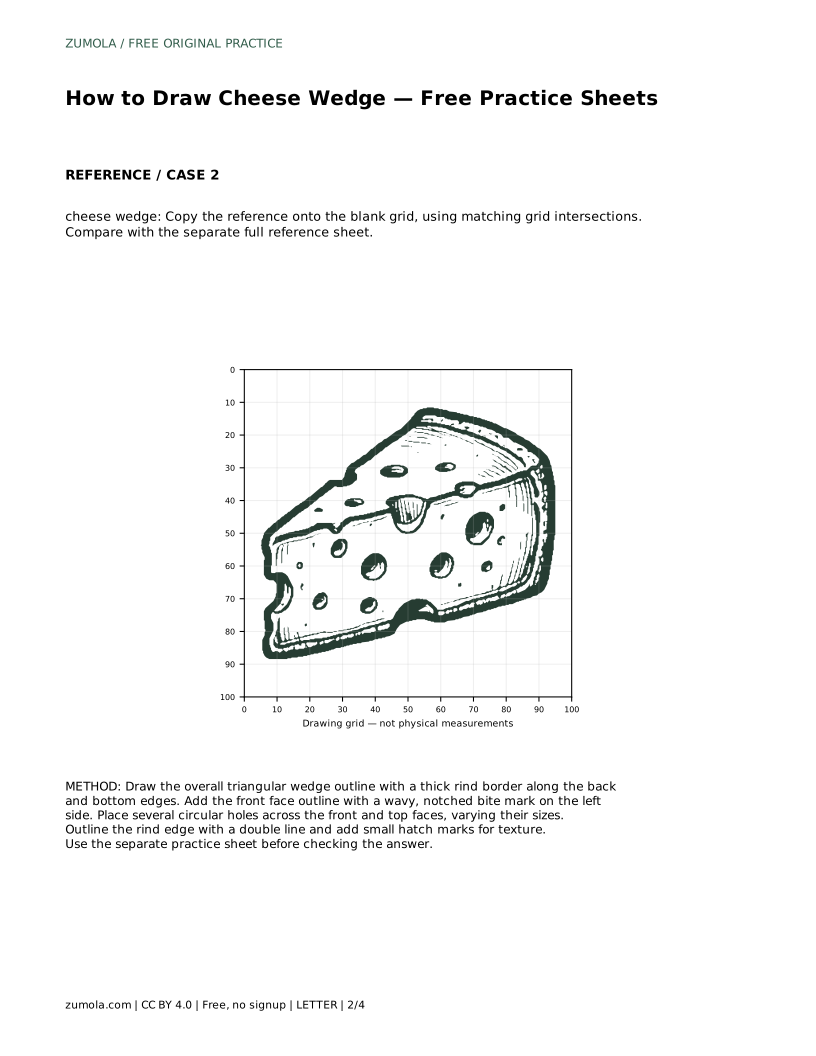
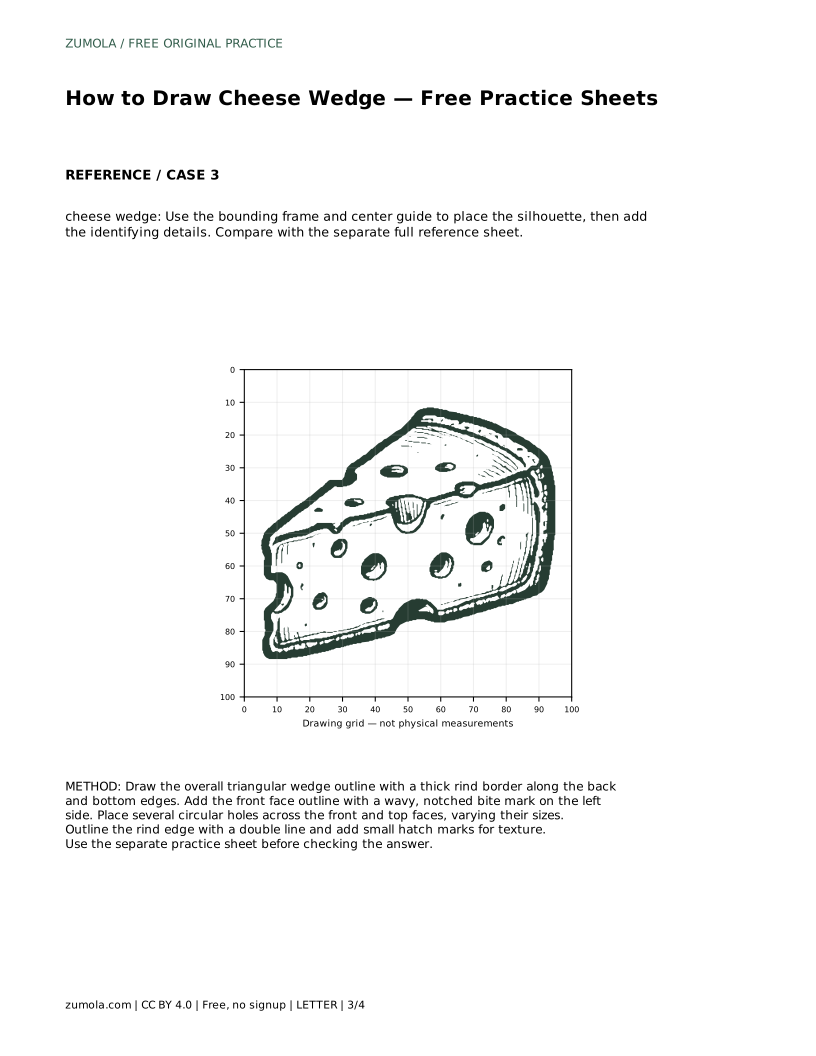
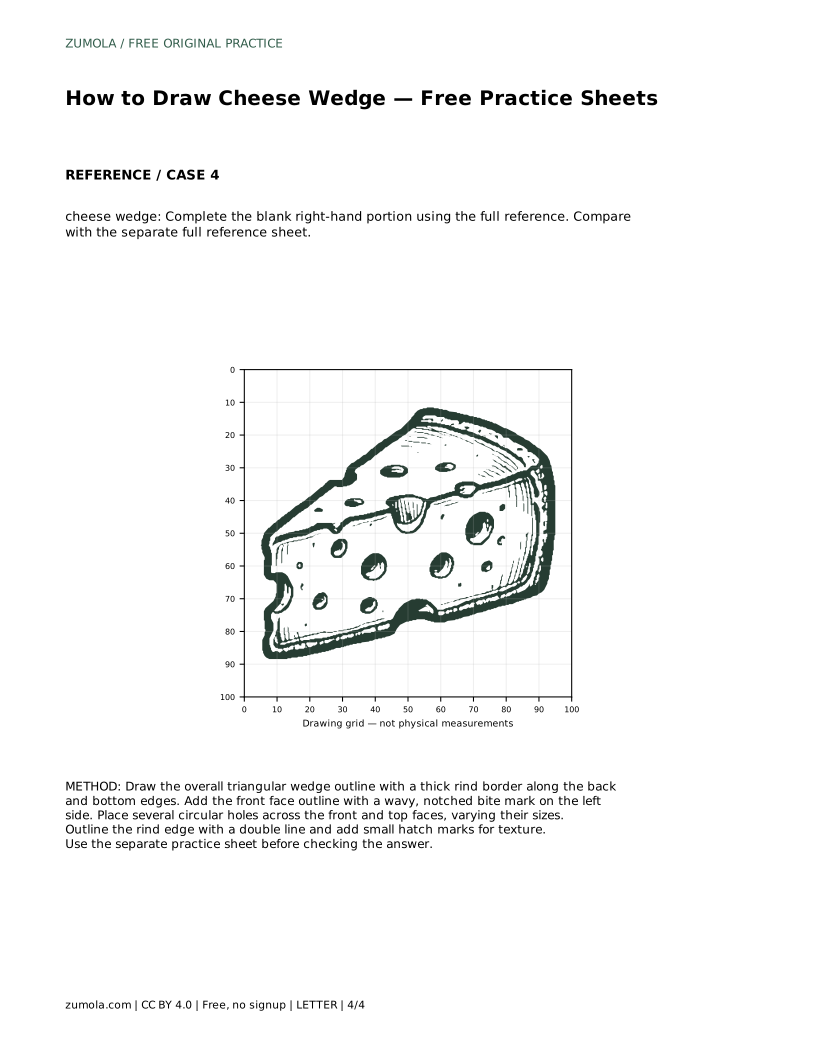
A cheese wedge drawing depends on a few clear features: a triangular body, a thick rind along the back and bottom, a front face with a wavy bite mark, and circular holes of different sizes. This page explains how to build those features in order and how to use tracing, grid, and partial-completion practice sheets. Because drawings can differ and still be correct, judge your work by visible features and proportions rather than an exact match.
Start with the overall triangular wedge outline before adding any detail. The triangle should read as a solid block of cheese seen at a slight angle, so keep the back and bottom edges clear and continuous. A thick rind border runs along those back and bottom edges; drawing it as a band rather than a single line helps the wedge look three-dimensional.
Next, define the front face. On the left side, draw a wavy, notched bite mark instead of a straight edge. The notches should follow one another smoothly, like a series of small curves removed from the outline. Keep the bite mark on the front face only, so the rind edge behind it stays intact.
Circular holes give the wedge its character. Place several across the front and top faces, and vary their sizes rather than repeating one diameter. A few larger holes and several smaller ones create a natural rhythm. Keep holes fully inside the faces they belong to, and avoid letting them cross the rind border or the bite mark.
Finish the rind by outlining it with a double line, which separates the outer band from the interior cheese. Small hatch marks along the rind add texture without changing the silhouette. Hatch marks should be short and evenly spaced, following the direction of the rind edge.
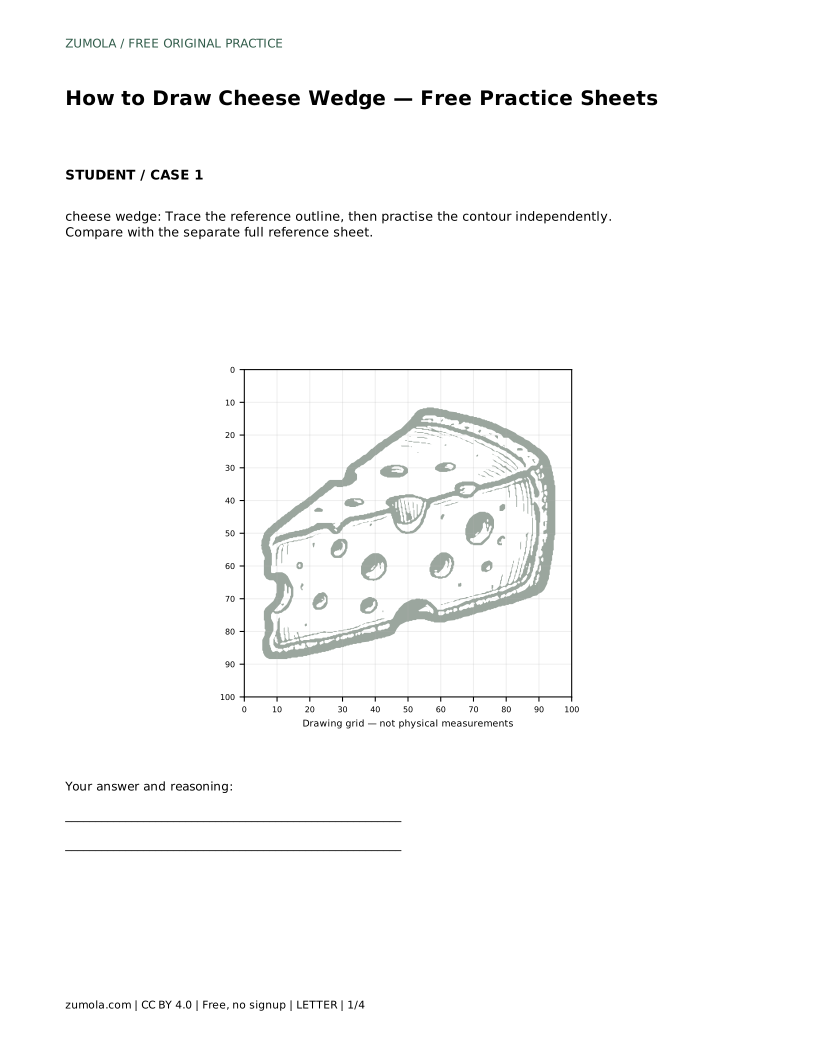
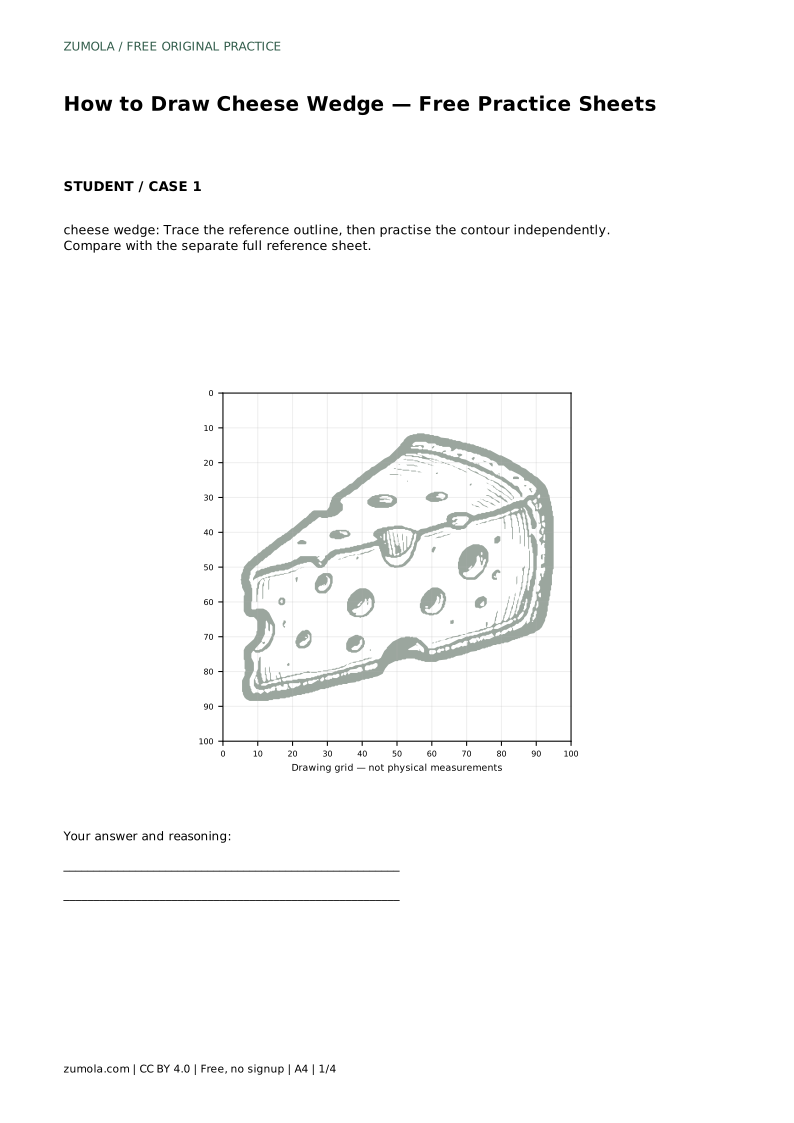
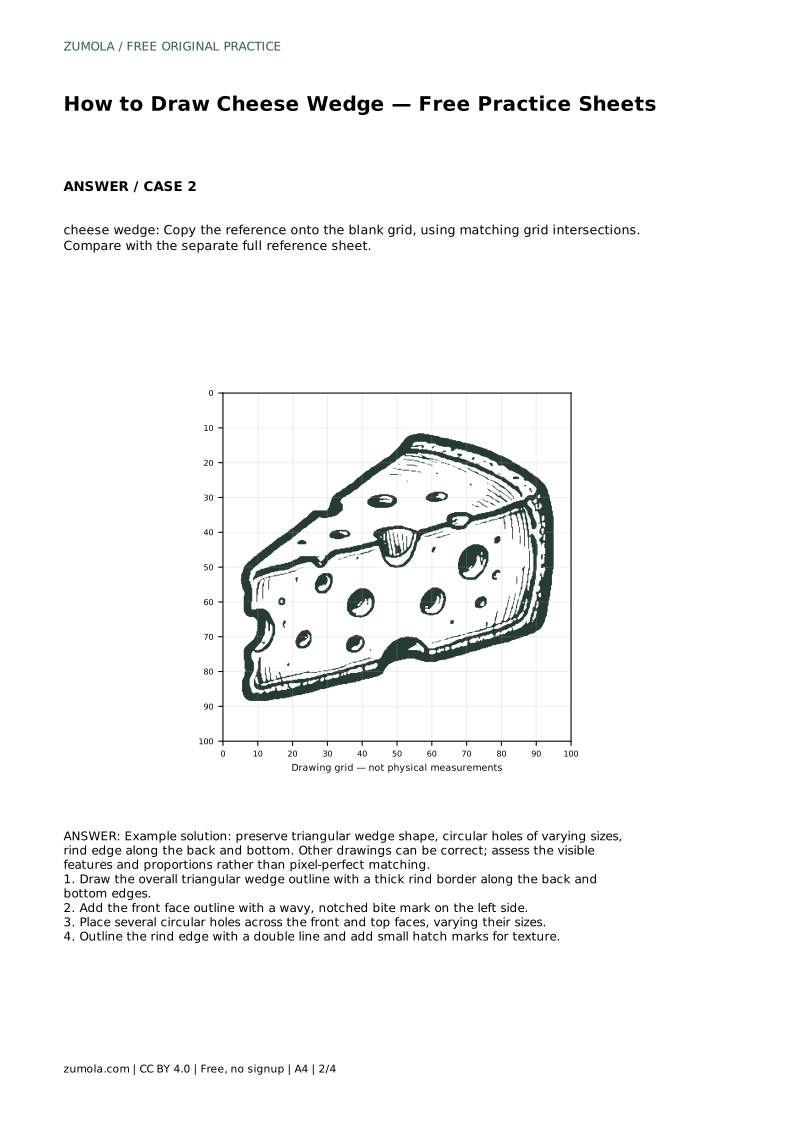
The tracing sheet asks you to follow the reference outline first, then practise the contour independently. Compare your result with the separate full reference sheet. The grid sheet asks you to copy the reference onto the blank grid using matching grid intersections, which helps you judge where the triangle corners, bite notches, and holes sit relative to one another.
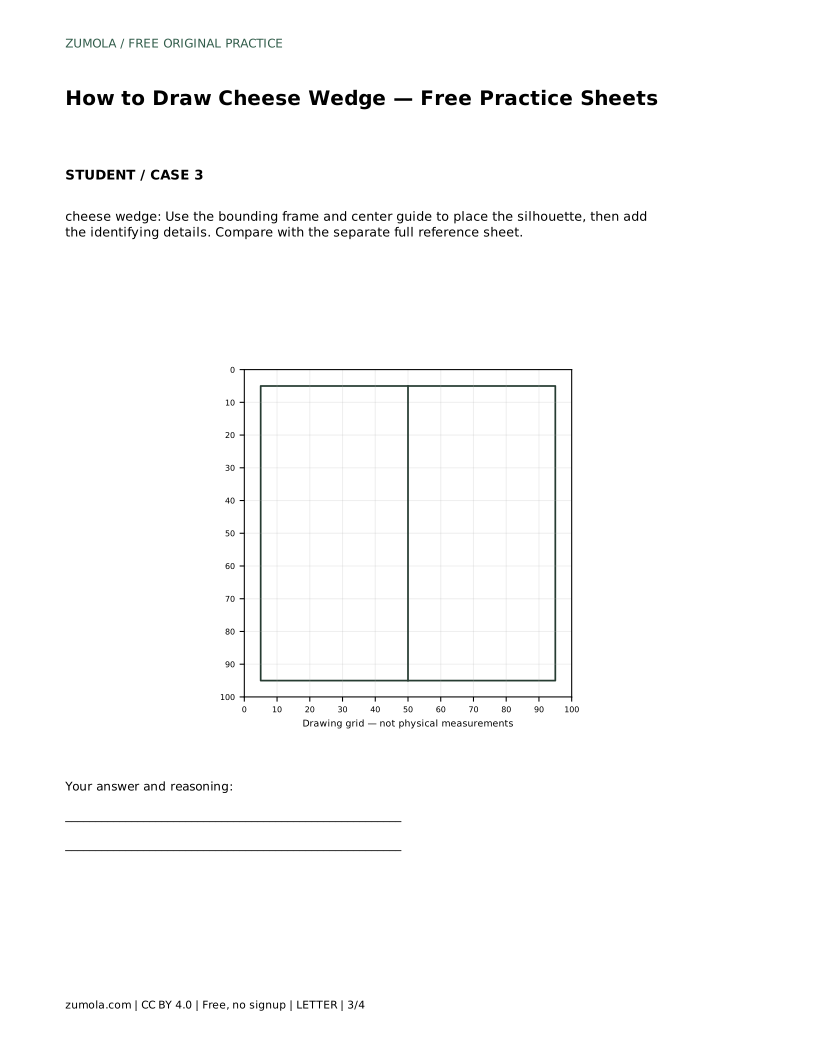
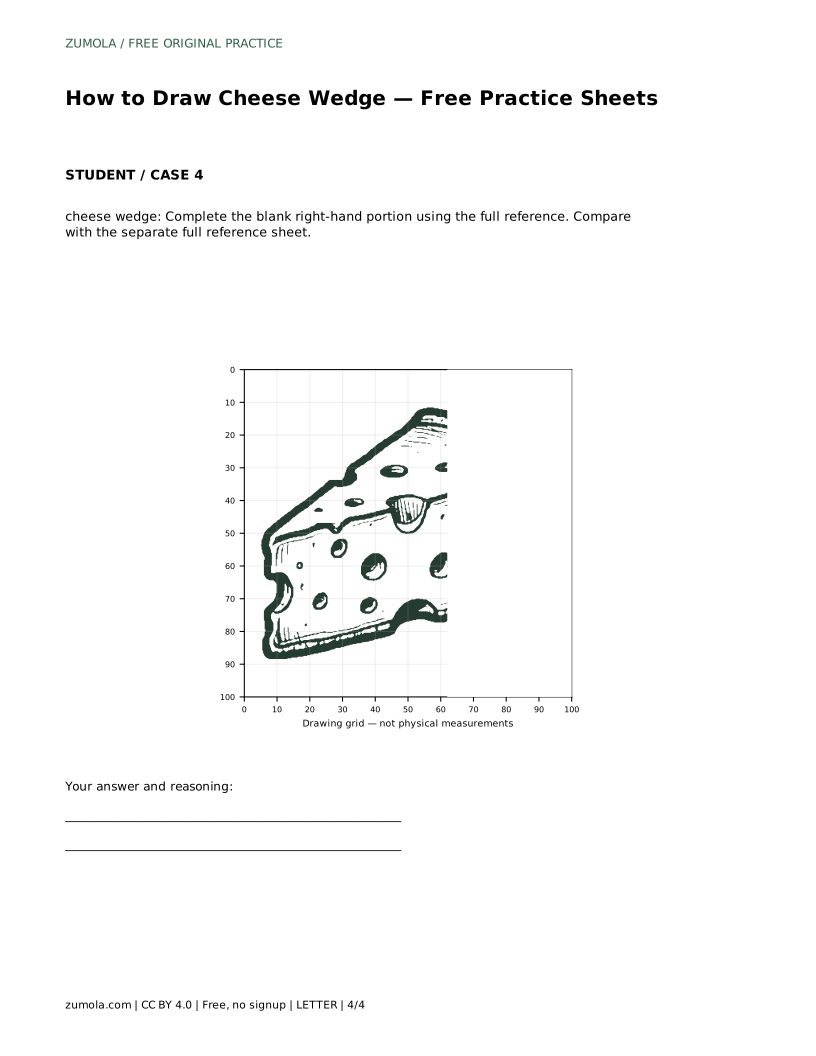
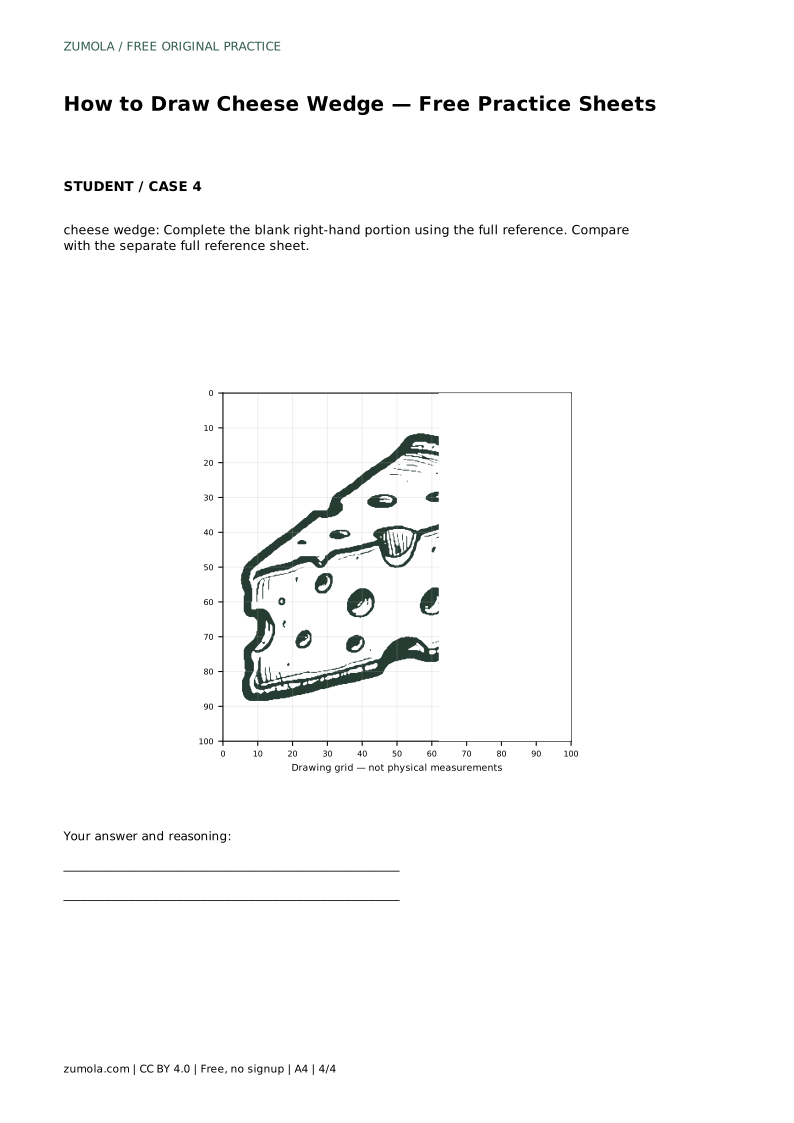
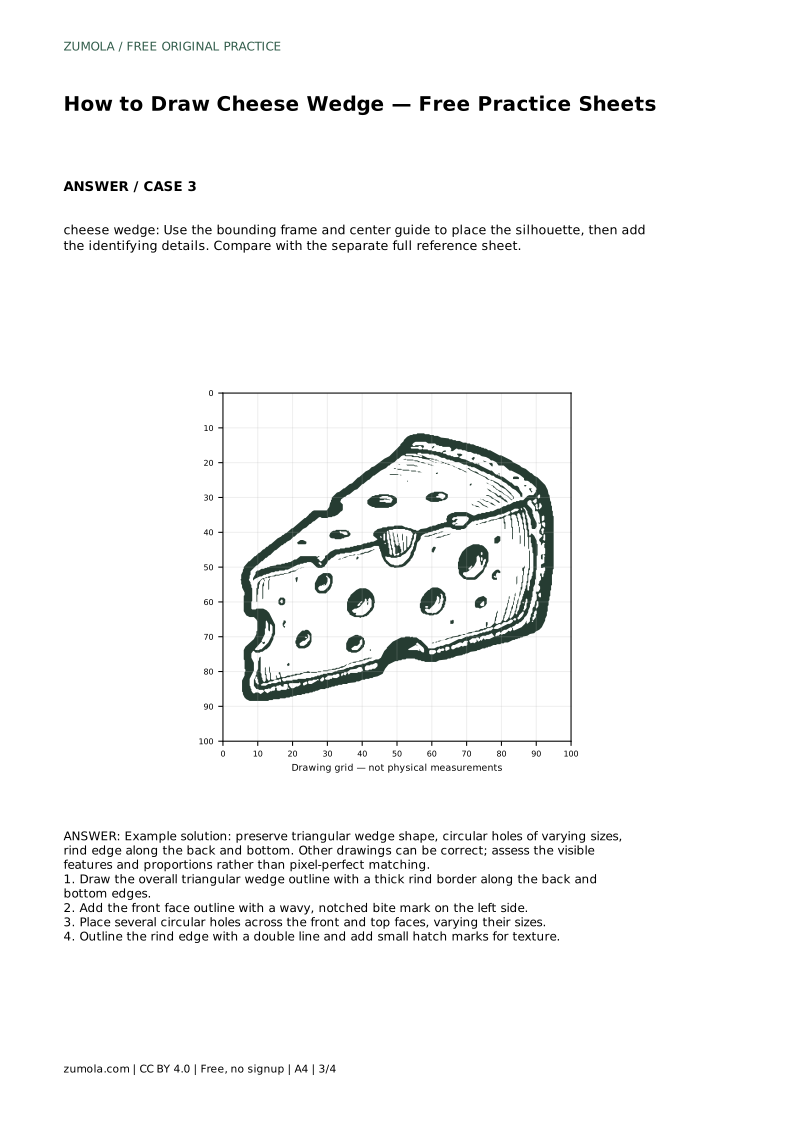
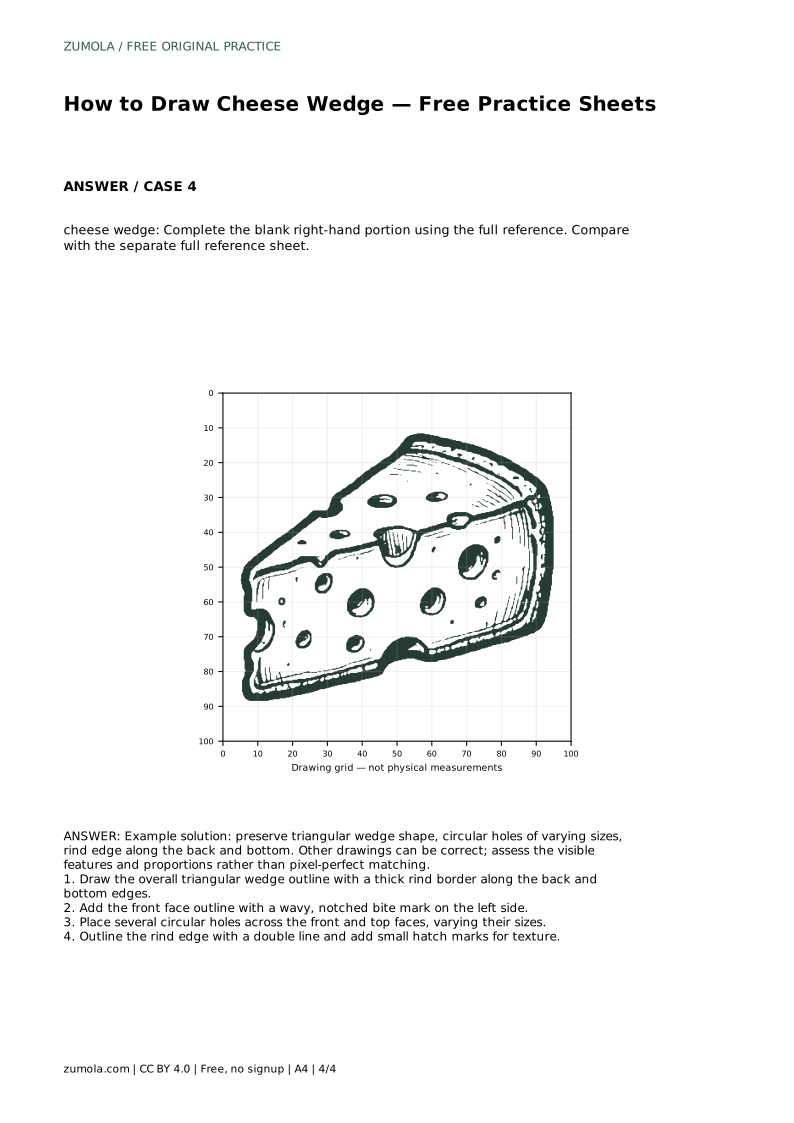
The bounding-frame sheet gives you a frame and center guide for placing the silhouette before adding identifying details. The partial-completion sheet leaves the right-hand portion blank; complete it using the full reference. In every format, the goal is to preserve the triangular wedge shape, the circular holes of varying sizes, and the rind edge along the back and bottom.
Compare your drawing with the reference by checking the wedge's width-to-height ratio, the depth of the rind band, and the number and spread of holes. A drawing with a slightly different hole arrangement can still be correct if the triangular shape, rind placement, and notched bite mark are preserved.
Use the rubric below to assess visible features rather than pixel-perfect matching. If a feature is missing or misplaced, redraw that part on a fresh practice sheet rather than patching over it.
Prompt: cheese wedge: Trace the reference outline, then practise the contour independently. Compare with the separate full reference sheet.
Answer: Example solution: preserve triangular wedge shape, circular holes of varying sizes, rind edge along the back and bottom. Other drawings can be correct; assess the visible features and proportions rather than pixel-perfect matching.
cheese wedge: Trace the reference outline, then practise the contour independently. Compare with the separate full reference sheet.
Example solution: preserve triangular wedge shape, circular holes of varying sizes, rind edge along the back and bottom. Other drawings can be correct; assess the visible features and proportions rather than pixel-perfect matching. Draw the overall triangular wedge outline with a thick rind border along the back and bottom edges. Add the front face outline with a wavy, notched bite mark on the left side. Place several circular holes across the front and top faces, varying their sizes. Outline the rind edge with a double line and add small hatch marks for texture.
No. Other drawings can be correct. Assess the visible features and proportions rather than pixel-perfect matching.
Along the back and bottom edges of the triangular wedge, drawn as a thick band and outlined with a double line.
There is no fixed count. Place several circular holes across the front and top faces and vary their sizes.
All drawing practice · Free coordinate paper
Original resources · CC BY 4.0 · Free for personal and classroom use with attribution.