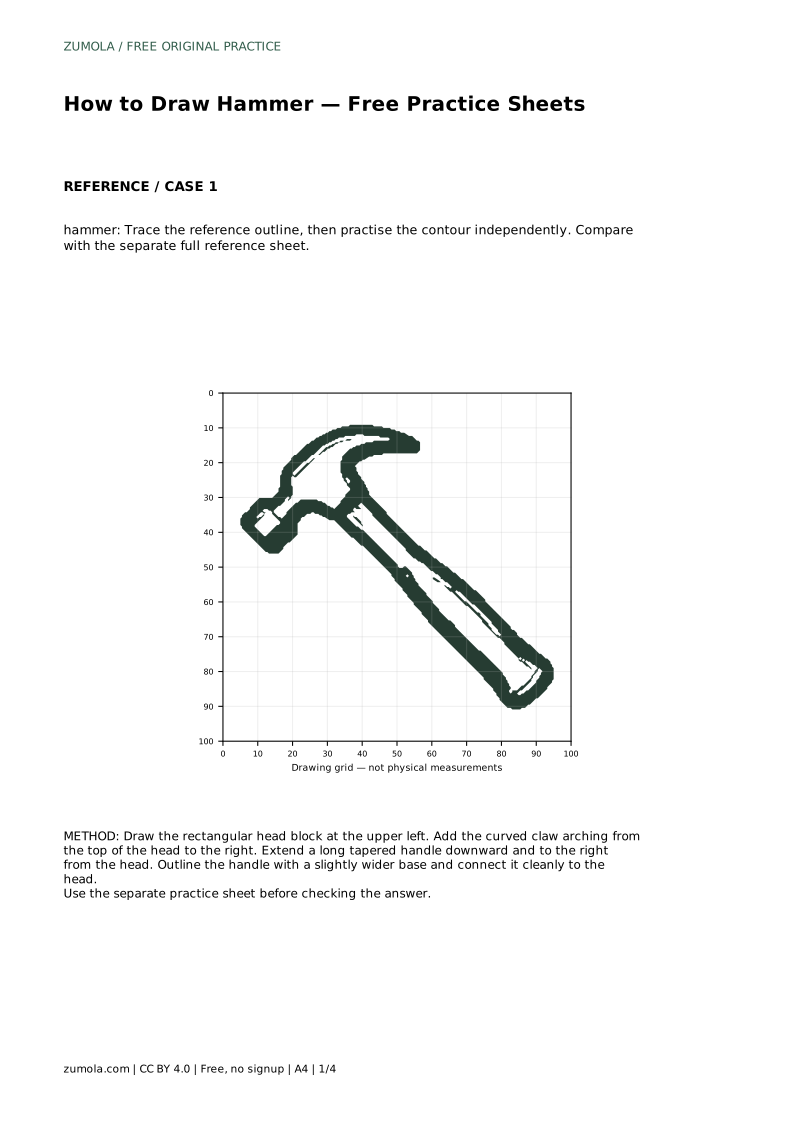
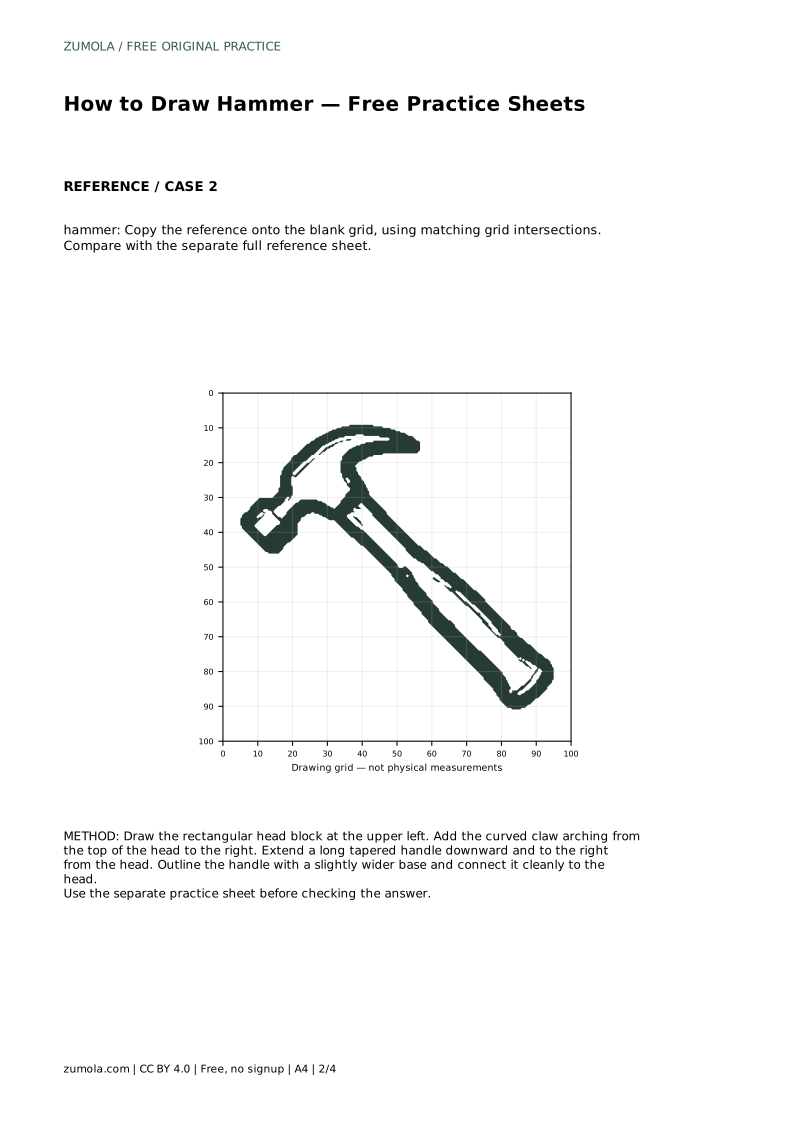
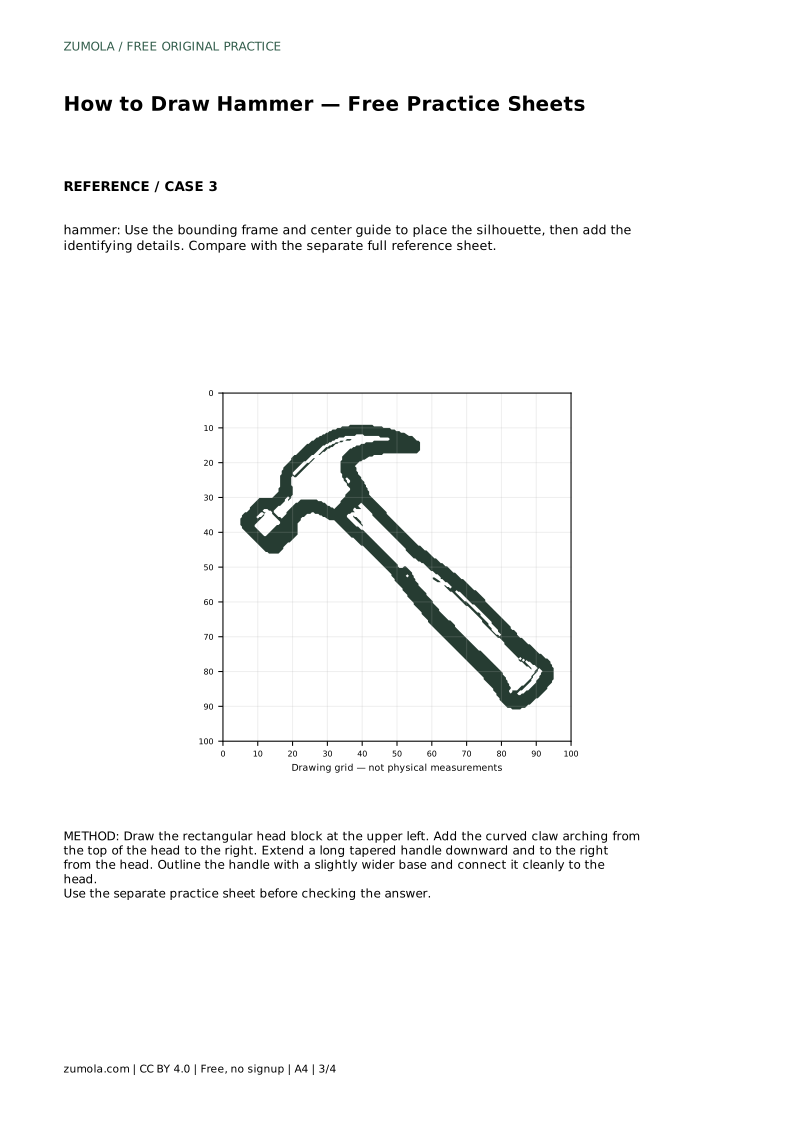
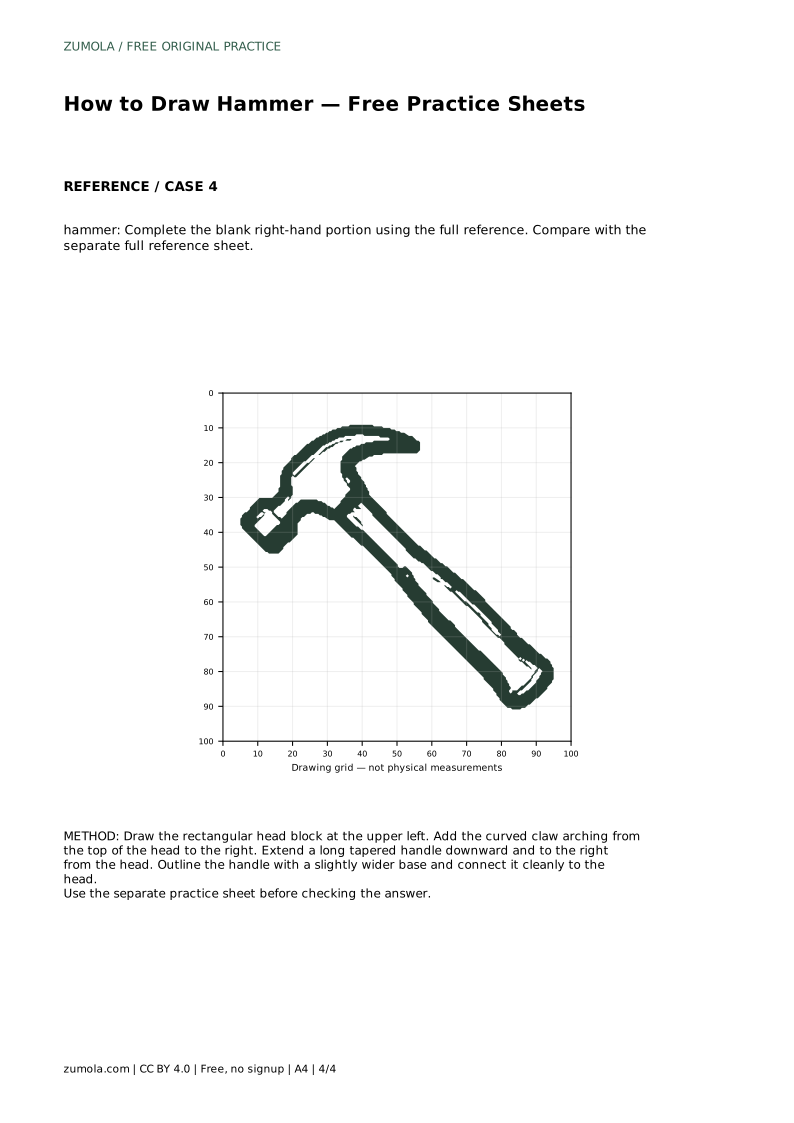
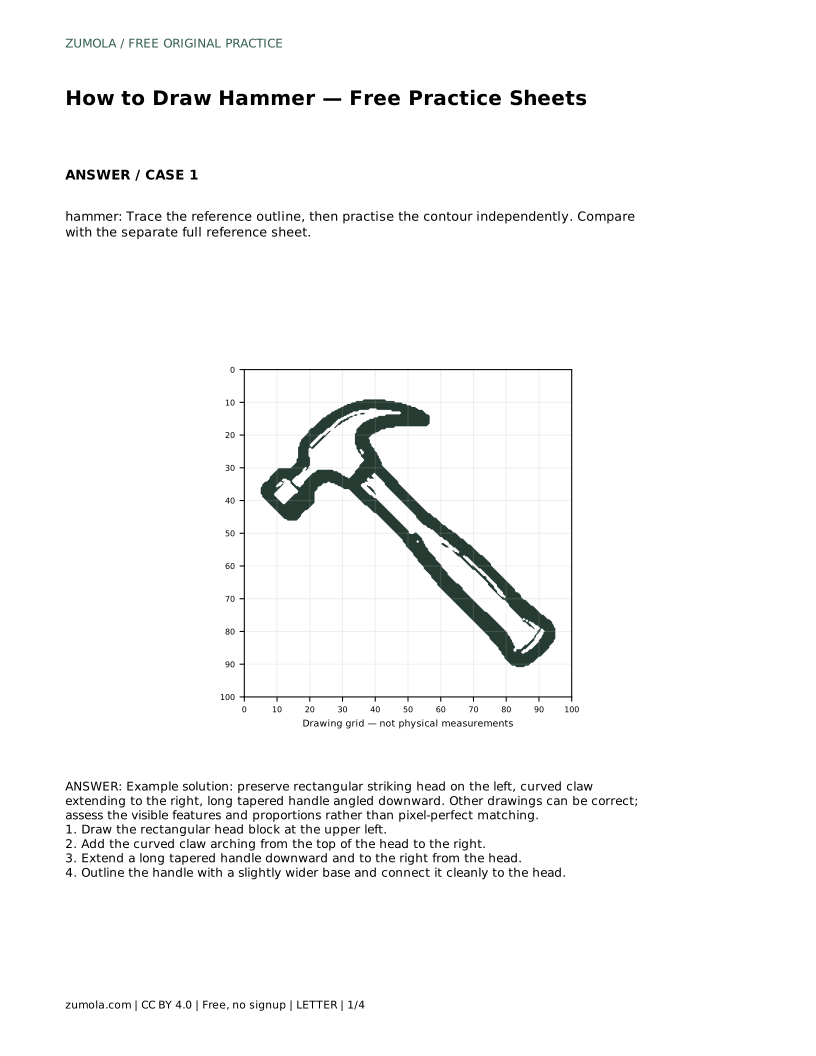
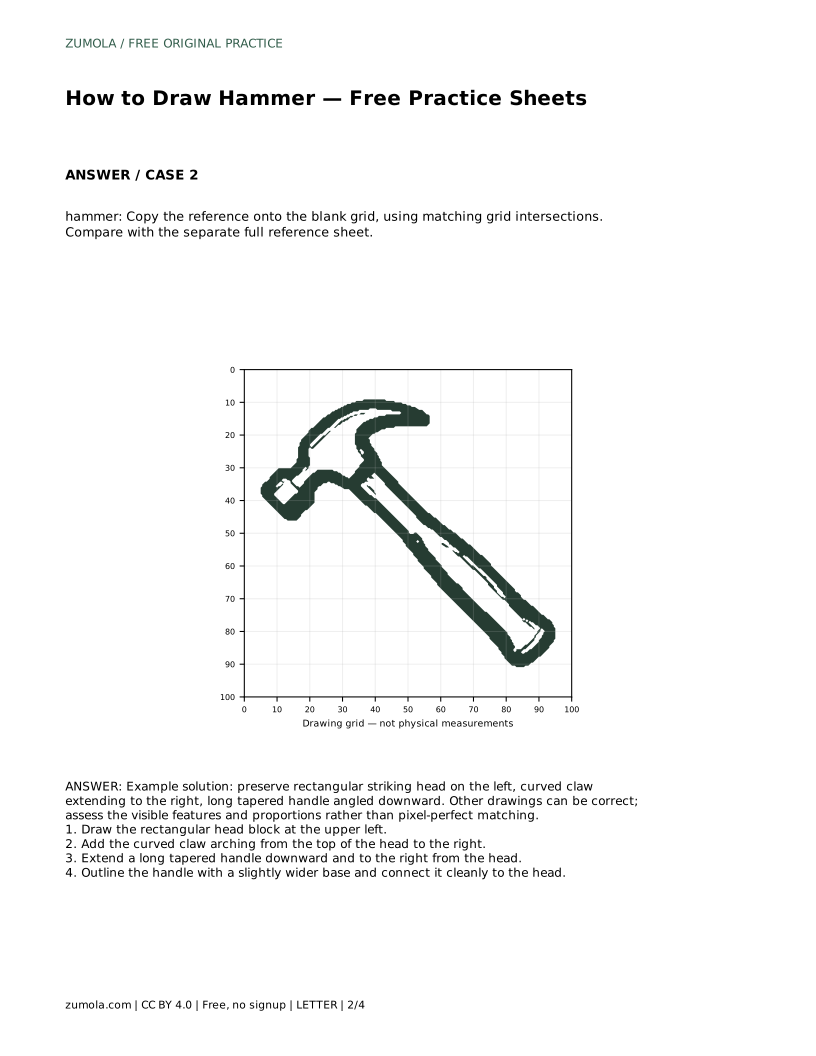
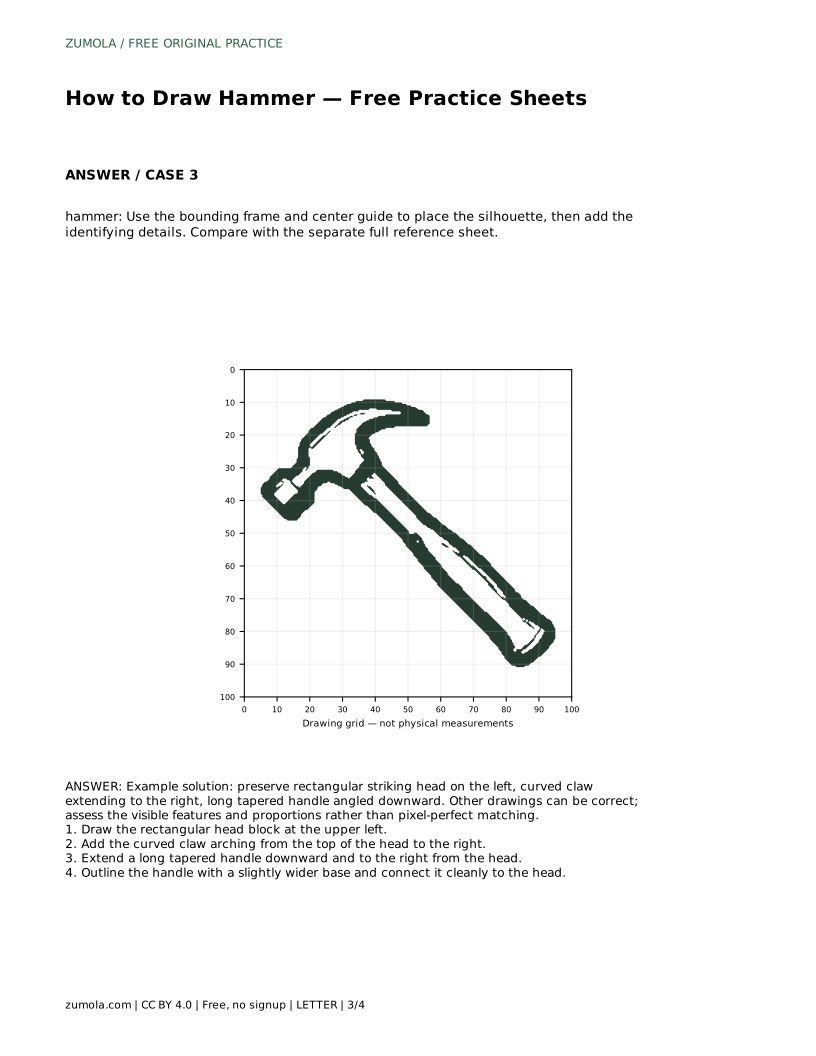
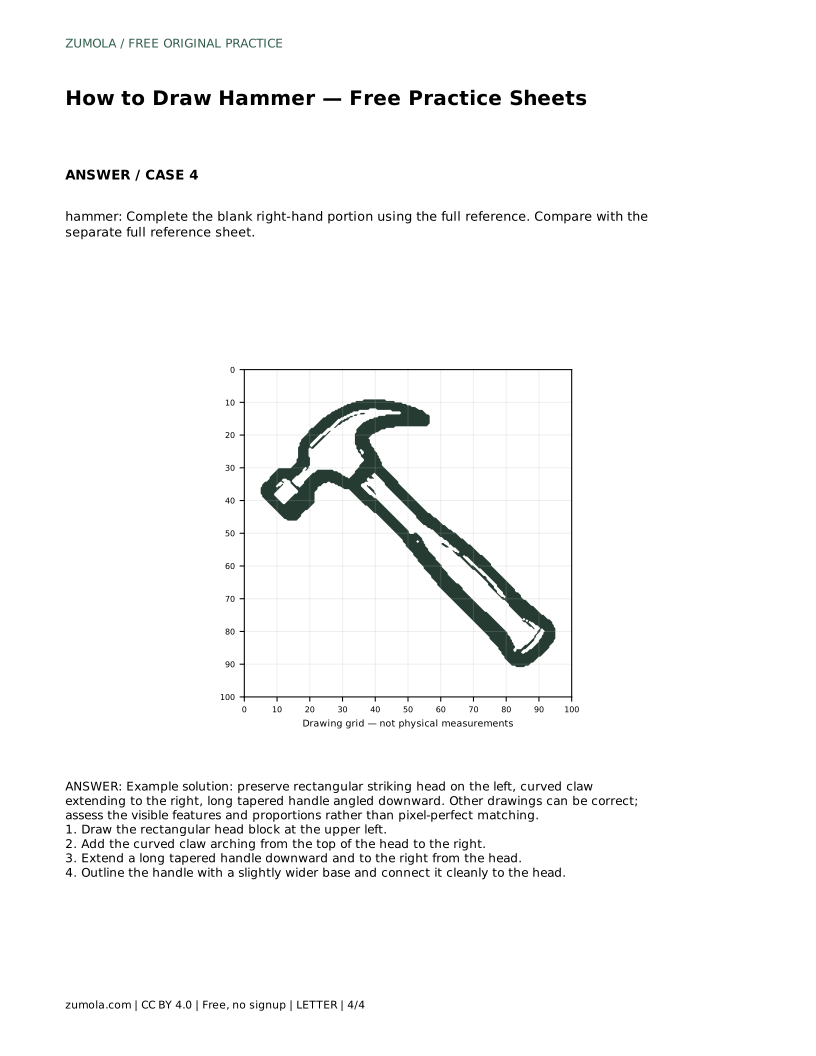
Reference diagrams
LETTER · Download PDF
A4 · Download PDF
Free original resources
Learn to draw a claw hammer by placing the rectangular head, curved claw and tapered handle, then check your drawing against a feature-based rubric.
Four original cases, with reference diagrams, practice sheets and worked answers. Everything is free; no signup required.
LETTER · Download PDF
A4 · Download PDF
LETTER · Download PDF
A4 · Download PDF
LETTER · Download PDF
A4 · Download PDF
Use A4 or US Letter to match your printer. Use the stated values and conditions to solve each exercise; diagrams are not physical measuring rulers.
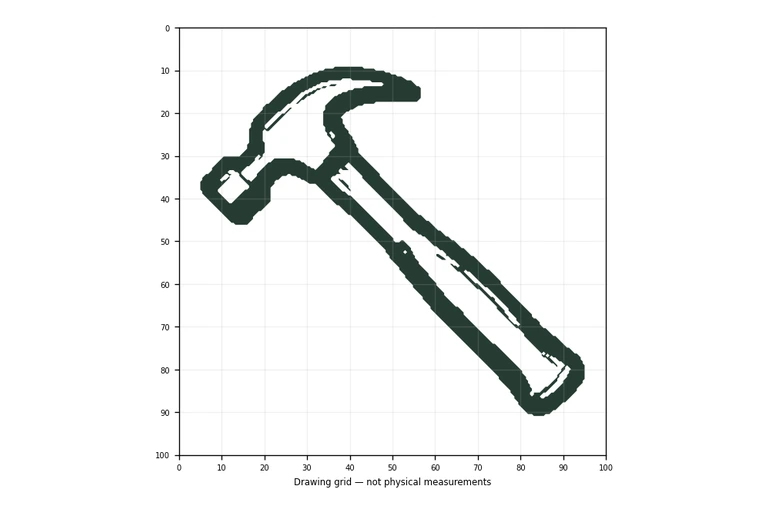
A claw hammer is a good subject for learning to see how a few connected shapes build a recognizable object. The striking head is a block, the claw is a curve, and the handle is a long taper. This page explains how to draw those parts in order, how to use tracing, grid, frame and partial-reference practice sheets, and how to judge your result by visible features rather than exact matching.
Start with the head because it anchors everything else. Place a rectangular block at the upper left of your page. Keep its top and bottom edges roughly parallel and its striking face flat and vertical. This block is the heaviest part of the drawing, so give it enough width to read clearly.
Next, add the claw. It grows from the top of the head and arches to the right, ending in a split or notch. Draw the outer curve first, then the inner curve, so the claw has visible thickness. Keep the arch smooth rather than jagged.
Finally, extend the handle downward and to the right from the head. Make it long and tapered, slightly wider where it meets the head and narrower toward the base. Outline both sides, then connect the handle cleanly to the head so the parts look joined rather than stacked.
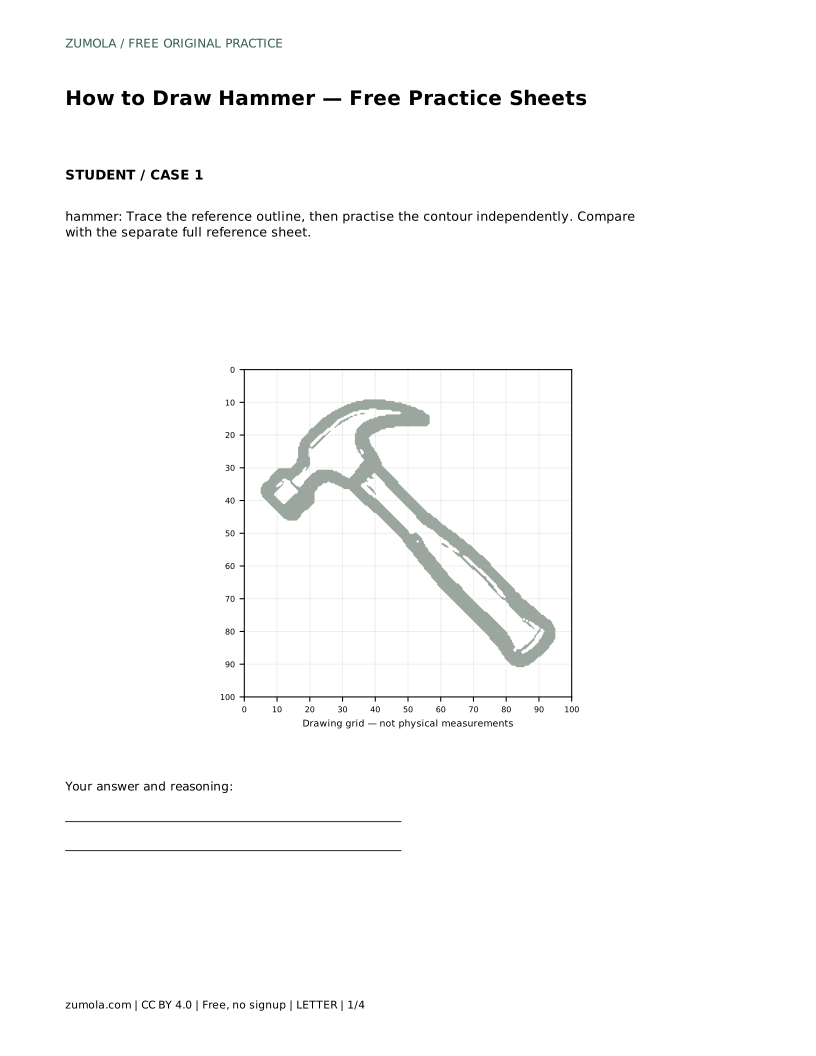
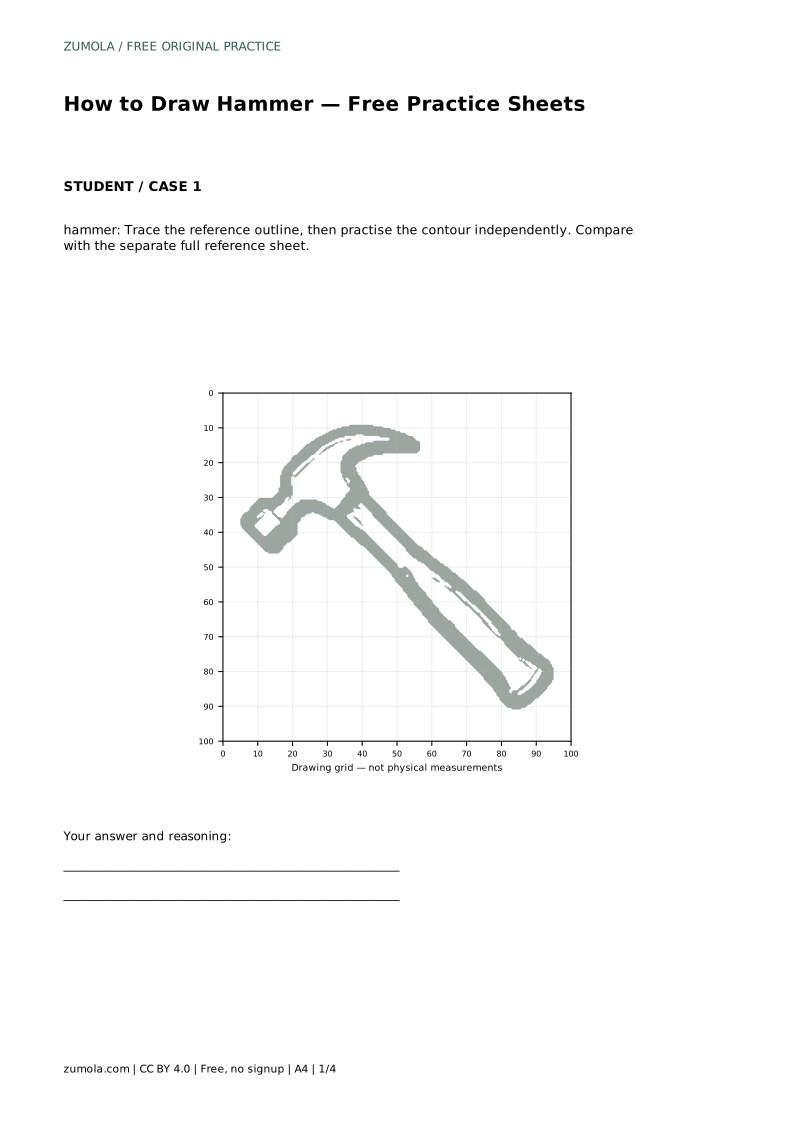
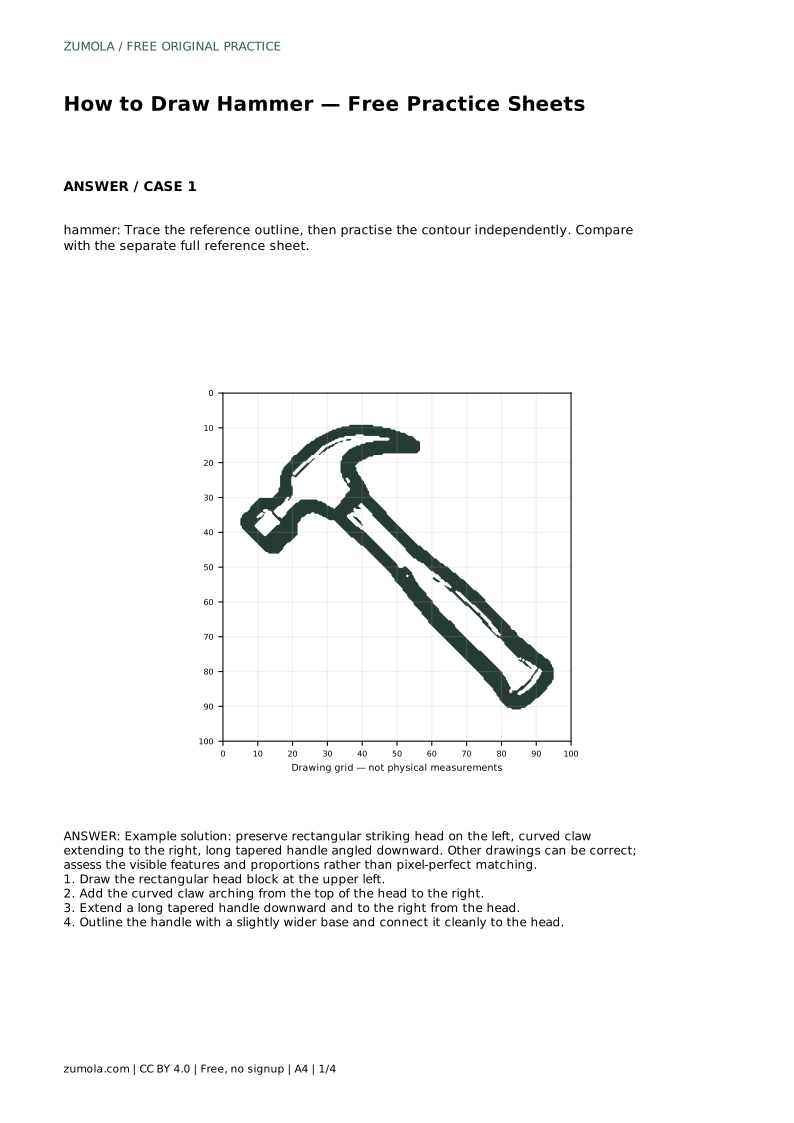
The tracing sheet asks you to follow the reference outline first, then draw the contour independently beside it. Tracing teaches the sequence of the shapes; the independent attempt shows whether you can reproduce that sequence without guidance.
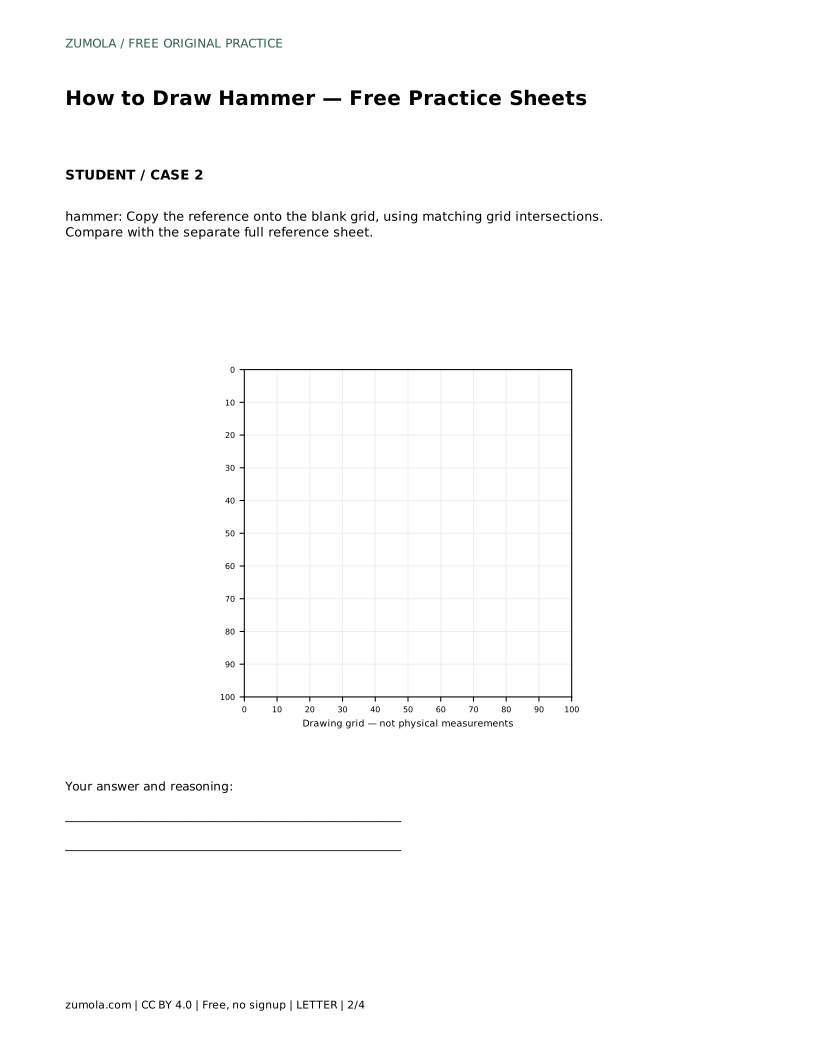
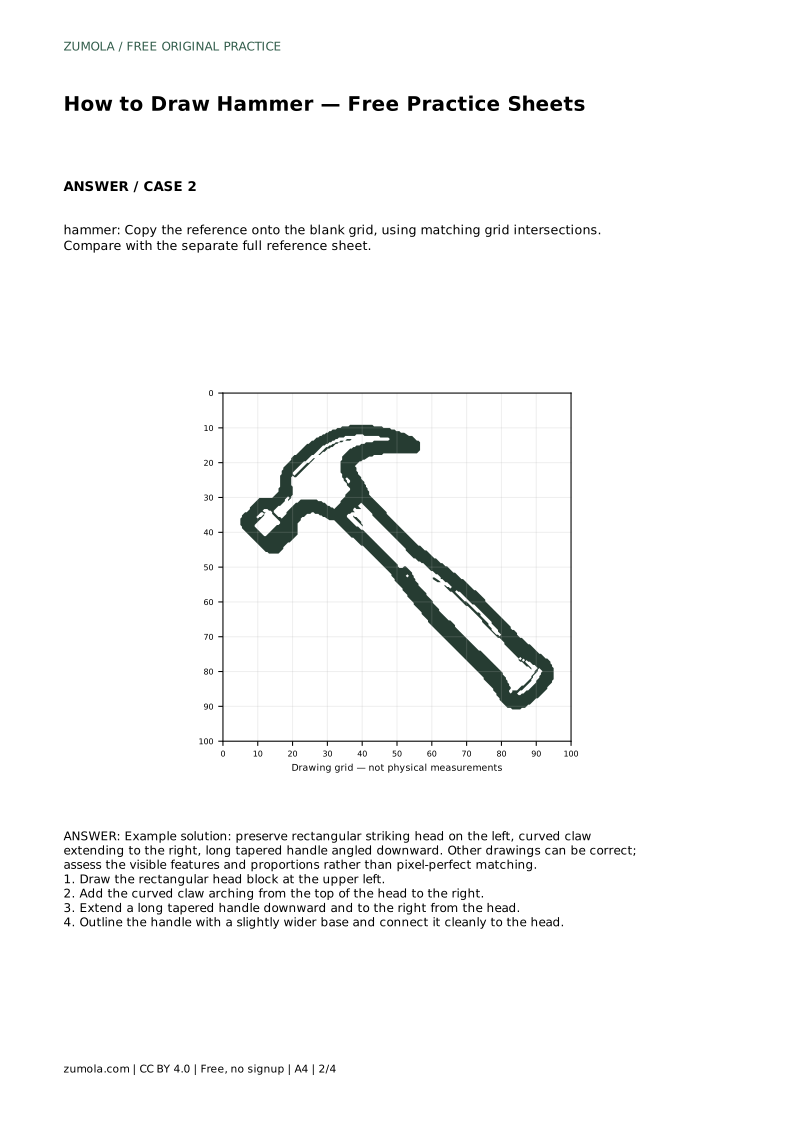
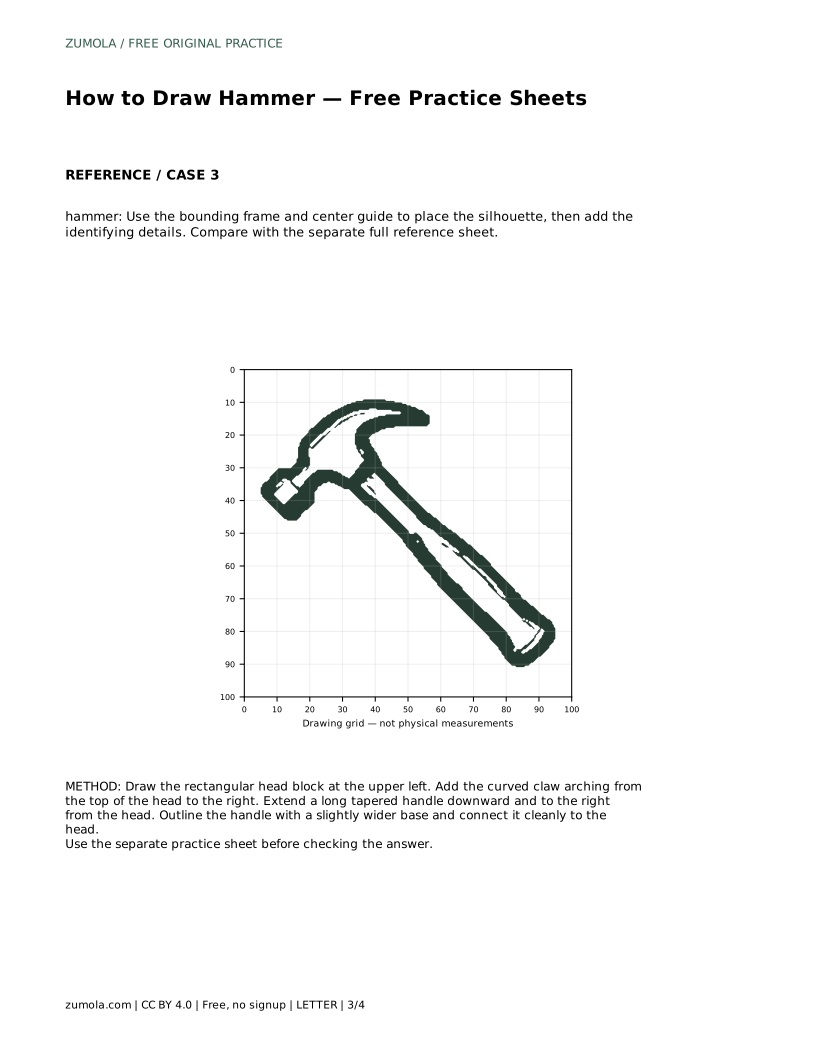
The grid sheet asks you to copy the reference onto a blank grid using matching intersections. Treat each intersection as a landmark: where the head begins, where the claw peaks, where the handle ends. This method trains placement and proportion rather than freehand confidence.
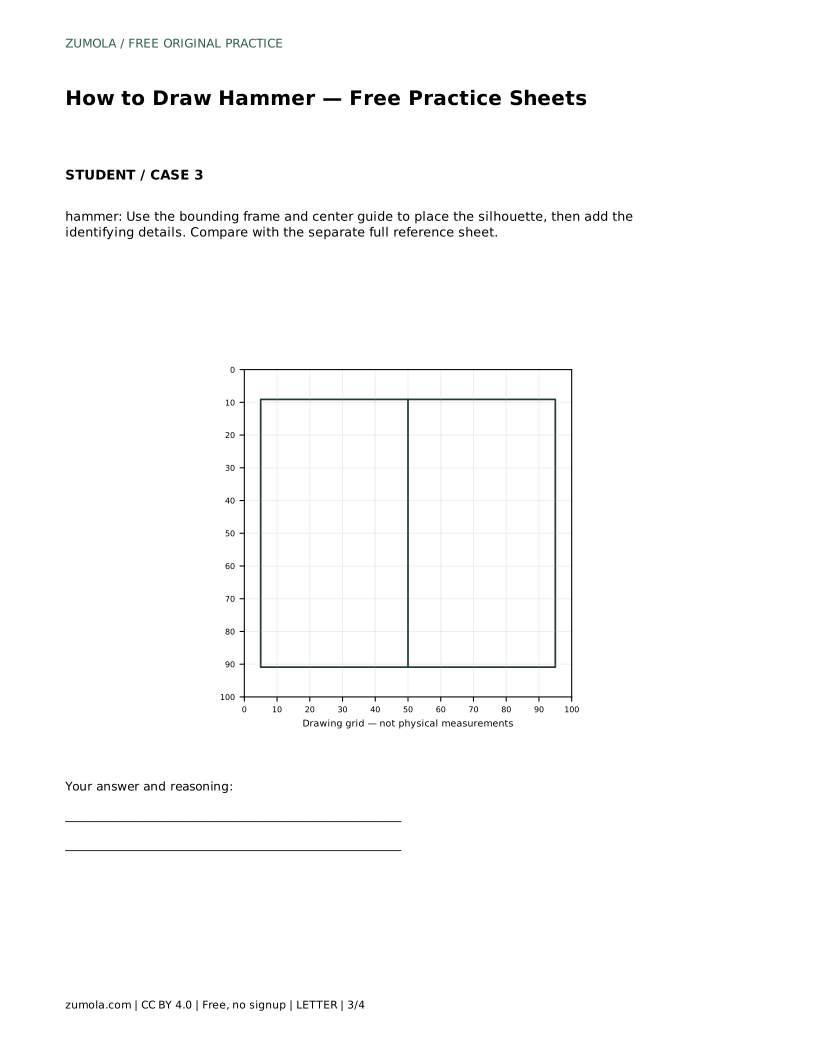
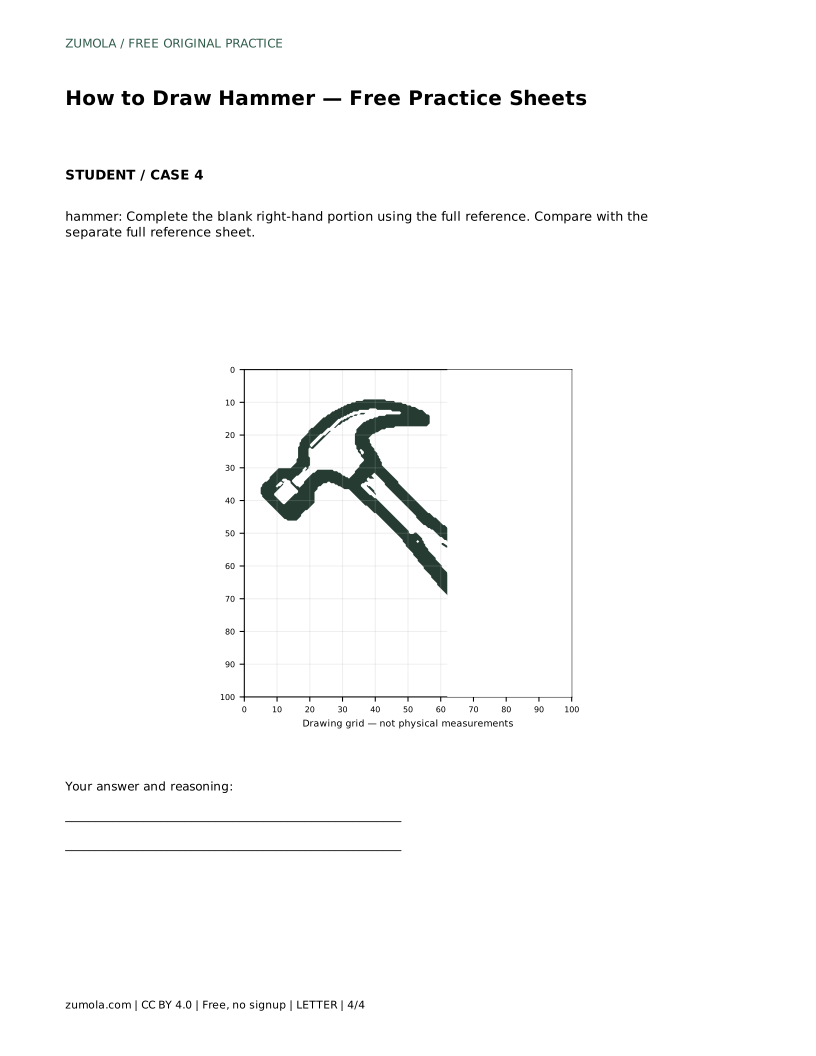
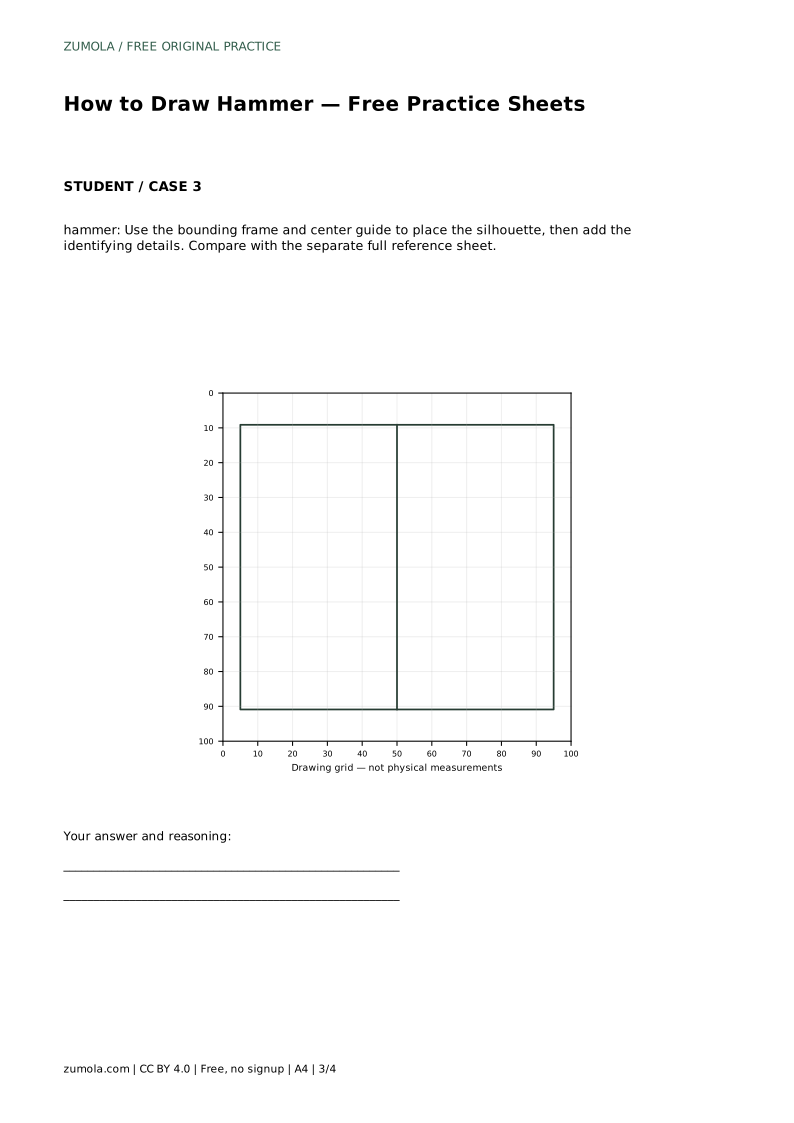
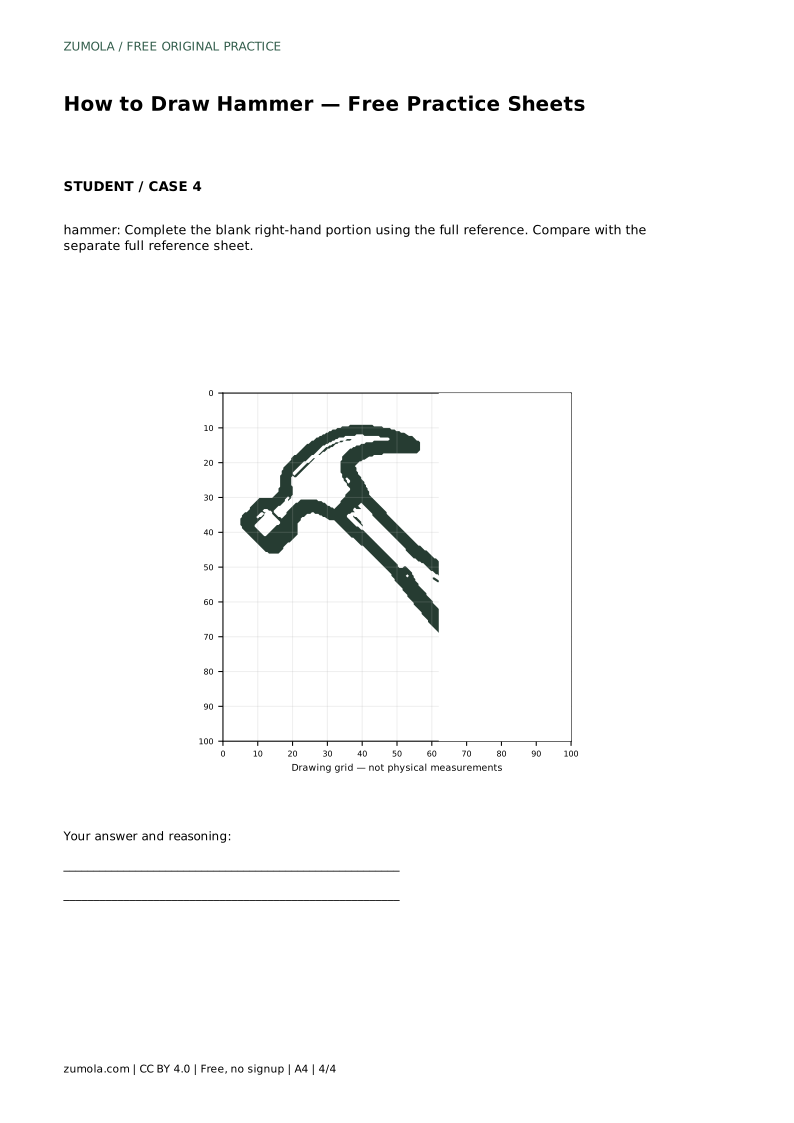
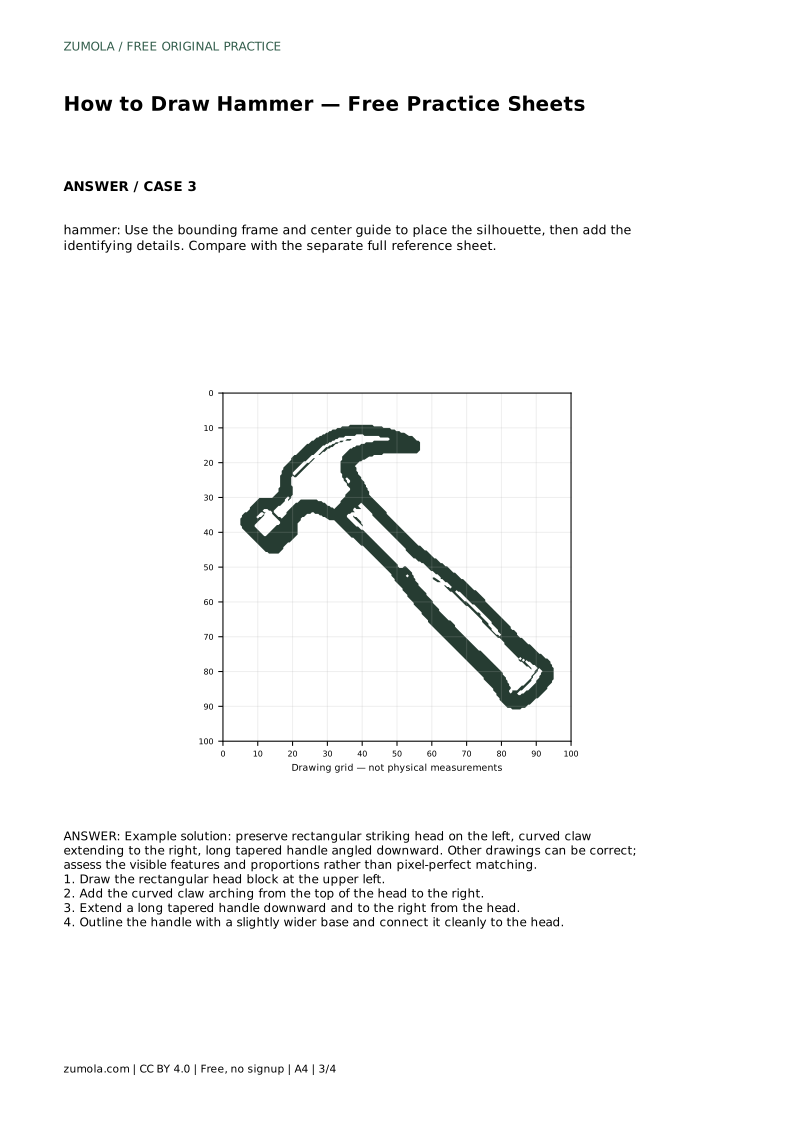
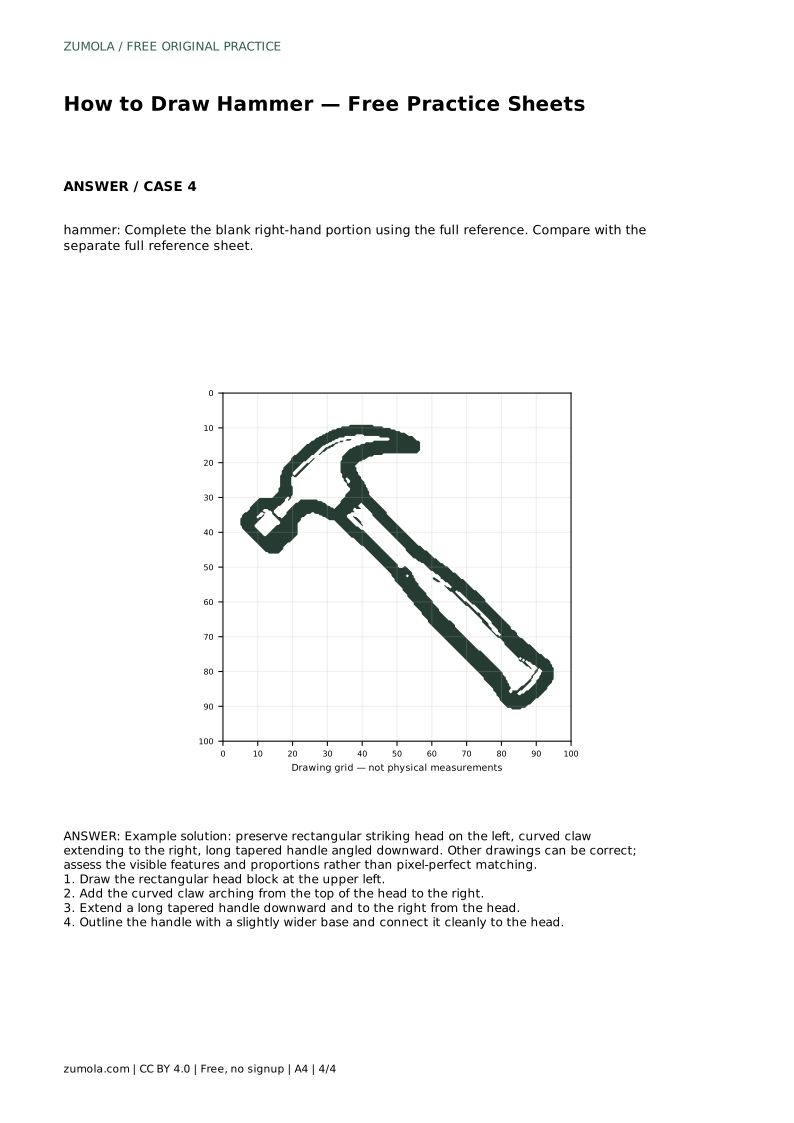
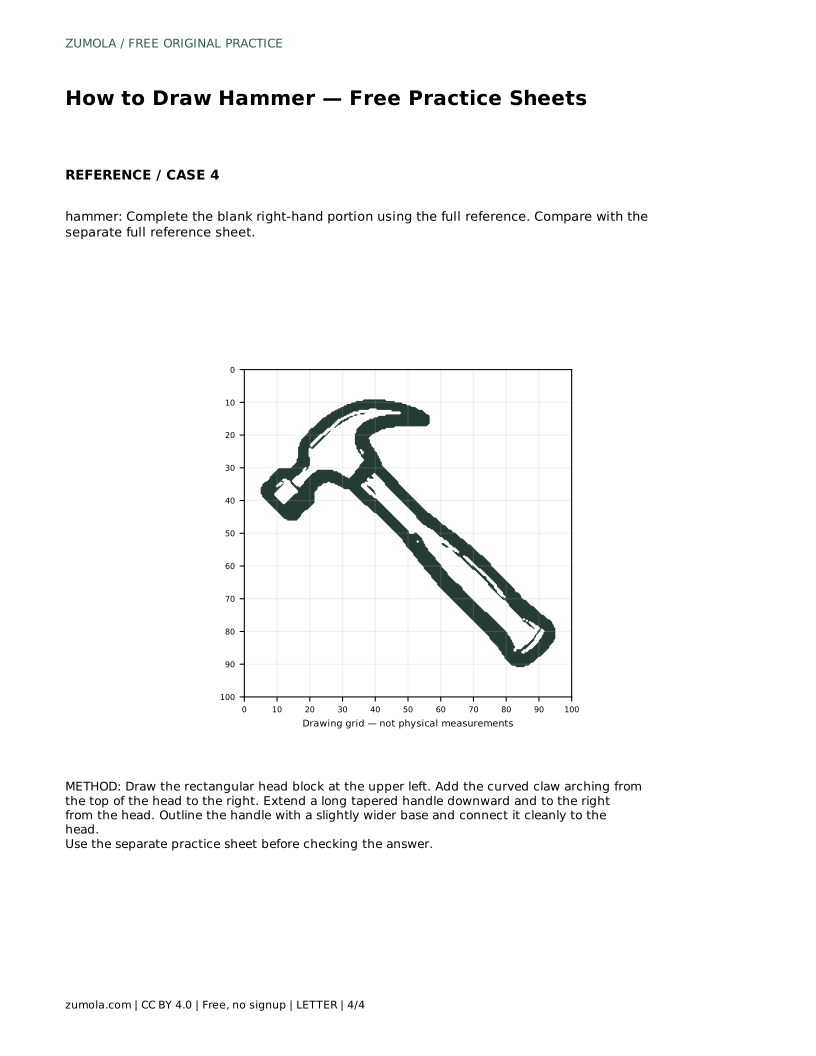
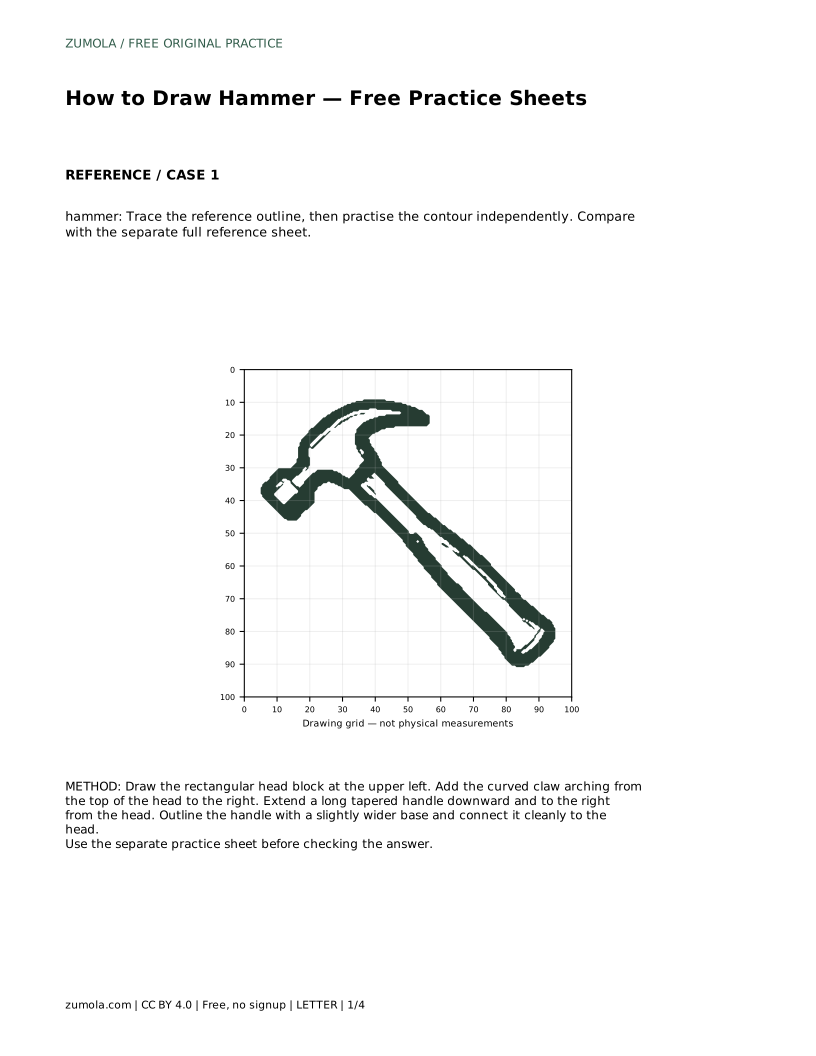
The bounding-frame sheet gives you a center guide and an outer frame. Use them to place the silhouette before adding details. The partial-reference sheet shows the left portion and leaves the right blank, so you complete the missing side using the full reference. In every case, compare your work with the separate full reference sheet afterward.
A hammer drawing can be correct in many ways. What matters is whether the identifying features are present and proportionally sensible: a rectangular striking head on the left, a curved claw extending to the right, and a long tapered handle angled downward.
Compare your drawing with the reference by asking questions rather than measuring. Is the head clearly block-shaped? Does the claw curve rather than bend sharply? Is the handle longer than the head is wide? Does the handle meet the head without a gap? Small differences in angle or length are acceptable if the overall structure reads as a hammer.
Most beginner hammer drawings fail in one of three places: the head becomes rounded, the claw becomes a straight hook, or the handle is too short and thick. Each fix is simple. Straighten the head edges, redraw the claw as a continuous arch, and lengthen the handle while narrowing it gradually.
Work lightly at first so you can adjust without erasing heavily. Draw the head, claw and handle as separate light shapes, then darken the final outline once the proportions look right.
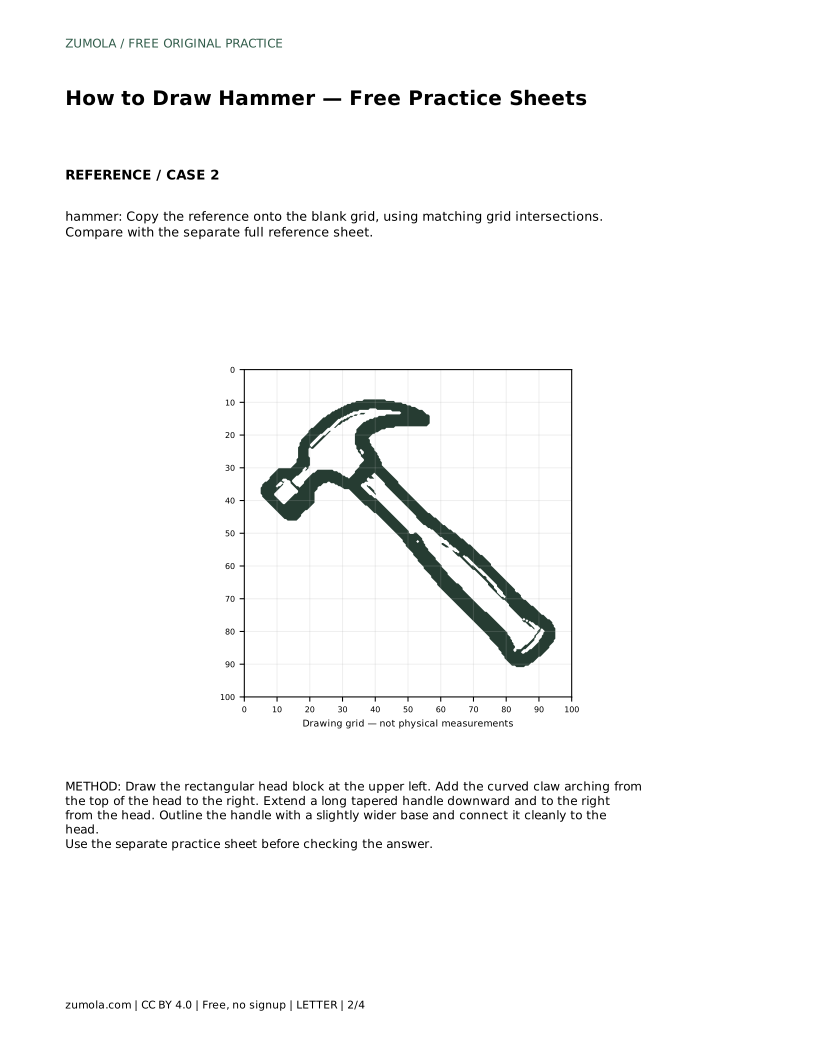
hammer: Trace the reference outline, then practise the contour independently. Compare with the separate full reference sheet.
Example solution: preserve rectangular striking head on the left, curved claw extending to the right, long tapered handle angled downward. Other drawings can be correct; assess the visible features and proportions rather than pixel-perfect matching. Draw the rectangular head block at the upper left. Add the curved claw arching from the top of the head to the right. Extend a long tapered handle downward and to the right from the head. Outline the handle with a slightly wider base and connect it cleanly to the head.
No. Other drawings can be correct. Assess the visible features and proportions rather than pixel-perfect matching.
Start with the tracing sheet to learn the shape order, then move to the grid or frame sheet to practise placement without tracing.
When the rectangular head, curved claw and tapered handle are all clearly present and connected, and the proportions look balanced.
All drawing practice · Free coordinate paper
Original resources · CC BY 4.0 · Free for personal and classroom use with attribution.